Mixed Berry Swirl Ice Cream
Prep
Cook
Inactive
Total
Yield 4-5 servings
This ice cream is so fantastic and super easy to make. All you need are a few ingredients and you'll be whisked back to your childhood!
Ingredients
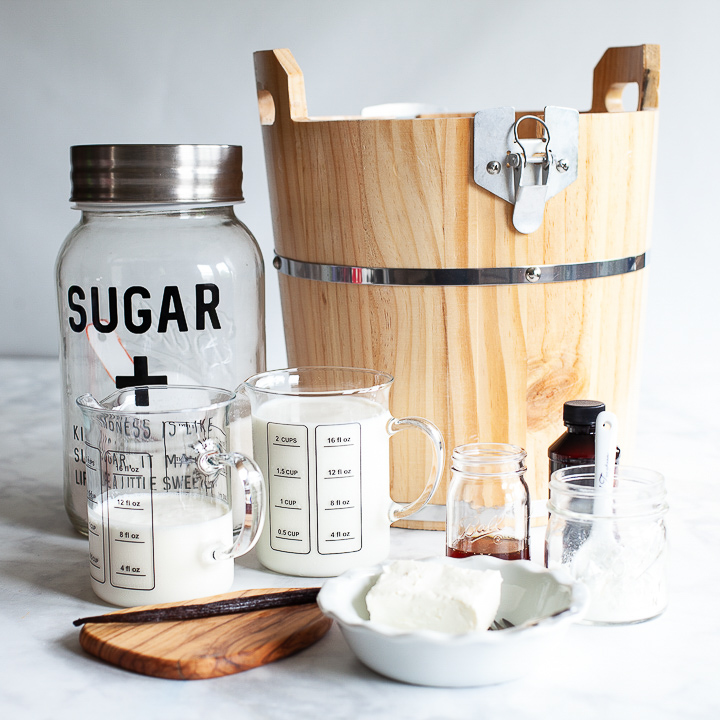
- 2 1/4 cups whole milk, divided
- 5 teaspoons cornstarch
- 2 ounces cream cheese, very soft
- 1/4 teaspoon fine salt
- 1 cup heavy cream
- 2/3 cup granulated sugar
- 2 tablespoons honey
- 1 vanilla bean, optional
- 1 teaspoon vanilla extract
- 4 tablespoons of mixed berry jam
Instructions
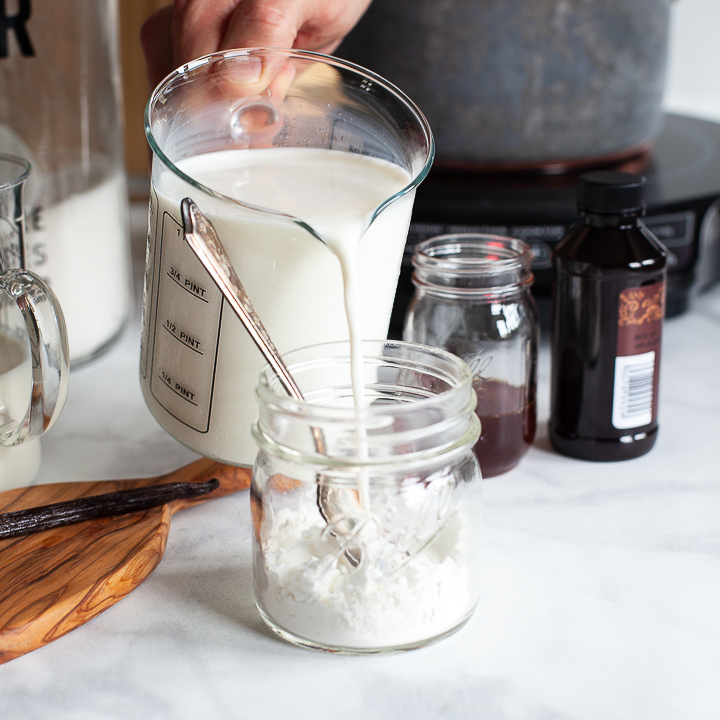
- Make the cornstarch slurry- Place a 1/4 cup of the milk and cornstarch in a small bowl and whisk until the cornstarch is fully dissolved.
-
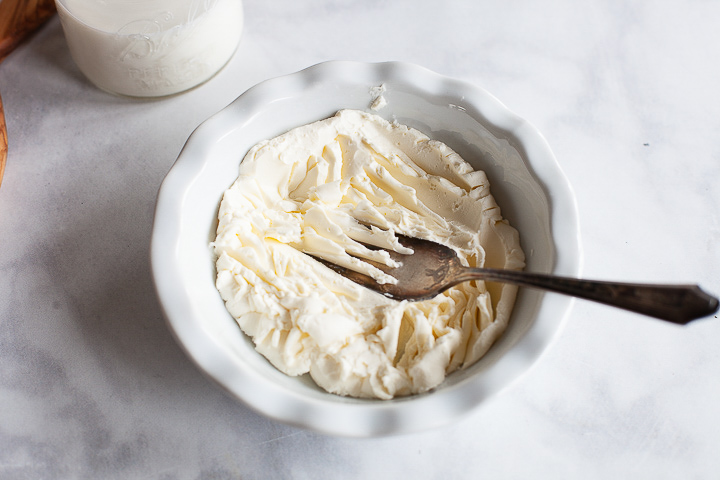
Smooth out the cream cheese - Place the cream cheese and 1/4 cup of the milk in another small bowl and whisk until smooth then, whisk in the salt.
-
Simmer the milk - Place the remaining 1 3/4 cups milk, sugar, cream along with the honey in a medium saucepan and whisk to combine. (If you are using a vanilla bean) Lay the vanilla bean flat on a cutting board and slit it open lengthwise. Use the tip of the knife to scrape all the vanilla beans into the saucepan, then toss in the whole vanilla bean pod.
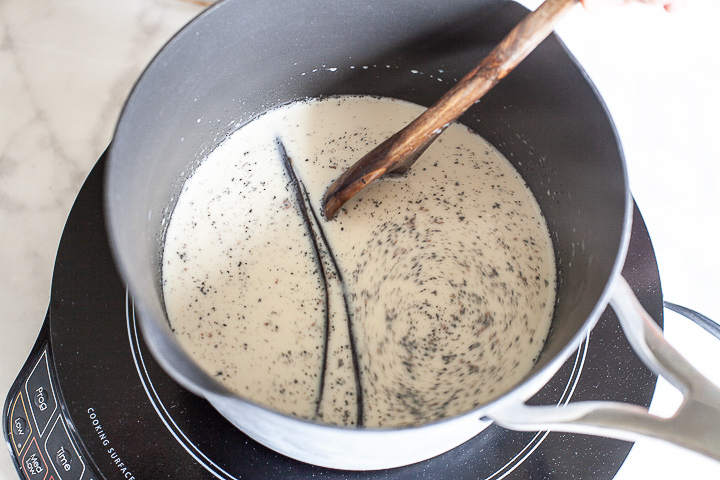 Bring to a simmer over medium heat, whisking frequently. Reduce the heat and simmer for 4 minutes. Remove from the heat.
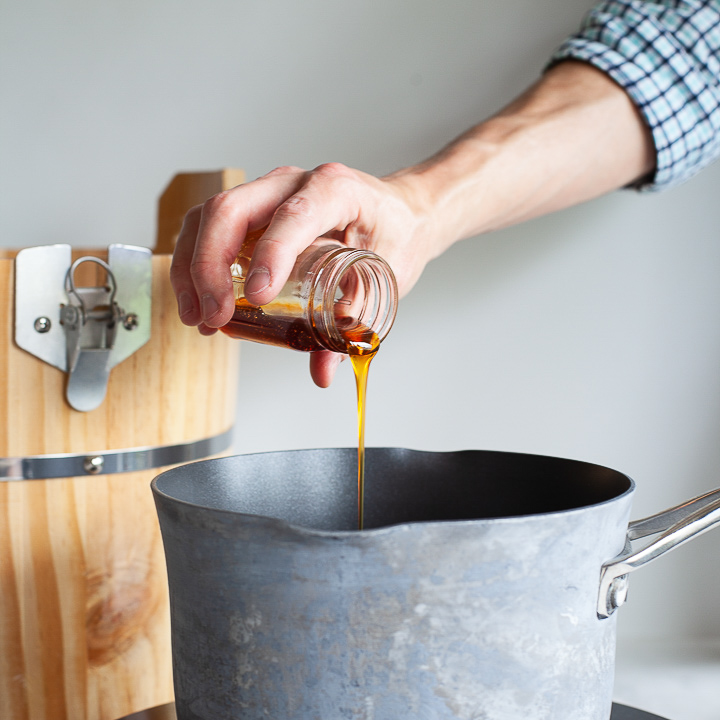
-
Thicken the ice cream base - Whisk about 1/2 cup of the hot milk mixture into the cornstarch slurry.
 Slowly pour this back into the hot milk, whisking constantly. Return to the medium heat and cook, whisking frequently, until it comes to a boil.
 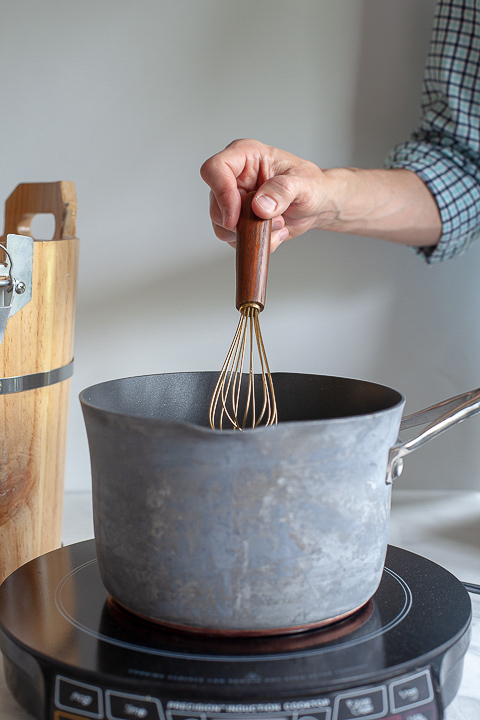 Boil for 1 minute, then remove from the heat. Whisk in the cream cheese mixture. Remove the vanilla bean husk. Whisk in the vanilla extract.

-
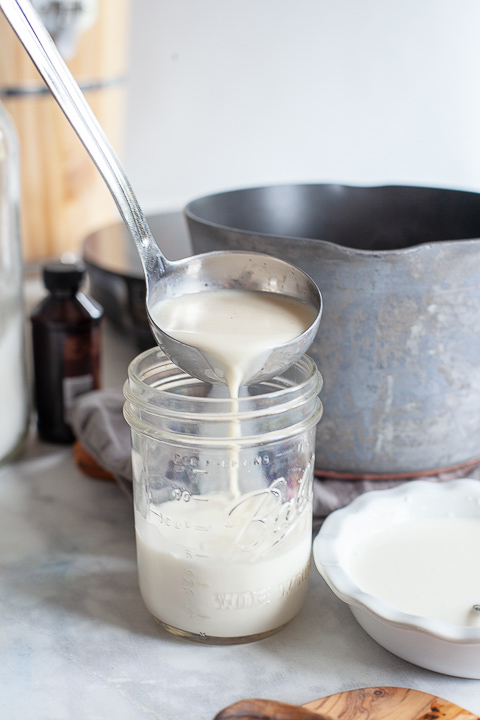
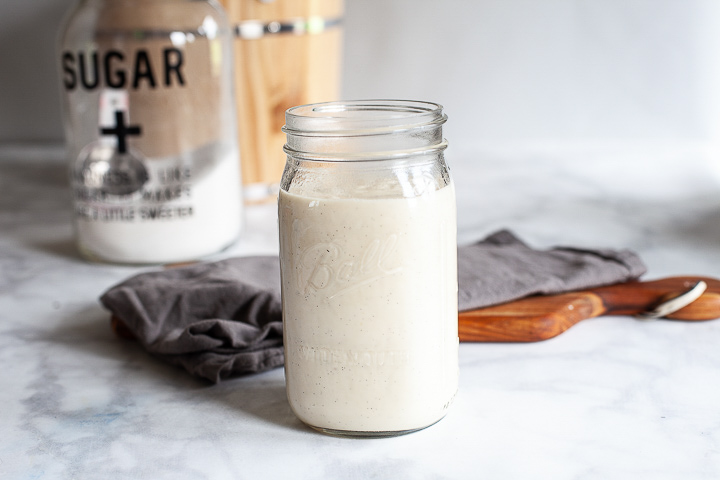
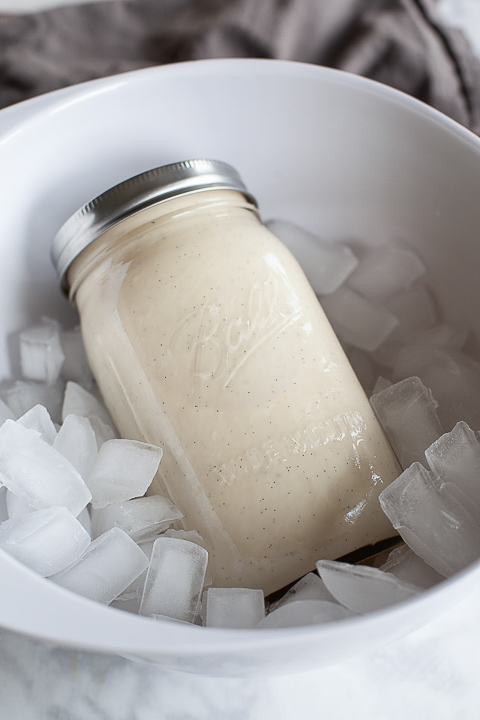
Chill the ice cream base - Chill this ice cream base for at least 4 hours or overnight in the refrigerator. If you are in a hurry, you can also pour your ice cream mix into a quart jar and submerge it in an ice water bath. (Remove the lid of the jar being careful to not get any water into the jar.) Stir every few minutes until the ice cream base is nice and chilled. This will cool your base very fast and very thoroughly.
-
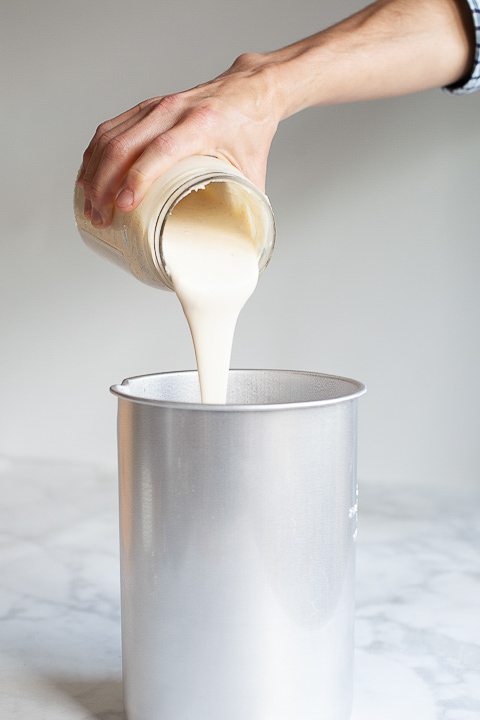
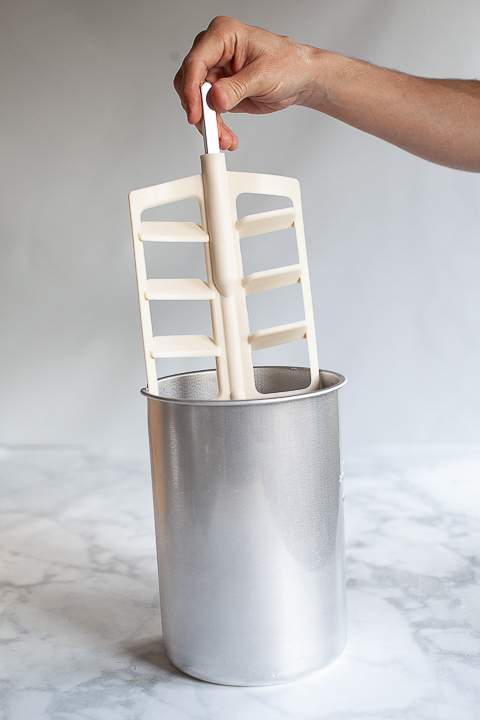
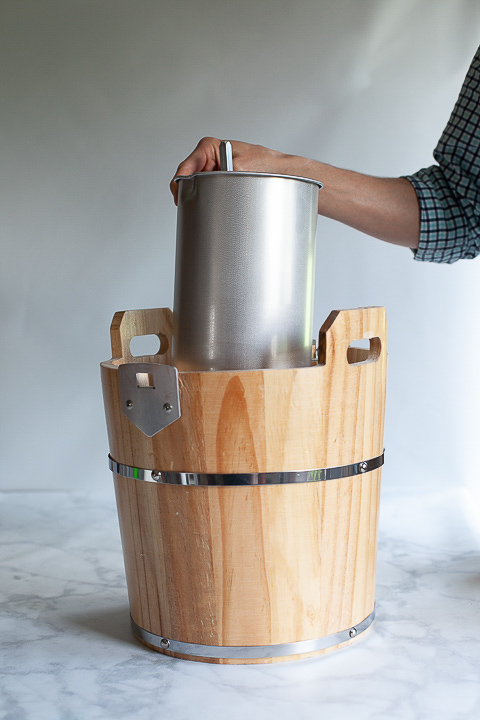
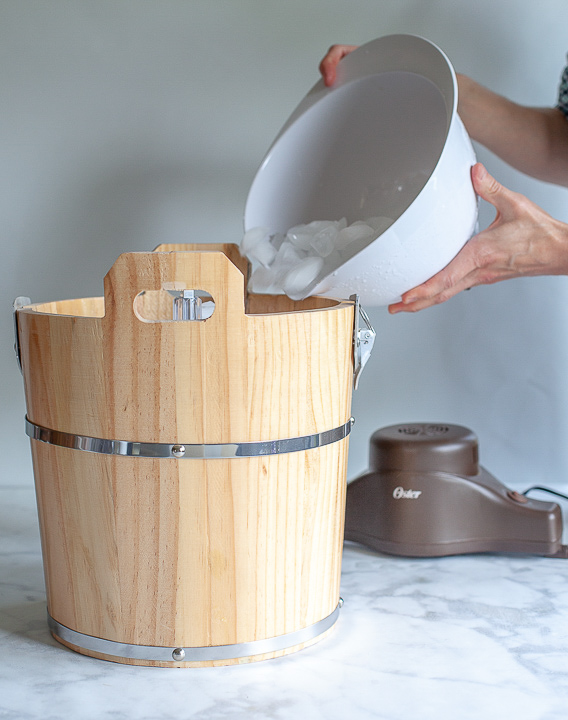
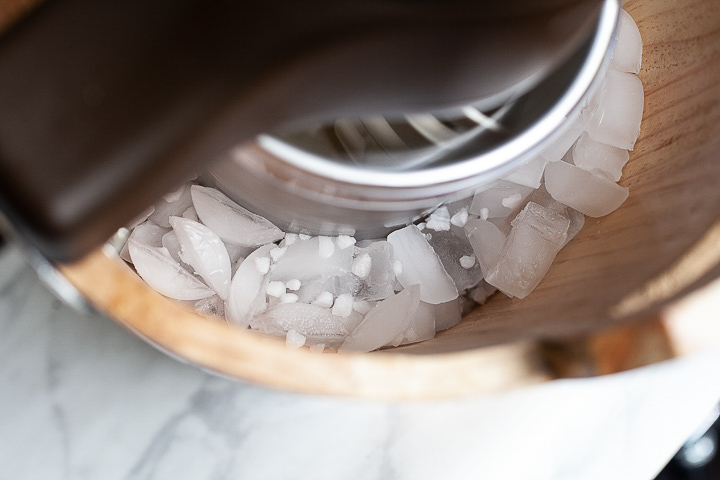
Churn the ice cream base - The goal of churning the ice cream is to freeze the base while stirring the ice cream constantly so that large ice crystals don't form in the ice cream. You will need to follow the instructions for your ice cream maker for this step.
-
10. Stir in mixed berry jam - No matter what kind of ice cream maker you use, the freshly churned ice cream will still be very soft and even runny after it has been churned.
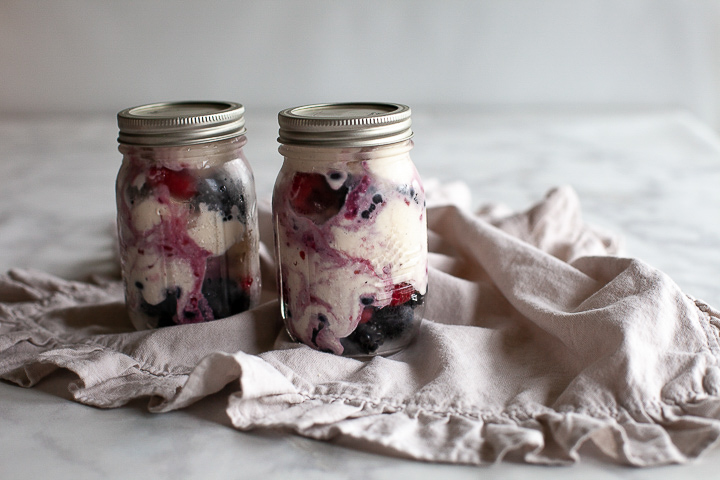
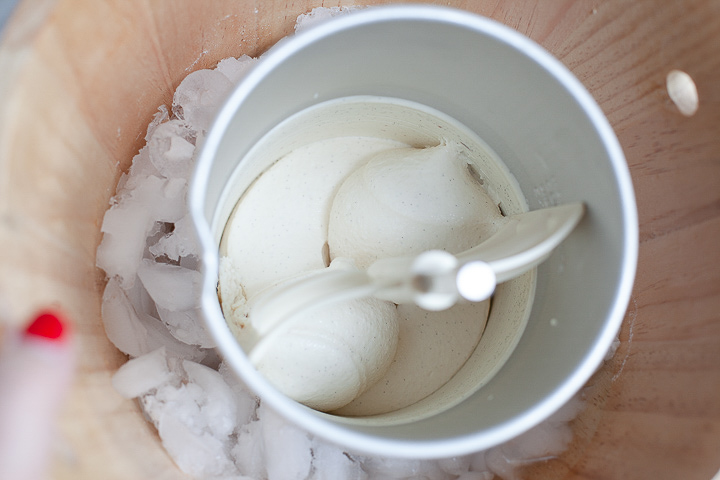 Adding the jam is best done AFTER you have finished with the ice cream maker. I actually borrowed a trick from Starbucks and swirled the jam onto the inside of the plastic jar before I even put the ice cream in the jar.
  Then, I filled the plastic jar half way and put a spoonful of jam on the top. I filled the plastic jar the rest of the way, leaving about 3/4 of an inch at the top of the jar to allow for expansion. Then I added another spoonful of jam. Then I took a knife and gently stirred the ice cream in ONE figure eight pattern. You want this ice cream to be swirled not totally stirred in.
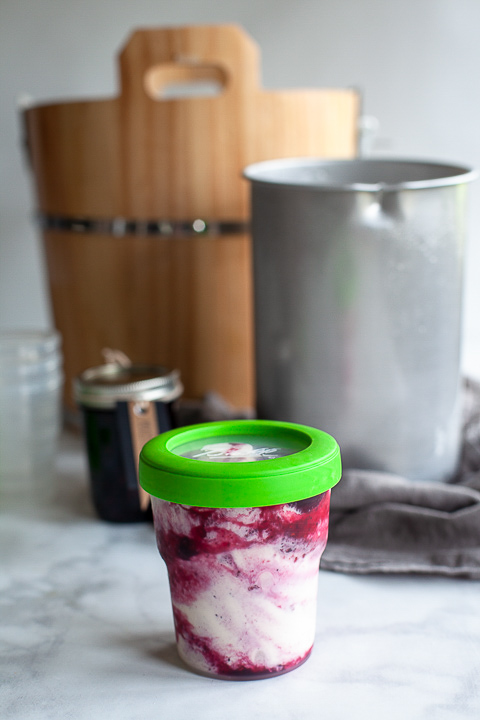
-
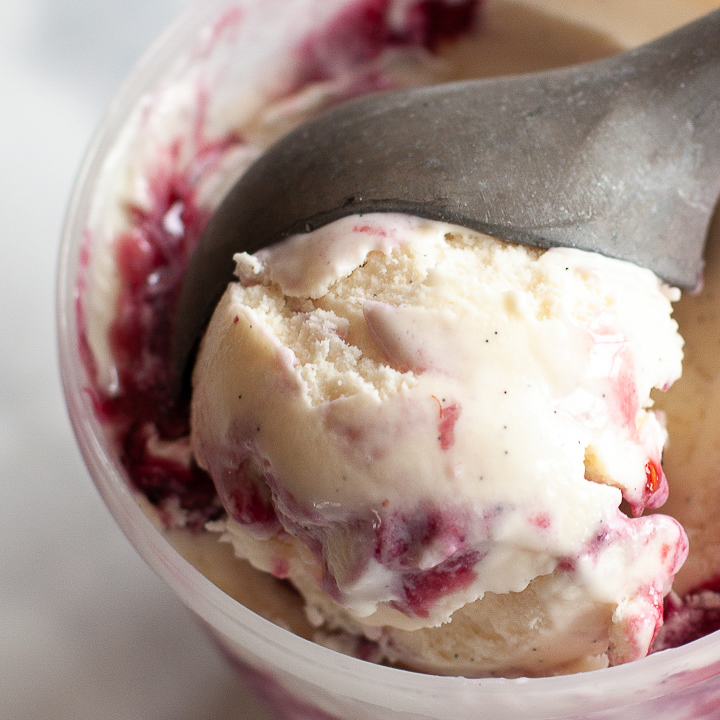
Harden the ice cream in the freezer - In order to get that scoopable texture, and to let the flavors bloom, it's best to freeze the ice cream for at least a few hours before eating.
Notes
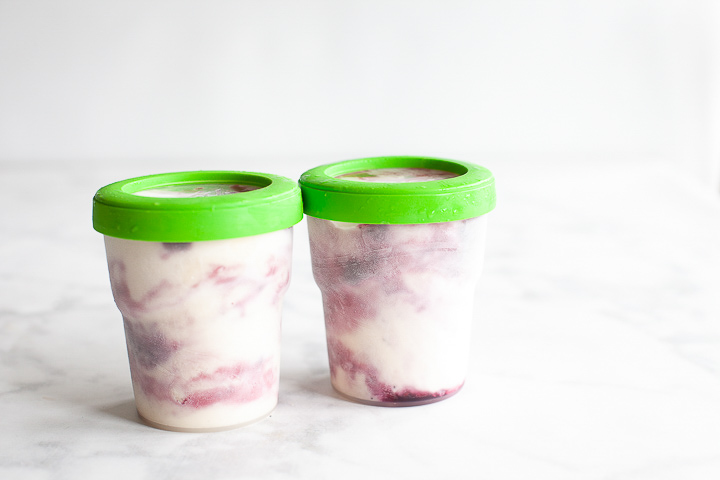
Storage - The ice cream can be stored in the freezer for up to 2 months. Keep the plastic wrap or waxed paper pressed against the surface at all times to keep ice crystals from forming.
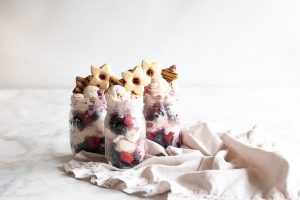
Serving - This ice cream is best served after it has been out of the freezer for a few minutes and had some time to thaw a little bit. I like to serve it in the NEW Ball® Stars and Stripes Keepsake Jars. I layer the ice cream with fresh berries and then top it all off with some fun cookies.
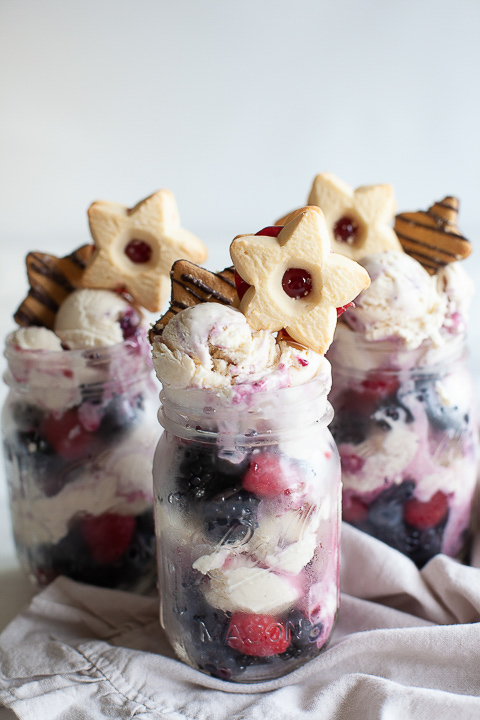
You can even send them home with your friends or give as a quick gift for a neighbor in these great jars.
Courses Dessert
Recipe by Whipperberry at https://whipperberry.com/homemade-mixed-berry-swirl-ice-cream-recipe/