• Skip to primary navigation
  • Skip to main content
  • Skip to primary sidebar
  • Skip to footer

Whipperberry

WhipperBerry • Your Home For Creative Inspiration

  • Home
  • Recipes
    • Starters
    • Easy Weeknight Dinners
    • Main Dish
    • Salads
    • Side Dish
    • Soups & Stews
    • Desserts
    • Breakfast
    • Miscellaneous
  • Tutorials
    • Creative Crafts
    • DIY Decor
    • Fabric Crafts
    • Food How-To
    • Jewlery
    • Paint Projects
    • Paper Art
    • Party Styling
    • Photography and Graphic Design
    • Silhouette
  • Holidays
    • St. Patrick’s Day
    • Easter
    • Mother’s Day
    • Father’s Day
    • 4th of July
    • Halloween
    • Thanksgiving
    • Christmas
    • New Years
    • Valentine’s Day
  • Gift Ideas
    • Gifts For Everyone
    • Gifts for Dad
    • Mother’s day
    • For The Girls
    • For The Kids
    • Teacher Gift Ideas
    • Christmas
  • Printables
    • Holiday
    • Gift Idea
    • LDS Primary
  • Travel
  • About
    • Terms
  • Contact
  • Nav Social Menu

    • Facebook
    • Instagram
    • Pinterest
    • RSS
    • Twitter

Summer

{Recipe} Peaches and Cream Panna Cotta

19 · Apr 16, 2018 · 15 Comments

Is there anything more lovely than a good, juicy, ripe peach? Quite honestly, I think that is one of my favorite summertime LOVES!!  I have fond memories of my dad cutting up a peach and putting it in a bowl with a little pinch of sugar and a splash of cream… heaven in a bowl. Well, I’ve kicked it up a notch. Another love of mine is Peaches and Cream Panna Cotta. What is this you ask? (This post has been updated, it was originally posted August 24, 2011)
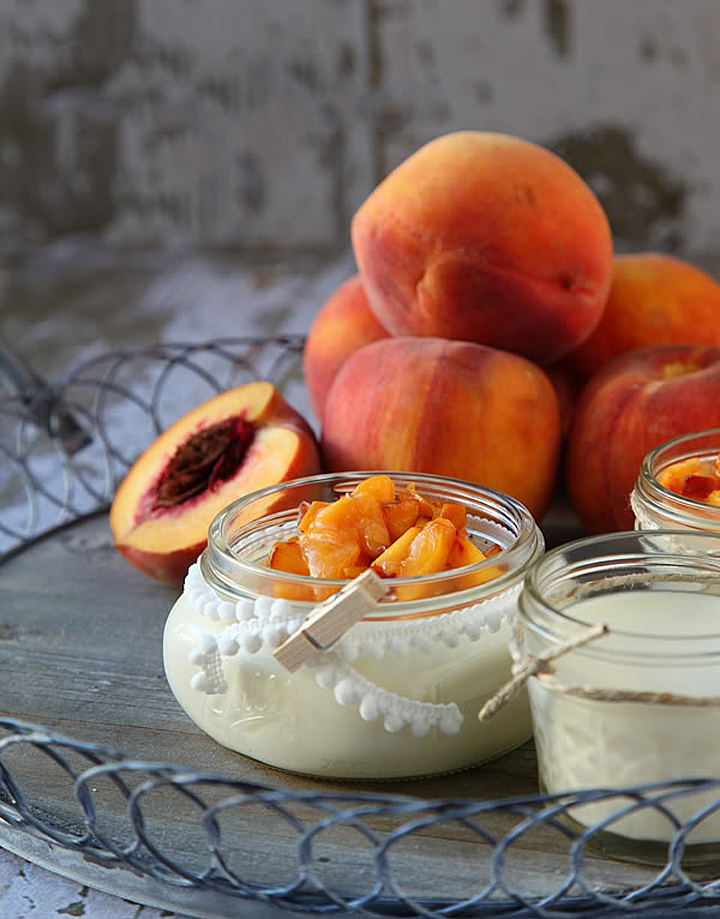
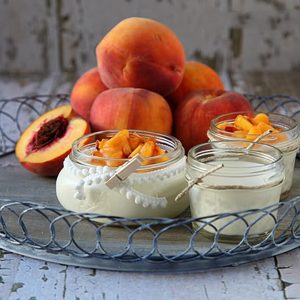
Peaches and Cream Panna Cotta Recipe the perfect summer dessert • WhipperBerry

What is Panna Cotta

Jump to Recipe

The first time I had Panna Cotta was at an Italian Resturant in Colorado where I grew up. I  don’t know what inspired me to try something new but, I’m so glad that I did! When it arrived at the table it was a smooth, glass-surfaced dessert with a raspberry sauce on one side topped with berries and whipped cream. It was so intriguing. It didn’t look like pudding or custard, nor did it look like gelatin. I tasted my first bite and was hooked instantly. It was cool dessert, perfect for those hot summer nights. It’s creamy and sweet and pairs nicely with chocolate, caramel, or a whole host of fruits.  It’s basically an eggless custard made with decadent cream and gelatin and it’s divine. Panna Cotta is the perfect blank canvas to create the perfect dessert with. We like to top it off with some fresh summer peaches and that’s it. No need for whipped cream or anything else. The Summer peaches are perfect with the divine Panna Cotta!

Peaches and Cream Panna Cotta Recipe

Peaches and Cream Panna Cotta Recipe the perfect summer dessert • WhipperBerry
Print

Peaches and Cream Panna Cotta

Author Heather Thoming • WhipperBerry

Yield 6-8 servings

Peaches + Cream is truly Summer heaven. Team them up with the creamy eggless custard called Panna Cotta and you'll have a real Summer crowd pleaser!

Ingredients

  • 3 cups heavy cream
  • 3 cups whole milk
  • 1 cup granulated sugar
  • 1 vanilla bean
  • 2 cups creme fraiche
  • 2 tablespoons plus 1/4 teaspoon powdered gelatin
  • 2 peaches
  • 2 tablespoons of granulated sugar
  • a pinch of nutmeg

Instructions

Place the cream, milk and sugar in a medium saucepan and bring to a simmer over medium-high heat. Split and scrape the vanilla seeds from the bean. Add both the seeds and the pod to the milk. When the milk mixture begins to simmer, shut off the heat and whisk in the creme fraiche.

You will then need to strain the mixture and return to the pot. Add the gelatin and whisk until dissolved. Pour the mixture into 8 (1 cup) ramekins and set aside to come to room temperature. Cover and place in the refrigerator to firm up for at least 3 hours preferably overnight.

Now for the peaches...

Cut them into small bite size pieces and place in a small sauce pan along with the sugar and nutmeg.  Cook over medium heat for about five minutes until sugar is dissolved and peaches have cooked down a bit, but not too much.  Let cool and then top the panna cotta with the cooled peach mixture. Sit back and ENJOY the best peaches and cream you'll ever have!

Notes

{this recipe has been adapted from Guy Fieri's Creme Fraiche Panna Cotta Jubilee Style recipe}

Courses Dessert
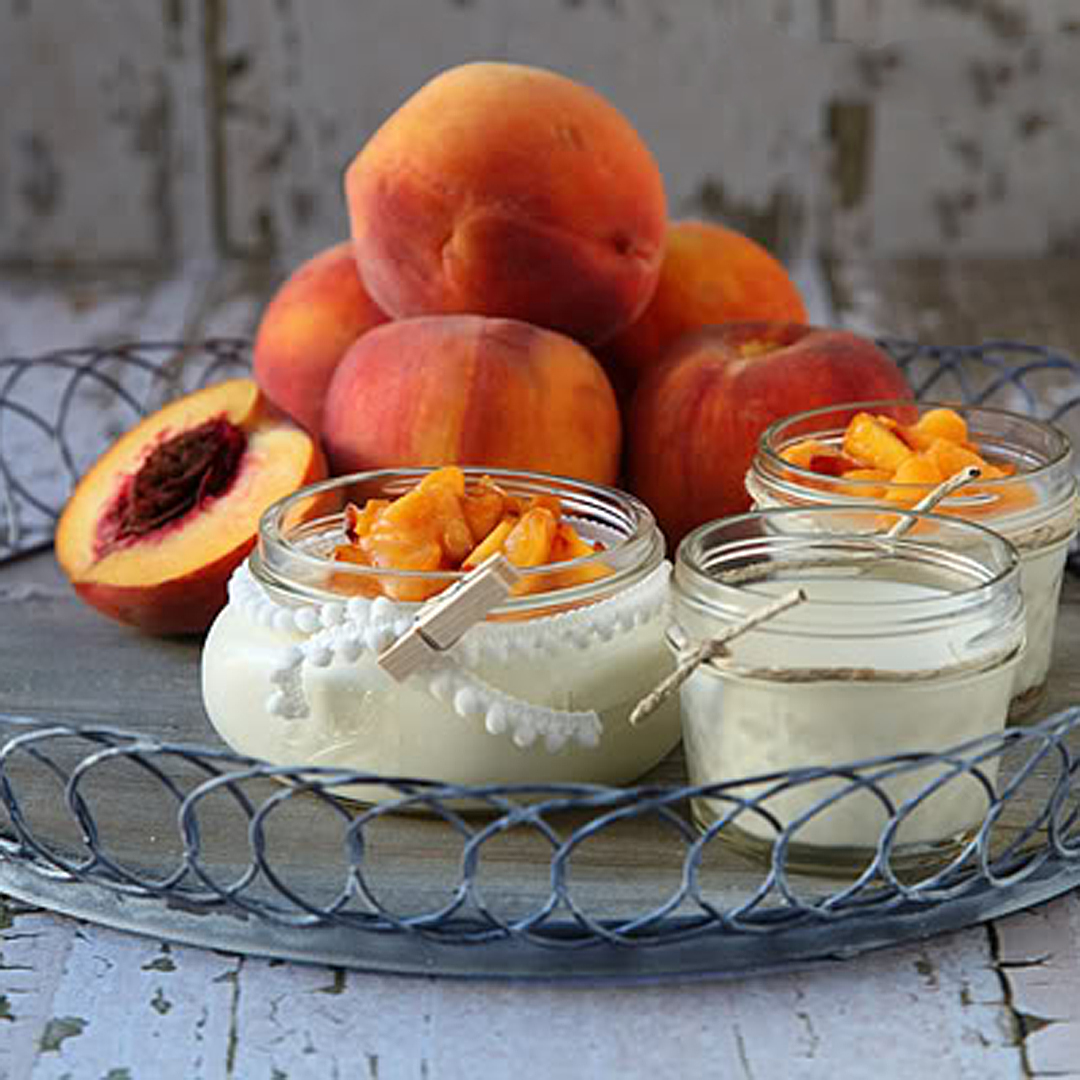
 Peaches and Cream Panna Cotta Recipe the perfect summer dessert • WhipperBerry

Creamy Berry No-Bake Jell-o Poke Cake Recipe

4 · Jul 14, 2016 · 1 Comment

+ This Creamy Berry No-Bake Jell-o Poke Cake Recipe brought to you by International Delight +

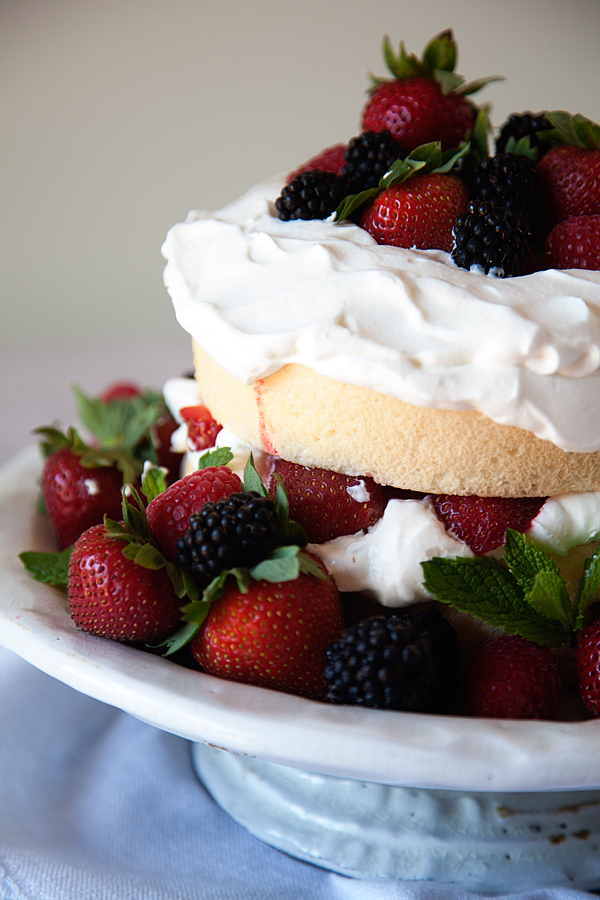
Strawberry-Shortcake-Poke-Cake-from-WhipperBerry-21

 This my friends is NOT your Mother’s traditional Jell-o Poke Cake. Nope, not even close.

This my friends is a MAGIC cake. It’s for those times when you don’t have the time to bake and slave over a special treat, but you still want to impress your friends and family. NO baking involved. Which in these hot summer months, who wants to turn on the oven. It has some unexpected ingredients that make it EXTRA special.

Strawberry-Shortcake-Poke-Cake-from-WhipperBerry-1

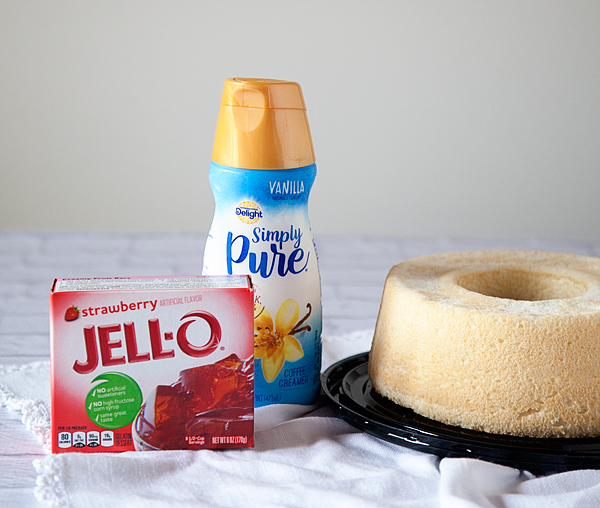
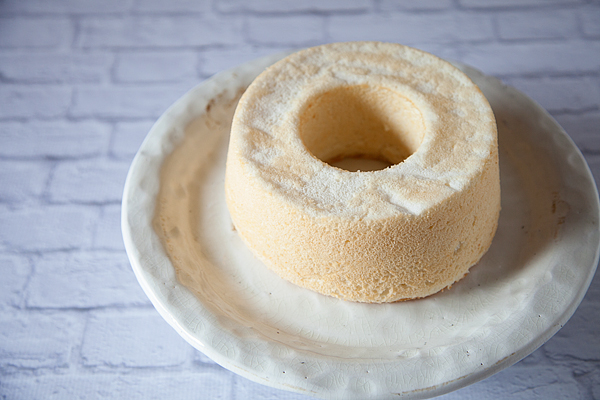
First off, I bought my angel food cake from the store… I know, Gasp!

Seriously, it’s summer… I’m too busy to bake with all of the activity at the house with the kiddos home. I grabbed an angel food cake at the market, some strawberry Jell-o some International Delight Simply Pure Vanilla. LOVE this stuff! It’s made with real milk, cream & sugar, that’s it!

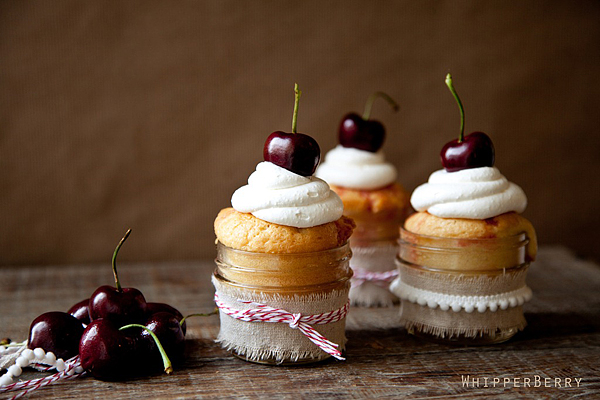
I have always loved the jell-o poke cake I made some great Black Cherry Jell-o Cakes a few years ago and they were a huge hit.

Cake-in-a-Jar

Again, my problem here is that I just didn’t have enough time to bake, I improvised and came up with this great alternative. I also added a little extra love to the Jell-o to make it extra creamy. Here’s how you make it…

Creamy Berry No-Bake Jell-o Poke Cake Recipe

Strawberry-Shortcake-Poke-Cake-from-WhipperBerry-3

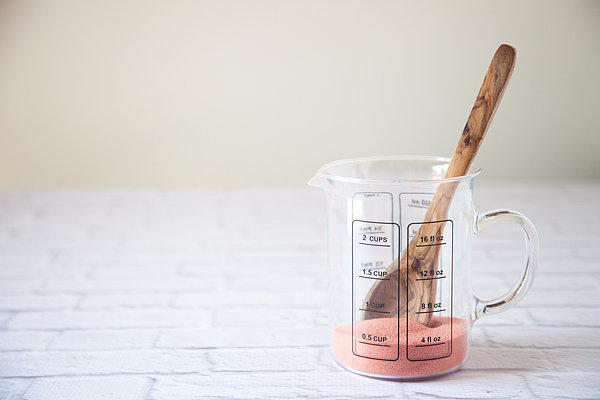
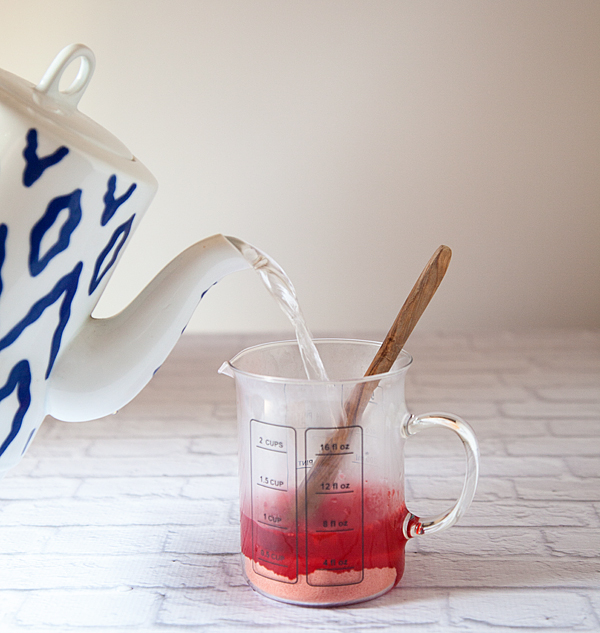
 Pour Jell-o packet into a 2 cup mixing cup.

Strawberry-Shortcake-Poke-Cake-from-WhipperBerry-4

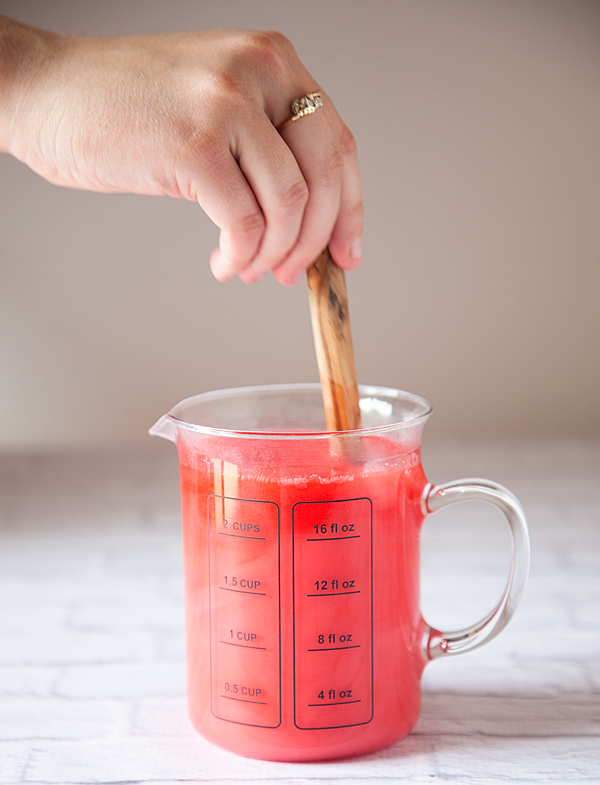
 Mix with 1 cup of boiling water.

Strawberry-Shortcake-Poke-Cake-from-WhipperBerry-5

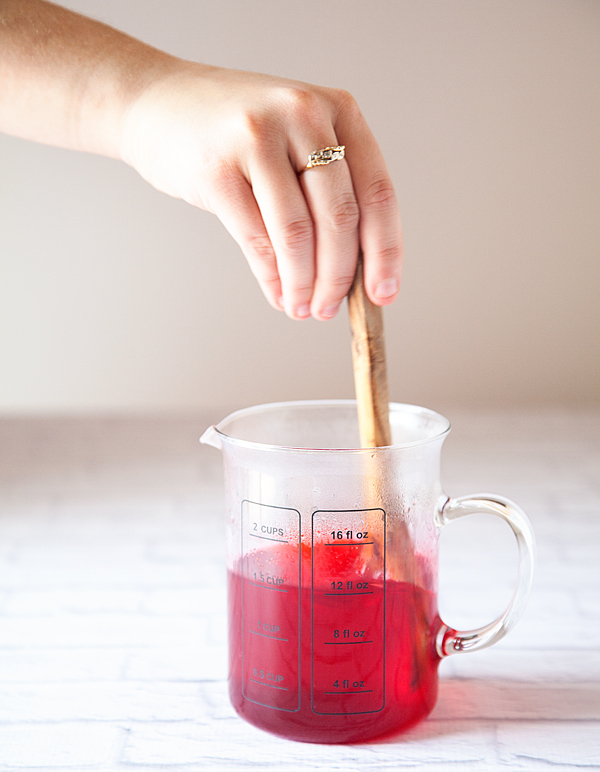
Stir to dissolve the gelatin completely.

Strawberry-Shortcake-Poke-Cake-from-WhipperBerry-6

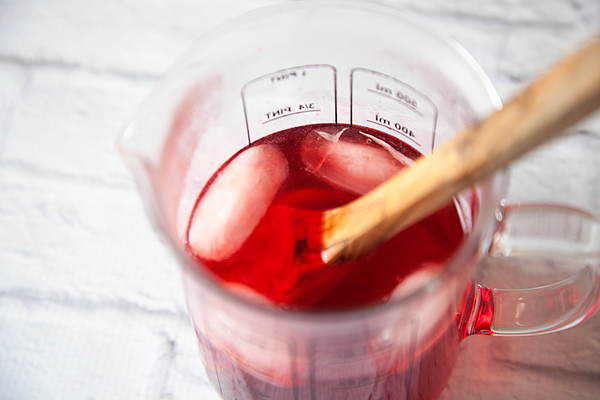
 Once the gelatin has totally dissolved, add a few ice cubes, no more than 4, to slightly cool down the liquid Jell-o.

Strawberry-Shortcake-Poke-Cake-from-WhipperBerry-7

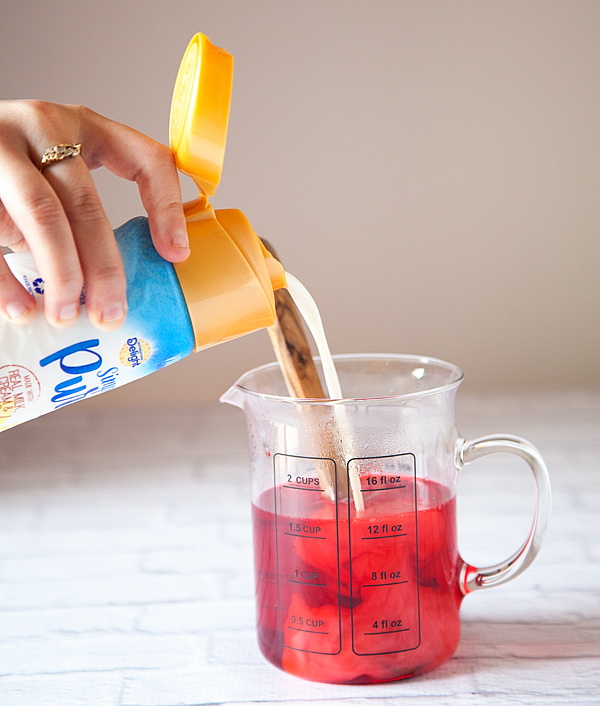
 Now for the secret ingredient! Add 1 cup of International Delight Simply Pure Vanilla Creamer.

Strawberry-Shortcake-Poke-Cake-from-WhipperBerry-8

 Stir to completely incorporate the creamer into the Jell-o mixture.

Strawberry-Shortcake-Poke-Cake-from-WhipperBerry-9

Now, it’s time to prep your cake. Place your cake on a cake plate. Don’t EVER serve a store bought cake in the container that it comes in. You want to at least TRY and fool your guest that you slaved all day in the kitchen!

Strawberry-Shortcake-Poke-Cake-from-WhipperBerry-10

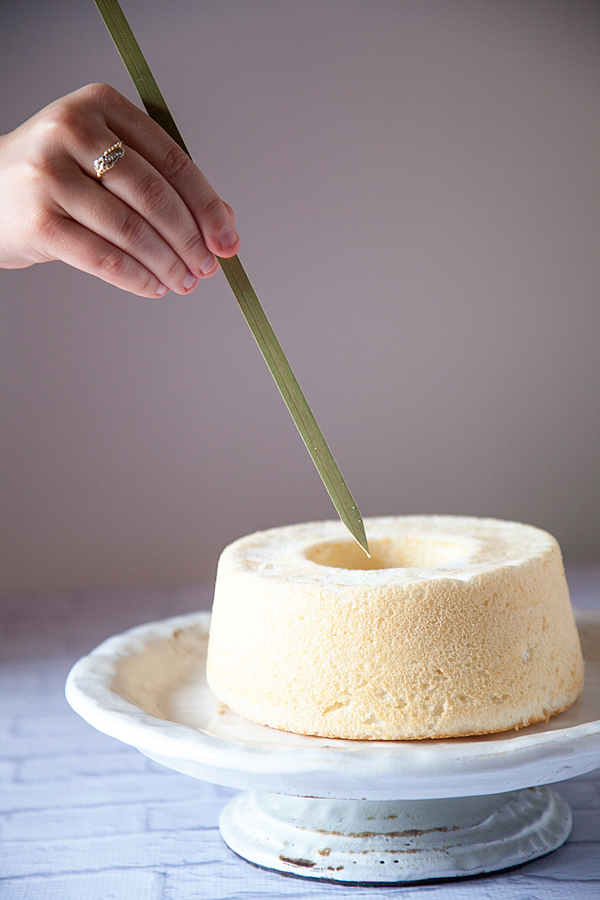
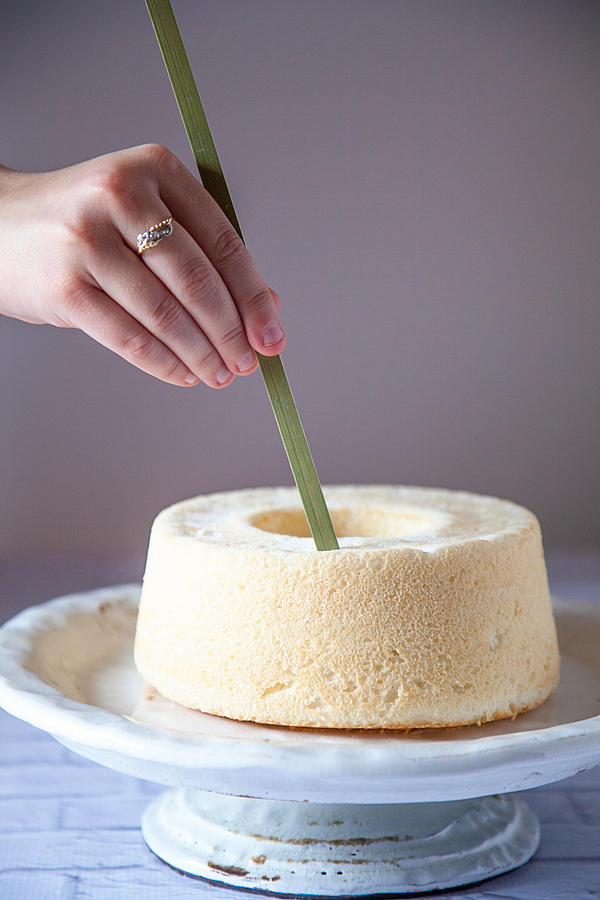
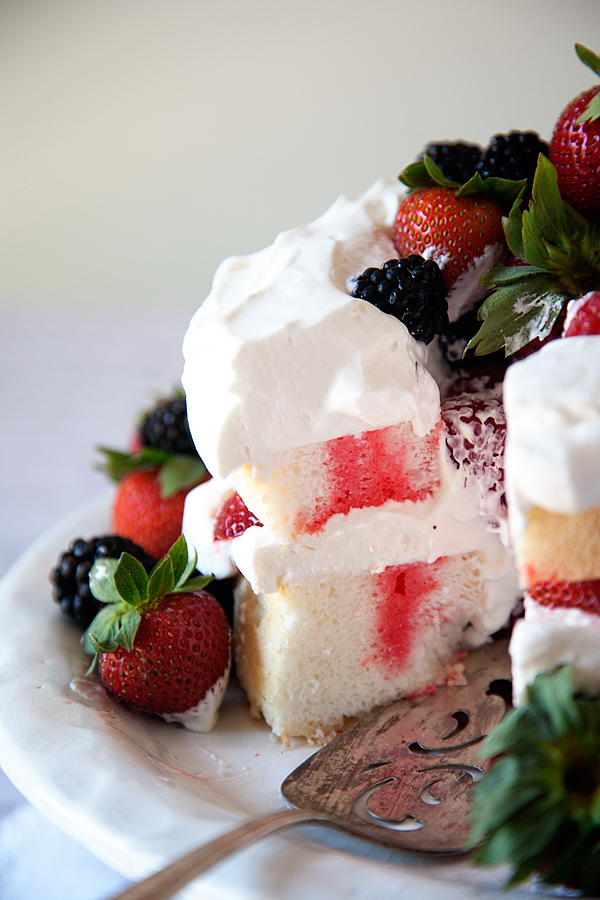
 Now, take a skewer or knife and poke a bunch of holes into your cake.

Strawberry-Shortcake-Poke-Cake-from-WhipperBerry-11

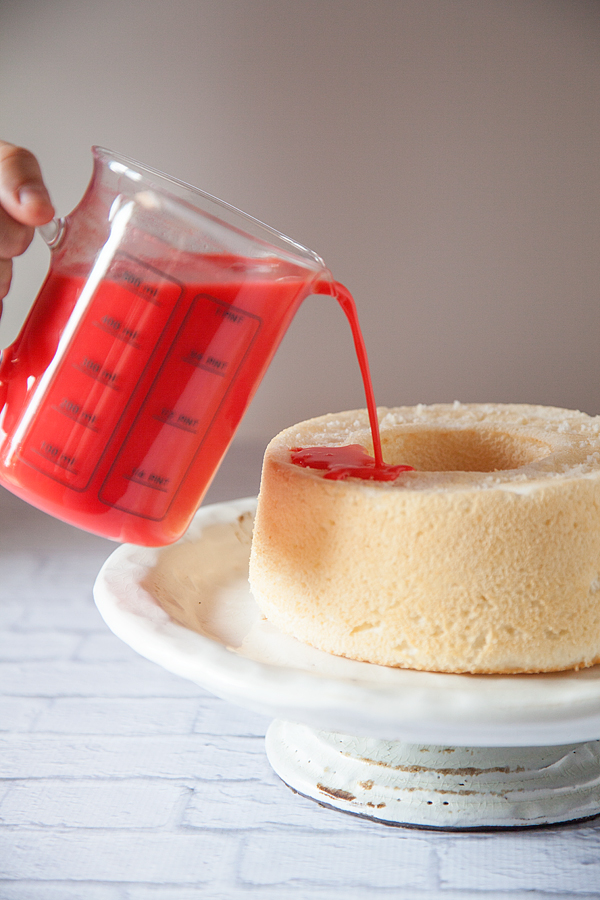
 Next, pour your creamy jell-o mixture carefully onto the cake.

Strawberry-Shortcake-Poke-Cake-from-WhipperBerry-12

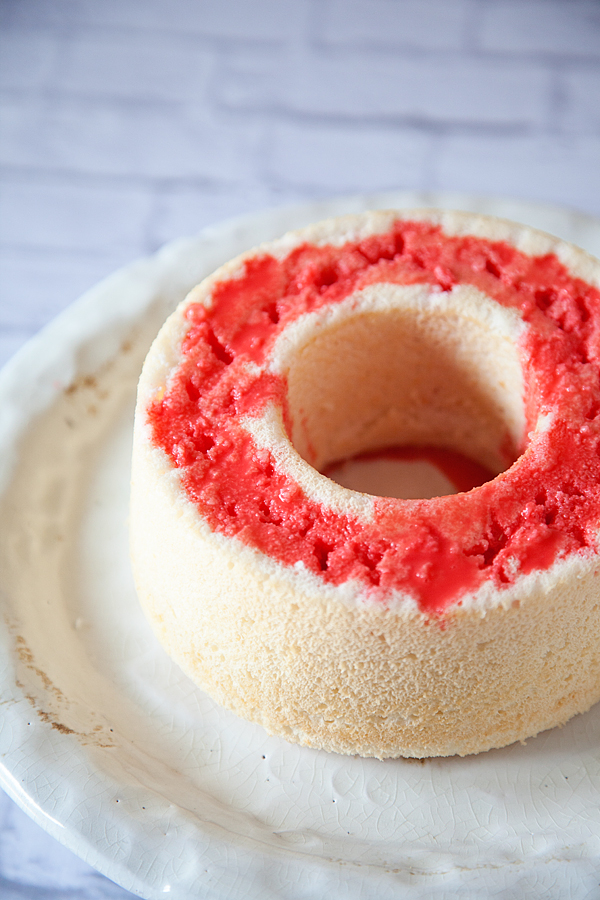
 Try and saturate as much as possible.

Strawberry-Shortcake-Poke-Cake-from-WhipperBerry-13

 I wanted to keep the sides of my cake as white as possible so I just poured the Jell-o mixture on top. You can do whatever you like. Place the cake in the refrigerator for a couple of hours.

While you’re waiting for the Jell-o to set, you can make the Chantilly Cream for the topping of the cake. YUM!

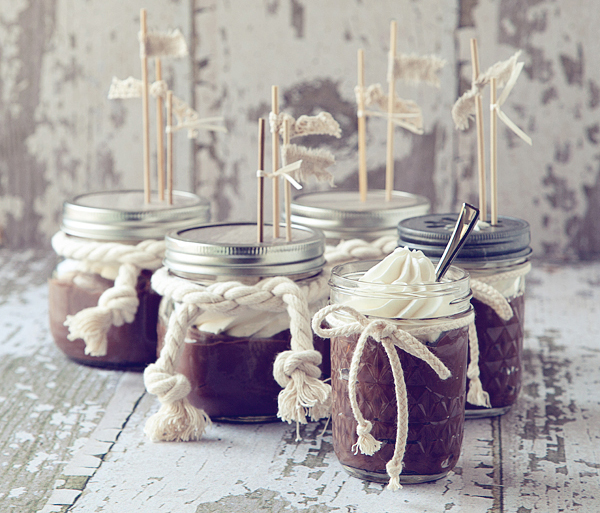
You can find that recipe HERE in my post about homemade chocolate pudding and Chantilly Cream…

Chocolate-Pudding-from-Scratch

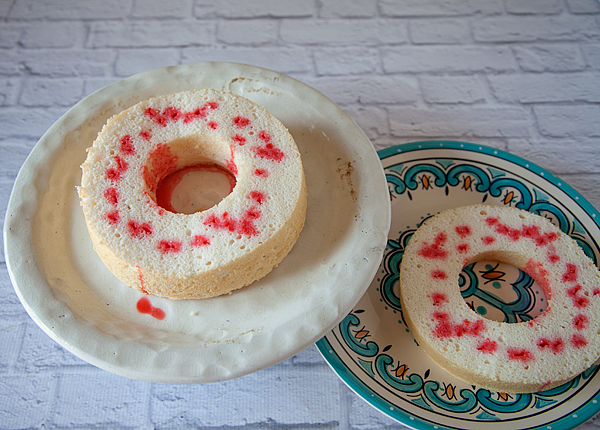
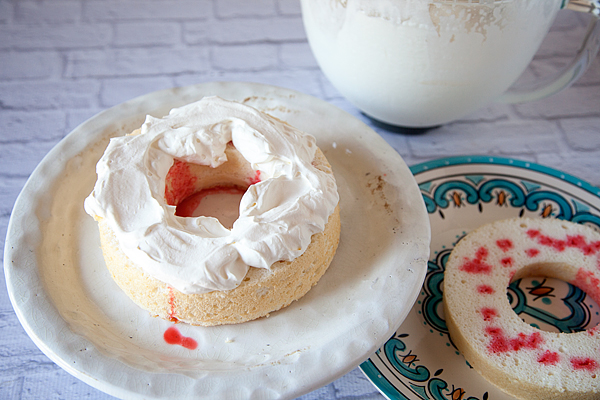
Remove the cake from the fridge and with a serrated knife, carefully cut the cake in half and remove the top of the cake.

Strawberry-Shortcake-Poke-Cake-from-WhipperBerry-15

 Spoon on the Chantilly cream on top of the first layer.

Strawberry-Shortcake-Poke-Cake-from-WhipperBerry-16

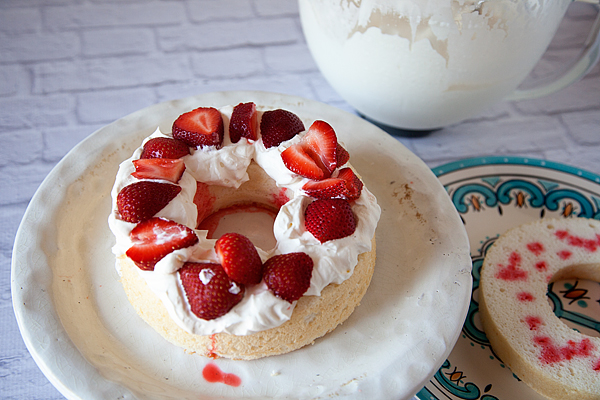
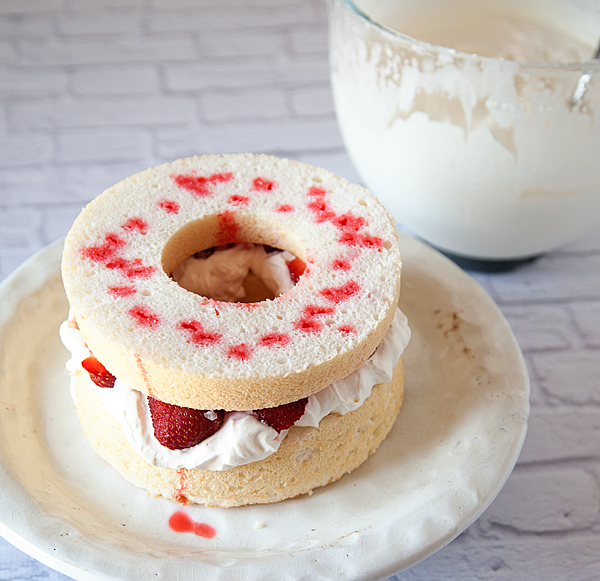
Next, layer some sliced strawberries in the middle.

Strawberry-Shortcake-Poke-Cake-from-WhipperBerry-17

Now, replace the top of the cake.

Strawberry-Shortcake-Poke-Cake-from-WhipperBerry-18

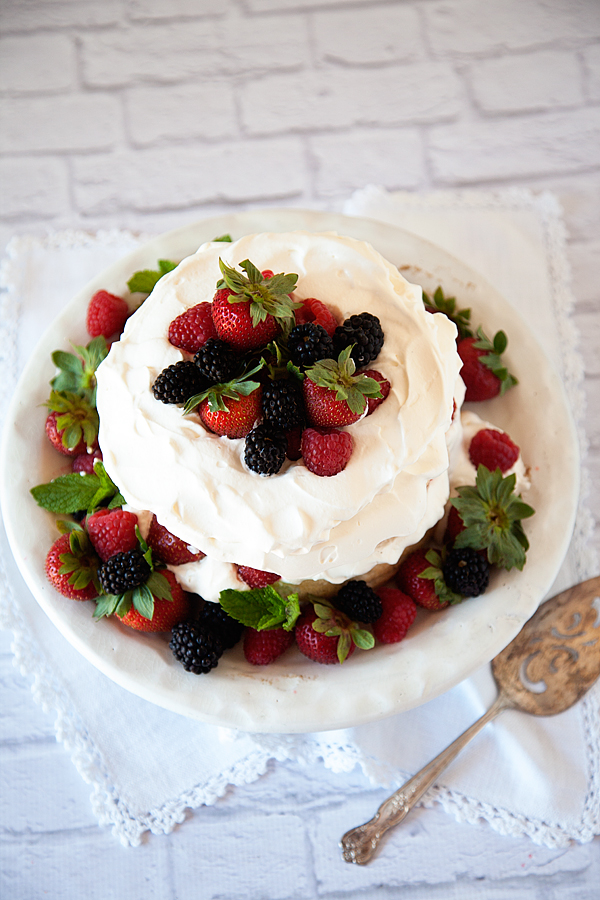
I actually flipped the layer over so the the cut side was on top. I just liked the way it looked better. Spoon another layer of the Chantilly Cream on top and then fill the center of the cake with raspberries, blackberries and top with a few strawberries.

Strawberry-Shortcake-Poke-Cake-from-WhipperBerry-20

 Then around the bottom of the cake fill up the plate with the remaining berries. I like to leave the stems on my strawberries to give it that rustic look, but that’s totally up to you. I also added in a few sprigs of mint to add even more green.

Strawberry-Shortcake-Poke-Cake-from-WhipperBerry-26

This Creamy Berry No-Bake Jell-o Poke Cake is truly a show stopper and you hardly had to lift a finger! It’s sooooo easy to make! NO baking skills required!

Strawberry-Shortcake-Poke-Cake-from-WhipperBerry-28

Slice and serve to WOW your guests with the little hidden secret inside waiting to delight your friends and family. It’s the PERFECT summer dessert!

For more great International Delight ideas and recipes, sign-up for their newsletter OR visit their Instagram, Pinterest & Facebook pages.

This is a sponsored conversation written by me on behalf of International Delight. The opinions and text are all mine.

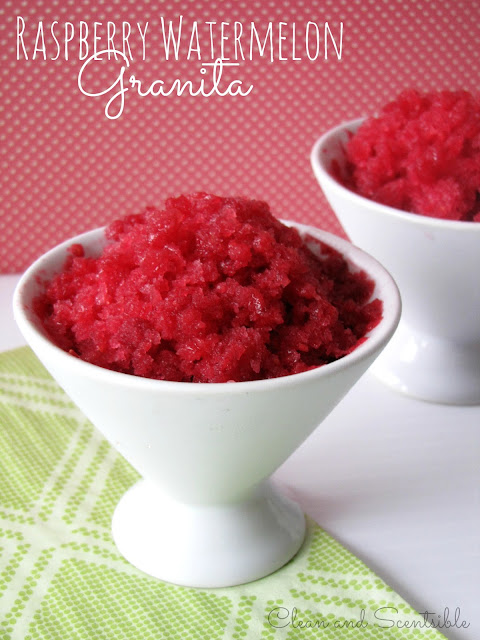
Raspberry Watermelon Granita

0 · Jun 19, 2013 · 13 Comments

Raspberry Watermelon Granita // I'm thrilled to have Jenn from Clean & Scentsible, another member of the WhipperBerry creative team here today. She has been a long time contributor to my Friday Flair link party and she always blows me away with her fun idea. I'm so excited to have her on the team

Hello Whipperberry fans! I'm Jenn from Clean and Scentsible and I cannot tell you how excited I am to be contributing to Heather's amazing blog!


Jenn Clean and Scentsible

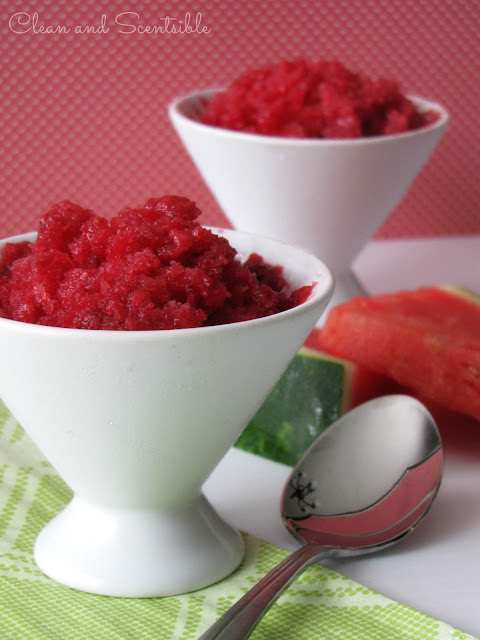
To me, summertime is all about simplifying things.   We usually only have a few months of nice, warm weather around here so I savor every moment I can get!  This raspberry watermelon granita is one of my favorite summertime treats and is so easy to make.   It does require a bit of patience while it is freezing but it is well worth it!


Raspberry Watermelon Granita

5 cups cubed seedless watermelon

2 1/2 cups fresh or frozen raspberries

1/2 cup sugar

1 envelope unflavored gelatin {1/4 ounce}

1/2 cup cran-raspberry juice cocktail 

Preparation

Puree the watermelon and raspberries in a food processor or blender.  Depending on the size of your blender you may need to do this in two batches.

Combine the sugar and gelatin in a small sauce pan and stir over low heat until gelatin dissolves.  Stir in juice.

Combine about half of the sugar mixture with the puree.  Slowly add the remainder of the mixture to taste depending on how sweet you would like your granita to be.  Remember that it will lose a little of the sweetness once frozen.  

Pour into a 9 x 9 baking pan, cover with foil, and place in freezer.

Freeze for at least 2-3 hours and then use a fork to scrape along the top layers creating an icy texture.  Continue until you start to get close to the less-frozen middle and then place back in the freezer.  Repeat this process until it is all scraped.  Makes about 10-12 servings.

**NOTE: Don't worry if you won't be around to scrape it every couple of hours.  I often just leave it overnight and then scape it in one go – it just requires a little more muscle!  If you only need a couple of servings, just scrape what you need and place the rest back in the freezer.


This keeps well in the freezer as long as you keep it covered.  The kids love it and it is a refreshing, low calorie treat for those hot days!
 
****************
Here are a few other summer projects that I have worked on…
 
Blackberry Cheesecake Pots
 
 
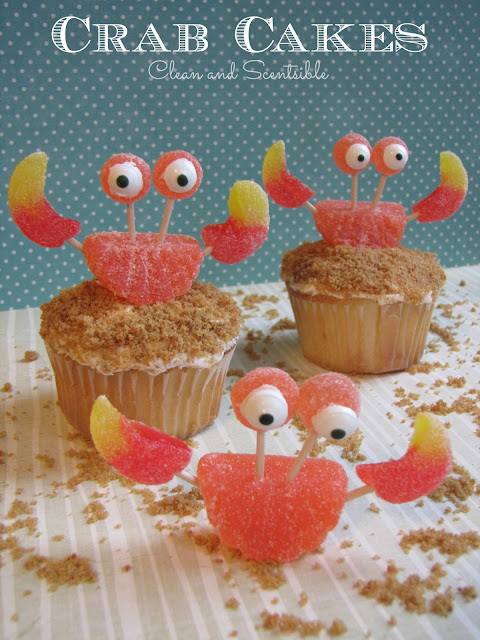
Crab Cupcakes
 
 
Summer Lemonade Bar
 
 
If you have a chance, I would love for you to drop by Clean and Scentsible to say hello!  You can also connect with me here:
 
Facebook / Pinterest / Twitter / Google+ / Instagram

Photobucket

Primary Sidebar

Heather from Whipperberry
Hello... my name is Heather and I'm the creator of WhipperBerry a creative lifestyle blog packed full of great recipes and creative ideas for your home and family. I find I am happiest when I'm living a creative life and I love to share what I've been up to along the way... Come explore, my hope is that you'll leave inspired!

Footer

  • Privacy Policy

Copyright © 2023 · Seasoned Pro