// LDS Primary Singing Time Wiggle Worm Jar //
I have been madly working on getting some fun activities together for my new calling at Church. To back up a bit… I am a member of the Church of Jesus Christ of Latter-Day Saint (the Mormons) and we all have different responsibilities that we take on to help the organization of the church. I am currently serving in Primary which is our children’s organization. I am in charge of singing time, which is the best time of all if you ask me. Because of that, I am currently working on some projects to prepare for Primary and I thought I would share then for all my Primary Chorister friends out there. Here’s my post last week on this month’s song, “I Stand All Amazed.” I am working on the rest of the verses for this next Sunday so stay tuned.
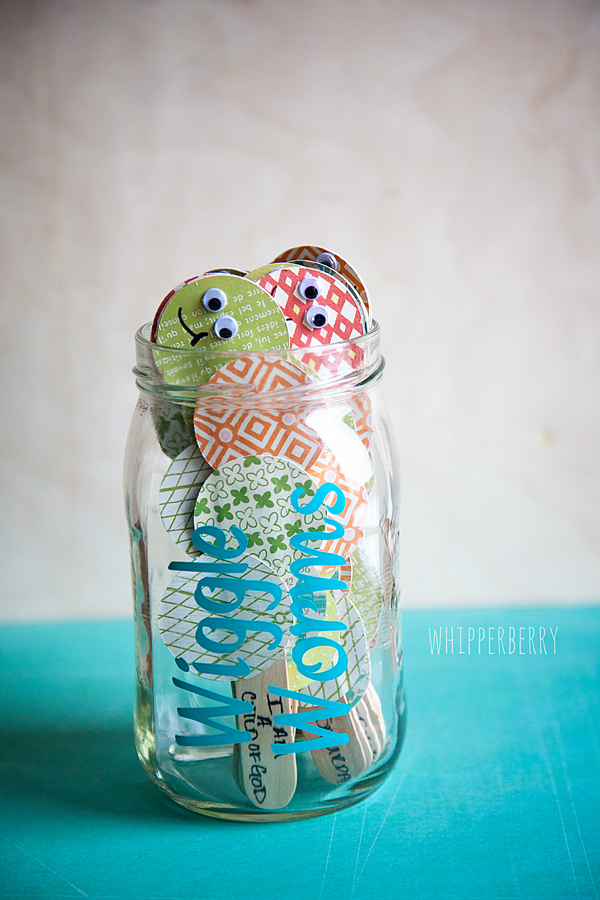
Today I’m sharing my take on the Wiggle Worm Jar. This isn’t a new idea, I’m not sure who came up with originally, but I LOVE it! Many times during singing time the kiddos get a little restless and need a little wiggle song to help them get through Primary. If I see them wiggling around and having a hard time paying attention, I pull out my wiggle worm jar. This jar is full of cute little worms with fun songs attached to them like, Popcorn Popping, Head, Shoulders, Knees and Toes, If you’re Happy and You know it and such. These cute little worms are soooo easy to make! Here is what you will need…
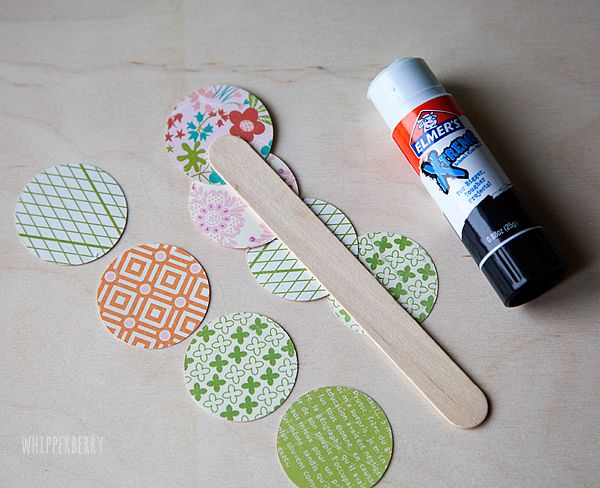
Wiggle Worm Jar Supplies
- Patterend Paper 4 – 12×12 sheets, I used some paper for the Hey Girl Basic Grey Paper Pack
- Large craft sticks
- Elmer’s Glue Stick
- Wiggle Eyes
- Elmer’s Mini Glue Spots
- Black Sharpie Pen
- Cricut Explore (optional)
Instructions
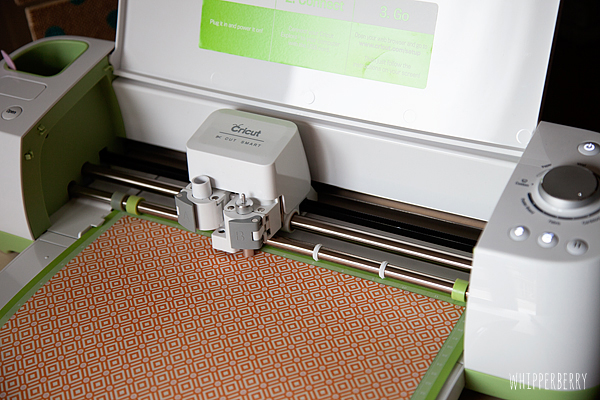
Take your four 12×12 sheet of paper and cut a bunch of circles roughly 1 1/2 inches in diameter. I used my Cricut Explore to cut the circles. I know that this machine isn’t available until March 15th and this project is by no means a reason to run out and buy one. You can cut your circles what ever way you would like. If you have a personal cutting machine like the Cricut or Silhouette great, if not… You can trace your circles and cut them by hand. Either way works just fine.
Like I said before, I used my Cricut Explore and it worked super slick…
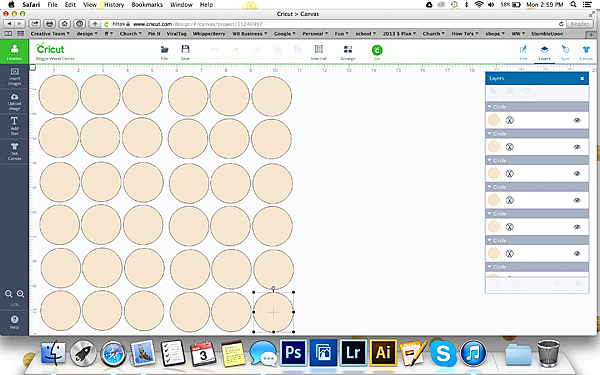
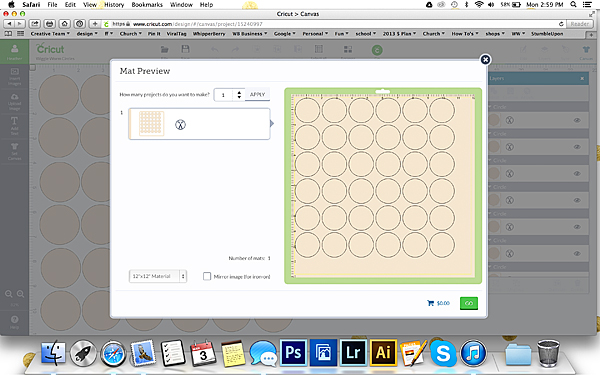
I used the Design Space and created 24 circles and then sent them to the preview screen to make sure everything was set properly…
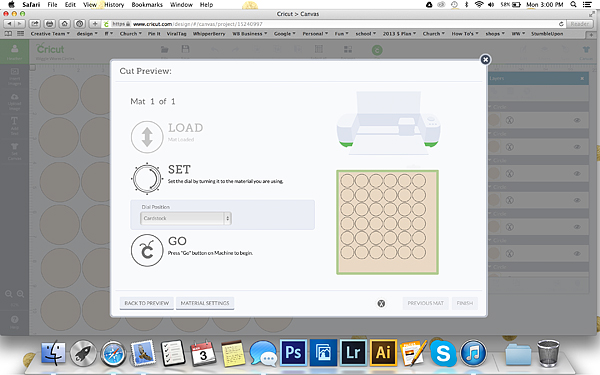
Once I made sure everything looked right and the dial on the Explore was set to card stock, I sent it to the Cricut to cut…
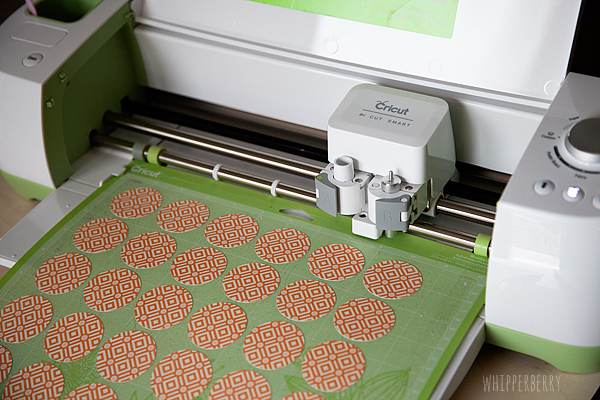
I loaded the mat and cut away…
Within just a few minutes I had 24 circles…
I repeated the cutting process three more times and then I was ready to build my cute little worms…
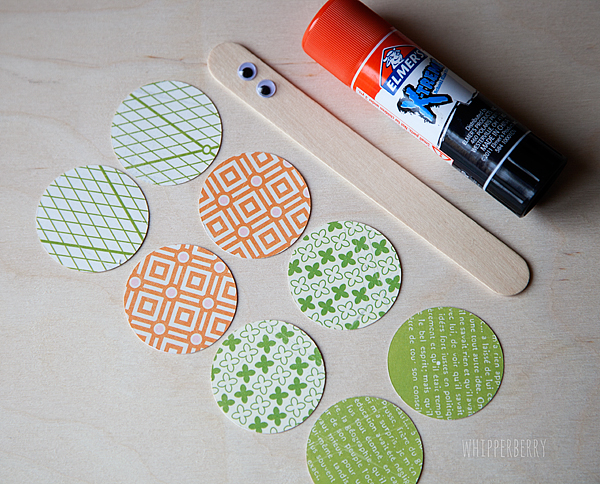
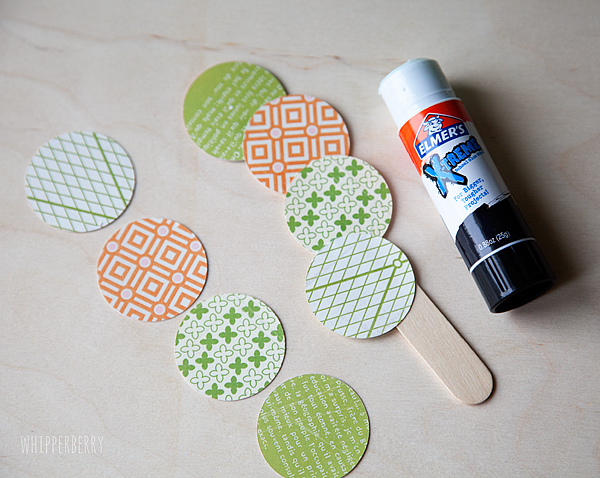
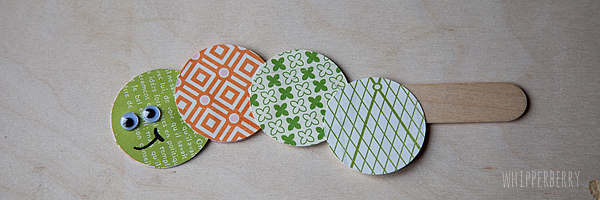
I added some glue to 3/4 of one side of the craft stick and then laid out my circle to look like a wiggly worm…
Then I flipped the stick over and glued the 2nd circle on the flip side…
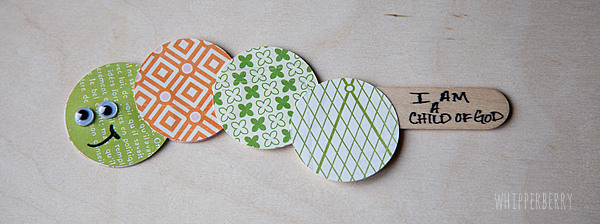
Add glue to the 2nd circles and pinch the two circle together. Let dry for a few minutes and then using the mini glue spots, add the wiggle eyes and draw a cute little mouth with the sharpie…
Now all you need to do is select a handful of songs and using a sharpie, write the name and page number of the song on the bottom of the stick…
I added a vinyl name to the jar and voilá, you have your Wiggle Worm Jar.
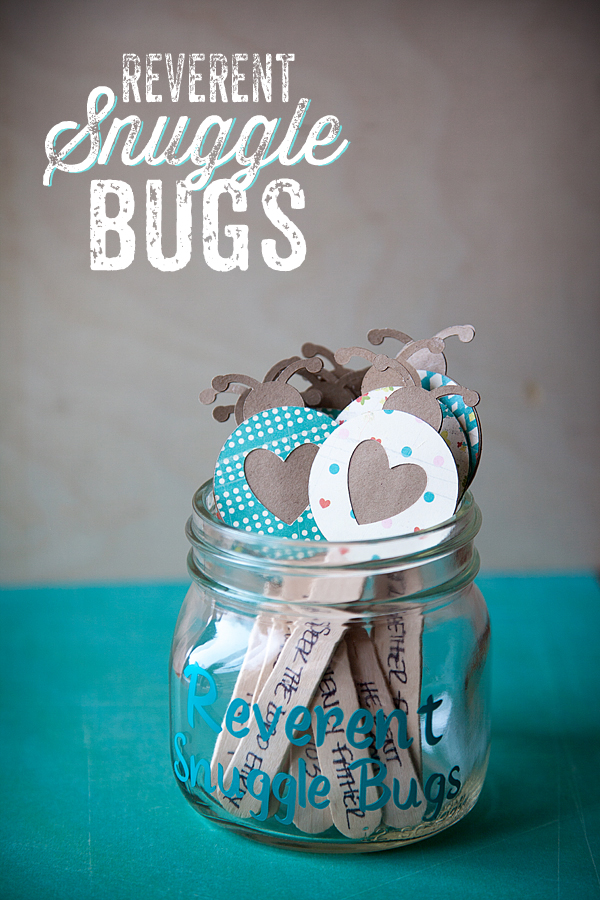
I also have a fun new idea for Reverent Snuggle Bugs that I will share soon… Same idea, just reverent songs to help the Primary kiddos settle down after you’ve gotten all the wiggles out.
119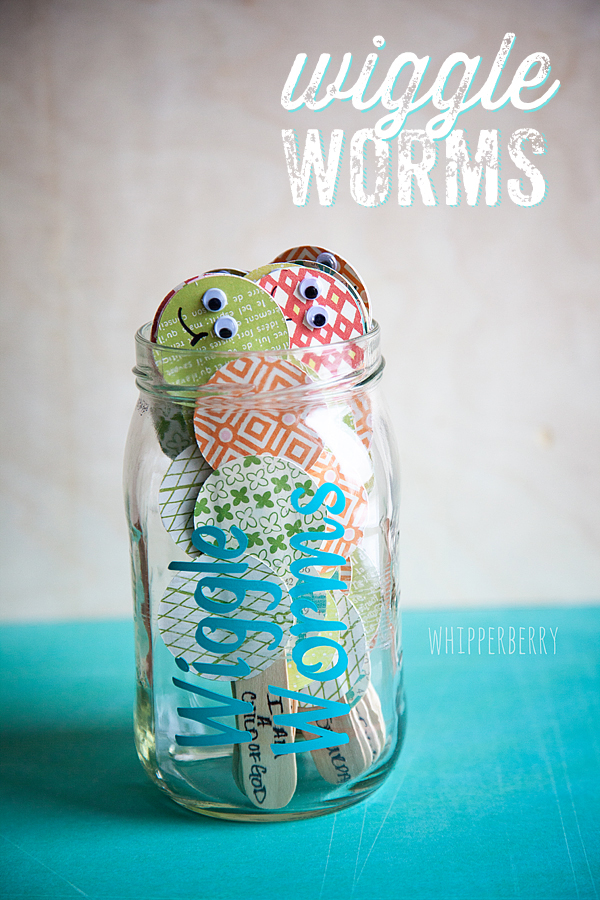
This is super cute… Love the eyes 🙂
Same calling! You know I am always looking for new ideas!
So adorable!
xoxo
Super adorable! What songs did you use?
what a wonderful and fun idea! thanks!
Do you mind sharing the list of songs you used for the wiggle worm jar and the list of songs you used for the reverence jar? Thank you!
Did you ever do a post for your reverent snuggle bugs?
I love everything about this. Thanks for sharing the idea and the instructions.