On the first day of Christmas, my true friend gave to me…
Are you excited? I’m excited!! We at WhipperBerry are all working like busy little bees to bring you… (da ta ta da!)
The Twelve Days of Christmas!
Let me explain. This is a gift giving experience for you and your family to spread some cheer this season. Pick a special person (or family), and secretly deliver a gift-from-the-heart 12 days in a row! If you want to deliver your final gift on Christmas Eve, then start on Dec. 13th. We will have you all prepared by then! Today we are focusing on day one and our paper wreath.
Starting today, and continuing each day through December 12th, we will be bringing you a free printable, a gift idea, and a tutorial as well!! You can use our ideas or come up with your own, and we will be having a link party on the 13th where you can all showcase your creativity!
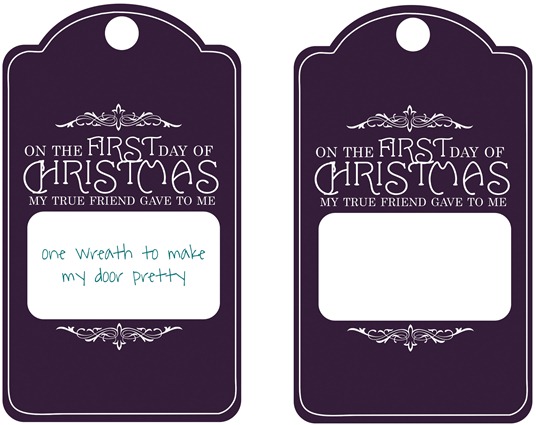
Kristin has made a wonderful FREE PRINTABLE for you to use. You can choose to use our cute poem and gift idea, or fill out the blank one with your own ideas.
Click on the picture for the free download!
On the first day of Christmas my true friend gave to me… One wreath to make my door pretty!
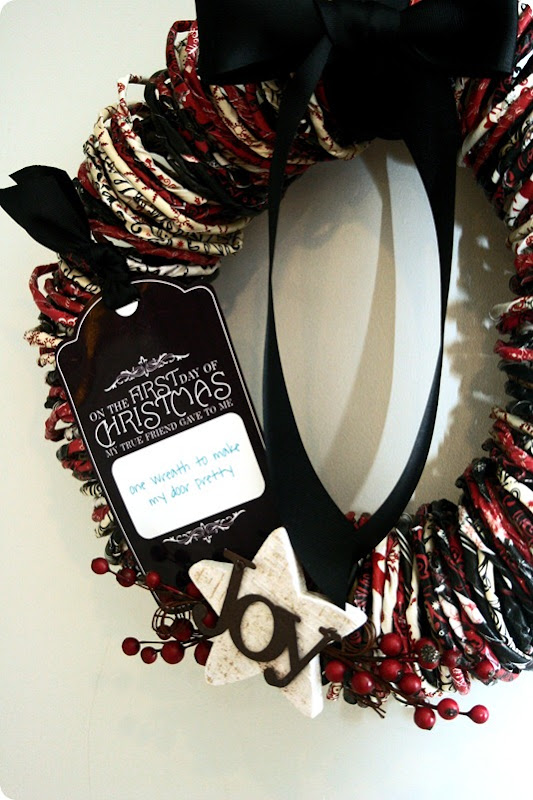
Here’s a suggestion of a wreath you can make to give, or you can choose to make or buy your own.
Pretty Paper Wreath Tutorial
This paper wreath uses the same Mod Podge twisting method I used with my paper pumpkins.
Supplies:
-
Scrapbooking paper cut into 1 inch strips
-
Original Mod Podge
-
Kraft or packing paper
-
Spray Paint
-
Hot glue gun
-
Ribbon
-
Embellishments of your choice
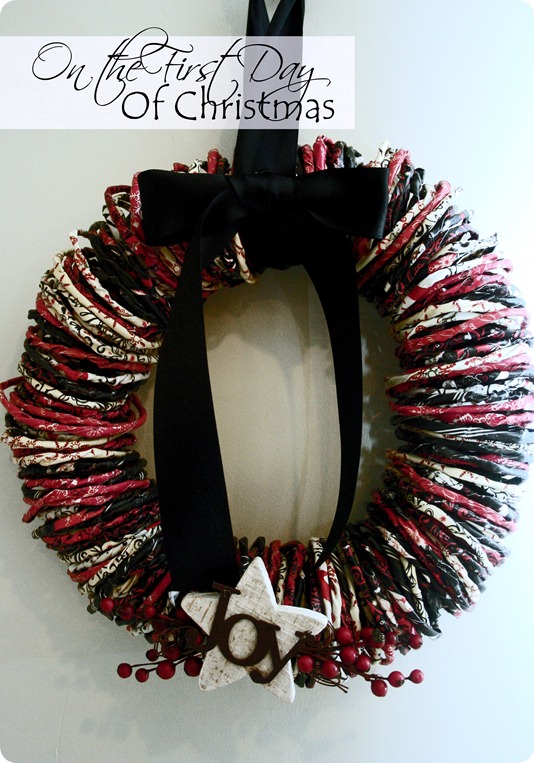
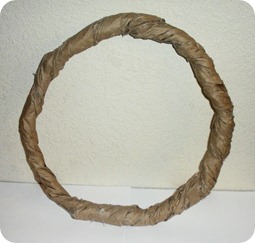
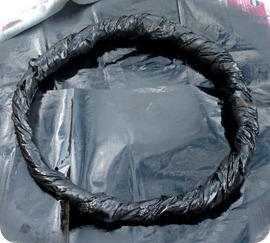
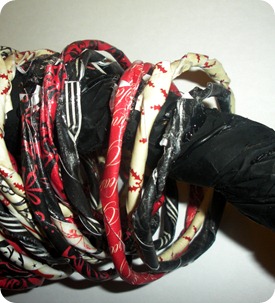
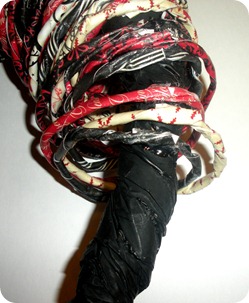
Twist your kraft paper into a tight cord and form into a circle slightly smaller than you want your wreath to be. Mine measures about 10 inches in diameter. Secure with hot glue. Spray paint the ring black (or another color depending on the colors of your paper).
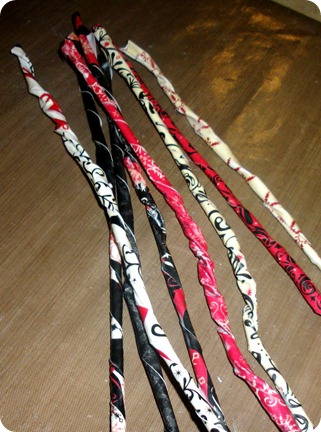
One at a time, dip your paper strips into Mod Podge, and twist them to form a stick.
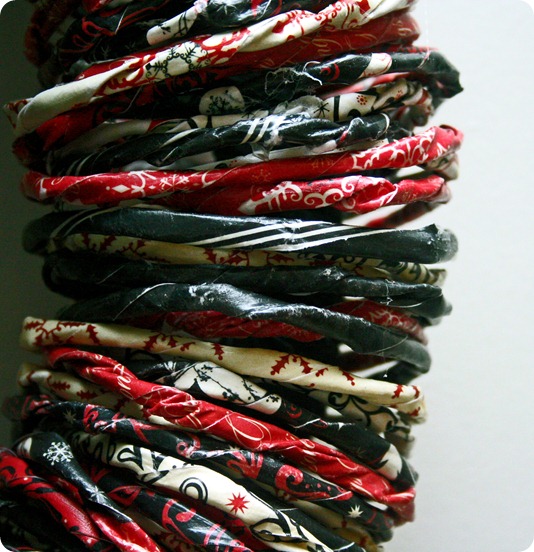
After they are mostly dry, bend them into a circle, and wrap each piece around the kraft ring, hot gluing the ends to the back. Keep layering on paper strips until the wreath looks very full and even.
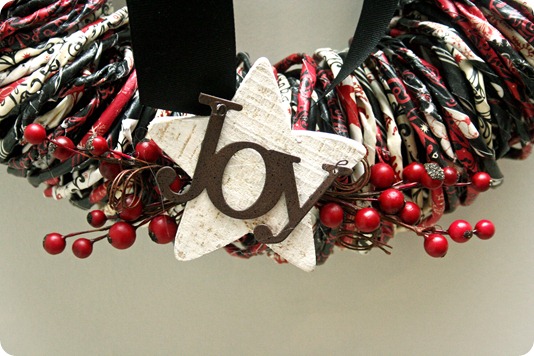
Tie ribbon to the top to hang the wreath, and embellish it as you wish! Heather decorated mine with cute holly berries and a wooden ornament. For more tips and tricks for twisting paper visit my pumpkin tutorial.
Join us tomorrow for Day Two!

![Signature[5] Signature[5]](https://lh4.ggpht.com/_vust898tmIA/TPYN0noLa5I/AAAAAAAAAKo/577kubMCPIc/Signature%5B5%5D_thumb%5B2%5D.jpg?imgmax=800)

