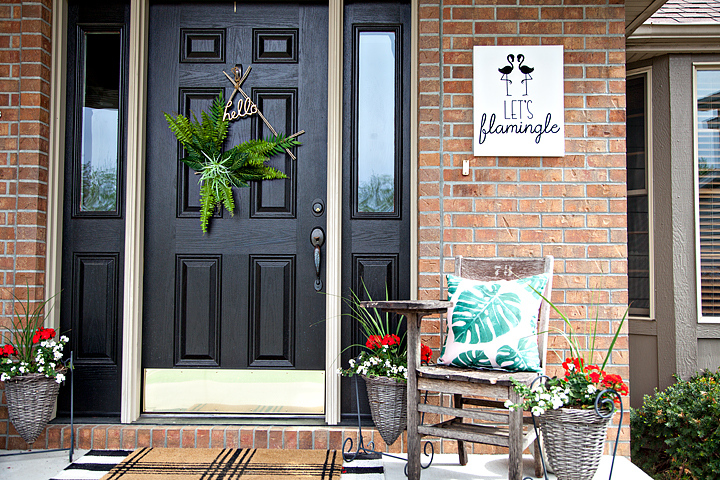
What do you call a group of flamingos? A Flamboyance of course! With a name like that, they are asking to Flamingle this Summer for all kinds of gatherings! I have been trying to find some inspiration for my new front porch sign for this summer and I finally stumbled up a fun flamingo themed saying that I thought was perfect for a summer sign created with my Cricut Maker & Easy Press, Let’s Flamingle Sign!
+ This post brought to you by the fabulous folks at Cricut +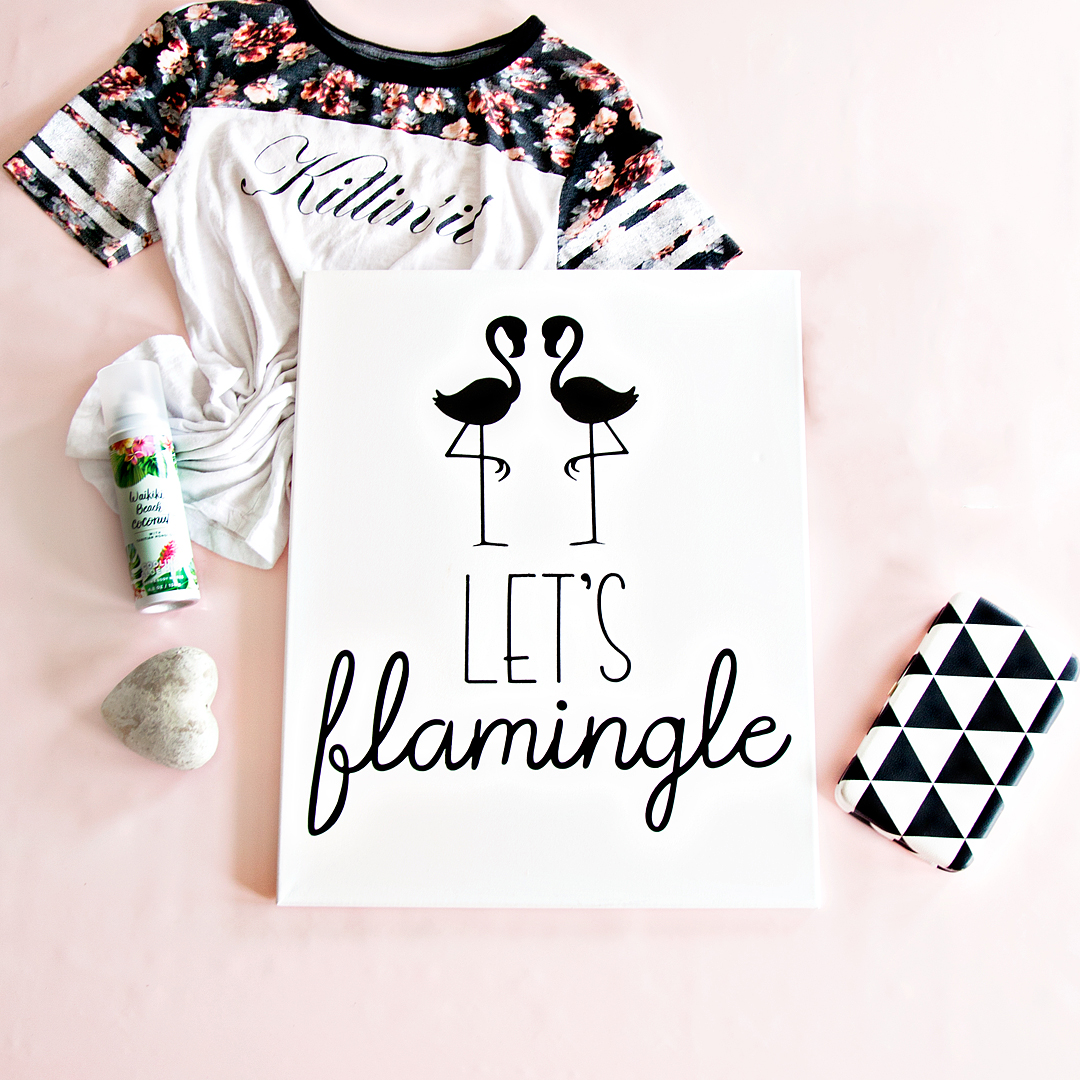
Sign Making 101
I love making signs… It’s is really one of my favorite ways to decorate my home. I especially love using the Cricut Iron-On Lite when I am making Canvas signs. Becuase of the nature of canvas, vinyl just doesn’t work but, Iron-On Lite works like a DREAM. It makes it look like your sign has been screen printed which I just love.
Now that Cricut has come up with the Easy Press and the Easy Press Mat, heat-transfer sign making is easier than ever! I grab the inexpensive canvas bulk packages at Michaels when they go on sale and have a whole slew of canvas sizes and shapes available when inspiration strikes. Sometimes I frame them, sometimes I don’t. It’s really the mood that strikes me that day. These kinds of sign take minutes to make and really don’t involve a whole lot of mess (i.e. painting, sanding, etc.) and time-consuming work. Can I say it one more time… I LOVE them!!
Sign Making Supplies
Alright, let’s get down to the nitty-gritty… Here’s what you’ll need to make your Let’s Flamingle Sign.
- 16x 20 canvas – or you can select the size that you want, just make sure that you size the design correctly before you cut your Iron-On Lite.
- Cricut Iron-On Lite
- Cricut Easy Press or an iron
- Cricut Easy Press Mat or a towel
- Cricut Iron-On Protective Sheet or a light cotton towel
- Let’s Flamingle Sign design in Cricut Design Space
Directions for Let’s Flamingle Sign
This one, my friends, is basically… CUT, PRESS & CELEBRATE!
First, you’ll need to click on the Let’s Flamingle Sign link in the supplies list and open the project in Cricut Design Space. It is currently sized for a 16 x 20 canvas but, you can totally select your own size canvas. You will just need to make sure that your graphics are sized appropriately.
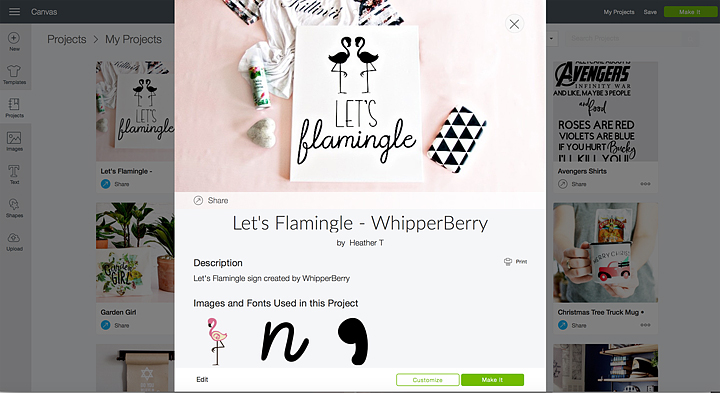
Next, you need to cut your Iron-On Lite according to the directions in Design Space. MAKE SURE TO MIRROR YOUR IMAGE! You will find a checkbox on the left-hand side of the cutting review screen, make sure that it is turned on so that your image will cut correctly. Anytime you use an iron-on type material, you will always need to mirror it before cutting the design.
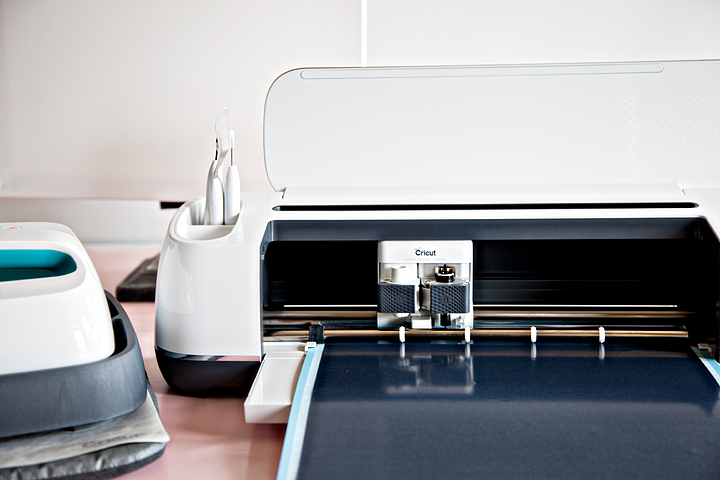
Once your design is cut, you’ll need to weed the excess Iron-On Lite. That means you’ll need to remove the Iron-On Lite that doesn’t belong on your canvas.
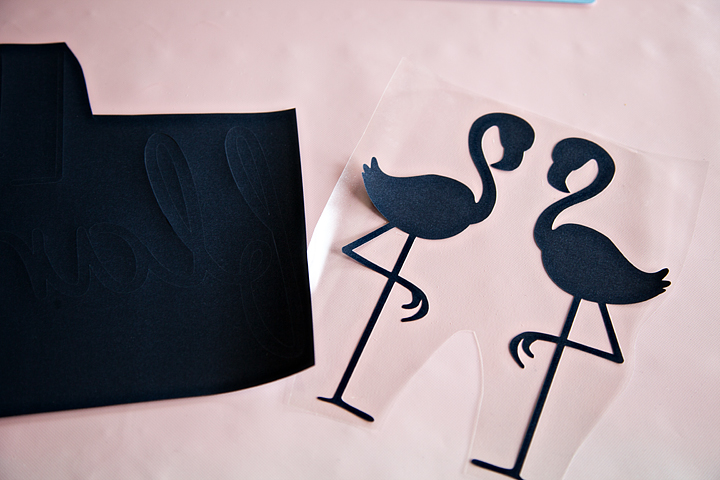
Now that your Iron-On Lite is prepped and ready to go, you’ll need to preheat your Easy Press or your iron.
Cricut Easy Press Basic Guidelines
- Work on a hard surface like a countertop or sturdy table. An ironing board will not work.
- Protect your surface. You need to use the Cricut Easy Press Mat or a towel underneath the item that you are pressing to protect the countertop or table.
- Use the heat settings suggested by the smart guys at Cricut. For this project, this is the suggested settings.
340°F / 171°C
Pre-heat Canvas: 5 sec
Apply Iron-On Lite: 30 sec
Heat for an additional 15 seconds on the back of the canvas with the protective lining still in place
Warm Peel: remove liner while the design is warm to the touch, but not hot. This is when removing the liner will be easiest. If you allow it to cool completely, it will just take a little more effort to remove the liner.
* If you are using a standard iron, heat settings and times will be different.
- Protect the surface of your Iron-On Lite along with the heat plate of the Easy Press by using the Iron-On Protective Sheet or light cotton tea towel.
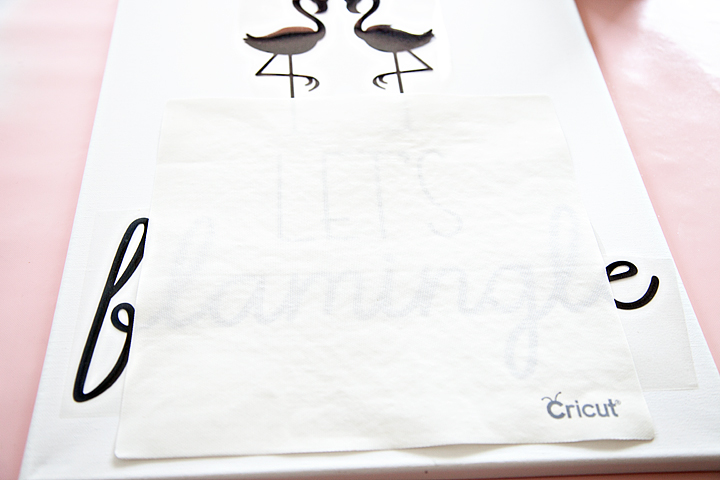
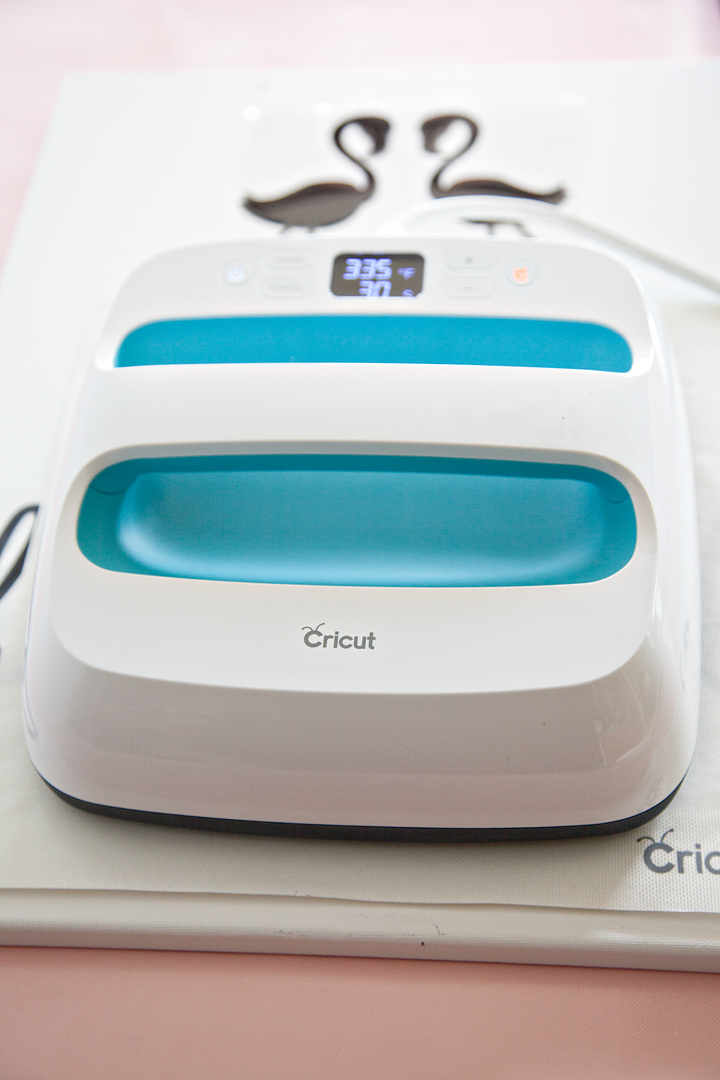
With this canvas, the Easy Press Mat worked perfectly to not only protect my surface but to also provide a platform for the canvas. The frame of the canvas makes using the Easy Press a little bit of a challenge. You can not press on a canvas without a platform underneath, the canvas will stretch and your sign will be ruined. Becuase of the height of the canvas frame, the Easy Press Mat worked great and I didn’t need to add additional books underneath to create a firm surface.
When the Iron-On Lite is cool to the touch, carefully remove the protective film.
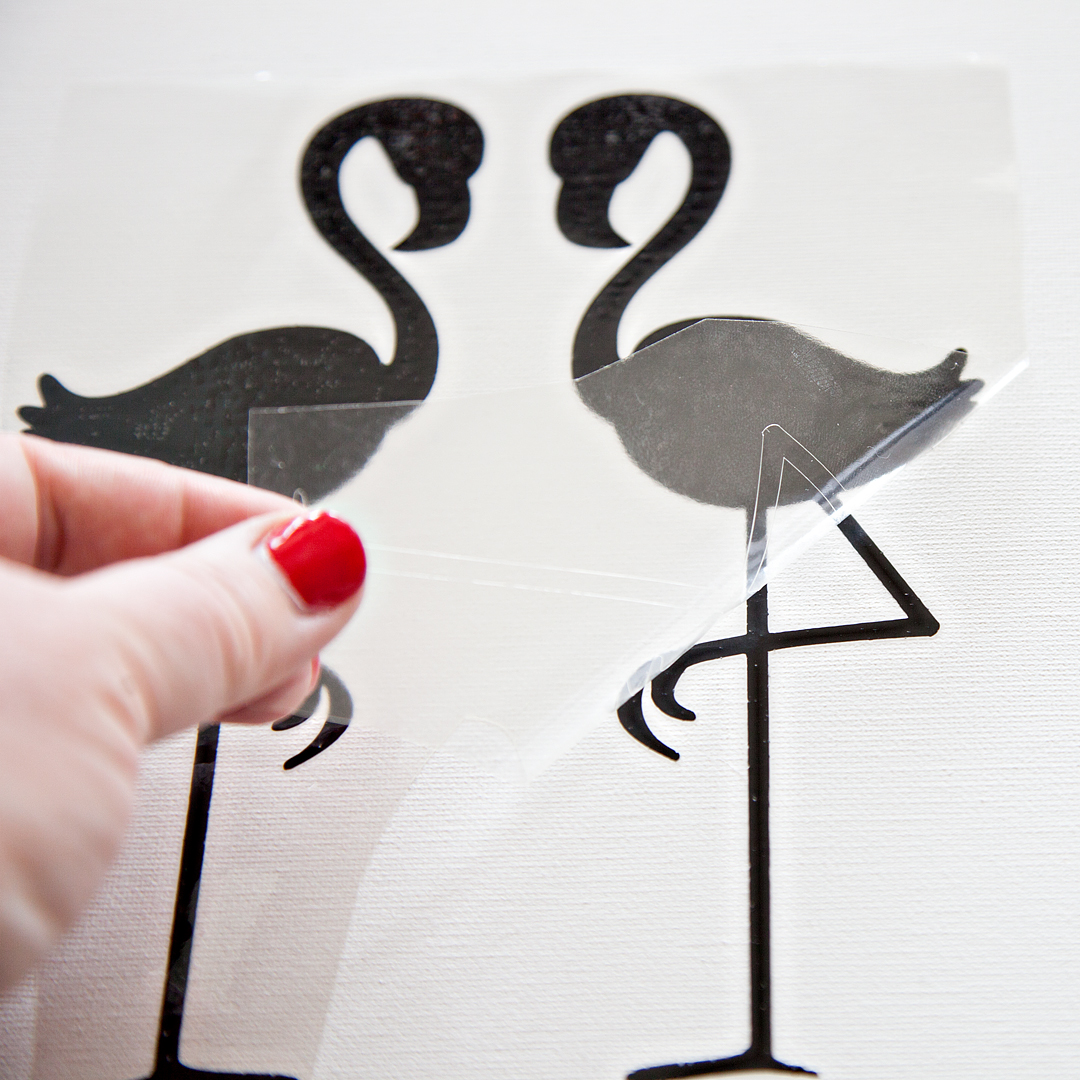
With that, your new sign is FINISHED!!
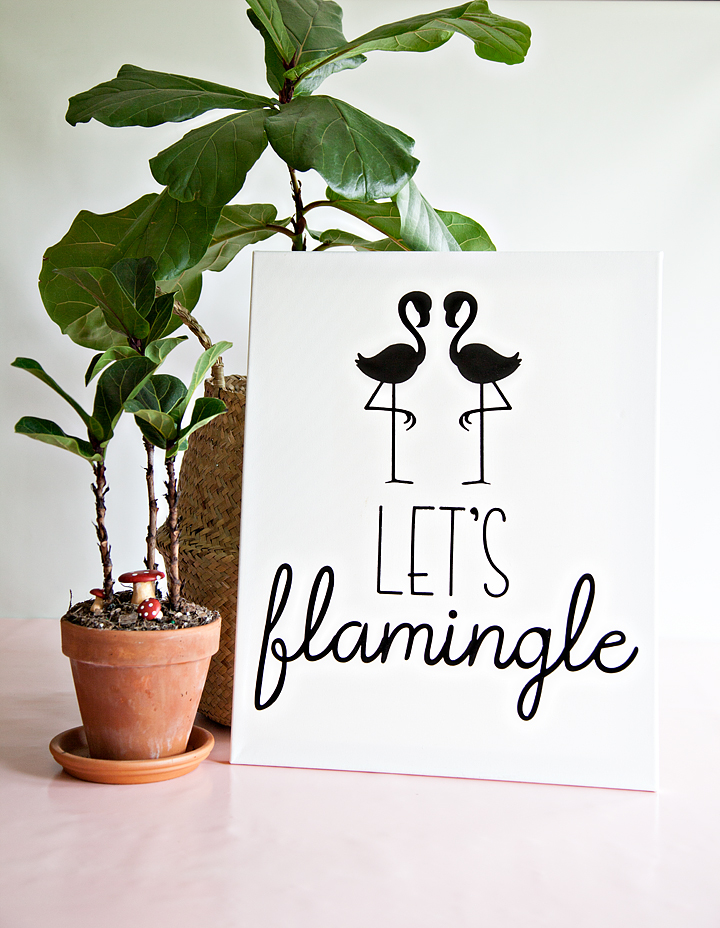
How easy was that! If you have the right tools, this sign is a cinch to make. I’m loving my new front porch sign and I can’t wait to “FLAMINGLE” with my friends this Summer!
How about you? What’s your summer look like? Looking to learn more about working in Cricut Design Space? You should check out my latest video on how to use the Slice Tool, it will rock your Cricut loving mind!
More Cricut 101 Tutorials & Video Tutorials
- How to Apply Patterened Iron-On
- How to Apply the NEW SportFlex Iron-On
- How to Work with Layers in Cricut Design Space
- How to Prepare Your Designs to Cut on your Cricut Cutting Machine
Disclaimer • This post does contain some affiliate links they are purely for tracking purposes and are not paid links. However, I did receive payment for my time and received product to help in the creative process. Keep in mind, I will only share products that I truly love and use in my everyday life
This is a sponsored conversation written by me on behalf of Cricut. The opinions and text are all mine.