As I’ve mentioned before, I’ve been doing wedding cakes as a little side business for a while now. I taught myself the art of cake decorating, and I’ve had my fair share of failures along the way. I’ve had lots of people ask me to show them how to decorate a cake with fondant, so I’m here today to tell you all about it!
Tools needed:
Fondant
Cake
Frosting
Palette knife
Spray bottle with water
Corn starch or powdered sugar
Fondant smoother
Rolling pin
Fondant can pretty controversial. A lot of people complain about the taste, the texture, and so on. I’ve tried many different brands, even made it homemade, and my very favorite is FondX. I think it tastes the best of all the fondants I’ve used, and it doesn’t get too hard. Wilton is by far the worst (in my opinion). It tastes terrible and isn’t very user-friendly. I would make my own before I went to Michaels and bought Wilton. Michaels also sells Charm City Cakes’ Duff Goldman fondant, which is actually the Fondarific brand. This brand is good for covering cakes, but not good for making figures or anything that you want to harden up.
Once you have your fondant all figured out, go ahead and bake your cake. Don’t hate me too much, but a cake mix really isn’t ideal for a fondant cake. Cake mixes make really light and fluffy cakes, and you want a dense cake that can support your fondant.
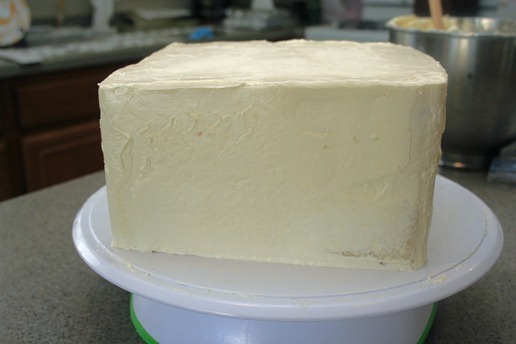
Once your cake is baked and completely cooled, you can add your icing. You can torte (divide your cake into multiple layers) your cake and frost in between if you want, or just frost the outside of the cake with a nice, thick layer of frosting. The NUMBER ONE RULE of a great fondant cake is to get the icing underneath the fondant COMPLETELY smooth. Pristinely smooth. To do this, wet an uneven palette knife with hot water and smooth out the top layer of your icing. The hot knife kind of melts the icing so that you have a nice, smooth cake. Be patient. This part takes a while, but it makes all the difference in the world.
Once your cake is frosted, put it in the freezer for 10-15 minutes, until it has a chance to firm up a bit. A couple of minutes before you take the cake out, roll out your fondant.
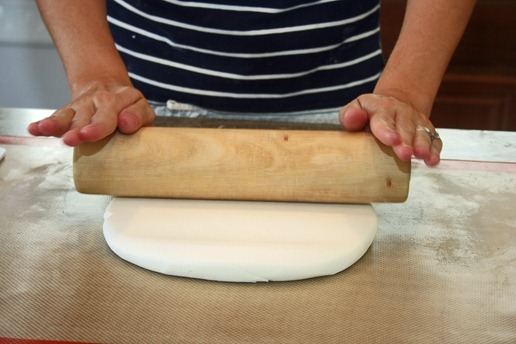
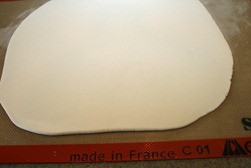
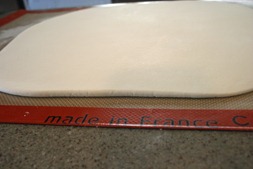
You’ll want to measure your cake to figure out how much fondant you need to roll out. If you have an 8 inch wide cake by 4 inches tall, you’ll need an 18 inch round circle of rolled out fondant (8 inches for the top, 4 + 4 for the sides, and 2 inches allowance to avoid wrinkling at the bottom of your cake). Make sure you dust your work surface with PLENTY of powdered sugar or cornstarch to prevent the fondant from sticking to your table or counter. I use a silpat mat (you can buy one at your local ACE Hardware store), and I never have to worry about sticky fondant. Work quickly, fondant starts to dry fast, and if you don’t hurry, you’ll get elephant skin (wrinkly fondant) at the bottom of your cake tier.
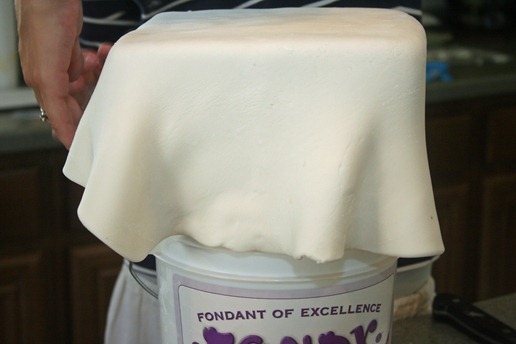
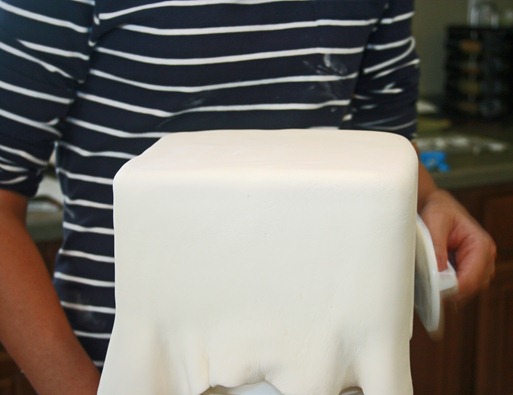
Once your fondant is rolled out to the right size, take your cake out of the freezer and squirt it VERY lightly with water. Lift your fondant onto your cake (making certain it’s centered).
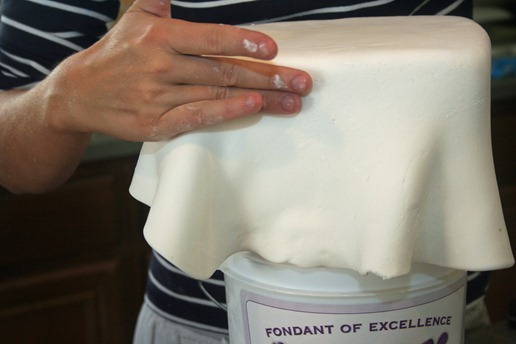
Some people like to dust their fondant and rolling pin with corn starch, and then flip their fondant onto their rolling pin to move it to the cake, but I prefer dusting my fondant as little as possible so as not to dry it out (Vegas is dry enough!). Seal the edges of the cake first, so as to prevent tearing. To do this, run your palm around the top edge of the cake a couple of times to make sure it’s secure.
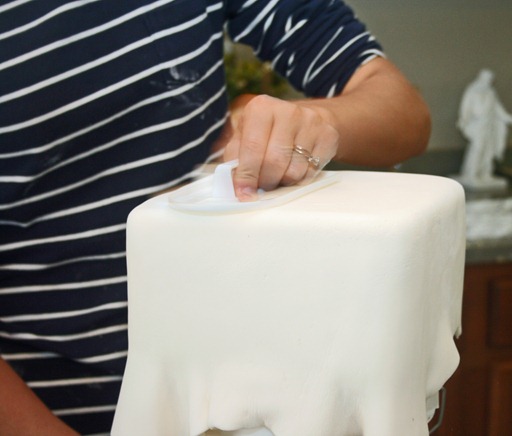
Then take your fondant smoother and start smoothing off the top of your cake. Move on to the sides. Lift the fondant and smooth as you go, working quickly.
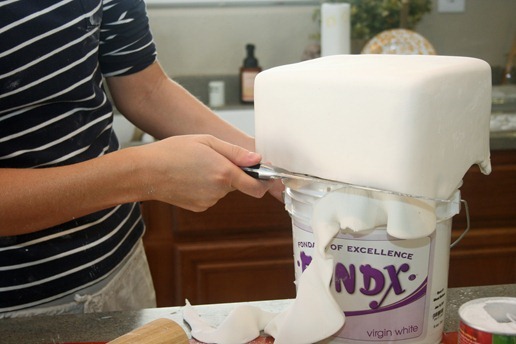
Once the fondant is smooth on all sides trim the excess off the bottom.
I really like this video for showing how to smooth fondant. It does a good job of showing the “lift as you smooth” technique around the bottom of the cake. Watch it a few times before you start, it will definitely help!
If you have any other questions about cake decorating, stacking tiers, adding detail, etc. feel free to email me at [email protected] or drop me a line in the comments section.
Happy Baking!
We are linking up with…
0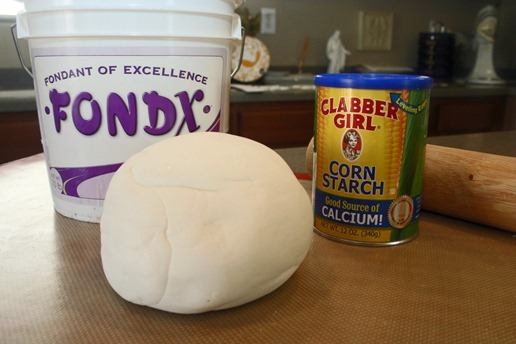


wow what a great tutorial and how kind of you to share your experience and knowledge, big thanks as this has always fascinated me but been too scaredy cat to give it a go, might go and do that now x
Great tutorial! Fondx is my number one choice too! For anyone who has only ever used Wilton – branch out – you'll be glad you did!
Beautiful work and great tutorial! xx
Hi! I need HELP!! I am so glad that I found you wonderful ladies! I am coming to Vegas the weekend of November 12-14 and I'm in need of a few things such as cake, mini desert station, photography, etc.. I am a fellow party planner and love your work and can't bring it all with me from Phoenix!! (It is for my sister's birthday!) Please let me know your availability…sorry for the short notice! If you are like me…all of your events get put on the back burner for clients.
thanks,
Michelle
http://www.maddycakesmuse.blogspot.com
http://www.maddycakes.com
[email protected]
That is such a helpful tutorial! Your cake is just beautiful. Hard to believe you had any failures!
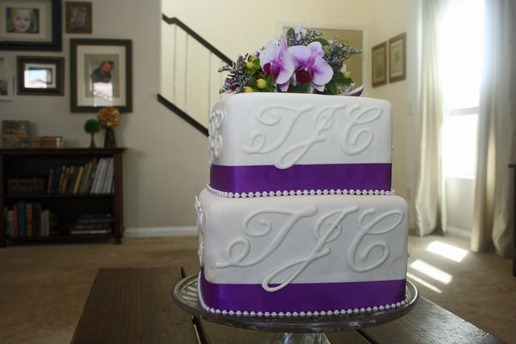
Love your cake, very pretty, how did you make the gorgeous letters? Thanks!!
[email protected]
http://www.facebook.com/pages/Festus-MO/Peesa-Cake-Tiny-Tot-Creations/298252847970
Hi Theresa!
I found a font that I really liked online and downloaded it. Then I printed it off to the size I wanted and taped the paper to the counter. Then I taped some saran wrap over the paper to the counter as well. I made royal icing and used a #2 Wilton decorator's tip and traced over the font with my icing bag. I used a toothpick to smooth out any lines or irregularities before it dried. Then I let the letters sit overnight to harden and peeled the saran wrap off in the morning and "glued" the letters on to the cake with a dab of royal icing.
I made sure to make lots of extras of each letters though, they break really easily!
Hope this helps!
Whit
I've got a new blog and your how to is my first feature! I'd love for you to stop by and grab a button! todaystoptwenty.blogspot.com
Hi,First time trying to do this,But I am looking for a fondant easy recipe,I see a few in here,But not sure which one to try,I had a friend of mine make my B-Day cake in the fondant,and omg it was awfull,Nasty taste,So if someone knows of a decent tasting fondant,can you please let me know?Thanks so much.
Joyce