• Skip to primary navigation
  • Skip to main content
  • Skip to primary sidebar
  • Skip to footer

Whipperberry

WhipperBerry • Your Home For Creative Inspiration

  • Home
  • About
    • Terms
  • Recipes
    • ZipList
    • Starters
    • Easy Weeknight Dinners
    • Main Dish
    • Salads
    • Side Dish
    • Soups & Stews
    • Desserts
    • Breakfast
    • Miscellaneous
  • Tutorials
    • Creative Crafts
    • DYI Decor
    • Fabric Crafts
    • Food How-To
    • Jewlery
    • Paint Projects
    • Paper Art
    • Party Styling
    • Photography and Graphic Design
    • Silhouette
  • Holidays
    • St. Patrick’s Day
    • Easter
    • Mother’s Day
    • Father’s Day
    • 4th of July
    • Halloween
    • Thanksgiving
    • Christmas
    • New Years
    • Valentine’s Day
  • Gift Ideas
    • Gifts For Everyone
    • Gifts for Dad
    • Mother’s day
    • For The Girls
    • For The Kids
    • Teacher Gift Ideas
    • Christmas
  • Printables
    • Holiday
    • Gift Idea
    • LDS Primary
  • Travel
  • Contact
  • Nav Social Menu

    • Facebook
    • Instagram
    • Pinterest
    • RSS
    • Twitter

Uncategorized

You’ve Been Egged – Covid-19 Version

29 · Mar 30, 2020 · 1 Comment

Hey guys! The world has been turned upside down and has gone a little cattywampus lately with Covid-19. Our hearts ache for those who have lost loved ones or who find themselves in serious financial peril now because of the spread of the virus. Our family is hunkering down and social distancing like most of you and looking for ways to stay busy.  One this we have thought of to help bring joy to those around us is to put together some social distancing glow in the dark easter egg hunts.

We are members of the Church of Jesus Christ of Latter-Day Saints and my husband and I are in charge of the nursery there. We get to hang out with the kiddos that are 18 months up to 3 years old each Sunday and we love it. With church now moved to a home based system in order to slow the spread of Covid-19 we were thinking it would be fun to put together these glow in the dark Easter egg hunts for our little nursery kiddos. We had so much fun that we’ve been “Egging” all kinds of friends around town. Here’s what you’ll need…

  • light up fillable Easter eggs – we found the light up kind at Walmart. However, they aren’t available online so I can’t post a link for you.
  • regular fillable easter eggs – use these if you can’t find the light up kind.
  • glow sticks- if you can find the small 1.5 inch size those will fit inside the Easter eggs if not, we found just regular glow sticks at Walmart in the party section and used those to mark our hidden eggs.
  • candy or small toys to fill the eggs
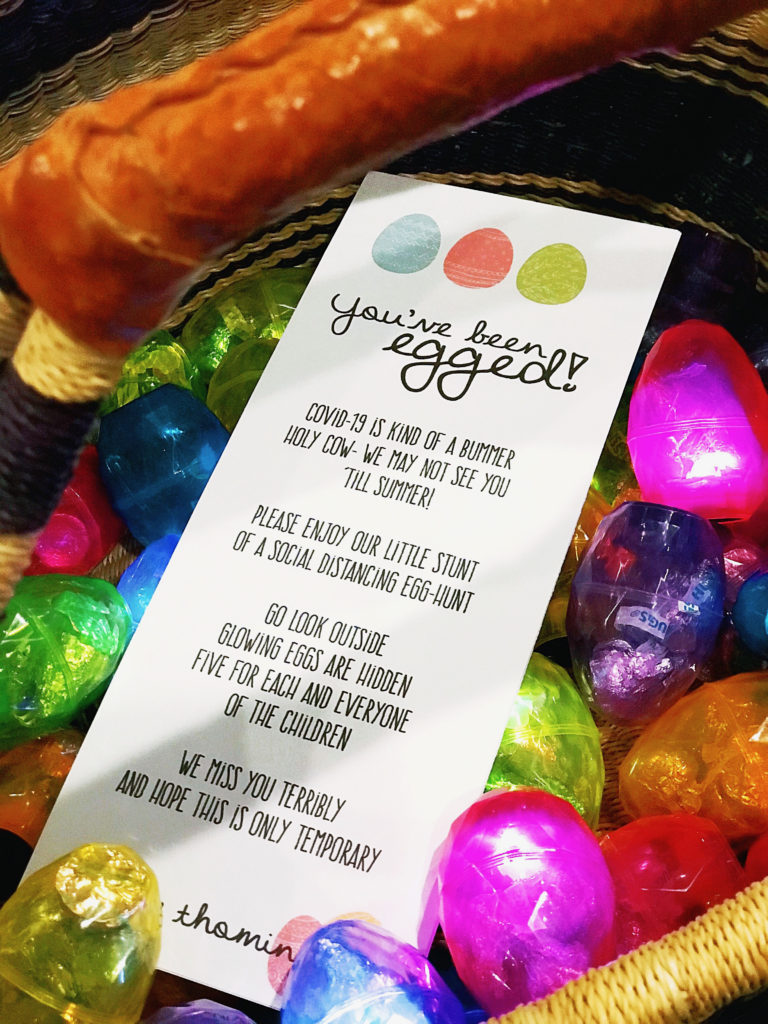
  • printable door sign – you can download that here

All you need to do is fill your eggs, print the door sign and bring your glow sticks along. We have done it both ways with the light-up eggs and with glow sticks and either way is just as fun. We quietly hide the eggs, place the glow sticks in the ground to mark the egg placement if you don’t have the light-up eggs like this…

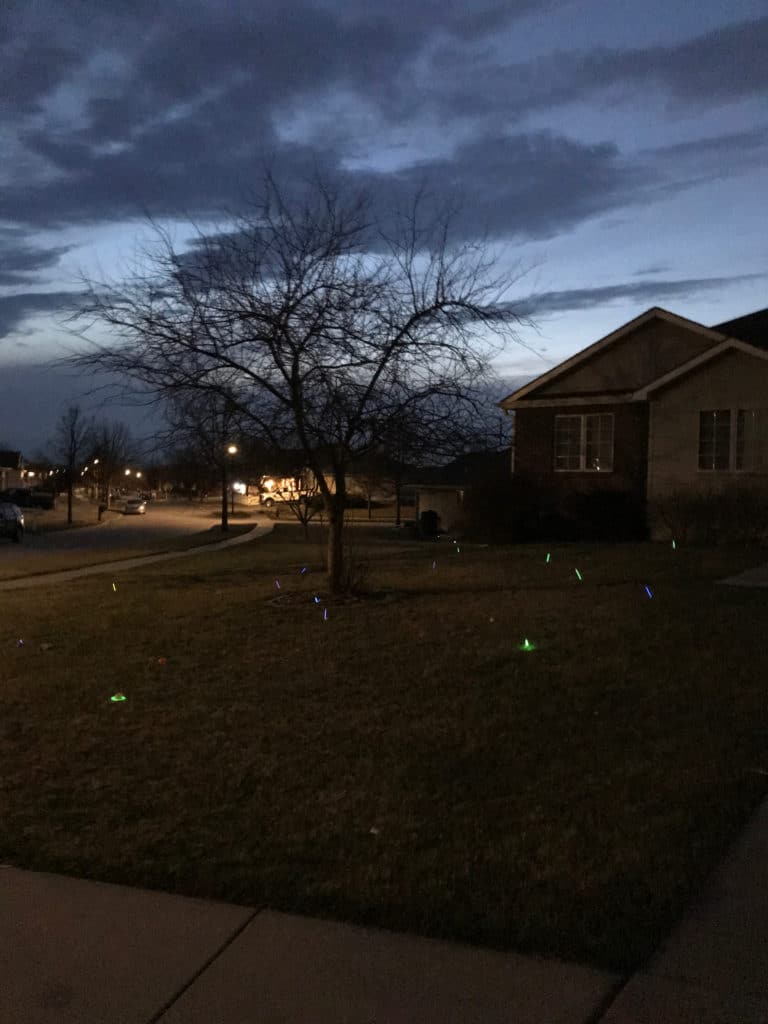
Place the sign on the door step, ring the doorbell and run! It’s super fun! We hope you have fun spreading some joy during these uncertain times.

How To Make A Large Scale Felt Banner for Christmas

58 · Nov 9, 2018 · 3 Comments

Boy-oh-Boy… I LOVE large scale projects! Sometimes bigger really is better in my book. There are times when you really need to make a statement and a large scale felt banner or large drop cloth sign created to wow your guests or to really make a room POP! I wanted to create a large felt sign for the Christmas season to add to my living room and to also use for a Christmas party that I’m planning this year. Let me show you what I made and how YOU can make one yourself!

• This post is brought to you by the amazing folk at Cricut •

Boy-oh-Boy... I LOVE large scale projects! Sometimes bigger really is better in my book. There are times when you really need to make a statement and a large scale felt banner or large drop cloth sign created to wow your guests or to really make a room POP! I wanted to create a large felt sign for the Christmas season to add to my living room and to also use for a Christmas party that I'm planning this year. Let me show you what I made and how YOU can make one yourself! - WhipperBerry #feltsign #largescalesign #christmassign #christmasdecor #christmasdecoration

Many of you might say that a project of this size is impossible, especially with the Cricut cutting machines. You can really only cut 12 inches by 24 inches, right?  Technically, yes. However, if you have learned to master the Slice & Contour tools in Cricut Design Space, it’s actually very do-able. Especially now, with the Cricut Maker & the new larger Easy Press 2… Projects like this are a DREAM! The Maker can handle all kinds of materials like the most delicate paper and fabric to the tough stuff like matboard, leather, and balsa wood. What I especially love is that you can use it to cut FELT! One of my favorite materials to create with. Now, you can do it on a much LARGER scale with the help of some tips and tricks that will follow.

Boy-oh-Boy... I LOVE large scale projects! Sometimes bigger really is better in my book. There are times when you really need to make a statement and a large scale felt banner or large drop cloth sign created to wow your guests or to really make a room POP! I wanted to create a large felt sign for the Christmas season to add to my living room and to also use for a Christmas party that I'm planning this year. Let me show you what I made and how YOU can make one yourself! - WhipperBerry #feltsign #largescalesign #christmassign #christmasdecor #christmasdecoration

How to Use the Slice and Contour Tools

I have heard a few people who have complained about the lack of freedom in Design Space and I’m here to tell you… That’s not true! You have a ton of freedom when designing in Cricut Design Space if you are good friends with your Slice and Contour tools. These are the two tools that help you customize either your own graphics or graphics from the huge library of designs in the Design Space library. Here is a quick video to show you how I break this large design ( it’s roughly about 4 feet wide and a little over 4 feet tall) into smaller pieces so that they will fit on my 12×24 cutting mat for the Cricut Maker.

Isn’t that cool! I love that with a little knowledge and some imagination, you can truly create something incredible with the Cricut tools.

Supplies for Large-Scale Felt Banner

  • 1 1/2 yards of black canvas fabric
  • 24 – gold felt 9×12
  • 8 – white premium felt 12×18
  • 5 – antique white felt 9×12
  • 3 – red premium felt 12×18
  • 5 – heathered gray premium felt 12×18
  • 3 – dark green felt 9×12
  • 3 – light green felt 9×12
  • 24 – large wood beads of various sizes 1 inch, 1 1/4 inch
  • 10 – black wool felt balls – 2.5cm
  • Cricut Maker with Rotary Blade
  • 1 – Fabric Grip Cricut Cutting Mat
  • Heat n’Bond
  • Cricut Easy Press 2 – 12×10
  • Cricut Easy Press Mat-20×16
  • Cricut Iron-On Protective Sheet
  • hot glue gun
  • hot glue sticks
  • 2 – 4 ft. wood dowels
  • cotton rope
  • measuring tape

Instructions

  1. You will want to set-up your Easy Press 2 and the Easy Press Mat and iron-on the Heat n’Bond on one side of each of the felt pieces. I LOVE the Easy Press 2 for this!! Seriously way easier than using a small iron and the consistency of the heat plate make this a breeze.
  2. Jump into Cricut Design Space via this LINK HERE to get access to my design file. I have this project all ready to go for you. It’s sized to create a LARGE 3 1/2 x 4 foot banner. The design is already sliced and contoured so that you don’t have to worry about that step. All you need to do is follow the on-screen prompts and load the mat with the color of felt that it corresponds with and you’ll be good to go. 
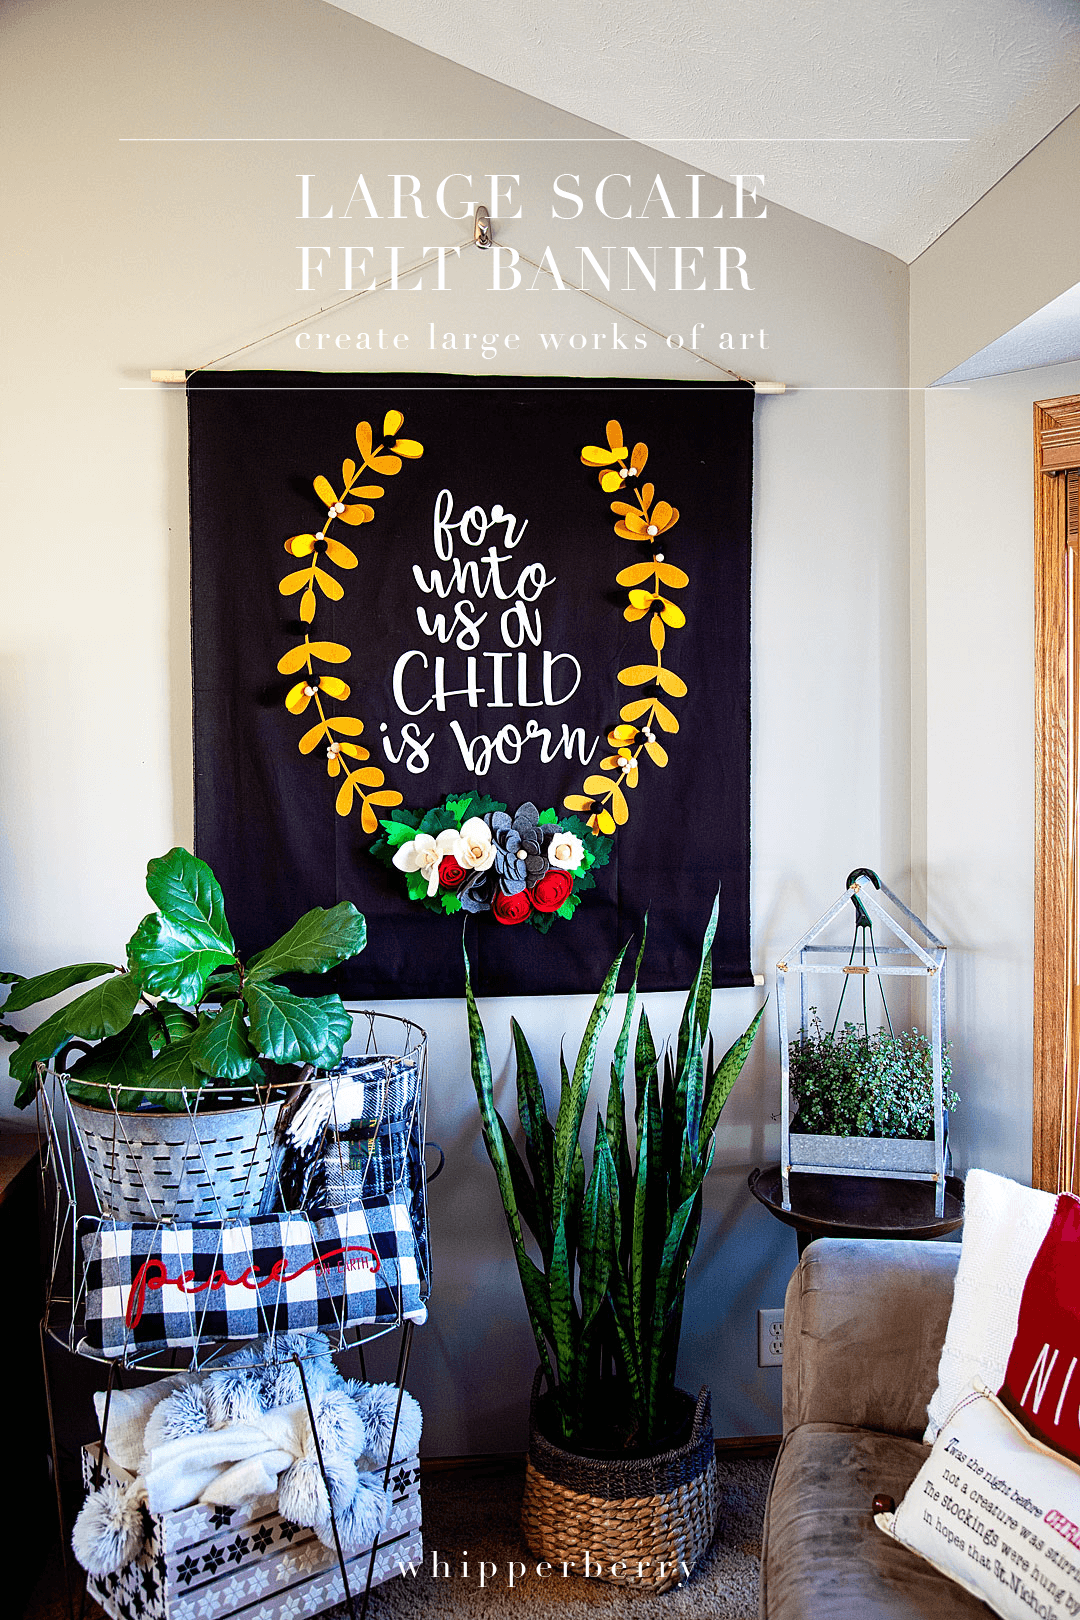
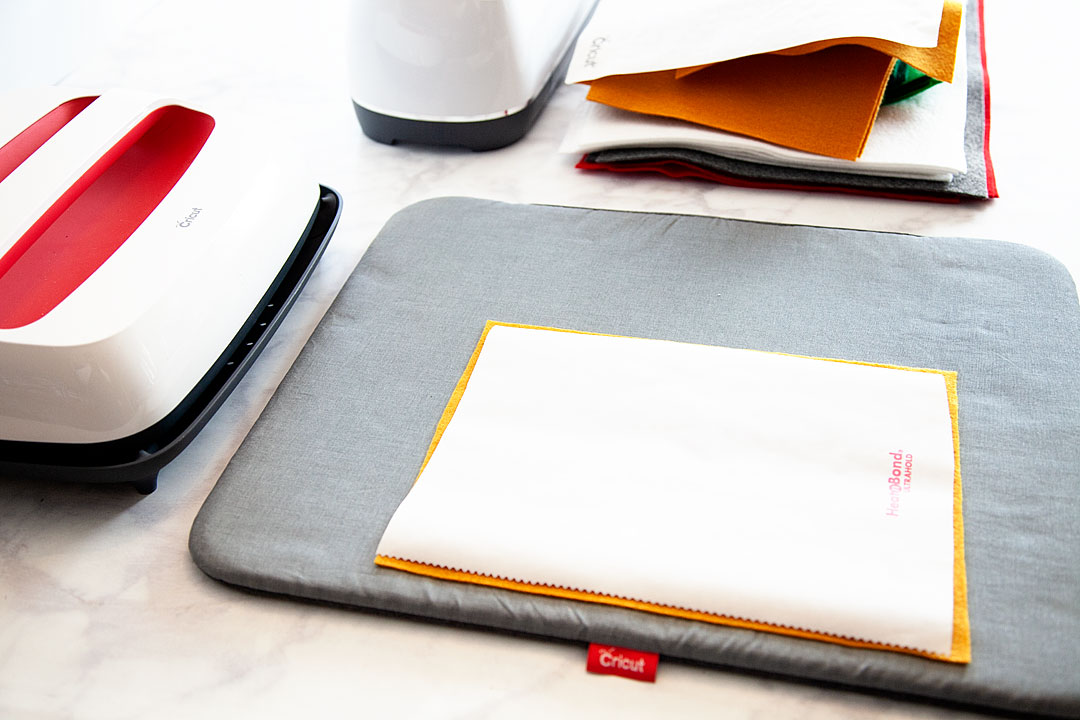
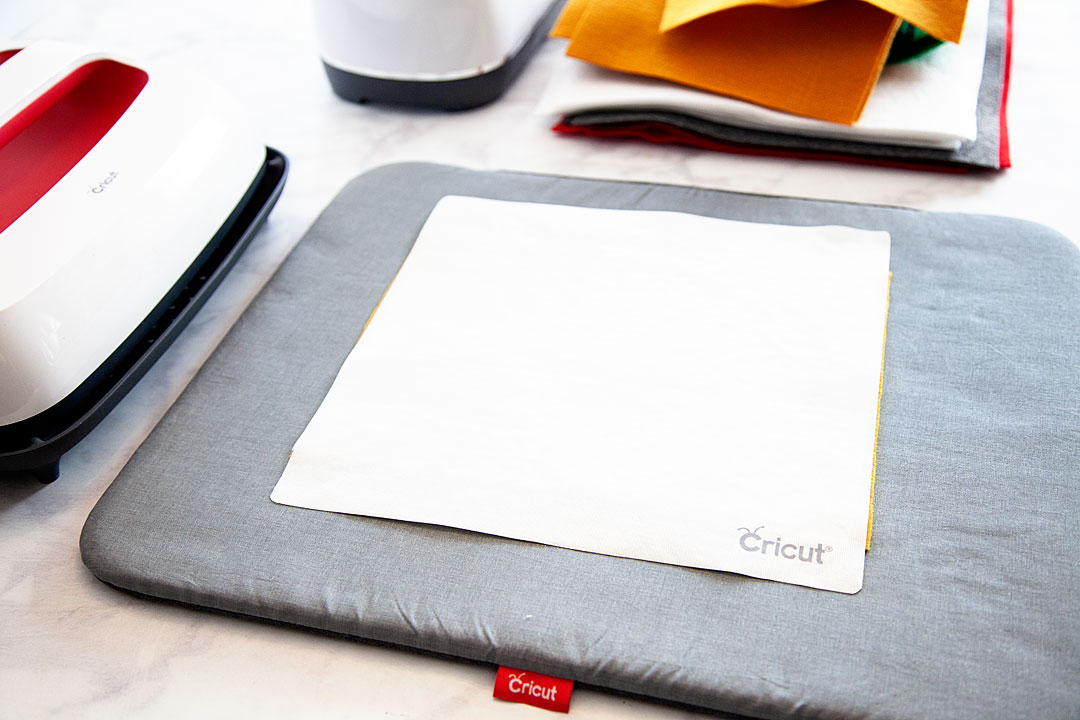
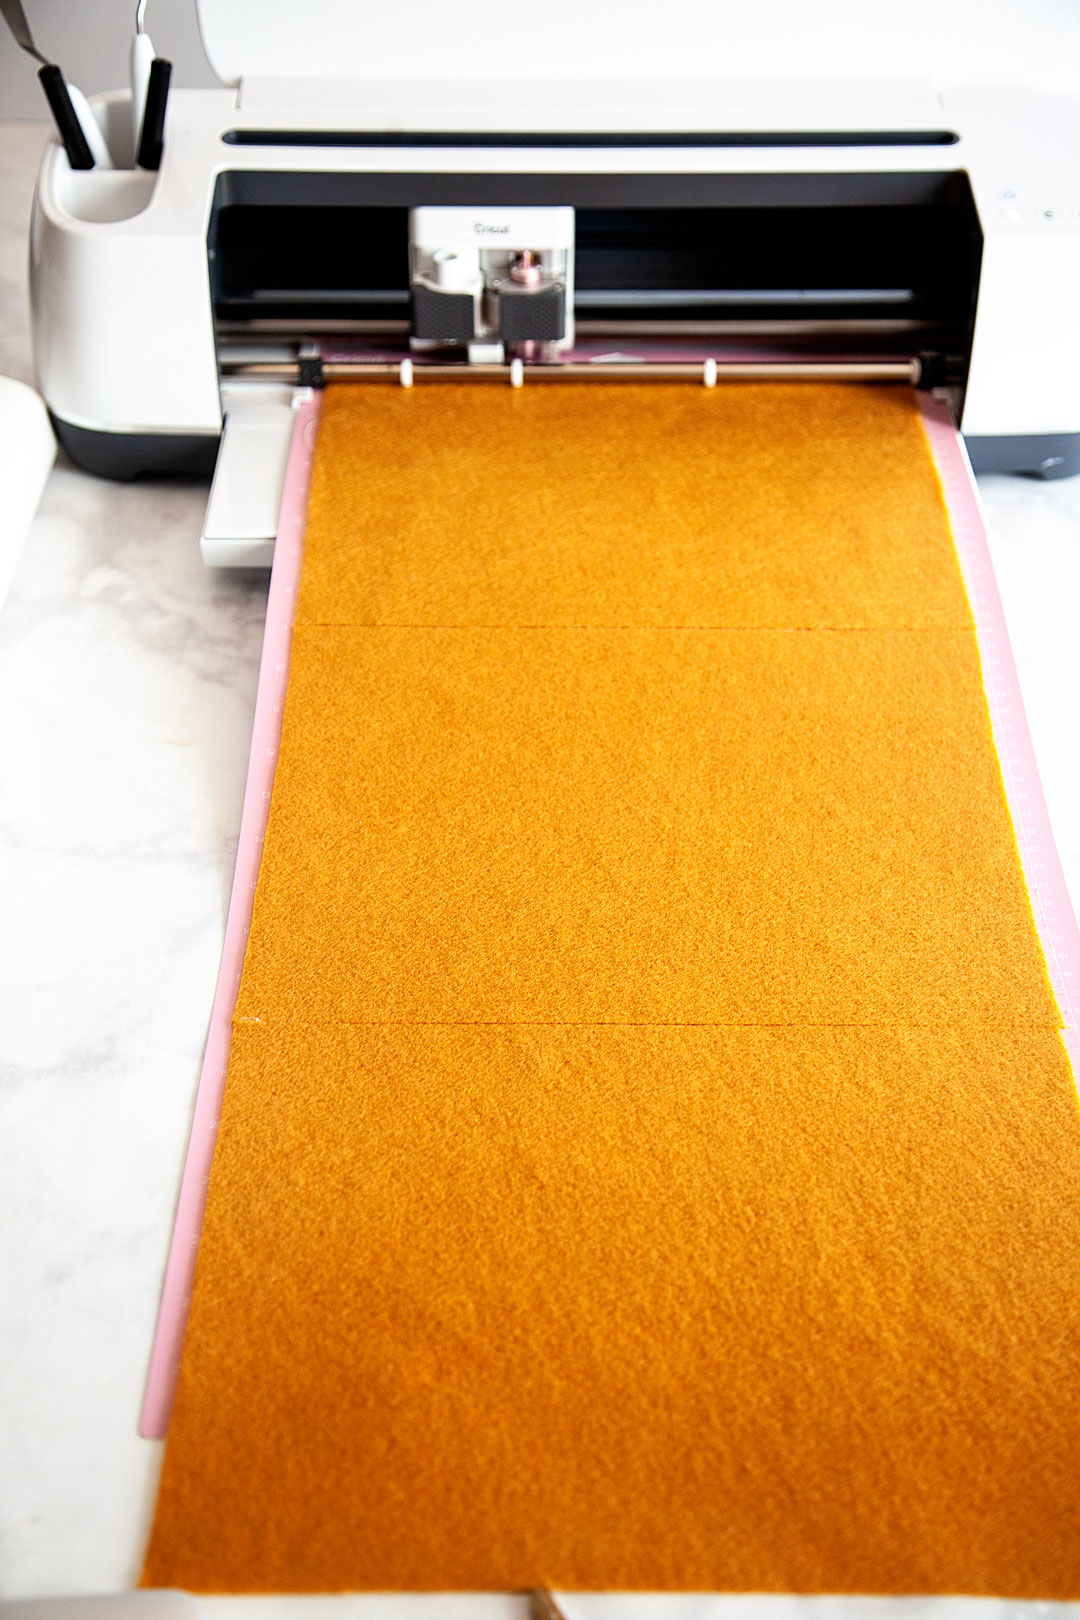
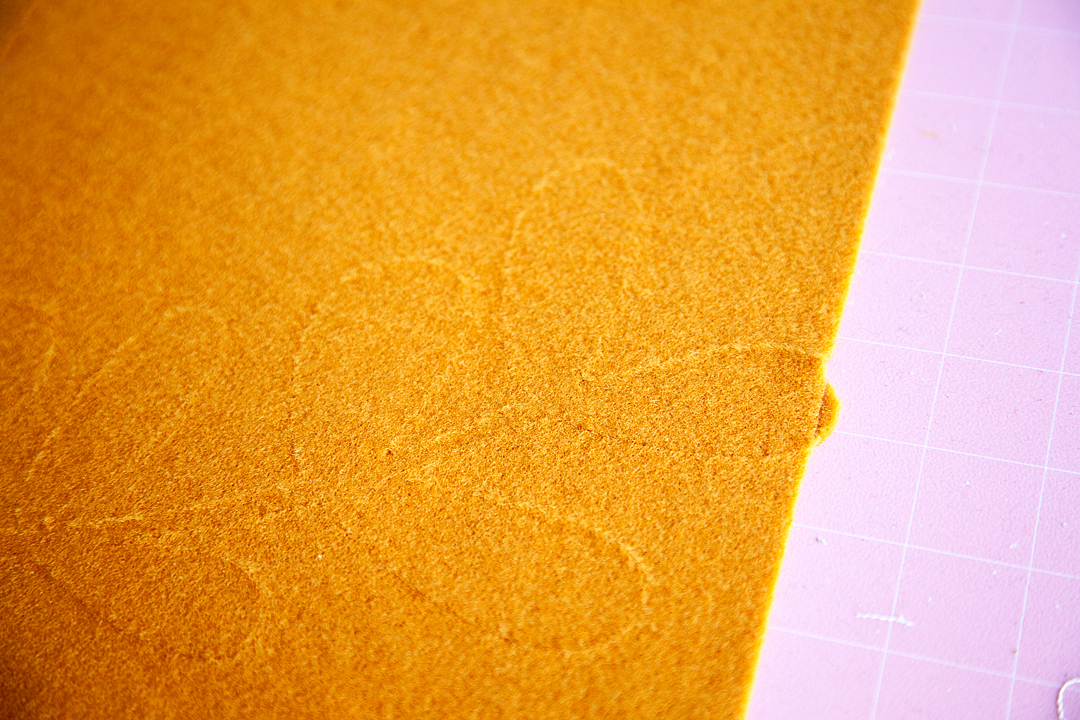
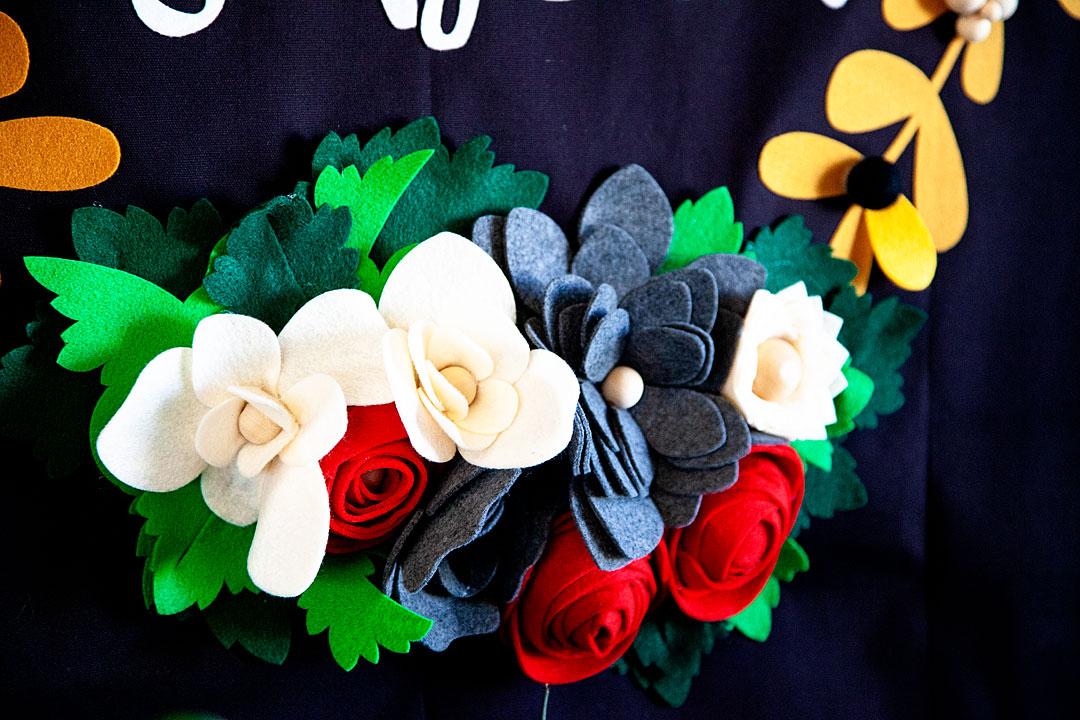
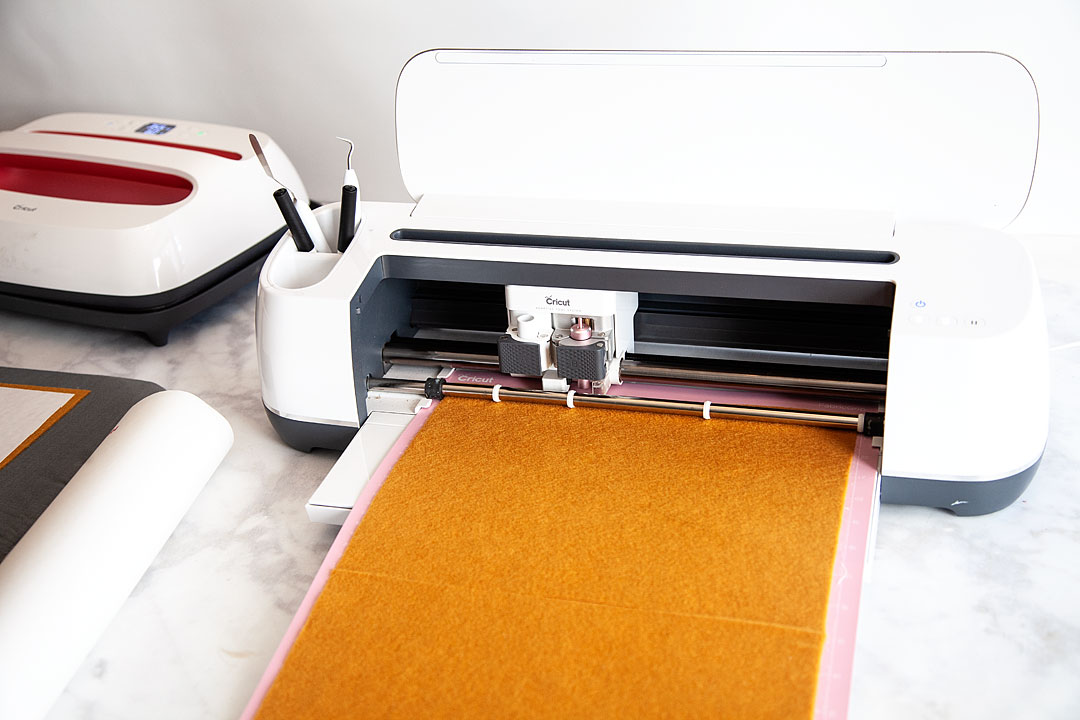
NOW, the felt that I had was smaller than the designs, not to worry though. I placed my felt onto the cutting mat and easily pieced them together while I was pressing them onto the fabric. If you’re careful you won’t even see the seam.
  3. You will find that some of the designs don’t all fit onto one sheet of felt. Don’t worry about that. Just keep all of your pieces organized with where they need to go. Then when you’re ready to iron them on, you’ll do just that with even the little pieces and you’ll never know there was a cut there.
  4. Once everything is cut, press your black canvas. You don’t want to have any wrinkles. I just use my Easy Press 2 for this process. WAY EASIER!
  5. Now, I have you cutting 2 sets of the gold wreath section of the banner. That’s not a mistake, I wanted the wreath section to pop out so that it’s 3D rather than a flat design.
  6. Lay out your wreath & quote on the black canvas and make sure that it is placed in the center and spaced according to the photo below. This is when you will want to make sure you have kept any small pieces and have placed them in the right spot.Boy-oh-Boy... I LOVE large scale projects! Sometimes bigger really is better in my book. There are times when you really need to make a statement and a large scale felt banner or large drop cloth sign created to wow your guests or to really make a room POP! I wanted to create a large felt sign for the Christmas season to add to my living room and to also use for a Christmas party that I'm planning this year. Let me show you what I made and how YOU can make one yourself! - WhipperBerry #feltsign #largescalesign #christmassign #christmasdecor #christmasdecoration
  7. Once you have placed the design the way you would like it. Place the Easy Press Mat under the first section and set your Easy Press 2 to 350˚. Lay the Iron-On Protective Mat on top of the first felt section and then lightly press the Easy Press 2 for 60 seconds on that first section.
  8. Continue over the entire design until it is all ironed onto the canvas.Boy-oh-Boy... I LOVE large scale projects! Sometimes bigger really is better in my book. There are times when you really need to make a statement and a large scale felt banner or large drop cloth sign created to wow your guests or to really make a room POP! I wanted to create a large felt sign for the Christmas season to add to my living room and to also use for a Christmas party that I'm planning this year. Let me show you what I made and how YOU can make one yourself! - WhipperBerry #feltsign #largescalesign #christmassign #christmasdecor #christmasdecoration
  9. Next, you assemble the flowers with hot glue. I used a wood bead in the center of each flower because I like the look and it stabilizes the flower a little more. 
  10. Once the flowers are assembled, start laying them out on the canvas until you get the look that you like. Then section by section, hot glue the flowers and leaves onto the banner.
  11. At this point, you have two choices. You can finish off the banner by sewing the pocket for the dowel OR, you can faux sew like me and just hot glue the pocket.  I fold the top of the fabric down about 2 1/2 – 3 inches and then hot glue or sew across the bottom of the fold leaving a pocket to feed the dowel through. 
  12. Repeat the last step at the bottom of the banner as well. This is needed to add some weight at the bottom of the banner. If you don’t have this the banner will hang a little wonky.
  13. Tie the cotton rope onto the top dowel so that you can hang the banner.Boy-oh-Boy... I LOVE large scale projects! Sometimes bigger really is better in my book. There are times when you really need to make a statement and a large scale felt banner or large drop cloth sign created to wow your guests or to really make a room POP! I wanted to create a large felt sign for the Christmas season to add to my living room and to also use for a Christmas party that I'm planning this year. Let me show you what I made and how YOU can make one yourself! - WhipperBerry #feltsign #largescalesign #christmassign #christmasdecor #christmasdecoration

Now, you’re all finished! You have an amazing work of art that you will treasure for years. What other large-scale signs are you wanting to make? I just finished creating all kinds of large-scale projects for my daughter’s wedding and I can’t wait to show you what I created for that amazing event.

This is a sponsored conversation written by me on behalf of Cricut. The opinions and text are all mine.

Scandinavian Style Blanket Storage Box

5 · Oct 16, 2018 · Leave a Comment

The weather is getting chilly and we are all working on bringing out our warm and cozy home decor items as we dress our homes for the season. Our family loves to have cozy blankets close at hand when we are hanging out watching TV or playing games. The problem is that they end up making the room look like trash as they are left strewn about the room. I thought it would be fun to create a blanket & throw pillow storage box that could add a little design to the room as well. I’ve always loved Norwegian & Scandinavian design especially when it comes to winter designs and that was my inspiration for my new Scandinavian Style Blanket Storage Box created using Americana Decor Texture & the Americana Decor Stencils from DecoArt.

+ This post is brought to you by the lovely folks at DecoArt +I've always loved Norwegian & Scandinavian design especially when it comes to winter designs and that was my inspiration for my new Scandinavian Style Blanket Storage Box created using Americana Decor Texture & the Americana Decor Stencils from DecoArt.

Have you guys heard of this Americana Decor Texture? This stuff is really cool. It’s basically thick paint that you apply like you are frosting a cookie. Fun! Right? What’s really cool is that is works really well with stencils and creates a fun raised effect on your surface.

I've always loved Norwegian & Scandinavian design especially when it comes to winter designs and that was my inspiration for my new Scandinavian Style Blanket Storage Box created using Americana Decor Texture & the Americana Decor Stencils from DecoArt.

Isn’t that fun? I would have to say, I really love the way it looks. You can take something simple like a box crate and turn it into some extra special. Let me show you how to make one of your own.

Scandinavian Style Blanket Storage Box Supply List

  • wood crate 
  • America Decor Matte Metallics – Ivory Pearl
  • paint brush
  • Americana Decor Stencils – Patchwork & Quilt Star
  • Americana Decor Texture – Cream & Deep Plum
  • paint knife or offset spatula
  • painters tape

I've always loved Norwegian & Scandinavian design especially when it comes to winter designs and that was my inspiration for my new Scandinavian Style Blanket Storage Box created using Americana Decor Texture & the Americana Decor Stencils from DecoArt.

Instructions

First, I painted my wood crate with the Matte Metallic paint. I loved the little extra something that this color gives to the box. The wood grain still peaks through a bit but it has this nice soft metallic sheen to it. It’s really quite nice.

When I paint stuff like this, I use some canning jar lids to raise my piece off of my table.

You’d be amazed how handy this come in sometimes and not just for canning!

I painted on two coats and then let it dry for about an hour.

Then I tackled the fun part of the project, adding fun textured designs to the box. However, before we get started, here are a few things NOT to do. We learn from DOING and what I learned is really important when working with a high-viscosity, heavy-bodied type of paint.

Do NOT try and apply the texture paint vertically.

You want to have the area that you are working on a flat surface facing up at you.

DO NOT press down hard when applying the Americana Decor Texture using a stencil.

Just like with any stencil and paint project, a slower, lighter hand makes for a much better stencil experience. You don’t want your project to end up looking like my first attempt in the photo above.  Also, when working with Texture, you want to work in light short strokes like you are frosting a cookie, not like the longer strokes that you use when frosting a cake.

DO NOT let the Americana Decor Texture sit and dry before removing your stencil.

Yep, learned that the hard way. I have been stenciling for years and sometimes, depending on the type of paint, it’s better to let the paint dry a bit before you remove the stencil. So… I tested that technique out and it did not work at all. With this type of paint, you need to gently and carefully lift up your stencil as soon as you are finished applying the paint making sure not to let it slide around at all.

Now that we have those items of what “not to do” out of the way, let’s get busy with what to do!


It’s a really good idea to tape down your stencil and to press down each section as you are applying the Texture paint as you go. This will help avoid the paint going underneath the stencil and creating issues. Again, use light shorter strokes like you are frosting a cookie. You can make it as thick or as thin as you would like. You can also play around with the texture, keep it smooth, add peaks, run a comb through it to create stripes or make swirls with your spatula. This stuff is super fun to play with.

Speaking of that, I would play around with it a bit before you start a project on a surface that you really care about. Test out your design and style. That way you get your method down before the real deal project.

Once you have applied the Americana Texture paint and have pulled the stencil, move onto the next section. You may find that you will need to cut your stencil so that you can continue to work and that’s totally fine. Just make sure to press down the stencil as you apply the Texture paint. Typically the weight of the paint will hold down the stencil as you apply it and because it’s so heavy bodied, unless you are pressing down and overworking, you shouldn’t have issues with the paint seeping under the stencil.

Now that you’ve finished applying the Texture paint and you’ve removed the stencil, it’s time to let it dry completely.

I set-up a fan to help speed up the process but, you really should let it sit overnight and let it dry completely.

I've always loved Norwegian & Scandinavian design especially when it comes to winter designs and that was my inspiration for my new Scandinavian Style Blanket Storage Box created using Americana Decor Texture & the Americana Decor Stencils from DecoArt.

Now you can use your new Scandinavian style blanket box to corral all of the cozy blankets when you are finished with them AND add a little style to your room!

I've always loved Norwegian & Scandinavian design especially when it comes to winter designs and that was my inspiration for my new Scandinavian Style Blanket Storage Box created using Americana Decor Texture & the Americana Decor Stencils from DecoArt.

I've always loved Norwegian & Scandinavian design especially when it comes to winter designs and that was my inspiration for my new Scandinavian Style Blanket Storage Box created using Americana Decor Texture & the Americana Decor Stencils from DecoArt.


Spa Inspired Holiday Survival Kit with Buffalo Check Jars

26 · Dec 5, 2017 · 1 Comment

With the craziness of the Holidays, who couldn’t use a spa inspired holiday survival kit? It’s full of homemade sugar scrub, shower bombs in stylish Buffalo Check Ball Jars, one of my favorite Yankee Candles®, even a cute little Ball® jar filled with matches. It turned out so cute, come learn how to make some kits of your own to give give to friends and family this Christmas. You could even use it as a Secret Santa gift!

+ This post brought to you by the folks at Newell Brands, makers of Ball® Fresh Preserving Products + Create this fun and stylish spa inspired Holiday Survival Kit full of spa goodies in Buffalo Check Ball Jars, a Yankee Candle and the cutest little Ball match jar + free printable tags for each item in the kit created by WhipperBerry

I know when I’m working preparing all of the Holiday magic that comes this time of year, I can easily get a little run down. Nothing major, nothing a nice aromatic bath with some candles couldn’t cure. With that thought in mind, I thought it would be fun to put together this Holiday season to give to my friends, neighbors, teachers… Basically, anyone who could use a little pick-me-up as well.Create this fun and stylish spa inspired Holiday Survival Kit full of spa goodies in Buffalo Check Ball Jars, a Yankee Candle and the cutest little Ball match jar + free printable tags for each item in the kit created by WhipperBerry

Sharing Jars

I love the mission of the Ball® Sharing Jar. When you purchase the Sharing Jars your purchase will benefit Feeding America® – the nation’s largest domestic hunger-relief organization. For every package of Sharing Jars purchased, Newell Brands will donate 4 meals*! I LOVE it when I can help support a worthy cause when buying stuff I would normally buy any way.

*Newell Brands® will donate $0.36 per package of Sharing Jars sold, up to $150,000 provided to Feeding America®.  $1 helps provide 11 meals secured by Feeding America® on behalf of local member food banks.

Sugar Scrub Recipe

Before you can start assembling your Holiday Survival Kit, you’ll need to mix-up some simple sugar scrub. This couldn’t be any easier. You can mix this by hand or with a mixer. Either way is totally fine. Here’s what you’ll need.

  • 2 cups sugar
  • 1/4 cup coconut oil
  • 10 drops of peppermint essential oil

Add sugar to your mixing bowl and slowly add your coconut oil until you get the desired consistency. I don’t like to add any food coloring because I don’t like to add extra chemicals and keep things natural. Plus, you don’t want to accidentally spill on something and have the color transfer.

Finish up by adding the essential oils and package in your Ball® Sharing Jar.
Sweet Winter Sugar Scrub from WhipperBerry

Shower Bomb Recipe

The shower bombs take a little more patience. These little guys are very similar to the Snowball Bath Bombs I made the other day. They are made with baking soda and you want to make sure you don’t activate it while you are in the process of mixing up your shower bombs.

  • 1 cup baking soda
  • 1/2 cup citric acid
  • 1/2 cup corn starch
  • 2-3 tablespoons water
  • 3o drops peppermint essential oil

In the bowl of a stand mixer, add baking soda, citric acid and corn starch. Put water and essential oil into a small spray bottle and slowly spray dry mixture while mixing on low. Continue adding water/oil mixture until you achieve a nice wet sand consistency. DO NOT rush this process.

Add mixture to a silicon mold like the one below and press firmly.

10519856_2

Let mixture sit in mold for 4-5 minutes and then carefully unfold. Let the shower bombs sit on a flat surface overnight to dry.

Fill the other sharing jar with the shower bombs and attach printable tag to jar.

Love the Buffalo Check trend? Yep, me too! I thought it would be fun to use some of the Ball® Giving Jars to create some Buffalo Check Jars to use as gifts this Holiday Season. Here's how you can make some of your own.

Buffalo Check Jars

These buffalo check jars are a true gem! I have a feeling I’ll be using these year-round. Here is a quick post to show you how to make them.

Love the Buffalo Check trend? Yep, me too! I thought it would be fun to use some of the Ball® Giving Jars to create some Buffalo Check Jars to use as gifts this Holiday Season. Here's how you can make some of your own.

Printable Gift Tag

If you know me at all, you know I LOVE to design all kinds of printable. These may be some of my favorite thus far.holiday survival kit printable from whipperberry-100

You can download the tags HERE

Match Jar

Alright, I am so in love with this little, itty-bitty Mini Ball® Storage Jars. They are only 4 oz. and they are just too darn cute!

cute little Ball Match Jar from WhipperBerry

They are the perfect size for a little match jar for your Holiday Survival Kit. I filled the jar with matches, thenI cut a strip of the matchbox striker and glue it to the side of the jar.

Ball-Buffalo-Plaid-Holiday-Survival-Kit-via-WhipperBerry-066

I also cut some vinyl on my Cricut that looks super fun on the jar…

keep a little fire burning match jar-100

You can download the cut file HERE

Holiday Survival Kit Assembly

Now, all you need to do is assemble your spa inspired Holiday Survival Kit…

Love the Buffalo Check trend? Yep, me too! I thought it would be fun to use some of the Ball® Giving Jars to create some Buffalo Check Jars to use as gifts this Holiday Season. Here's how you can make some of your own.

I grabbed a Yankee Candle® Small Tumbler Candle to go with my match jar and a little box and I assembled my Survival Kit with he printable tag glued on the front of the box. I also tied the gift tags on the jars with some leather that I bought at my local craft store. Now, it’s giving time!

Secret Santa

I am super excited this year to participate in the Ball® Home Canning Products Secret Santa Program! Their lovely crew assigned me to an amazing talented blogger, Almost Makes Perfect. I adore her style and was thrilled to send my Spa Inspired Survival Kit to her. I can’t wait to see what she thinks of it.

I was lucky enough to receive a Ball Secret Santa gift from Jamie of C.R.A.F.T. She sent me this cute little candy jar set…

Ball-Secret-Santa-Jars_

How fun is that? Adding some twigs as antlers and a belt to the jar to look like Santa. Honestly guys, creating with Ball® Canning Jars is so much fun! What can you guys think-up for this Holiday Season?

Disclosure +  I am a paid partner for Newell Brands, makers of Ball® Fresh Preserving Products. However, all thoughts and opinions expressed are entirely my own. 

  • Go to page 1
  • Go to page 2
  • Go to page 3
  • Interim pages omitted …
  • Go to page 84
  • Go to Next Page »

Primary Sidebar

Heather from Whipperberry
Hello... my name is Heather and I'm the creator of WhipperBerry a creative lifestyle blog packed full of great recipes and creative ideas for your home and family. I find I am happiest when I'm living a creative life and I love to share what I've been up to along the way... Come explore, my hope is that you'll leave inspired!

Footer

  • Privacy Policy

Copyright © 2023 · Seasoned Pro