• Skip to primary navigation
  • Skip to main content
  • Skip to primary sidebar
  • Skip to footer

Whipperberry

WhipperBerry • Your Home For Creative Inspiration

  • Home
  • Recipes
    • Starters
    • Easy Weeknight Dinners
    • Main Dish
    • Salads
    • Side Dish
    • Soups & Stews
    • Desserts
    • Breakfast
    • Miscellaneous
  • Tutorials
    • Creative Crafts
    • DIY Decor
    • Fabric Crafts
    • Food How-To
    • Jewlery
    • Paint Projects
    • Paper Art
    • Party Styling
    • Photography and Graphic Design
    • Silhouette
  • Holidays
    • Easter
    • Mother’s Day
    • Father’s Day
    • 4th of July
    • Halloween
    • Thanksgiving
    • Christmas
    • Valentine’s Day
  • Gift Ideas
    • Gifts For Everyone
    • Gifts for Dad
    • Mother’s day
    • For The Girls
    • For The Kids
    • Teacher Gift Ideas
    • Christmas
  • Printables
    • Holiday
    • Gift Idea
    • LDS Primary
  • Travel
  • About
    • Terms
  • Contact
  • Nav Social Menu

    • Facebook
    • Instagram
    • Pinterest
    • RSS
    • Twitter

Uncategorized

How to Personalize Your Home

0 · Feb 1, 2016 · 3 Comments

+ This Personalize Your Home post is brought to you by Michaels Craft Stores +

GATHER-Letters-by-Michaels-4

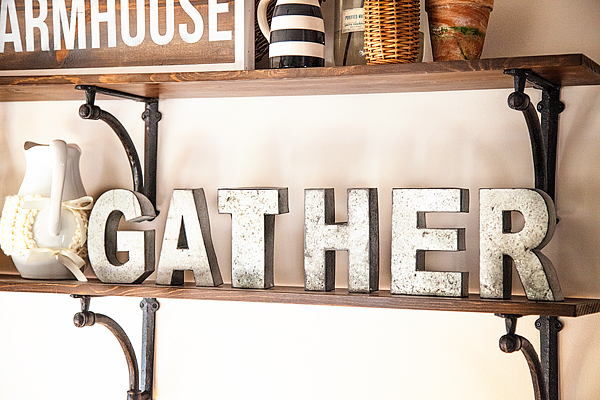
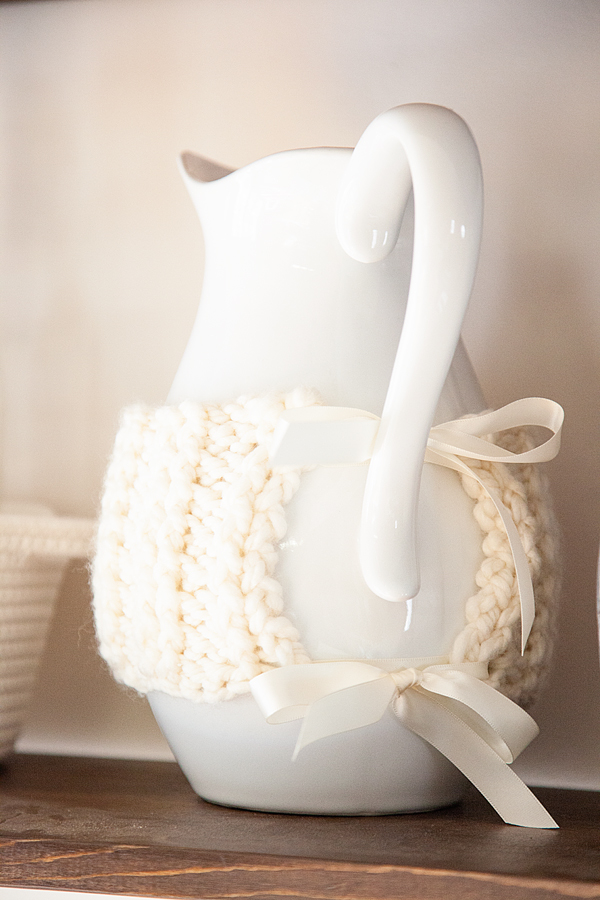
I am LOVING finding new ways to personalize my home!

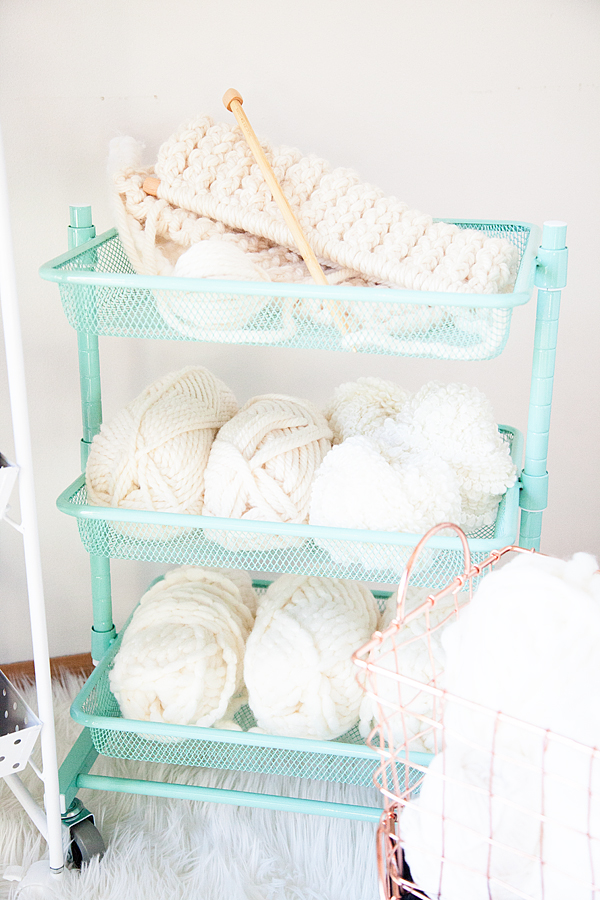
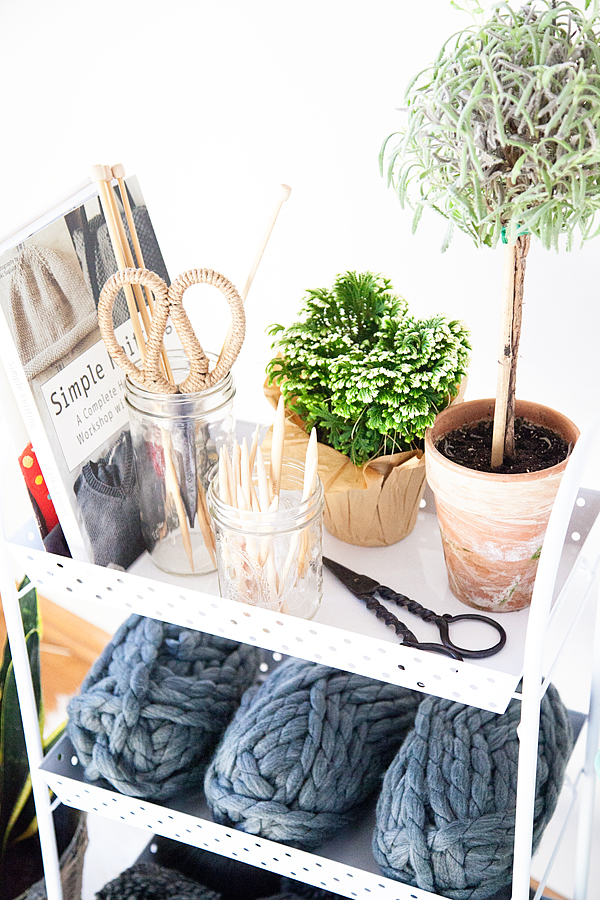
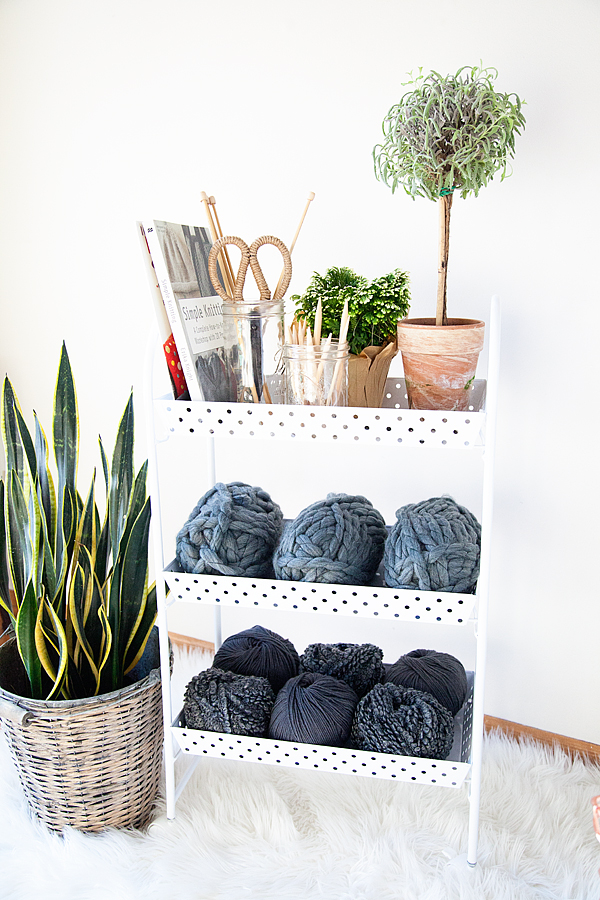
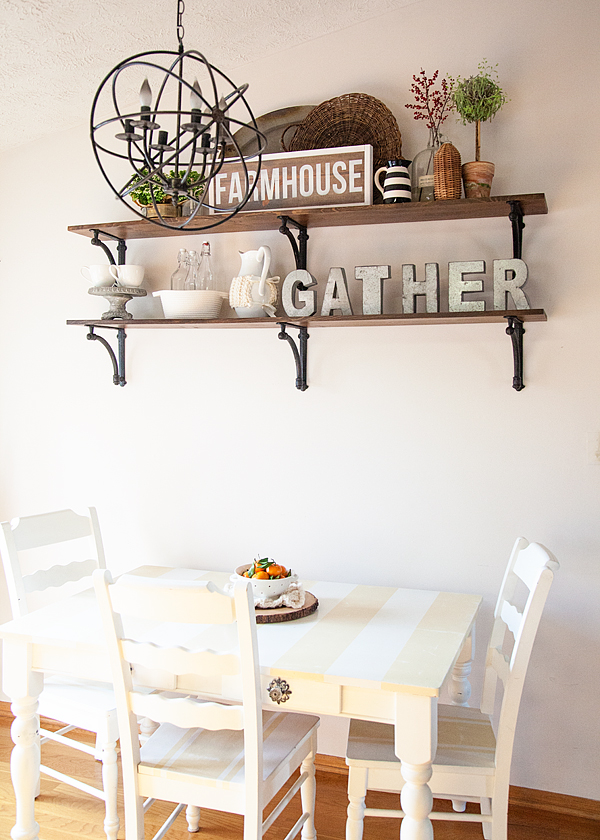
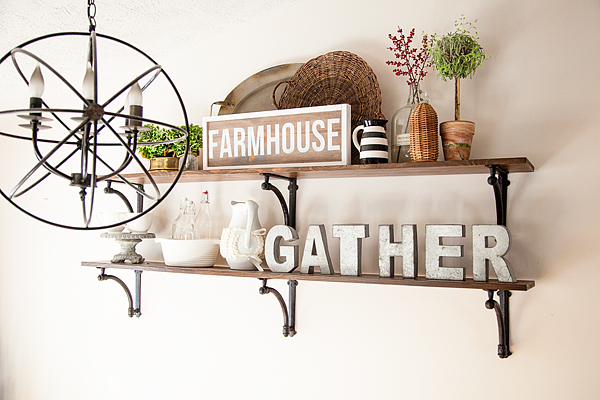
Using letters, numbers, words and sayings to show off your personality. It’s a great way to turn a simple house into a HOME.

This months Michaels Makers Challenge is find a fun way to personalize our space.

February Challenge Creative

Challenge accepted!

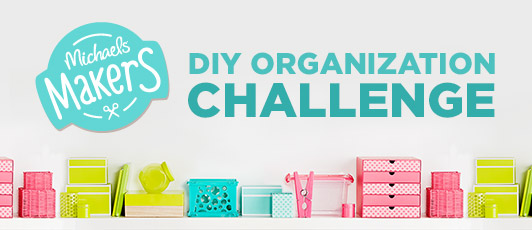
Michaels has a new line called the Make Market and it has over 800 ways to help you bring your personality into your space. Here’s a quick little video to show all the fun goodies they have to share…

Aren’t they fun! You can create with all of these goodies or you can keep them simple. I tend to like the simple side of things so the galvanized metal letters were perfect to add a little pizzaz to my space.
GATHER-Letters-by-Michaels-3
Of course you can get all crafty with these great letters but, just like Mr. Rogers… I liked them just as they are.
These shelves are in my kitchen right above our kitchen table and I love to use them to create an inviting space for the family to GATHER for meals, to play games, do homework or just sit and chat. So it was simple to add that sentiment to my selves with these great letters. They sit on the shelf just right or you can easily hang them as well. LOVE THEM!
GATHER-Letters-by-Michaels-2
Then I add other items that are classic and simple like the water pitcher that I wrapped with a little knit cozy that I attached with some ribbon. 
GATHER-Letters-by-Michaels-8
Next, I add some greenery, a bowl of oranges on the table, a few other odds and ends and you have a beautiful and inviting vignette that has within minutes personalized your space. 
GATHER-Letters-by-Michaels-7

Did you know? Making your home more energy-efficient can also add personal value. Check out available home energy grants to upgrade your space while saving money.
Want some more ideas on how to personalize your home? Check out all of the other 49 Michaels Makers to see how they interpreted this months Personalization Challenge!
An InLinkz Link-up


Chicken Stock 101 – How to Make the Best Chicken Stock Recipe

3 · Jan 20, 2016 · 1 Comment

+ Chicken Stock 101 – Come learn how to make liquid gold +

Chicken Stock 101 - Come learn how to make liquid gold the base for the best soups and stews from WhipperBerry

I am not sure if there is anything better in these cold winter months than a good pot of Chicken Noodle Soup or any of it’s chicken stock based cousins. I’m mean really… YUM!

It’s like a bowl full of love right there.

The issue is that commercially prepared chicken stock is good, BUT… It’s not GREAT.

If you’re really wanting a good chicken stock based soup, stew or gravy. You need to make your own chicken stock.

The good news is… It’s SUPER EASY!!

Here is what you’ll need…

chicken-stock-101-with-WhipperBerry

Chicken Stock Ingredients

Chicken

Carrots

Celery

Garlic

Rosemary

Sage

Thyme

Lemon

Onion

Salt

Whole Pepper Corns

That’s it! Not a crazy list of obscure ingredients. The hardest thing to come by is the chicken carcass if you don’t typically roast your own chicken, but I’ve solved that issue as well.

We’re all running to the market to grab those rotisserie chickens for a quick weeknight dinner, why not put it to work making some stock for your next soup adventure as well! Yep, PROBLEM SOLVED!

First thing you need to do is to remove the meat from the bones if you have not already done so.  DO NOT THROW THE BONES AWAY! That’s the star of the stock show.

Place the carcass into a large stock pot and then add the remaining ingredients…

chicken-stock-101-with-WhipperBerry-3

I don’t really even bother to chop up my veggies or anything. I wash them for sure, but I don’t even bother to peel the carrots or onions. I cut off the ends, give the onion a rough chop and throw them into the pot.

Why do I leave the onion skin on you ask? I’ve learned from several stock experts that leaving the onion skin in the pot is what will give your stock a lovely color.

Using a vegetable peeler, I carefully peal the skin of my lemon and add that to the pot. Make sure to grab as little of the white pith as possible. That white part is bitter and you don’t want to add that to your pot.  I prefer the peel method rather than adding lemon zest. It allows me to easily remove the spent lemon peels when finished.

I tie-up my herbs with a little baker’s twine to keep them contained then I add my salt & whole pepper corns. DON’T be stingy with the salt. This is what will help your stock come to life! Cover the pot with water and set it to boil.

chicken-stock-101-with-WhipperBerry-5

Once you’ve brought your pot to boil, turn down the heat to medium or medium low and let it simmer, uncovered for several hours. I generally let mine simmer for 6-7 hours, checking every once in a while to see if I need to add more water to the pot.

After several hours, remove your stock from the heat and then strain it through a fine mesh strainer. Discard the used chunky bits and place your liquid gold (chicken stock) in an air tight container and place in the refrigerator. Once your stock is fully chilled, you can go back and using a spoon, remove the fat that has come to the surface and solidified. That way, your chicken stock will be almost fat free. Another benefit from making your own stock. YOU control the salt and fat content.

chicken-stock-101-with-WhipperBerry-6

Now you can store this in the refrigerator for a couple of days or in the freezer for 3-6 months. Pull it out when you need a little stock and you’re good to go! Here’s the full recipe…

Chicken Stock Recipe

Chicken Stock 101
 
Save Print
Prep time
10 mins
Cook time
7 hours
Total time
7 hours 10 mins
 
You will never want to use boxed stocks ever again after you try this recipe!
Author: Heather // WhipperBerry
Serves: 1 liter
Ingredients
  • 1 whole roasted chicken - meat removed
  • 2 large yellow onions - cut off the top and bottom but leave the skin on
  • 1 bunch of celery - wash and cut off top and bottom
  • 4-5 carrots - wash and cut off top and bottom, don't bother to peel
  • 2-3 stocks of fresh rosemary
  • small bunch of fresh thyme
  • 5-6 sage leaves
  • 1 lemon
  • 2-3 cloves of garlic
  • 1 tablespoon whole pepper corns
  • 1 tablespoon sea salt
Instructions
  1. Place chicken carcass into large stock pot.
  2. Add celery, carrots, onions.
  3. Tie fresh herbs together and place into the pot.
  4. Using a vegetable peeler, peel the skin of the lemon and add to the pot. Be careful not to add the white pith part of the lemon.
  5. Add salt, pepper corns and garlic.
  6. Fill pot almost the the top with water and set on high heat just until the pot comes to a boil. Once it has started to boil, turn the heat to medium or medium low, what ever temperature that will keep a nice low simmer.
  7. Let simmer for 6-7 hours
  8. Check pot occasionally to see if you need to add more water.
  9. After it has simmered for several hours, remove from heat and strain your stock with a fine meshed strainer. Place in an air tight container and put in refrigerator for several hours.
  10. Once the stock has fully chilled, remove from refrigerator and using a spoon, remove the fat that has solidified onto the surface of the stock.
  11. Store in refrigerator for 2-3 days or in the freezer for 3-6 months.
3.4.3177

Knitting Station + Craft Room Organization

2 · Jan 1, 2016 · Leave a Comment

+ This Knitting Station + Craft Room Organization post is brought to you by Michaels Craft Stores +

Knitting-Station-with-Michaels-Organization-8

Ahhhh, it’s January… A new year… A fresh start…

Time to start on the right foot and get things organized!!

This month’s Michaels Makers Challenge is get things organized…

XXXXX_SO_0101_Jan_Michaels_Makers_s

If you’ve been following me on Instagram, you’ll know that I’ve developed a new obsession… Knitting.

Holy cow, I’ve fallen head over heals in love with the yarn arts.

WhipperBerry-Knitting

I’ve been a little intimidated with knitting and finally decided to bite the bullet and teach myself how. My main goal is that I want to learn how to knit stockings for my family for Christmas… I’m sure I’ll learn a lot more along the way.

Even though  I am a relative newbie to the kitting world, I’ve had a thing for yarn for awhile and I’ve amassed quite a collection of yarn through the years. I decided for the Michaels DIY Organization Challenge I would create a knitting station in a little corner of my craft room.

Knitting-Station-with-Michaels-Organization-1

Michaels has a new line of organization gems called Cre8ted Spaces and they are super fun!

I thought these tiered carts would be great for storing my yarn obsession in a stylish way.

Knitting-Station-with-Michaels-Organization-4

These carts have become super popular in the last year or so and now you can find them at Michaels for a really reasonable price… PLUS, they are 50% off right now! You don’t want to miss out on that!

Knitting-Station-with-Michaels-Organization-6

There’s plenty of space to store my yarn and then the top of the carts are a perfect little table top to either decorate or store smaller items like my scissors and kitting needles and books. I thought my station turned out pretty cute.

Knitting-Station-with-Michaels-Organization-7

I needed a little more yarn storage so I paired the carts with these beautiful copper baskets that I found at Michaels as well.

Knitting-Station-with-Michaels-Organization-3

What do you want to organize this year? Is your bathroom out of control? Your kiddos rooms need to be reined in? Have a craft obsession like me that needs a bit of help? You can take control of the clutter without sacrificing on style… I LOVE it!!

Looking for more inspiration? Here are some more projects from the rest of the Michaels Makers OR you can check out more ideas HERE or at The Glue String, the Michaels blog.

XXXXX_SO_0101_Jan_Michaels_Makers_m

Disclaimer // I am a member of the Michaels Maker crew. I received products from Michaels in order to complete my DIY Challenge.

An InLinkz Link-up


The Party Bunch Link Party // no. 107

0 · Nov 7, 2015 · 2 Comments

Now it’s time to party but first let me introduce to you The Party Bunch!
TPB Party Info Banner

Amy from The Idea Room, Mique from 30 Handmade Days, Heather from Whipperberry and Desiree from The 36th Avenue want to thank you for partying with us… You guys are the best!

Here are some of our favorite projects from this week!

TPB-Heather-Favs
Heather’s Favorite
Multi-Purpose Room Makeover by Live Laugh Rowe

You have to see the entire room… It looks amazing!
Check out this AWESOME Room Makeover Reveal! www.livelaughrowe.com

TPB-Mique-Favs

Mique’s Favorite
Churro Twist by Kleinworth & Co.

Easy, quick, and yummy? I’m in!
1


TPB-Amy-Fav

Amy’s Favorite
DIY Wooden Table Runner by A Night Owl

I love this idea!

DIY Wooden Table Runner | anightowlblog.com


TPB-Desi-Favs

Desiree’s Favorite
Caramel Apple Bundt Cake by A Mother Thing

This cake is making me all kind of hungry… Hello yumminess!

Caramel Apple Bundt Cake


As always thank you for so may fabulous projects and recipes!

We hope you take a minute and button up HERE!

TPB Button Large

Also we want to invite you to click here and follow
The Party Bunch Favorites on Pinterest.

We are featuring more of our favorite projects and recipes from the link party on this board!
Now it is time to party!

TPB Party Bunch Link Up... Every Friday to Sunday link up your projects over at theidearoom.net , thirtyhandmadedays.com , whipperberry.com or the36thavenue.com Four bloggers = ONE BIG PARTY! We can't wait to see your projects!

Here are a few things to remember before you link up!

Please make sure to share the love and grab a button here to let your readers know that you linked up with us! By linking up with The Party Bunch, you are giving permission to any of us to feature your projects and recipes on our social media with a link back to you. Thanks!

An InLinkz Link-up


  • « Go to Previous Page
  • Page 1
  • Page 2
  • Page 3
  • Page 4
  • Page 5
  • Interim pages omitted …
  • Page 83
  • Go to Next Page »

Primary Sidebar

Heather from Whipperberry
Hello... my name is Heather and I'm the creator of WhipperBerry a creative lifestyle blog packed full of great recipes and creative ideas for your home and family. I find I am happiest when I'm living a creative life and I love to share what I've been up to along the way... Come explore, my hope is that you'll leave inspired!

Footer

  • Privacy Policy
  • Crafts
  • Food
  • Gifts
  • Holidays
  • Home
  • Mom Life
  • Recipes
  • Travel

Copyright © 2026 · Seasoned Pro