If your phone is anything like mine, it’s probably filled with photos of birthday cakes, half-finished crafts, messy kitchen counters, and kids who couldn’t wait for you to take the picture before jumping back into the fun. Those everyday moments often become our favorite memories.
Whether you’re making a family scrapbook, designing printable party decorations, creating handmade gifts, or sharing your latest craft on your blog, a few simple edits can make your images stand out. An AI Photo Editor makes it easier than ever to improve everyday photos without spending hours learning complicated software, giving busy moms more time to enjoy the creative process.
Start With the Story You Want to Tell
Before editing any photo, think about how you’ll use it. Maybe it’s a picture of your child’s first attempt at baking cookies, a finished craft, or a beautifully decorated birthday table. Starting with the end project in mind helps you decide which details deserve the spotlight.
Sometimes all a photo needs is a brighter exposure or a tighter crop to draw attention to the part of the project you want readers to notice most.
Here’s another simple trick: whenever possible, take photos near a window during the day. Natural light often brings out true colors and fine details, which means you’ll spend less time editing later.
Organize Photos by Projects Instead of Dates
Many of us save photos by the day they were taken, but organizing them by project makes them much easier to find later.
Try creating folders such as:
- Birthday celebrations
- Holiday crafts
- Kids’ artwork
- Family recipes
- Home organization
- Seasonal decorating
- School memories
You’ll thank yourself when it’s time to put together a back-to-school roundup or update an older tutorial with fresh images.
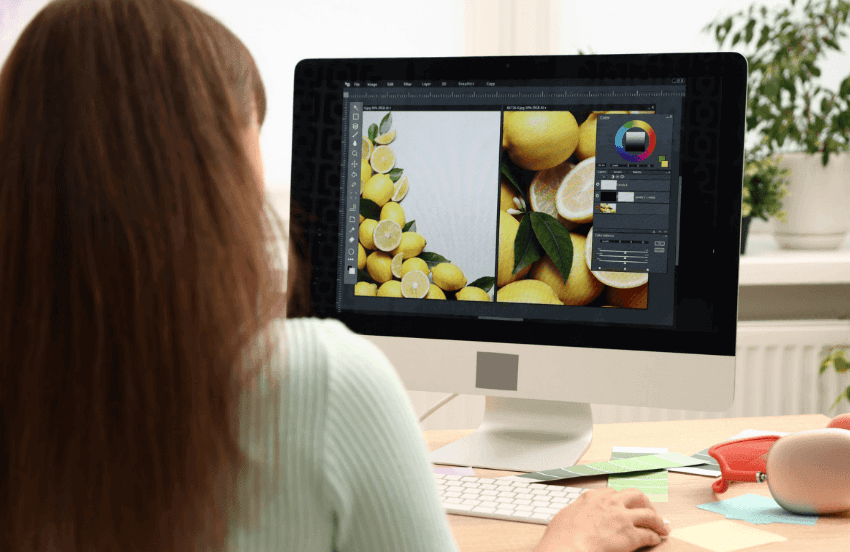
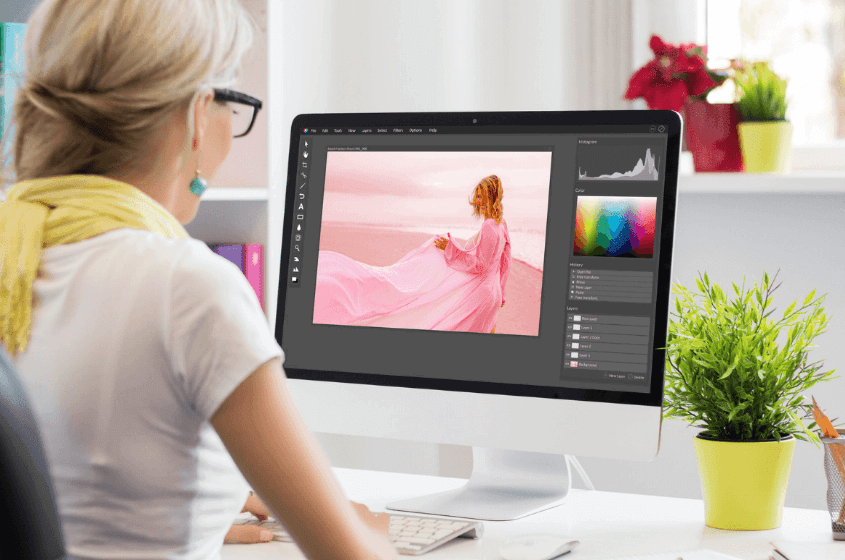
Let AI Handle the Repetitive Tasks
One of the newest ways moms are simplifying their creative workflow is by using AI to complete repetitive edits automatically.
For example, AI can help:
- Remove distracting objects from the background, like toys left on the floor before you snapped a photo.
- Brighten photos taken inside on cloudy afternoons.
- Straighten overhead shots of crafts or recipe ingredients.
- Resize images for Pinterest, Instagram, or your blog.
- Sharpen photos so printable gift tags and recipe cards look crisp when printed.
If you’re curious about these features, a free ai photo editor is a great way to experiment before deciding whether you need more advanced tools.
Create Consistent Photos Across Your Blog
One detail that often makes a blog feel polished is consistency. Readers may not notice it right away, but similar colors, lighting, and image sizes create a cleaner reading experience.
Choose a simple editing style that matches your blog. If your home is filled with bright natural light, let that shine through. If you love cozy farmhouse décor or colorful seasonal crafts, keep those tones consistent so your photos instantly feel familiar to returning readers.
Try a Seasonal Photo Library
Here’s a simple habit that can save hours later: create a seasonal photo library before you need it.
After finishing a holiday craft, decorating the porch for fall, or baking Christmas cookies with the kids, spend a few minutes editing your favorite photos and filing them into seasonal folders.
When you’re ready to write next year’s holiday posts, you’ll already have polished images waiting instead of searching through thousands of photos on your phone. Future you will be grateful when the holidays roll around again.
Turn Everyday Photos Into Printable Keepsakes
Not every memorable photo belongs in a traditional album.
Your favorite pictures can become thoughtful projects such as:
- Recipe cards featuring family-favorite meals.
- Personalized chore charts with photos for younger children.
- Printable lunchbox notes with encouraging family pictures.
- Holiday gift tags using snapshots from last year’s celebrations.
- Annual memory books highlighting school milestones.
- Family calendars filled with seasonal moments.
These small projects make wonderful keepsakes while helping your memories become part of everyday family life instead of staying hidden on your phone.
AI Is Becoming Part of Everyday Creativity
Artificial intelligence is becoming another helpful tool for creators, especially when it comes to repetitive editing.
Adobe’s Future of Creativity research found that 83% of creative professionals believe generative AI helps them spend more time on creative work by reducing repetitive tasks. That means more time for designing projects, writing tutorials, or enjoying family activities instead of adjusting every photo by hand.
The growing interest in AI editing isn’t surprising. According to Everypixel, more than 15 billion AI-generated images have been created worldwide, showing how quickly AI-powered image tools have become part of everyday content creation.
Keep Your Personal Style at the Center
The best family blogs aren’t remembered because every photo is perfect. They’re remembered because they tell real stories and celebrate the little moments that make a house feel like home.
Editing tools should support your creativity, not replace it. A cleaner background, brighter lighting, or a better crop simply helps readers focus on the project you’ve worked so hard to create.
The next time you finish a DIY craft, decorate for a new season, or bake a favorite family recipe, spend a few extra minutes polishing one or two photos before filing them away. Those small edits can make future blog posts, scrapbooks, printables, and family keepsakes much easier to create. And when you need a helping hand, an AI Photo Editor can simplify the editing process while preserving the warmth and personality that make your projects uniquely yours.