The dish you order at a restaurant this year often lands on your own table next year. Food trends do not stay in professional kitchens; they trickle down to home cooks fast. Understanding where they are heading makes you a smarter, more creative cook.
Those signals are tracked closely by the industry. Reports like the FoodService REP analysis map where menus are going, and those shifts reach home kitchens within a season or two. This guide covers the trends shaping what we cook now, and how to bring them home.
Why Do Restaurant Trends Reach Home Kitchens?
There is a clear pipeline from professional to home cooking. What starts on a menu becomes a craving, then a home experiment.
Foodservice is the industry that prepares and serves meals outside the home, and it is where many trends are born. A food trend is a shift in what people cook, order, and value in their meals. When diners fall for something out, they start recreating it in their own kitchens.
Social media speeds the whole cycle. A dish goes viral, home cooks try it, and within months it feels like it was always there. What once took years to travel from a fine-dining menu to a weeknight dinner now takes a single season.
Which Trends Are Growing Right Now?
A few big themes dominate current cooking. They reflect how people want to eat, not just what tastes good.
The trends worth knowing include these 5:
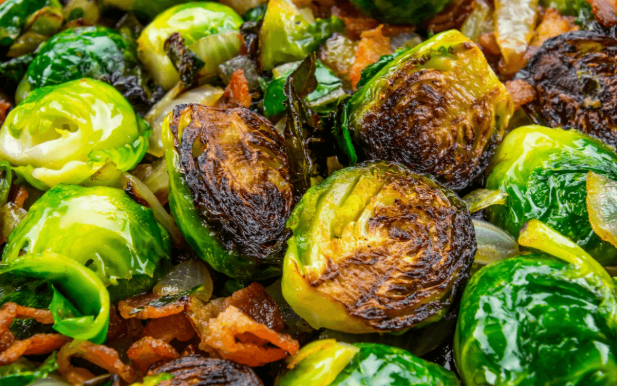
- Plant-forward. Vegetables moving to the center of the plate.
- Global flavors. Bold spices and dishes from around the world.
- Convenience. Quicker, smarter cooking for busy weeks.
- Sustainability. Less waste and more local sourcing.
- Functional food. Meals chosen partly for wellness.
Each reflects a real value shift. Nutrition guidance such as the Harvard Nutrition Source has helped push several of them into the mainstream.
Is Plant-Forward Here to Stay?
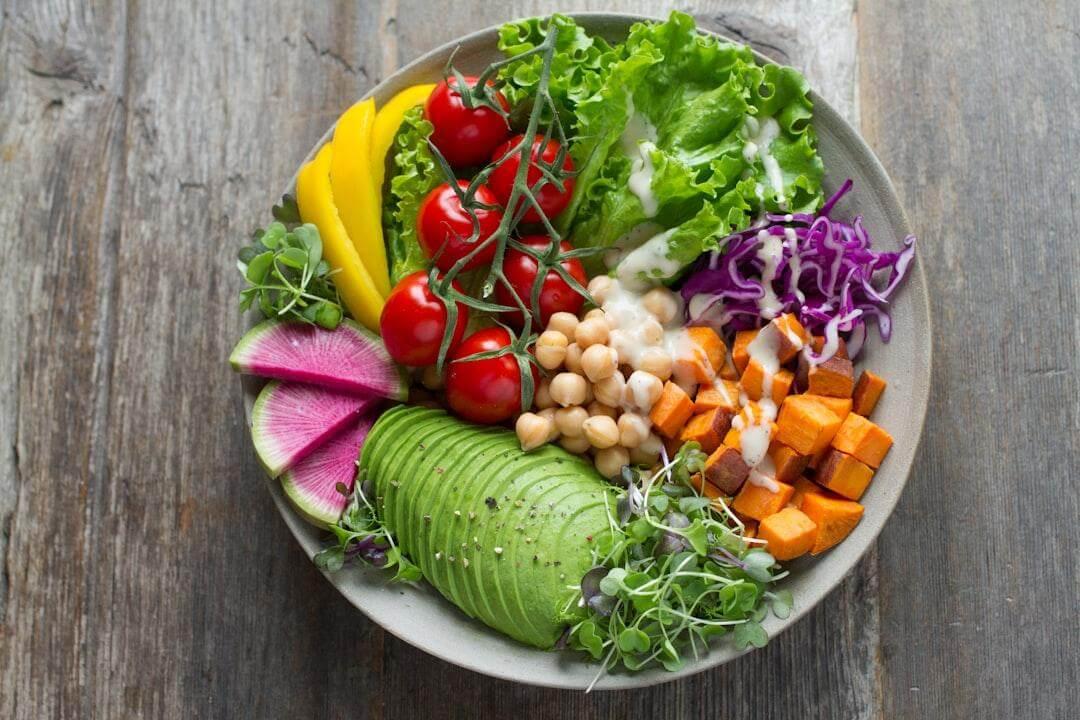
Every sign says yes. Plant-forward eating centers meals on vegetables, grains, and legumes, and it is more than a passing fad.
The data points the same way, with USDA food consumption figures showing a steady tilt toward plants. It is easy to start at home, too. Something as simple as a plant-based recipe for a dip or a hearty grain bowl brings the trend to your table without a full diet overhaul.
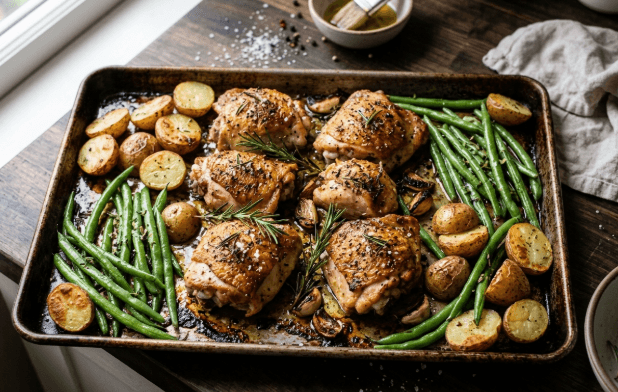
How Do You Cook the Trends at Home?
Bringing trends home is easier than it looks. You do not need restaurant skills, just a little curiosity.
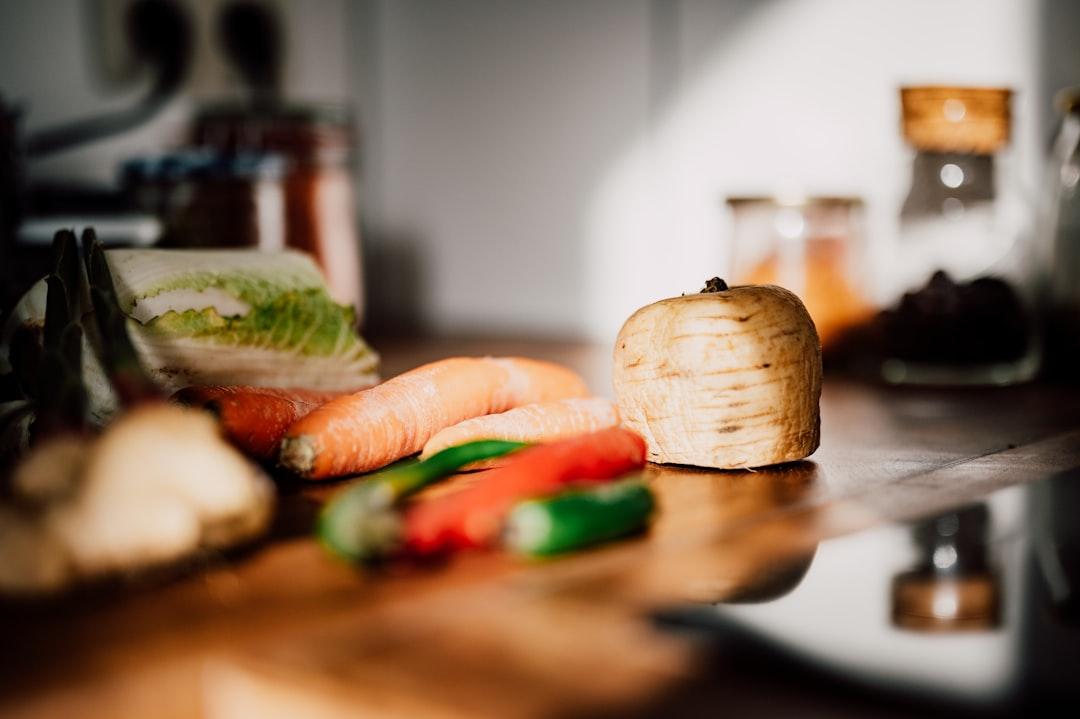
Start with one change at a time. Swap in a global spice blend, build a meal around a vegetable, or try a new seasonal ingredient. A roundup of fresh seasonal recipes is a low-pressure way to experiment with what is at its peak right now.
| Trend | An easy home version |
| Plant-forward | A grain bowl or veggie main |
| Global flavors | One new spice or sauce |
| Convenience | Smart batch cooking |
| Sustainability | Cooking with what you have |
| Functional food | Adding more whole ingredients |
The takeaway is to start small. One new dish a week keeps cooking fresh without overwhelming your routine. Over time, it builds a repertoire that feels current and personal.
What Should Home Cooks Watch Next?
The smart move is to watch the professionals. Where menus go, home cooking tends to follow.
Expect more global fusion, more clever use of leftovers, and a continued focus on wellness and sustainability. Seasonal, local eating is quietly becoming the default rather than a niche. Keeping half an eye on food industry trends turns you from a follower into someone cooking ahead of the curve.
What to Remember
- Restaurant trends reach home kitchens within a season or two.
- Plant-forward eating is a lasting shift, not a passing fad.
- Global flavors and convenience shape much of current cooking.
- Sustainability and wellness increasingly drive food choices.
- Bring trends home one small change at a time.
- Watching menus helps you cook ahead of the curve.
Cook a Little Ahead of the Curve
Food trends are simply a window into how we want to eat, and they move from restaurants to home kitchens faster than ever. You do not have to chase every one, but knowing where cooking is heading makes your own kitchen more exciting. Try one new idea at a time, lean on the seasons, and let the professionals do the trend-spotting for you. The result is food that feels fresh, current, and genuinely yours.
Frequently Asked Questions
How Do Food Trends Start?
Most begin in the foodservice industry, on restaurant menus and in test kitchens, then spread to home cooks. Chefs experiment, diners fall in love with a dish, and social media accelerates the spread. Industry analysts track these shifts early, which is why professional menus are a reliable preview of what home cooking will look like a year or so later.
What Is Plant-Forward Eating?
Plant-forward eating centers meals on vegetables, grains, legumes, and other plant foods, without necessarily being fully vegetarian. Meat becomes a smaller feature rather than the centerpiece. It appeals for health, cost, and sustainability reasons all at once. It is easy to adopt gradually at home, simply by building more meals around vegetables and whole grains rather than overhauling your diet overnight.
How Can I Try New Food Trends at Home?
Start small and pick one trend at a time. Try a single global spice blend, build a meal around a seasonal vegetable, or test a viral recipe you have seen. Seasonal recipe roundups are a low-pressure entry point. The goal is steady experimentation, adding one new idea a week, rather than trying to overhaul how you cook all at once.
Are Food Trends Worth Following?
They can be, if you treat them as inspiration rather than rules. Trends expose you to new flavors, techniques, and healthier or more sustainable habits you might not have tried otherwise. You do not need to chase every one. Following the themes that genuinely appeal to you keeps home cooking fresh and fun without turning it into a chore.