South Devon is known for its rolling hills, picturesque coastlines, and charming market towns, but for many, one of the true highlights of visiting this region is sampling its traditional baked goods, especially the humble pasty.
While Cornwall may claim naming rights to the iconic “Cornish pasty,” the art of crafting golden, crimped pastry filled with savoury goodness has long been embraced across Devon as well. In fact, Devon’s pasties often rival or even surpass their Cornish cousins when it comes to variety, quality of ingredients, and sheer comfort.
If you’re planning a food-focused itinerary in South Devon, here’s your ultimate guide to where you’ll find the tastiest pasties the region has to offer.
A Quick Look at the Pasty’s Local Legacy
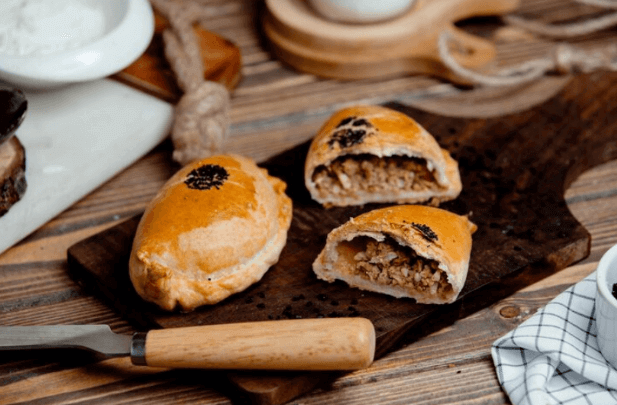
Originally a portable meal for miners and agricultural workers, the pasty was designed to be hearty, self-contained, and easy to eat by hand.
Traditionally filled with beef, potato, onion, and swede, the crimped crust served as a handle useful for working men with dirty hands and could be discarded after eating the filling.
Today, the pasty has become a beloved culinary symbol across Devon and Cornwall, with each region offering its own take on this age-old snack. South Devon, with its access to rich farmland and fresh local produce, offers a particularly delicious selection of both traditional and inventive pasty varieties.
The Bake House – Salcombe
If you find yourself wandering the cobbled lanes of Salcombe, a stop at The Bake House is essential. This charming bakery, just a stone’s throw from the waterfront, is known for its authentic, generously sized pasties that strike the perfect balance between flaky pastry and hearty filling.
Their traditional steak pasty remains a bestseller featuring tender meat, rich gravy, and a firm yet soft interior. The Bake House also offers other flavourful varieties, including cheese and onion, chicken and chorizo, and even a breakfast pasty for early risers.
One of the pleasures of visiting this spot is taking your pasty down to the harbour and enjoying it with views of the Salcombe estuary and moored sailboats. It’s an experience that perfectly blends food and scenery.
Stokeley Farm Shop – Near Kingsbridge
Stokeley Farm Shop is more than just a place to pick up local produce; it’s a hidden gem for food lovers seeking a true taste of Devon. Located near the coastal village of Torcross, this farm shop prides itself on using high-quality, locally sourced ingredients, and their pasties reflect that philosophy.
Their traditional steak pasty is a standout: thick chunks of beef, seasonal vegetables, and perfectly seasoned gravy, all wrapped in buttery shortcrust pastry. Vegetarian options like spinach and feta, or curried vegetables, also provide lighter but equally satisfying alternatives.
This is the kind of spot where you can stock up on a range of Devon treats from cheese and chutneys to cider and handmade chocolate, making it ideal for building your own picnic or gourmet souvenir hamper.
Chunk of Devon – Ottery St. Mary (Stocked Across South Devon)
A chunk of Devon has earned national acclaim for their award-winning pasties, and their presence is felt throughout South Devon thanks to partnerships with local cafés, farm shops, and grocers.
Although they don’t operate a standalone retail location, their products are easy to find and well worth seeking out. The steak and blue cheese pasty is one of their most talked-about creations, offering a bold, flavourful twist on the traditional formula.
Chunk is a great example of how traditional food can evolve with creativity while still respecting its roots. Their pasties are handmade in small batches and boast a crimped design that’s true to West Country heritage.
If you’re writing or analysing food blogs and want to ensure authenticity, tools like an AI detector can help check whether your content maintains a natural, human tone.
Ben’s Farm Shop – Yealmpton
Ben’s Farm Shop is rooted in organic farming and sustainability, and that ethos extends to everything they serve, including their delicious handmade pasties.
Located in the village of Yealmpton, just a short drive from Plymouth, the shop is known for its rustic, wholesome feel and commitment to ethical sourcing.
Their steak pasty is packed with flavour and heartiness, with a homemade taste that’s both comforting and satisfying. What sets Ben’s apart is the transparency behind their food: they grow many of their own ingredients or source them directly from Devon farms, ensuring freshness and traceability.
In addition to pasties, you’ll find organic produce, artisan bread, cheese, and locally reared meats, making it a wonderful stop for self-catering visitors or anyone looking to sample the best of Devon’s food scene.
Pasty Presto – Dartmouth
Located in the heart of Dartmouth, Pasty Presto is a favourite among both tourists and locals. This small, independent pasty shop is known for its rich, golden crust and generous fillings. The classic steak and ale version is a popular choice, but seasonal specials such as wild mushroom or turkey with stuffing often steal the show.
Dartmouth’s cobbled streets and riverside views offer a picturesque backdrop to enjoy your snack. If you’re exploring the town’s historic naval roots or visiting the Dart Estuary, grabbing a warm pasty from Pasty Presto is the perfect way to fuel your walk.
Tips for Finding Great Pasties in South Devon
With so many tempting options across the region, knowing how to spot a truly great pasty can make all the difference. Whether you’re a first-time visitor or a returning fan of Devon’s baked treasures, these tips will help you make the most of every bite.
Go Early in the Day
Many bakeries sell out of their best pasties before lunchtime, especially during peak tourist seasons. Arriving earlier increases your chances of trying the full range of flavours.
Don’t Stick to Just Steak
While steak and potatoes may be the classic combination, many local shops offer inventive takes, from Moroccan lamb to cheese and leek. Be adventurous and try something new.
Ask the Locals
Locals often know the best off-the-beaten-path spots to grab a great pasty. Don’t hesitate to ask for recommendations in shops, cafés, or pubs.
Eat Al Fresco
South Devon’s natural beauty is the perfect backdrop for a pasty picnic. Whether you’re on Dartmoor or by the sea in Bigbury or Bantham, a warm pasty pairs beautifully with fresh air and views.
Final Thoughts
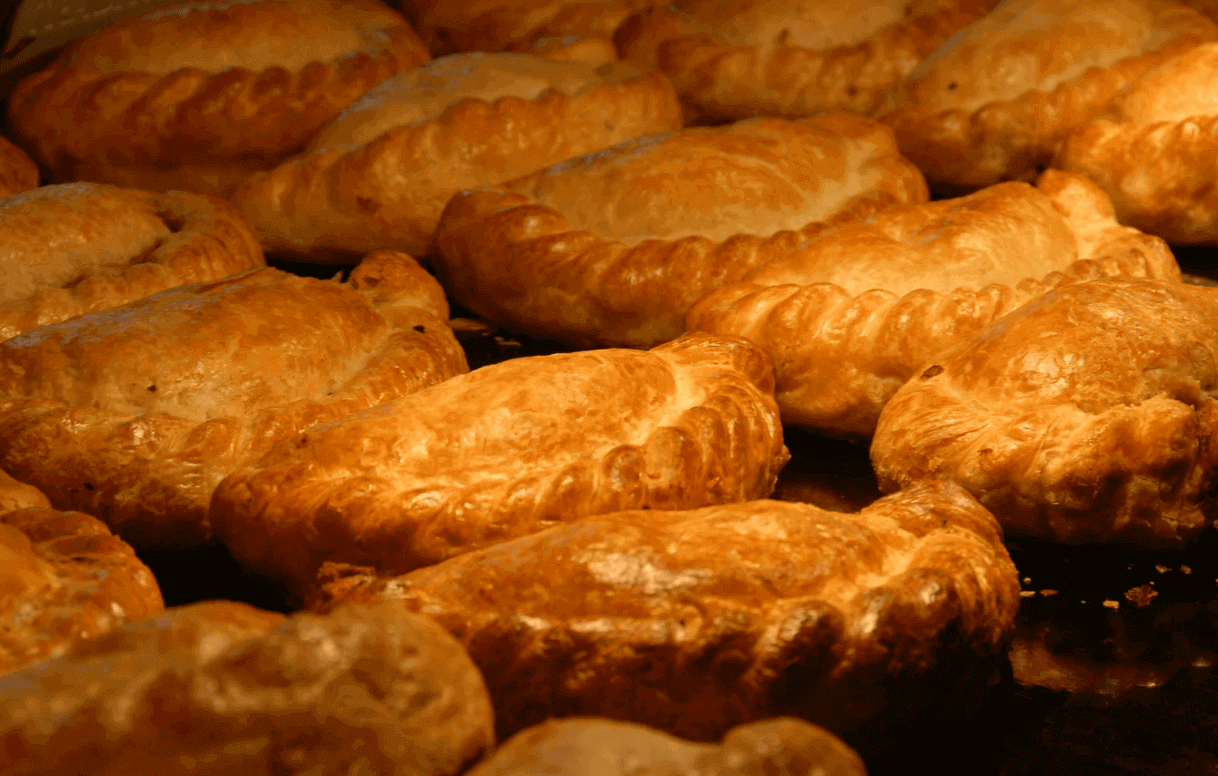
The pasty may be simple in appearance, but in South Devon, it’s a meal steeped in tradition, craftsmanship, and local pride. Each bakery and farm shop offers a slightly different take on some classics, others adventurous, but all are made with care and a deep appreciation for good food.
For visitors seeking an authentic taste of Devon, a freshly baked pasty enjoyed with a view is an experience not to be missed. Whether you’re in Salcombe, Dartmouth, or a small village off the tourist trail, you’re never far from discovering one of the region’s most satisfying culinary delights.