One thing that I LOVE about our Friday Flair link party is that it has given me the opportunity to find new blogs and fall in love. Every week I am blown away by the talent out there in blogland and I am always so humbled and thrilled that you are willing to take the time to share with us!
I thought that it would be fun to ask some of the bloggers who have really stood out every week to guest post here on WhipperBerry so that we can showcase even more of their talent. Our very first guest post is Maggie from…
Maggie has blown me away time after time with her skill and creativity. Let me just say I only wish I could create like this lovely lady!!
Oh. Emm. Gee. Well, here I am…at WhipperBerry…one of the most amazing blogs ever. When I first started blogging "seriously" WhipperBerry was the first creative blog I came across. I was immediately drawn in by the name, but when I saw what goes on here?!?! Well, let's just say I was instantly hooked. Then I had the amazing pleasure of "meeting" some of the WhipperBerry girls and then Heather asked me to guest post (!!!!!) and, well, here I am. And I'm nervous. Is that weird?
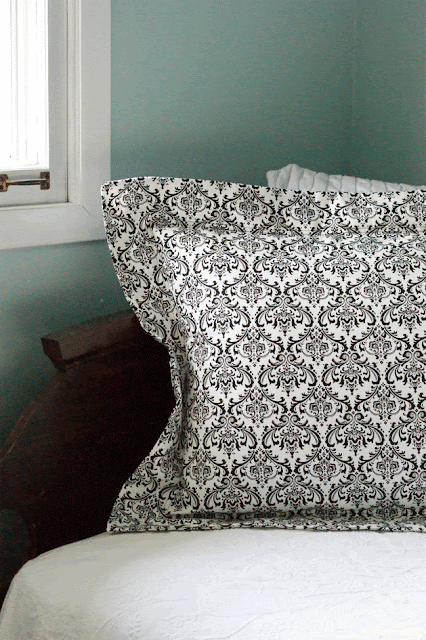
Let me introduce myself…my name is Maggie & I write a little blog called Midwestern {Sewing} Girl where I chronicle all of my creative endeavors (well, most…OK, some…some just aren't worth snapping a photo of)…I love a challenge, I love trying new projects, and I'd love to have you come visit me sometime! I had a little trouble deciding on which project to share with you today…but when it came right down to it I decided on a fairly simple sewing project that really anyone who can sew a straight line can do… I've been working on redecorating my 8 year old daughter's bedroom and I'm getting closer and closer to being done…now I just need to work on some finishing details…like the bedding. Namely, some pillow shams. Even more precisely, the "easiest pillow shams in the whole wide world. ever." Let's make some, shall we?
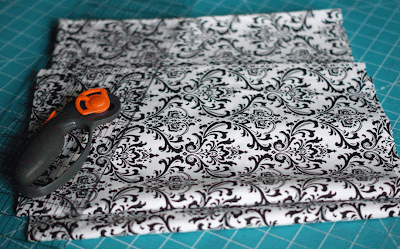
Here's what you'll need…
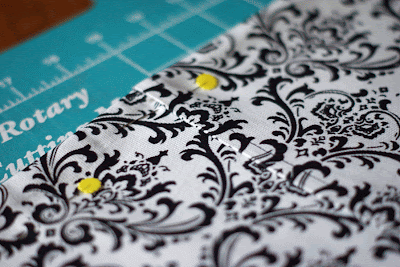
Next, to find how large to cut your top (front) piece, add 6" (or however many inches you want your border to be x 2 – to account for each side…I wanted my border to be 3" all the way around) to each of your measurements…then add another 1" for your seam allowances. So I cut my top piece to 35"x27".
Next you will want to cut your 2 bottom (back) pieces…
I like my pieces to overlap in the back by at least a couple of inches. So I'll cut 2 pieces 35" long by 15" long each. This will account for the overlap & for the hems on the overlapping pieces.
 |
| Lay the first piece down…hem toward the middle… |
 |
| Then lay the 2 back piece down over the first… |



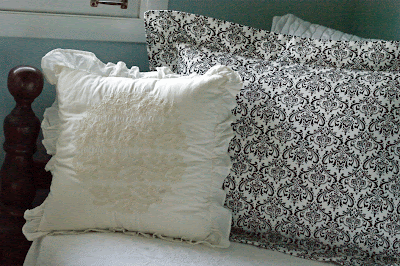


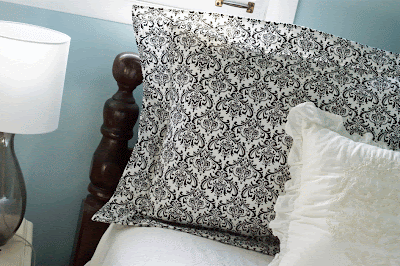
Oh, Heather…thank you so much for having me as a guest today!!! You're the best…
Thanks my dear… I think you are pretty fabulous as well!!
kisses
heather
Congrats Maggie! Whipperberry is one of my favorite blogs too! And I love your blog! And here your are…a favorite guest posting on a favorite! Love the pillow sham. So easy but it looks so professional. Thanks for sharing!
Thanks Kelly for the blog love… it’s Maggie fantastic!!
kisses
heather
Love the fabric!!!! And I love big fluffly pillows!!!!
They are just tasty!!
kisses
heather
Beautifully done…as usual!! Guess I should make myself some new shams because I am getting really tired of the ones I have!! I love Maggie's site as well was yours Heather!!
Thanks my dear, you’re fabulous!!
kisses
heather
I'm so excited to see Maggie here–I love Whipperberry and I love M{S}G! So, really, a perfect pairing 🙂 I love this pillow sham! I'm giving my bedroom a mini-makeover and have been wanting to make some new pillow shams for it . . . thanks for the tutorial, Maggie!
Thanks Rachel!! I <3 you too!!
kisses
heather
I don't think I could be more excited or happy for Maggie! :o) Whipperberry was my first blog "love" as well and I can't even imagine how it must feel to be featured—-this makes me SO happy! Two of my favorite blogs in one place :o) p.s. Heather, I adore your new blog look!
Jaime
Jamie~ you are too sweet!!
kisses
heather
This, for me, is like the pairing of chocolate and peanut butter. Good on their own and great together. I love, love Whipperberry and Maggie is such a sweetie I could just eat her up with a spoon. (Like the chocolate and peanut butter thing…)
Love the pillow sham! (And the clear tutorial that even a glue-gun seamstress like myself can follow.)
🙂
Miss Vivienne… I LOVE you!! Your comment made me smile from ear to ear!!
kisses
heather
Love the simplicity of this! cutting fabric to make shams as I type! Love to Whipperberry and M{S}G too!!
Hey Megan!!! Fancy seeing you here… thanks for saying hello and for the sweet words!
kisses
heather
This is very pretty would love to make a couple for my living room. Where did you buy your fabric at?
Thanks, Brandi!!!
I got the fabric online…it's called "Madison" and it's from Premier Prints…hope this helps!!! Good luck with the shams!!!
Thank you so much it helps alot.
Oh wow, such a super simple idea, I LOVE it! I might just have to whip up a million of these =) x
LOVE this tutorial! I am in the middle of my master bedroom makeover and really need some BIG pillows to fill in some spaces on my bed! And Heather…its been waay too long since I've stopped by;) Summer…
Kristen
I know sweet Kristen!! I understand we are going to meet up in October!!!! Sooooo excited!!
kisses
heather
Thank you so much to everyone for the wonderful comments!!! You guys are awesome…seriously…
Great sham … and I love Maggie. She writes one of my favorite blogs!
Love the look of the sham and the fabric you've chosen.
I do have a point of confusion though. If you are using a 3" border for the sham, wouldn't you have to add 6 inches to the both the length and width plus the 1 inch for seam allowance? (That would make the top piece 35X27.)
Oh my gosh…I'm so embarrassed…you are so right… YES! You would definitely have to add 3 inches to each side! Of course you would…yikes. I guess I wasn't paying enough attention…:(
Thank you so so much for bringing that error to my attention, Karen! You know, I read through that tutorial like 12 times and never saw the mistake…Thank you!!!
Very cute! I like the easy quick to get done projects. (In my house they're more likely to actually get done!)
Beautiful! I linked to your tutorial on Craft Gossip Sewing:
http://sewing.craftgossip.com/tutorial-easy-and-elegant-sham-pillowcase/2011/07/29/
–Anne
I can't believe it. I had that same fabric and i didn't know what to do with it. Thank you very much for the great idea and for the tutorial.
Ana (California)
This is gorgeous, and so easy! Thanks for sharing!!!
p { margin-bottom: 0.08in; }
hi dear ur post is so good pillow shams
This blog was so well thought out, and I think many of us could actually create a work of art from it:) Love the <a href="http://www.myfavoritebedding.com"<black and white bedding material.
Its really nice ! I hope its not as easy as it looks to make!
The fabric is so nice!
How much fabric do you need total for this project?