You guys, I’m so excited! I’ve been madly working on a fun project this summer… Creating for my oldest daughter’s wedding. Seriously, there is nothing more fun than to create for a wedding. One thing that is needed when creating for a wedding are LARGE scale displays, that’s how to create WOW factor. Anyone can create small scale stuff but, when you have the tools to create something larger than life, that’s when things go from typical to magical! I’ve been creating with my Cricut machines for years and with my inaugural Cricut EasyPress for over a year now but, I’m excited to introduce you to the Large Cricut EasyPress 2… A true makers dream! I’ve used the NEW Large Cricut EasyPress 2 to create a huge canvas sign for Haley’s wedding reception. We are going to have an Italian soda bar and I wanted to create a larger than life menu to place next to the bar. Here she is… Let me show you how to make this large scale canvas sign!
+ This post brought to you by the talented folks at Cricut +
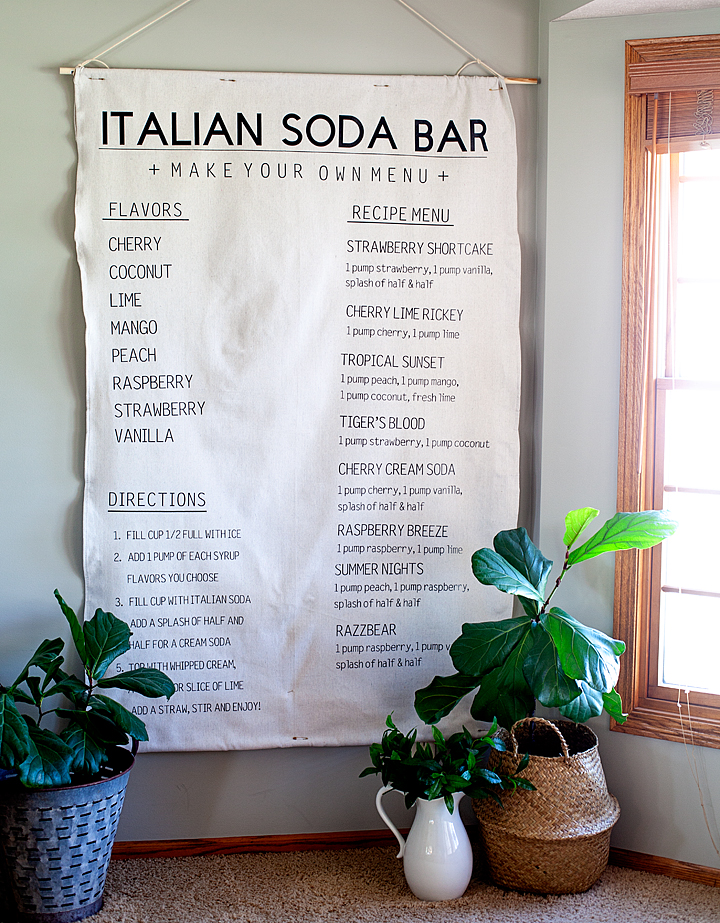
THE ITALIAN SODA BAR Menu
Early on in our wedding planning, Haley expressed that she would love to have an Italian Soda Bar as one of the elements to the reception. I was totally on board because I LOVE Italian sodas. If you aren’t familiar with an Italian soda, it’s a sparkling water with some added syrup and possibly added creamer or half & half depending on your taste. They are super scrumptious and fun to play around with.
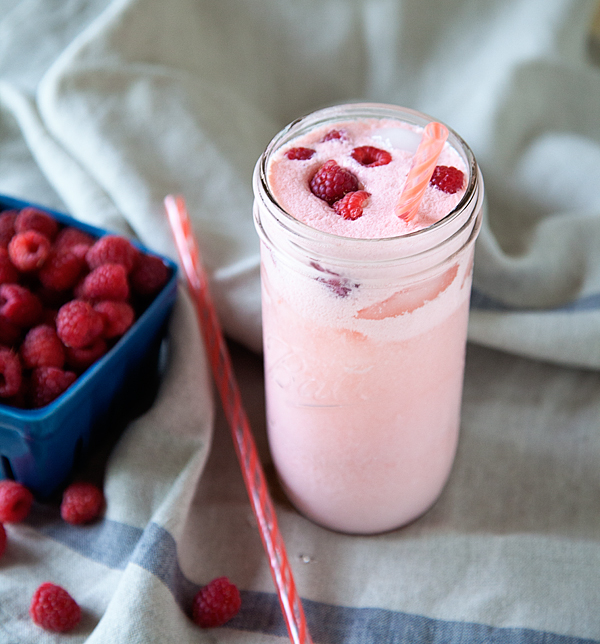
I thought it would be a great idea to create a stylish life-size menu to place next to the soda bar to draw peoples attention to our drink options at the reception. I, of course, turned to my favorite creative tools, my Cricut Maker and the NEW Large Cricut EasyPress 2! I loaded up an arm full of Cricut Everyday Iron-On™in black and set to work.
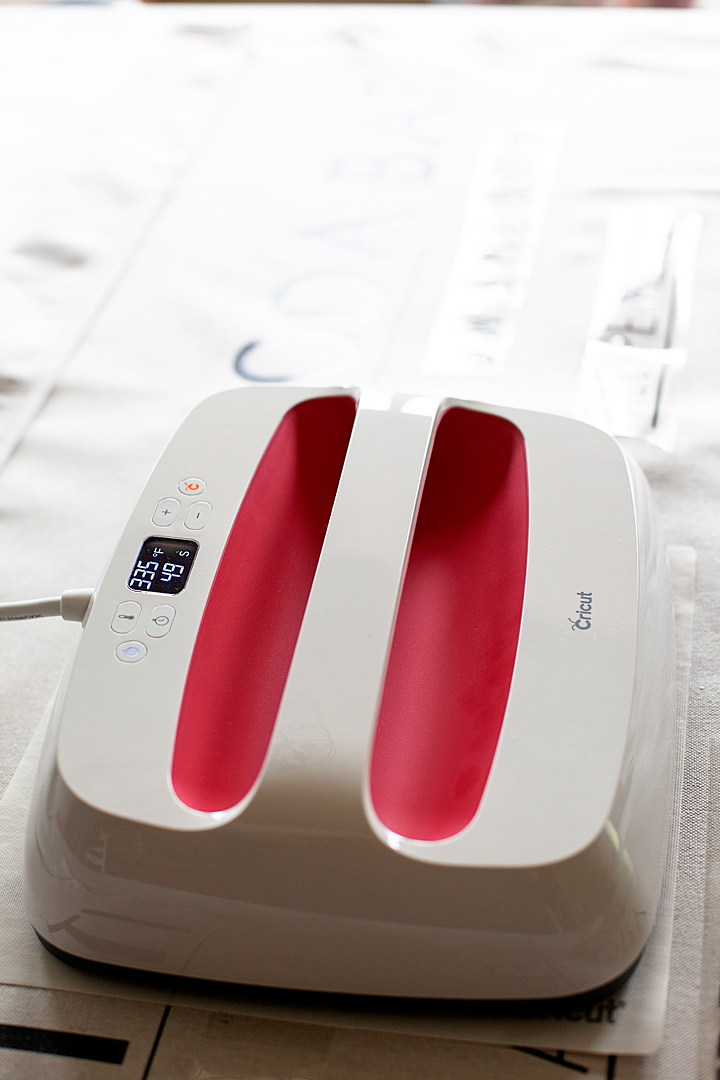
The Cricut EasyPress 2
What makes the EasyPress so cool? Well… First of all, the original EasyPress is still a total rockstar and will work just perfect for this project as well if you already have one. If you don’t already own an EasyPress, you love the features on the THREE NEW EasyPress 2 machines…
- Three unique sizes (6×7, 9×9, and 12×10) to suit every project you can dream up
- Professional iron-on success in 60 seconds or less
- Easy to learn and simple to use
- Ceramic-coated heat plate means dry, even heat for flawless transfers
- Faster heat-up time
- Precise temperature control up to 400˚ F (The old EasyPress only goes to 350˚)
- Insulated, streamlined Safety Base keeps EP2 in protected resting position while also protecting the pressing surface
- Easy to read digital display
- Scrumptious raspberry color
- USB port for firmware updates
The Design
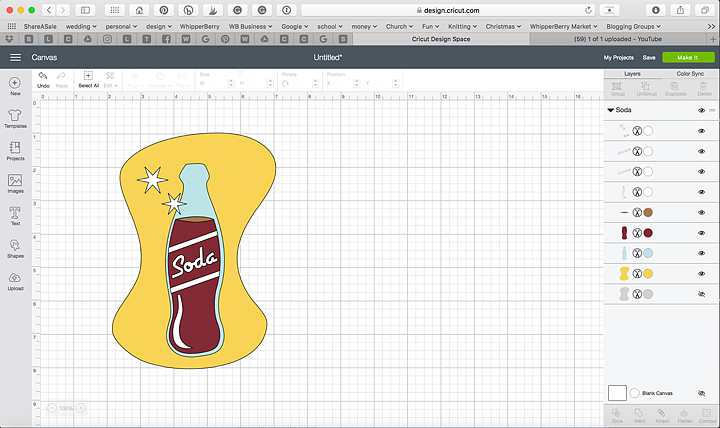
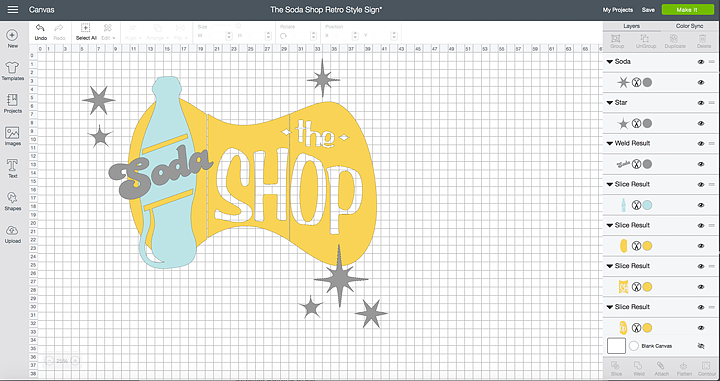
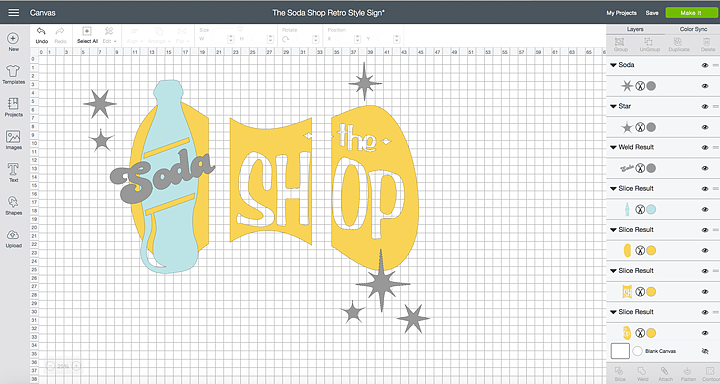
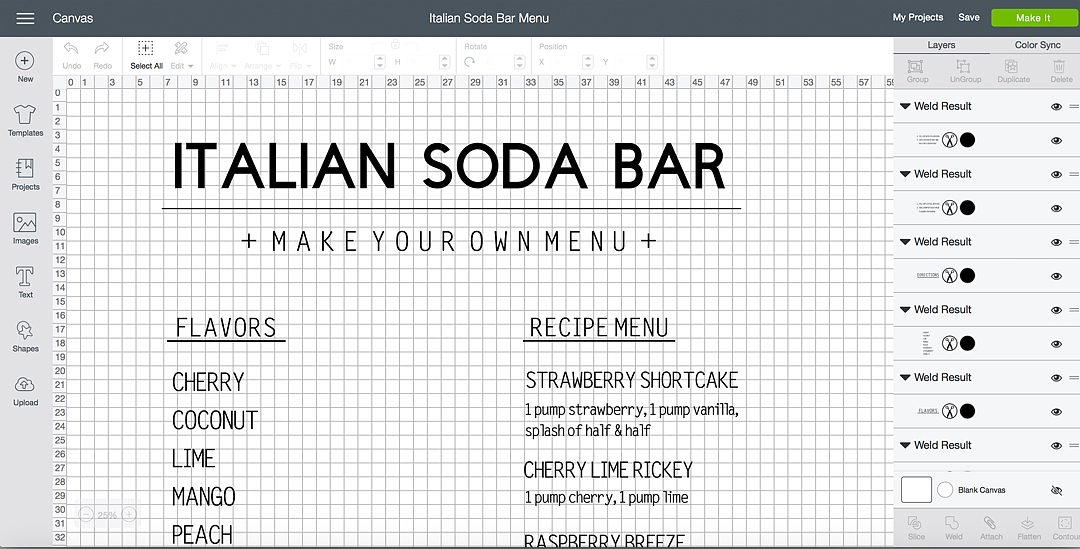
I created my design in Cricut Design Space…
Then measured the “secret” material that I was going to use. It is 4 feet wide, so I then sized it appropriately within the software so that it would cut at the right size. Because of the size of the design, I knew that I was going to have to piece some things together like the underline in the title but, that wasn’t an issue at all.
Large Canvas Sign Supplies
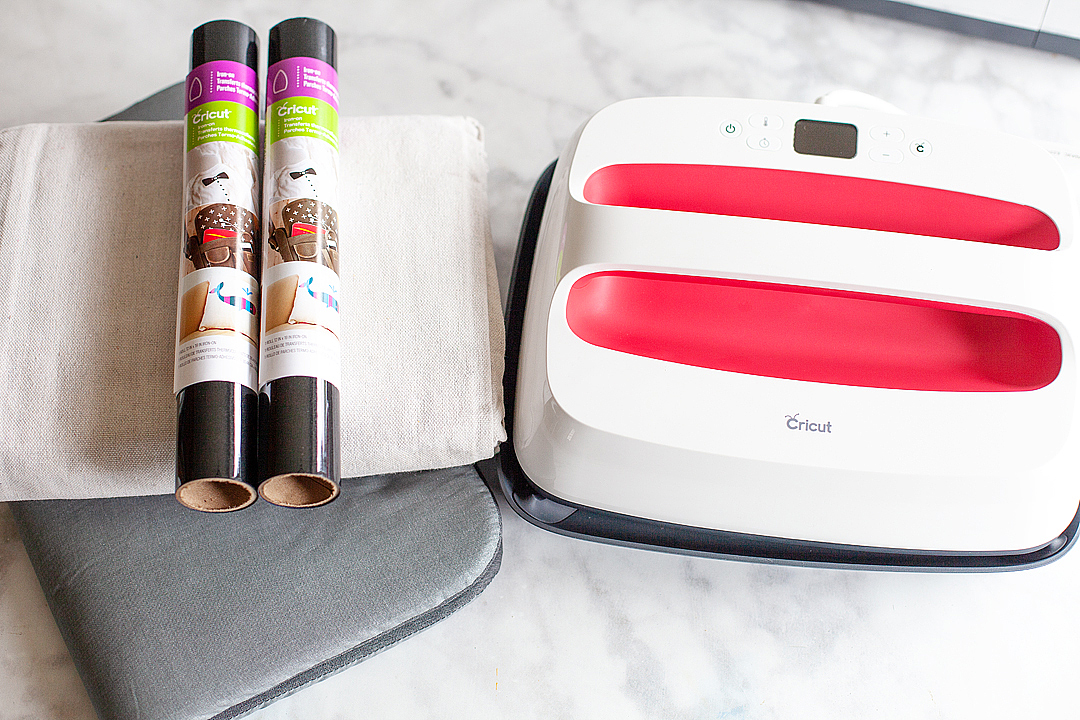
- Cricut cutting machine – I used the Cricut Maker
- 12×24 light grip cutting mat
- EasyPress Protective Mat
- Cricut EasyPress 2 – large with the 10×12 plate
- Cricut Everyday Iron-On – black, I used 10 rolls for this project
- EasyPress Mat 12×60
- canvas drop cloth – I found a 4 ft wide drop cloth at Home Depot for about $9
- 2 wood dowels
- 1 1/2 yards cotton rope
That’s right, I used a DROP CLOTH as my canvas for this life-sized menu sign and it turned out great. What I am loving more than anything is the NEW Cricut EasyPress 2, especially for a project of this size.
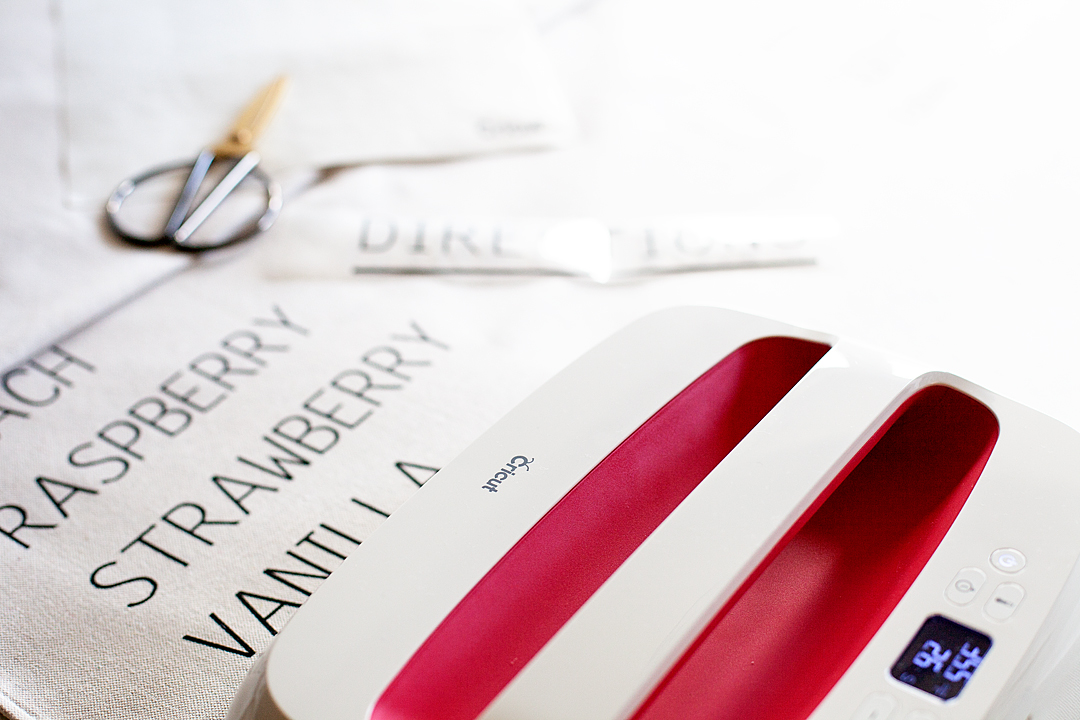
This menu sign is as tall as I am! Having the large EasyPress 2 made all of the difference. Not to mention the improved design and heat plate. This new EasyPress is a dream! I’ve longed for days when I could easily and cost-effectively made large-scale projects like this without spending an arm and a leg, I love how Cricut works to understand what makers are looking for and then work their little behinds off to create tools that are inspired by US!
Instructions
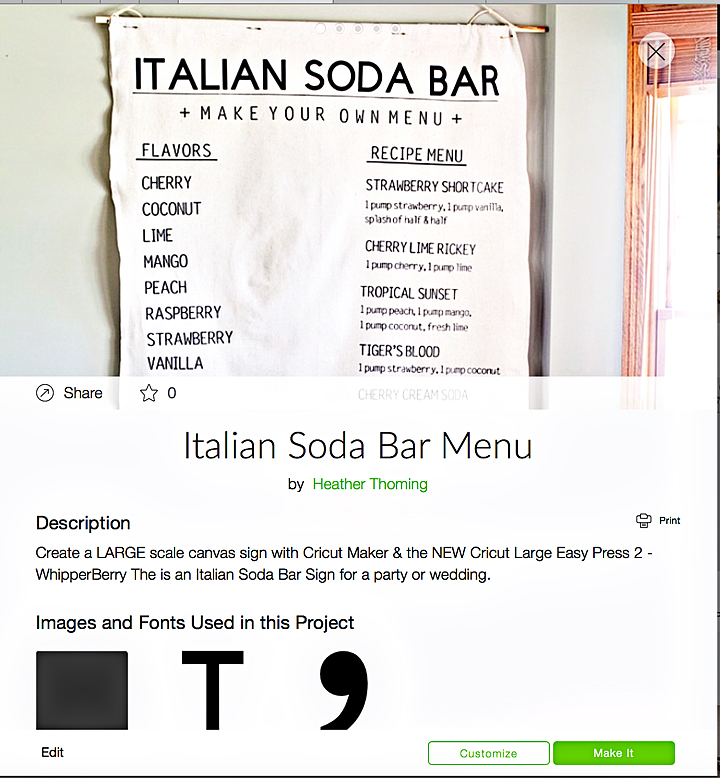
Now, this project may seem daunting, it’s really not. It’s your typical sign making but, on a larger scale. You have to click on my Italian Soda Bar sign in Design Space and then size it to the size you would like your sign to be. This is the beauty of design space. We can easily share projects and then customize it for our needs. Then, all you need to do is click the MAKE IT button. Design Space does all of the work when it comes to making sure you don’t waste your precious Everyday Iron-On material by placing your welded groups into sections that utilize the materials the most efficient way.
IMPORTANT | Make sure that BEFORE you cut your vinyl you select the MIRROR button when preparing your cutting mats for final cutting.
Here’s how to make your Italian Soda Bar sign,
- Cut Everyday Iron-On Material on Cricut Maker or Explore Air 2 machine. DON’T FORGET TO MIRROR YOUR IMAGES.
- Your sign will be jumbled up a little bit on your cutting mats but, don’t worry. You will cut them into sections after you weed the iron-on and place them on your drop cloth in the right order.
- Weed material. This means to remove the excess iron-on material around your words to then discard. Make sure to weed carefully so that you don’t remove or tear any letters or numbers. You also want to make sure that you don’t accidentally remove punctuation and those little dots on top of the “i” and other letters.
- Prepare your drop cloth. Layout your drop cloth on a large flat surface and make sure it is wrinkle free and ready to go. TIP | Use the EasyPress to iron your drop cloth to prepare it to add the Everyday Iron-On™.
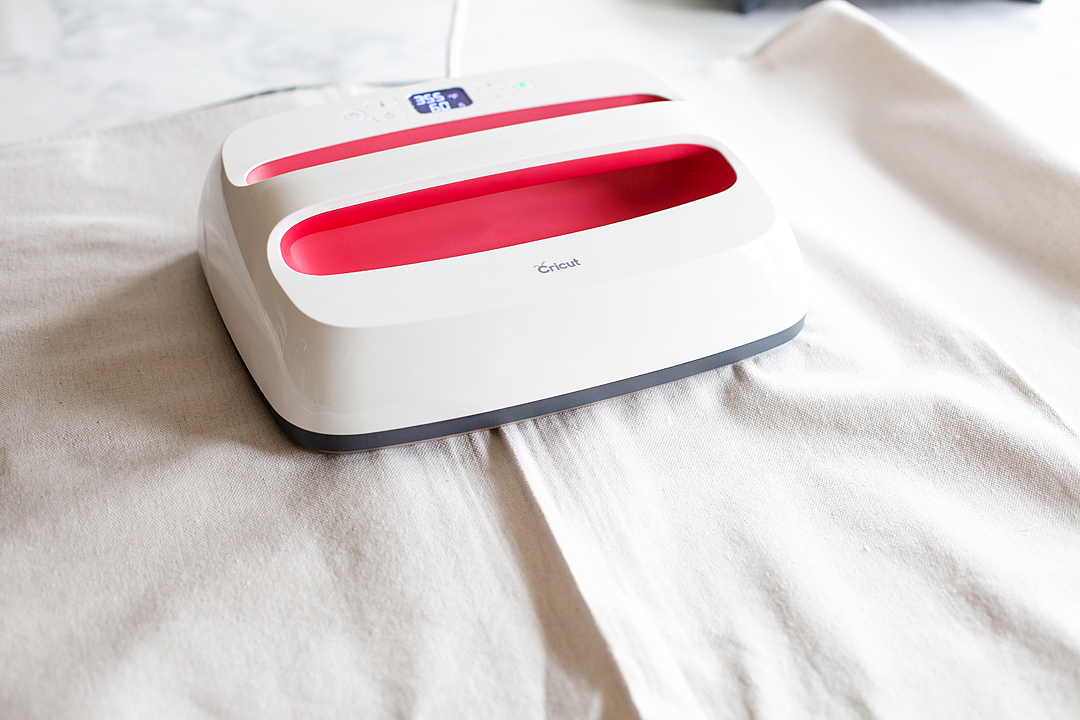
- Cut and arrange your sign sections on your drop cloth. Now, I did this a little bit at a time starting with the title once I had the title pressed then I move down and work on another smaller section.
- Measure – Now, I’m not really a measuring type of person but, (I should be) if eyeballing isn’t your thing. You may want to take out your measuring tape and to make sure everything is lined up appropriately.
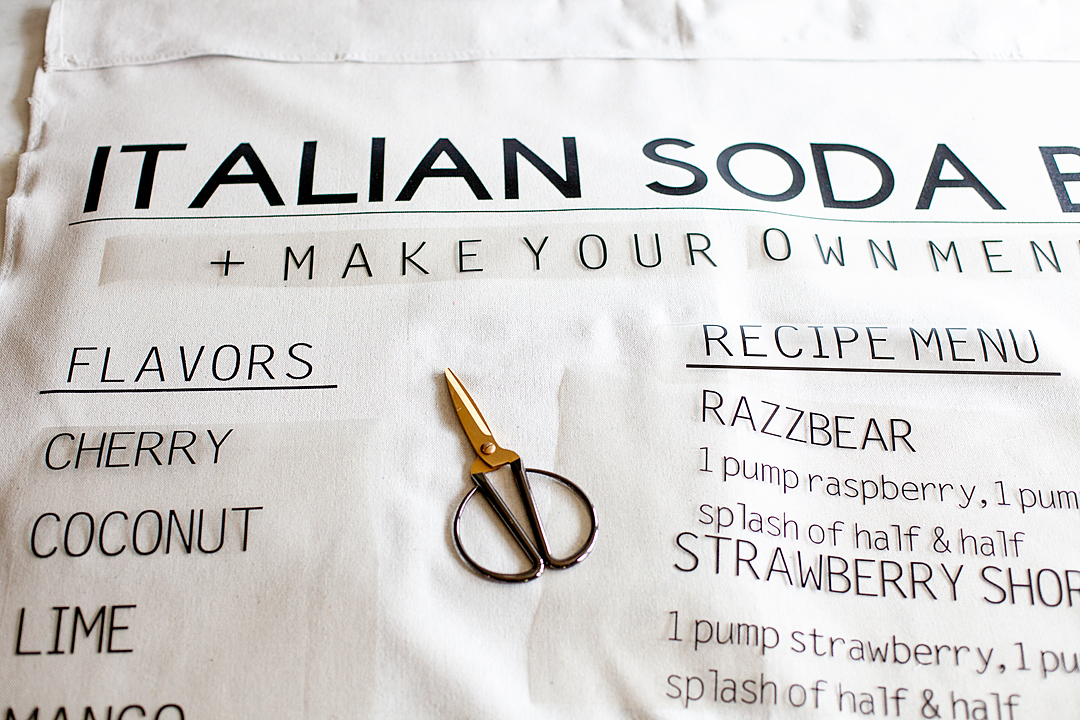
- Turn-on your EasyPress 2 and set it to the following settings,
- 340°F / 171°C
- Pre-heat your surface: 5 sec
- Press: 60 sec
- Warm Peel (leave for 30-60 seconds and then gently peel)
- Place the EasyPress Mat under the first section to press and cover with the protective cover and press the 1st section according to the guidelines above.
- Repeat for the remaining sections.
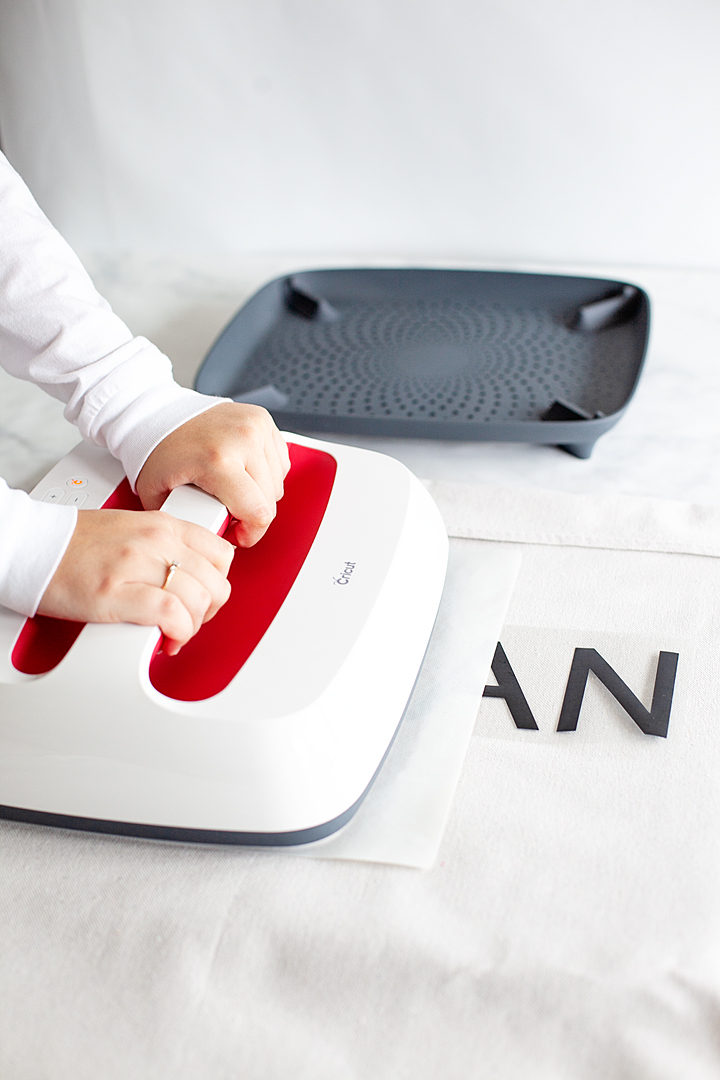
The Cricut EasyPress 2 will be available this Fall from Cricut. What HUGE project would you like to make with an EP2? Stay tuned I have all kinds of goodies that I’m working on for the wedding that are going to look amazing thanks to the EP2.
This is a sponsored conversation written by me on behalf of Cricut. The opinions and text are all mine.
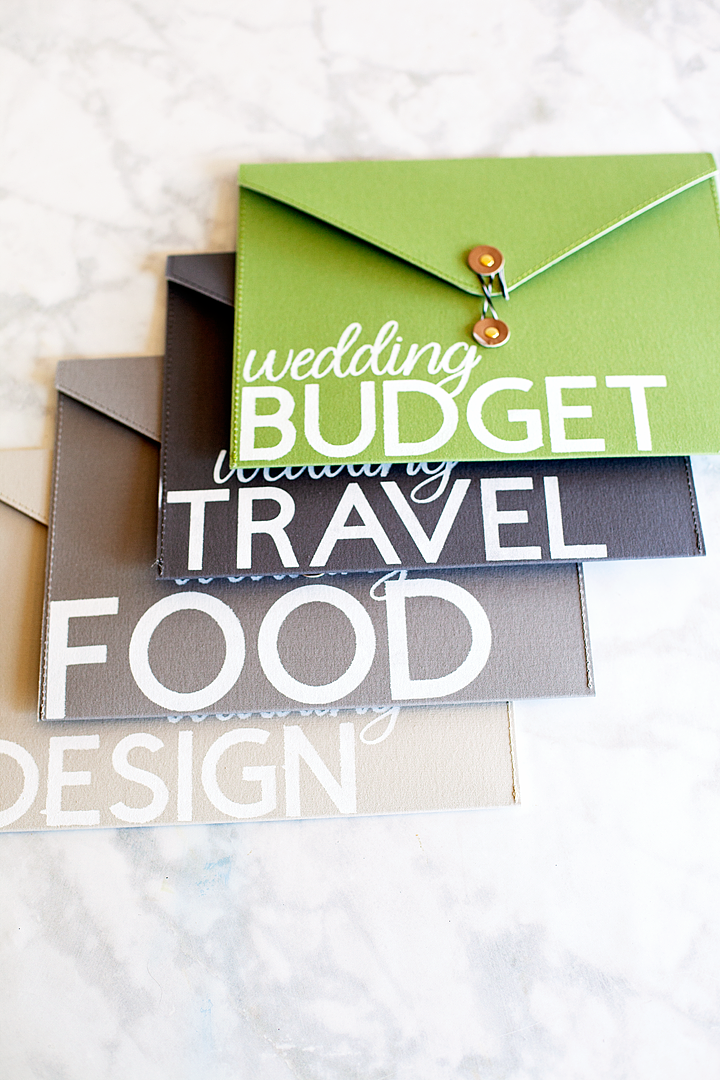
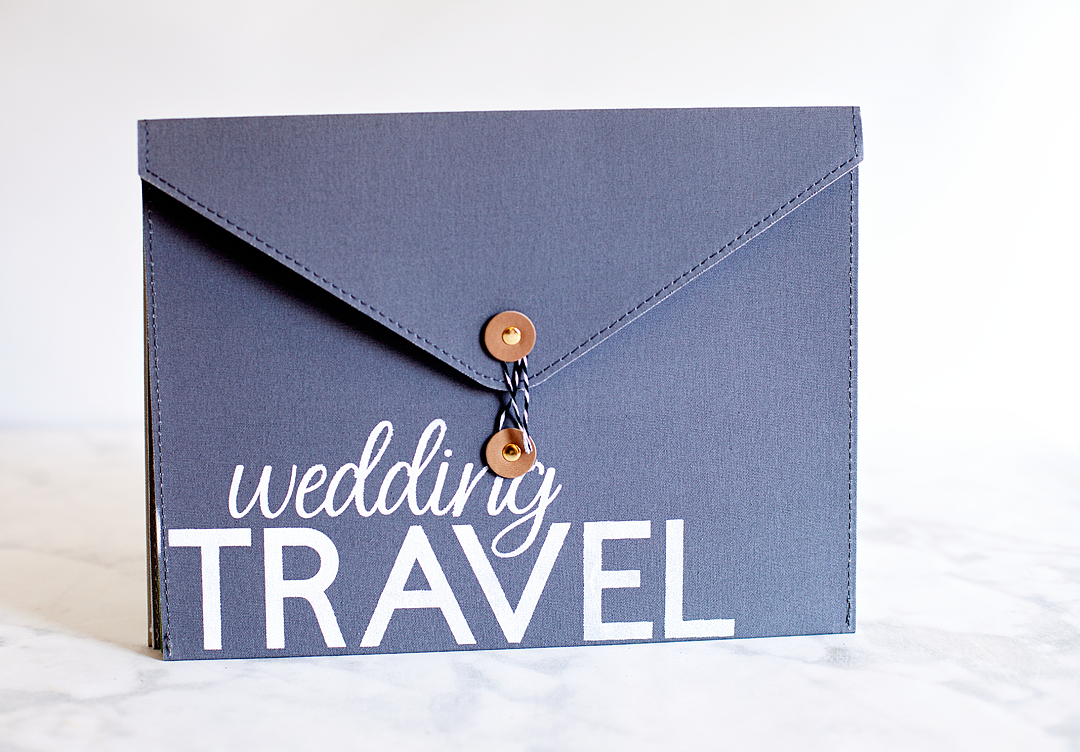
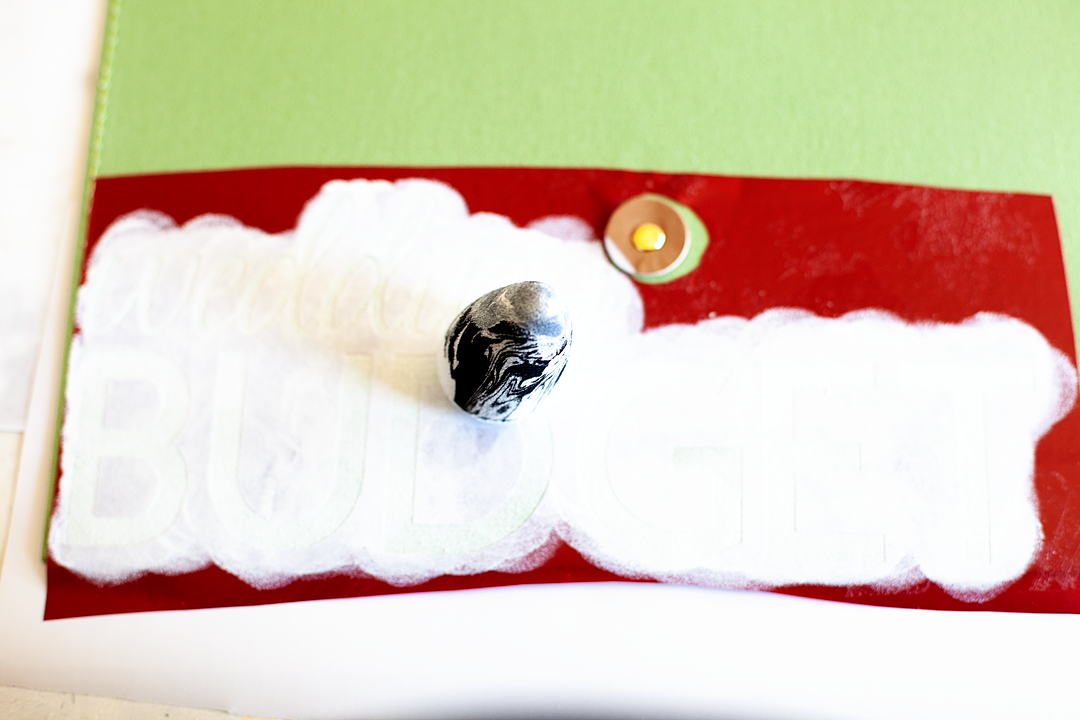
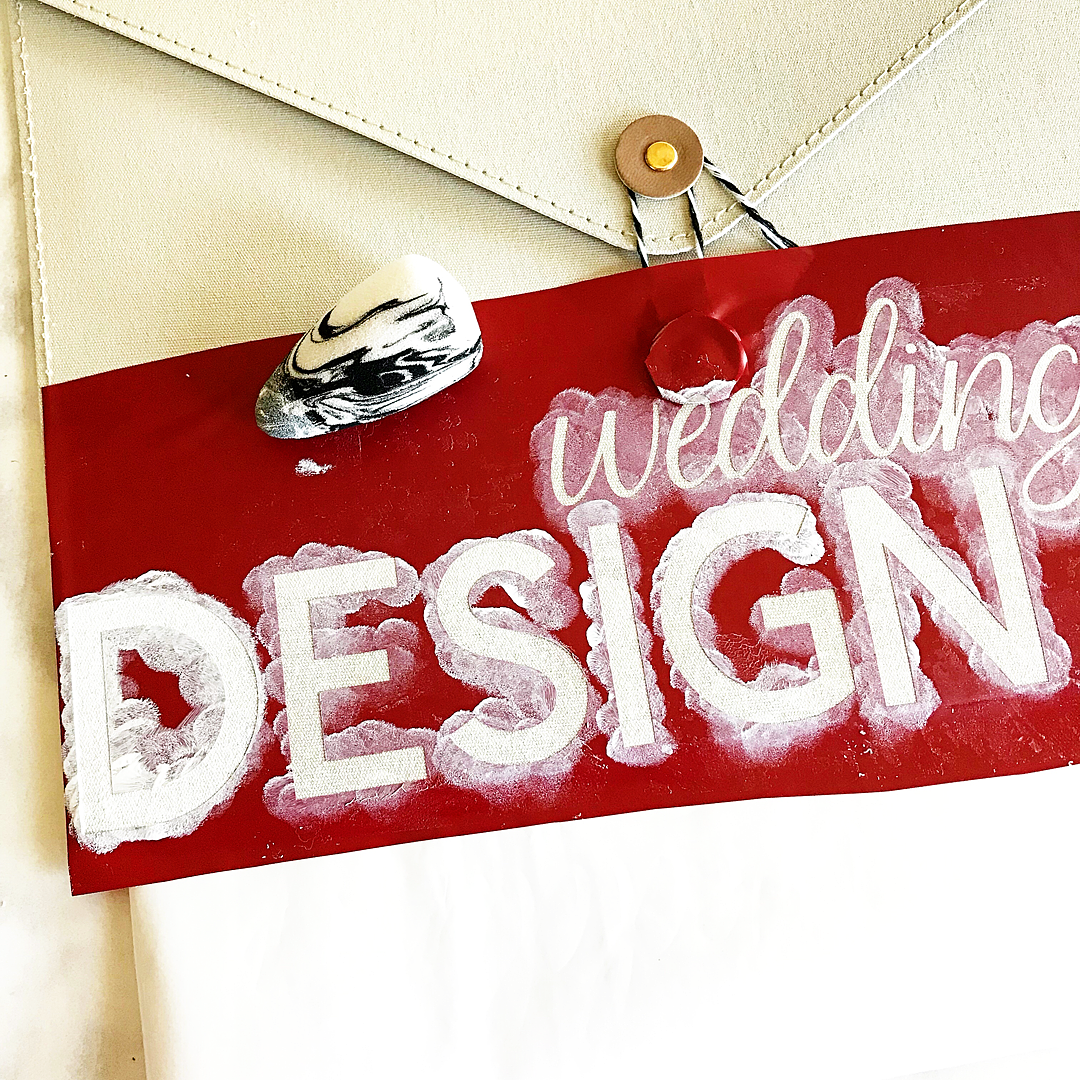 Keep the paint LIGHT to avoid any paint leaking under the stencil. It’s better to have several rounds with light paint than to have an unsightly leak area.