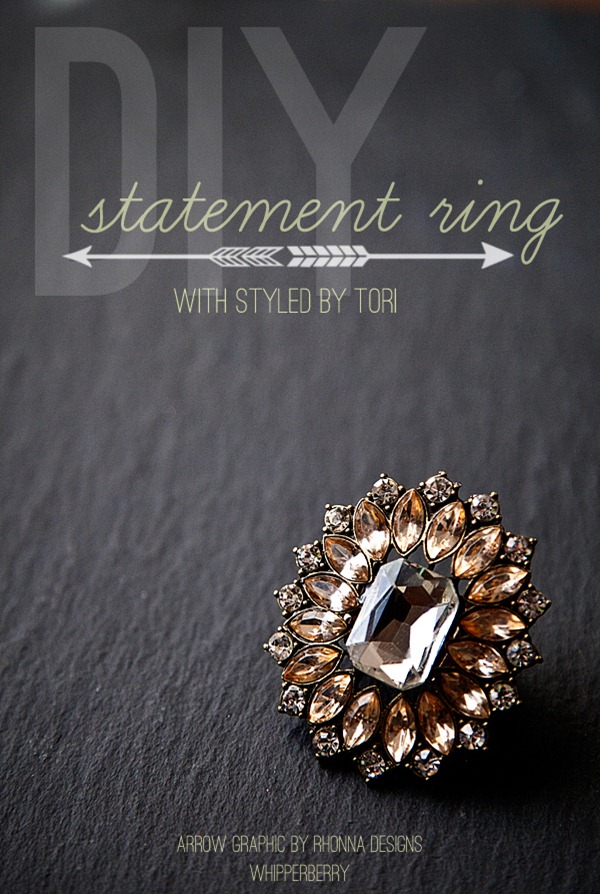
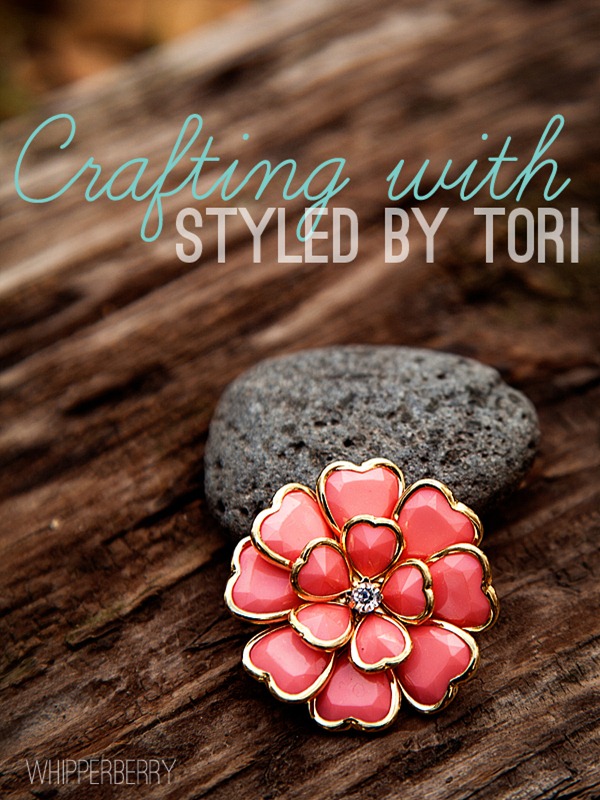
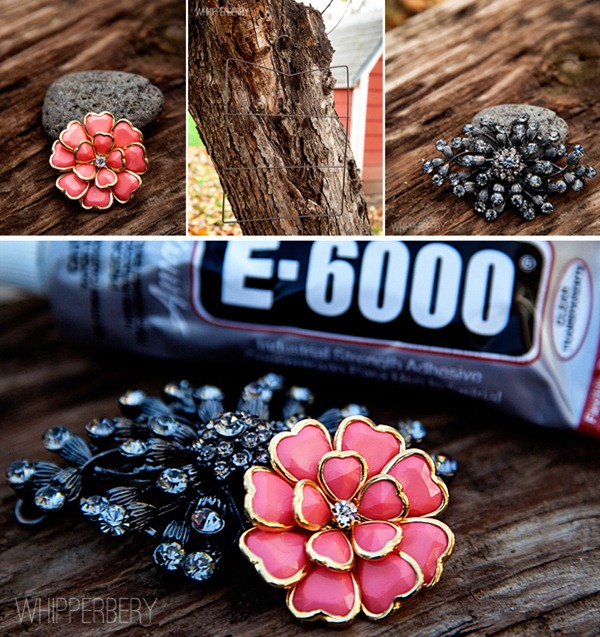
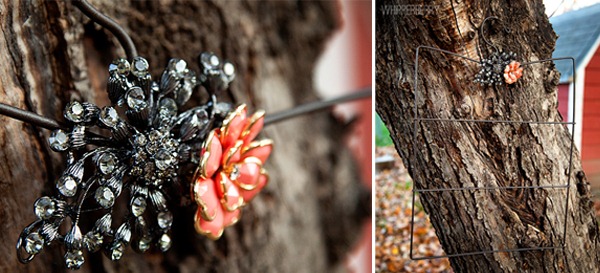
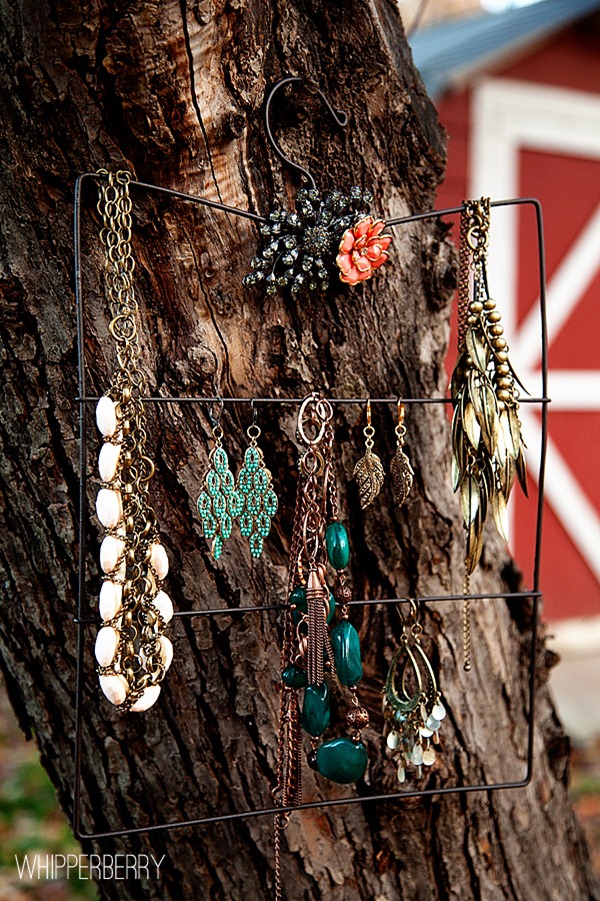
From the minute I was introduced to the Styled by Tori collection of DIY jewelry, I thought some of the necklace pendants would make fabulous statement rings…
arrow design element // rhonna designs
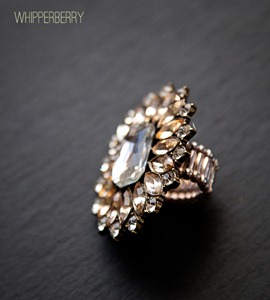
I mean, check that out! Wouldn’t it look fabulous on your hand? I gathered up some simple supplies and set to work on the easiest jewelry project EVER!
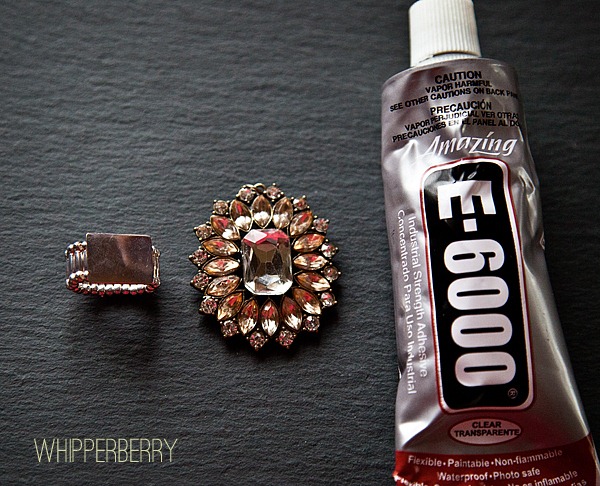
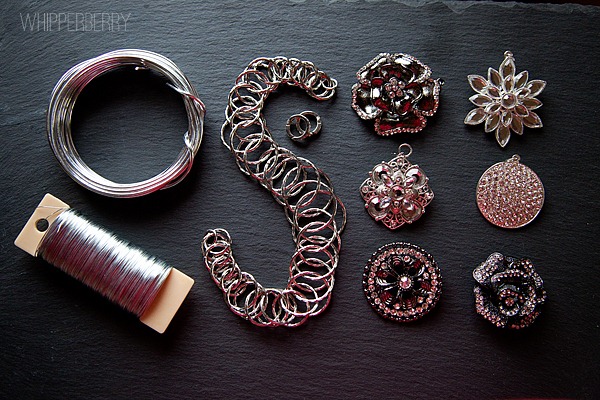
Supplies
Instructions
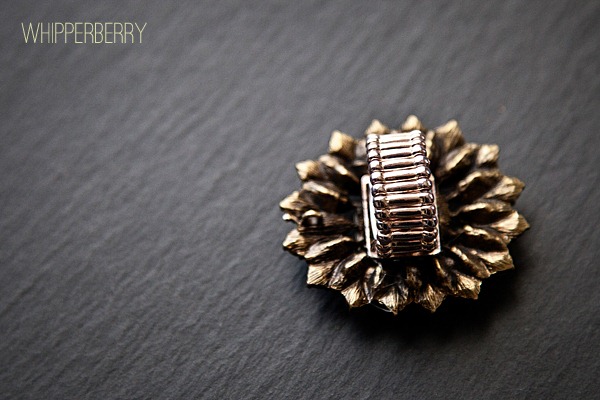
This couldn’t be easier… I took my scissors and roughed up the ring base a little bit so that the glue had something to hold on to. Then I placed a dollop of E-6000 on the ring base. Not too much, a little less than a pea size drop. Place the pendant on the ring base and then set the ring pendant side down in a safe place.
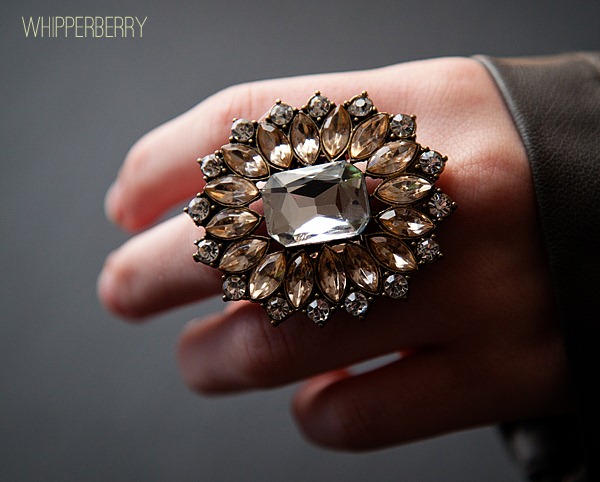
Now’s the hard part, you have to sit and wait. Let the ring sit over night so that the glue can cure and create a strong bond. That way you won’t ever have to worry about the sparkle popping off, ever! Once the glue is cured, all you have to do is slide that fabulous ring on your hand and head on out and strut your stuff! Here’s lil’Whip a.k.a. my daughter Hales showing off this fun ring…
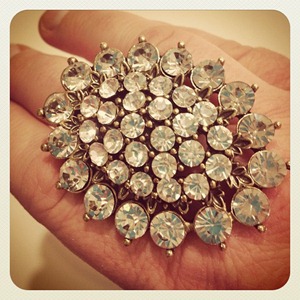
Isn’t is pretty? I actually bought a fun statement ring from a major retailer not too long ago and paid almost three times the price than what I paid to DIY this little beauty myself. Here you check out the difference…
The picture on the left is the Instagram that I took right after I bought my fancy ring and paid the fancy price for it. On the right is the ring that I DIY’d with Style by Tori. I have developed quite a crush on the ring and it’s lower price tag!
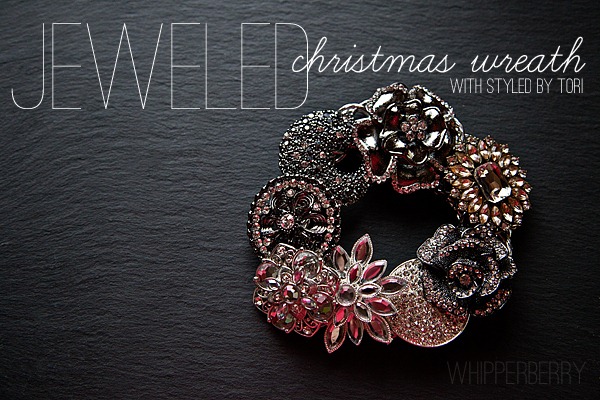
Wouldn’t it be fun to make a whole bunch of these to give out to your favorite girl friends for the Holiday’s this year? You’ll look like a DIY rock star… well, that maybe a bit of an overstatement. But, I’m sure all your friends will love them!
You can find the entire collection of Styled by Tori at your local Michaels and a large selection is also available at your Joann Craft Center. I noticed that they are on sale over at JoAnns this week, a great time to stock up for the holidays!
