Have you always wanted to create beautiful vinyl signs but, can’t quite get the hang of applying vinyl? Look no further, I’m sharing my pro tips for how to apply vinyl to create beautiful vinyl signs.
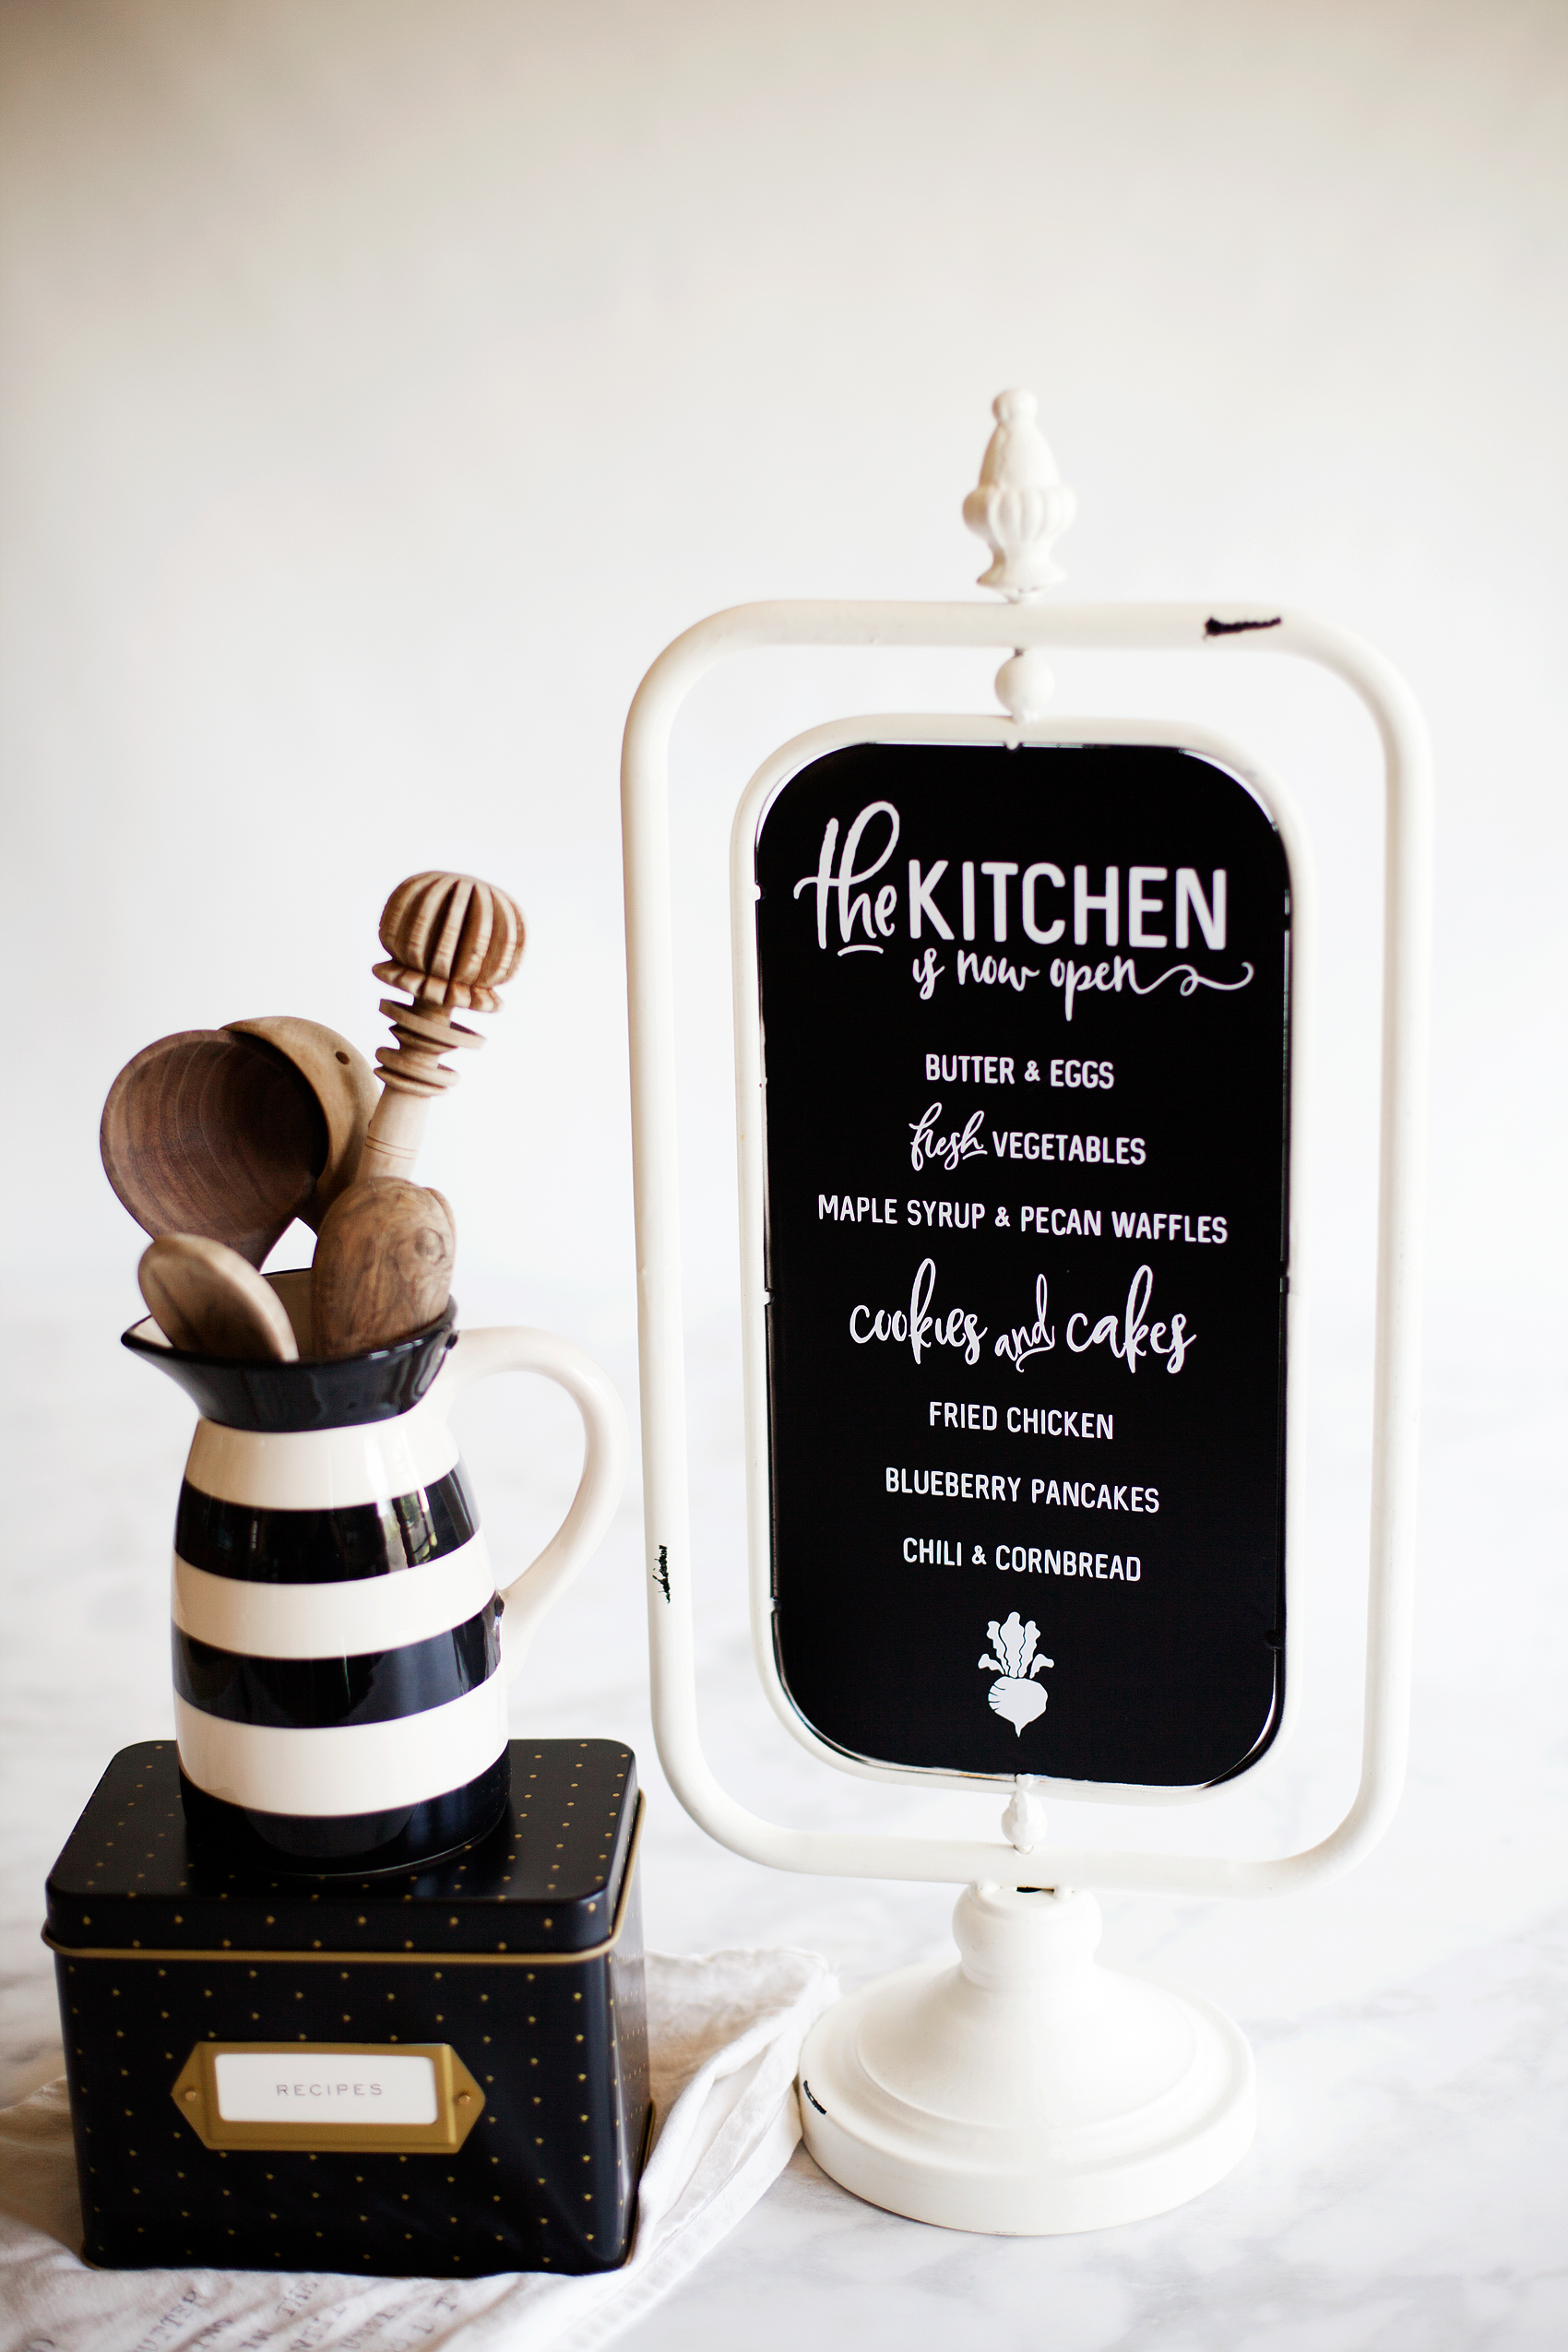
how to transfer vinyl tutorial • brought to you by Cricut
Recently, we moved to our new forever home and I have been madly creating all kinds of fun things to make the space my own. I LOVE creating word art whether it be for vinyl signs, painted signs, or for printables, for some reason that kind of decor always speaks to me. (No pun intended!) I love typography and everything that comes with creating with words and letters. I love watching trends come and go and adding my version to the fray.
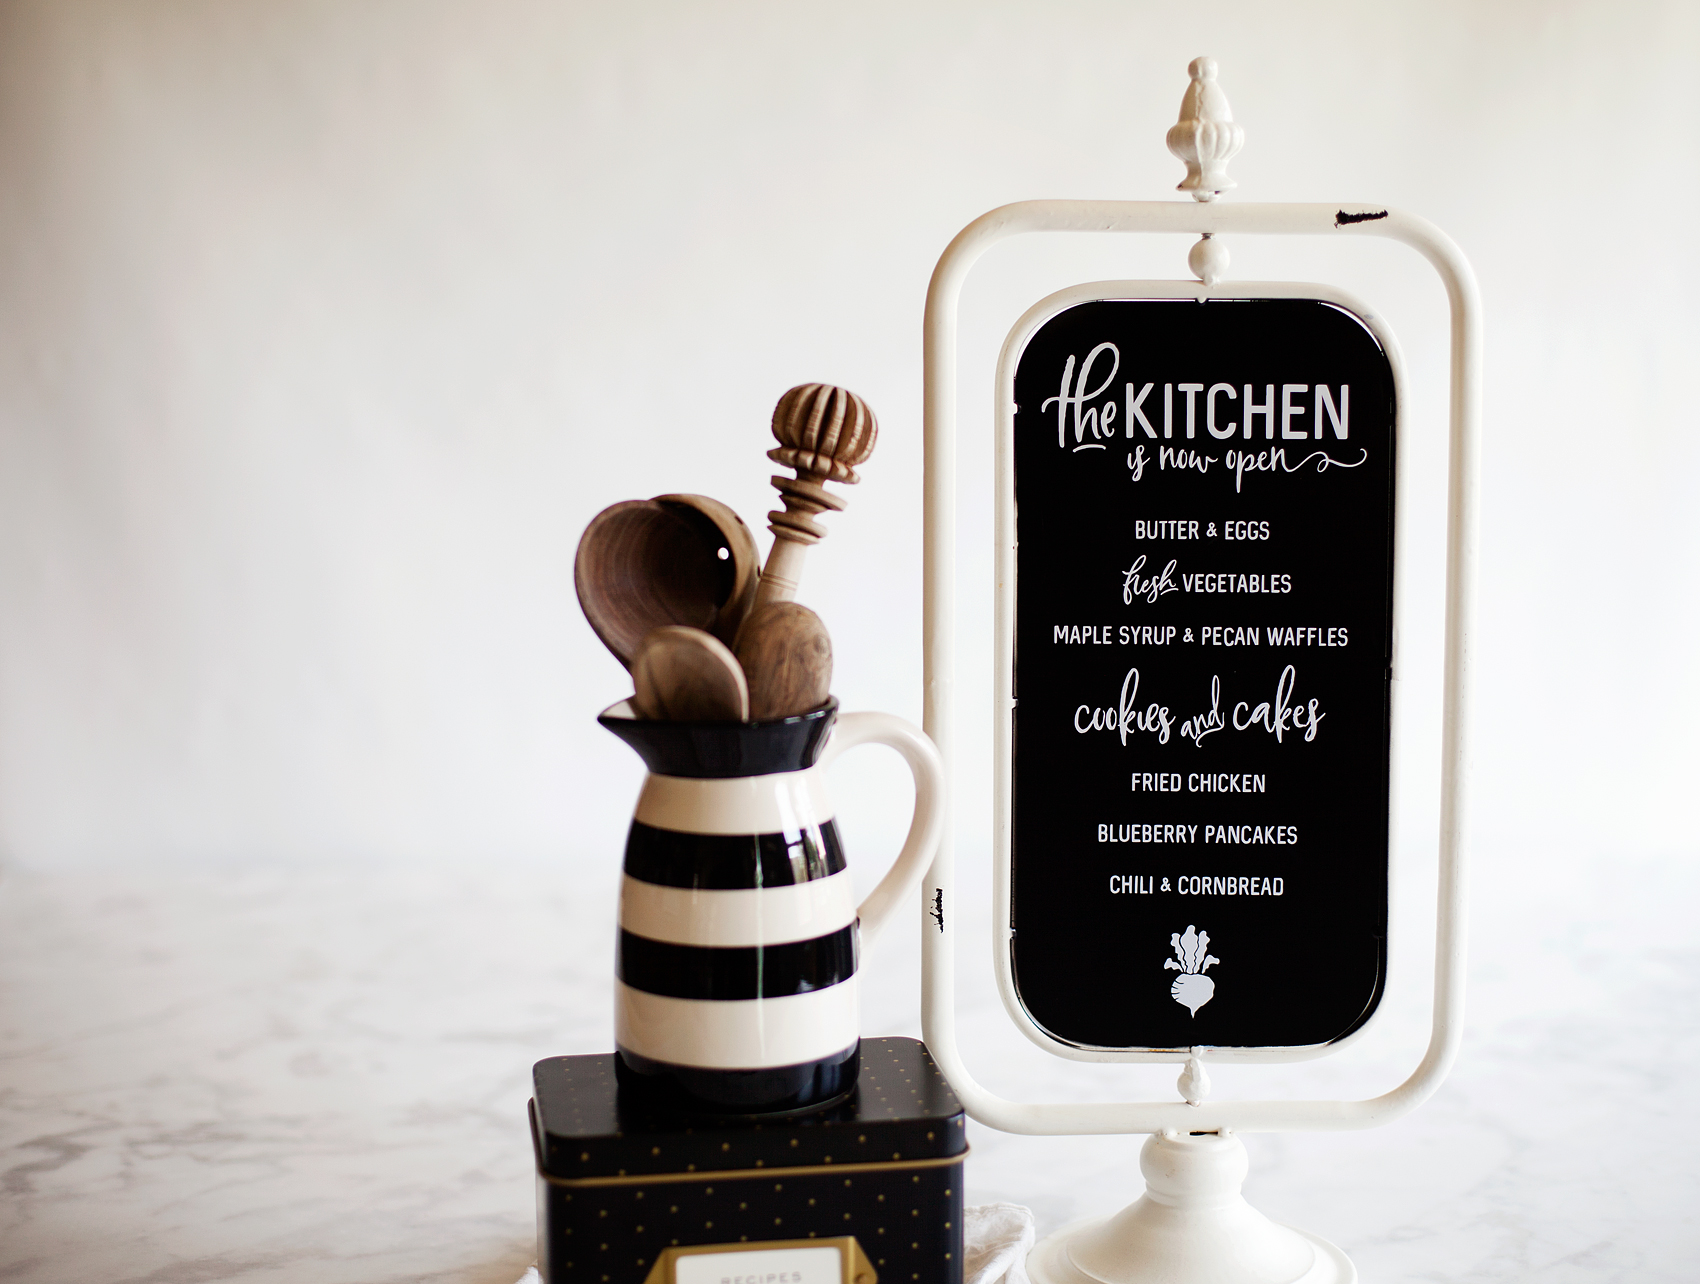
Right now, with the popularity of the show Fixer-Upper, word art is hot. I have all kinds of farmhouse/industrial signs all over my house. I found a fun, blank chalkboard stand at Michaels in their decor section and thought it would be fun to create a new “The Kitchen is Now Open” Sign for my counters. After a little bit of playing around, this is the design that I settled on…
Download Kitchen Sign for Free
It has a little bit of farmhouse flair that so many of us are in love with right now. Now, this sign could be a little intimidating with all of the little letters but, don’t let it be intimidating. YOU CAN DO THIS! All you need is a little patience. So many people try and rush through a project and they get easily frustrated and then their project fails. That is so SAD! Step back, grab a Diet Coke (or, whatever it is that makes you happy), and ENJOY the process of creating.
For today, I’m focusing on just the vinyl transfer part of sign making. I’m working on a few more tutorials on how to create your sign in the NEW Cricut Design Space that was launched in BETA mode a week ago. It’s fabulous! I’ve been having a ball getting to know the new, faster & more user-friendly Design Space. I’m sure you’re going to love it too! It’s so easy to create your own designs within the Design Space or you can create in other programs like Photoshop or Illustrator and import your PNG files directly into Design Space and create that way as well. I’ll be working on more tutorials for both of those options soon.
I’m also working on a video tutorial on how to weed your vinyl. That’s the process of removing the negative part of your design in the vinyl. It’s really not hard, but I have a few tricks up my sleeve that will make it a little easier. Today, I’m just going to focus on how to apply vinyl. Here’s a quick video to show you how to apply vinyl to any type of smooth surface.
Video Tutorial for How to Apply Vinyl
How to Apply Vinyl by WhipperBerry from Heather Thoming on Vimeo.
See, isn’t that simple! Honestly, the trickiest part is making sure that the design is centered onto your surface. As long as you stick with these simple tips, you can become a vinyl sign PRO!
Pro Tips for Applying Vinyl
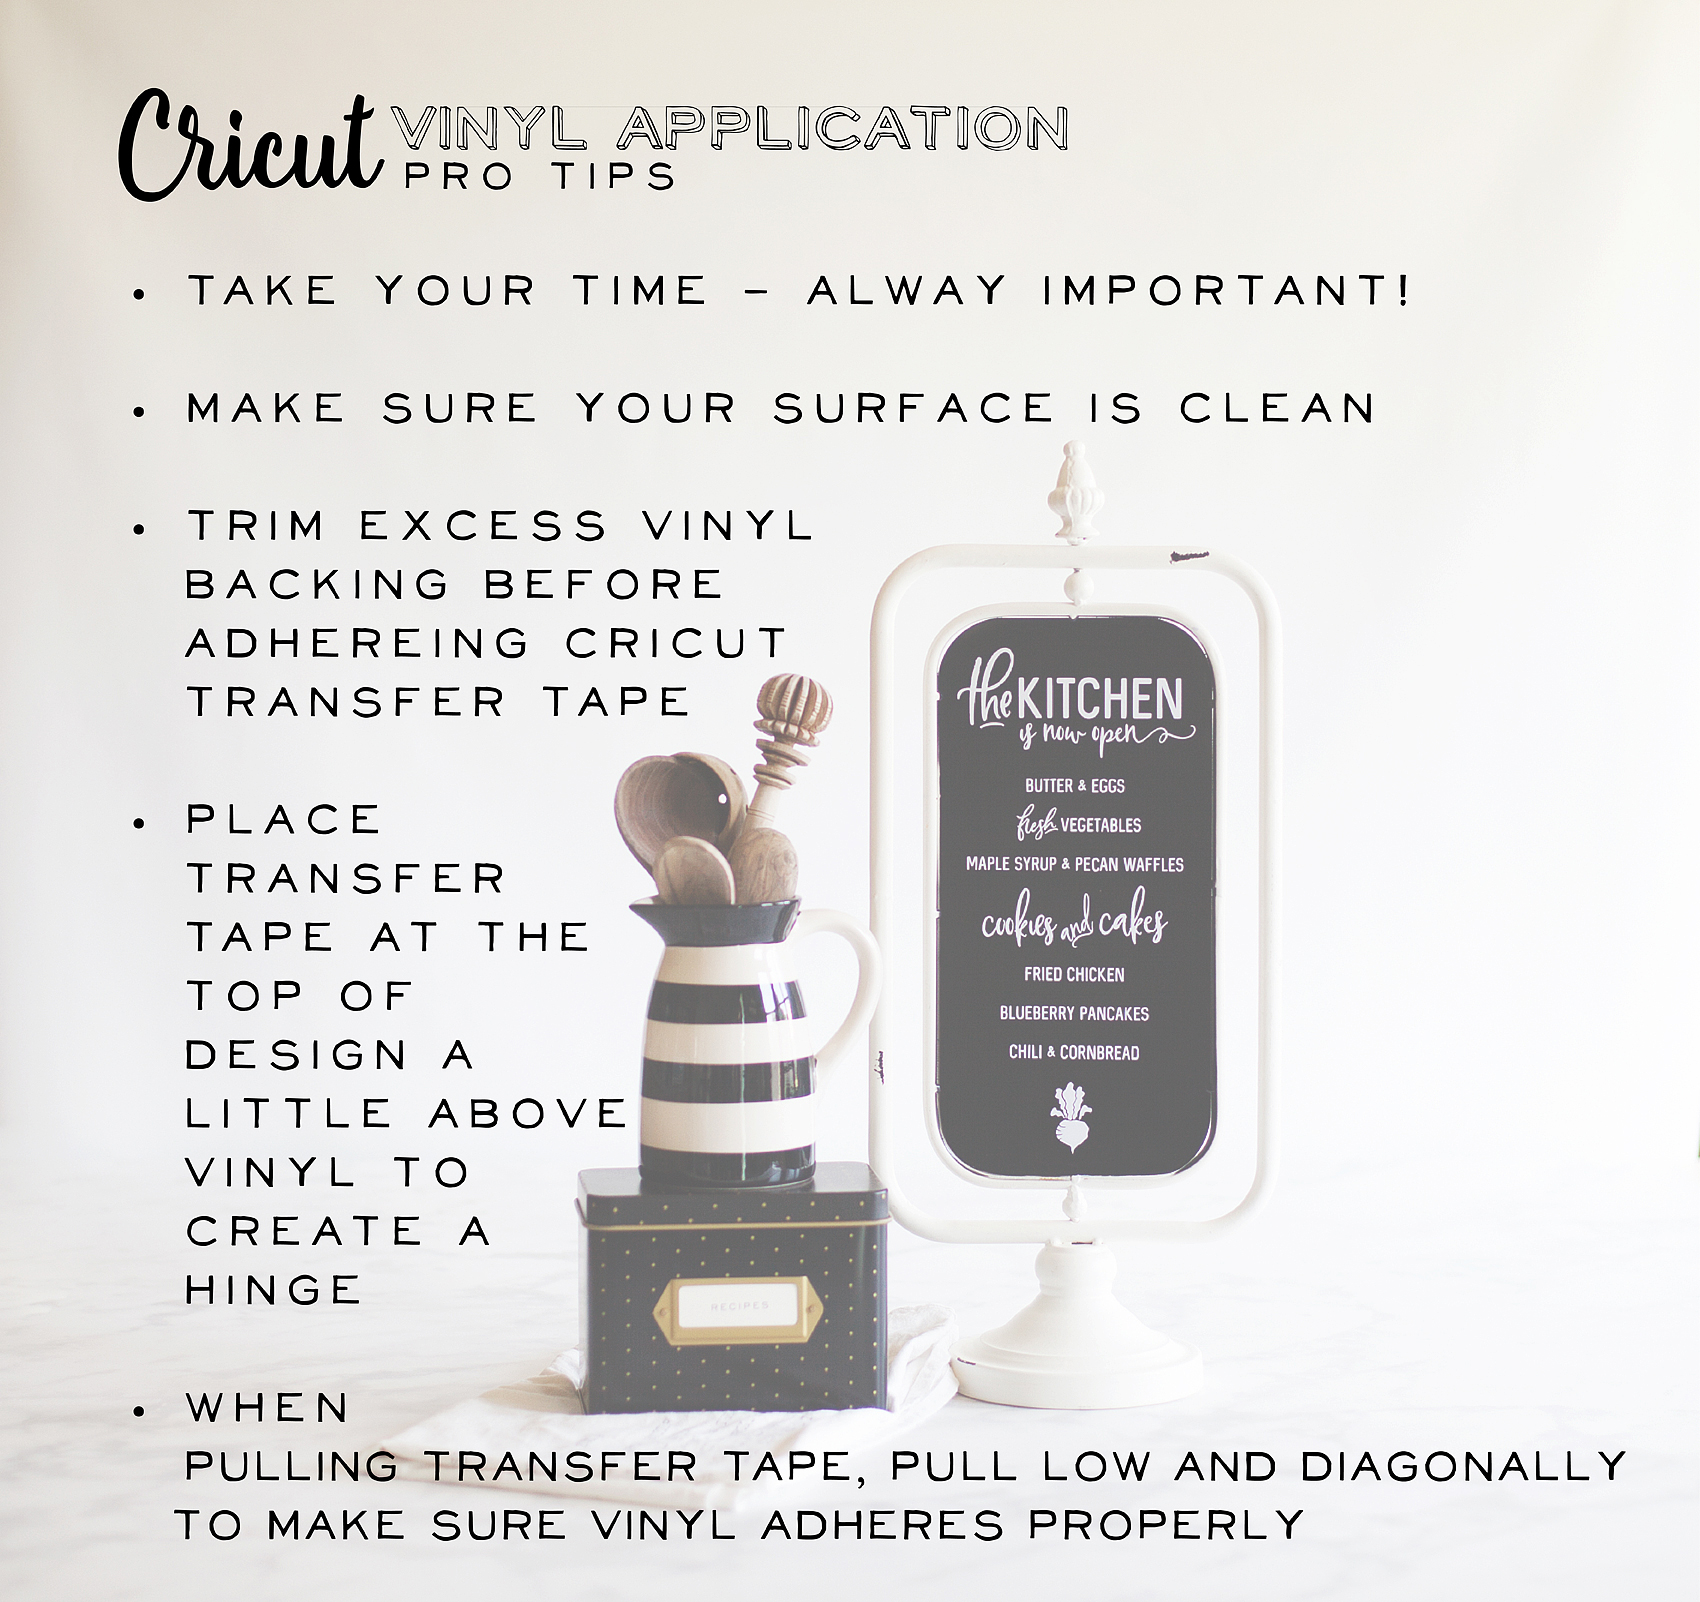
- Take your time – like I said before, don’t rush. If some of the vinyl lifts while you are transferring it to either the transfer tape or your sign… Don’t stress out. Lay that section back down and press on the vinyl with your finger and then try again. You’ll get it, just don’t rush.
- Make sure your surface is clean – Now think about this, if you try and place a sticker on a surface covered in dust, dirt, sand, or general grime, what will happen? The sticker won’t stick. Same thing with adhesive vinyl. Whatever you are adhering it to needs to be clean. Nothing is more frustrating than laying down some vinyl and then finding a little piece of dirt stuck under the vinyl image making an unsightly bump. Take the time to make sure everything is clean.
- Trim excess vinyl backing – Again, vinyl is just one big sticker. Stickers are placed on backing to keep the adhesive side sticky. The same applies to vinyl. Once you have cut your design on your Cricut machine, you’ll weed your vinyl and then you’ll want to cut away the excess vinyl backing. This will help when laying down your design and making sure it is placed the way you would like it.
- Create a hinge – Several years ago, when the Cricut cutting machines made cutting your own vinyl possible, a good friend of mine, who owned a large-scale sign-making company, taught me her tricks for applying vinyl. Each of these tricks, I still use them every time. One of them is to use the transfer tape to create a “hinge” at the top of your design. Check out the video and you’ll see what I mean.
- Pull transfer tape low, slow, and diagonally – My sign-making friend also taught me this years ago. When removing the transfer tape, pull low, slow and diagonally. What I mean by low is, that you are essentially folding the non-sticky side over on itself as you are pulling as close to your surface as possible. When do that along with pulling diagonally, you’ll be less likely to pull the vinyl back up as you remove the transfer tape.
A Quick Note on Materials
Here we have it… Not all vinyl and transfer tapes are created equal!! I have tried many brands of both vinyl and transfer tape. I’ve used what the professionals use and basic crafters vinyl. I LOVE the Cricut Transfer Tape!! It’s clear and so easy to use. I’ve also been very happy with the Cricut Vinyl. I have exclusively used the Premium Outdoor Vinyl for most of my projects and have been thrilled with the results. I made some travel mugs with the Premium Vinyl and have run them through the dishwasher many, many times and have yet to have any issues with the vinyl coming off. I LOVE that!
Stay tuned for more Cricut tutorials and projects coming to WhipperBerry! By the way… If you have any questions, feel free to leave a comment here. I would be happy to help!
Disclaimer // I am a Cricut Ambassador and receive product and payment to help with my projects. As always, I will NEVER promote a product that I don’t truly believe in!

