DIY Faux Slate Chalkboard Photo Background // When I first started blogging, one of my main goals was to learn how to take good pictures. If you were to go back to the beginning of WhipperBerry from the summer of 2010, You can see my photos were not exactly Pinterest worthy. Luckily Pinterest hadn't opened it's virtual doors quite yet.
One of my favorite things about bloggin is that I am constantly learning and developing new skills. I am constantly dissecting photos that I love, to figure out how I can create the same effect. Now, with Pinterest as a major player in our social media world… Photography is EVERYTHING. One of the easiest ways for a post to go viral these days is for it to be pinned and repined on Pinterest. A post can develop some strong legs on Pinterest and really bring in some major traffic for your site. The bottom line is… If you don't have a good photo, you are missing a huge chunk of the successful blog post equation.
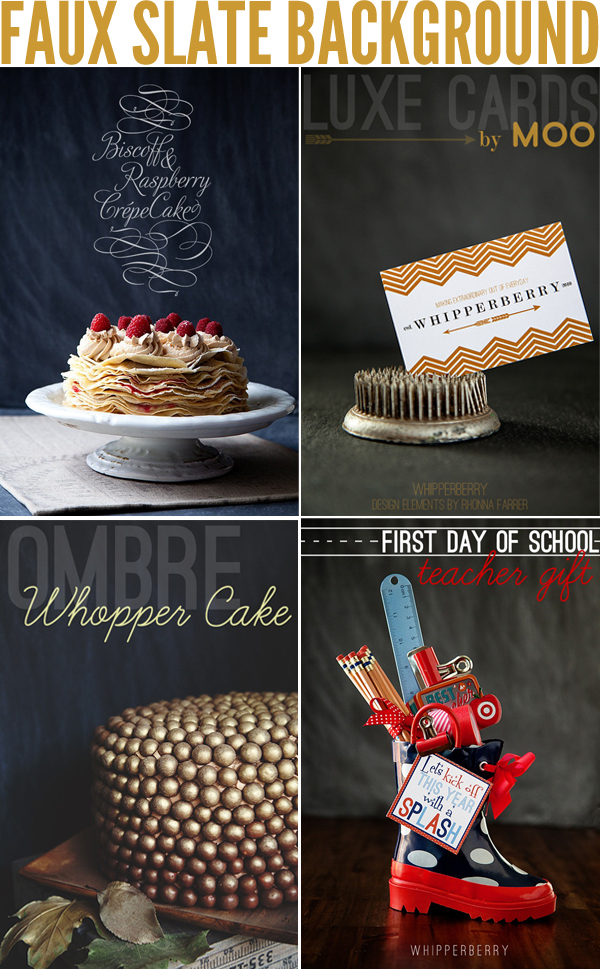
One of my favorite styles of photography right now is, the dark slate chalkboard look. We've seen it everywhere on Pinterest. Not only is this chalkboard look popular for printables, it's super popular for pictures as well. Here are a few examples of photos that I've created for WhipperBerry with this look…
I love how the black background helps to make colors pop and it also has a bit of texture which in turn helps the image have more depth. It also creates a fun chalkboard look when adding text to your image. I just love it!!
Want to know how I made my background? It's super EASY and cheap! Here is what you will need…
Supply List
- Black foam board – Any size will work, I have a couple of sets of various sizes. They range in price from just a few dollars for a small board up to about $15 for a large 20×30 depending on where you purchase them. Still nothing to sneeze at when compared to other photo backdrops.
- Chalk
- Old rag
Chalkboard Photo Background Instructions
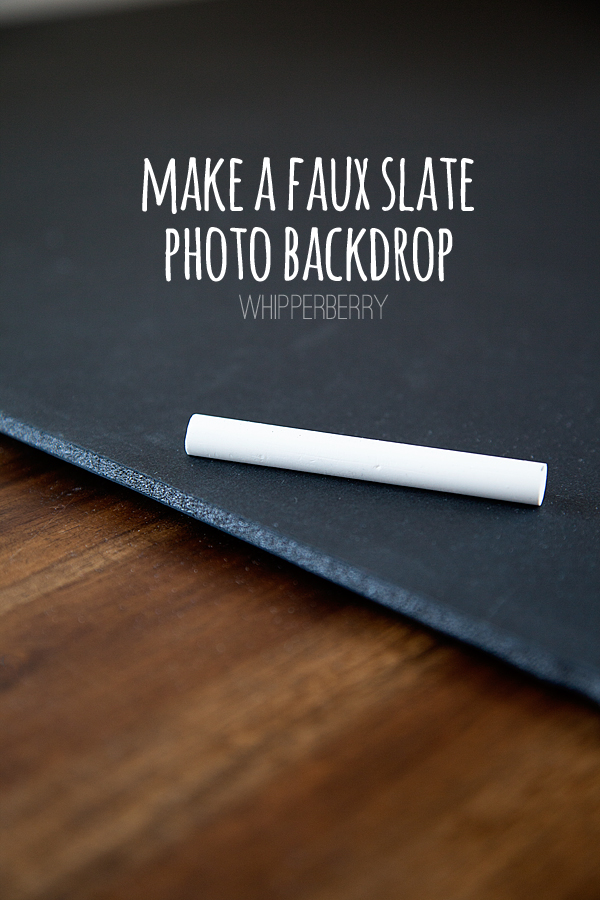
Now, this couldn't be easier. Take your foam board and a piece of chalk…
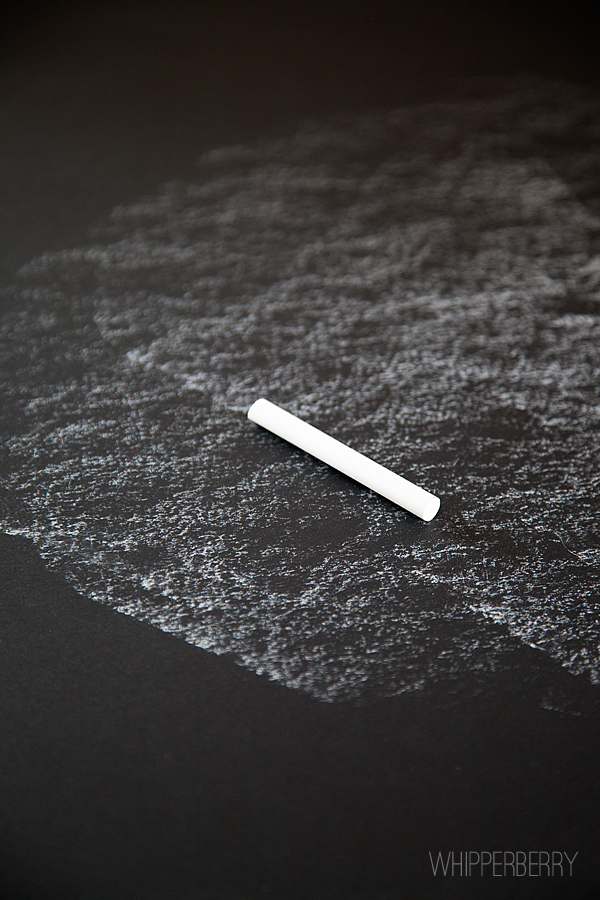
Take the side of the chalk and gently rub circles around the surface of the foam board. Don't press too hard, it will dent or scratch the surface of the foam board and you don't want that to happen.
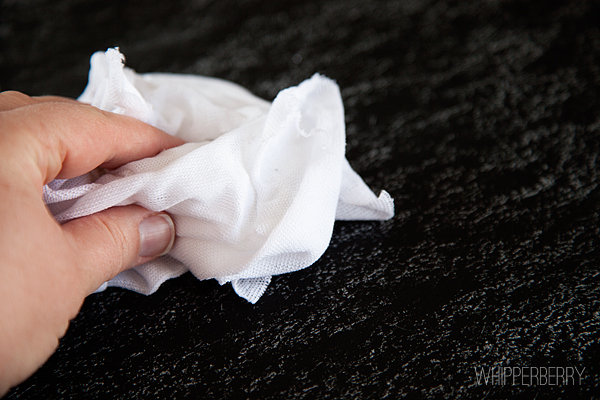
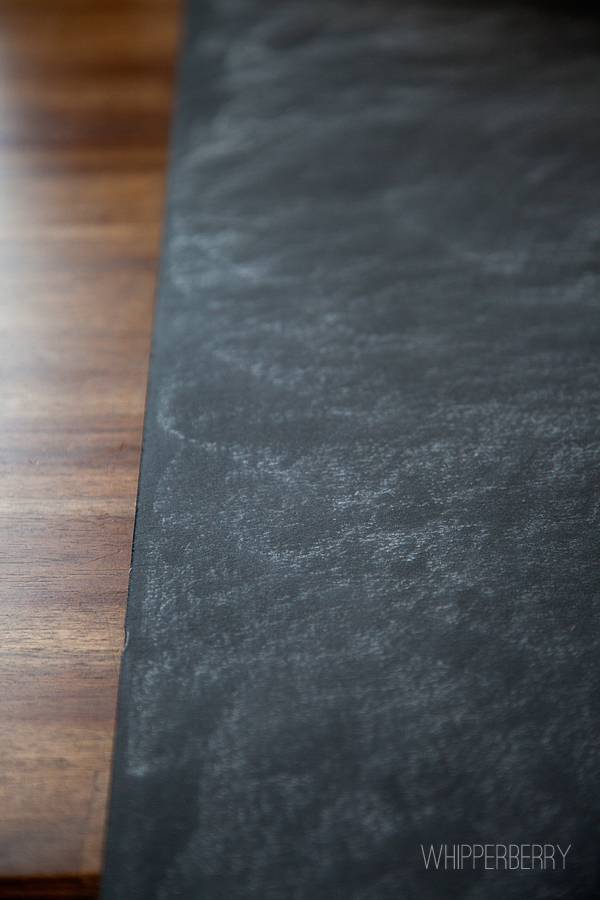
Once you've covered the entire surface of the foam board with the chalk, take an old rag and use it to blend the chalk over the surface of the board. This will give the board the look of slate when photographed.
Here's how it should look once you've blended the chalk…
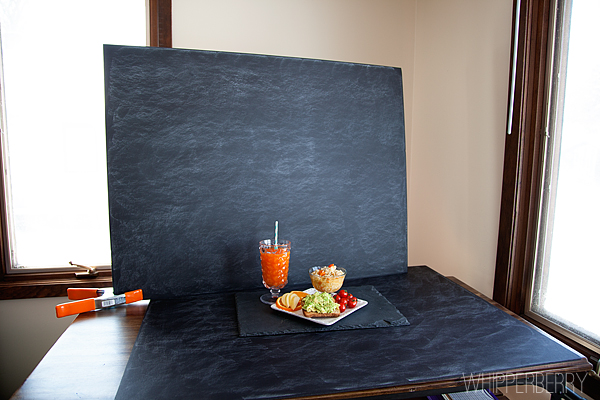
Because they are so inexpensive and easy to make, I've made several of them of them and use them for not only the background but the base of my photo set-up. I'll let you in on a little secret, Here is how I photograph all of my photos…
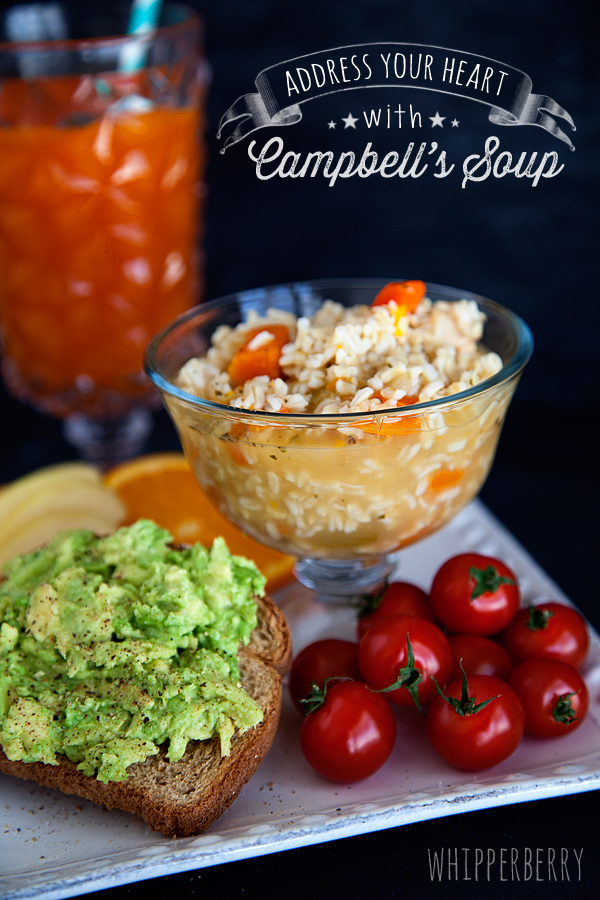
This is actually my daughter's bedroom, but she has graciously offered to share it with me as my photo studio as well. It has the best natural light in the house and with windows on two sides of the room I have all kinds of fun playing with the light. This set-up was for yesterday's Campbell's post, here is how the picture turned out…
I am just in love with this look right now! So… I've been thinking about doing a few more posts on how I create the images for WhipperBerry, but I'm going to leave that up to you. If you are interested in more posts like this, leave a comment on this post and tell me what you would like to learn about. If there is enough interest, I will work up a whole new blogging series… So ask away!
