The post brought to you by DecoArt // We have moved TWICE in the last year. Yea, good times! Along with new homes, we have also become renters for the first time ever. We decided that when we moved the family to Nebraska that we weren't in a huge hurry to buy a new place. We wanted to rent for a while to see if the Cornhusker state stuck, 'cause… You never know. To be honest, I'm kind of loving renting right now. If something breaks, I don't have to figure out how to fix-it… I have a lovely landlord who takes care of it. One thing I don't like, being stuck with less than ideal style choices in the house.
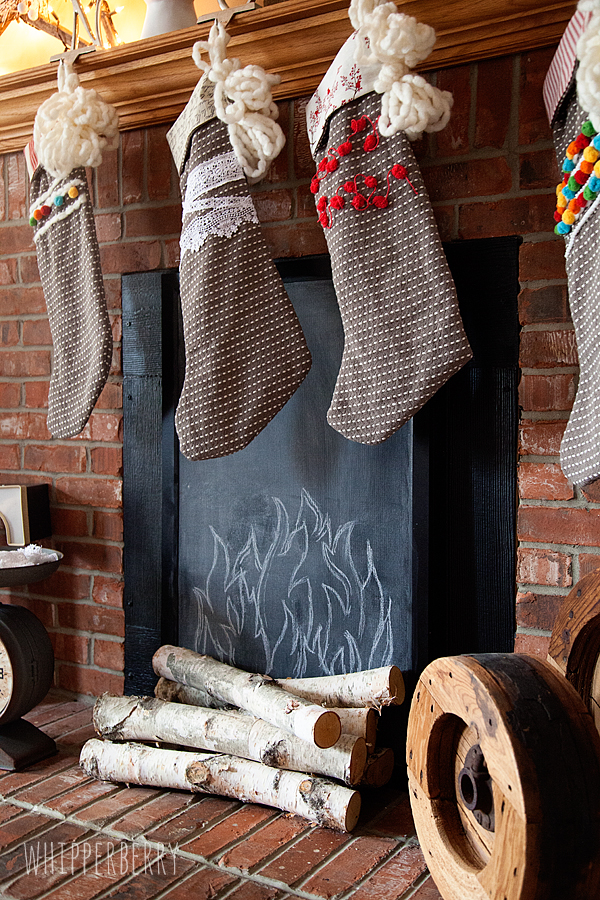
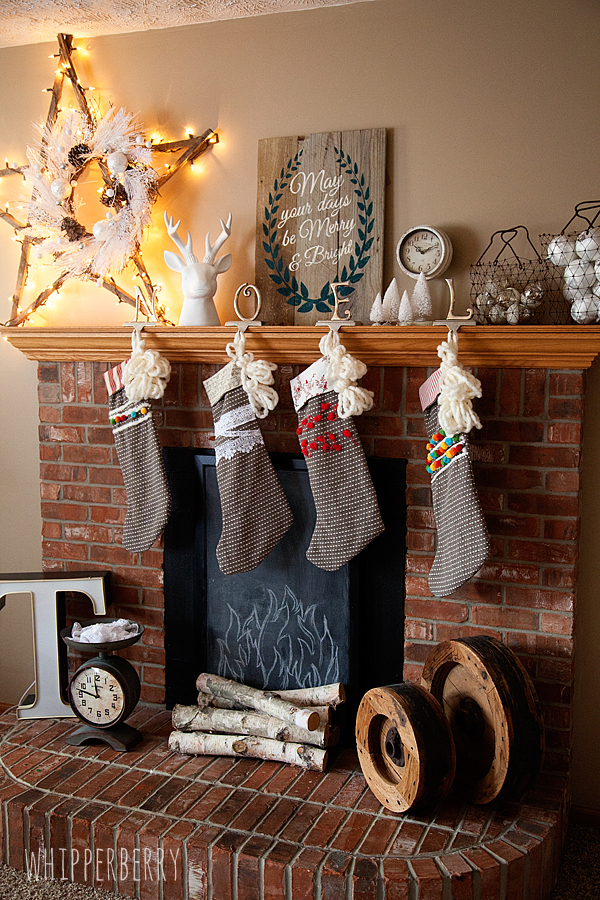
We were super excited to have a fireplace and a mantel for the first time in a while. However, our landlord had recently added a weird fake electric fire insert to the fireplace and totally ruined the whole look and feel of the thing. I scratched my head trying to figure out how to still decorate the fireplace without the dorky insert killing the whole effect. I decided to cover it with a chalkboard and create my own faux fireplace!
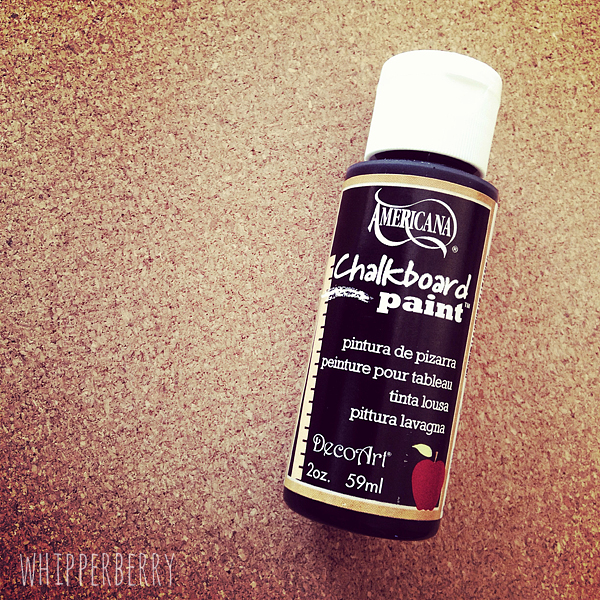
Now, of course I can't find a chalkboard that will fit just right for the size and shape that I was looking for, but that's NO PROBLEM with the Americana Chalkboard paint from DecoArt. You can make ANYTHING into a chalkboard!
I found a cork board at Target that was perfect. The size, the shape and even the frame were perfect… The question, how well will cork work as a chalkboard? The answer, amazingly well! Here is how I made it…
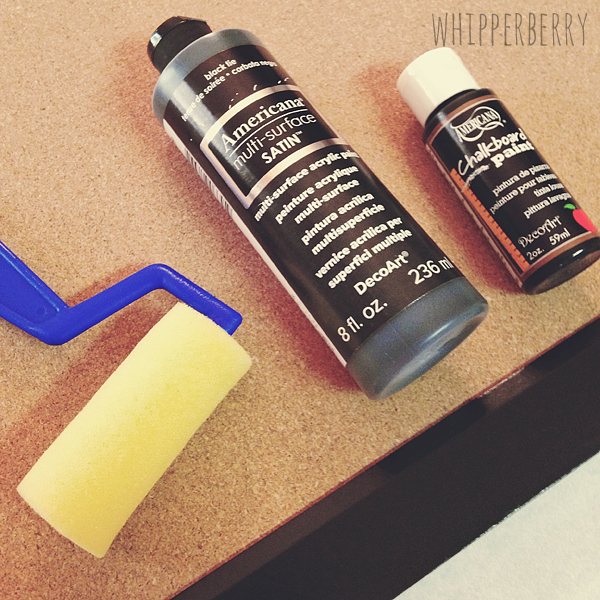
Supplies
Cork board
Americana Chalkboard paint – Black
Americana Multi-Surface Satin – Black
Sponge roller
Sponge brush
Chalk
Pencil sharpener
Directions
Now, this is the easiest pant project EVER!! Take your cork board and lay on a flat surface. Gather your supplies…
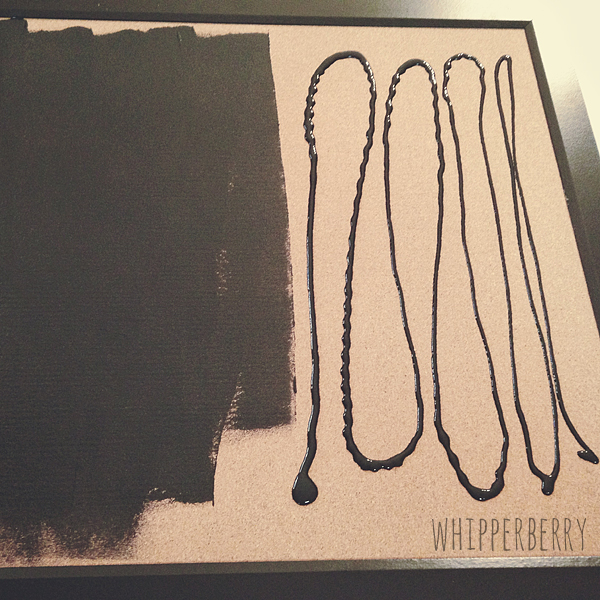
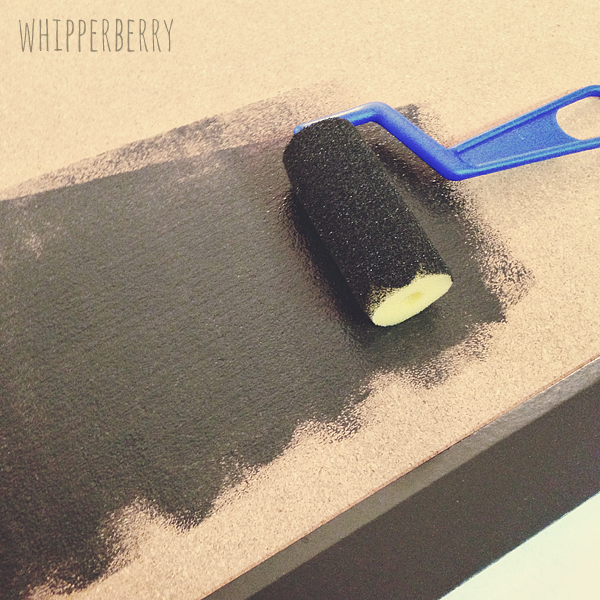
Start with the Mulit-Surface satin. You don't even need a paint bowl, just pour a bit of paint on the board and roll-out. Cover the whole cork board…
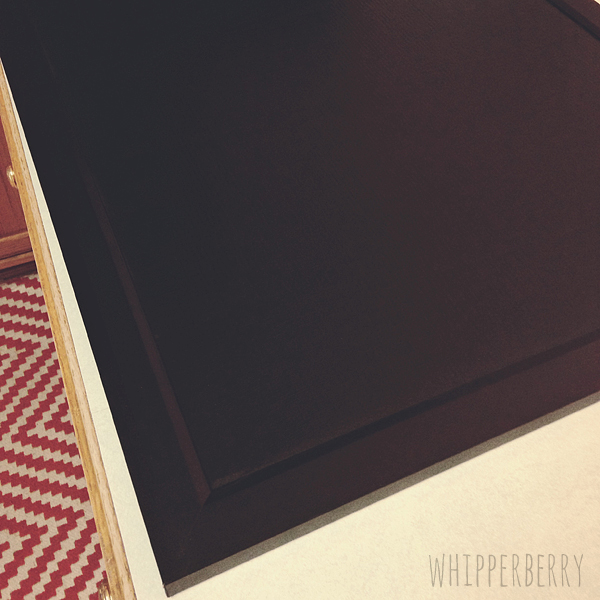
I used my foam brush to do the edging. Once that paint was dry, (it only took about 20-30 minutes) I repeated the process with the Americana Chalkboard Paint. I made sure the whole board was covered and then let it dry.
Now this is the hard part… Even though the paint is dry, you need to wait for two days before you season your chalkboard. Your paint needs time to cure and to fully set, so give it time to do just that. After two days, you then need to season your chalkboard.
What is seasoning? When you use a chalkboard, you don't want to have ghost images left behind when you erase them. If you draw or write on a chalkboard before it has been seasoned little particles of chalk will fill in what ever holes are in the board. Little minuscule holes that you can't see, but the chalk undoubtedly will find, move in and never leave! In order to avoid that, you rub chalk all over the board and "season" it. That way you fill in any possible holes before you write on it and thus prevent any ghost images left behind.
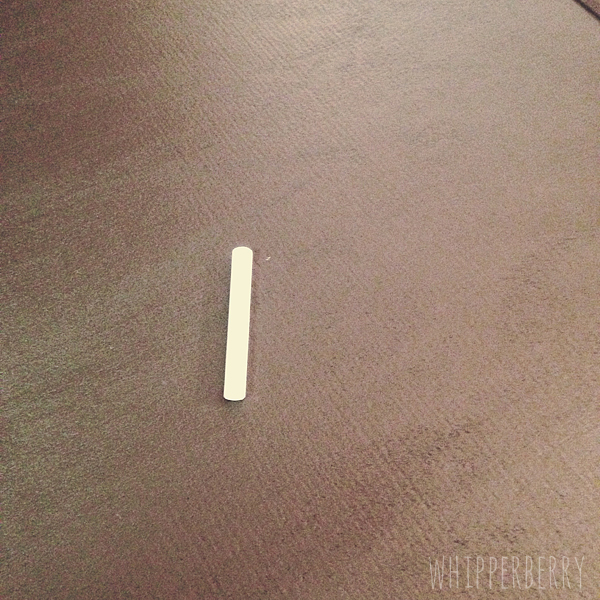
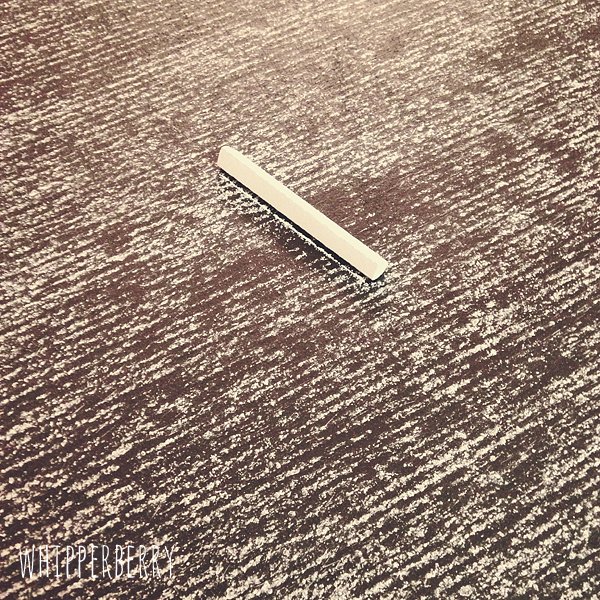
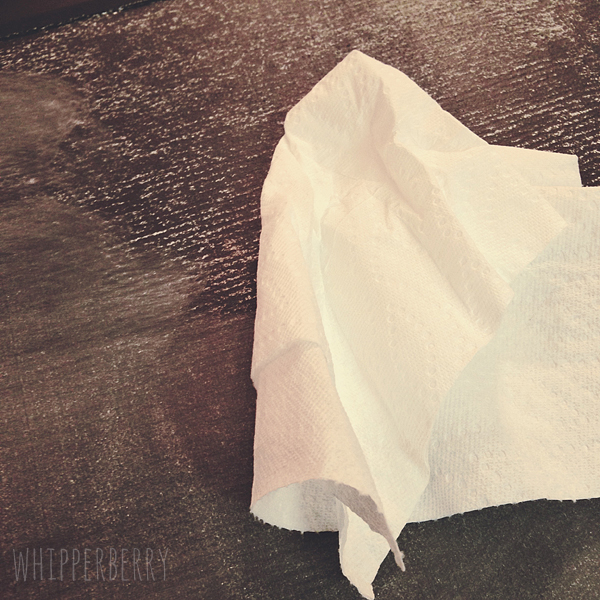
Place the piece of chalk on it's side and rub all over the board. Then with a paper towel, rub the chalk into the board.
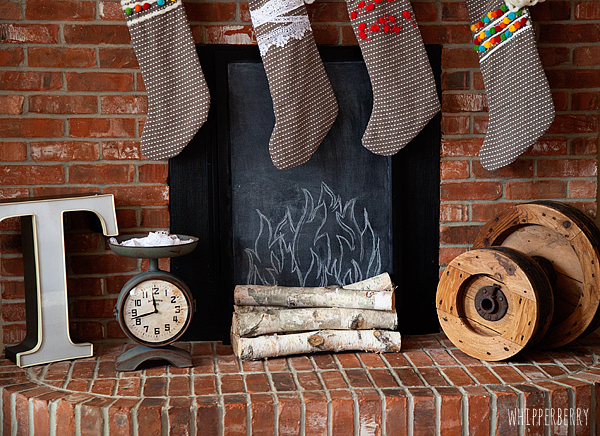
Now, your chalkboard is ready to use. I commissioned my talented daughter Hannah to draw a fire for me. She has WAY more talent than I have when it comes to that kind of work.
Then all I had to do was place it in front of the fireplace insert and voilá the problem was solved! Now, I have a cute fireplace that I can finally dress up!
I placed a few birch logs that I bought at Michaels in front to add to the illusion. I think it turned out super CUTE!!
The "May your Days be Merry & Bright" hand painted sign was created by At Home with K, she is a local artist here in Lincoln and her work is SUPER CUTE!! You should check her out.
I made the stockings myself and even though it's a little late for this year, I will post a tutorial and you can save it for next year if you are interested. They turned out super fun and you won't believe what I made them out of.
Disclaimer // I am part of the DecoArt Core Blogger Group. I received product and payment for this post.
