Recipe
Roasted Veggie Taco Salad // Easy Weeknight Dinners
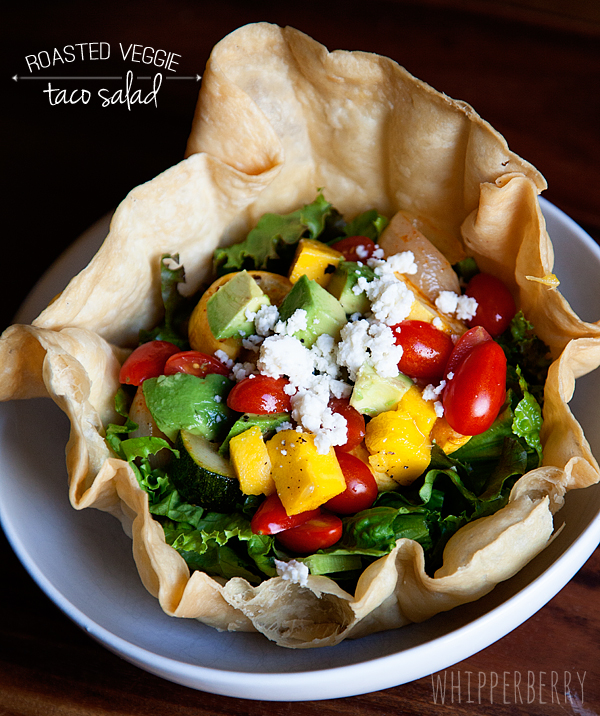
Easy Weeknight Dinners // If I didn’t love meat so much I would be a vegetarian… Seriously, I LOVE vegetables! I would much rather have a plate full of veggies along with a small side of protein. With all of the wonderful Farmer’s Market goodies at this time of year, I thought I would make a tasty Roasted Veggie Taco Salad for dinner. You can also check out my Taco Hand Pie recipe if you just can’t get enough tacos.
It’s was a knock it out of the park hit with the family! The combination of the savory roasted vegetables with the fresh Mango Salsa was perfect. It was just fun and colorful enough that the kiddos didn’t balk at a plate full of veggies and my meat loving sweetheart didn’t even complain once.
Layering it all with lettuce, refried beans and topped with Queso Fresco made for a very satisfying weeknight meal. Here’s how you can make it for your family tonight.
Ingredients for Roasted Veggie Taco Salad
1 zucchini
1 yellow summer squash
1 large onion
1 small head of garlic
1 jalapeño
1 large green chili
2 green tomatoes (optional)
1 T extra virgin olive oil
2 T taco seasoning
salt & pepper
1 can of refried beans
4-6 tortilla bowl or a large bag of tortilla chips
1 large head of green leaf lettuce, red leaf or Romaine
1/2 cup Queso Fresco or a mild Feta cheese
Sour Cream
Taco Sauce
Directions on how to make Roasted Veggie Taco Salad
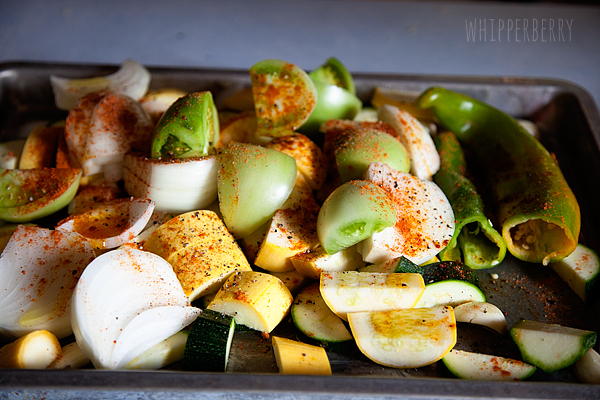
Heat oven to 450˚, wash and cut veggies in large, yet still bite size pieces.
If you would like to have your salad on the spicy side leave the ribs and seeds in the jalapeño, for a milder salad, remove the ribs & seeds. Remove the garlic from it’s skin, but leave whole. I just happened to have some green tomatoes in my garden and I thought I would add them to the mix. The roasted up perfect and tasted fabulous, but they aren’t a deal breaker by any means. If you don’t have any, don’t worry. Really you can add any kind of veggie you want to this mix. That’s the beauty of this recipe.
On a baking sheet drizzle with olive oil and generously season with salt, pepper & taco seasoning. Toss to coat everything with the oil and seasoning.
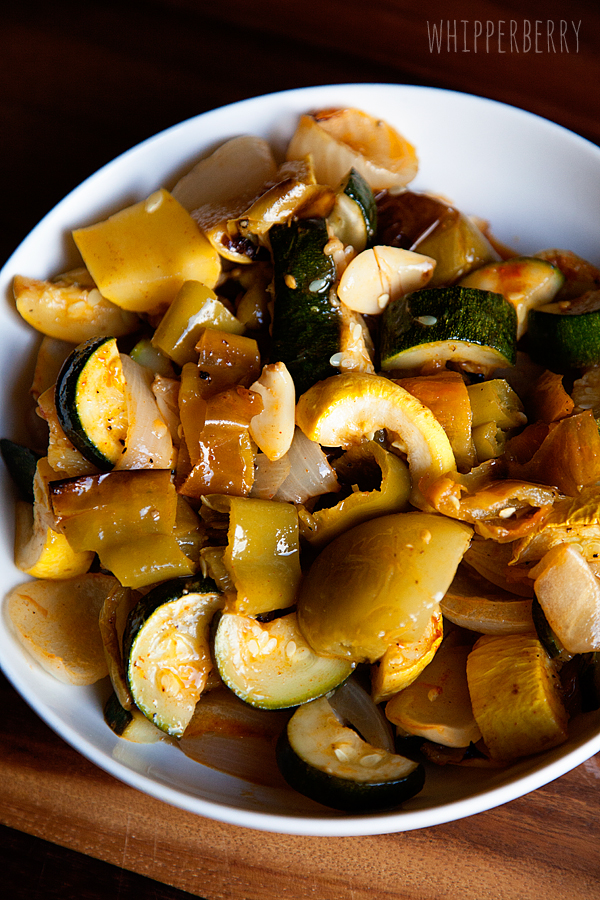
Roast at 450˚ for 30 minutes or until the veggies start to char a bit. Remove from oven and let cool.
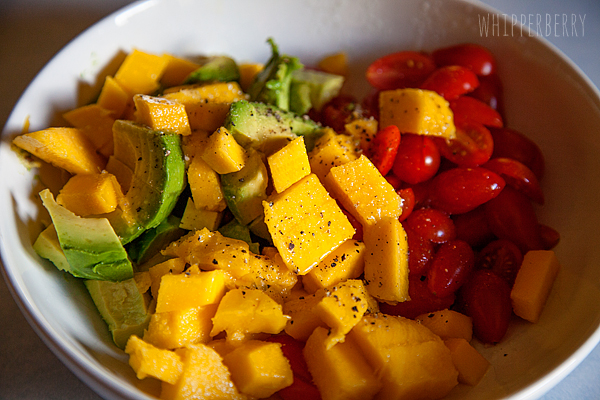
While the veggies are cooling you can mix up your Mango Salsa. You can check out my recipe for that here.
I just love this fresh salsa and it adds such a bright flavor to the salad.
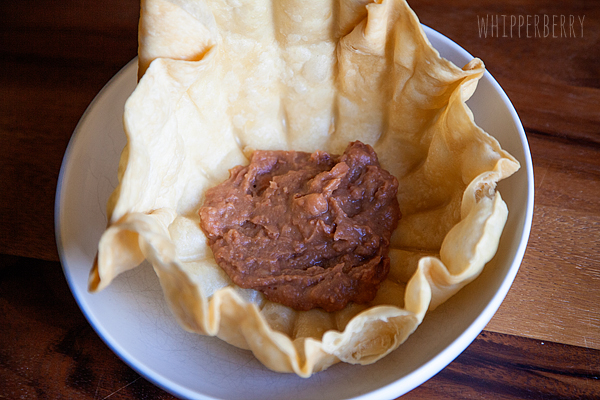
Next, in a small sauce pan, heat your refried beans. Once they are warm, you can start to layering your salad with the beans at the bottom of your tortilla bowl or on the bottom of your plate surrounded by corn chips.
The next layer is the lettuce that you have washed, dried and cut into bite size pieces. Then top of with a good helping of the roasted veggies, then the mango salsa, with a good sprinkling of the Queso Fresco or Feta.
I then add a dollop of sour cream and then a splash of taco sauce to act as the “dressing.” Mix together and enjoy!
This will take Taco Tuesday up to a whole new level for sure!!
Pumpkin Pound Cake Recipe
Pumpkin Pound Cake Recipe // Show of hands, who here is so ready for fall baking? I have been itching to try out the collection of pumpkin recipes that have been piling up on my counter, and what better time then now?
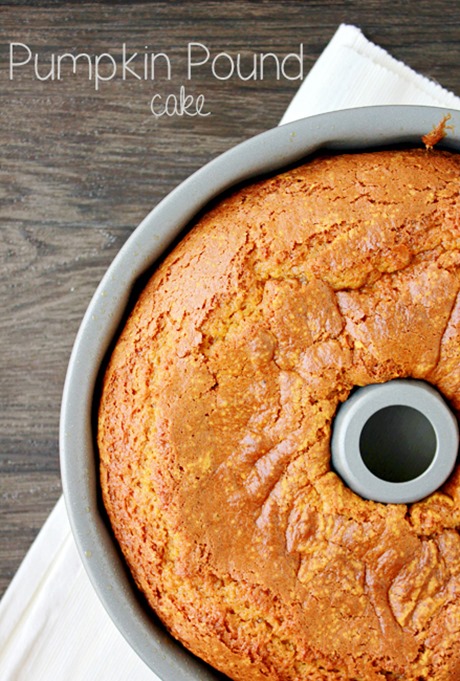
I dug through my box of random clippings and came out with one from Taste of Home that sounded too good to be true. Pumpkin pound cake… in a bundt pan.
I’ve had a bundt pan for years but it has sat in the back of my cupboard (in the original plastic) since day one, unused. I was a little ashamed and figured this would be the perfect reason to bust it out.
There is no better way to break in a new pan then with a pumpkin recipe!
Ingredients for Pumpkin Pound Cake
2-1/2 cups sugar
1 cup canola oil
3 eggs
3 cups flour
2 teaspoons baking soda
1 teaspoon Cinnamon
1 teaspoon nutmeg
1/2 teaspoon salt
1 can (15 ounces) solid-pack pumpkin
Directions
Preheat your oven to 350 degrees. Spray a bundt pan with non-stick spray. Set aside. Stir together the flour, baking soda, cinnamon, nutmeg, and salt. Set aside.
Whisk together your sugar, oil, eggs, and pumpkin. Fold in the dry ingredients and stir until combined. Pour into your pan and bake for 1 hour, or until a toothpick comes out clean.
If you were looking for your home to smell like fall, you’ve found the right recipe. My entire house smelled like pumpkin pie for days after I pulled this out of the oven. I topped it with a simple maple glaze, but it’s flavors stand on their own.
This is a great one to share with friends. Especially if you are home alone and might eat the entire thing all on your own (don’t judge).
You could even try making them in mini bread pans for a fun neighbor gift! Thanks Heather for letting me come by again!
Here are some more fabulous recipes from One Sweet Appetite
Roasted Garlic Butter // Recipe
// Recipe for Roasted Garlic Butter //
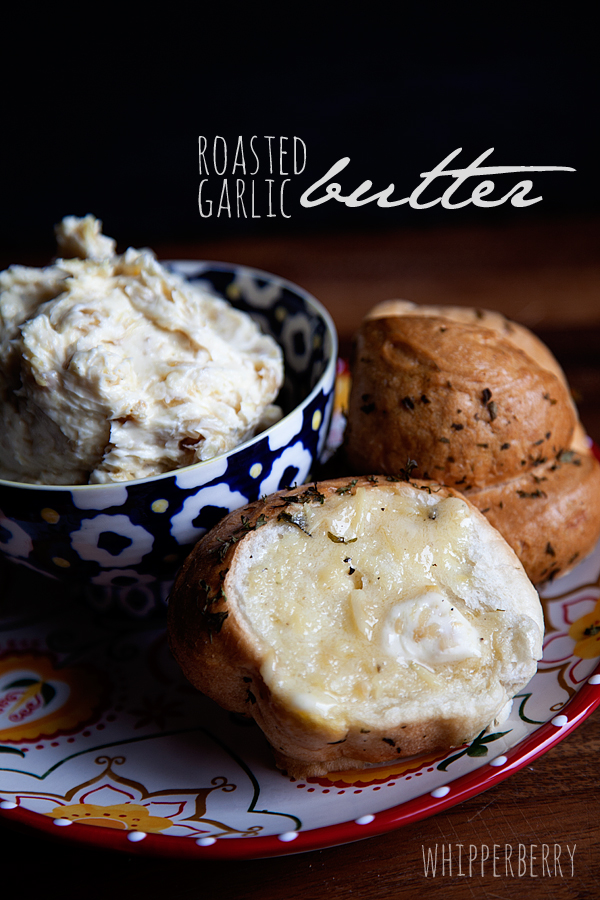
I love garlic… like REALLY love garlic. The love affair became rather torrid & steamy when I discovered roasted garlic. The simple act of adding a little oil, salt, pepper with a little time in the oven transforms the normally sharp, rather harsh garlic into a sweet mellow bite. It still has all the flavor profiles of garlic, it's just garlic's soft, sweet, mellow cousin. It can be added to all kinds of dishes to add that garlic flavor. One of my favorite things to do is to make roasted garlic butter with the golden gems.
If you want to make the best garlic bread in the world… you need to take 30 minutes or so and make some roasted garlic butter. Spread it on bread and your mind will be blown. Here is how to make roasted garlic butter.
Ingredients for Roasted Garlic Butter
3 large heads of garlic
3 t extra virgin olive oil
salt & pepper
2 sticks of soft, unsalted butter
Instructions
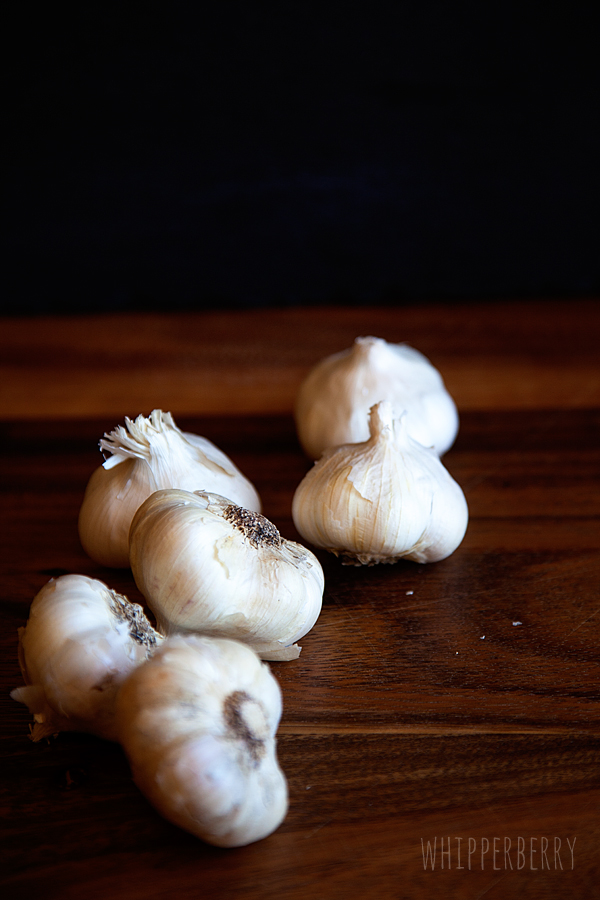
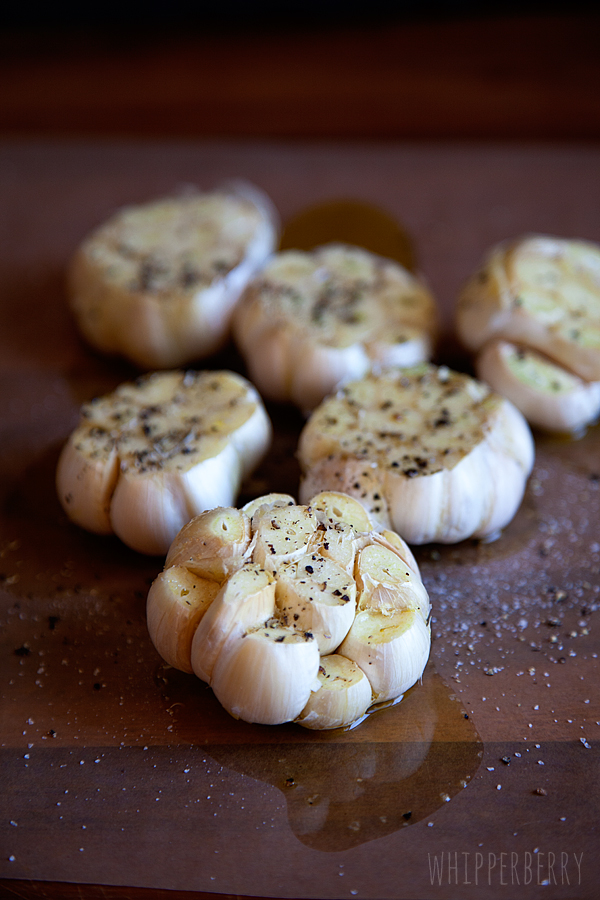
Take three heads of garlic (I made a double batch, that's why I have six in the photos. Yea, it's that good!)
Cut the top off of each head and drizzle with olive oil and generously season with salt & pepper.
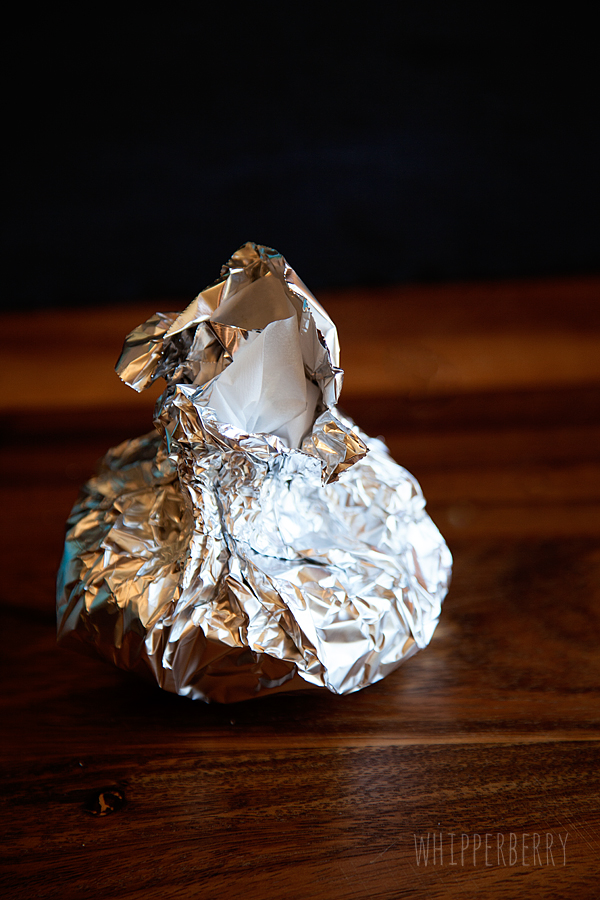
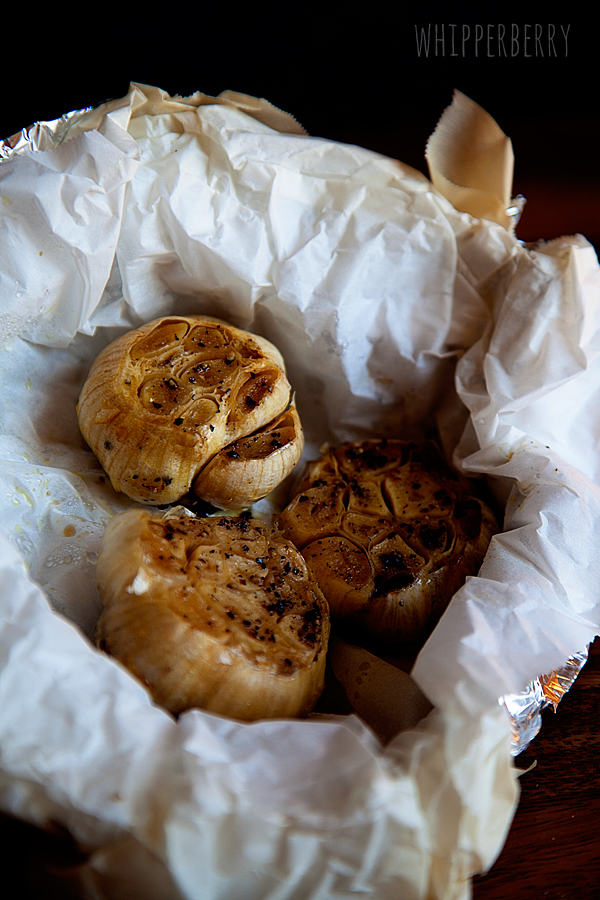
Wrap the heads of garlic in parchment and foil and place in a 375˚ oven for 30 minutes.
Remove from oven and let cool until you can handle the heads of garlic easily with your hands.
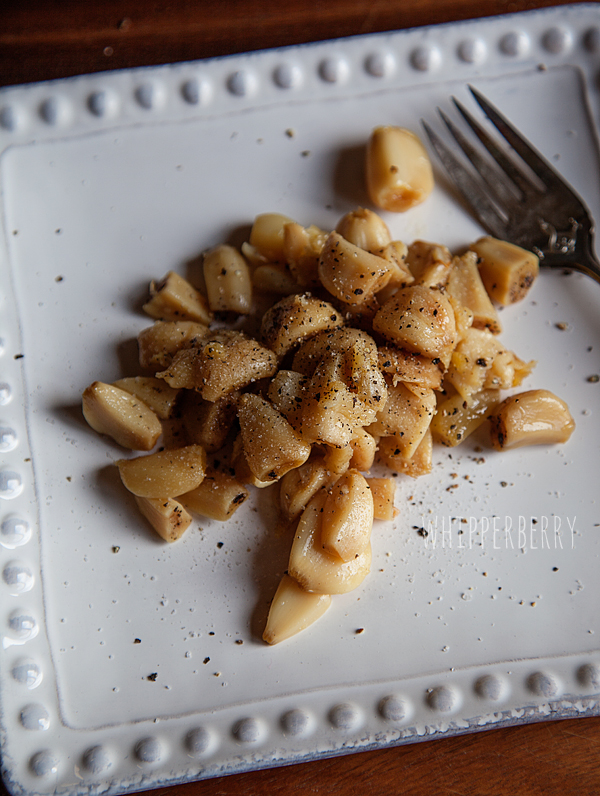
Gently squeeze the gloves of garlic out of it's skin.
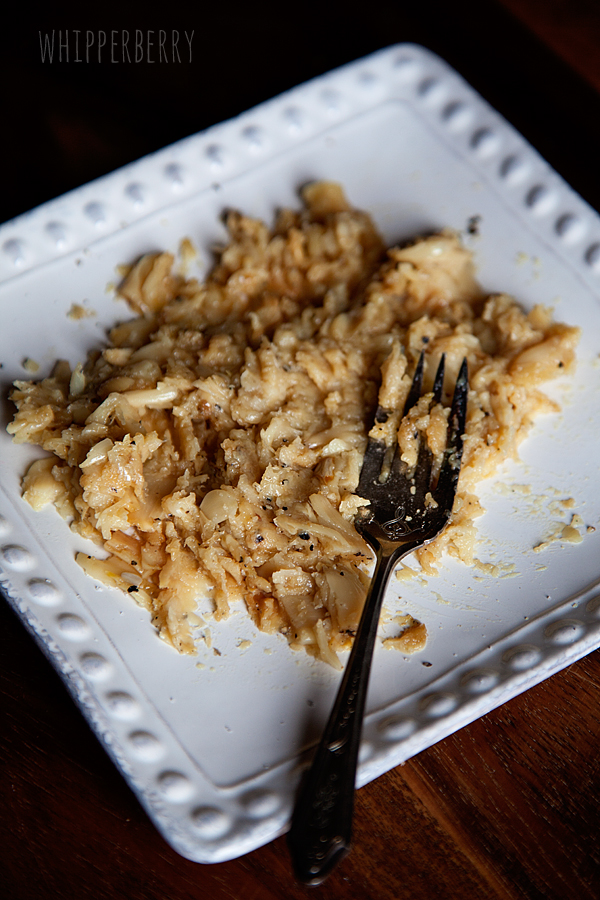
Then add more salt & pepper and mash with a fork.
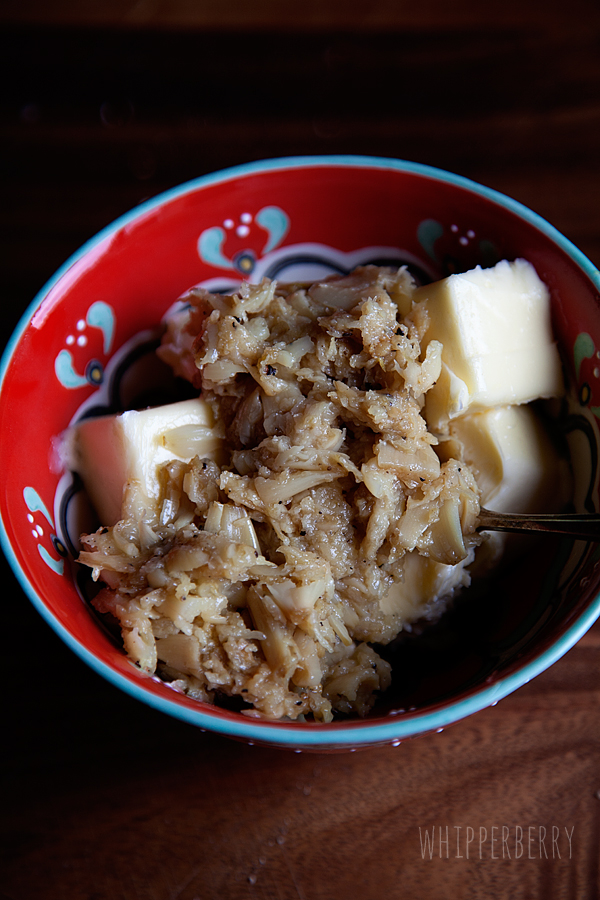
Next, place two sticks of softened, unsalted butter in a bowl and add all of the mashed garlic.
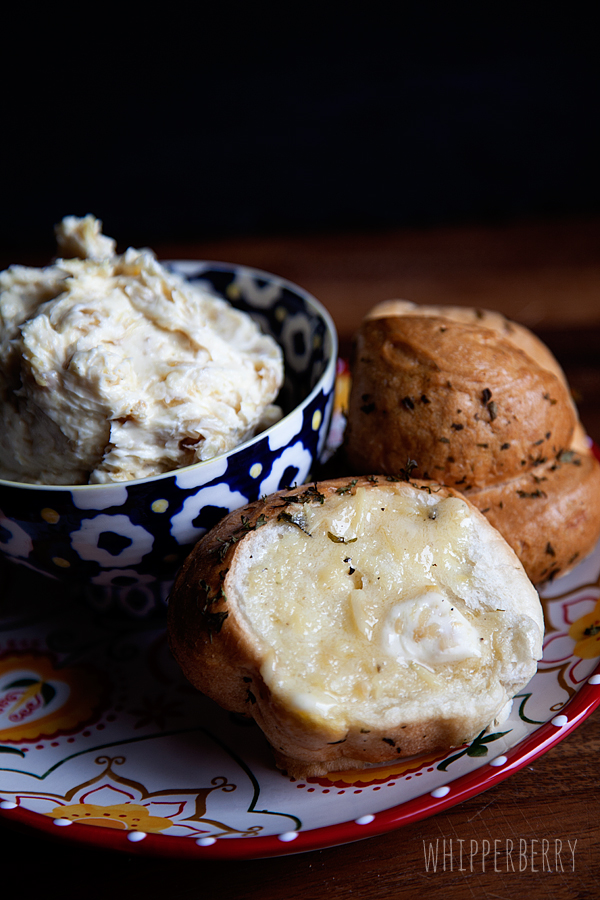
Fold the garlic into the butter. At this point you can serve the soft garlic butter on bread or veggies. You can even add a dollop onto a nice steak to add some flavor.
Last week, I made some Zuppa Toscana for dinner and added a little pat of butter to the bowl of soup after it was served and just that added little garnish took that soup to a whole new level. YUM!!!
You can store your roasted garlic butter in a air tight container for several weeks and always have it on had to add to a dish to make it extra special. Another night last week, I made some scrambled eggs for my husband before he rushed off to an evening meeting. I used the garlic butter rather than regular butter or bacon grease to prepare the pan for the eggs. Oh my stars…talk about tasty eggs!
I challenge you to find some creative ways to use your butter… I promise you, the uses are endless.


