• Skip to primary navigation
  • Skip to main content
  • Skip to primary sidebar
  • Skip to footer

Whipperberry

WhipperBerry • Your Home For Creative Inspiration

  • Home
  • About
    • Terms
  • Recipes
    • ZipList
    • Starters
    • Easy Weeknight Dinners
    • Main Dish
    • Salads
    • Side Dish
    • Soups & Stews
    • Desserts
    • Breakfast
    • Miscellaneous
  • Tutorials
    • Creative Crafts
    • DYI Decor
    • Fabric Crafts
    • Food How-To
    • Jewlery
    • Paint Projects
    • Paper Art
    • Party Styling
    • Photography and Graphic Design
    • Silhouette
  • Holidays
    • St. Patrick’s Day
    • Easter
    • Mother’s Day
    • Father’s Day
    • 4th of July
    • Halloween
    • Thanksgiving
    • Christmas
    • New Years
    • Valentine’s Day
  • Gift Ideas
    • Gifts For Everyone
    • Gifts for Dad
    • Mother’s day
    • For The Girls
    • For The Kids
    • Teacher Gift Ideas
    • Christmas
  • Printables
    • Holiday
    • Gift Idea
    • LDS Primary
  • Travel
  • Contact
  • Nav Social Menu

    • Facebook
    • Instagram
    • Pinterest
    • RSS
    • Twitter

sign

 Witch and Ghoul Death and Breakfast Paper Roll Sign with Cricut Easy Press

2 · Oct 16, 2017 · Leave a Comment

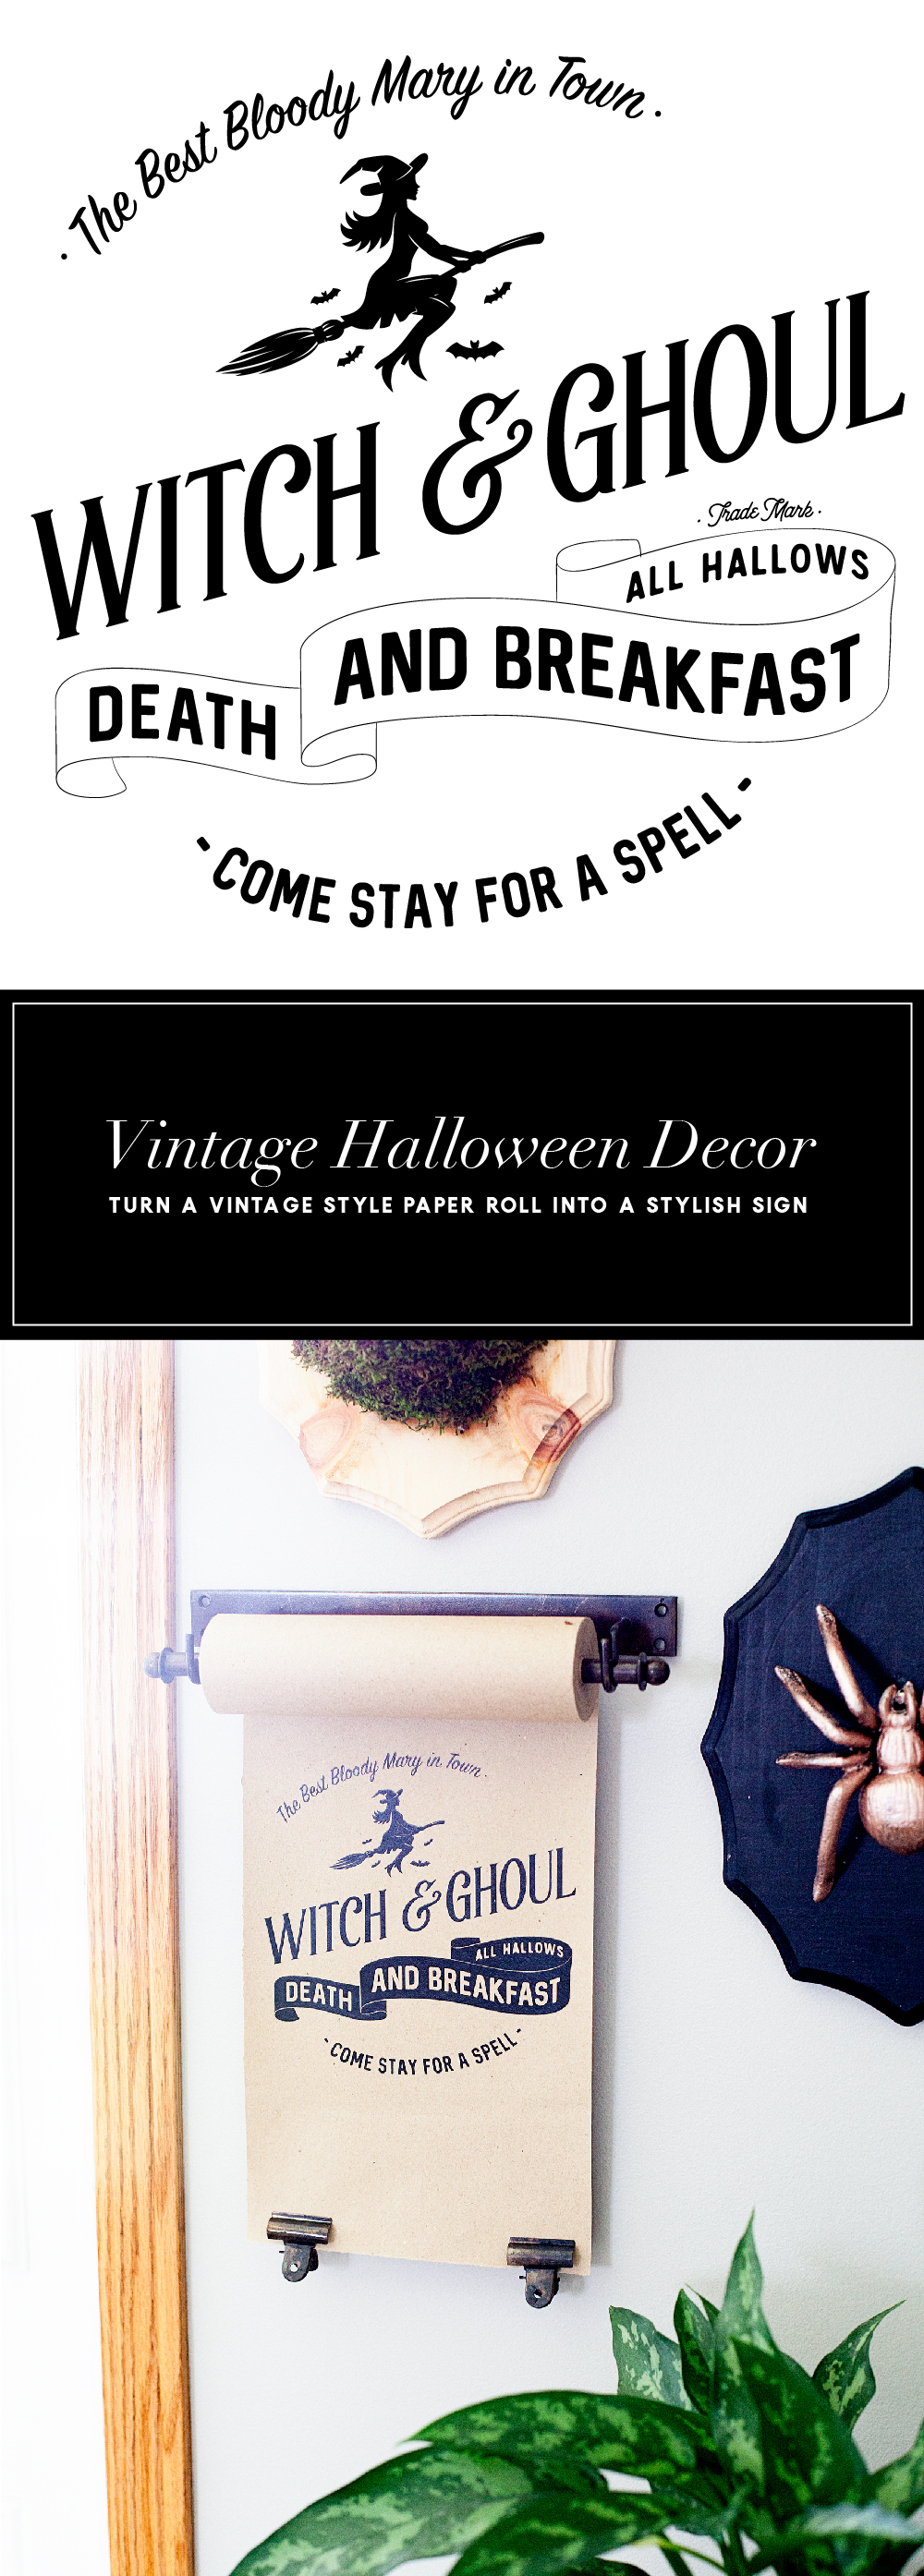
Today, I have a fun new idea. I’ve always loved the vintage paper rolls that little shops used to have. They would keep a roll of brown paper on it and use it to wrap parcels for their shoppers. Well, they are making a come back thanks to the vintage farmhouse lovers. I have found some vintage style paper rolls that aren’t too expensive and thought it would be fun to create new signs for the seasons with heat transfer vinyl and the NEW Cricut Easy Press.Travel back in time with this fun vintage paper roll sign created by WhipperBerry for Halloween. Witch and Ghoul Death and Breakfast sign available as an SVG file for cutting machines or a printable file for FREE!
• This post brought to you by Cricut •

Isn’t that fun?! It’s kind of a new concept when it comes to signage around the home.

Now, some people are naturally gifted and can create beautiful signs with just a sharpie and a little imagination. I however, can not… I wish I could! I was not gifted with that talent. The problem is that I love the look and I don’t have an arm and a leg to pay and actual artist to create my design each time I want to change it out. Then, I thought I could use vinyl and cut a design with the Cricut cutting machine. The problem with that is, the transfer tape would be a nightmare on the paper. It would just turn into a hot mess. Plus… I’m not a fan of weeding intricate designs out of vinyl. Although, I don’t mind weeding the Cricut Iron-on Lite! It’s so much easier to weed. I set out to see if it was possible to use Cricut Iron-On Lite on paper and sure enough, it works with the Easy Press!! I LOVE this new tool from Cricut!

All you need to do is to download my SVG file for the Witch and Ghoul sign OR you can download the free printable and print it out to display. You could even frame it if you’d like. I’ve sized it at 8×10 for your use.

Paper Roll Sign Supplies

  • vintage style paper roll like the one here
  • Cricut Iron-On Lite – Black
  • Cricut Maker or Explore series machine
  • Cricut Easy Press
  • light cotton towel
  • heat resistant surface to work on
  • scissors

Paper Roll Sign Instructions

First, you’ll need to upload the SVG file into Cricut Design Space and size your design for the size of your paper roll. My roll is 8 inches but, you can get even larger paper rolls. You’ll be able to size the design for your paper roll size.

Then you’ll need to load your heat transfer vinyl onto your cutting mat and load into your machine and cut out the design.
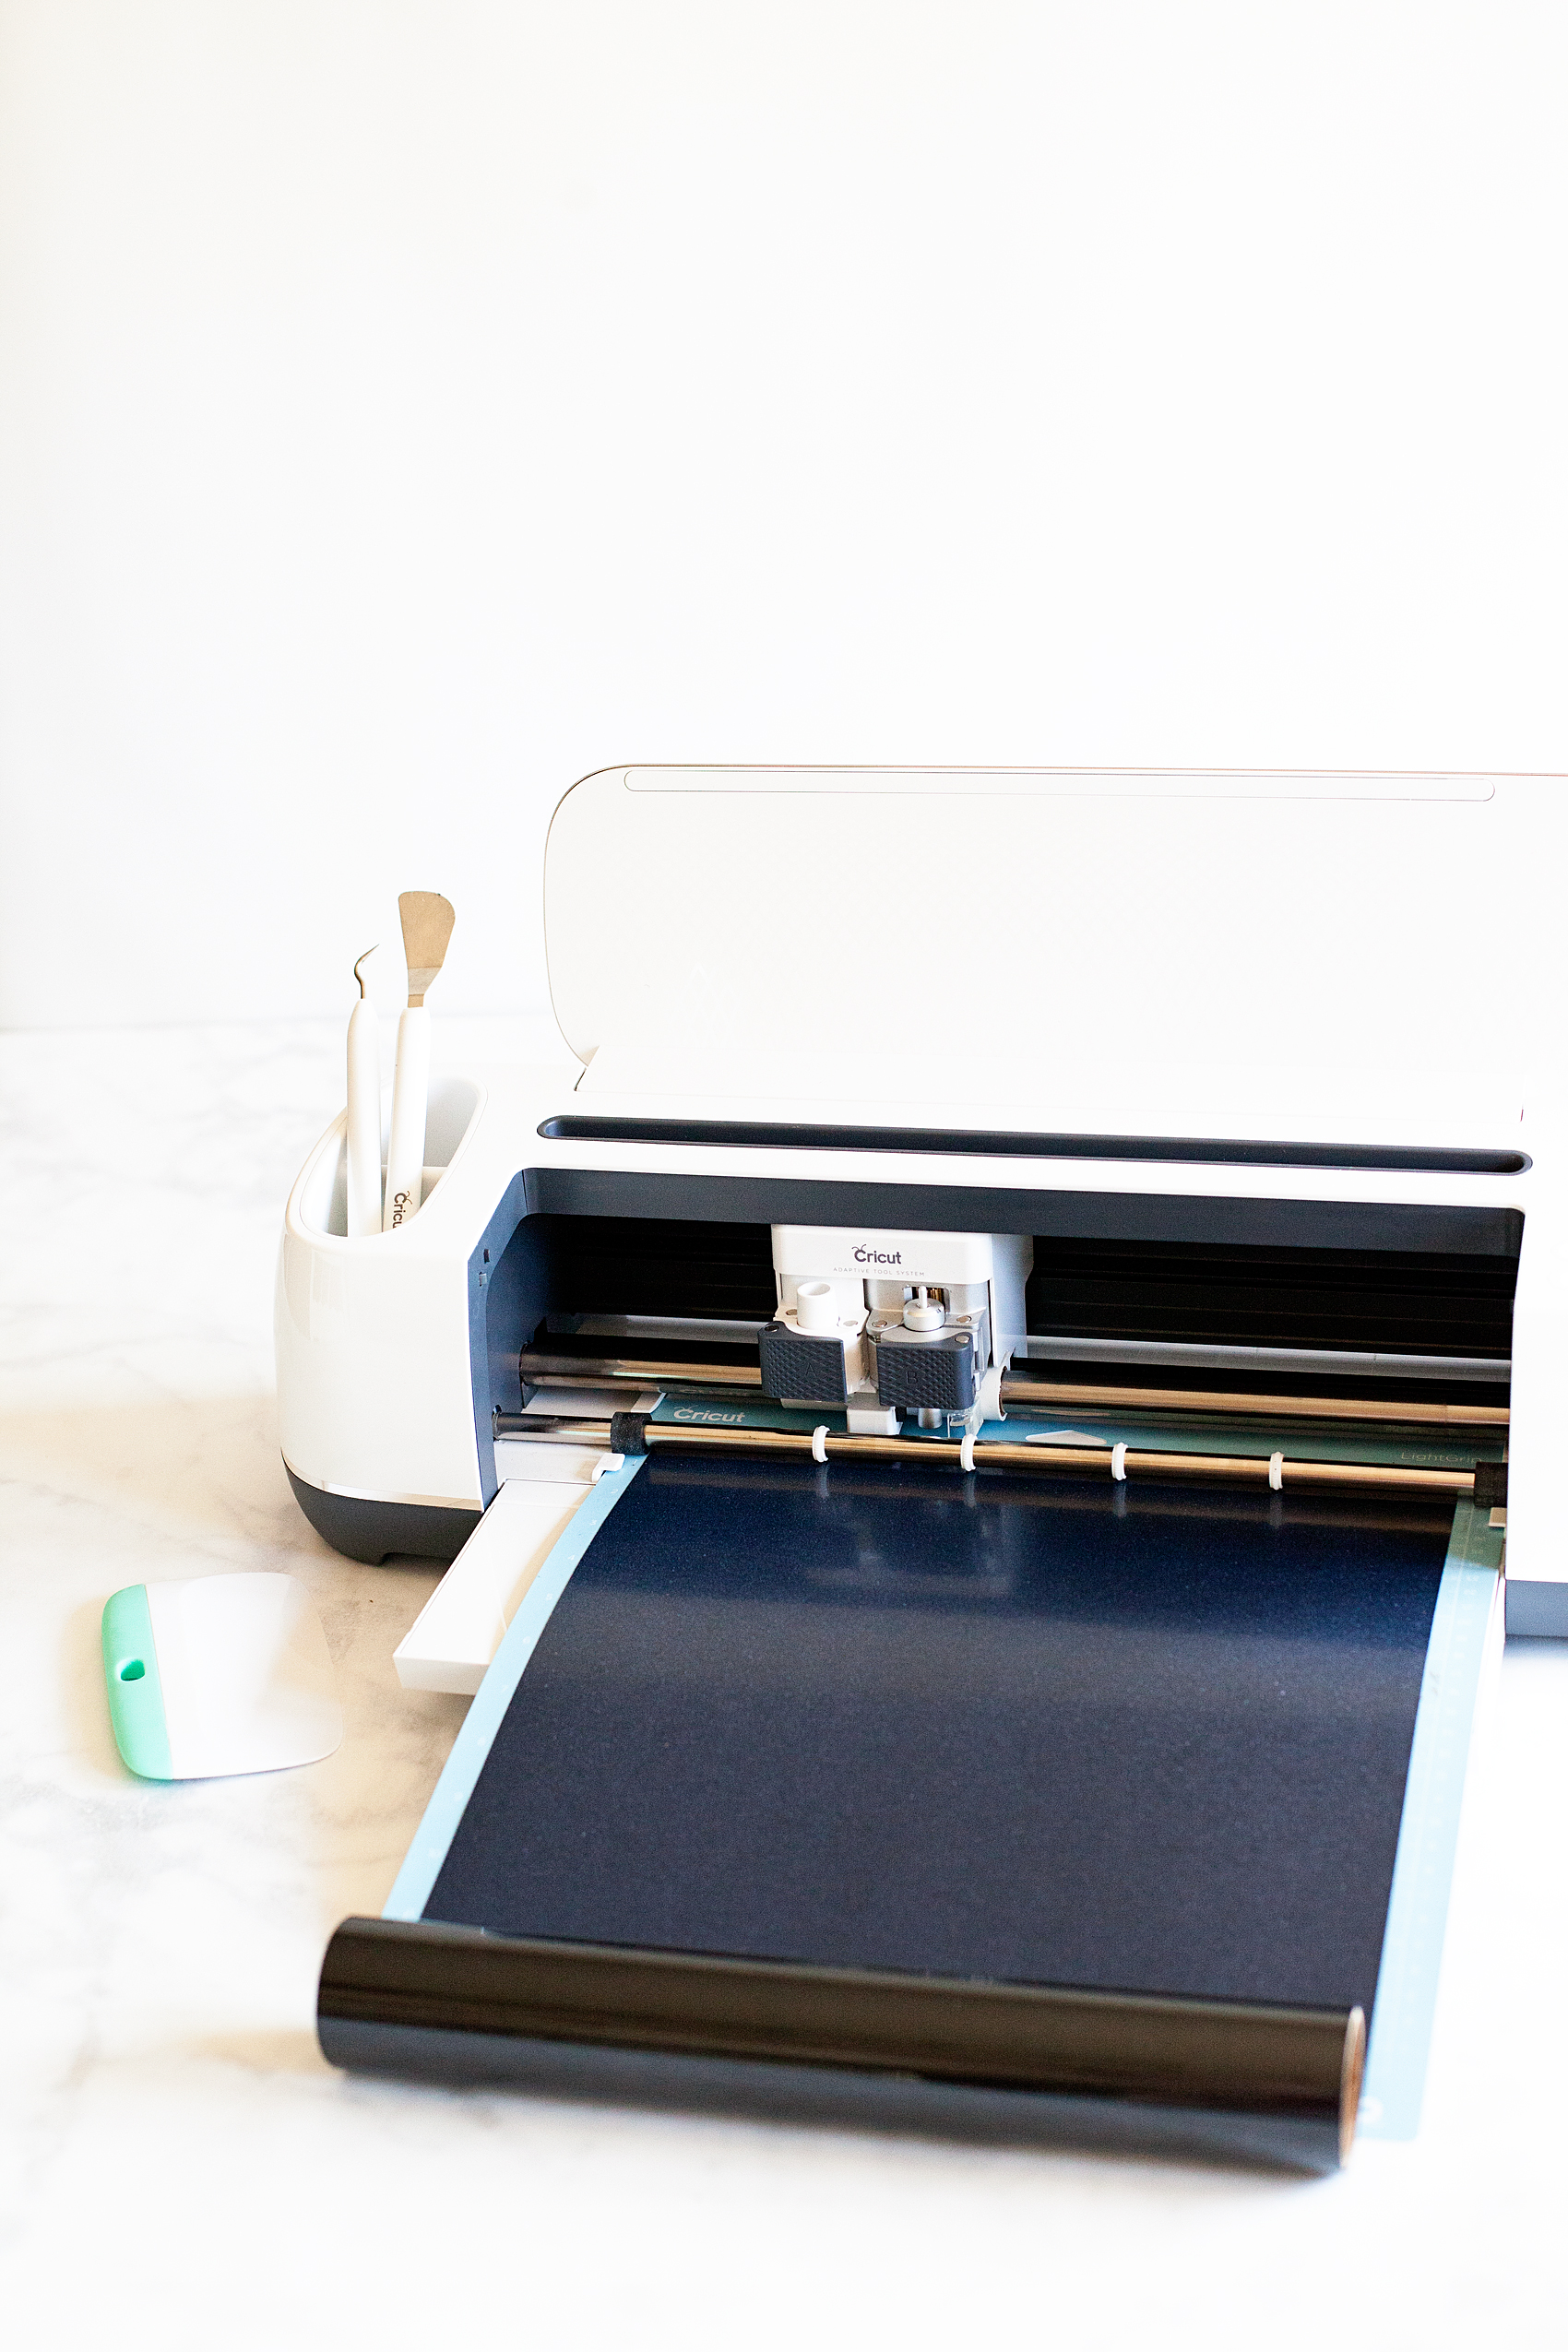
Learning how to cut iron on vinyl with the Cricut Maker via WhipperBerry


Quick tip… I leave the vinyl on the roll while I am cutting it. It doesn’t interfere with the cutting process and it cuts down on waste.

Then you’ll need to weed your design to remove the excess vinyl.
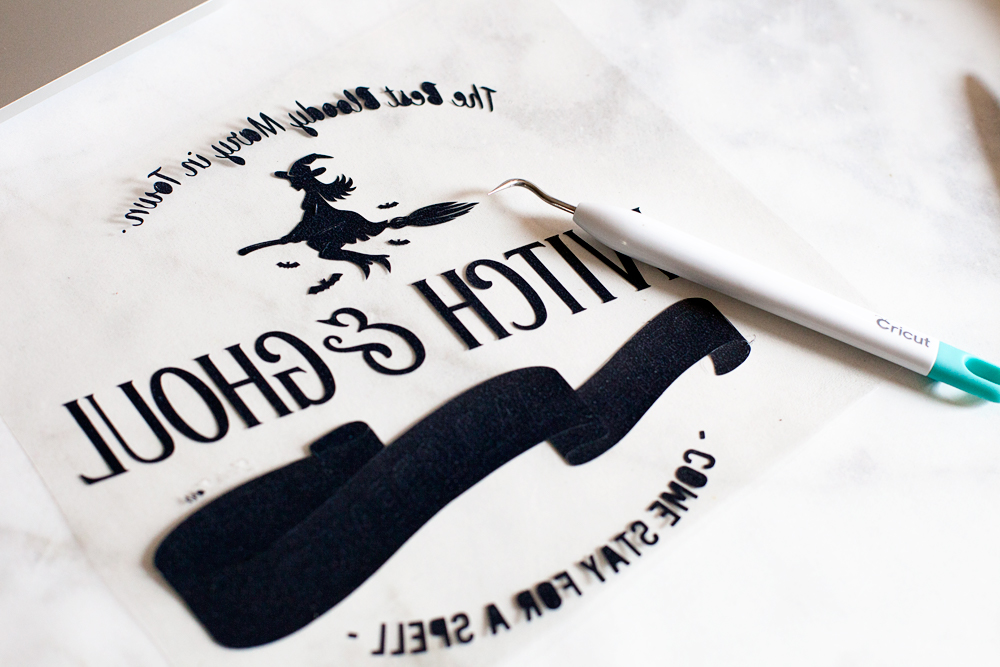
Travel back in time with this fun vintage paper roll sign created by WhipperBerry for Halloween. Witch and Ghoul Death and Breakfast sign available as an SVG file for cutting machines or a printable file for FREE!

While you are weeding your vinyl, you’ll want to pre-heat your Cricut Easy Press. Once you finish with the weeding process, you should unroll some of your paper  and place something at the bottom of the roll to keep it from rolling back-up.
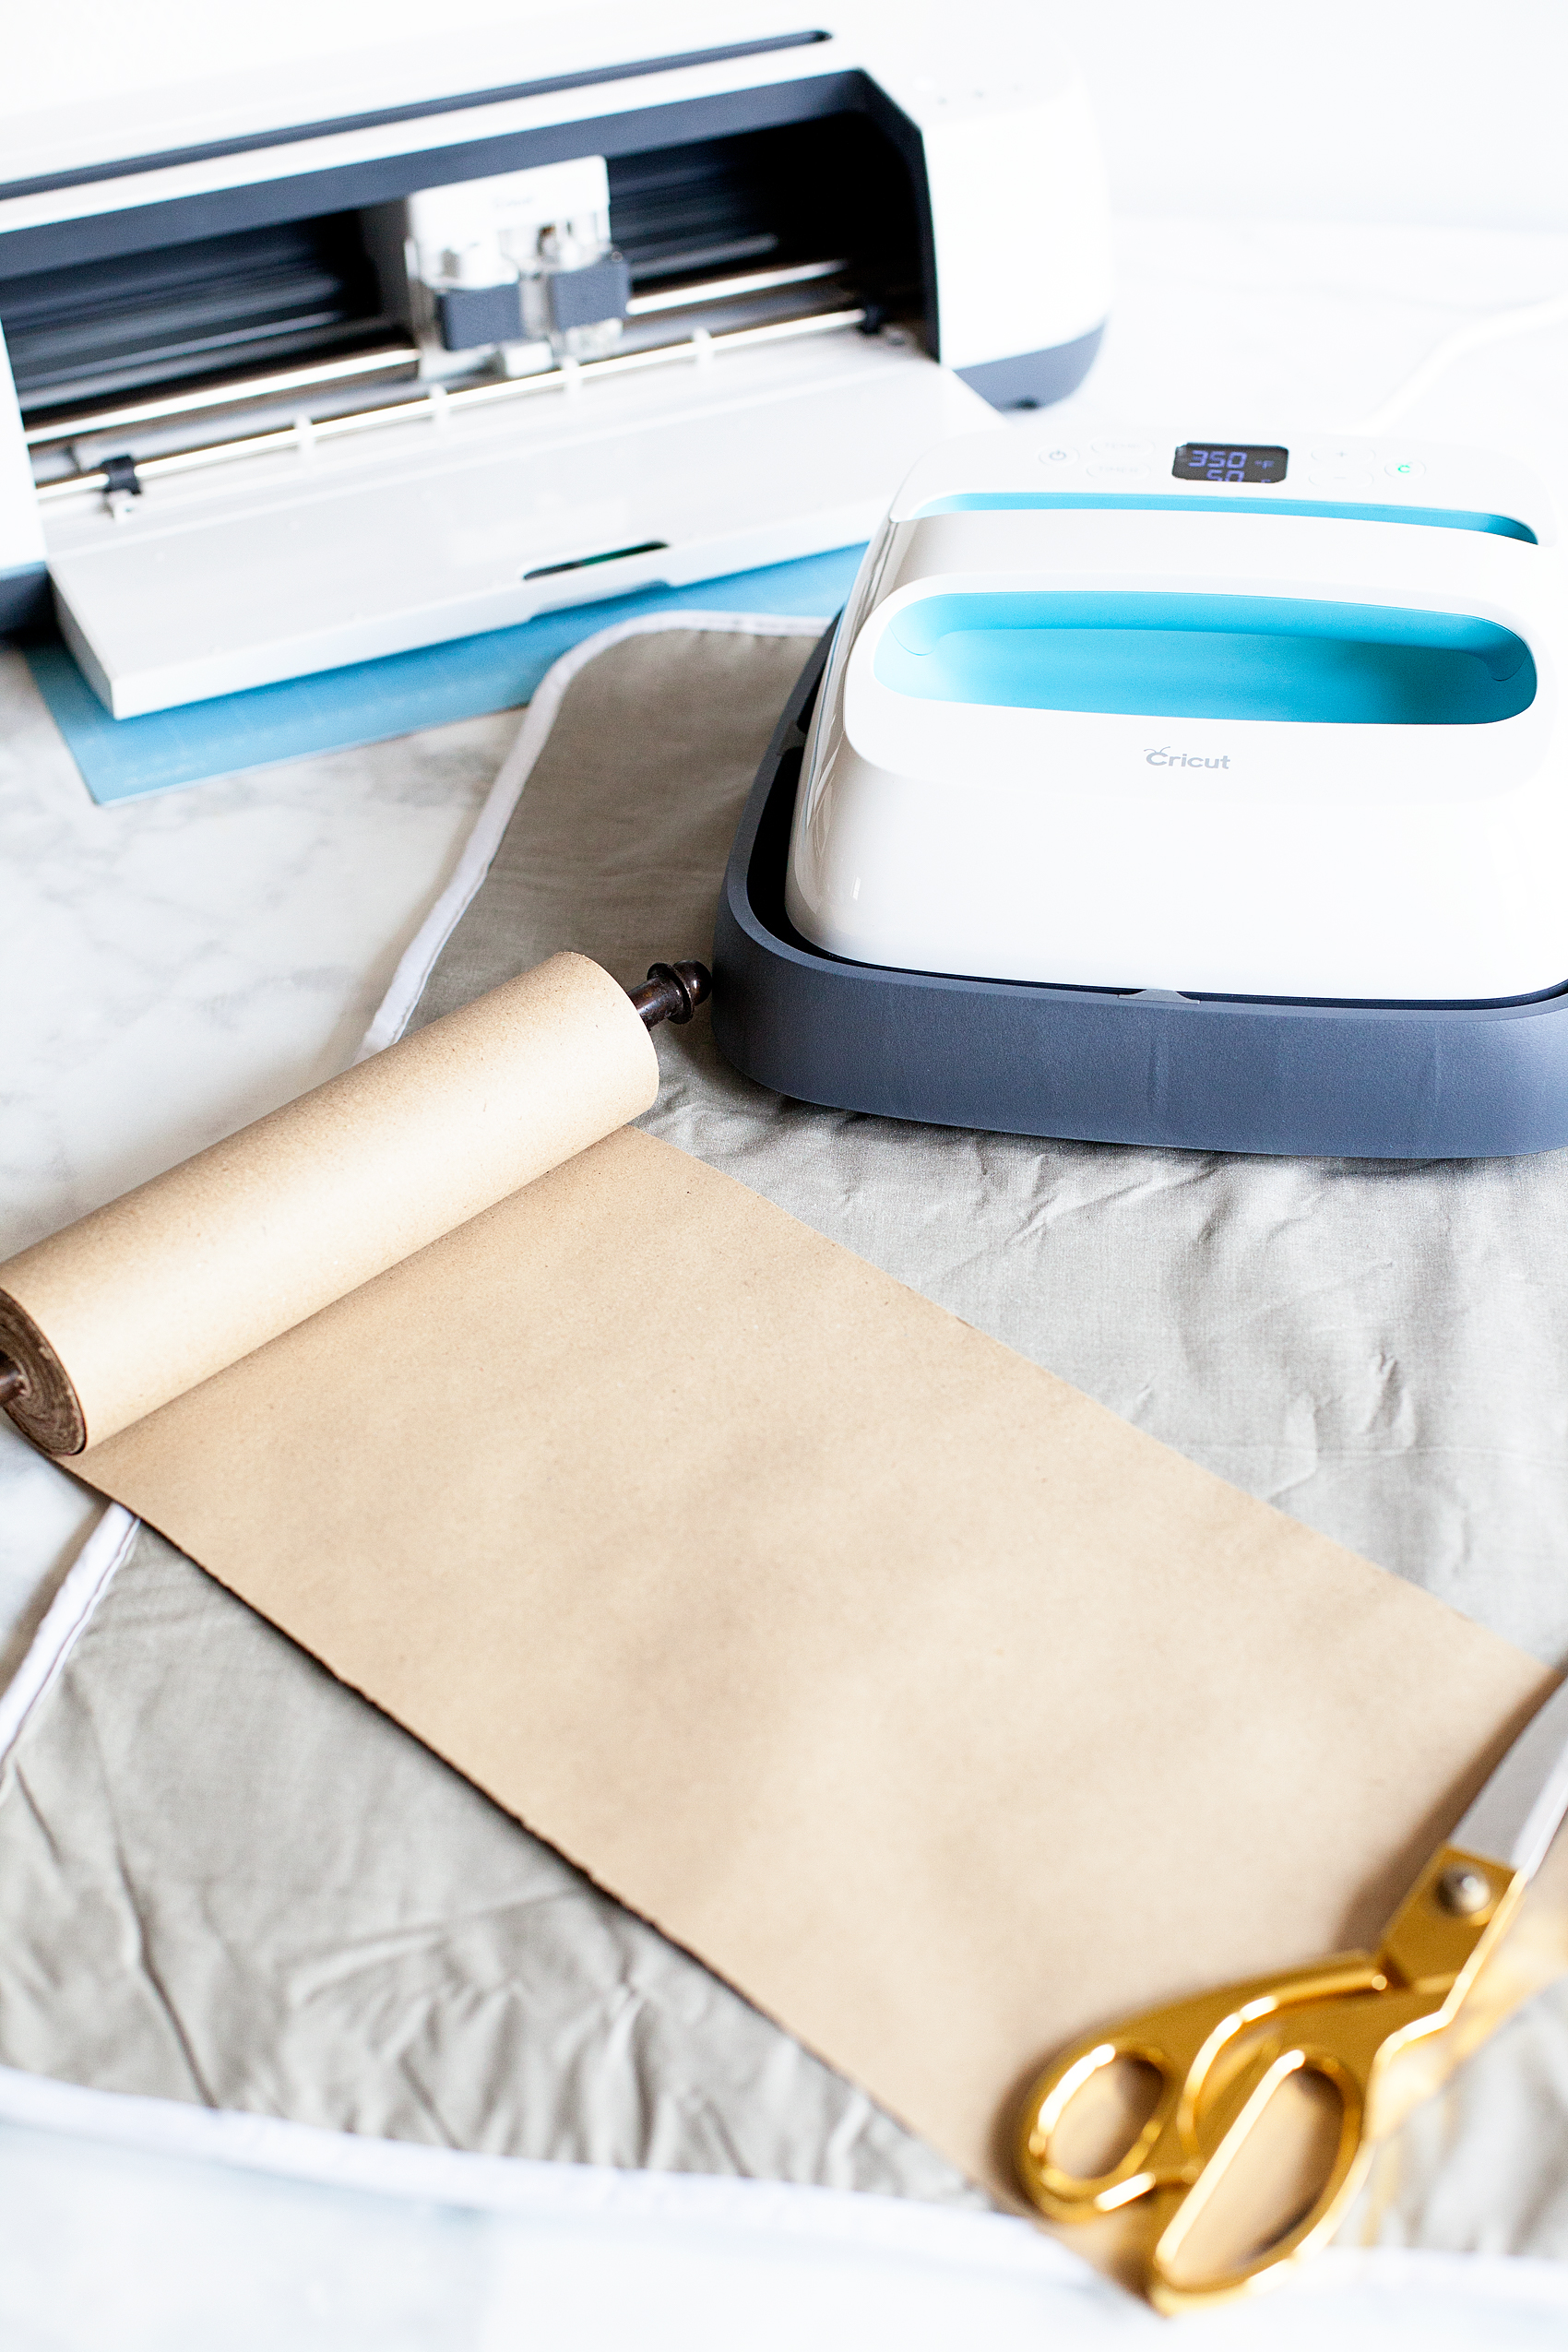
Travel back in time with this fun vintage paper roll sign created by WhipperBerry for Halloween. Witch and Ghoul Death and Breakfast sign available as an SVG file for cutting machines or a printable file for FREE!

I like to pre-heat my surface before I lay down my design. The transfer seems to work best that way. Then I center the design onto the paper like so…
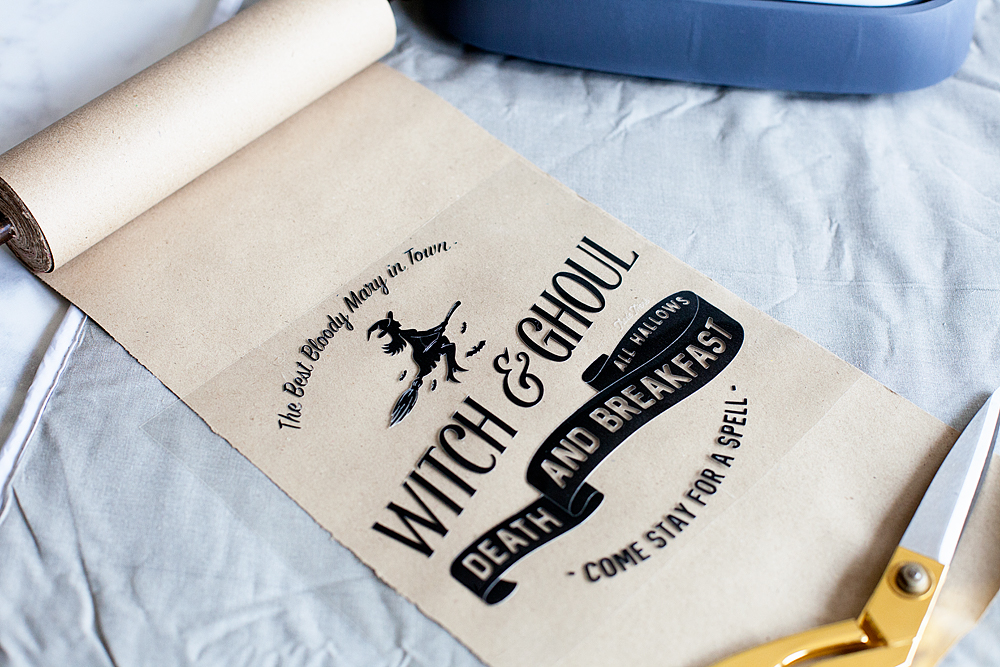
Travel back in time with this fun vintage paper roll sign created by WhipperBerry for Halloween. Witch and Ghoul Death and Breakfast sign available as an SVG file for cutting machines or a printable file for FREE!

I then cover it with the cotton tea towel to protect the paper.
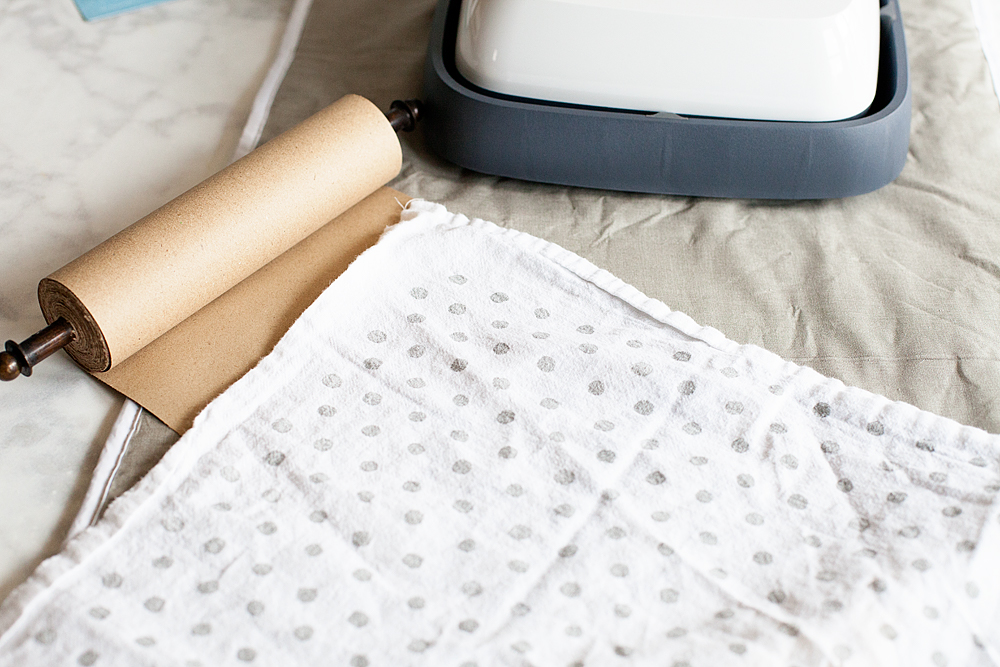
Travel back in time with this fun vintage paper roll sign created by WhipperBerry for Halloween. Witch and Ghoul Death and Breakfast sign available as an SVG file for cutting machines or a printable file for FREE!

Then I place the Easy Press or the iron right on top and let it works it’s magic. I have found that 350˚ for about 50 seconds typically does the trick. Then, I let it cool for a minute or two and then remove the plastic protective covering.
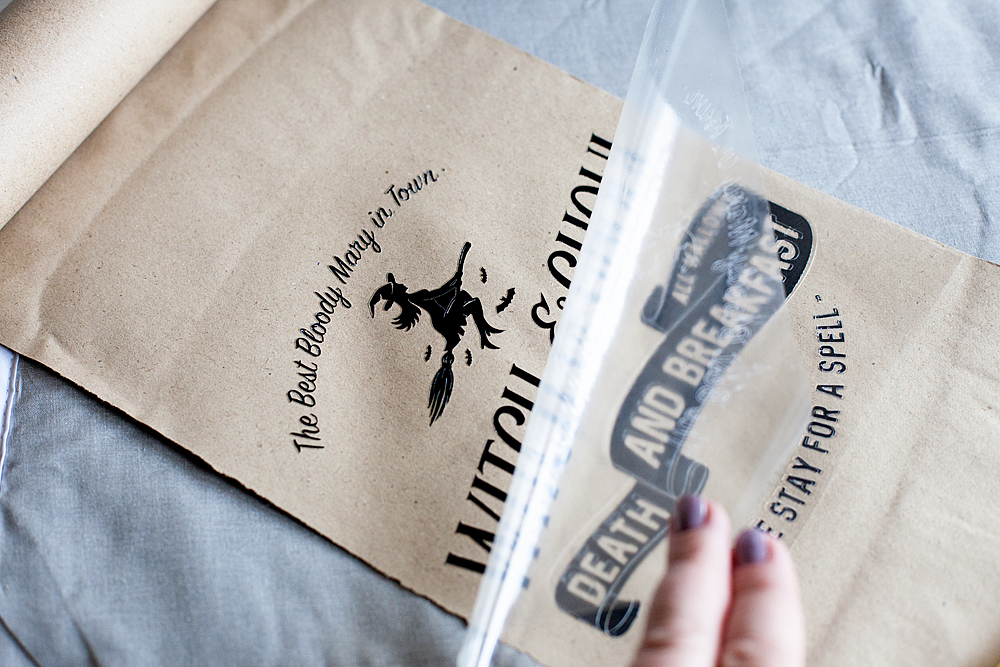
Travel back in time with this fun vintage paper roll sign created by WhipperBerry for Halloween. Witch and Ghoul Death and Breakfast sign available as an SVG file for cutting machines or a printable file for FREE!

Replace the towel and do one more shot with the Easy Press. Voilá.. You’re finished!
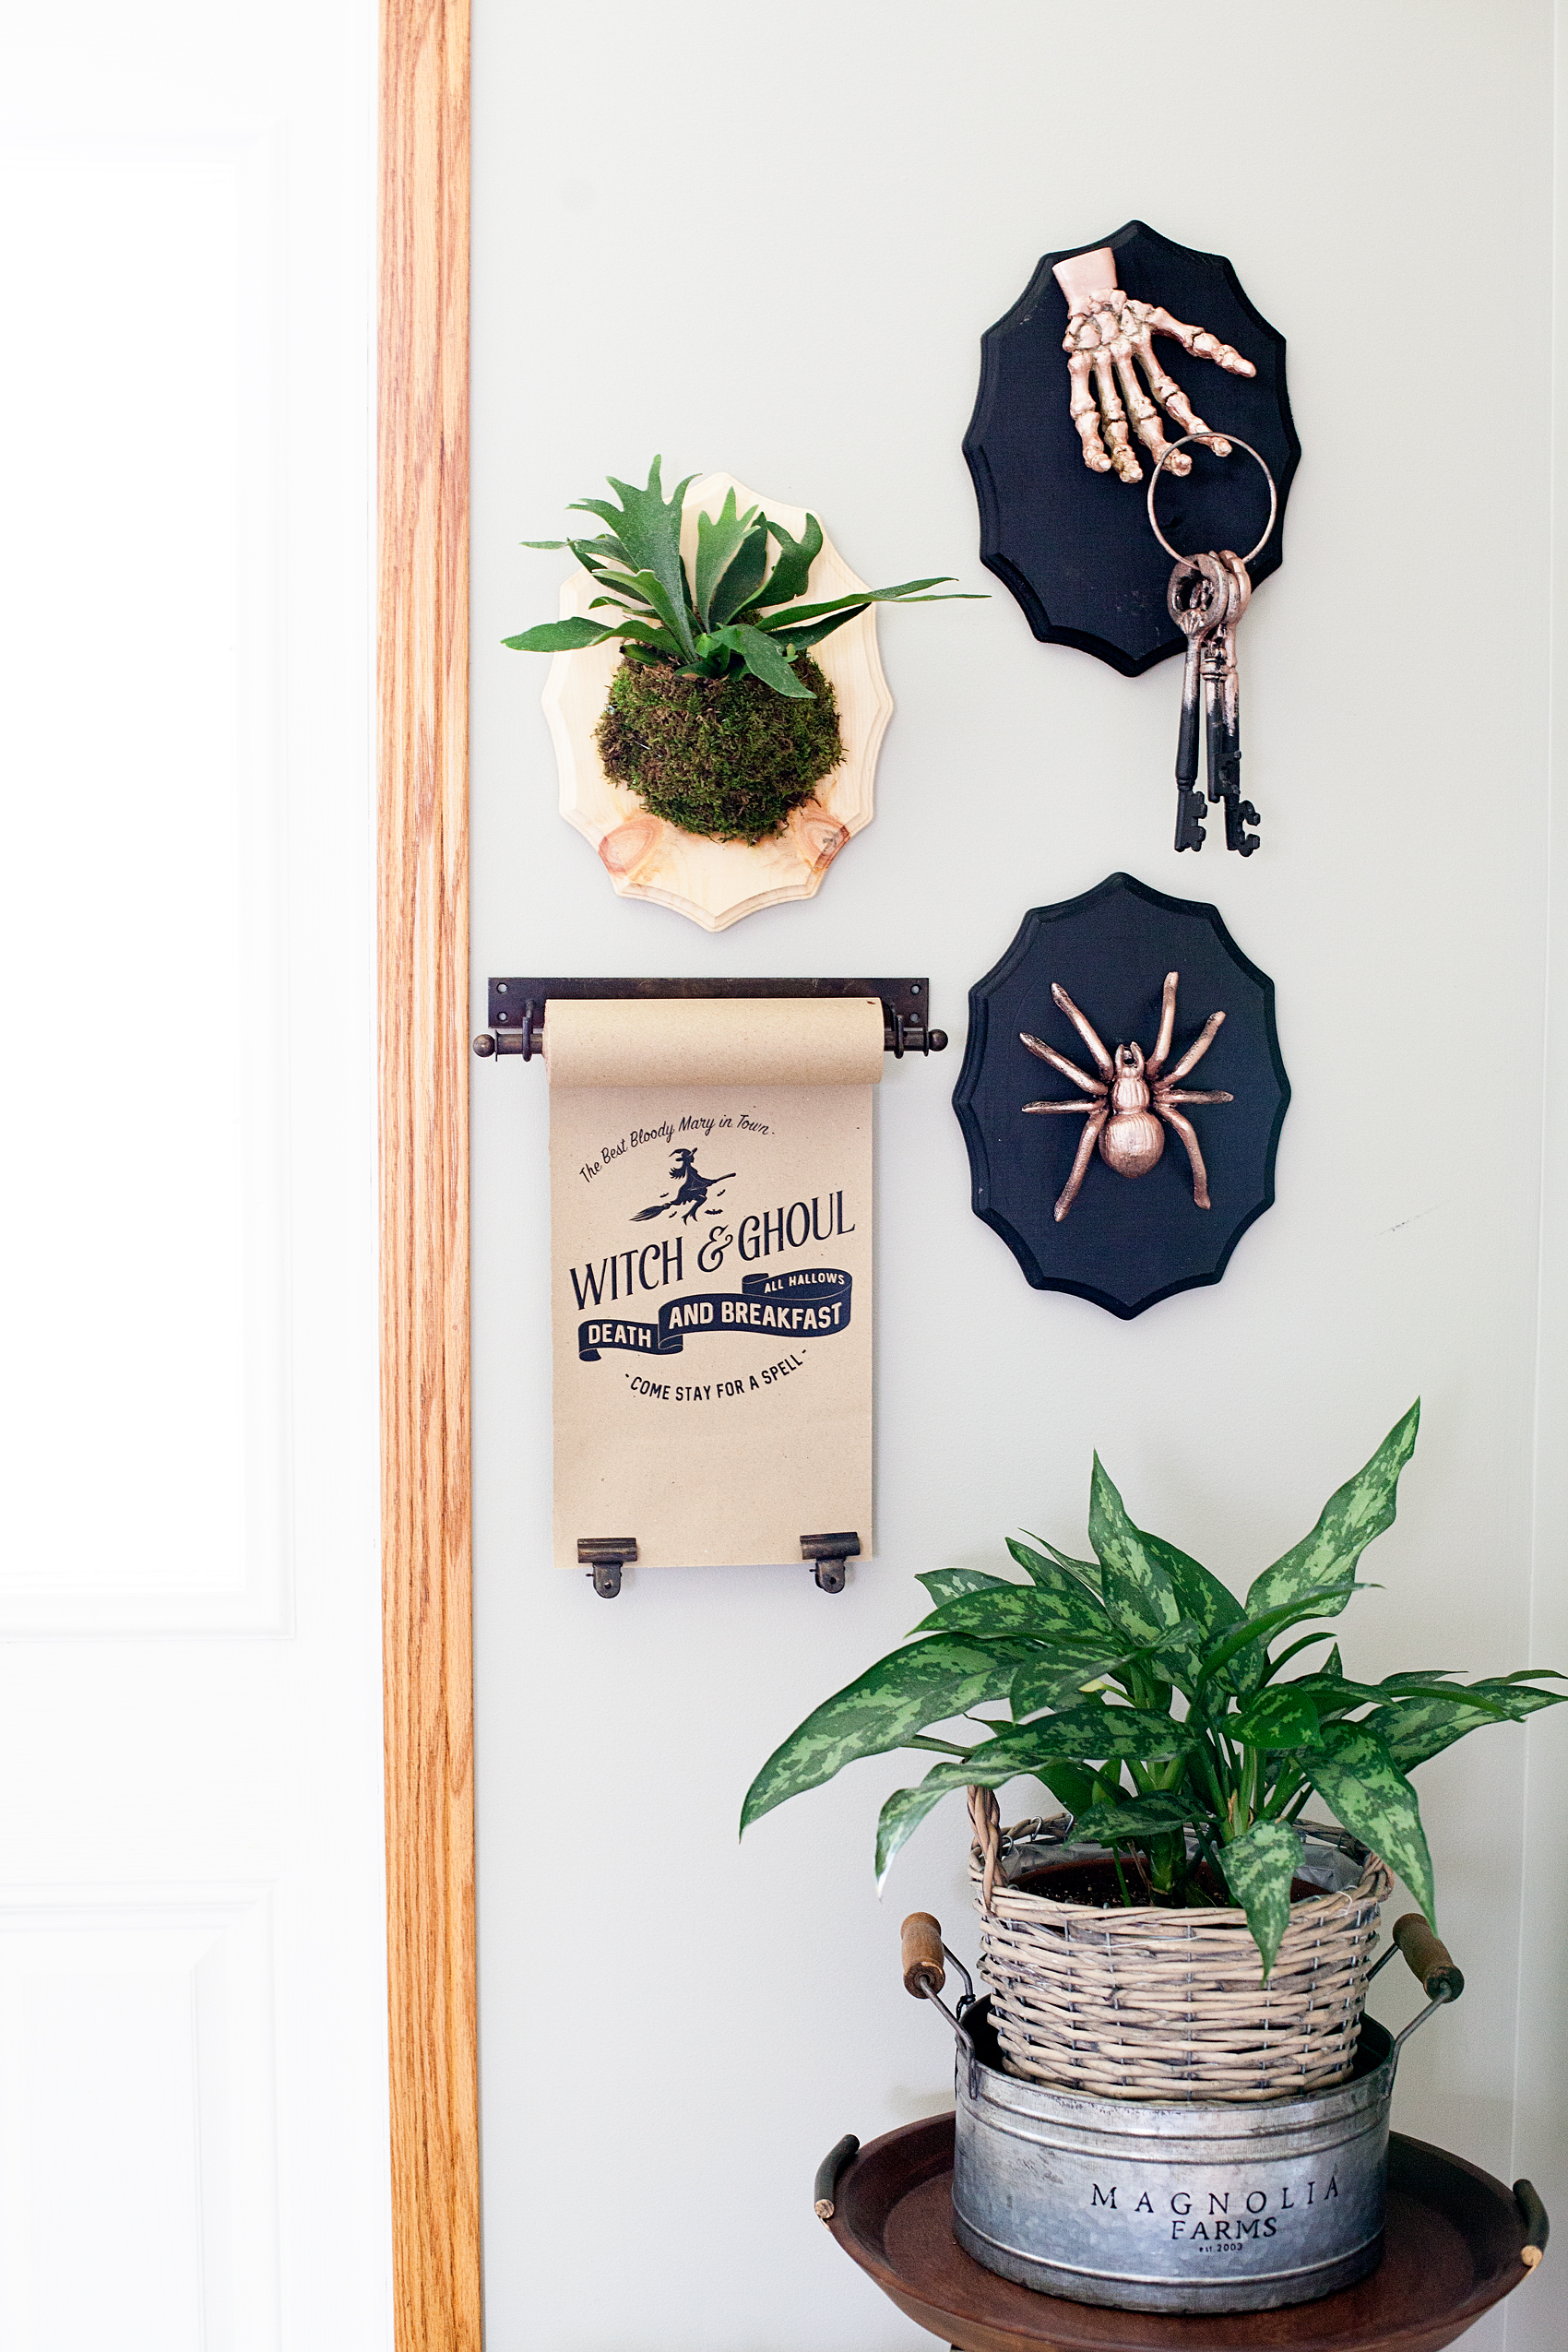
Travel back in time with this fun vintage paper roll sign created by WhipperBerry for Halloween. Witch and Ghoul Death and Breakfast sign available as an SVG file for cutting machines or a printable file for FREE!

Doesn’t it look kinda of cool? You can check out my post on how to create that Halloween Taxidermy  to complete the entire look. It’s super easy too.

I LOVE, LOVE, LOVE the new Easy Press! I’ve used it on all kinds of surfaces now. Paper, canvas, fabric and my next project will be on ribbon. I can’t wait to show you how it turns out. Make sure you add the Cricut Easy Press to your Christmas list AND make sure you make it on the Nice List so that you will for sure get one. It’s one of those game changing tools that you are going to LOVE.

This is a sponsored conversation written by me on behalf of Cricut. The opinions and text are all mine.
How to Apply Vinyl Tutorial + New Kitchen Sign Design

5 · May 9, 2017 · 2 Comments

Have you always wanted to create beautiful vinyl signs but, can’t quite get the hang of applying vinyl? Look no further, I’m sharing my pro tips for how to apply vinyl to create beautiful vinyl signs.

How to Apply Vinyl Have you always wanted to create beautiful vinyl signs but, can’t quite get the hang of applying vinyl? Look no further, I’m sharing my pro tips for how to apply vinyl to create beautiful vinyl signs.

how to transfer vinyl tutorial • brought to you by Cricut

Recently, we moved to our new forever home and I have been madly creating all kinds of fun things to make the space my own. I LOVE creating word art whether it be for vinyl signs, painted signs, or for printables, for some reason that kind of decor always speaks to me. (No pun intended!) I love typography and everything that comes with creating with words and letters. I love watching trends come and go and adding my version to the fray.

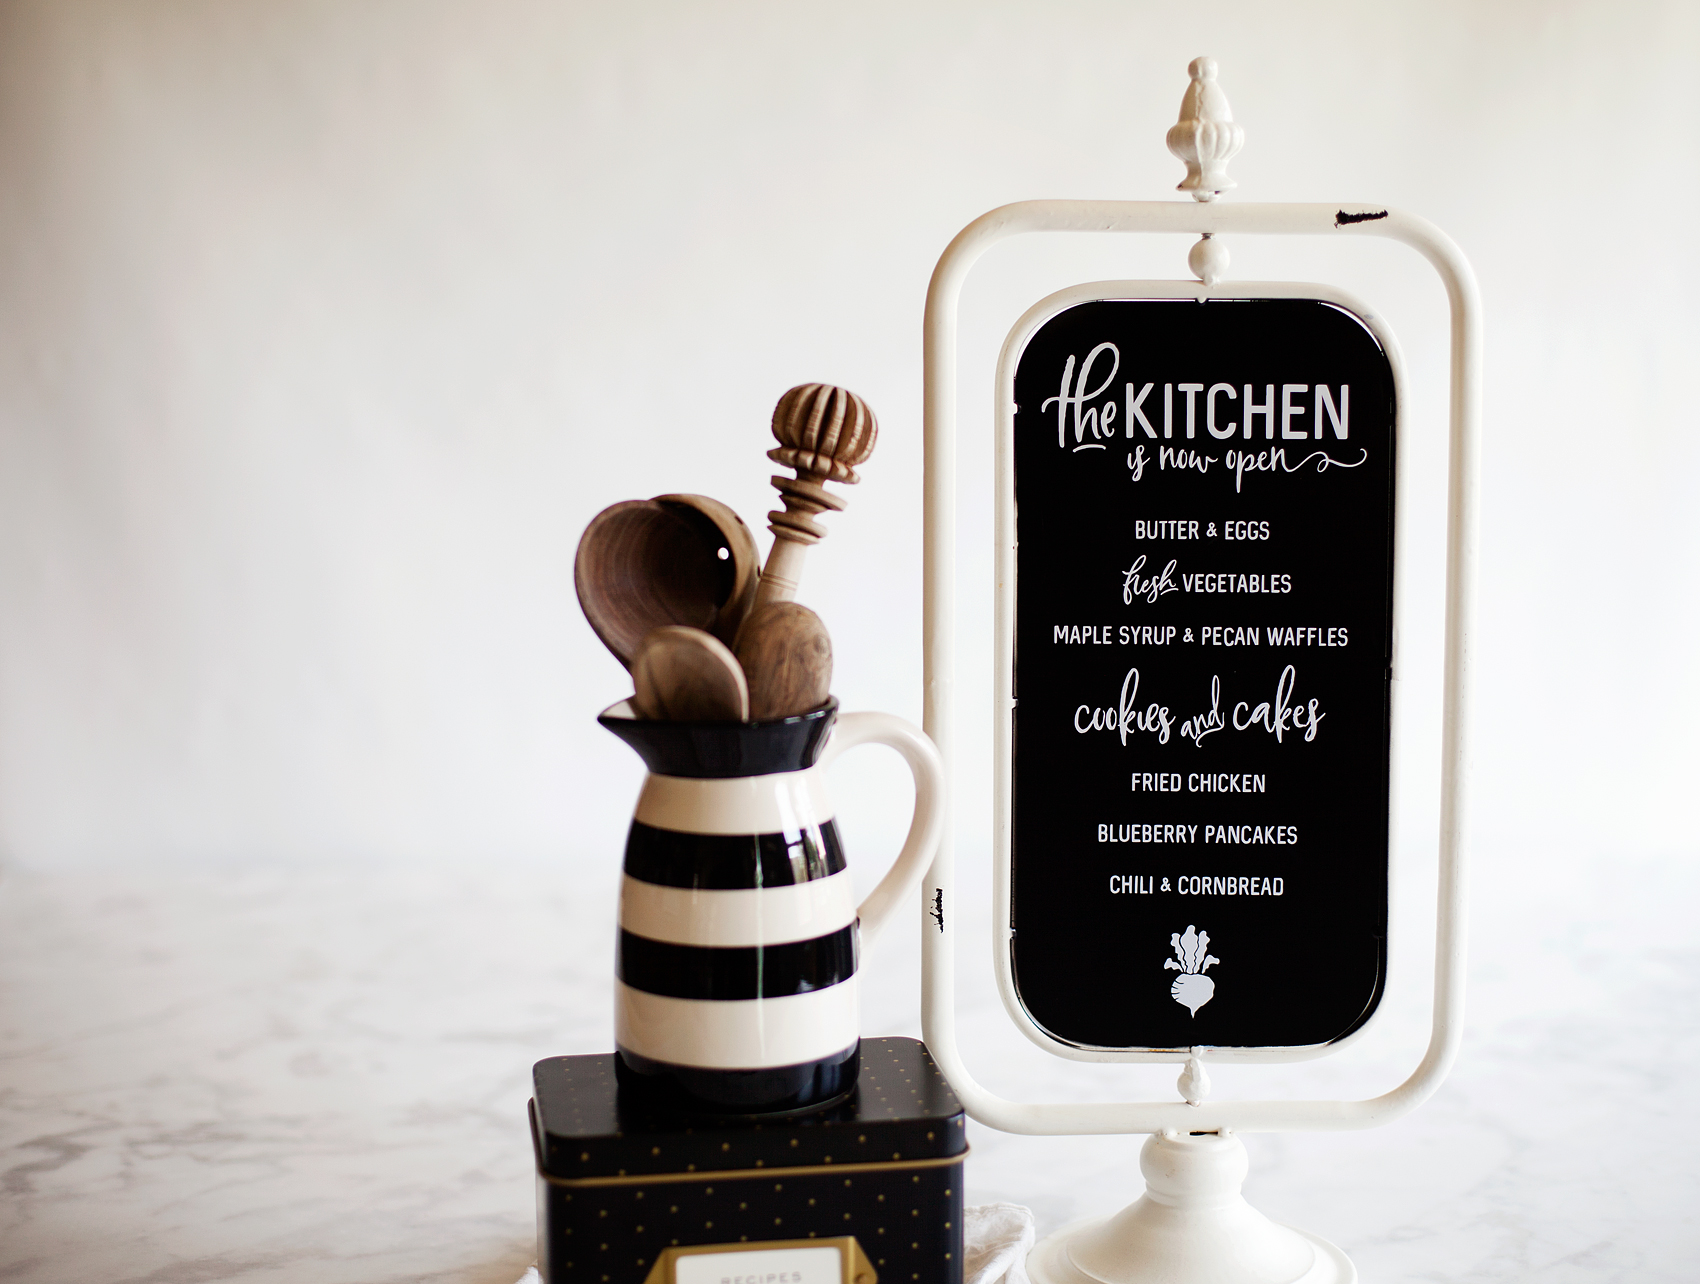
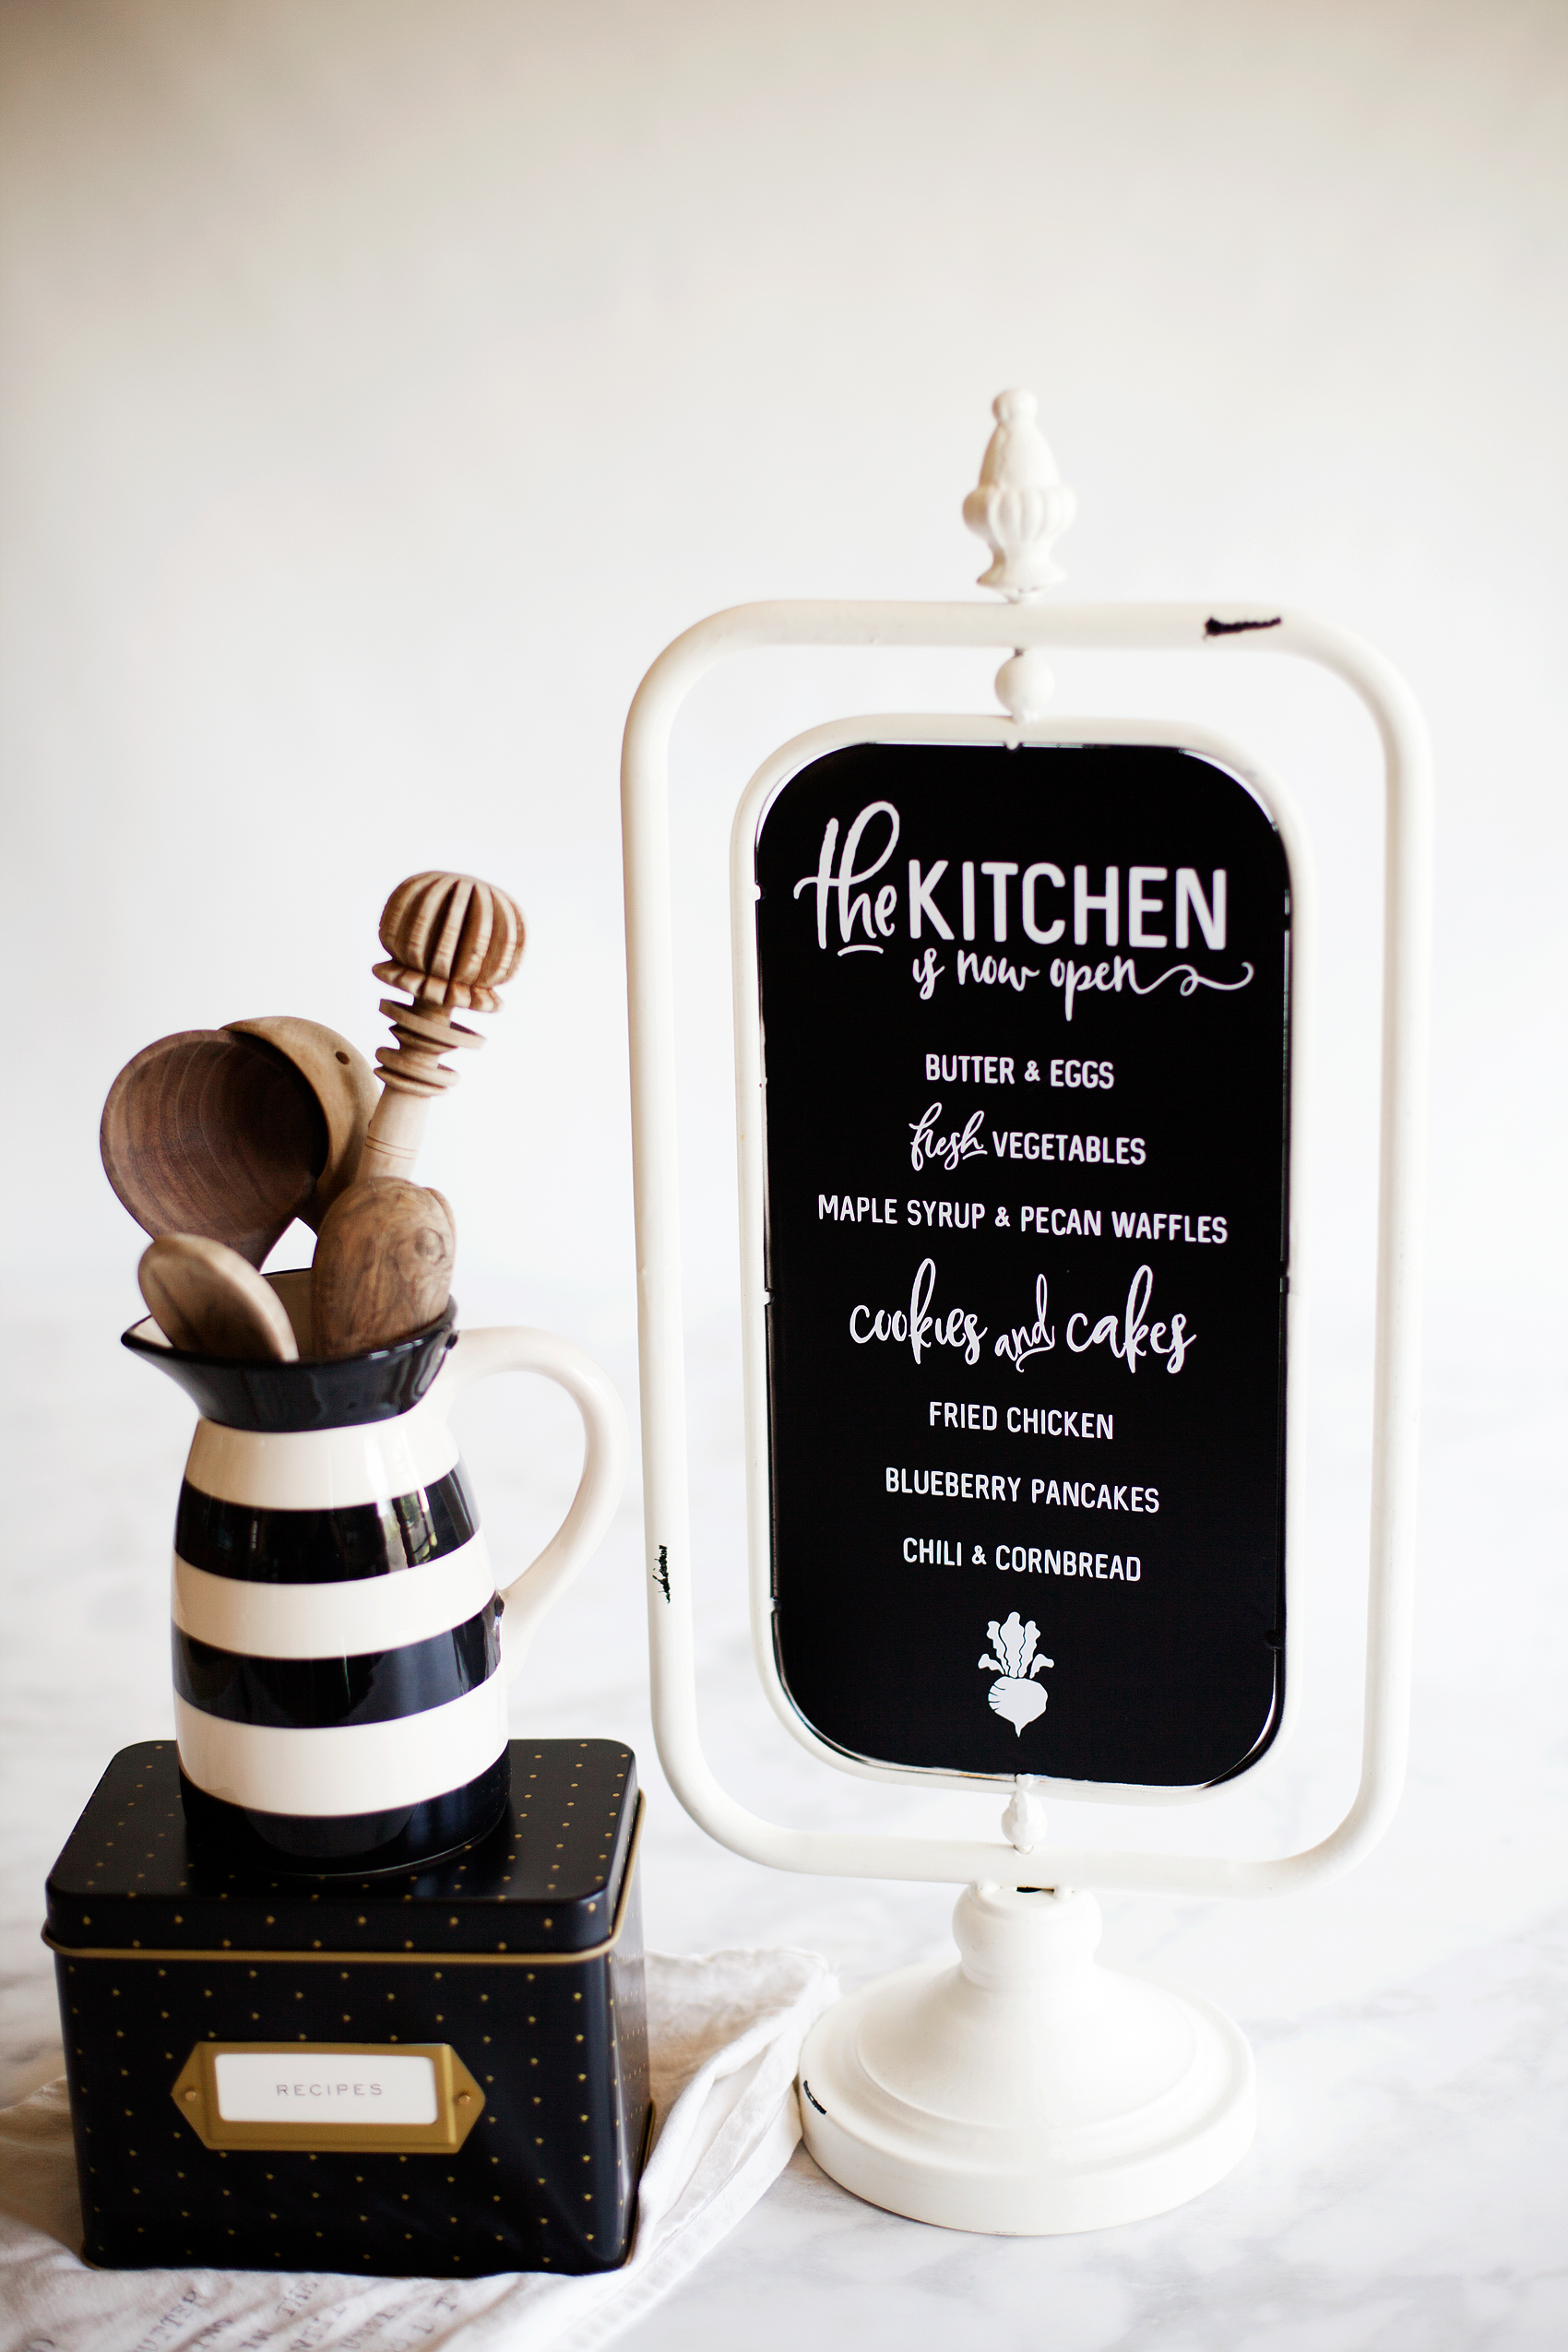
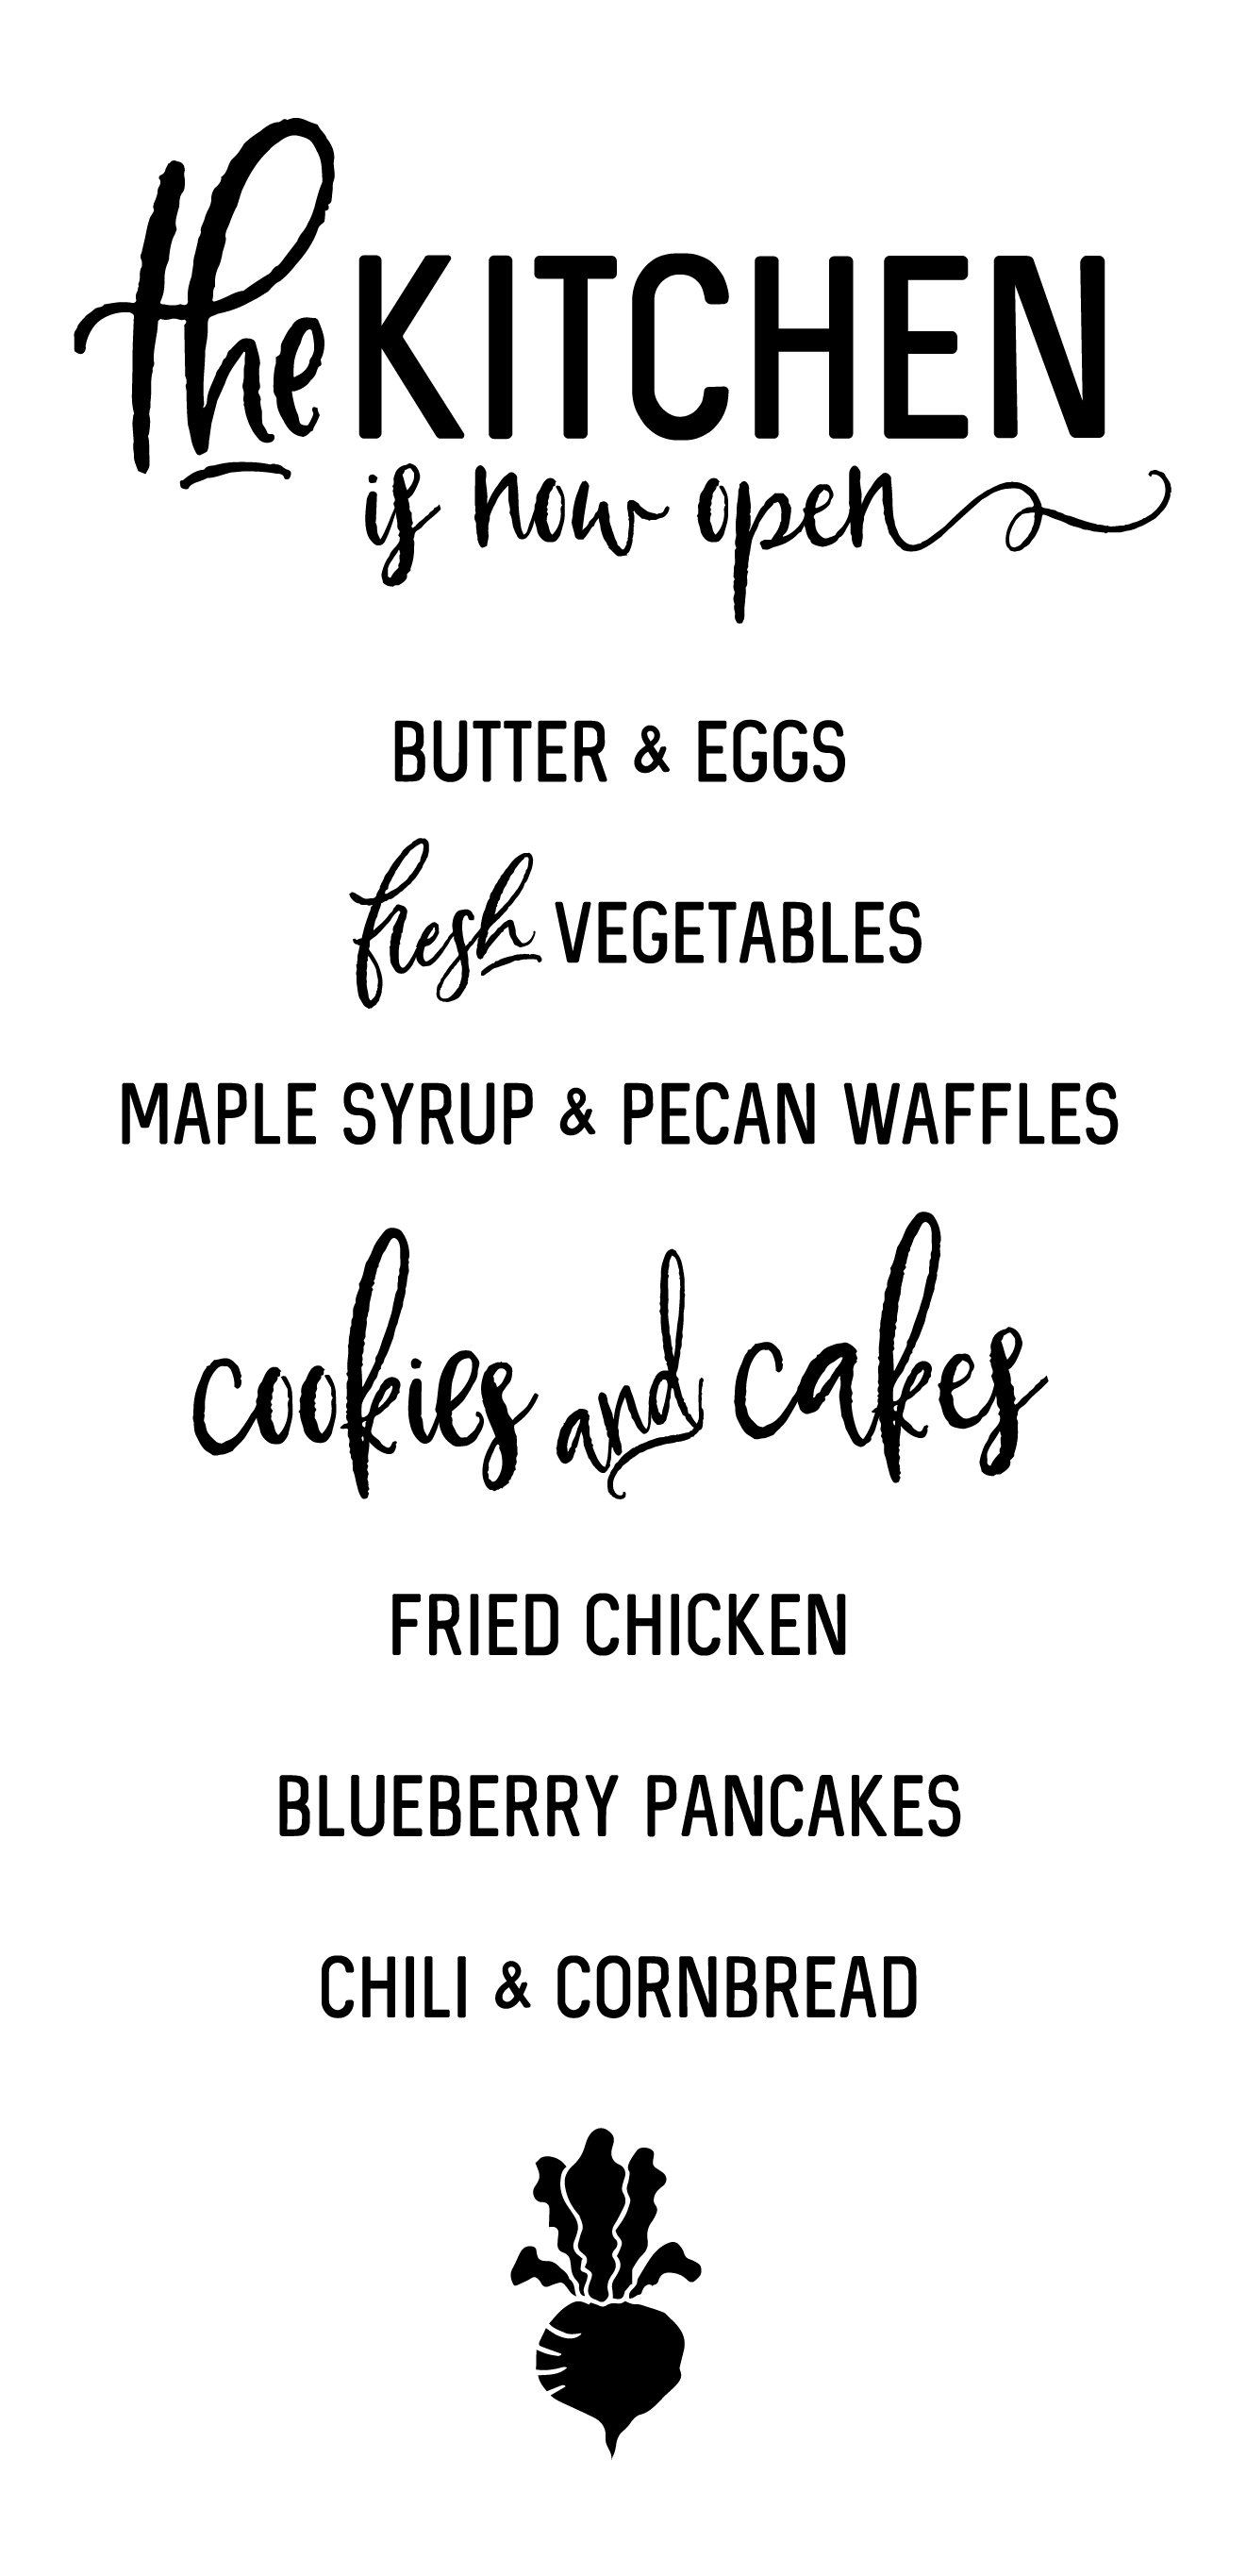
Right now, with the popularity of the show Fixer-Upper, word art is hot. I have all kinds of farmhouse/industrial signs all over my house. I found a fun, blank chalkboard stand at Michaels in their decor section and thought it would be fun to create a new “The Kitchen is Now Open” Sign for my counters. After a little bit of playing around, this is the design that I settled on…

How to Apply Vinyl Have you always wanted to create beautiful vinyl signs but, can’t quite get the hang of applying vinyl? Look no further, I’m sharing my pro tips for how to apply vinyl to create beautiful vinyl signs like this, "The Kitchen is Now Open Sign" with menu from WhipperBerry.

Download Kitchen Sign for Free

It has a little bit of farmhouse flair that so many of us are in love with right now. Now, this sign could be a little intimidating with all of the little letters but, don’t let it be intimidating. YOU CAN DO THIS! All you need is a little patience. So many people try and rush through a project and they get easily frustrated and then their project fails. That is so SAD! Step back, grab a Diet Coke (or, whatever it is that makes you happy), and ENJOY the process of creating.

For today, I’m focusing on just the vinyl transfer part of sign making. I’m working on a few more tutorials on how to create your sign in the NEW Cricut Design Space that was launched in BETA mode a week ago. It’s fabulous! I’ve been having a ball getting to know the new, faster & more user-friendly Design Space. I’m sure you’re going to love it too! It’s so easy to create your own designs within the Design Space or you can create in other programs like Photoshop or Illustrator and import your PNG files directly into Design Space and create that way as well. I’ll be working on more tutorials for both of those options soon.

I’m also working on a video tutorial on how to weed your vinyl. That’s the process of removing the negative part of your design in the vinyl. It’s really not hard, but I have a few tricks up my sleeve that will make it a little easier. Today, I’m just going to focus on how to apply vinyl. Here’s a quick video to show you how to apply vinyl to any type of smooth surface.

Video Tutorial for How to Apply Vinyl

How to Apply Vinyl by WhipperBerry from Heather Thoming on Vimeo.

See, isn’t that simple! Honestly, the trickiest part is making sure that the design is centered onto your surface. As long as you stick with these simple tips, you can become a vinyl sign PRO!

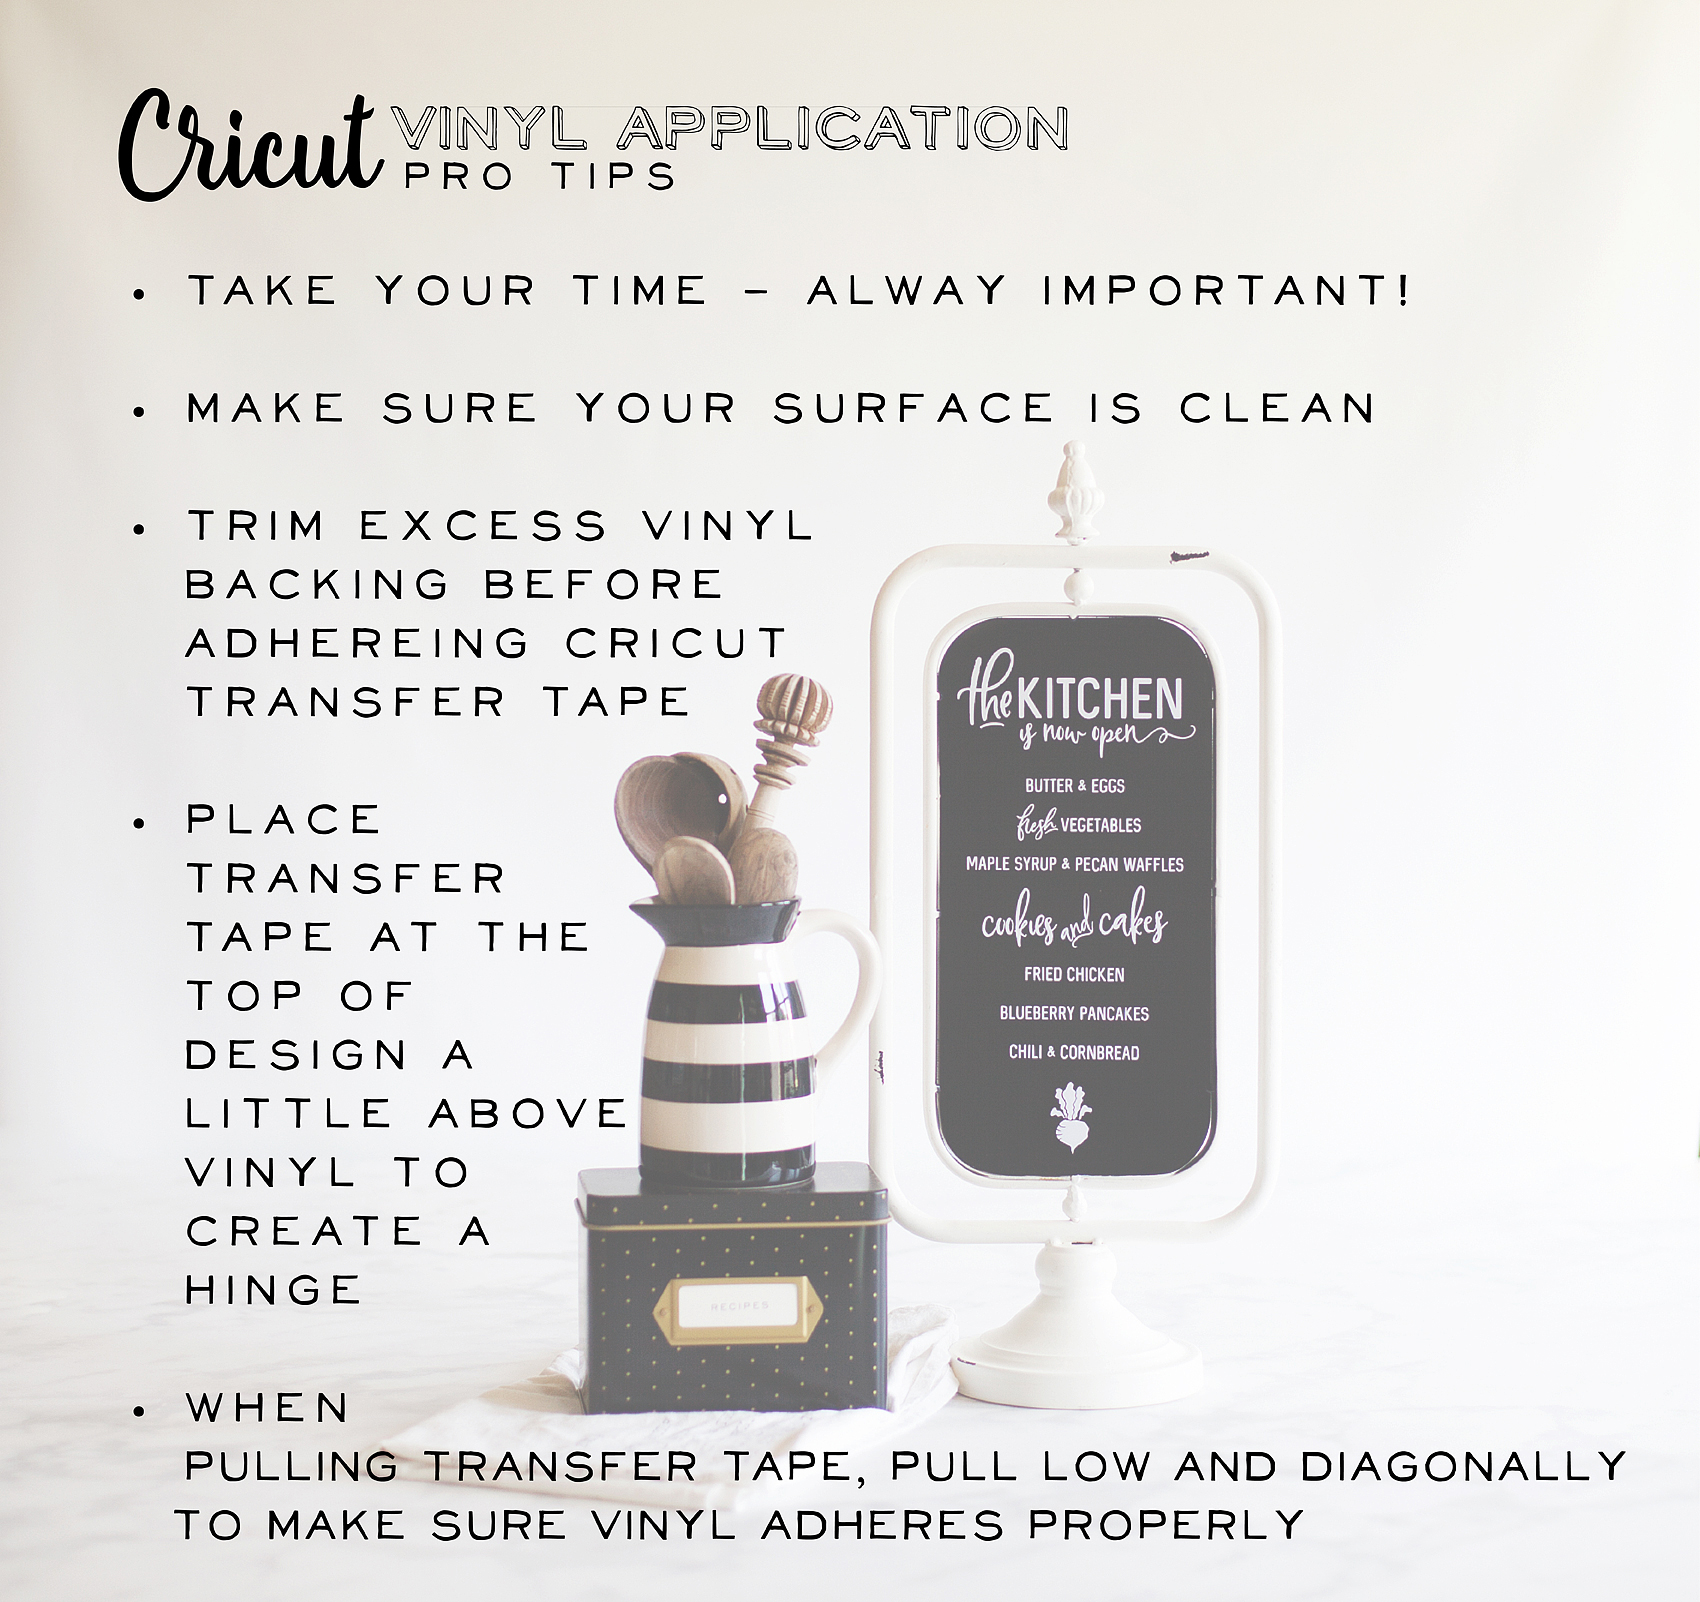
Pro Tips for Applying Vinyl

How to Apply Vinyl Have you always wanted to create beautiful vinyl signs but, can’t quite get the hang of applying vinyl? Look no further, I’m sharing my pro tips for how to apply vinyl to create beautiful vinyl signs like this, "The Kitchen is Now Open Sign" with menu from WhipperBerry.

  • Take your time – like I said before, don’t rush. If some of the vinyl lifts while you are transferring it to either the transfer tape or your sign… Don’t stress out. Lay that section back down and press on the vinyl with your finger and then try again. You’ll get it, just don’t rush.
  • Make sure your surface is clean – Now think about this, if you try and place a sticker on a surface covered in dust, dirt, sand, or general grime, what will happen? The sticker won’t stick. Same thing with adhesive vinyl. Whatever you are adhering it to needs to be clean. Nothing is more frustrating than laying down some vinyl and then finding a little piece of dirt stuck under the vinyl image making an unsightly bump. Take the time to make sure everything is clean.
  • Trim excess vinyl backing – Again, vinyl is just one big sticker. Stickers are placed on backing to keep the adhesive side sticky. The same applies to vinyl. Once you have cut your design on your Cricut machine, you’ll weed your vinyl and then you’ll want to cut away the excess vinyl backing. This will help when laying down your design and making sure it is placed the way you would like it.
  • Create a hinge – Several years ago, when the Cricut cutting machines made cutting your own vinyl possible, a good friend of mine, who owned a large-scale sign-making company, taught me her tricks for applying vinyl. Each of these tricks, I still use them every time. One of them is to use the transfer tape to create a “hinge” at the top of your design. Check out the video and you’ll see what I mean.
  • Pull transfer tape low, slow, and diagonally – My sign-making friend also taught me this years ago. When removing the transfer tape, pull low, slow and diagonally. What I mean by low is, that you are essentially folding the non-sticky side over on itself as you are pulling as close to your surface as possible. When do that along with pulling diagonally, you’ll be less likely to pull the vinyl back up as you remove the transfer tape.

A Quick Note on Materials

Here we have it… Not all vinyl and transfer tapes are created equal!! I have tried many brands of both vinyl and transfer tape. I’ve used what the professionals use and basic crafters vinyl. I LOVE the Cricut Transfer Tape!! It’s clear and so easy to use. I’ve also been very happy with the Cricut Vinyl. I have exclusively used the Premium Outdoor Vinyl for most of my projects and have been thrilled with the results. I made some travel mugs with the Premium Vinyl and have run them through the dishwasher many, many times and have yet to have any issues with the vinyl coming off. I LOVE that!

Stay tuned for more Cricut tutorials and projects coming to WhipperBerry! By the way… If you have any questions, feel free to leave a comment here. I would be happy to help!

How to Apply Vinyl Have you always wanted to create beautiful vinyl signs but, can’t quite get the hang of applying vinyl? Look no further, I’m sharing my pro tips for how to apply vinyl to create beautiful vinyl signs like this, "The Kitchen is Now Open Sign" with menu from WhipperBerry.

Disclaimer // I am a Cricut Ambassador and receive  product and payment to help with my projects. As always, I will NEVER promote a product that I don’t truly believe in!

Kitchen Marquee Sign with Heidi Swapp

0 · Jul 31, 2015 · 3 Comments

+ Kitchen Marquee Sign post brought to you by Michaels Craft Stores +

kitchen-marquee-sign-with-heidi-swapp-by-whipperberry

I am obsessed with marquee signs… I truly am.

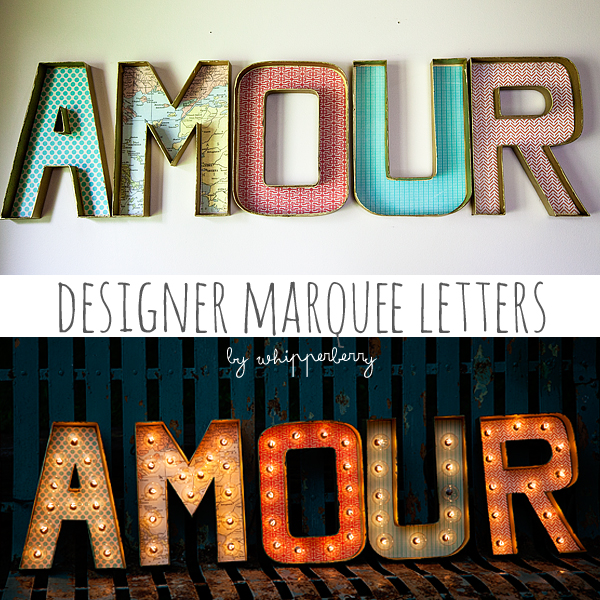
It started with this post back in July of 2013, my Designer Marquee Letters.

designer-marquee-letters-by-whipperberry

Back in the day when marquee letters were rather elusive. Your options were to either pay a fortune for the real deal, or find a way to DIY a set of your own. I went the DIY route which was great, the sign still lives in my kitchen and I love it, however… it was a tad challenging, still expensive and quite frankly it still looked a little wonkey with all kinds of wiring to contend with.

The day that Heidi Swapp released her Marquee Love, was a DREAM! Seriously, I’m not sure if I’ve ever been that excited about a product release in a long time. It’s BRILLIANT! Truly, I’m always kind of excited to see what Heidi has up her sleeve. She is taking the crafting world by storm these days with not only her Marquee Letters but her Minc Foil Applicator is GENIUS as well. One of my favorite crafting tools right now!

Heidi is one of those individuals who is amazingly innovative but someone who is truly genuine. She’s everyone’s cheerleader. We have connected a bit over social media and had a chance to chat at SNAP this last year. She is one lady who I truly admire and look up to. She’s brilliant and a go getter. She’s one of those ladies who dreams up a crazy idea like the Minc and just MAKES IT HAPPEN! I love that!

I had a ball this week creating with my favorite Heidi Swapp Marquee Love letters to celebrate Michaels Big Brand Sale Starting Sunday, August 2nd.

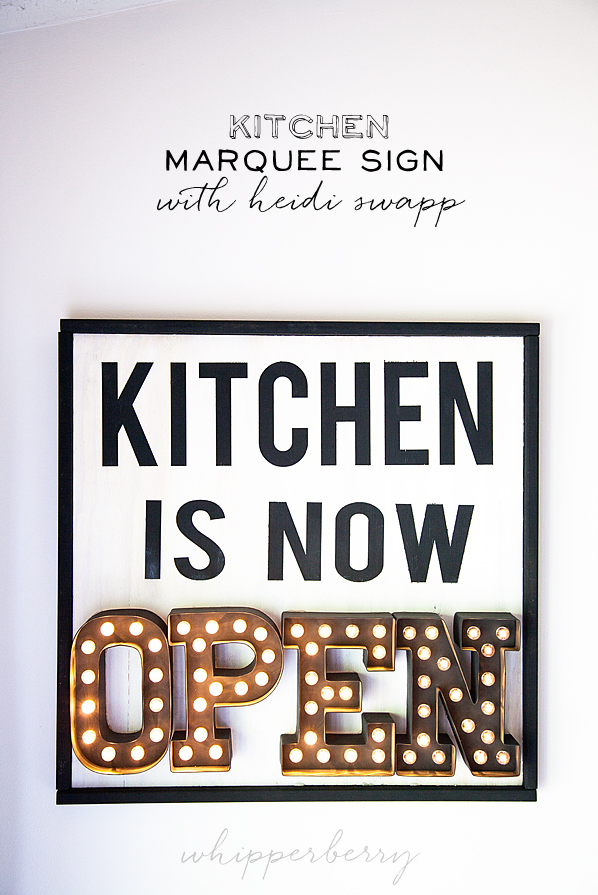
 Kitchen Marquee Sign

Kitchen-is-now-open-Heidi-Swapp-Marquee-Sign-from-WhipperBerry-1-2

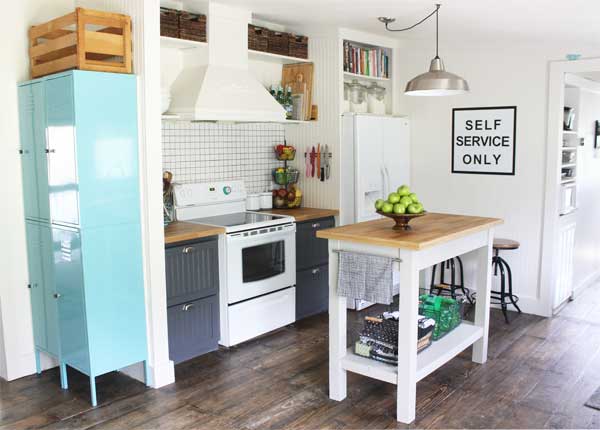
I decided to take Heidi Swapp’s Marquee Love letters to the next level and add them to a wood sign, rather than just having them sit on a shelf. I have fallen in love with all kinds of fun typography signs for the kitchen floating around like this one from Gina of Shabby Creek Cottage

small-kitchen

BUT… I thought, how fun would it be to have a marquee element to it. Why not do a sign saying, “Kitchen is Now OPEN” with the OPEN in marquee letters showing that when the sign is alight, the kitchen is open, when it’s off, the kitchen is CLOSED. Fun, right! Here’s how to make it…

Materials Needed

  1. 24×24 plywood board
  2. 4 – 25 inch 1 1/2 x 1/2 inch boards for the frame
  3.  Heidi Swapp Marquee Love letters O,P,E,N
  4. Krylon Chalk Board Spray Paint
  5. White Chalk Paint – I used BB Frösch Chalk Paint Powder
  6. Silhouette or Cricut cutting machine OR Stencil Letters
  7. Vinyl
  8. Scrap paper
  9. painters tape
  10. Hot glue
  11. Brad nails
  12. Glue dots

Directions

Heidi-Swapp-Marquee-Sign-from-WhipperBerry-10

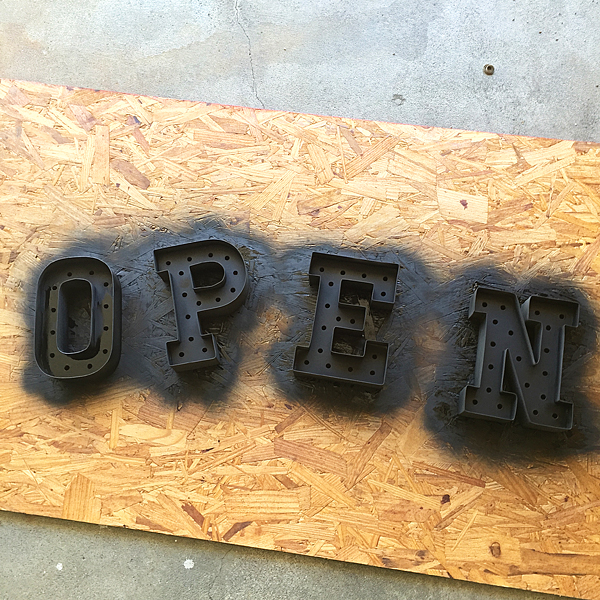
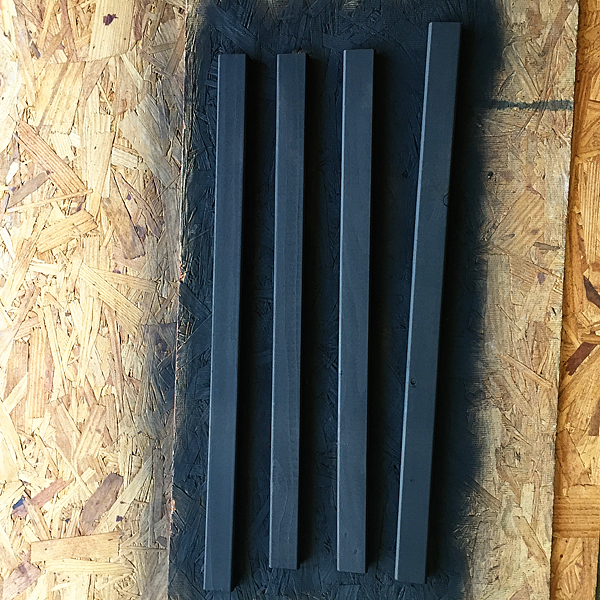
Gather your materials and prepare them to paint. I decided to use Krylon Black Chalkboard Paint because I love the deep black and the matte finish.

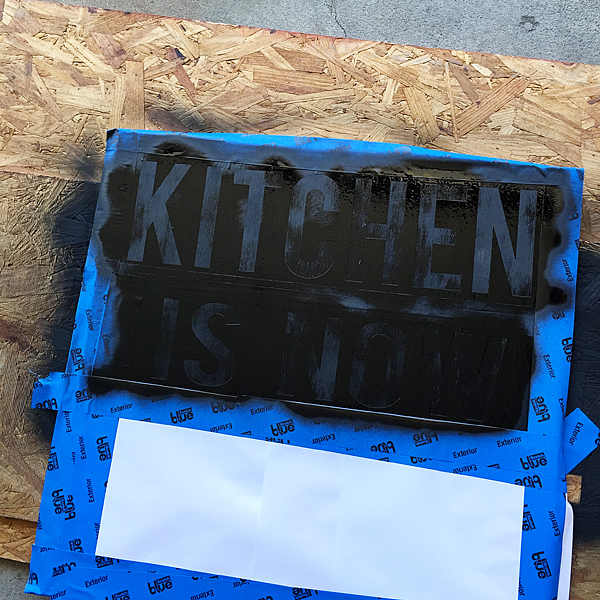
First, I spray painted my letters and the frame for the sign.

Heidi-Swapp-Marquee-Sign-from-WhipperBerry-9

Heidi-Swapp-Marquee-Sign-from-WhipperBerry-7

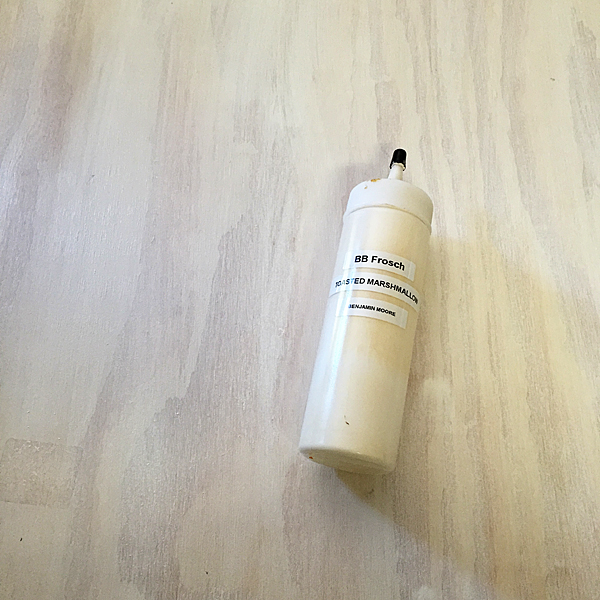
Then I used BB Frösch Chalk Paint to white wash the sign base. I chose that technique rather than just straight paint because I still wanted to see the wood grain.

Heidi-Swapp-Marquee-Sign-from-WhipperBerry-8

To white wash your board, all you need to do is use watered-down chalk paint and then lightly wipe-off the paint to reveal the grain of the wood. This is a great way to add a little color, keep the wood look and it also dries really quick!

Heidi-Swapp-Marquee-Sign-from-WhipperBerry-5

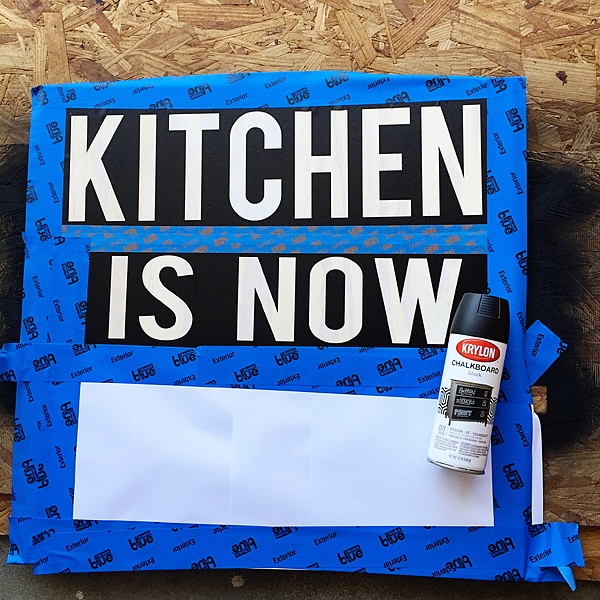
Next, I cut my vinyl with my Silhouette CAMEO using the Bebas font. Love that font!

I laid down my vinyl and then taped the rest of the board with painters tape and some scrap paper to mask the rest of the board while I spray painted the letters.

Heidi-Swapp-Marquee-Sign-from-WhipperBerry-4

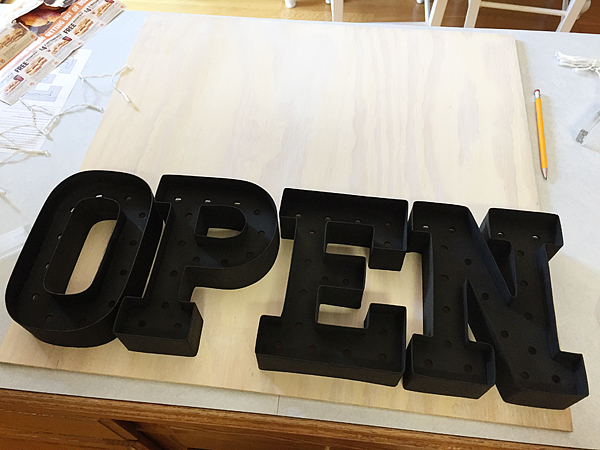
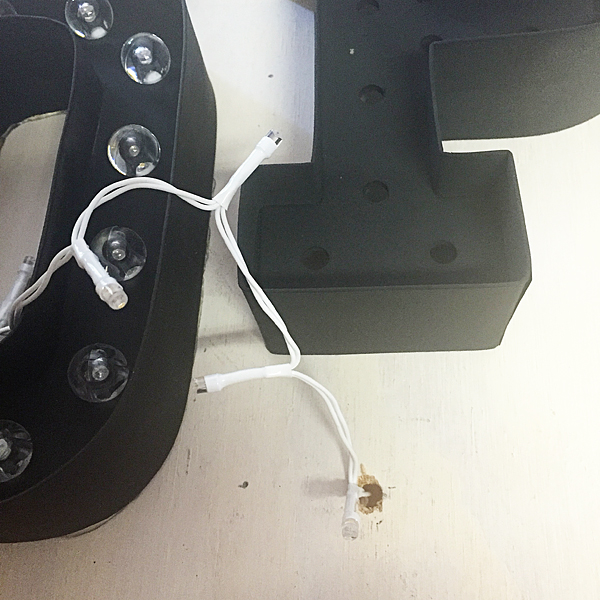
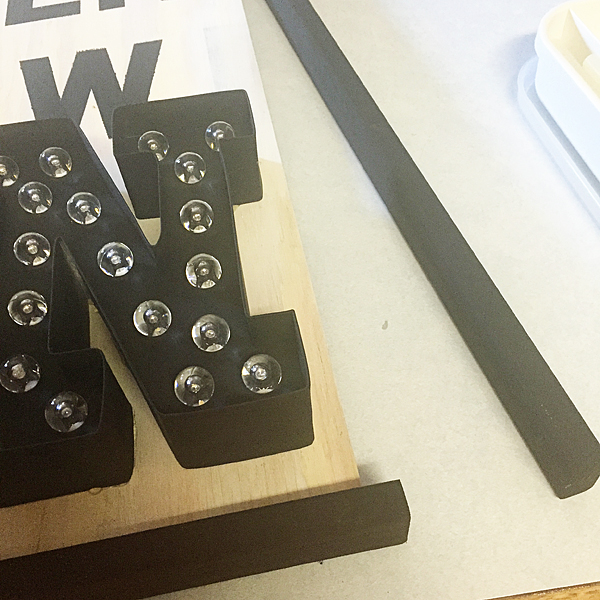
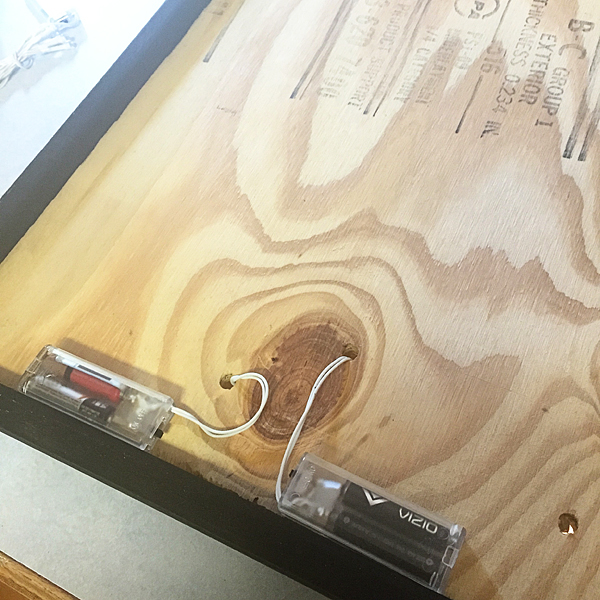
Once the paint was dry, I placed my marquee letters and drilled holes to feed the lights through. Now, keep in mind, you need to think through the pavement of the holes and how you are going to arrange the lights in the letters. You want the battery packs sitting on the bottom frame of the sign and you need to place the drilled holes accordingly.

Heidi-Swapp-Marquee-Sign-from-WhipperBerry-6

Heidi-Swapp-Marquee-Sign-from-WhipperBerry-3

Then, I assembled my marquee letters and hot glued them to the board.

Next, I hot glued the frame to the sign base and then secured it with some brad nails.

Heidi-Swapp-Marquee-Sign-from-WhipperBerry-1

On the back of the board, I used a few glue dots to secure the battery packs for the letters to the back of the board.

Heidi-Swapp-Marquee-Sign-from-WhipperBerry

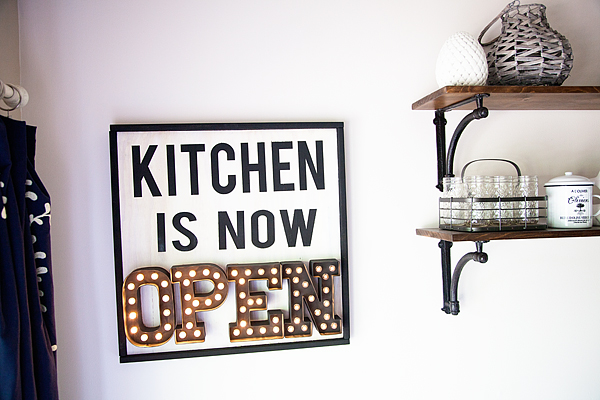
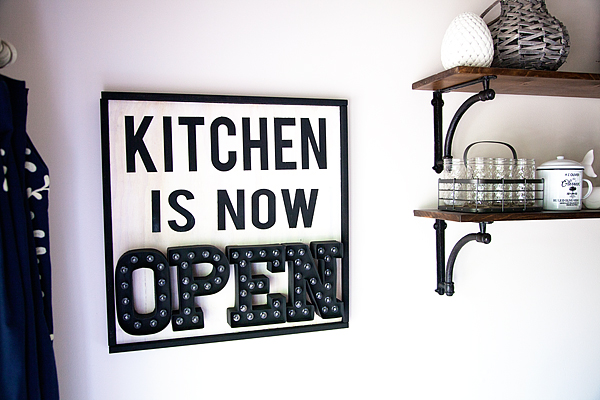
And that was it… your Kitchen Marquee Sign is finished!

Kitchen-is-now-open-Heidi-Swapp-Marquee-Sign-from-WhipperBerry-2

The cool thing it looks great with the lights ON or OFF!

Kitchen-is-now-open-Heidi-Swapp-Marquee-Sign-from-WhipperBerry-3

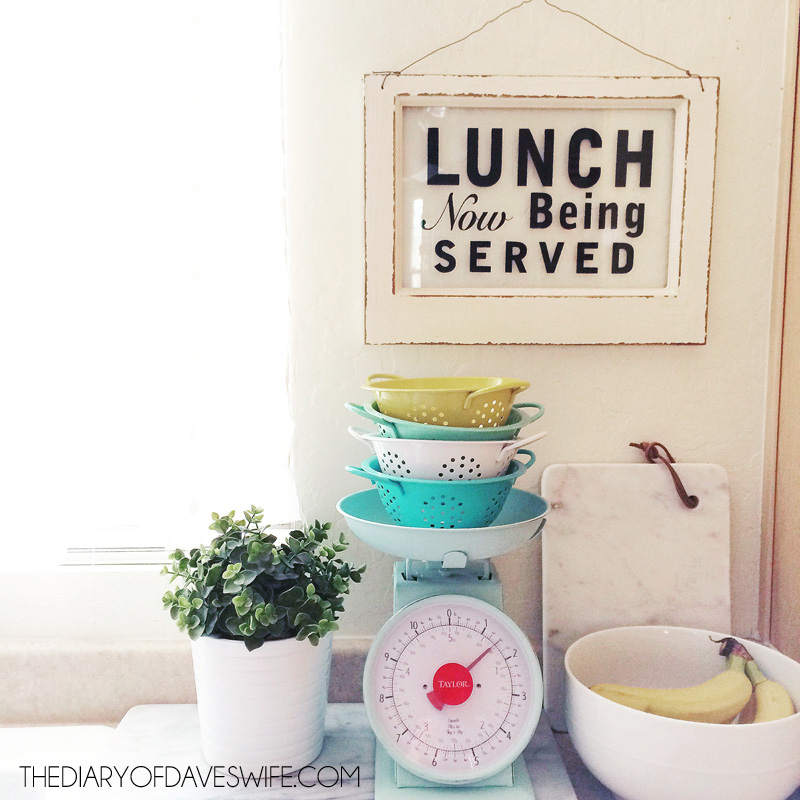
I found the cutest sign on The Diary of Dave’s Wife not to long ago…

Lunch-now-being-served

Of course had to make one of my own, I thought it look great placed right under my Kitchen is Now Open sign…

Kitchen-is-now-open-Heidi-Swapp-Marquee-Sign-from-WhipperBerry-4

How fun is that! I used some 3M Command Picture Hanging Strips that are velcro so I can easily interchange my breakfast, lunch & dinner signs for fun! LOVE IT!!

Don’t forget this next week is the perfect time to stock-up on all your favorite brands at Michaels Big Brand Sale!!

Disclaimer // This post is sponsored by Michaels Craft Stores. I am Michaels Maker this year and will be posting all kinds of goodies from Michaels Craft Stores. I do receive free product to create with.

Primary Sidebar

Heather from Whipperberry
Hello... my name is Heather and I'm the creator of WhipperBerry a creative lifestyle blog packed full of great recipes and creative ideas for your home and family. I find I am happiest when I'm living a creative life and I love to share what I've been up to along the way... Come explore, my hope is that you'll leave inspired!

Footer

  • Privacy Policy

Copyright © 2023 · Seasoned Pro