Hey there! My name is Amy and I can normally be found blogging and crafting over at The Idea Room.
First of all, I would like all of you to know how super excited I am to be guest posting on WhipperBerry today. I have been following these awesome ladies for a while now. I also was able to finally meet a few of them…Heather, Emily and Danielle, just this past month in Arizona at a Blogging Conference. And I have to tell you, they are just like they seem…sweet, friendly, fun and super talented. So, to be here on their collaborative blog is a bit of an honor for me.
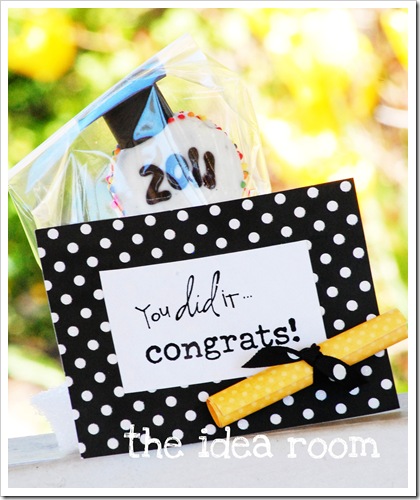
‘Tis the season for graduations. Whether it be pre-school, kindergarten, high school or a college graduation, chances are you know someone who will graduate to something larger within the next few weeks. I always like to give the graduates something fun and festive to go along with a gift card or money. So this year I came up with some chocolate covered Oreo’s on a stick. And seriously…who doesn’t LOVE chocolate covered Oreo’s or food served on sticks? Okay…well most food served on sticks {not a huge fan of corndogs}!
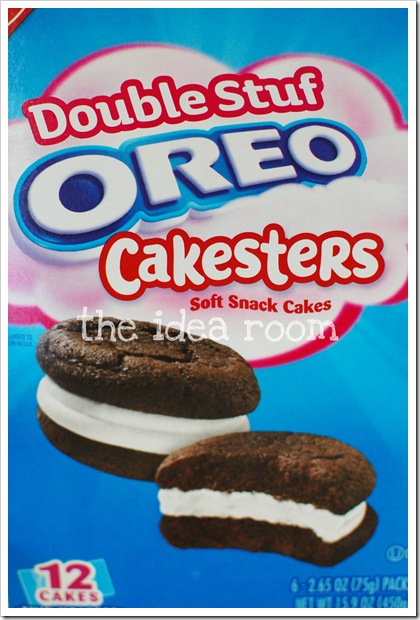
And the best part about these graduation treats is that they are really easy to make and can be ready to go within an hour of making them. I like to actually use the Oreo Cakesters rather than regular Oreos because the sticks fit very nicely in between the two cake layers without breaking the cookies which can sometimes happen when you use regular Oreos. If you want to use the regular kind try to get the double stuffed Oreos.
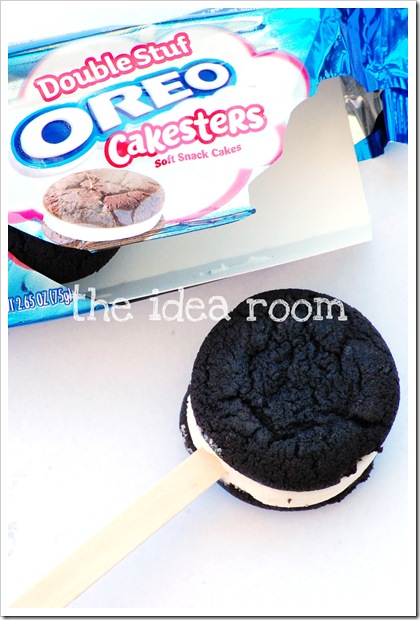
Take regular popsicle sticks (can be purchased new at most craft stores) and stick them between the two layers of cake. I sometimes put a bit of melted white chocolate on the end of the stick. This helps “glue” the stick to the inside of the cake layers and makes it more stable and less likely to fall out.
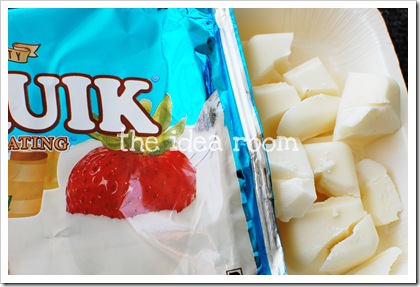
Melt some white chocolate, almond bark or Vanilla CandiQuik in the microwave in 20 second intervals. Then dip the Oreos into the chocolate and be sure to cover the entire surface and especially the popsicle stick at the base of the oreo. While the chocolate is still wet, but not dripping, roll the sides of the Oreo into some fun colored sprinkles. Then set them on a piece or wax or parchment paper till the chocolate cools are hardens.
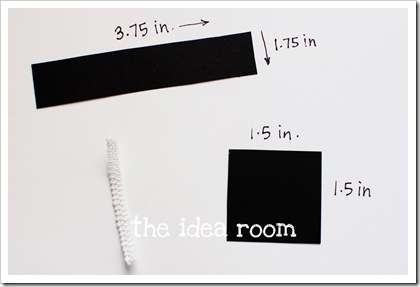
Now you can take some black cardstock and cut out two different pieces to make your graduation cap. I cut one strip that measured 3.75 inches by 1.75 inches for the base of the hat and rolled it into a circle and held it together with a piece of tape.
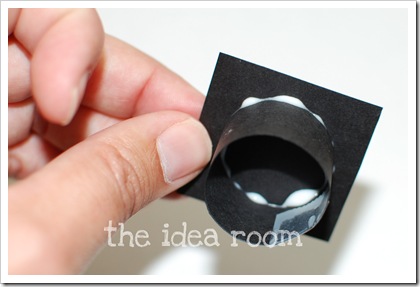
The square piece will be the top of the hat. Hook them together with some glue like this…
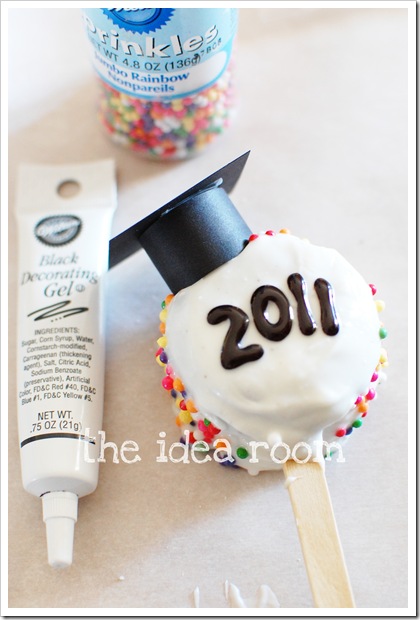
Then while the chocolate is still sticky place it onto the pop. I set mine off to the side, but you can put it wherever you would like to.
When the chocolate is cool you can take some Black Gel icing, which can be found in most supermarkets in the baking aisle, and write the graduation year on the front of the Oreo pop.
This icing will need to sit for a while so that it can dry if you are planning on packaging the graduation pop.
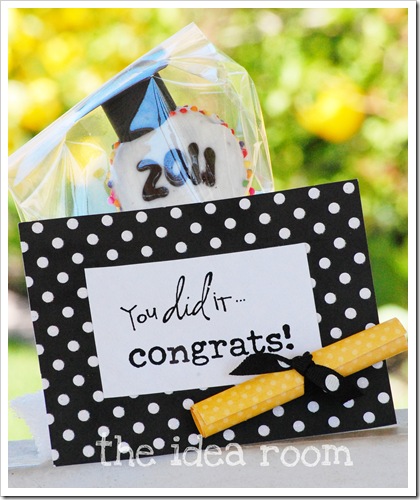
Then I whipped up a little card to go along with it. This time I made a little yellow diploma and attached it to the card with a glue dot.
And…inside the diploma is some cash I rolled up! So be sure to let the recipient know it is there…or you can just roll up the cash and put it in place of the yellow decoration.
This is something little but shows that you put some effort into their gift rather than just opening your wallet and handing over some cash…but hey…if someone offered me some cash from their wallet…I wouldn’t care too much that it wasn’t packaged pretty!
Thanks for having me WhipperBerries! I would love for you to come by and visit me over at The Idea Room anytime!
*Amy
Amy… we are sooo excited to swap with you today!! You have been such a great friend and mentor, we are truly honored!
I’m sure some of you may know that we have been experiencing a little trouble with blogger in the last couple of days. Sorry for the craziness!! Because of that we are going to combine Amy’s AMAZING post with our Friday Flair… so come strut your stuff my friends!!


oh i LOVE this idea.
its graduation tonight and tomorrow here at Purdue, ill be busy make tons of these tonight!!
thanks so much!!
very cute!!
What a super cute graduation idea! I always love seeing what is new at the Idea Room:-)
This is such a cute idea and would be fast to make up a bunch. I love Amy and her great ideas.
I confess I had LOVED Amy and The Idea Room for quite some time. These graduation ideas are prefect for this time of year. I can see those graduation pops springing up at graduations everywhere! Thanks so much for sharing your talents with us Amy!!
I love, love this idea. I have so many graduates to give something too. I wanted to do something special and this is just the ticket!
Very cute. Haven't seen these type of Oreos here in Australia yet, but I'm sure I can find a substitute….. I missed you last week, so happy to be back, although a little late (thanks Blogger)
x Marnie
Cute idea! Thanks again for hostessing.
Those are really darling and look so yummy! Such a great idea!
Megan
http://1funkywoman.blogspot.com
Those are so sweet!!! Thanks for hosting! 🙂
CUTE!!! WHere did you get the frame, and how did you get the saying on the frame? Thanks
Thanks so much for hosting!!! Hope you are all having a fantastic weekend!
Hi Heather! Thank you so much for the Whipperberry love at my blog! I'm now linked up to this fabulous blog..I'm new at this blogging thing, but am enjoying it so very much! Especially when I find blogs like yours!
Love the graduation idea from the Idea Room too:)
I just fell in love with this but had a hard time making it…the oreo was too soft and kept breaking apart when i tried to dip it. So i put the sticks inside the oreo then freezed them. Once they were hard then i dipped them in the melted chocolate and it worked like a charm! And they turned out adorable, thanks for the idea!!