• Skip to primary navigation
  • Skip to main content
  • Skip to primary sidebar
  • Skip to footer

Whipperberry

WhipperBerry • Your Home For Creative Inspiration

  • Home
  • About
    • Terms
  • Recipes
    • ZipList
    • Starters
    • Easy Weeknight Dinners
    • Main Dish
    • Salads
    • Side Dish
    • Soups & Stews
    • Desserts
    • Breakfast
    • Miscellaneous
  • Tutorials
    • Creative Crafts
    • DYI Decor
    • Fabric Crafts
    • Food How-To
    • Jewlery
    • Paint Projects
    • Paper Art
    • Party Styling
    • Photography and Graphic Design
    • Silhouette
  • Holidays
    • St. Patrick’s Day
    • Easter
    • Mother’s Day
    • Father’s Day
    • 4th of July
    • Halloween
    • Thanksgiving
    • Christmas
    • New Years
    • Valentine’s Day
  • Gift Ideas
    • Gifts For Everyone
    • Gifts for Dad
    • Mother’s day
    • For The Girls
    • For The Kids
    • Teacher Gift Ideas
    • Christmas
  • Printables
    • Holiday
    • Gift Idea
    • LDS Primary
  • Travel
  • Contact
  • Nav Social Menu

    • Facebook
    • Instagram
    • Pinterest
    • RSS
    • Twitter

Lifestyle Crafts

Valentine Snow Globe | Anthro Inspired

204 · Jan 11, 2012 · 59 Comments

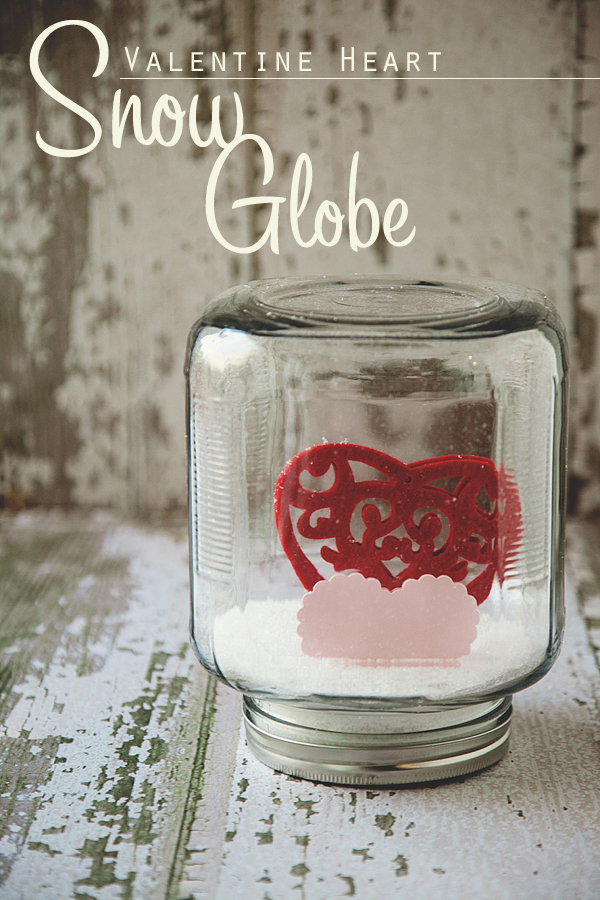
I have to admit… I have fallen for the Anthropologie snow globes from this last holiday season! While I was putting all of my holiday decorations away I just couldn't part with my snow globes. I decided that I would make  a Valentine's Day version.  Here you have it… my Valentine Snow Globe.

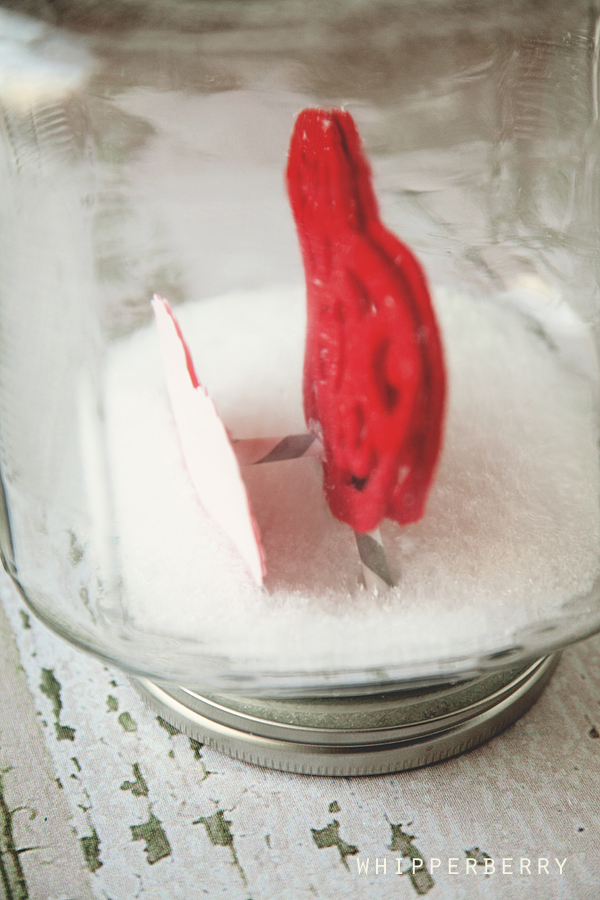
I took my Anthro inspired snow globe and removed the trees and safely stored it for next year.  Then I used my Epic tool and my new Sweetheart Nesting Scallop Heart die  from Lifestyle Crafts to make the pink heart. I made two and then placed them back to back with two, two inch pieces of a paper drinking straw in the middle to secure to the bottom of the lid with some large 3D glue dots. For the tutorial on how to do that click here.

Then I used a fun felt Christmas tree ornament for the large heart.  You could of course, make another paper heart for the large one.  I just happened to have the perfect felt heart already on hand. I did the same with the two felt hearts.  I placed them back to back and placed two, three inch paper straws in between to help secure the heart to the lid.  They were a little wonky so I used a small section of the paper straw and some glue dots in between the hearts to secure them a little better…

Don't worry, people won't notice the straws at all. It will just look like you have beautiful hearts floating in your snow globe! What else do you think we can do with the ever popular snow globe?
Crayon Heart Valentines | Lifestyle Crafts

80 · Jan 10, 2012 · 239 Comments

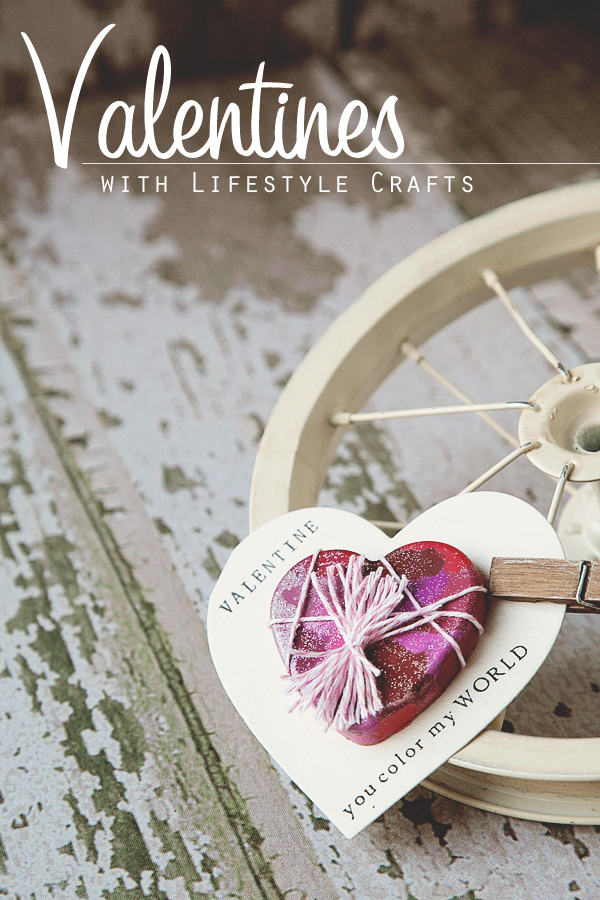
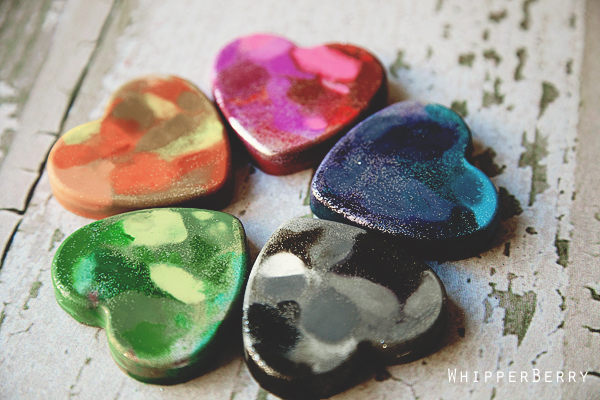
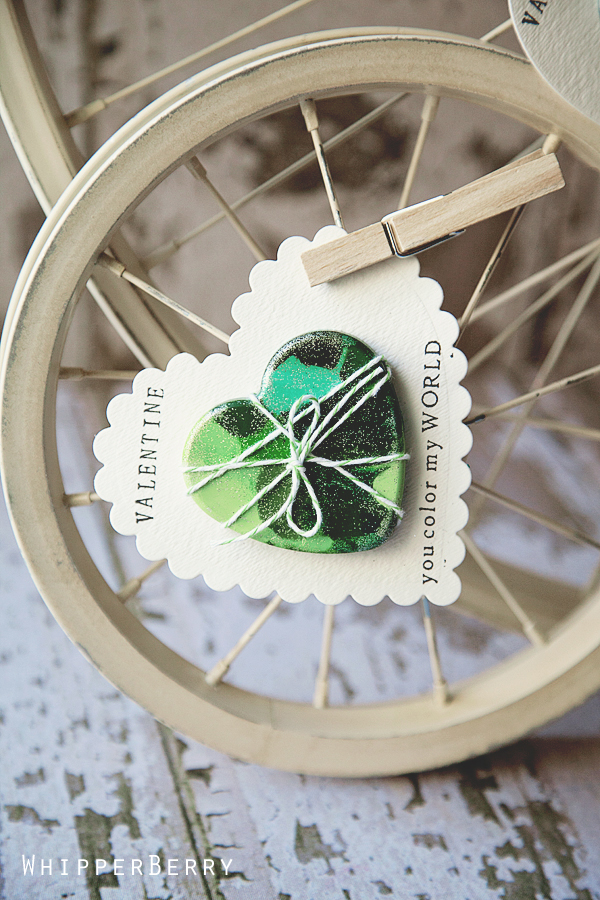
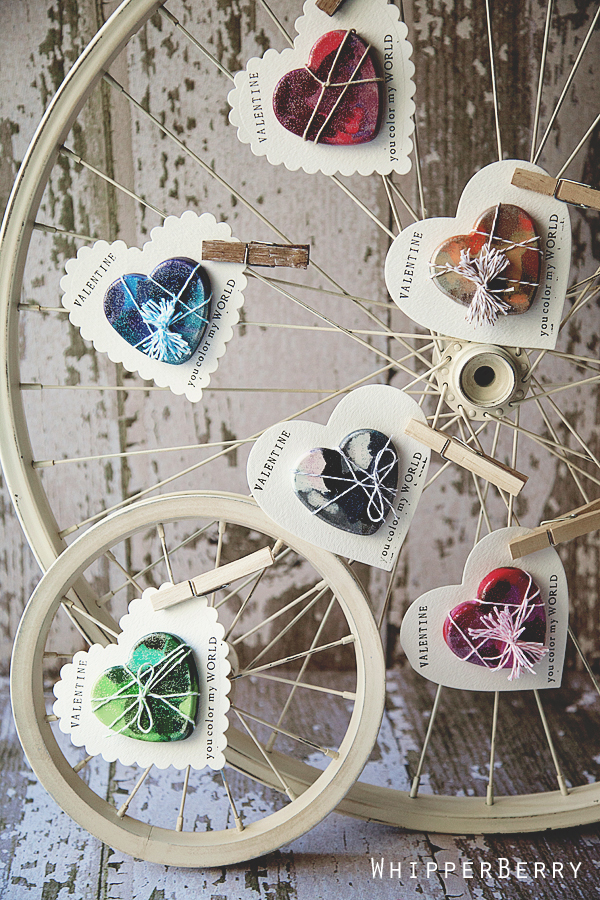
Valentine's Day is right around the corner and today I thought I would share my "you color my WORLD" Crayon Heart Valentines, made with the new Sweetheart die collection from Lifestyle Crafts and heart shaped crayons made with melted Crayola crayons.

Isn't that fun?  I am always a fan of homemade Valentines for the kiddos classes every year.  It's also a bit of a challenge to make valentines that are fun, colorful and easy on their sugar intake for the day. 

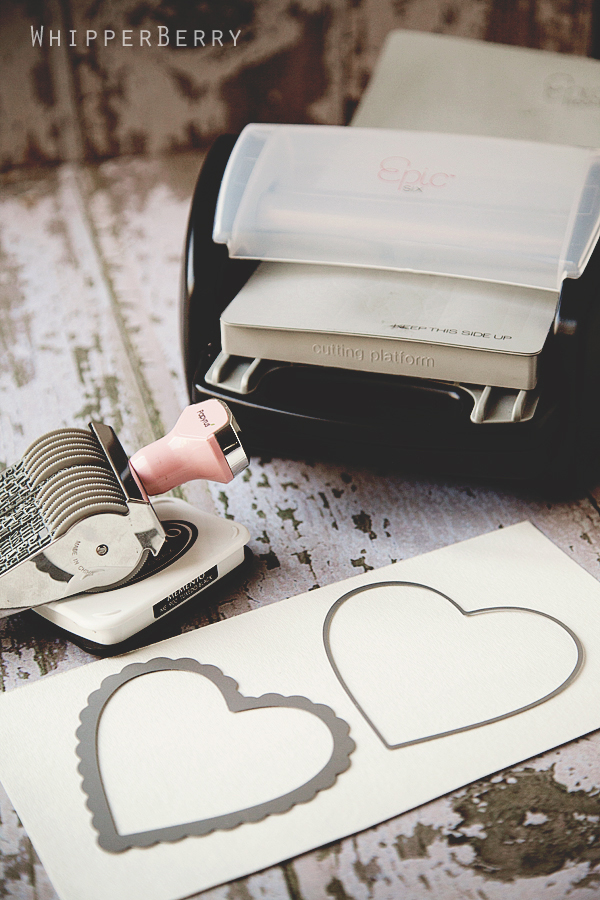
I know this isn't a new idea by far… My neighbor made these heart shaped crayons several years ago after finding this fun idea in Family Fun magazine, but I thought it would be a perfect fit for the new Sweetheart Nesting Hearts from Lifestyle Crafts.  Cutting the hearts was super simple using my Epic three in one tool from Lifestyle Crafts.  The Epic tool cuts, embosses and can create beautiful letterpress projects as well.

But I am getting ahead of myself!  Before we can make the cards we need to make the heart shaped crayons…

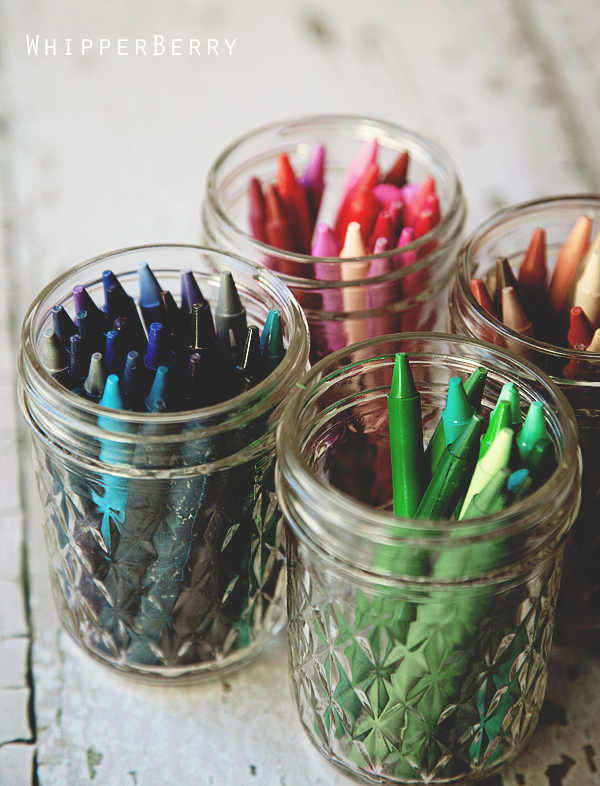
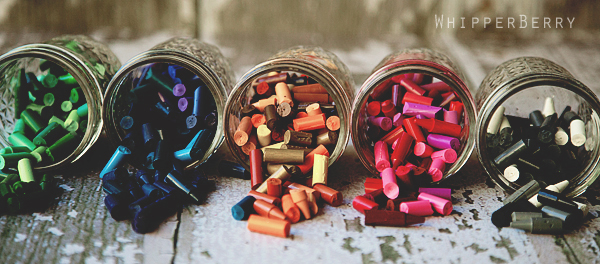
You will need to gather all the old crayons in the house… if your house is anything like mine, that won't be a problem.  You can also purchase new crayons as well.  I will have to admit, the new crayons were easier to remove the labels from. I used an X-ACTO knife to make a slit down the length of the crayon to easily remove the labels.  The older crayons took a little more coaxing.

Once you've removed all of the labels, break the crayons into small pieces.  The smaller the better…

I also found that separating them into color families made for the best looking crayons, but that is completely up to you! 

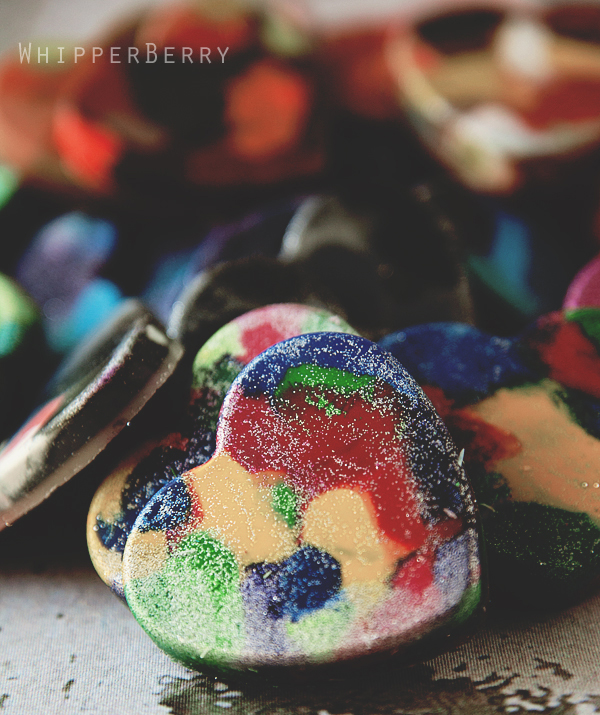
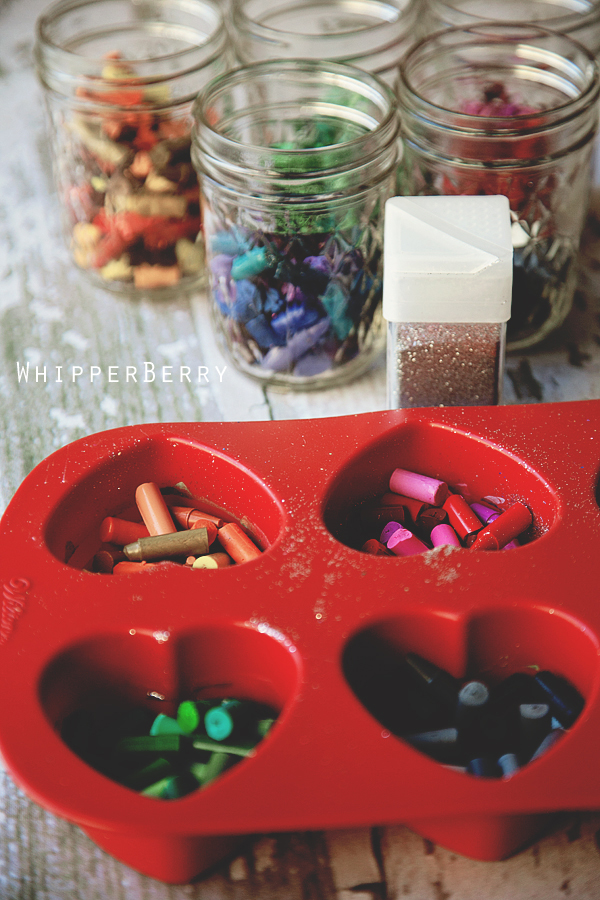
You will need to use a heart shaped silicon baking mold to melt your crayons in.  I found mine at Michaels in the baking section and it worked like a dream.  The girls and I decided that we wanted our crayons to be a little glittery so we added about 1/2 a teaspoon of silver glitter to the bottom of the baking mold. Then we filled the baking mold with the crayons about 1/3 full. The mold I used was pretty deep so depending on what you use you will have to play around with this.

Place in your oven that has been pre-heated to 300 degrees and baked for 15 minutes.  The crayons will become completely liquefied so be careful when you pull them out of the oven.  Carefully place them on the counter to cool.  You want to make sure that you don't move them around too much and mix the colors more than you want.  Wait for about 20 minutes or until the crayon is solid again and then gently remove it from the mold and let cool completely.

I made 57 hearts with the Wilton Mini Heart Mold using approximately 200 crayons.

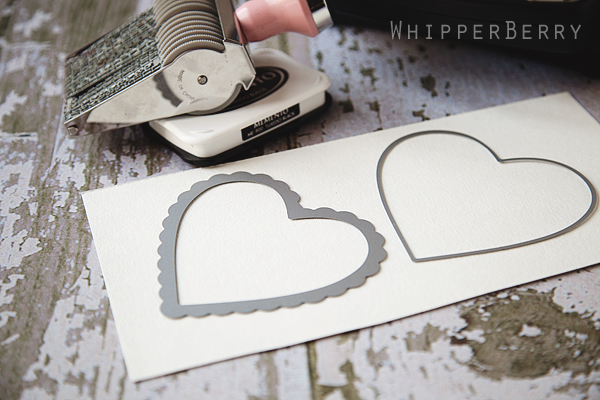
Now it's time to pull out your Epic Tool to make the heart shaped cards for you to place your new crayons on.  I used two different dies from the new Sweetheart line for this project.  The Nesting Heart and the Nesting Scallop Hearts work beautiful for this card.

I decided that since I wanted the focus to be on the crayons I used a basic white watercolor paper for the base of the card. 

Once I cut out the heart shapes, I used my rolling alphabet stamp to create the fun saying on the card. "Valentine… you color my WORLD"  I just LOVE that look!!

Of course I had to dress up the heart crayons with some Divine Twine from Whisker Graphics. I just wrapped the hearts randomly and tied with a bow or made little twine bundles for the decoration…

This is such a fun project to do with the kiddos.  My girls and I had  ball gabbing while we were prepping the crayons. After that it was a perfect opportunity to have a color class while we created our crayon concoctions.  From start to finish this is an easy and elegant Valentine treat that your little ones {or big ones} will love to share with their friends this Valentine's Day!!

Come back tomorrow I have another fun Anthro inspired Valentine project made with my Sweetheart dies from Lifestyle Crafts!

Here are some more WhipperBerry Lifestyle Craft projects…


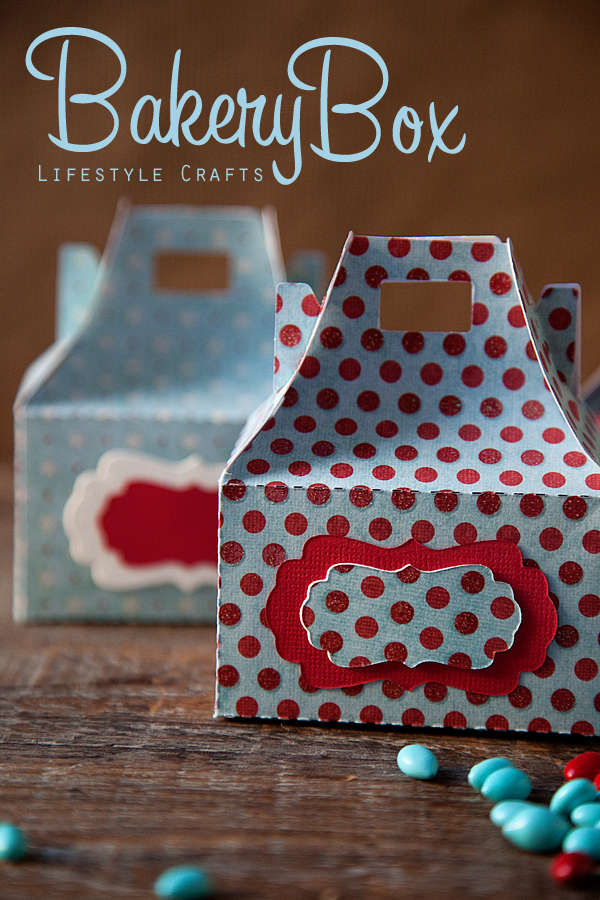
Party favors, bakery boxes & bubble party favors  


Lifestyle Crafts | Just For You Release

1 · Nov 15, 2011 · Leave a Comment

Lifestyle Crafts has come up with another great die release just perfect for your holiday celebrations. The new collection is called… Just For You, and it has some really cute projects.  Here are a couple of my favorites…

…

Read On →

Lifestyle Crafts Giveaway

0 · Nov 1, 2011 · 1 Comment

This just in… Lifestyle Crafts, our favorite Letterpress Die Cut friends, have a great new giveaway that they are launching today.  All you have to do is create an account on Lifestyle Crafts website.  By doing that you are entered to win…

YES… A new camera and fabulous Jo Totes bag!!!  They have an even BIGGER GRAND PRIZE if you create something with one of their products and then post it in their gallery.  All you need to do is head over to their blog to learn all the details.  Make sure you tell them that WhipperBerry says hello when you enter!!

  • Go to page 1
  • Go to page 2
  • Go to Next Page »

Primary Sidebar

Heather from Whipperberry
Hello... my name is Heather and I'm the creator of WhipperBerry a creative lifestyle blog packed full of great recipes and creative ideas for your home and family. I find I am happiest when I'm living a creative life and I love to share what I've been up to along the way... Come explore, my hope is that you'll leave inspired!

Footer

  • Privacy Policy

Copyright © 2023 · Seasoned Pro