Crafts
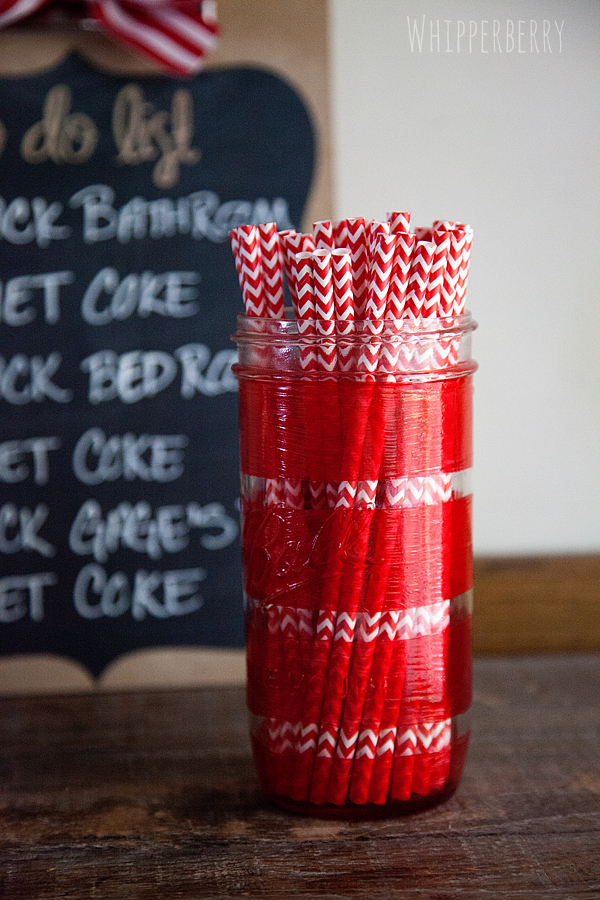
Striped Straw Jar with DecoArt Glass Paint Markers and Diet Coke
This post brought to you by DecoArt Glass Paint // For the 2nd time in 10 months we are MOVING!! Needless to say, I am excited to finally be in a home that fits our family better, but the idea of packing up and moving again is not very appealing AT ALL! We knew this move was going to happen soon, so we didn't unpack a ton, so this move should be easier than last time.
One thing I did learn last time, is that you need to create a system that really works for you. A system that is productive, smart and provides yourself and your helpers with LOTS of rewards. For me, one of my favorite treats is a Diet Coke. I just LOVE the stuff! I would drink it like water if I could get away with it. I love the flavor, I love the bubbles and quite frankly there are times when there is nothing better on this planet than a good, cold Diet Coke. Because of that, it is a great motivating treat for me. More than almost any little treat. If I know that a Diet Coke is at the end of the chore, my git-up, gets a going.
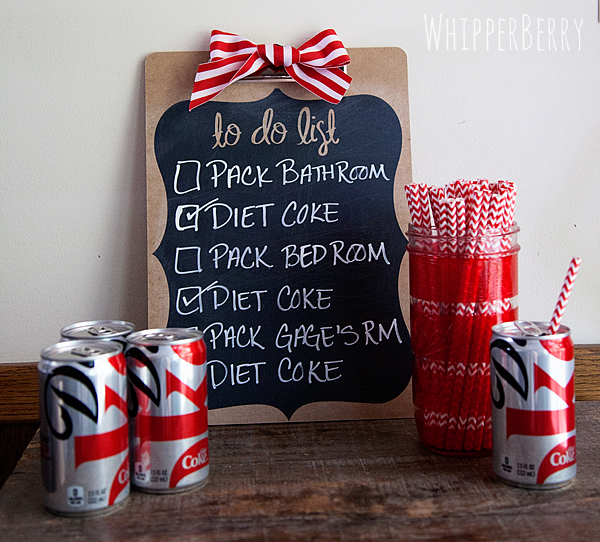
That's why for this move I created a Diet Coke Station with a few fun little items to dress-up the station to motivate myself and all of my helpers during the drudgery of packing…
I used my handy chalkboard clipboard and then dressed-up a Ball jar with some red stripes for my straw jar with DecoArt Glass Paint Markers and then set-out to move mountains. The striped jar was super simple to make, here is what you will need to do…
Supplies for the Striped Straw Jar
- Ball wide mouths 1 1/2 pt. jar
- DecoArt Glass Paint Markers – Americana Glass Paints are available at Michaels, JoAnn Fabric and Craft Stores, Pat Catan's Craft Centers, A.C. Moore, Beverly's, and other fine craft retailers. Click HERE for more information on Americana Glass Paints.
- Tape – I used a thin washi tape but any type of washi or painters tape will do.
Instructions for Striped Straw Jar
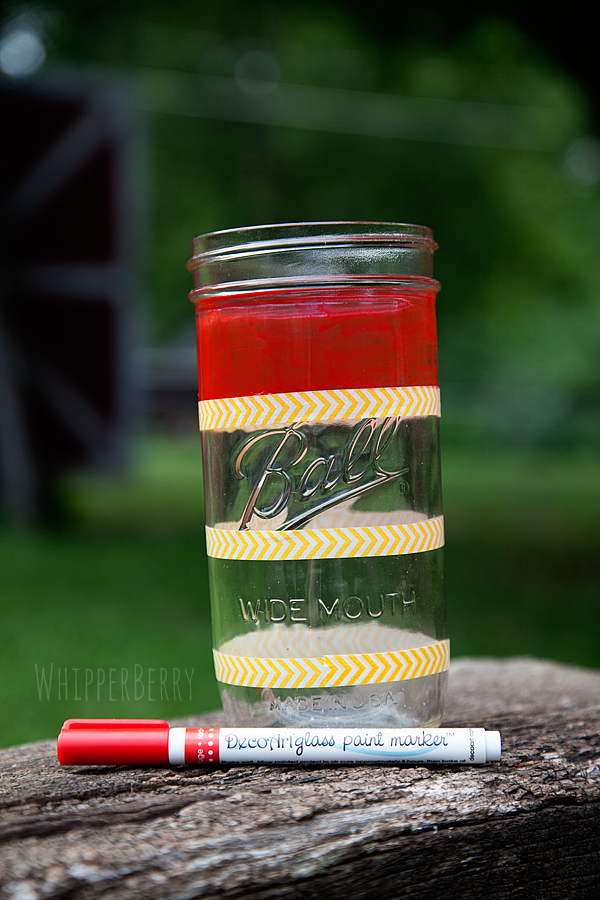
Before you begin, you need to prepare your glass jar by cleaning it with alcohol and let dry. Then apply the tape to the jar to create your desired stripe look…
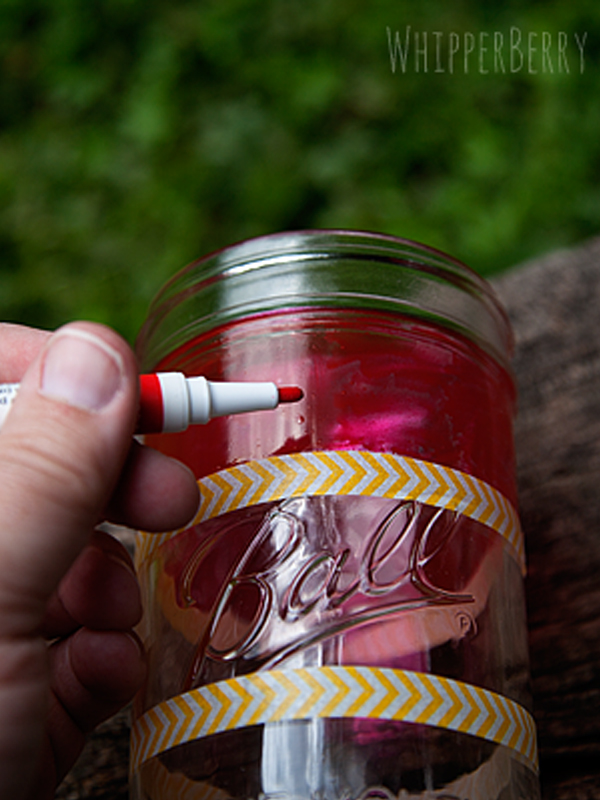
I wanted nice thick stripes but you may like a different style, so don't tie yourself down to my look. Next, the super easy part… Color on your paint using the DecoArt Glass Paint Markers. No mess, no fuss, they are perfect for this kind of project!!
Carefully remove the tape once you are finished and let dry for a few hours. Add your stylish straws to the jar (I found mine though Pick Your Plum) and voilá… Grabbing a Diet Coke has just been kicked up a few notches!
Looking for a great deal on Glass Paint? DecoArt has a rebate just for you guys!!
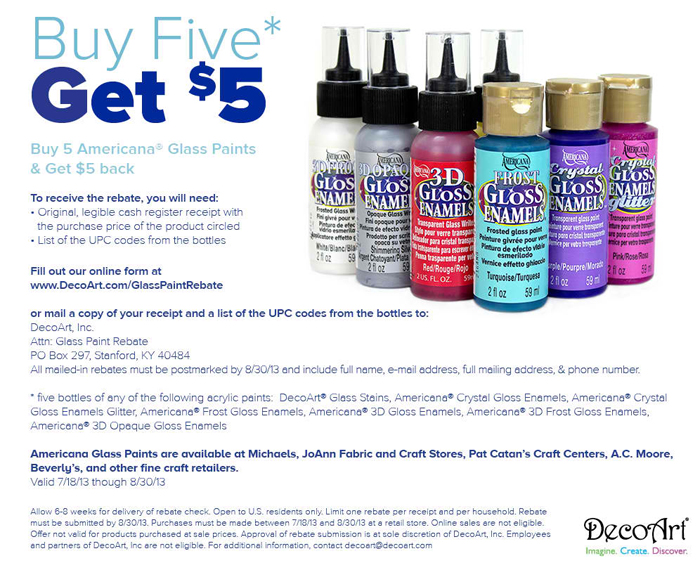 // Click on image to find full rebate offer //
Looking for some more inspiration? We have a whole slew of talented bloggers who have also come up with some fun DecoArt Glass Paint projects. Click through to find all kinds of Glass Paint love…
Disclaimer // I am part of the DecoArt Core Bloggers and have received payment for this post along with free product. I am also a Brand Ambassador for Diet Coke and have received free product. However, all thoughts, ideas and opinions are my very own!
12 Free Start of School Printables // Great Teacher Gift Ideas
12 free back to school printables // It's here, it's here! Well for some of us anyway. It's back to school time! My kiddos actually started school yesterday, so we are already in full swing school mode. Some of you still have a couple more weeks before those school bells start ringing.
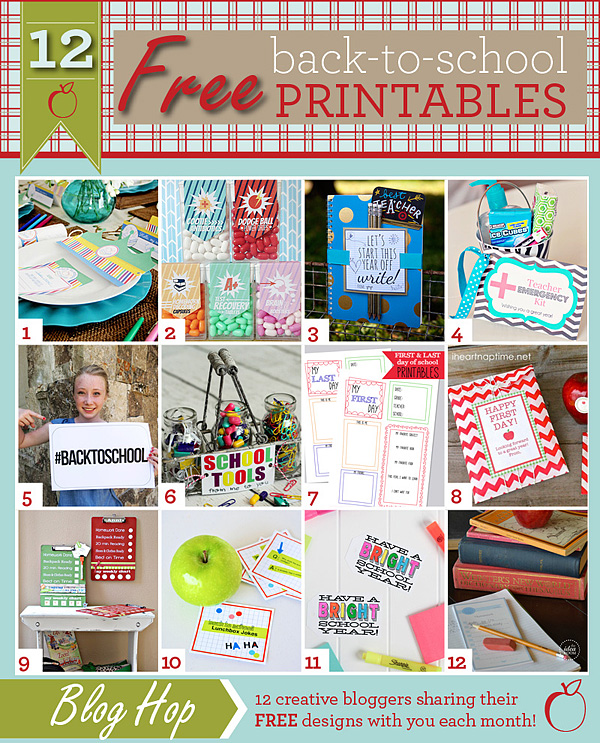
Today, I've teamed up with my talented Printable Club friends to share 12 fabulous back to school printables that are sure to make this year even more magical for your kiddos!
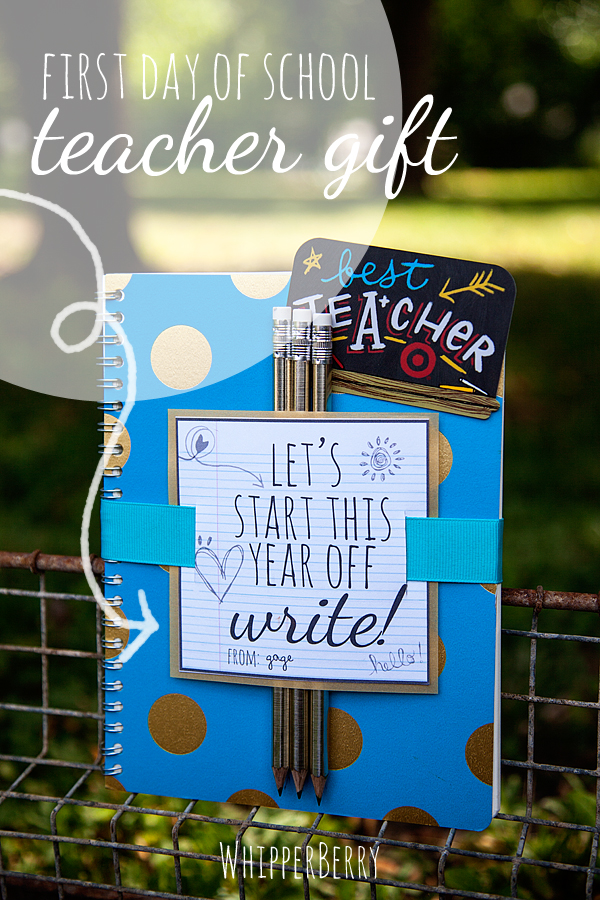
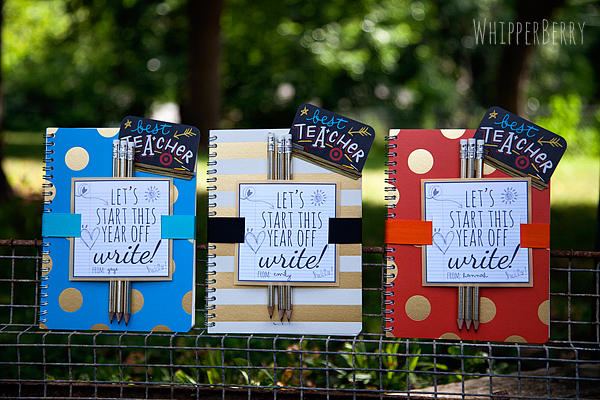
I created a fun printable tag, that when added to a stylish notebook along with some pencils or pens will make a great 1st day teacher gift. If you're feeling extra generous, you can add a Target gift card or something to really earn some extra brownie points.
I found my notebooks at Target along with the gold pencils that paired nicely with the gold accents on the notebooks…
I layered the printable tag with some gold vellum and then cut slits into the sides and fed a ribbon through to secure the tag to the book. I used glue dots on the back of the book to secure the ribbon in the back. It worked rather slick! If you would like to print a fun tag for your kiddo's new teachers this year, all you have to do is click on the arrow in the box below to download the printable tag from Box.com…
For even more printable fun, click through this blog hop to find 11 more free back to school printables from some pretty talented ladies!!
1 // The Dating Divas – A Back To School themed dinner for setting goals with your spouse AND the kids!
2 // Somewhat Simple – Fun and quirky Back To School Tic Tac Labels: Arm your kids this school year with cootie antibiotics, brain cell boosters, and more!
3 // Whipperberry – A great gift for your teacher to start the year off right!
4 // Crafting Chicks – Teacher Emergency Kit to wish them a great year!
5 // Tatertots & Jello – Instagram-ready "hashtag" first day of school photo props.
6 // L'il Luna – An adorable Back to School Teacher Gift!
7 // My Sister's Suitcase – Printable Keepsake to record first and last days of school memories!
8 // I Heart Nap Time – A small gift for the first day of school.
9 // The 36th Avenue – A weekly chart to help keep your kids on track.
10 // Paging Supermom – Free Printable Lunchbox Jokes to brighten your kiddo's school day.
11 // The TomKat Studio – A "Bright" Printable Gift Tag for Teachers!
12 // The Idea Room – DIY Back-to-School Homework "To-Do" Notepad
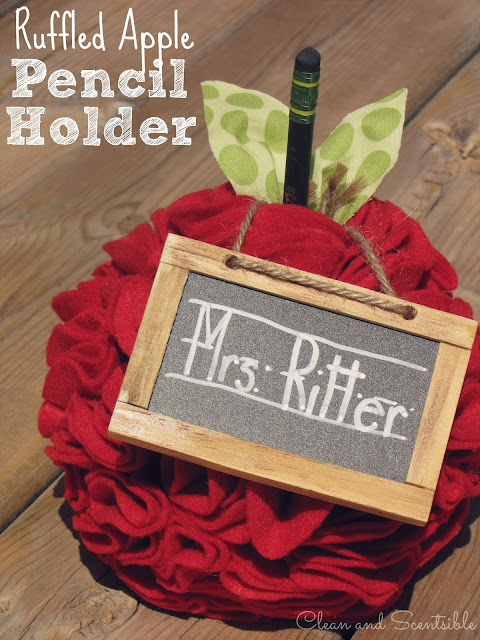
Ruffled Apple Pencil Holder // Back to School
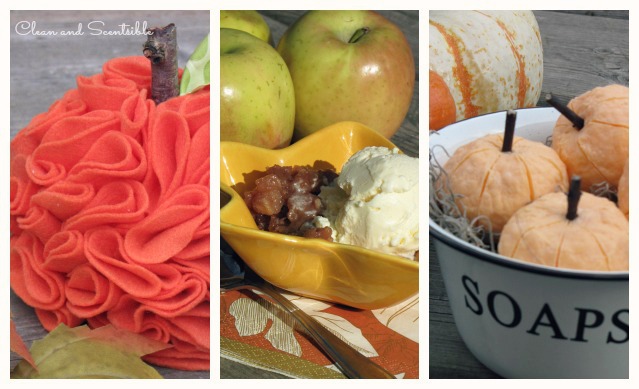
One of my favorite projects from last year were these ruffled pumpkins. With just a little change of color and a few different embellishments, this idea was easily able to be adapted into this ruffled apple pencil holder.
- 4 inch Styrofoam ball
- straight pins
- red felt {I used approximately 10 8.5 x11 inch felt sheets}
- green material or felt scrap {big enough to cut two leaves}
- hot glue {optional}
- pencil or pen
- 3 inch punch or other circular shape to trace for the felt circles
- mini-chalkboard {optional}
To Do
- Cut out or use a paper punch to create a circular template that is approximately 3 inches in diameter. If you are using the 8.5 inch felt sheets like I did, you may want to trim this down just a bit so you can get 3 circles across.
- Cut out your felt circles. I'm not sure exactly how many I did but definitely over a 100. Place 2 or 3 sheets of the felt together when you are cutting so you can cut out multiple circles at one time. It's a great mindless activity to do while you are watching your favorite television show! 🙂
- Using a knife, cut a small sliver off the bottom of the Styrofoam ball so that it will sit flat.
- Using a pen or pencil slightly larger than your pencil width, poke a hole through the center of your ball. {this should run the full diameter of the ball}.
- Take a felt circle, fold it in half and then fold it in half again. Place a straight pin through the pointy part of your felt circle and pin it to your Styrofoam ball. Start at the top of the ball and work your way down and around the ball overlapping your circles as you go.
- The last row of pins on the bottom of the apple were a little loose and a couple of them were starting to pop out so I hot glued one more circle over top to cover the pins up and ensure that they stayed in place. It gives it a much more finished look as well.
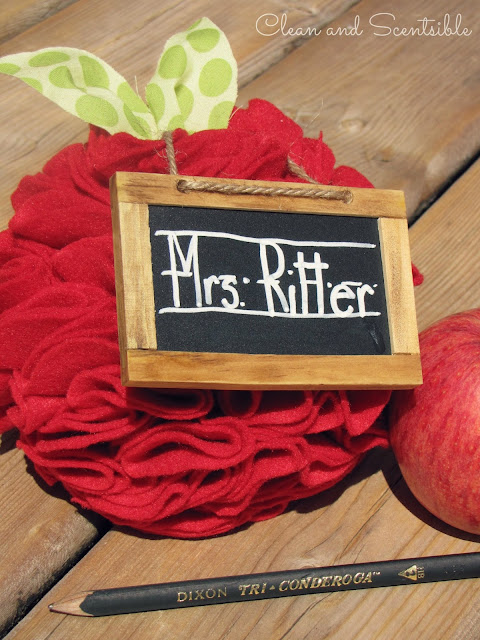
- I have had these mini-chalkboards lying around in my stash forever and I can't remember where I purchased them from. I just used one for my picnic caddy and had one left over. I just used a little stain to darken up the wood and added the teacher's name with a chalk pen. I used another straight pin to attach it to the apple.
- Cut out a couple of leaf shapes from the green material and pinch at one end. The "pinch" will let it stand up more. Pin to your apple near the top.
- Now just add your pen or pencil and you are all ready to go! It's a unique and functional gift for your kiddos to give to their favorite new teacher!


