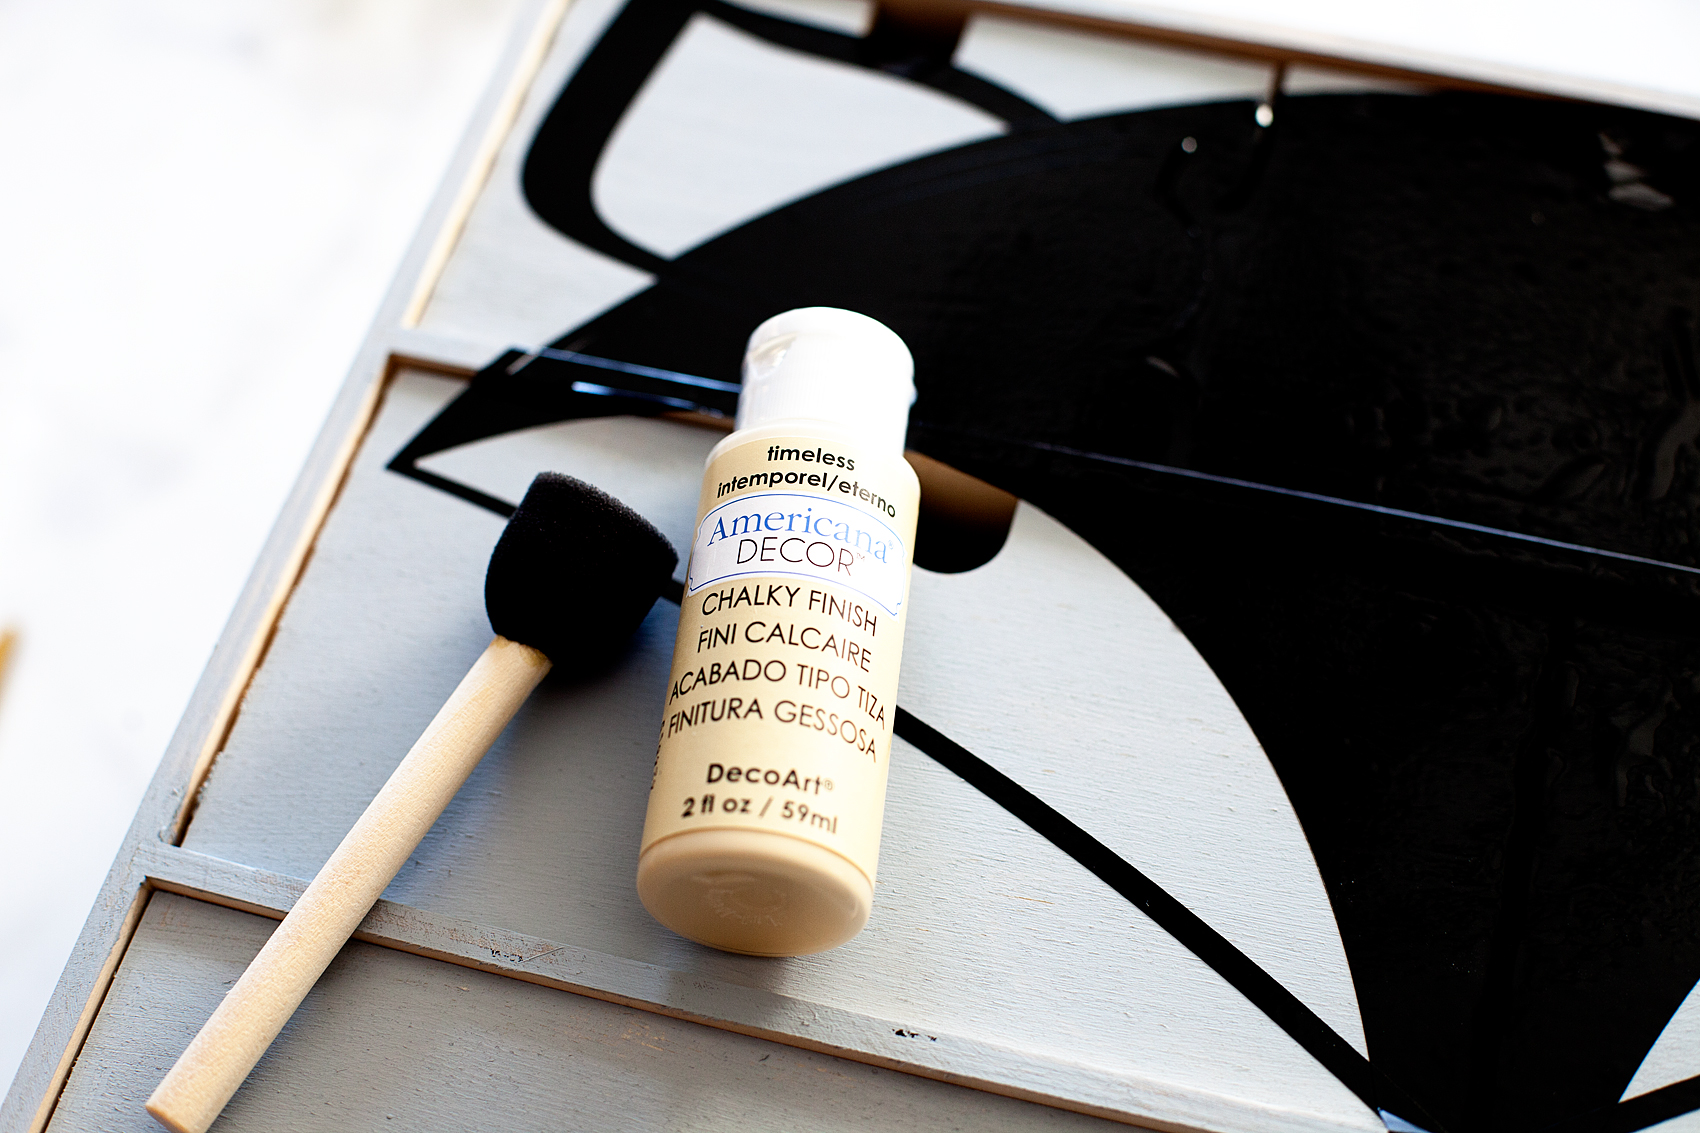
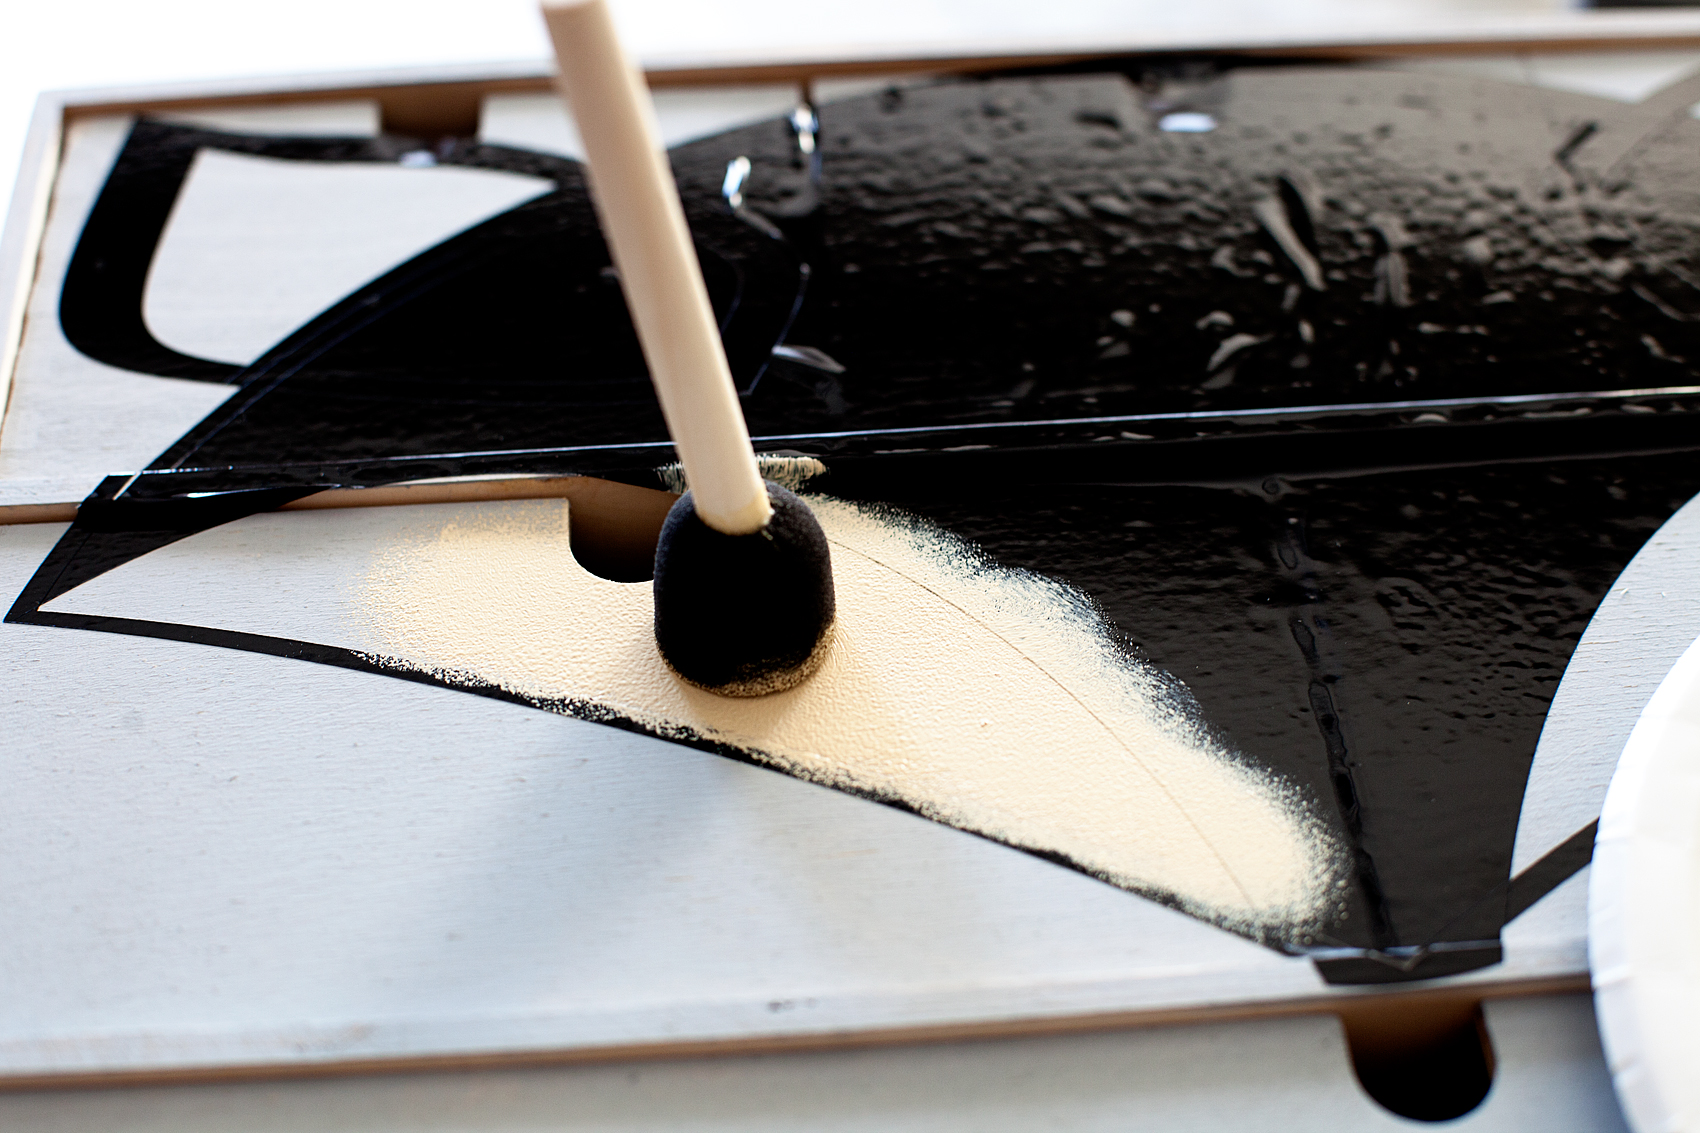
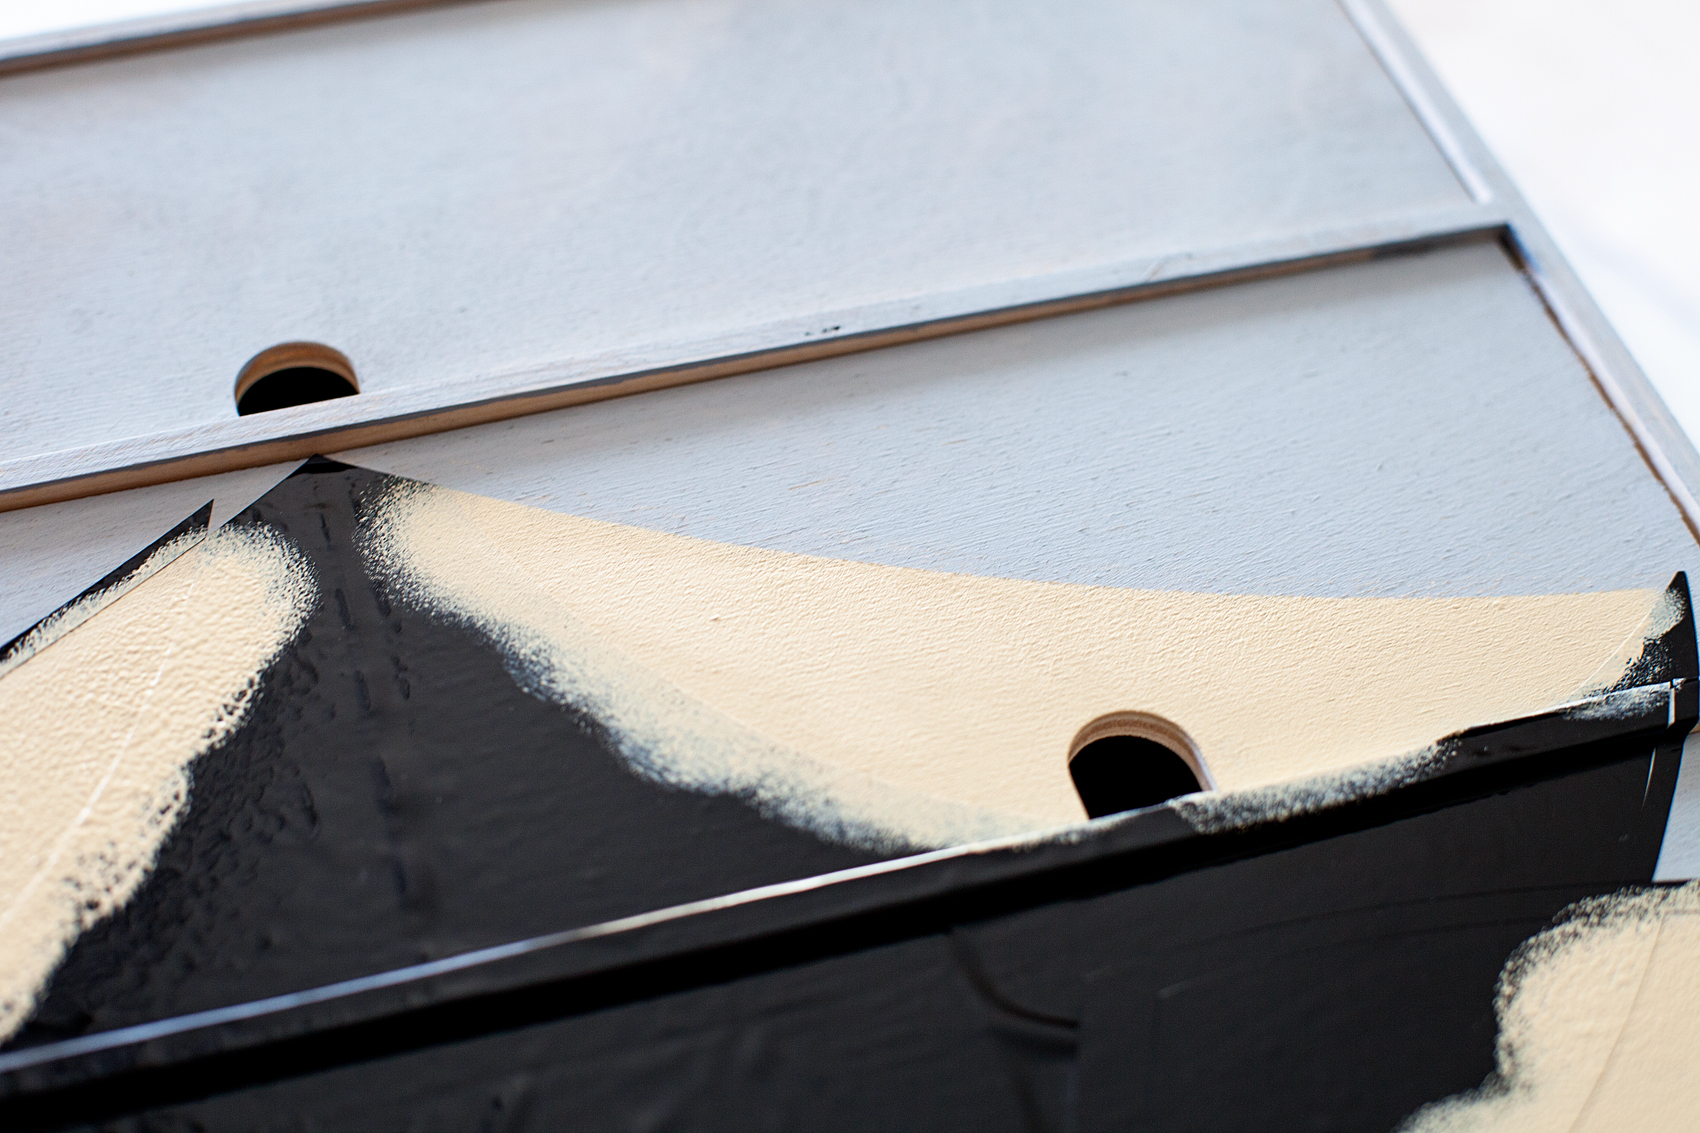
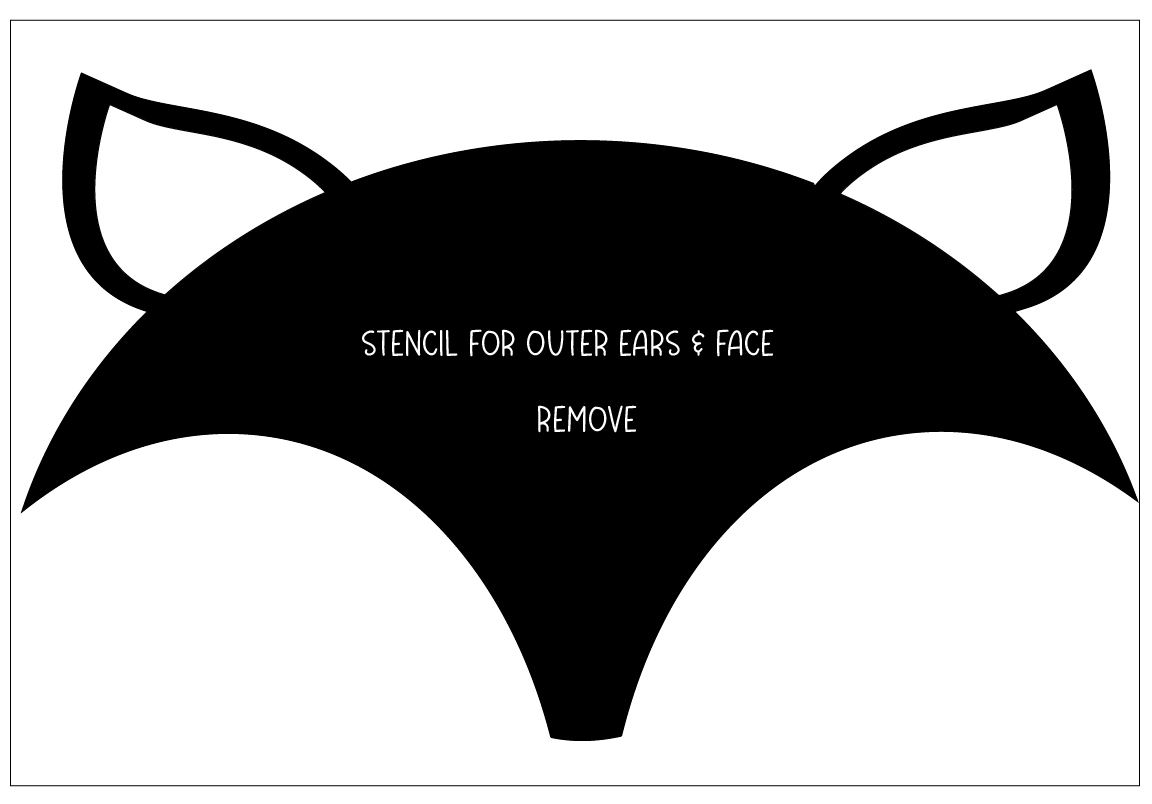
The weather is getting chilly and we are all working on bringing out our warm and cozy home decor items as we dress our homes for the season. Our family loves to have cozy blankets close at hand when we are hanging out watching TV or playing games. The problem is that they end up making the room look like trash as they are left strewn about the room. I thought it would be fun to create a blanket & throw pillow storage box that could add a little design to the room as well. I’ve always loved Norwegian & Scandinavian design especially when it comes to winter designs and that was my inspiration for my new Scandinavian Style Blanket Storage Box created using Americana Decor Texture & the Americana Decor Stencils from DecoArt.
+ This post is brought to you by the lovely folks at DecoArt +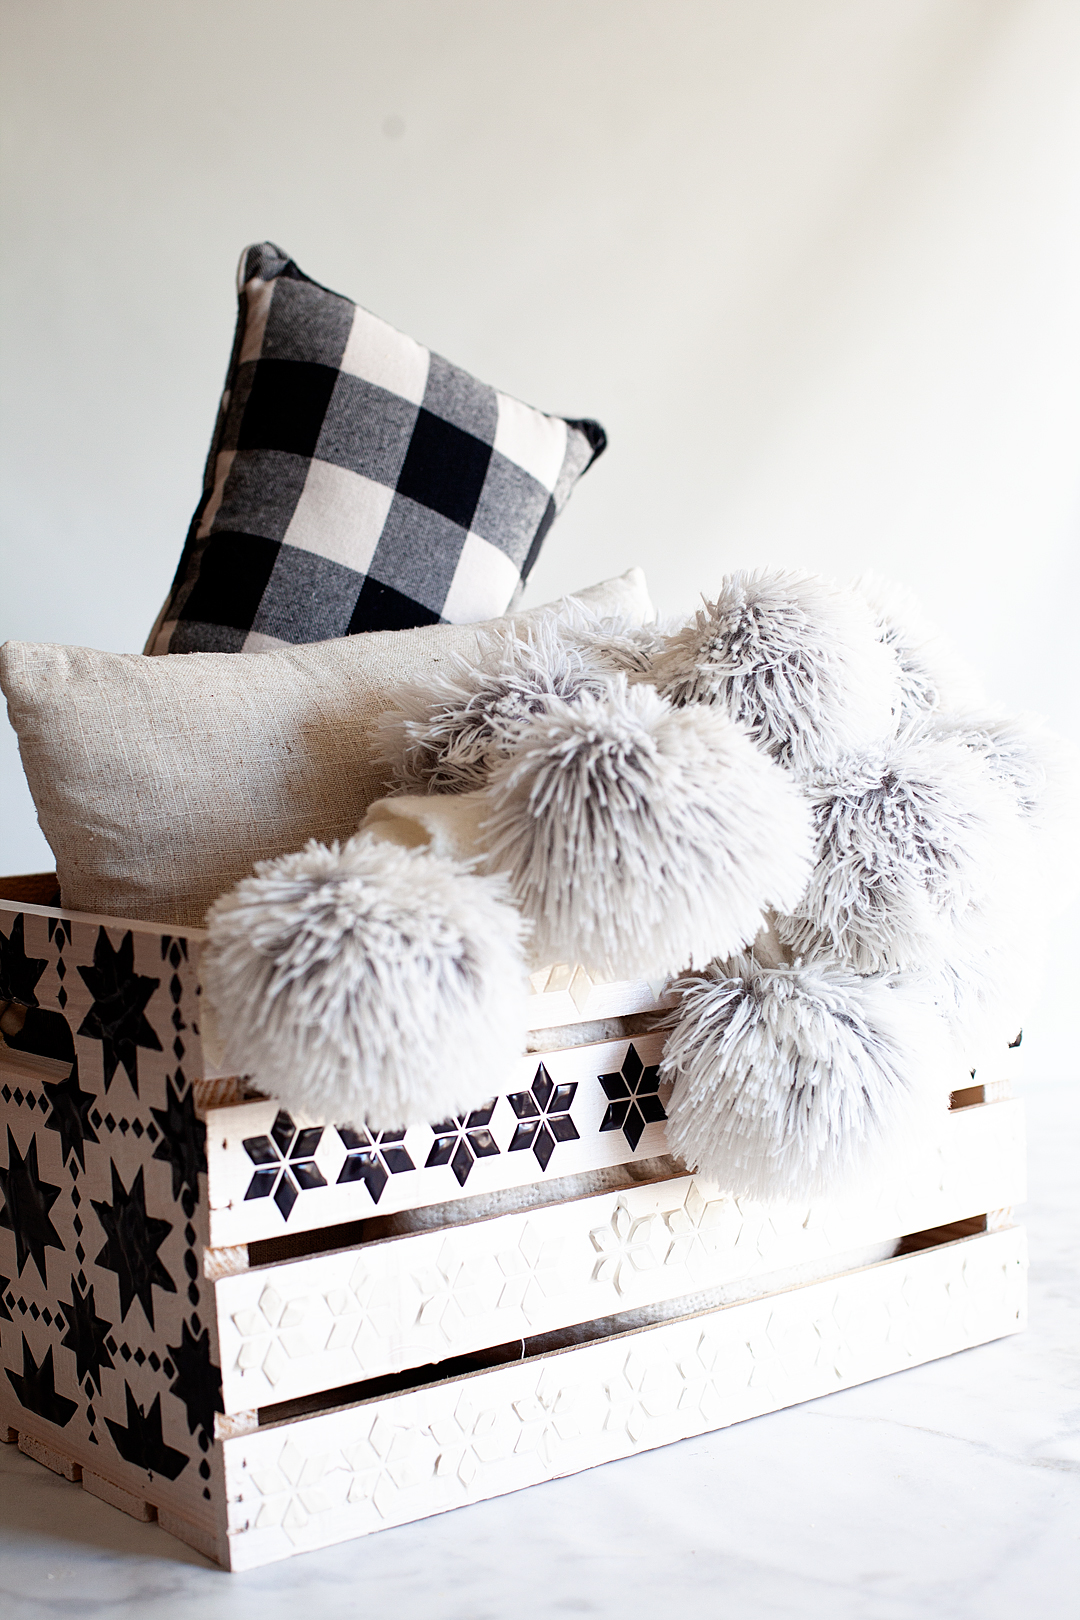
Have you guys heard of this Americana Decor Texture? This stuff is really cool. It’s basically thick paint that you apply like you are frosting a cookie. Fun! Right? What’s really cool is that is works really well with stencils and creates a fun raised effect on your surface.
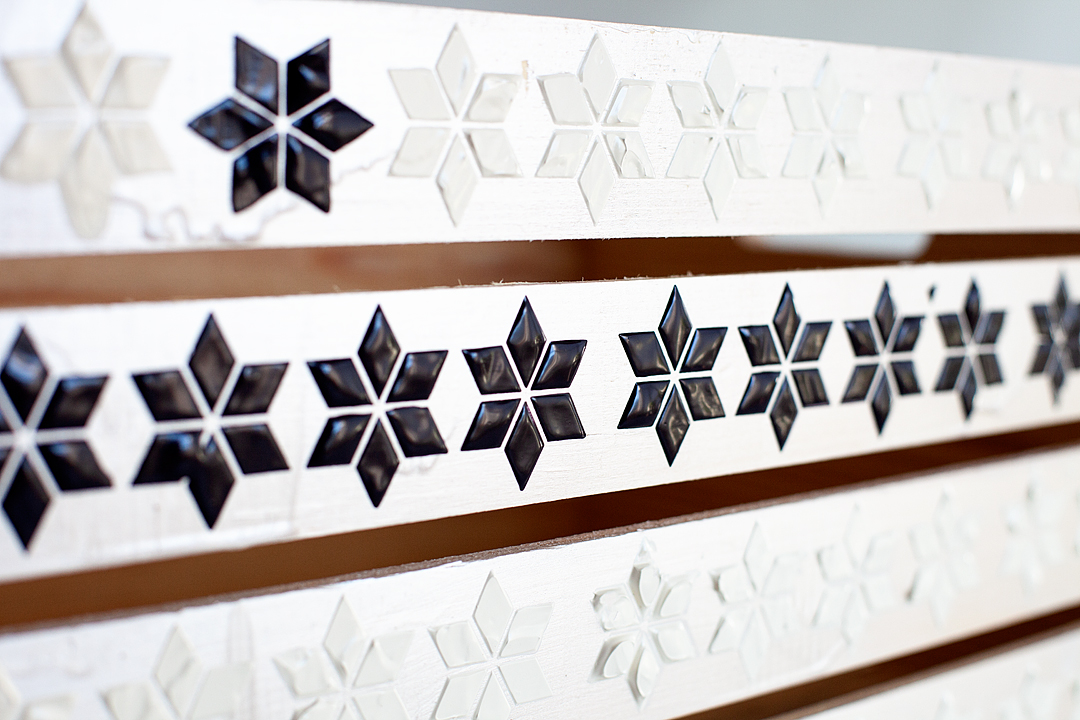
Isn’t that fun? I would have to say, I really love the way it looks. You can take something simple like a box crate and turn it into some extra special. Let me show you how to make one of your own.
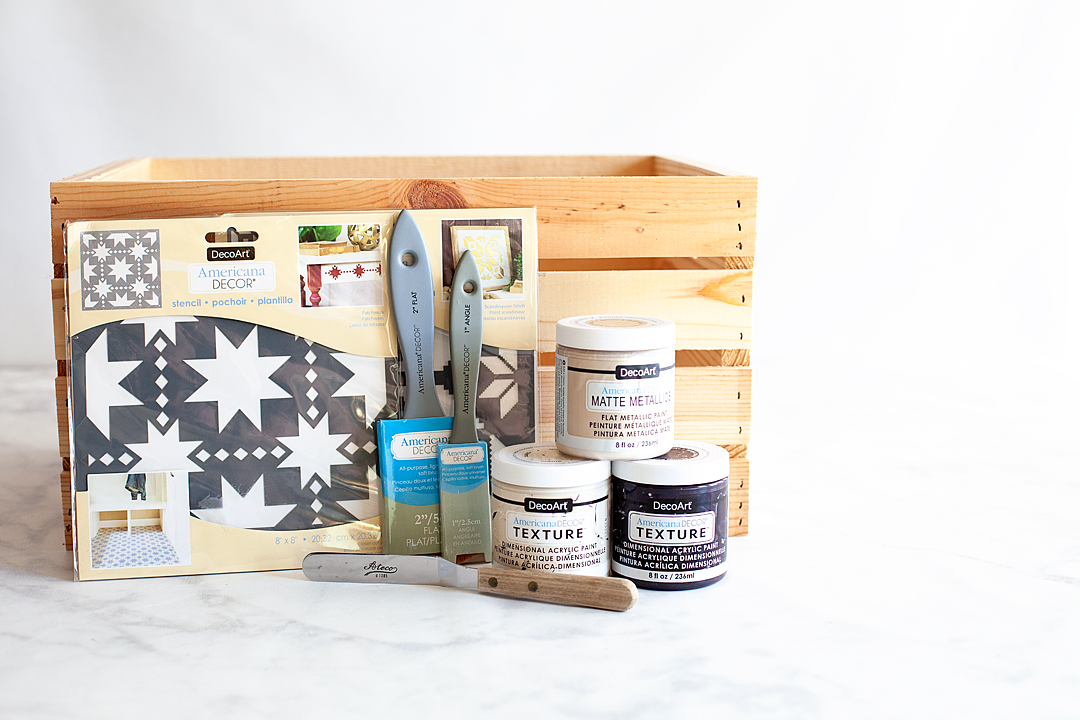
Scandinavian Style Blanket Storage Box Supply List
- wood crate
- America Decor Matte Metallics – Ivory Pearl
- paint brush
- Americana Decor Stencils – Patchwork & Quilt Star
- Americana Decor Texture – Cream & Deep Plum
- paint knife or offset spatula
- painters tape
Instructions
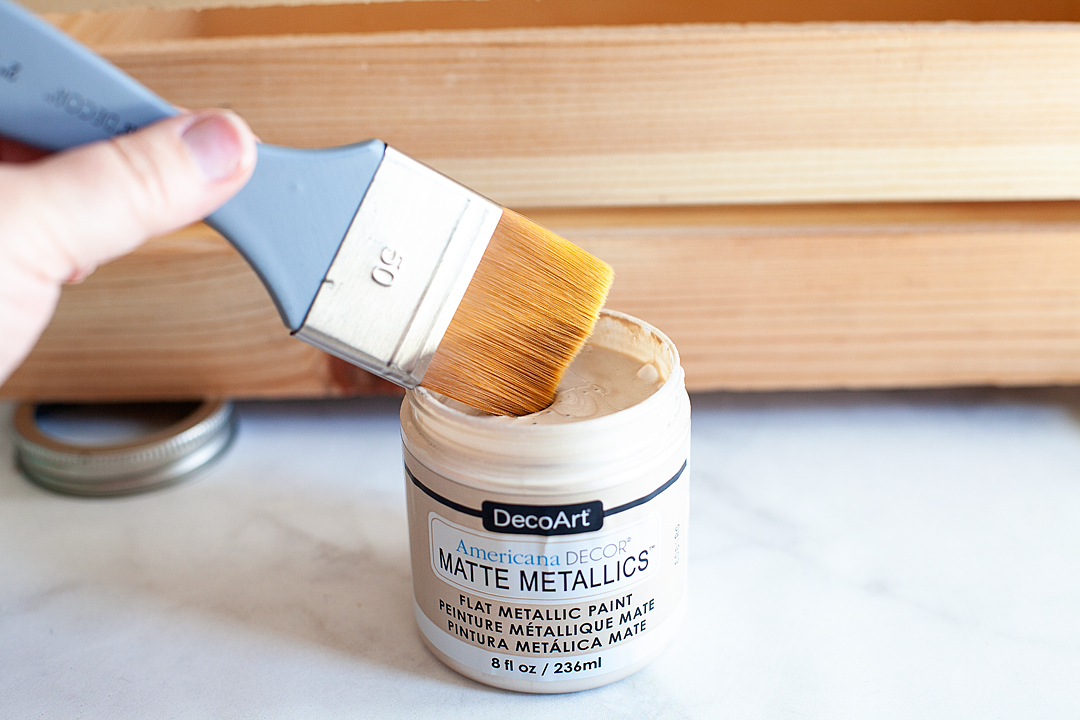
First, I painted my wood crate with the Matte Metallic paint. I loved the little extra something that this color gives to the box. The wood grain still peaks through a bit but it has this nice soft metallic sheen to it. It’s really quite nice.
When I paint stuff like this, I use some canning jar lids to raise my piece off of my table.
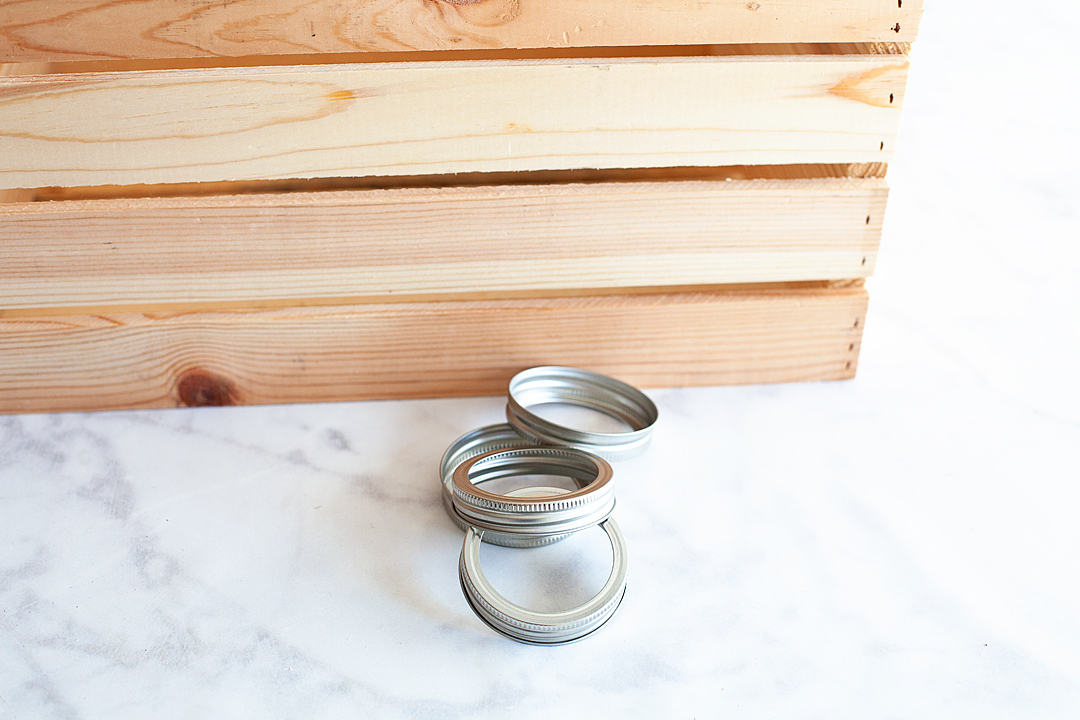
You’d be amazed how handy this come in sometimes and not just for canning!
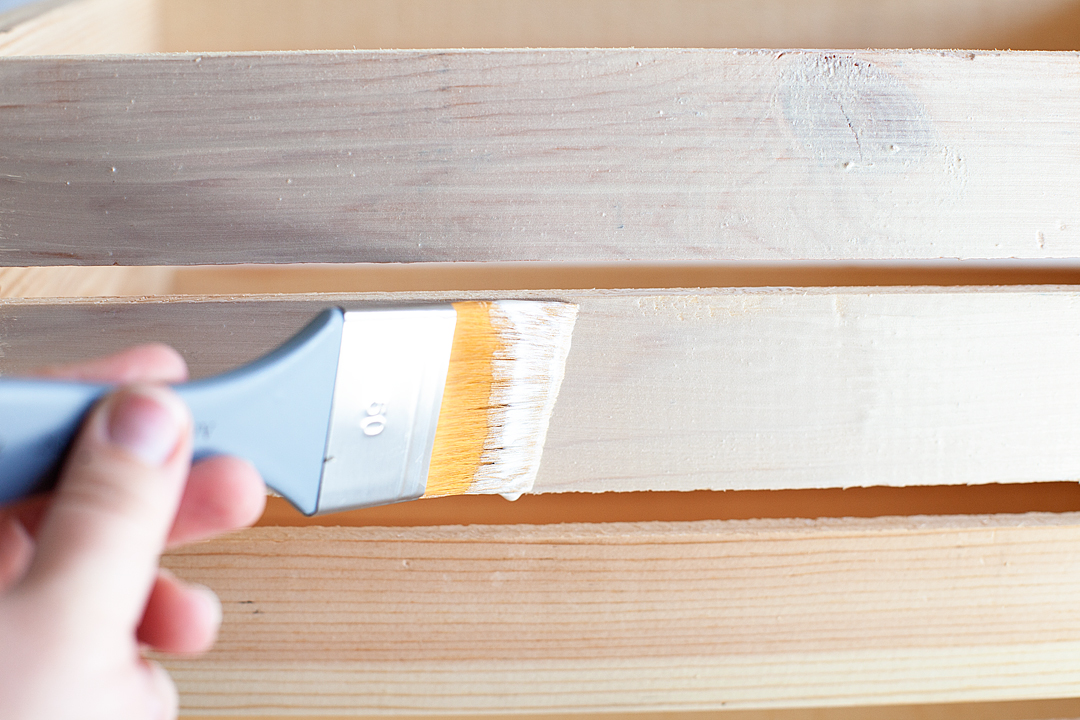
I painted on two coats and then let it dry for about an hour.
Then I tackled the fun part of the project, adding fun textured designs to the box. However, before we get started, here are a few things NOT to do. We learn from DOING and what I learned is really important when working with a high-viscosity, heavy-bodied type of paint.
Do NOT try and apply the texture paint vertically.
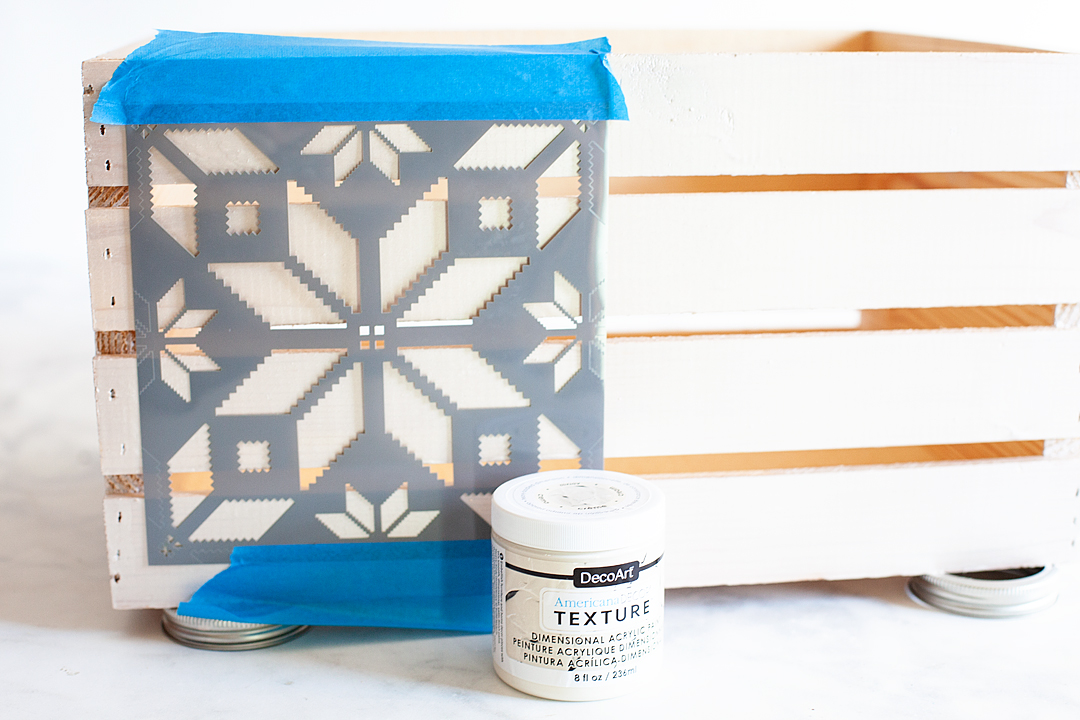
You want to have the area that you are working on a flat surface facing up at you.
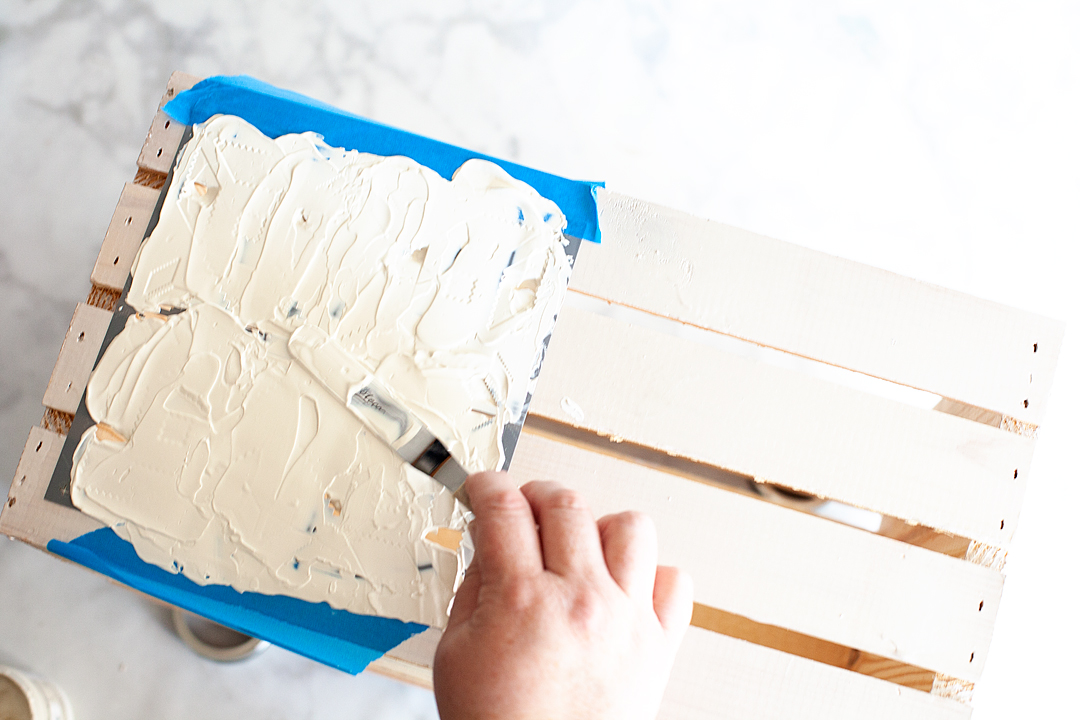
DO NOT press down hard when applying the Americana Decor Texture using a stencil.

Just like with any stencil and paint project, a slower, lighter hand makes for a much better stencil experience. You don’t want your project to end up looking like my first attempt in the photo above. Also, when working with Texture, you want to work in light short strokes like you are frosting a cookie, not like the longer strokes that you use when frosting a cake.
DO NOT let the Americana Decor Texture sit and dry before removing your stencil.

Yep, learned that the hard way. I have been stenciling for years and sometimes, depending on the type of paint, it’s better to let the paint dry a bit before you remove the stencil. So… I tested that technique out and it did not work at all. With this type of paint, you need to gently and carefully lift up your stencil as soon as you are finished applying the paint making sure not to let it slide around at all.
Now that we have those items of what “not to do” out of the way, let’s get busy with what to do!
It’s a really good idea to tape down your stencil and to press down each section as you are applying the Texture paint as you go. This will help avoid the paint going underneath the stencil and creating issues. Again, use light shorter strokes like you are frosting a cookie. You can make it as thick or as thin as you would like. You can also play around with the texture, keep it smooth, add peaks, run a comb through it to create stripes or make swirls with your spatula. This stuff is super fun to play with.
Speaking of that, I would play around with it a bit before you start a project on a surface that you really care about. Test out your design and style. That way you get your method down before the real deal project.
Once you have applied the Americana Texture paint and have pulled the stencil, move onto the next section. You may find that you will need to cut your stencil so that you can continue to work and that’s totally fine. Just make sure to press down the stencil as you apply the Texture paint. Typically the weight of the paint will hold down the stencil as you apply it and because it’s so heavy bodied, unless you are pressing down and overworking, you shouldn’t have issues with the paint seeping under the stencil.
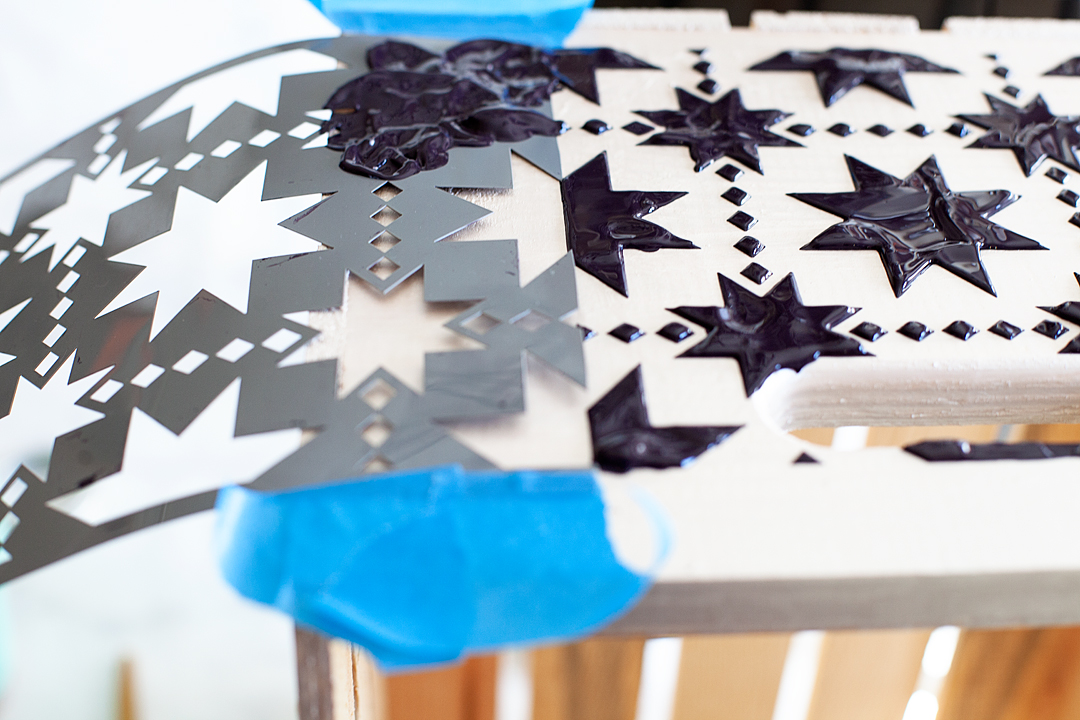
Now that you’ve finished applying the Texture paint and you’ve removed the stencil, it’s time to let it dry completely.
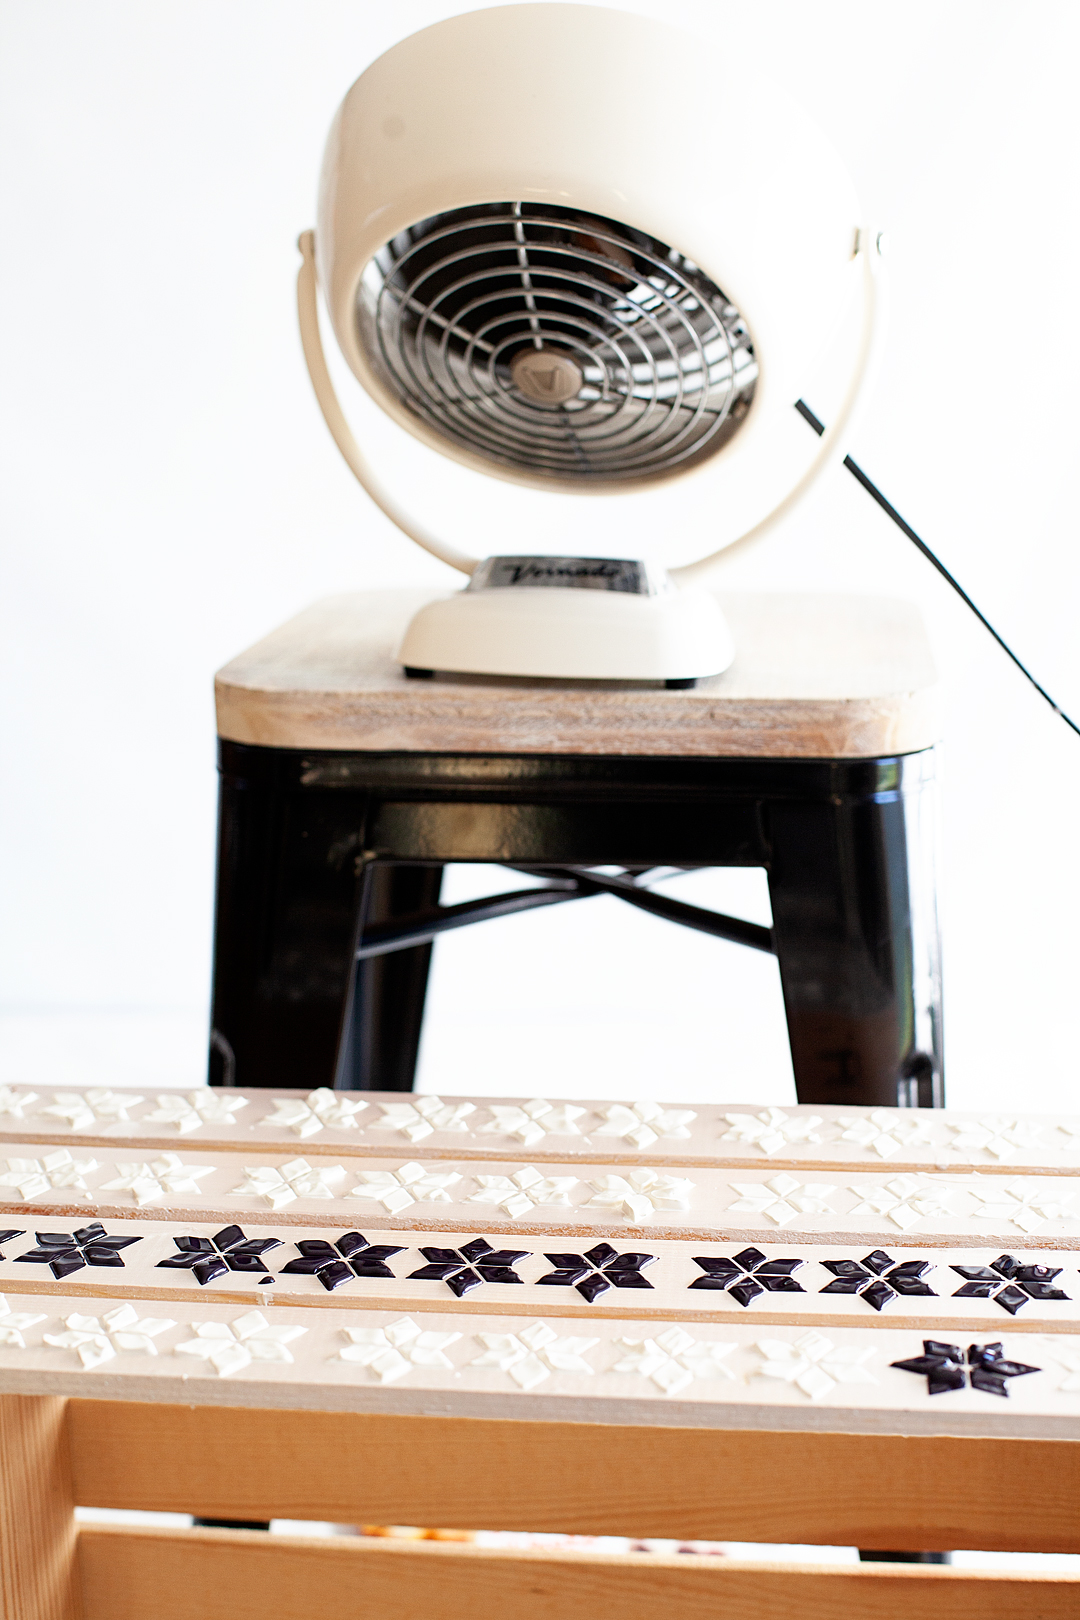
I set-up a fan to help speed up the process but, you really should let it sit overnight and let it dry completely.

Now you can use your new Scandinavian style blanket box to corral all of the cozy blankets when you are finished with them AND add a little style to your room!
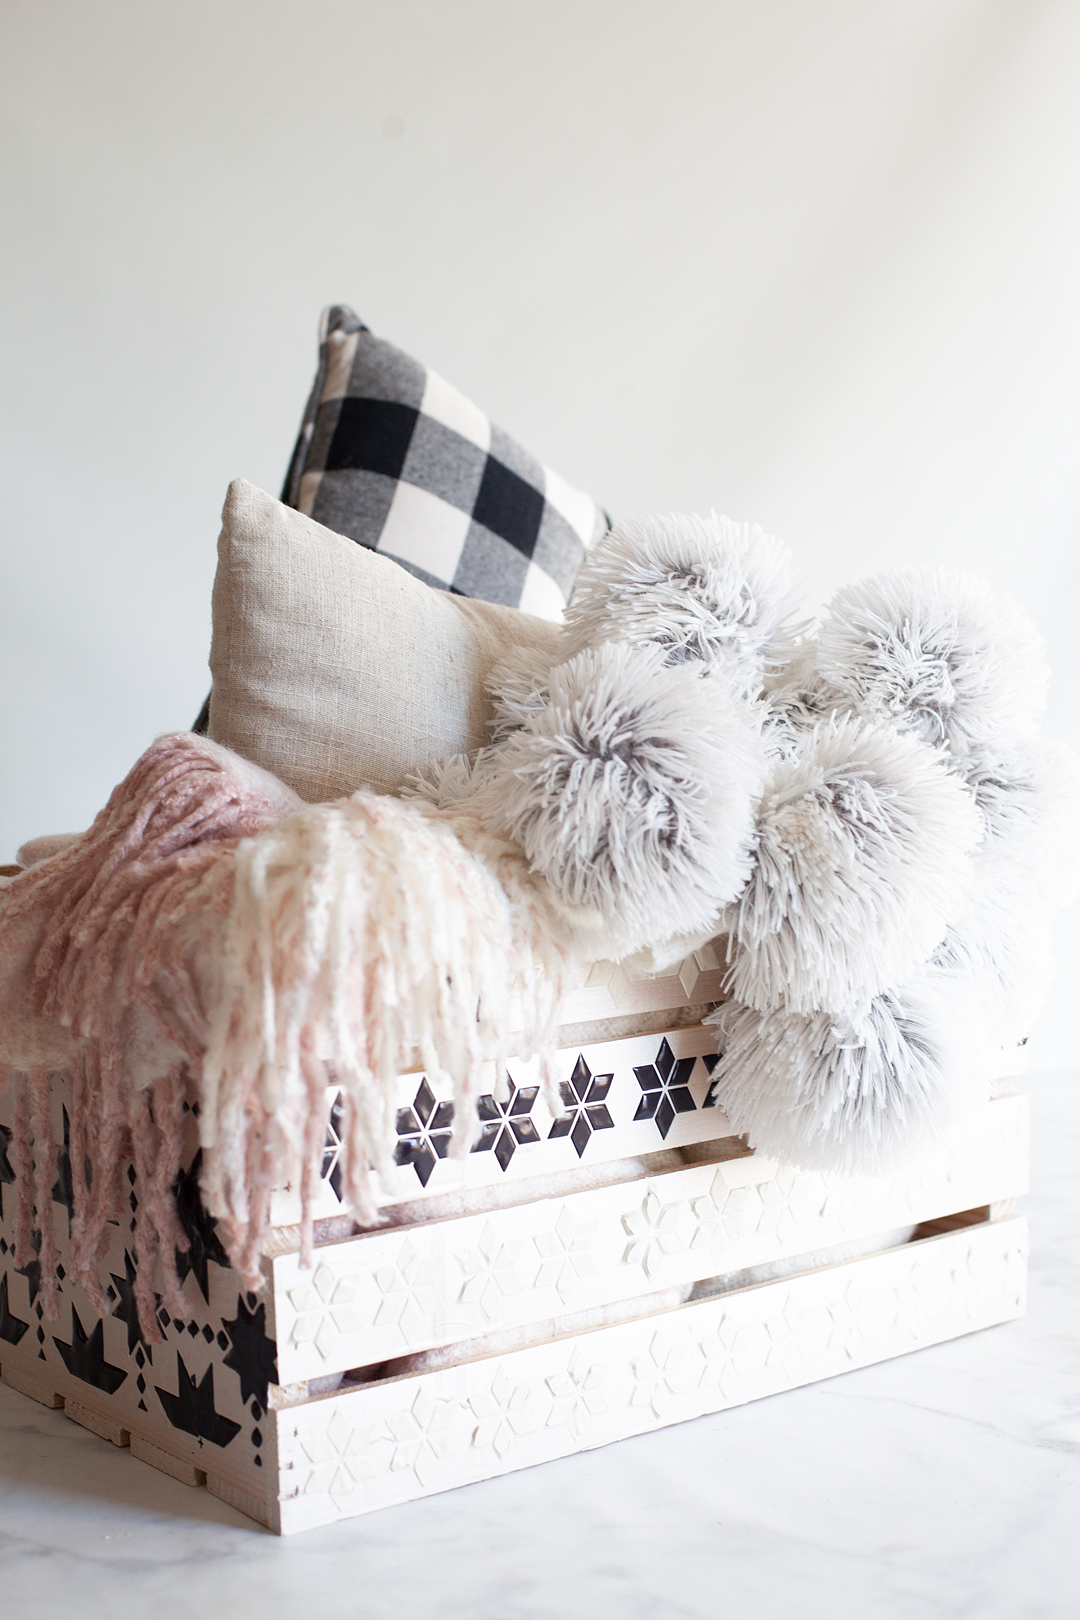
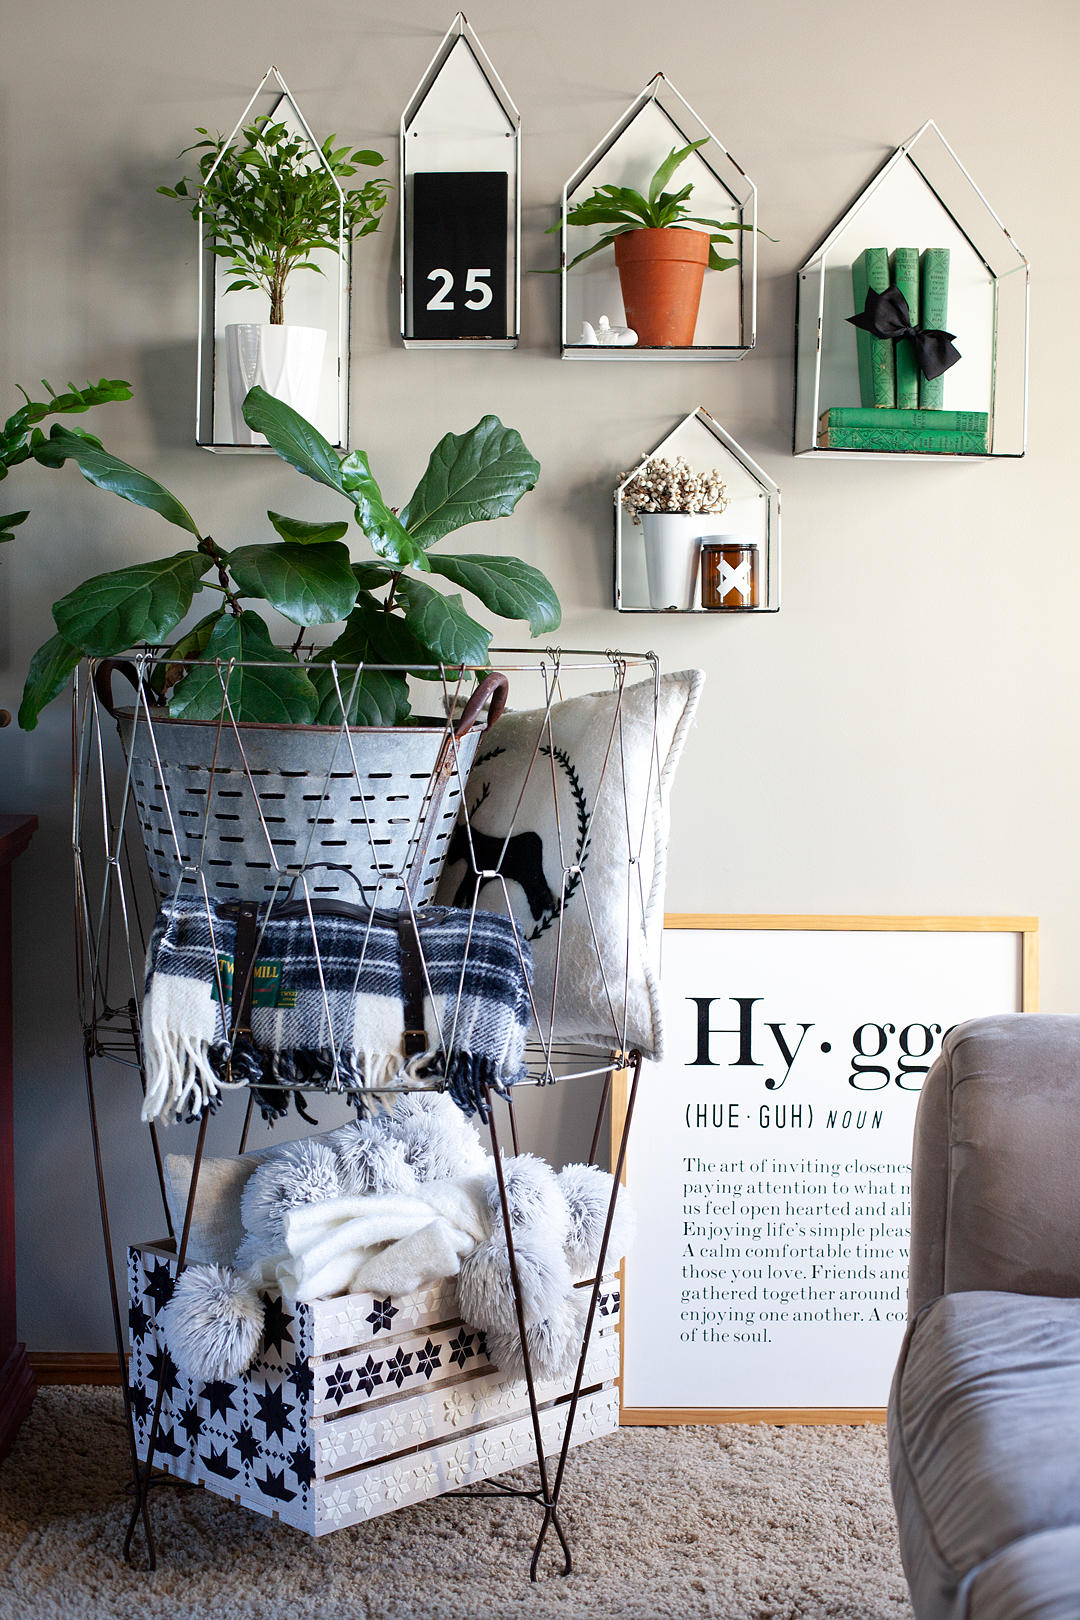
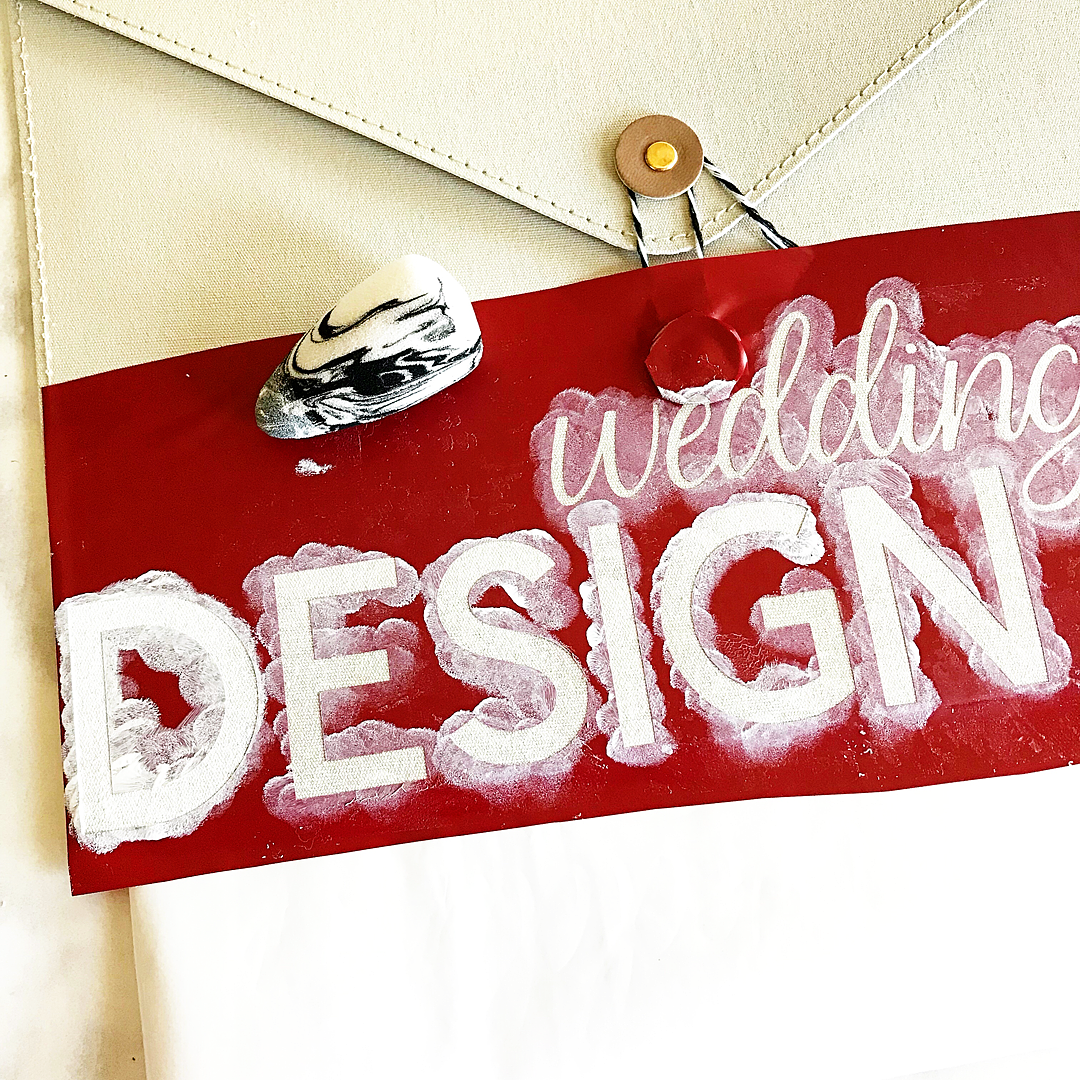 Keep the paint LIGHT to avoid any paint leaking under the stencil. It’s better to have several rounds with light paint than to have an unsightly leak area.