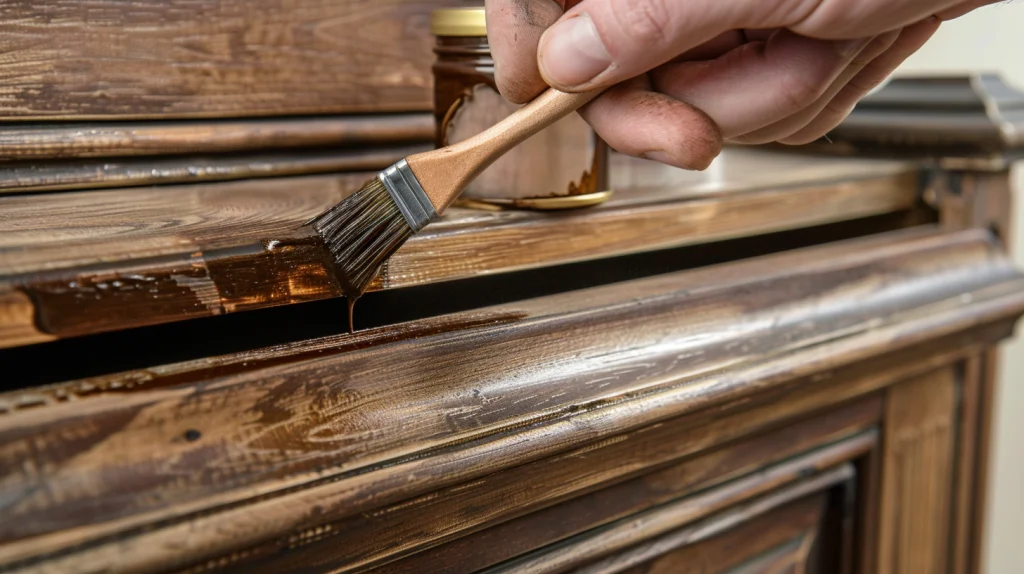
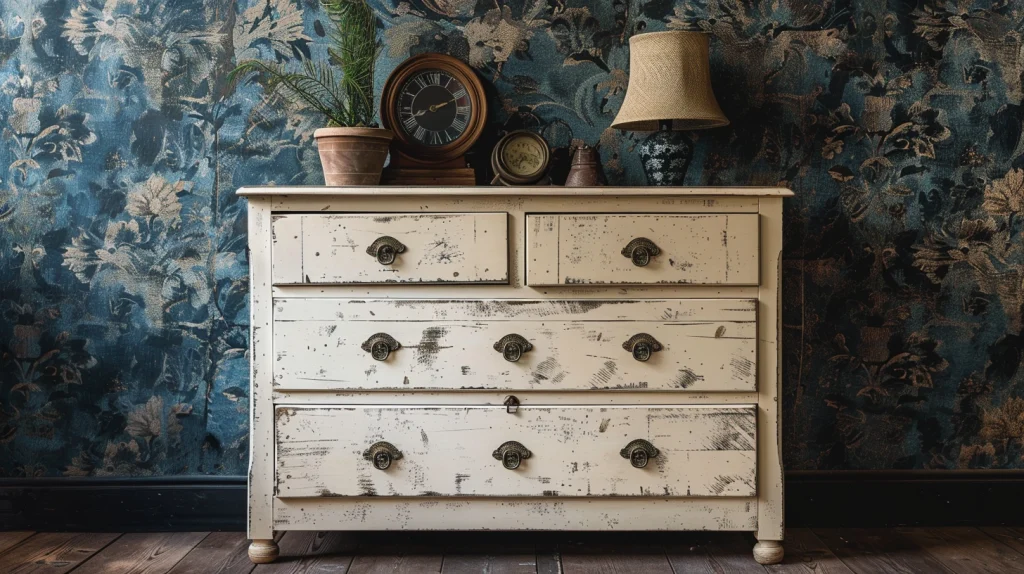
Want to know how to lighten stained wood? When refinishing furniture, changing the wood color is often the top priority. I learned this myself when I bought an antique cupboard for my kitchen.
Today, I’m excited to share several effective methods to lighten stained wood. From using steel wool to applying wood bleach, there are many ways to achieve a lighter look.
Look at that little brush! Isn’t it cute?
For more creative ideas, you might also be interested in learning if you can use tempera paint on wood. Additionally, exploring the best chalk paint options can give you more finishing techniques to consider.
Stick around until the end to get all the answers to your questions and find the best technique for your project!
7 Ways to Lighten Stained Wood
When it comes to lightening stained wood, there are several methods you can use. Here are the top 7 techniques:
- Steel Wool
- Paint and Varnish Stripper
- Sanding
- Wood Bleach
- Whitewash
- White Stain or Pickling
- Liming or Cerusing Wax
The best method for you will depend on the piece of furniture you’re working on and your level of expertise.
How to Lighten Stained Wood Without Sanding
First, let’s discuss how to lighten wood without sanding. Many people prefer to skip sanding because it’s tedious, messy, and physically demanding, especially for large pieces.
You might also want to lighten a wood stain that turned out darker than expected. Fortunately, there are a few methods to lighten stained wood without sanding.
Start by thoroughly cleaning your piece with mild soap and water if it’s older. Allow it to dry completely before proceeding, as only fully dry wood will reveal its true tone.
How to Lighten Wood Stain That Is Too Dark
To lighten a wood stain that is too dark, you can use several methods. If the stain is still wet, immediately wipe off the excess with a clean cloth.
For dried stain, apply mineral spirits to a clean cloth and rub it on the stained wood to remove some of the surface pigment. Another option is to apply a lighter stain over the dark stain to achieve the desired color.
Additionally, you can use wood bleach to lighten the stain; follow the manufacturer’s instructions for the best results.
Lighten Stained Wood with Steel Wool
Using steel wool is an effective way to lighten wood without sanding. Begin by dampening 0000-grade steel wool in warm water. Gently run the steel wool along the wood grain to prevent scratching.
This method requires some effort. Make several passes with light pressure and observe if the wood lightens. If it does, continue the process.
If the wood doesn’t lighten as desired, try adding mineral spirits or turpentine. Repeat the process with steel wool or a clean cloth until you achieve the desired lightness.
Remove Stain with Paint and Varnish Stripper
If steel wool doesn’t lighten the wood to your satisfaction and you want to avoid sanding, the next step is to remove the stain as much as possible.
Using a paint and varnish stripper is an effective way to lighten stained wood. This method allows you to remove the existing stain and start fresh.
Best Way to Lighten Wood
After exploring various methods to lighten wood without sanding, let’s discuss what I recommend as the most effective approach.
This method combines sanding, bleaching, and applying a top coat.
Keep in mind that each wood species has its unique undertone that you’ll need to consider.
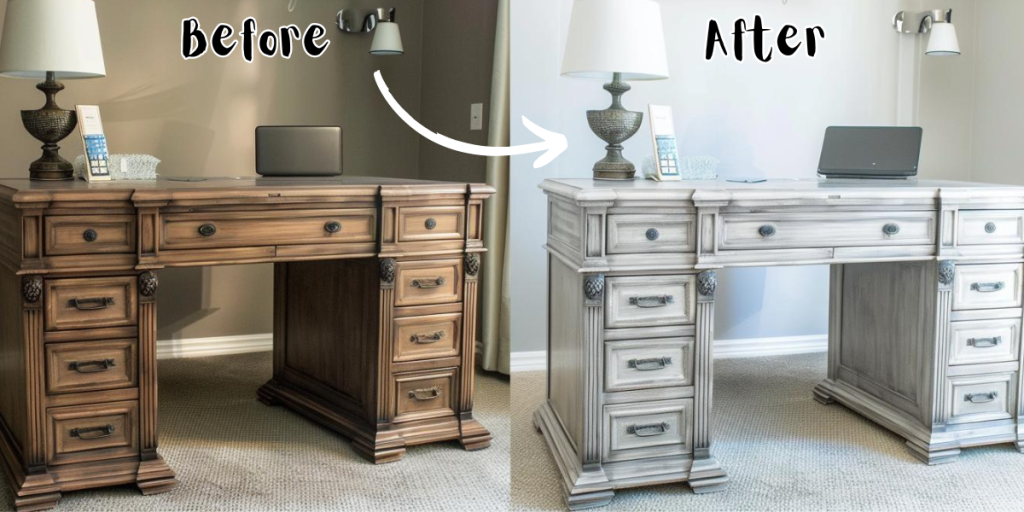
For my cabinet, I was working with significant red undertones along with subtle yellow ones. I wanted to achieve a much whiter appearance without resorting to whitewashing.
Here are the straightforward steps I followed:
Step 1: Sand
To lighten wood with sanding, start by gathering sandpaper in various grits (coarse, medium, and fine), a sanding block or electric sander, and a dust mask.
Ensure your workspace is well-ventilated and protected. Begin sanding with coarse-grit sandpaper (60-80 grit) to remove the existing stain and finish, always sanding in the direction of the wood grain.
Apply even pressure and sand the entire surface thoroughly. Progress to medium-grit sandpaper (120-150 grit) to smooth out the surface, then finish with fine-grit sandpaper (220 grit) for a smooth look.
Clean the surface with a tack cloth or damp rag to remove dust. Optionally, apply wood bleach for an even lighter color. This process effectively lightens the wood, giving it a raw, natural appearance.
Step 2: Add Wood Bleach
To lighten wood using wood bleach, start by reading the manufacturer’s instructions carefully. Wear protective gloves and ensure your workspace is well-ventilated.
Use a brush or sponge to evenly apply the wood bleach to the sanded wood surface. Allow the bleach to penetrate the wood for the recommended time, typically 20 minutes to an hour. Afterward, neutralize the bleach with a mixture of water and vinegar, or as directed by the product instructions.
Wipe down the wood with a clean, damp cloth to remove any residue, and let the wood dry completely before proceeding. This process helps achieve a significantly lighter and more uniform color on the wood.
Step 3: Lighten Your Wood Further with a Top Coat
To lighten the wood further, apply a light-colored top coat. Begin by ensuring the wood surface is clean and completely dry from the previous steps. Choose a top coat that has a lightening effect, such as a whitewash or a light-toned stain.
- Select the Right Product: Choose a whitewash, light stain, or light-toned polyurethane to further lighten the wood. These products are designed to add a subtle lightening effect while protecting the wood.
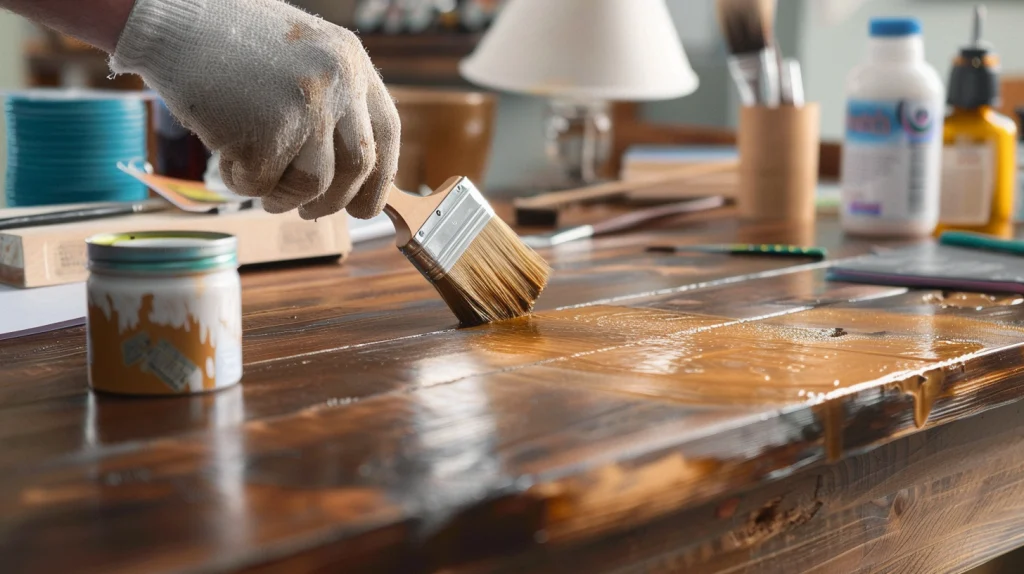
- Apply the Top Coat: Using a clean brush or a lint-free cloth, apply the top coat evenly over the wood surface. Work in the direction of the grain to ensure a smooth application. Apply a thin layer and avoid over-saturating the wood.
- Let it Dry: Allow the top coat to dry according to the manufacturer’s instructions. This typically takes a few hours. Ensure the surface is free from dust and debris while it dries.
- Add Additional Coats if Needed: If you desire a lighter appearance, apply additional coats. Lightly sand with fine-grit sandpaper (220 grit) between coats for a smooth finish and to ensure good adhesion.
- Final Touch: Once you have achieved the desired lightness, let the final coat dry completely. This will not only lighten the wood but also provide a protective layer, enhancing the durability and beauty of your piece.
By following these steps, you can effectively lighten the wood further with a top coat, achieving a bright, refreshed look for your furniture.
How to Lighten Wood with White Stain, Pickling, or Color Wash
To lighten wood using white stain, pickling, or a color wash, first gather supplies including your chosen white stain, pickling solution, or diluted white paint, along with a brush or cloth, sandpaper, and a clean cloth for wiping.
Lightly sand the wood surface with fine-grit sandpaper (220 grit) to ensure it’s smooth and ready to accept the stain or wash. Clean the wood thoroughly to remove any dust or debris.
Apply the white stain, pickling solution, or color wash evenly with a brush or cloth, following the direction of the wood grain. Wipe off any excess with a clean cloth, adjusting the pressure to achieve the desired lightness.
Allow the wood to dry completely before applying any additional coats or finishes. This method helps achieve a lighter, more uniform color on the wood.
Can I Apply Household Bleach to the Wood?
Yes, you can apply household bleach on wood to lighten it. However, household bleach is not as effective as wood bleach for this purpose.
To use household bleach, mix it with water and apply it evenly on the wood surface using a brush or sponge. Let it sit for several minutes, then rinse thoroughly with water and allow the wood to dry completely.
Keep in mind that household bleach may not provide the same level of lightening as wood bleach, and it may also raise the grain of the wood, requiring additional sanding.
Wood Bleach Products I Love
When it comes to bleaching wood, several products can help achieve the desired result and I love these:
Savogran Wood Bleach Savogran wood bleach uses oxalic acid mixed with water to lighten the wood color. It’s particularly effective at removing black spots and stains. While it may require multiple applications to reach the desired lightness, it works well on furniture that isn’t extremely dark.
Zinsser Wood Bleach Zinsser wood bleach is a more heavy-duty option, ideal for dark woods like cherry or mahogany. This bleach removes the color from the wood without affecting the grain, preserving the natural texture. Start with one application and, if necessary, apply additional coats until you achieve the desired color.
Both products offer effective solutions for lightening wood, but the choice depends on the wood’s initial darkness and your specific needs.
Lighten Your Wood Further with Liming Wax or Cerusing Wax
To further lighten wood, use liming wax or cerusing wax. These products highlight the grain and give the wood a beautiful, aged look. Here’s how:
- Clean the Surface: Ensure the wood is clean and dry.
- Apply the Wax: Use a clean cloth or brush to apply the wax, working it into the grain.
- Remove Excess Wax: Wipe away any excess wax with a clean cloth, leaving it in the grain and crevices.
- Buff the Surface: Buff the wood with a soft cloth for a smooth, polished finish.
- Seal the Finish (Optional): Apply a clear top coat for added protection.
Using liming wax or cerusing wax effectively lightens wood and enhances its natural grain, giving it a vintage look.
Can You Change the Color of the Wood Stain?
Yes, you can change the color of the wood stain. To do this, you need to follow a few key steps:
- Remove the Old Stain: Start by sanding the wood to remove the existing stain and finish. Use coarse-grit sandpaper to strip away the old stain, then smooth the surface with finer grits.
- Clean the Surface: Wipe the wood clean with a tack cloth or a damp rag to remove any dust and debris.
- Choose a New Stain: Select the new stain color you want to apply. Test the stain on a small, inconspicuous area of the wood to ensure it achieves the desired color.
- Apply the New Stain: Using a brush or cloth, apply the new stain evenly, following the direction of the wood grain. Wipe off any excess stain with a clean cloth to avoid blotches and streaks.
- Let It Dry: Allow the stain to dry completely according to the manufacturer’s instructions.
- Seal the Wood: Apply a clear topcoat or sealant to protect the new stain and enhance its durability.
By following these steps, you can successfully change the color of your wood stain and give your wood pieces a fresh, new look.
Conclusion
Thank you for joining me on the blog today! I’m glad you stopped by and hope you found this article on how to lighten stained wood helpful.
Remember, changing the color of your wood furniture or projects can be fun and rewarding, but it’s important to take your time and follow each step carefully.
Whether you’re using steel wool, wood bleach, or another method, don’t rush the process. Good preparation and careful application are key to getting the best results. If you have any questions or run into any problems, feel free to ask in the comments.
FAQ
How do you whiten stained wood?
Use a wood bleach or a white stain to lighten the color of stained wood.
Can I sand-stained wood to make it lighter?
Yes, sanding can remove some of the stains and make the wood lighter.
Can you remove stains from wood without sanding?
Yes, you can use a wood stain remover or stripper to remove the stain without sanding.
Is there a way to remove dark stains from wood?
Yes, using a wood bleach or a stain remover can help remove or lighten dark stains.
How do you lighten wood stains with vinegar?
Mix vinegar with water and apply it to the wood to lighten the stain, but results may vary.
Can you put a light wood stain over a dark stain?
No, you need to remove or lighten the dark stain first for the light stain to show properly.
How to make wood lighter in color?
Sand the wood, apply wood bleach, or use a lighter stain to make the wood lighter.
How do you dilute wood stains to make them lighter?
Mix the wood stain with a clear wood stain or mineral spirits to dilute it.
Can you stain wood lighter than its natural color?
Yes, but it often requires bleaching the wood first to achieve a lighter color.
What to do if the wood stain is too dark?
Use a wood bleach or lightly sand the wood to remove some of the stains.
Is there a way to lighten the stain after applied?
Yes, you can use wood bleach or sand the surface to lighten the stain.
