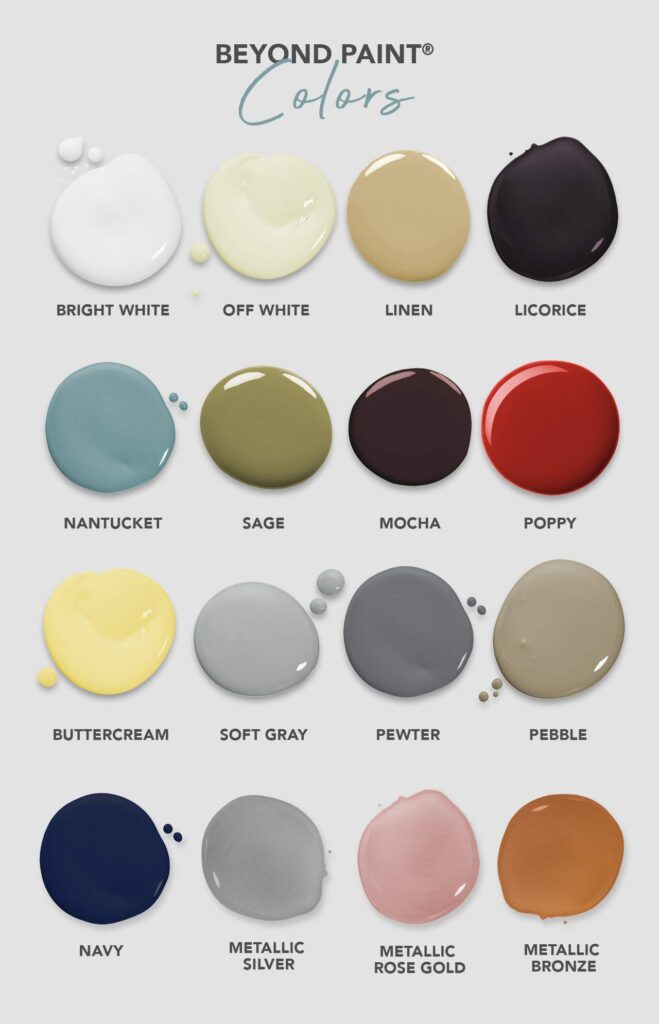
Annie Sloan Chalk Paint Colors
Annie Sloan Chalk Paint colors offer a diverse and vibrant palette perfect for various decor and furniture projects. The collection includes shades, from bright whites and neutrals to deep blues and rich greens.
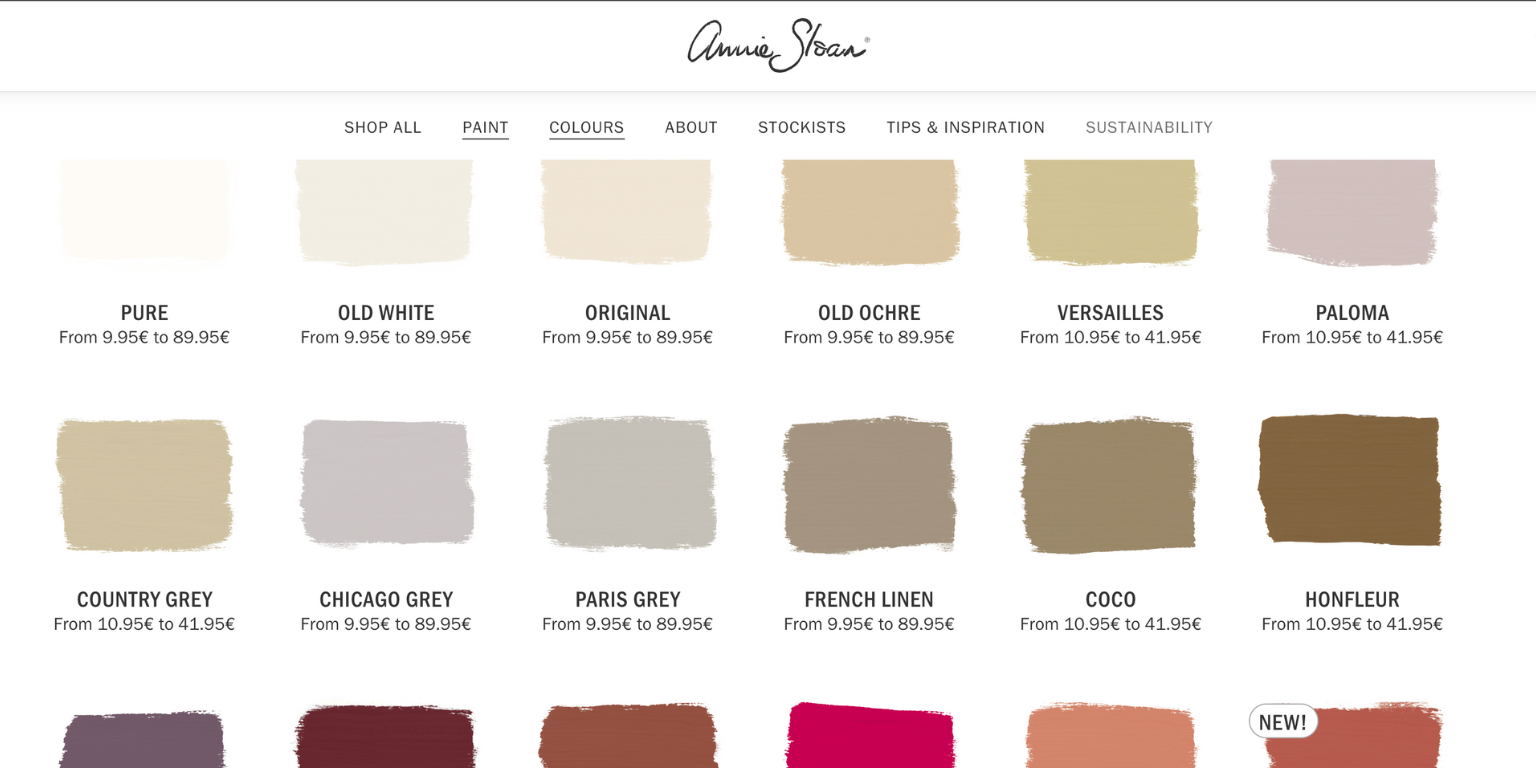
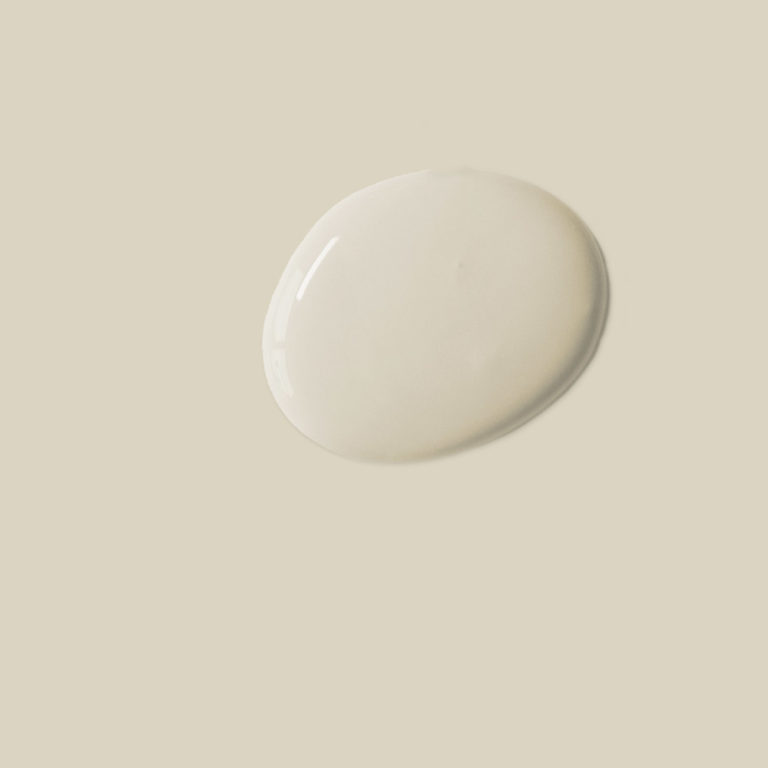
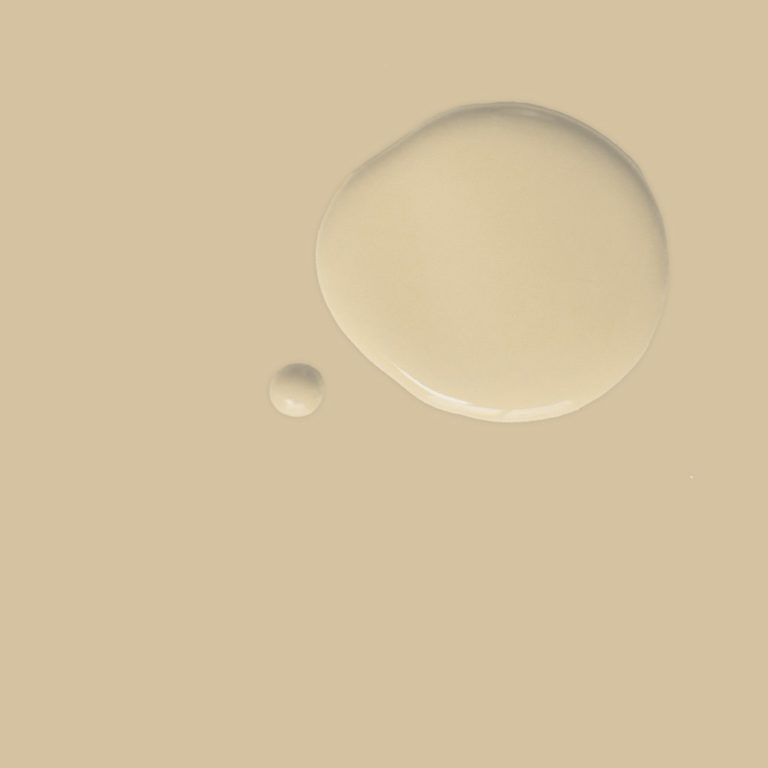
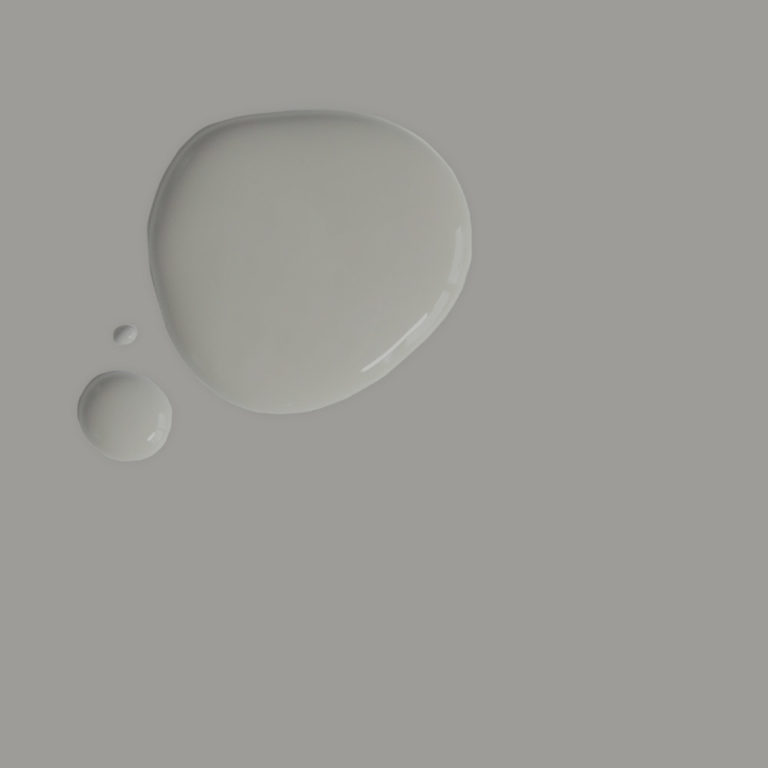
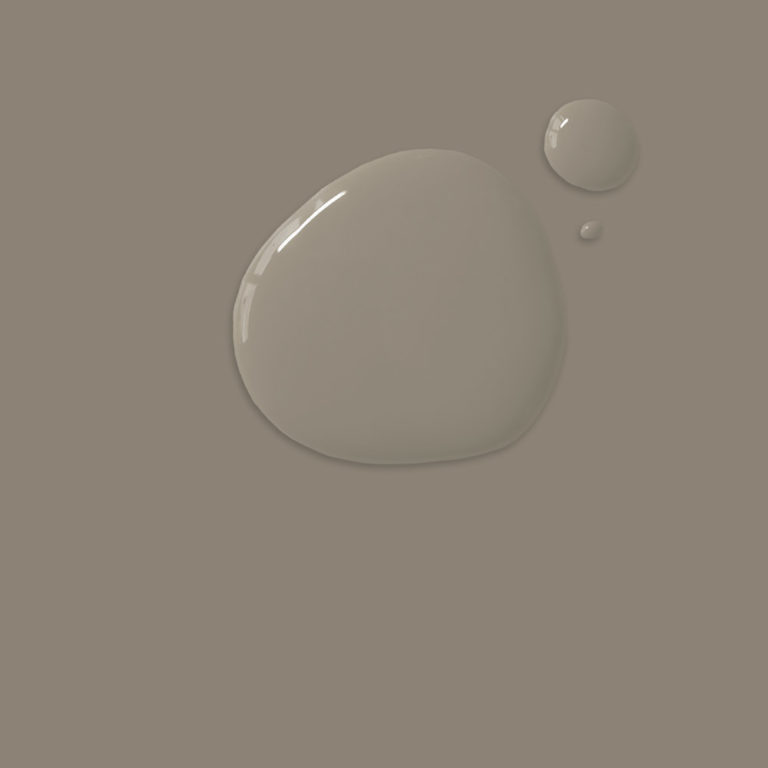
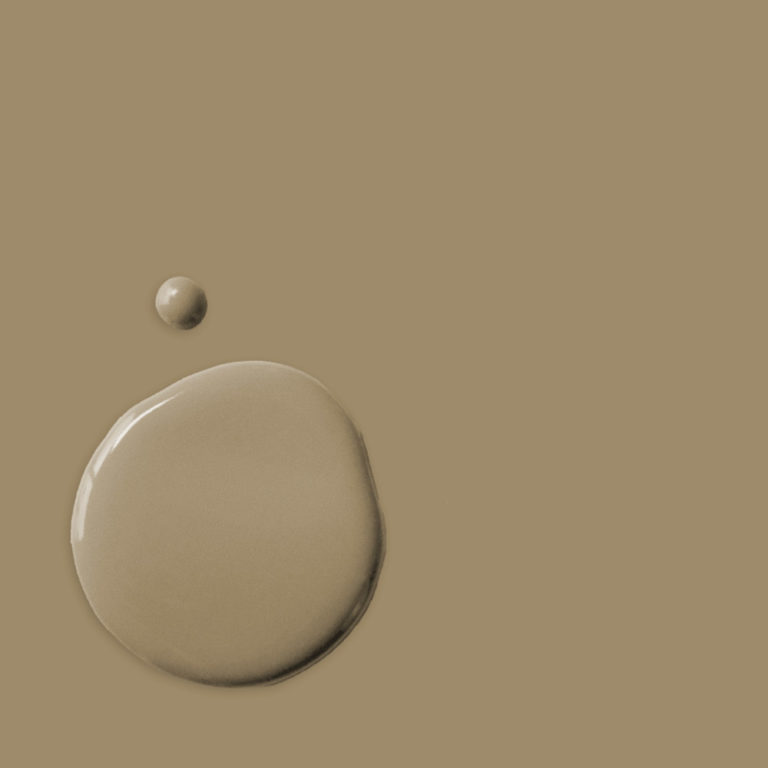
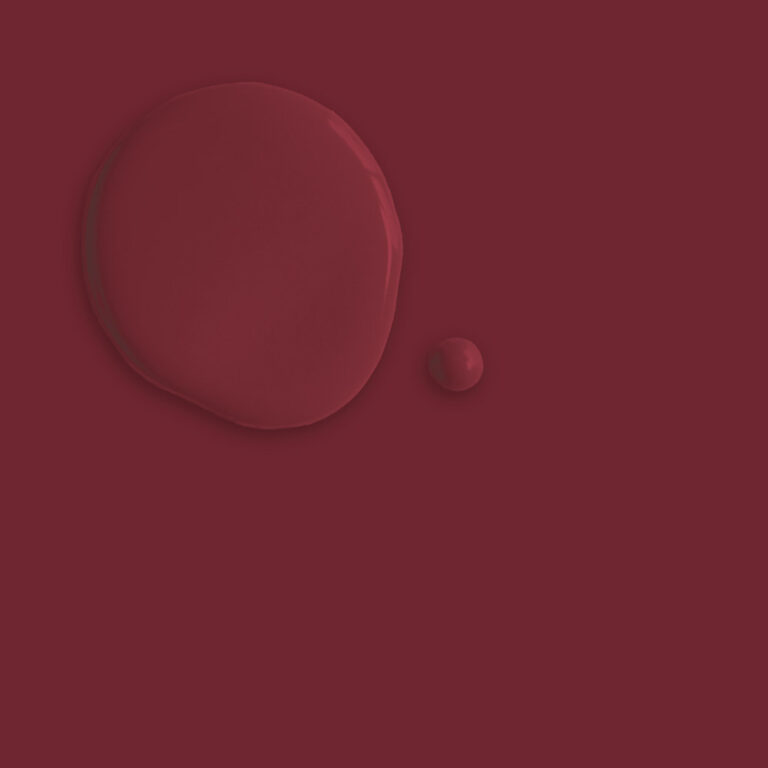
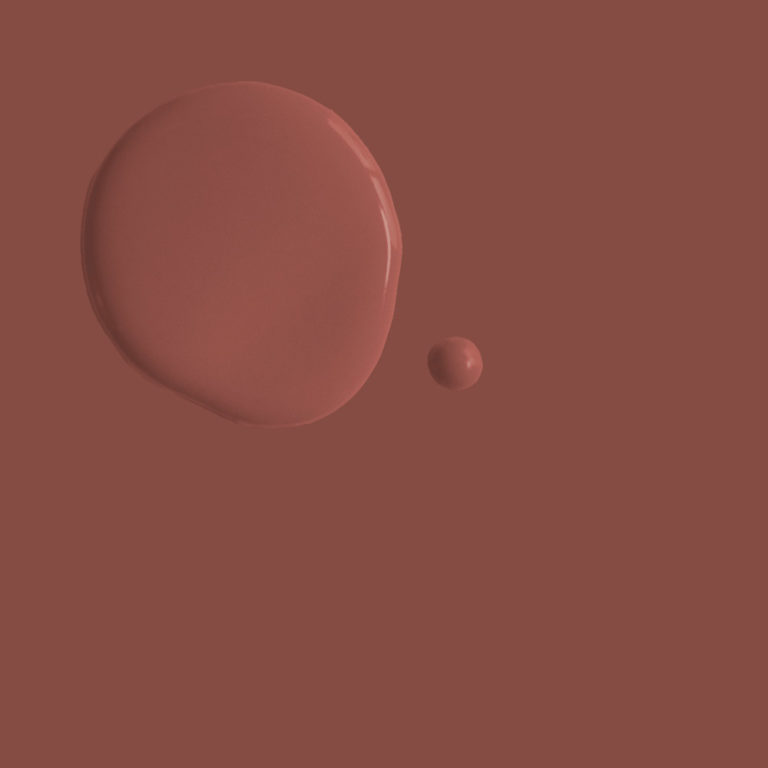
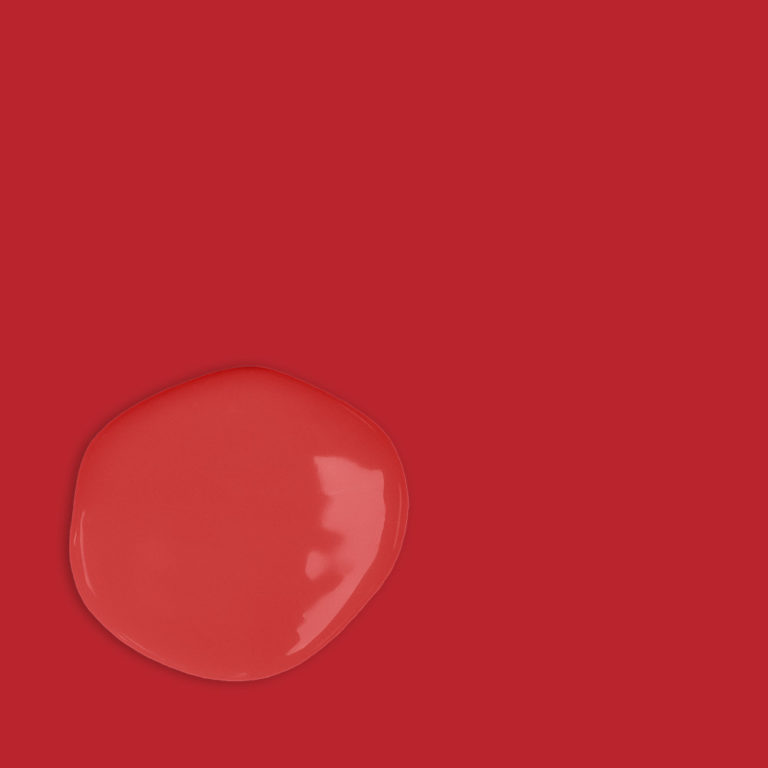
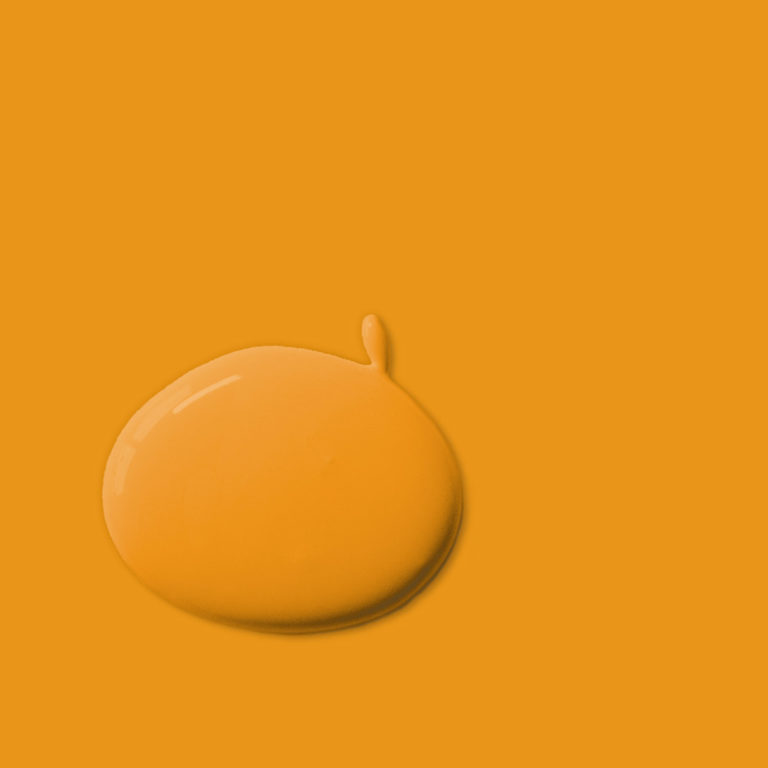
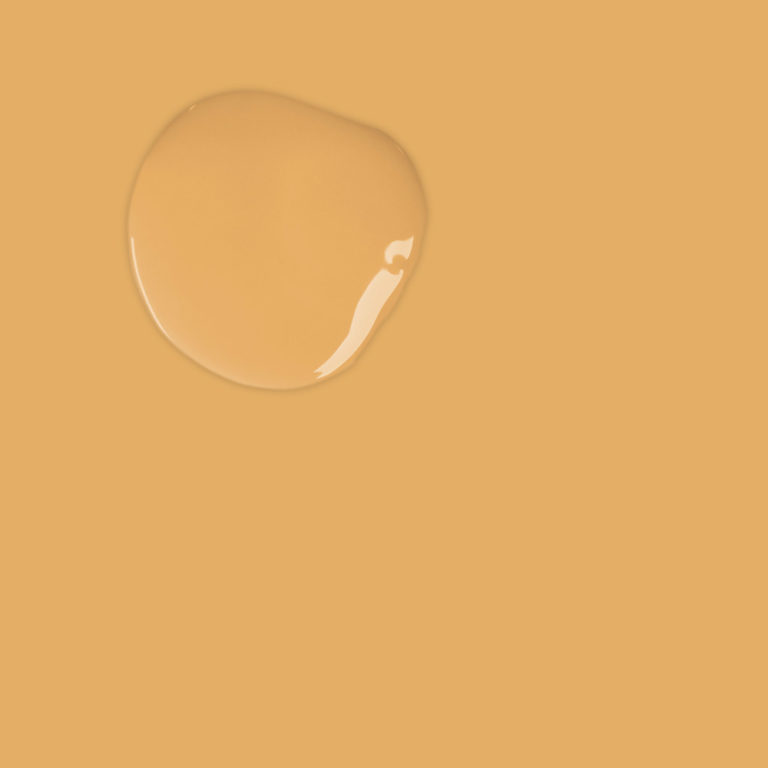
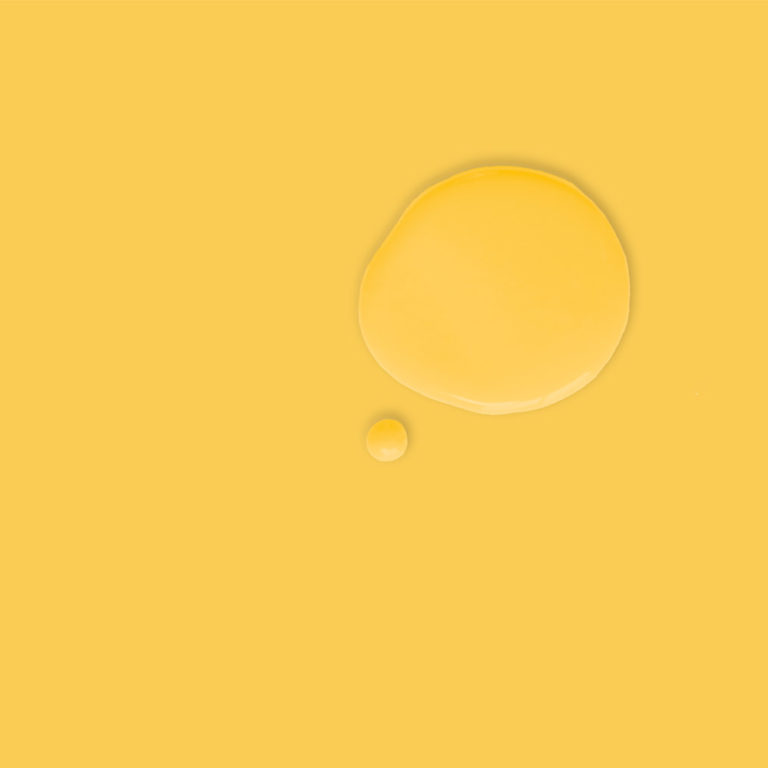
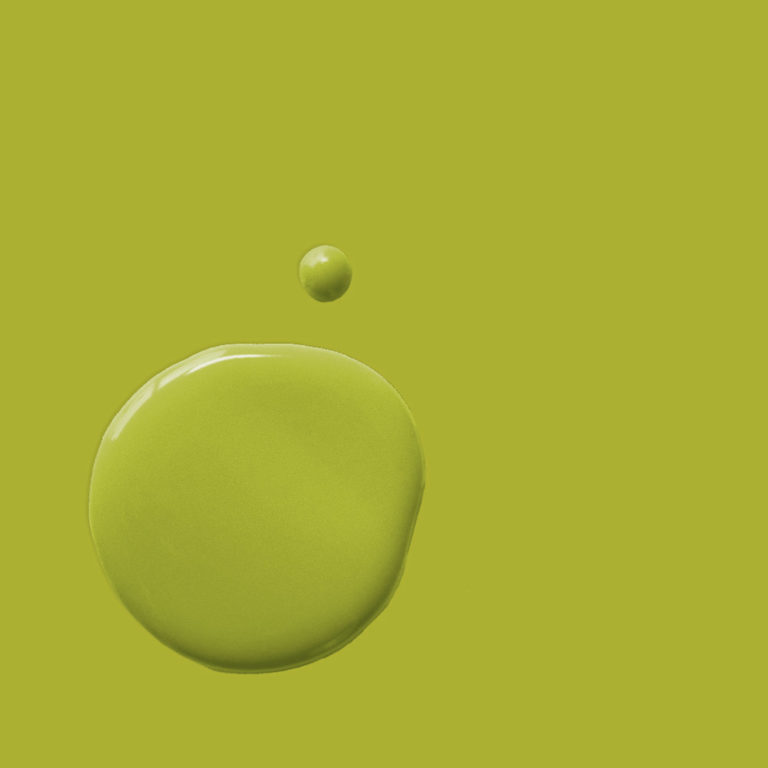
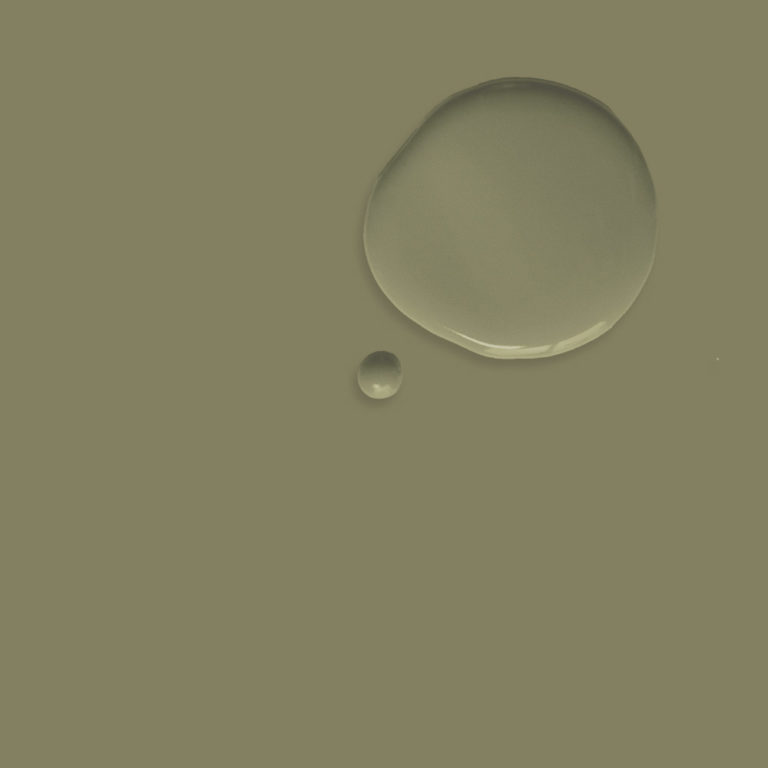
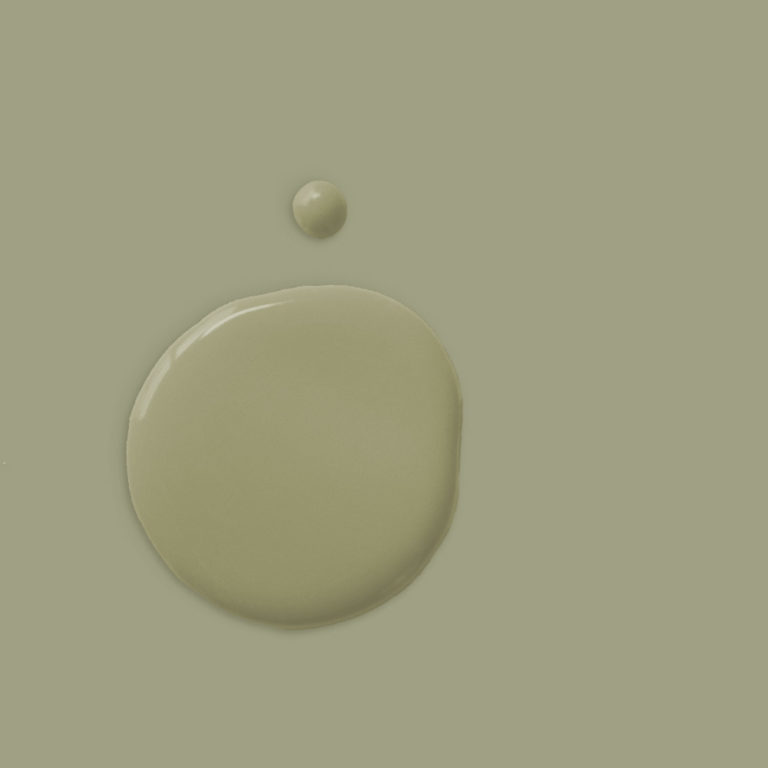
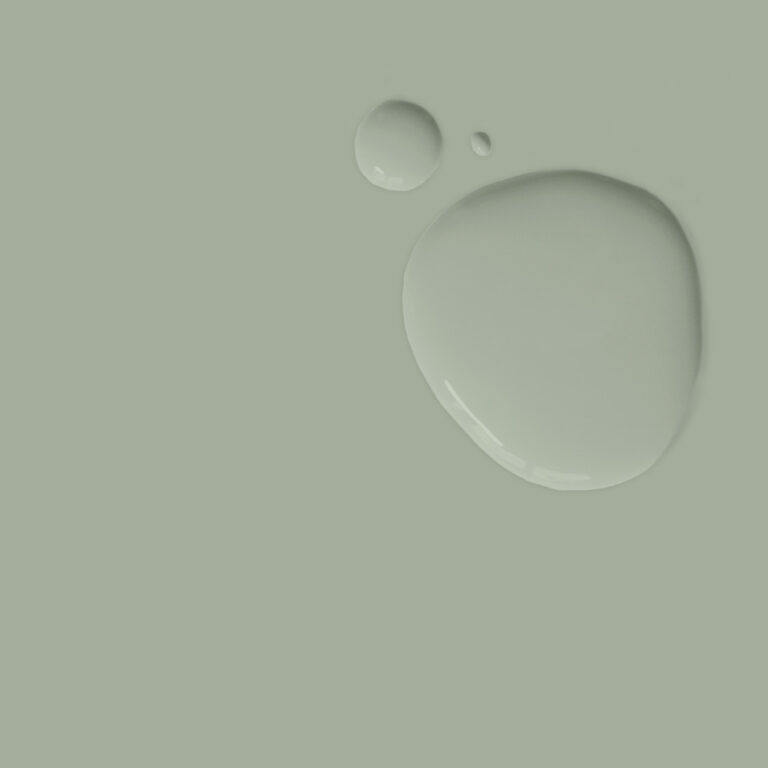
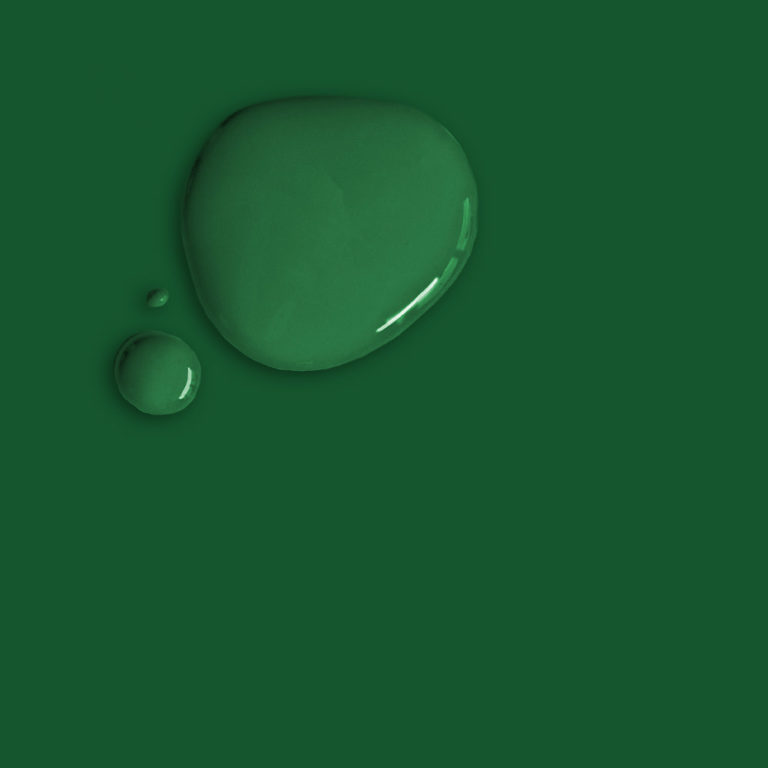
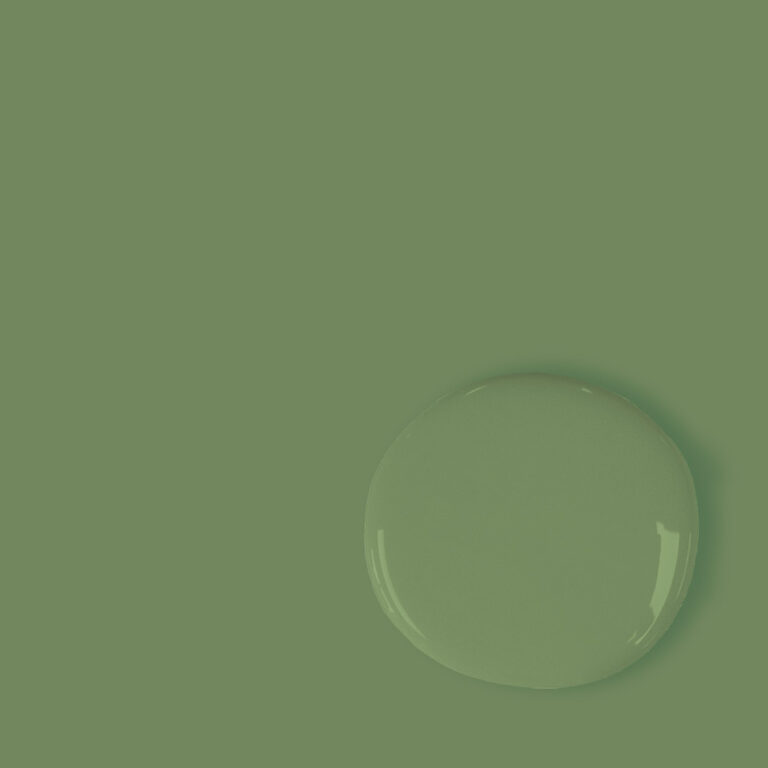
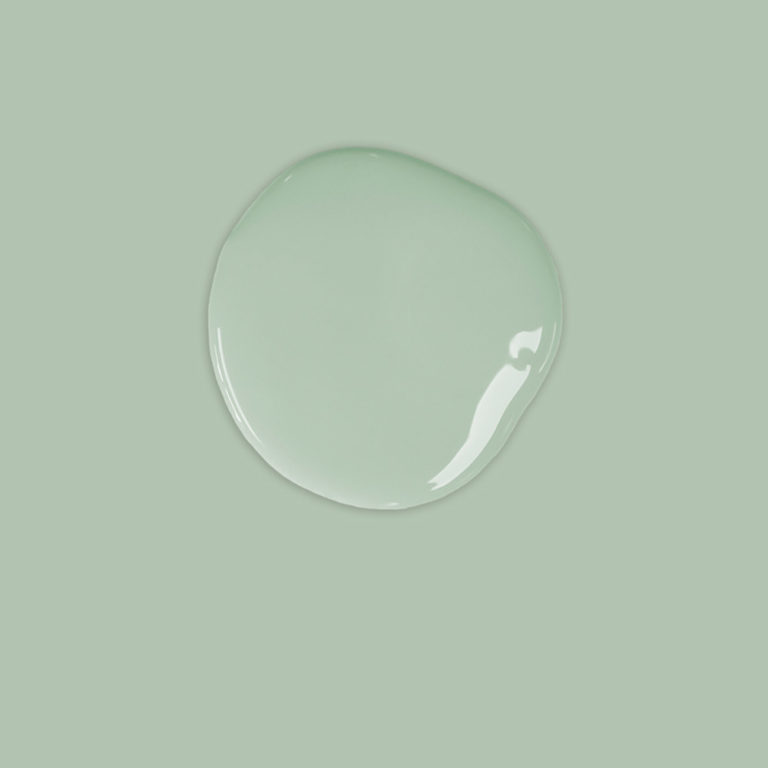
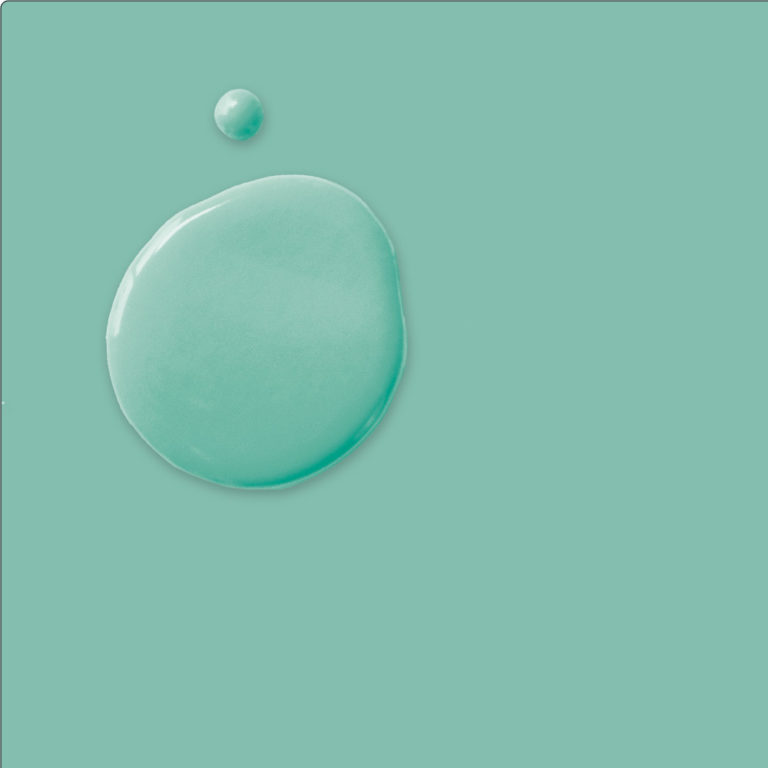
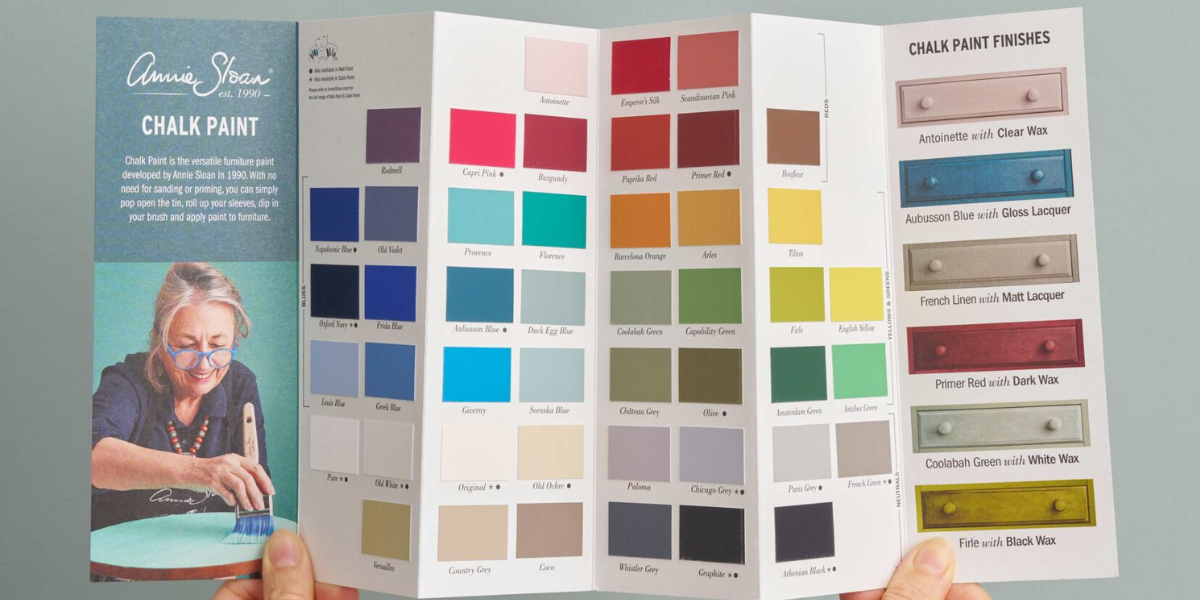
Annie Sloan Chalk Paint Color Chart
 |
 |
 |
 |
 |
 |
 |
 |
 |
 |
 |
 |
 |
 |
 |
 |
 |
 |
 |
 |
 |
 |
 |
 |
 |
 |
 |
 |
 |
 |
 |
 |
 |
 |
 |
 |
The Annie Sloan Chalk Paint Color Chart offers a stunning array of hues perfect for any decor or furniture project. Inspired by fine art and beautiful interiors worldwide, these colors are versatile and elegant, suitable for walls, fabrics, and furniture.
Rustoleum Chalk Paint Colors
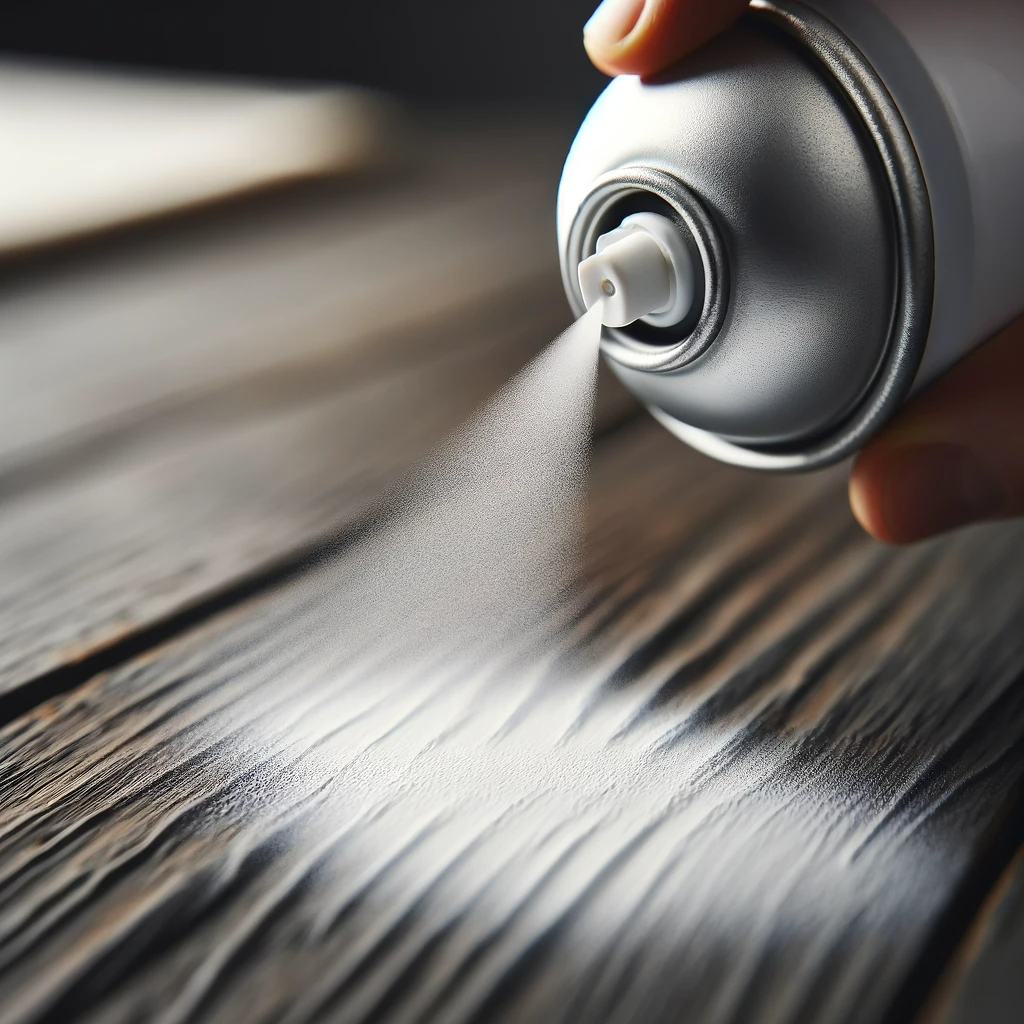
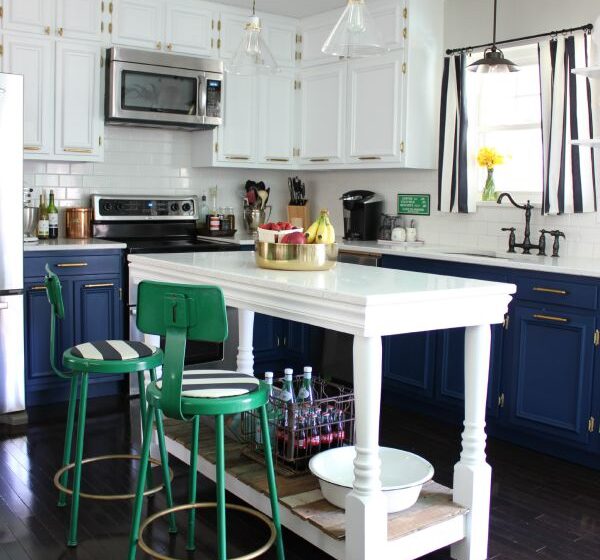
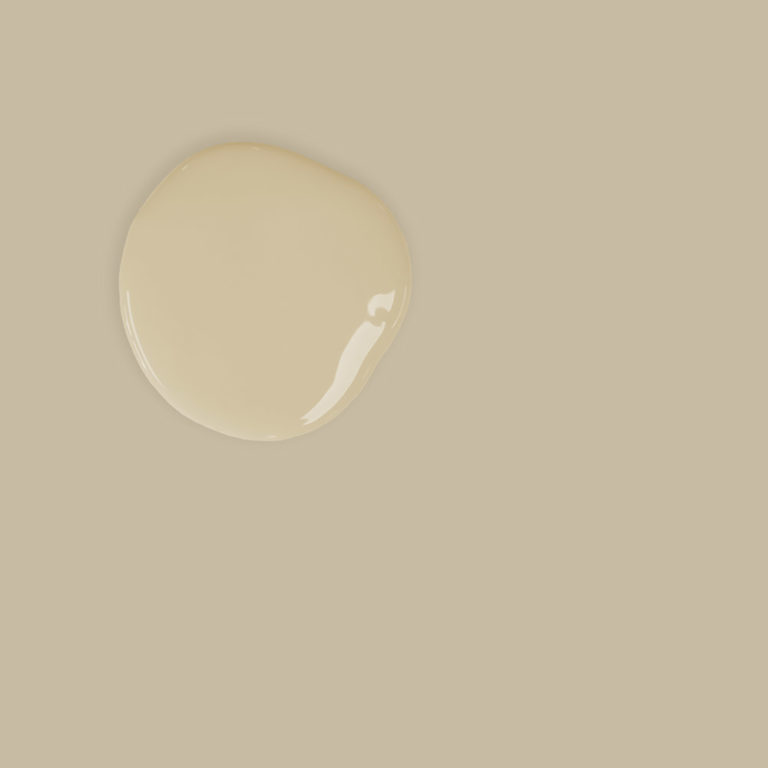
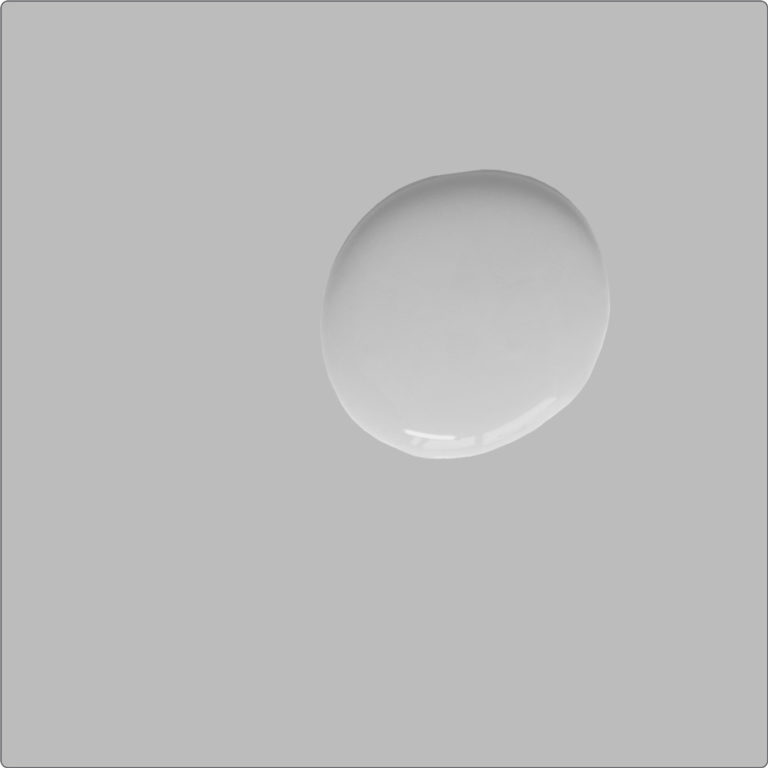
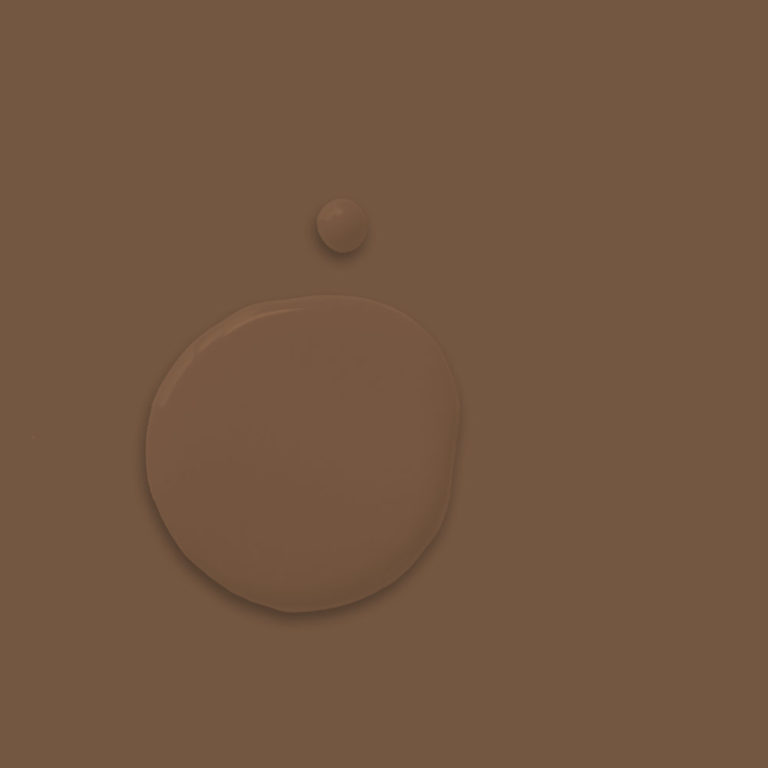
Rustoleum Chalk Paint Colors is a fabulous way to add character and elegance to your DIY projects. The collection includes a variety of shades, each offering a smooth, chalky finish that can transform any furniture or decor. Here are some standout colors:
- Linen White: A soft, versatile white that adds a touch of classic charm.
- Charcoal: A deep, rich gray with a modern and sophisticated feel.
- Aged Gray: A warm, muted gray perfect for a vintage look.
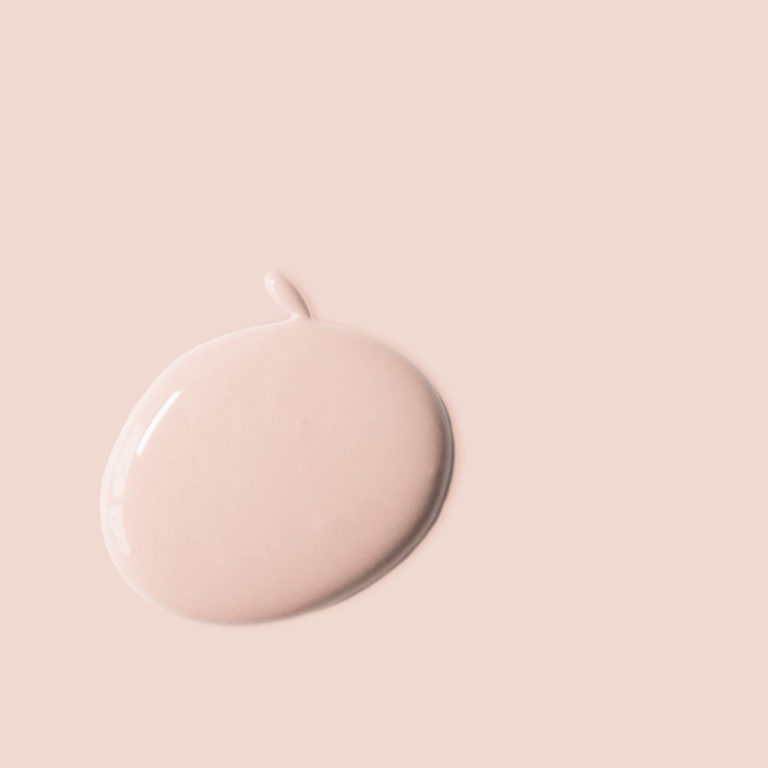
- Blush Pink: A gentle pink that adds a subtle, feminine touch.
- Coastal Blue: A calming blue that evokes a seaside cottage feel.
- Serenity Blue: A tranquil, light blue that creates a peaceful ambiance.
- Country Gray: A soft, neutral gray ideal for a rustic farmhouse style.
- Rustic Farmhouse: A warm, earthy brown that complements natural wood tones.
- Chiffon Cream: A creamy, off-white that brightens up any space.
- Hunt Club Green: A bold, deep green perfect for adding a pop of color.
Each color is designed to provide excellent coverage and can be easily distressed to achieve a unique, aged look. Whether you’re upcycling a thrift store find or adding a fresh coat to a beloved piece, Rustoleum Chalk Paint colors offer endless possibilities for creativity and style.
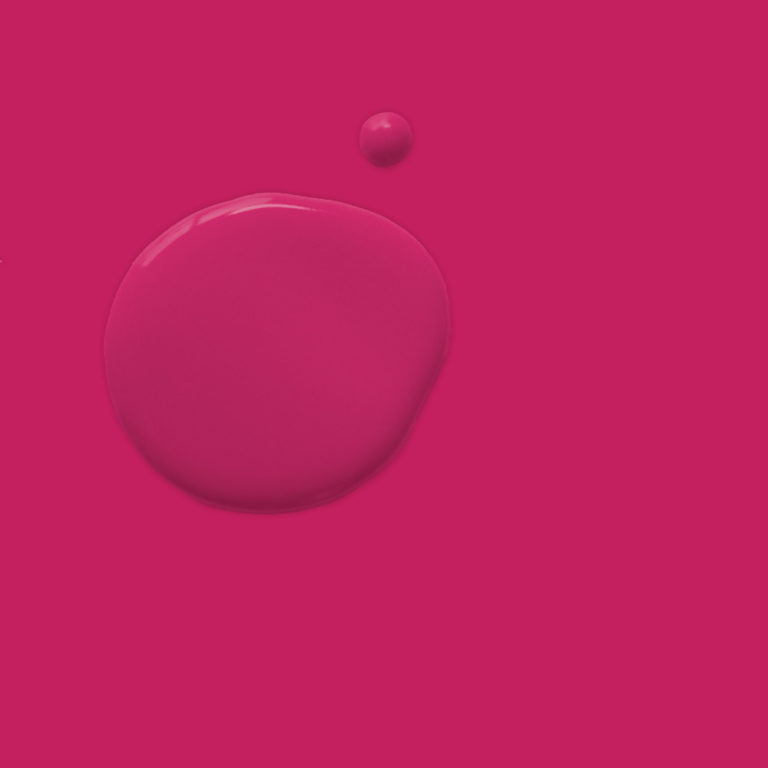
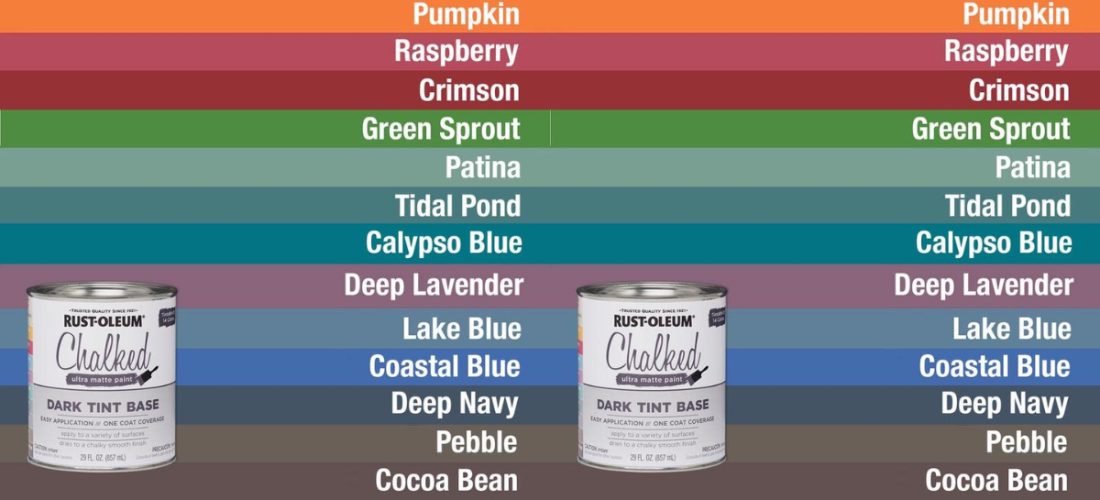
Rustoleum Chalk Paint Color Chart