• Skip to primary navigation
  • Skip to main content
  • Skip to primary sidebar
  • Skip to footer

Whipperberry

WhipperBerry • Your Home For Creative Inspiration

  • Home
  • Recipes
    • Starters
    • Easy Weeknight Dinners
    • Main Dish
    • Salads
    • Side Dish
    • Soups & Stews
    • Desserts
    • Breakfast
    • Miscellaneous
  • Tutorials
    • Creative Crafts
    • DIY Decor
    • Fabric Crafts
    • Food How-To
    • Jewlery
    • Paint Projects
    • Paper Art
    • Party Styling
    • Photography and Graphic Design
    • Silhouette
  • Holidays
    • St. Patrick’s Day
    • Easter
    • Mother’s Day
    • Father’s Day
    • 4th of July
    • Halloween
    • Thanksgiving
    • Christmas
    • New Years
    • Valentine’s Day
  • Gift Ideas
    • Gifts For Everyone
    • Gifts for Dad
    • Mother’s day
    • For The Girls
    • For The Kids
    • Teacher Gift Ideas
    • Christmas
  • Printables
    • Holiday
    • Gift Idea
    • LDS Primary
  • Travel
  • About
    • Terms
  • Contact
  • Nav Social Menu

    • Facebook
    • Instagram
    • Pinterest
    • RSS
    • Twitter

Pincandy

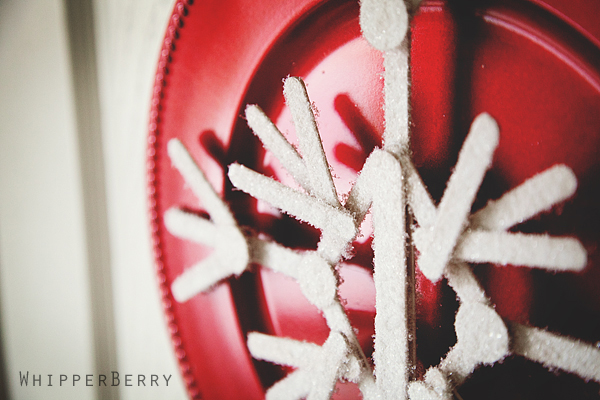
Snowflake Art | Tutorial

3 · Dec 14, 2011 · 2 Comments

Earlier this month I created a guest post for the lovely ladies from The Letter 4 while they were having a ball meeting Martha on the Martha Stewart show.  Just in case you missed it here is the Snowflake Art that I shared over there.

I am one of those displaced snow bunnies!  I grew up in Colorado skiing and loving everything that winter brought with it. For the past eight years I've been living in Las Vegas  and I can count the amount of times I've seen snow on one hand. So… When the girls invited me over I knew I wanted to create a project to add a little snow to my life!

I took my inspiration from a fabulous project that I found on Pinterest  from the Ballard Bunch. It was a simple snowflake made from craft sticks and it was stunning!!  I decided to take the humble craft stick and create a fun wall or door display using some chargers from the dollar store, some ribbon, paint and sprinkle of SNOW!

…
Read On →

Gingerbread House 2011

32 · Dec 10, 2011 · 17 Comments

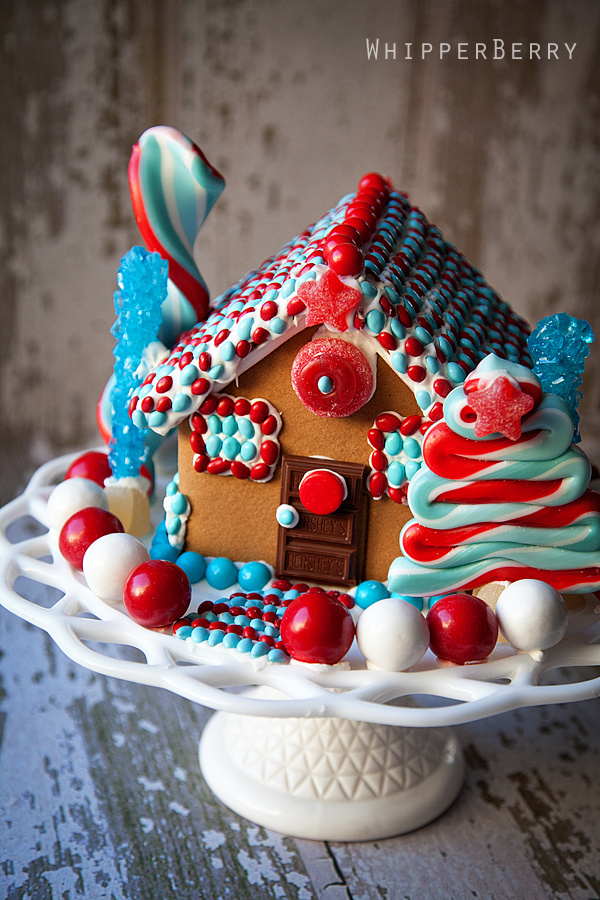
Last weekend Christene hosted her annual Gingerbread House party and we had a ball!!  Christene is the Gingerbread House QUEEN.  This woman has it down to a fine science and she really knows how to throw a great party.  Here is her Gingerbread House 101 post from last year. It comes with recipes for the gingerbread and the royal Icing (the glue), a printable template to help you to create your structure plus a tutorial.  It's your Gingerbread one stop shop!!

Here is my creation for this year…

What are some of your traditions for this time of year?

How to Make a Fabric Bow | A Tutorial

12 · Nov 29, 2011 · 60 Comments

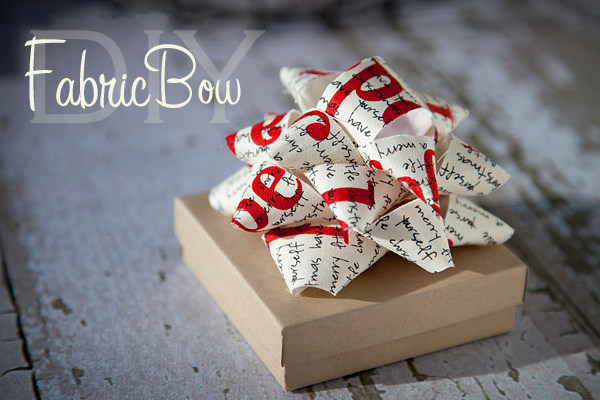
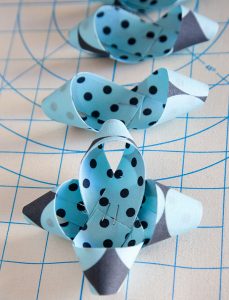
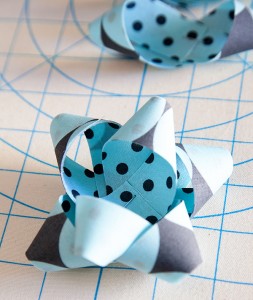
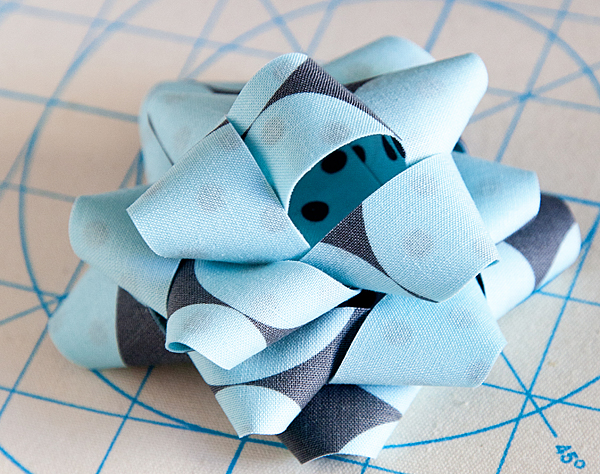
If you’ve be reading WhipperBerry for any time at all, you know I LOVE good packaging.  I love those extra special embellishments that really say that you’ve taken the time and effort to make the gift or goodie something extra special.  Not too long ago I saw a tutorial on how to make one of those generic bows out of burlap from For the Love, and it got me thinking… I wonder if you could make a fancy stacked bow out of fabric and have it still have a crisp form?  I started to play around and sure enough, you can.  Here is how to make a DIY fancy bow out of fabric…

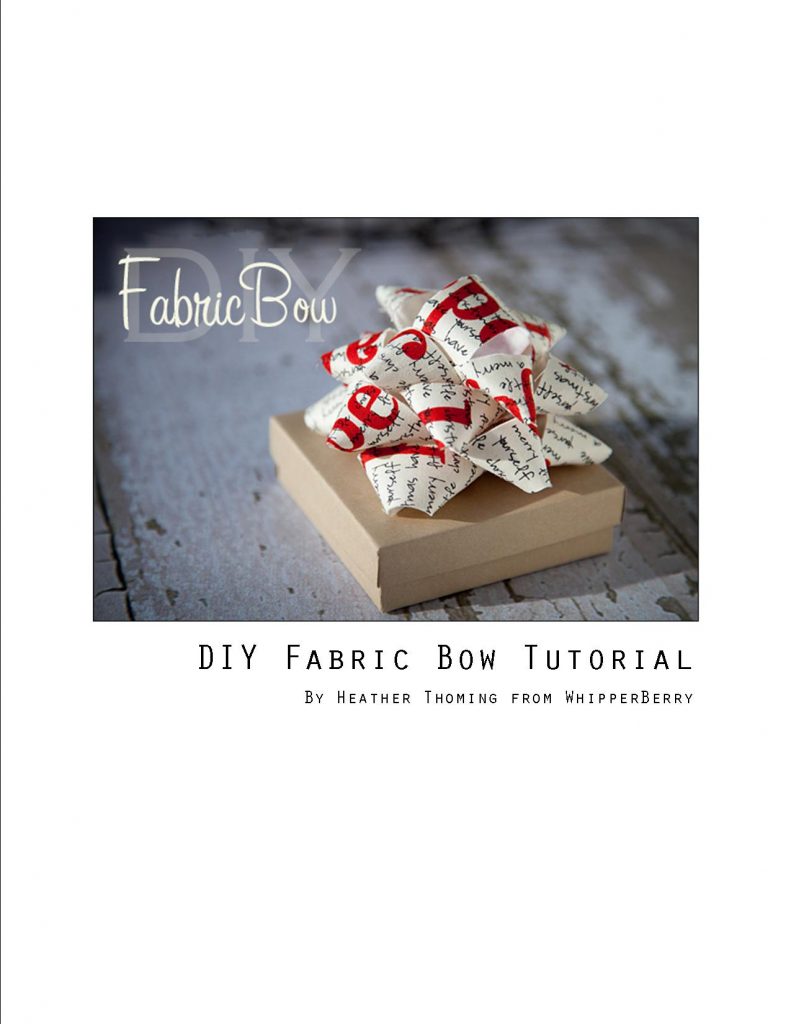
Fabric Bow Tutorial
Learn how to make a fabric bow

Here is Your Supply List to Make Your Own Fabric Bow

  • Fabric ~ I used fat quarters and they work perfectly for this.
  • Interfacing ~ I used Wonder Under
  • Stapler & Staples
  • Glue Gun & Glue Sticks
  • Iron & Ironing Board

If you don’t have some of these supplies it’s quite easy to find them. You can get them at Amazon, your local craft store, or with a quick Google search online.

DIY Fabric Bow Tutorial

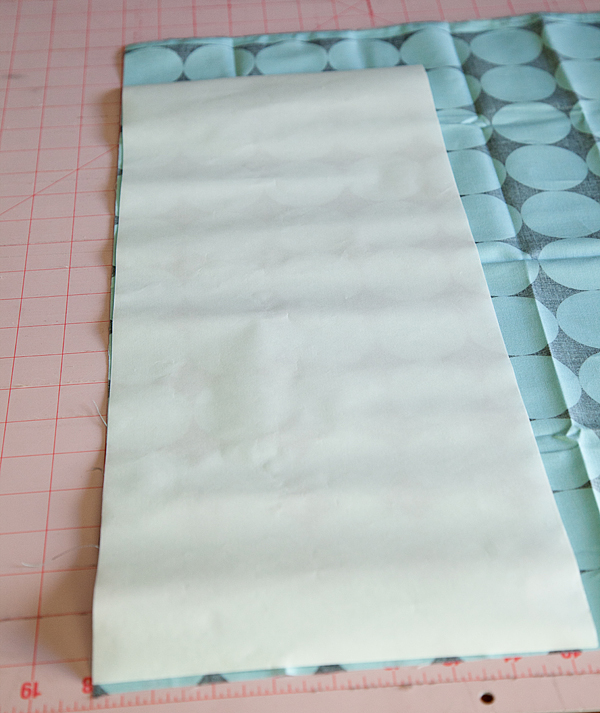
Cut fabric interfacing {Wonder Under} to 8×20 inches. Iron the “right” side of the interfacing to the wrong side of the fabric.

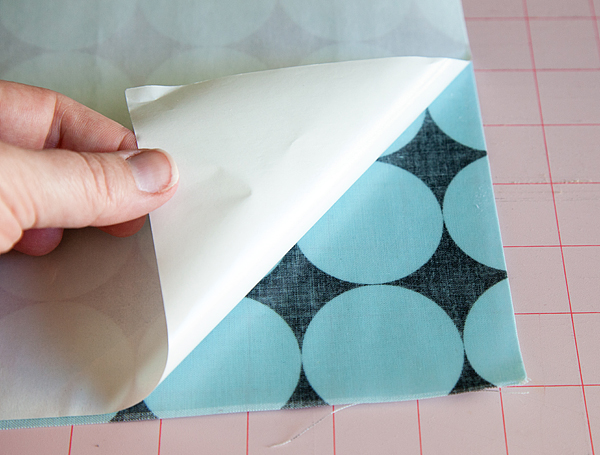
Let the fabric cool and then peel the paper from the interfacing that is now affixed to the fabric.

Place another piece of 8×20 fabric “right” side up on the top of the “wrong” side, with the interfacing sandwiched in the middle and then iron together.

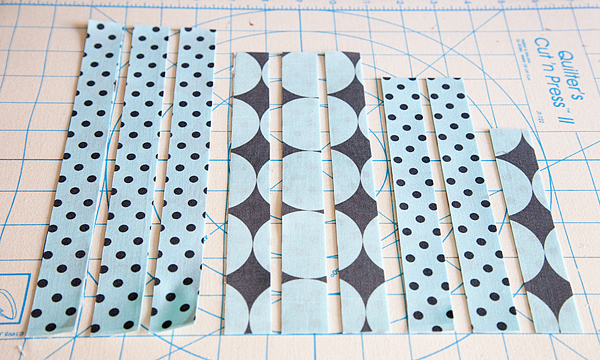
Cut fabric into 9 strips…

  • Three 10 inches
  • Three 9 inches
  • Two 8 inches
  • One 6 inches

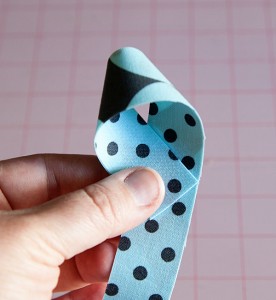
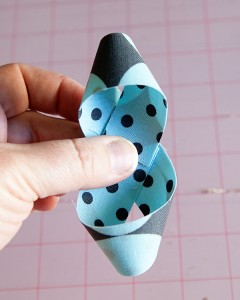
Starting with the first 10-inch strip of fabric, make a loop on one end with the tail meeting up in the middle. Flip the fabric over and do the same with the opposite end with the tails meeting in the middle and overlapping slightly.


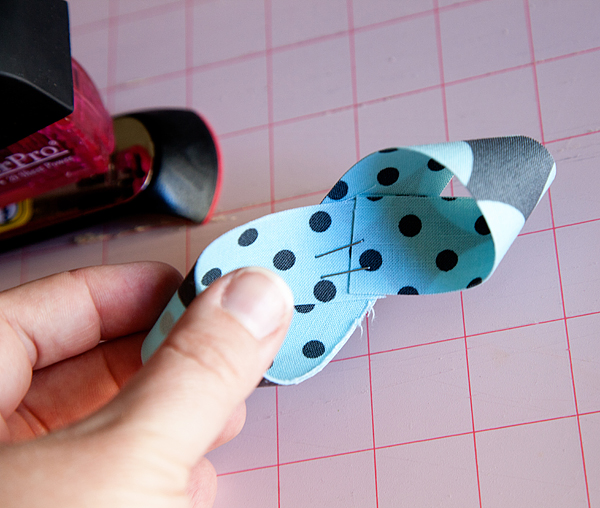
Place a staple or two to secure the two loops.

Repeat with the rest of the 10, 9 & 8-inch strips of fabric.

Start to layer each section starting with the largest {10 in.} loops crisscrossing them and adding a dab of hot glue in the middle to secure.


Continue Layering the largest to the smallest in the criss-cross pattern until you have used all of the 10, 9 & 8-inch loops.  With the 6-inch strip of fabric, make a simple loop making sure to size it to bow. Secure with a staple or a dab of hot glue.  Then place at the top of the bow with a dab of hot glue. Voila… You now have a stunning fabric bow!

If you would like to print the instructions for this tutorial click here for the PDF version…

This wraps up my fancy DIY fabric bow tutorial.  Have any other questions or tips for how to make a fabric bow? Leave them down in the comments below. Or, if you want some more crafts to do when you’re bored make sure to check out that page.


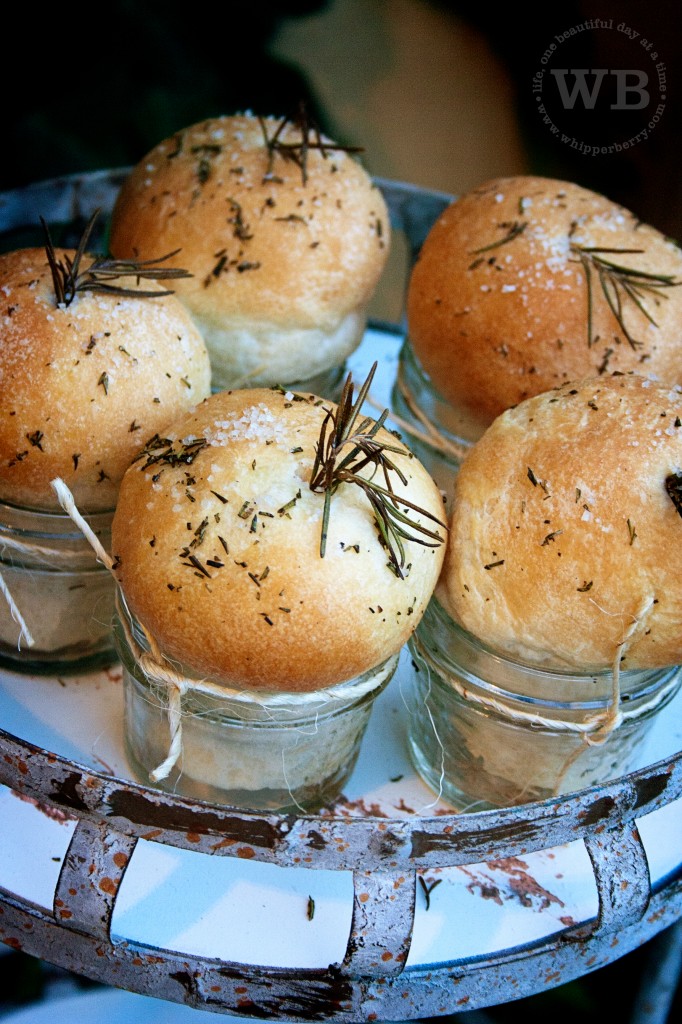
Rosemary & Sea Salt Rolls in a Jar {Recipe Dress-up}

24 · Nov 22, 2011 · 27 Comments

Yesterday I was shopping for all my Thanksgiving goodies and totally remembered a FABULOUS roll idea.  I thought I would repost this great little goody… Rosemary & Sea Salt Rolls in a Jar so that you could use it for Thanksgiving if you would like.  It's crazy easy and absolutely STUNNING on the table.  So here you go…


I am almost embarrassed to post this recipe… it is sooooo easy and a total FAKE OUT!! It’s not really a recipe, more like a dress-up. Like if you were to take your old boring dinner rolls out for a night on the town dressed in her favorite heels and her finest pearls. It’s really that good. It all started like this…

…

Read On →

  • « Go to Previous Page
  • Go to page 1
  • Go to page 2
  • Go to page 3
  • Go to page 4
  • Interim pages omitted …
  • Go to page 6
  • Go to Next Page »

Primary Sidebar

Heather from Whipperberry
Hello... my name is Heather and I'm the creator of WhipperBerry a creative lifestyle blog packed full of great recipes and creative ideas for your home and family. I find I am happiest when I'm living a creative life and I love to share what I've been up to along the way... Come explore, my hope is that you'll leave inspired!

Footer

  • Privacy Policy

Copyright © 2023 · Seasoned Pro