• Skip to primary navigation
  • Skip to main content
  • Skip to primary sidebar
  • Skip to footer

Whipperberry

WhipperBerry • Your Home For Creative Inspiration

  • Home
  • About
    • Terms
  • Recipes
    • ZipList
    • Starters
    • Easy Weeknight Dinners
    • Main Dish
    • Salads
    • Side Dish
    • Soups & Stews
    • Desserts
    • Breakfast
    • Miscellaneous
  • Tutorials
    • Creative Crafts
    • DYI Decor
    • Fabric Crafts
    • Food How-To
    • Jewlery
    • Paint Projects
    • Paper Art
    • Party Styling
    • Photography and Graphic Design
    • Silhouette
  • Holidays
    • St. Patrick’s Day
    • Easter
    • Mother’s Day
    • Father’s Day
    • 4th of July
    • Halloween
    • Thanksgiving
    • Christmas
    • New Years
    • Valentine’s Day
  • Gift Ideas
    • Gifts For Everyone
    • Gifts for Dad
    • Mother’s day
    • For The Girls
    • For The Kids
    • Teacher Gift Ideas
    • Christmas
  • Printables
    • Holiday
    • Gift Idea
    • LDS Primary
  • Travel
  • Contact
  • Nav Social Menu

    • Facebook
    • Instagram
    • Pinterest
    • RSS
    • Twitter

Sweets

Homemade Strawberry Pretzel Ice Cream Recipe

14 · Jun 22, 2018 · 11 Comments

UPDATED • 6/22/2018 {Originally posted on 3/14/2014}

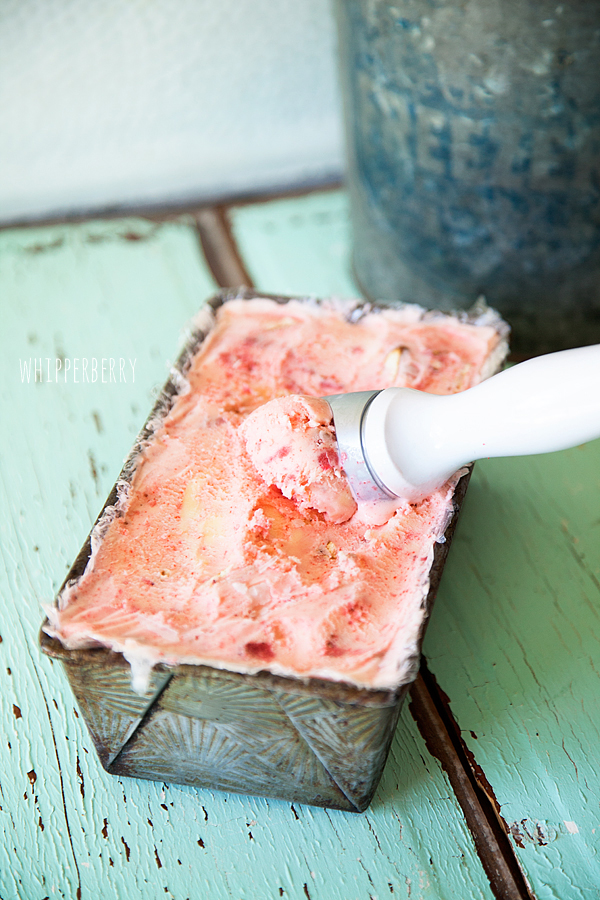
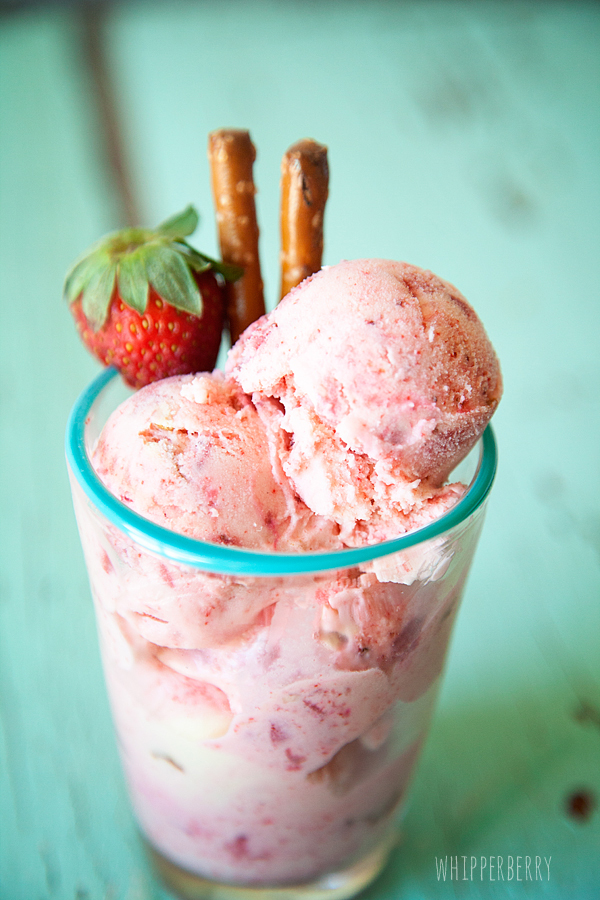
Inspired by the classic Strawberry Pretzel Salad, this frozen treat will charm your family and friends with it’s sweet and slightly salty flavors. Homemade Strawberry Pretzel Ice Cream Recipe perfect for your Summer gatherings!
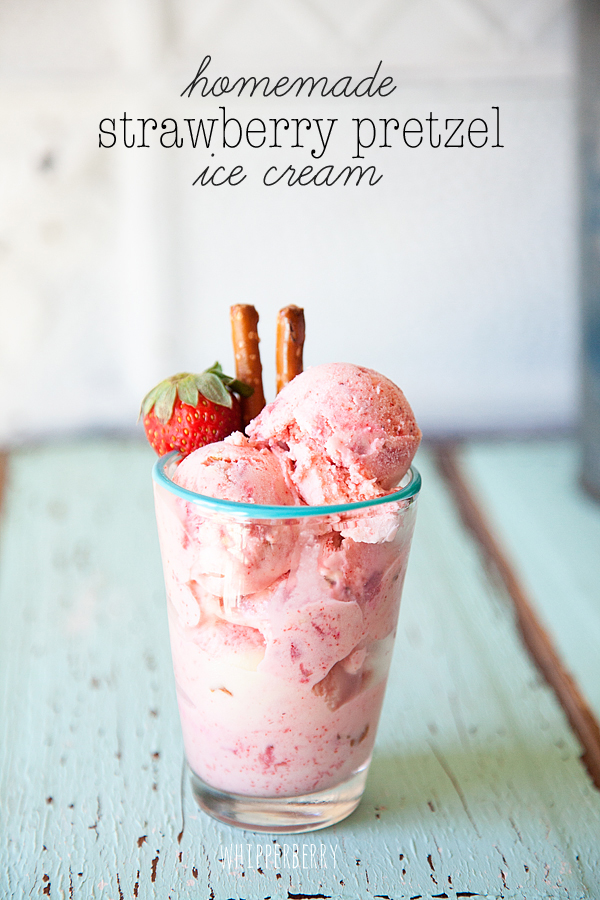
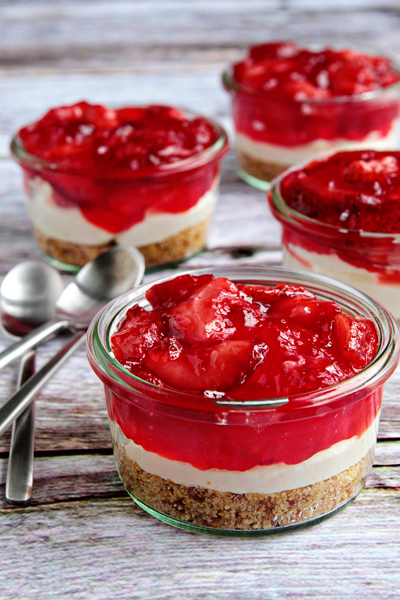
Homemade-strawberry-pretzel-ice-cream-from-WhipperberryYep, you got it… Strawberries & Pretzels! It’s a take off the classic Strawberry Pretzel Salad that so many of us know and love. The tangy strawberry Jell-0 paired with a  sweet cream cheese layer on top of a bed of pretzels. If you’ve never had it before, it may seem a little strange, the salty and sweet combination, but it’s actually really good!

Strawberry-Pretzel-Dessert

img source // strawberry pretzel salad in a jar from my baking addiction

Here’s a fantastic example of the fun dessert from My Baking Addiction.  If you haven’t ever tried it, you should whip up a batch, it’s really good. I used this recipe as the inspiration for my new ice cream flavor.

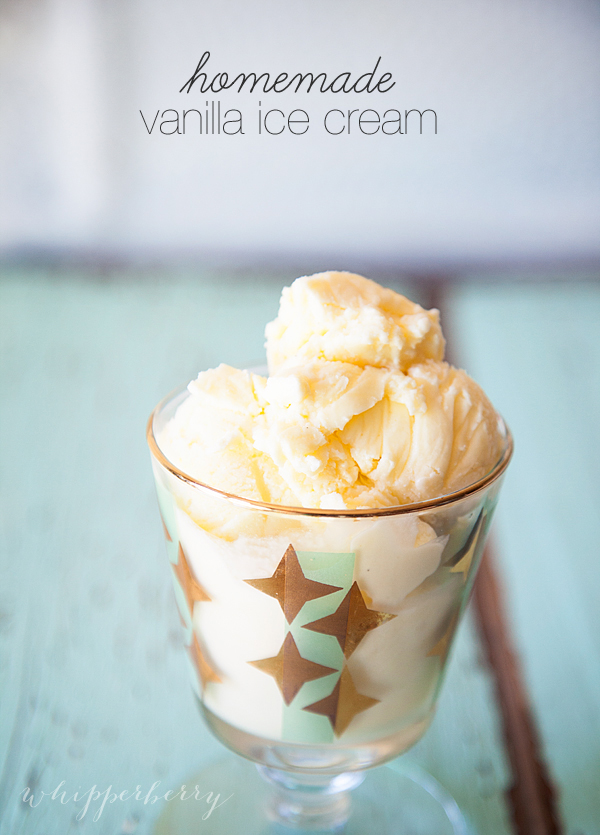
Last week, I started a new series for the next few months… ICE CREAM! I LOVE homemade ice cream and I thought it would be fun to go back to our roots and learn the art of homemade ice cream. For my first ice cream post, It was my ice cream 101 if you will. I shared a fantastic ice cream base, The Best Homemade Vanilla Ice Cream recipe…  That vanilla recipe is GREAT on it’s own, but it is also a fantastic base for all kinds of different flavors.

Homemade-ice-cream-from-Whipperberry-22

All I had to do was add a few more ingredients to that recipe to make my strawberry pretzel ice cream. Here is the recipe…

Homemade-ice-cream-from-Whipperberry-9

 
Save Print
Prep time
15 mins
Cook time
45 mins
Total time
1 hour, 60 mins
 
3.2.2310

Serve this on a nice warm Summer day and your family and friends will be blown away with this fun flavor mixture!
Homemade-ice-cream-from-Whipperberry-21

SaveSave

SaveSave

SaveSave

SaveSave

SaveSave

Homemade Mixed Berry Swirl Ice Cream Recipe

13 · May 30, 2018 · 2 Comments

It’s ICE CREAM and BERRY Season!!!! I’m not sure if I could be any more excited! I have a great love of both so this is by far my favorite flavor time of year. It’s time to whip up a batch of Mixed Berry Swirl Ice Cream.

+ This post is brought to you by Ball® Fresh Preserving Products by Newell Brands +

Mixed Berry Jam Recipe

Last year, I was super honored to be invited to Newell Brands’ Ball® Fresh Preserving test kitchens to learn how to make Mixed Berry Jam, and the rest my friends, has been history. I’ve been a canning fool ever since. Jams, peaches, pickles, pickled jalapeños… Let’s just say that 2017 was the year of preserving in the WhipperBerry household much to the joy of my family. We’ve all fallen in love and are so excited for this year’s preserving season to kick-off.

This last weekend I whipped up a small batch of the Ball® Mixed Berry Jam recipe so that I could then use it as a scrumptious addition to some homemade ice cream I was planning on making. This jam recipe really couldn’t be any easier. It’s a great recipe to start with and I love that you can make it in small batches AND have total control over how much sugar you add. You don’t have that opportunity with commercially prepared jams. I had the opportunity to learn from Newell Brands’ Ball® canning experts just how easy this jam is to make.

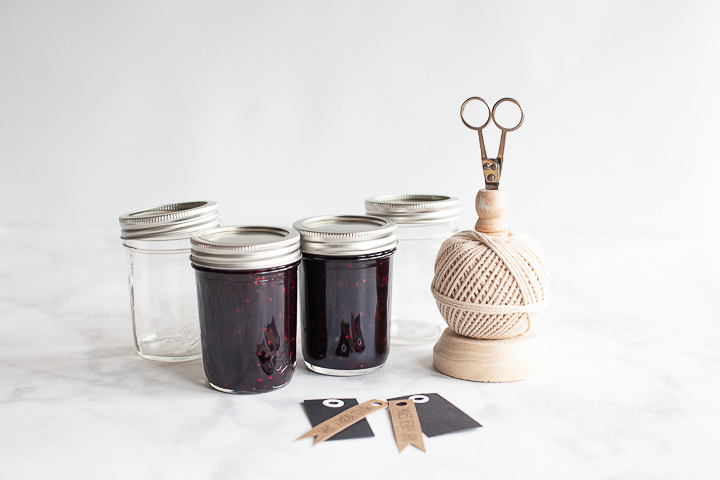
Now that I’ve hopefully peaked your interest, you can find the full Mixed Berry Jam recipe over on FreshPreserving.com. I’m also sharing my label design for those who might want to use that as well.

Mixed Berry Jam Jar Labels - whipperberry

Mixed Berry Swirl Ice Cream Recipe

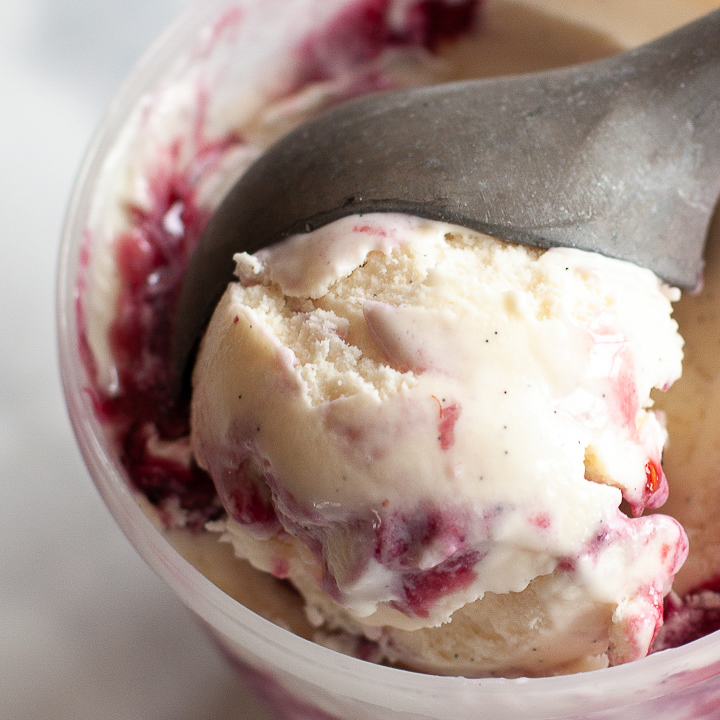
Here my friends… Is the star of the show, my mixed berry swirl ice cream recipe. Let’s just say, it’s divine.

EASY Homemade Mixed Berry Swirl Ice Cream Recipe • WhipperBerry

It’s creamy with that sweet and tart flavor of the berries. Being that it’s homemade, it has a totally different luscious texture that your taste buds are going to fall head over heels for. Commercial ice cream makers whip a lot of air into their ice cream which is a process that the home cook doesn’t have the equipment to do. Therefore, homemade ice cream has the taste and texture more like premium ice cream or gelato… WHICH I LOVE!

Another thing that makes this ice cream a little different is that it is made without eggs. I KNOW! I was shocked when I found this recipe as well. I grew up in a family that liked to make homemade ice cream every once in a while and the ice cream base recipe always called for egg yolks. In my mind, that’s what made it so decadent. In reality, the egg yolks not only made it dreamy but, it also helps to stop the formation of ice crystals which is very important in ice cream making. Without the eggs, what is going to stop the formation of ice crystals then?

Mark Bittman, the award-winning author of the How to Cook Everything Series, sings the praises of this type of ice cream base in his New York Times article where I originally found the recipe for a simple vanilla ice cream. This recipe calls for a cornstarch slurry and cream cheese to help with the formation of ice crystals. Becuase this isn’t a traditional custard base, it makes this recipe a lot easier to make and also very forgiving. Therefore, if this is your first rodeo with the ice cream maker, this recipe is perfect!

Ice Cream Making Supplies

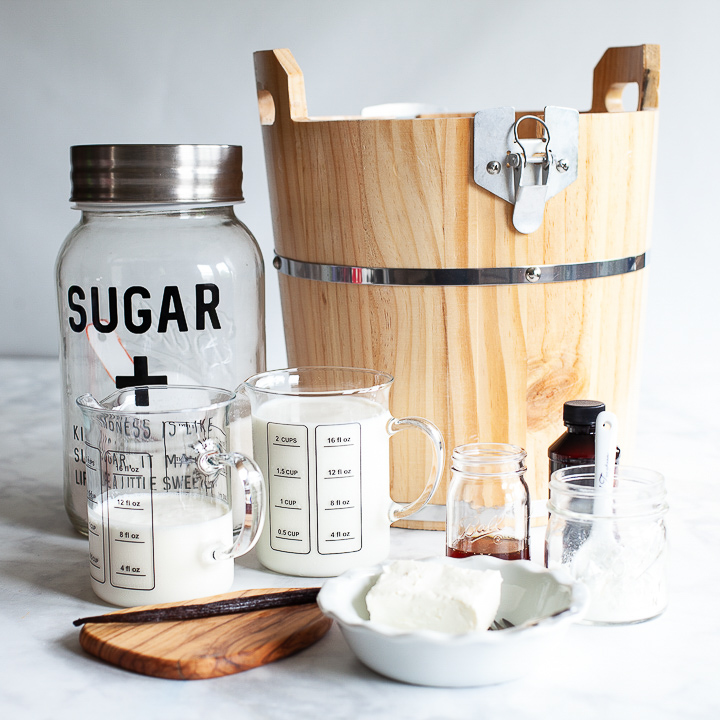
When it comes to ice cream making, you need to be prepared with a few supplies that make the process a whole lot easier.

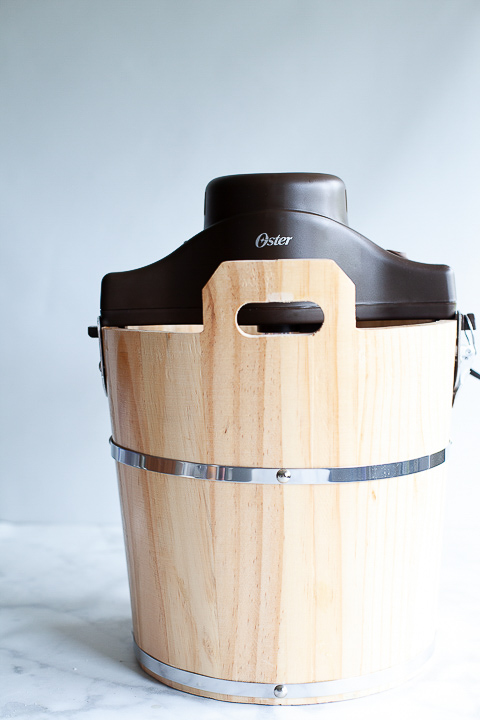
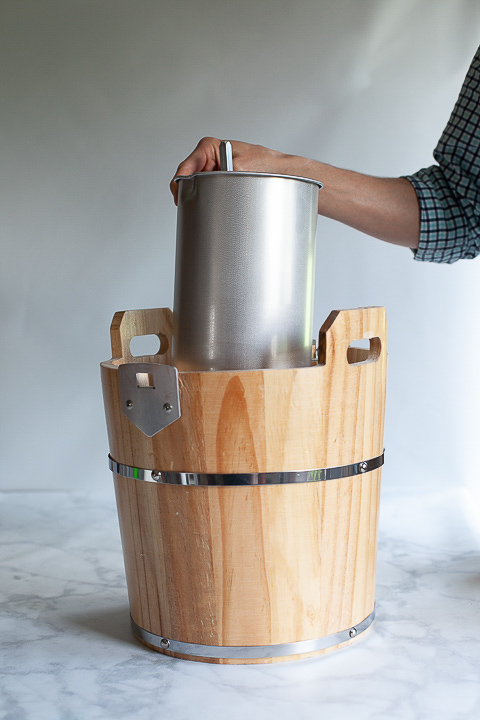
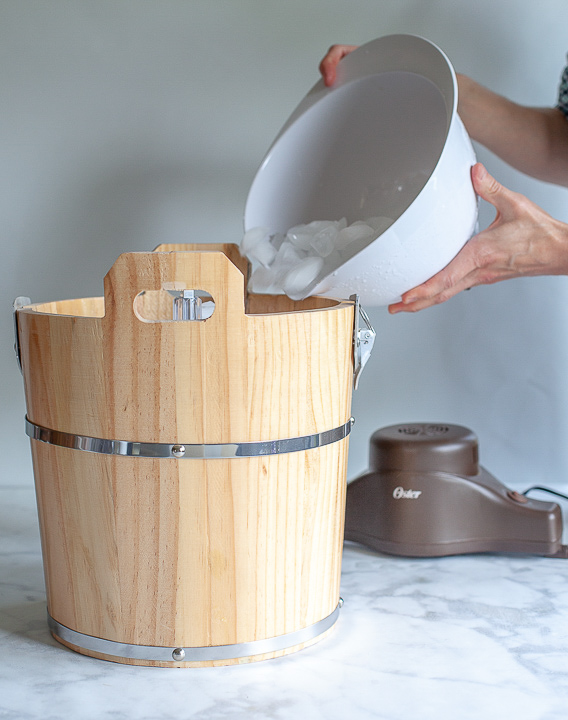
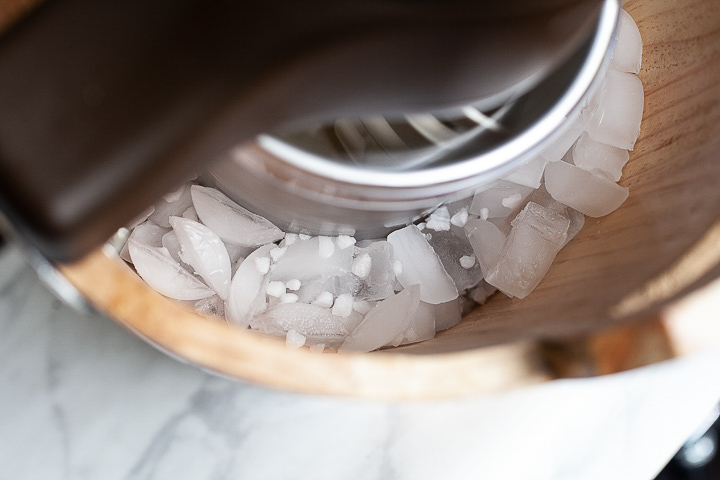
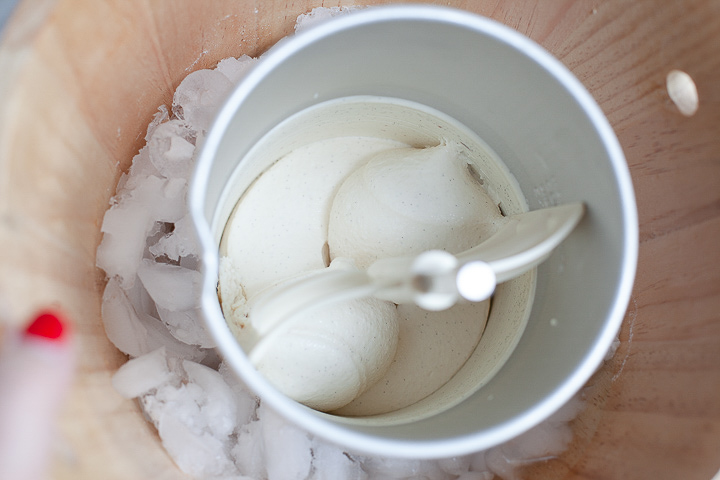
  •  Ice cream maker – I’m a traditional girl and I love the classic wooden bucket ice cream maker. When I was a girl, I think my parents used the old hand crank ice cream maker to keep us kiddos under control during the summer. We had to sit there and crank the machine for 40 minutes or longer, which kept us kiddos occupied for a while. Luckily, we also have the charm of those classic wooden bucket ice cream makers with an electric crank so no more tired arms!The classic wooden bucket ice cream maker with all the charm of yesterday but with the modern electric crank - whipperberry
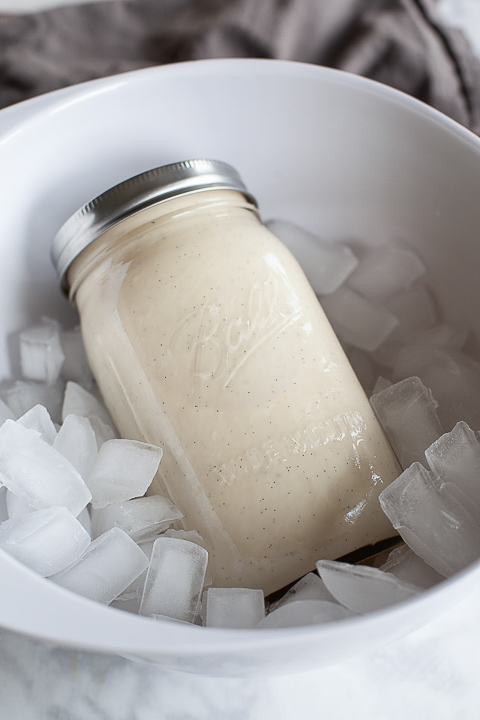
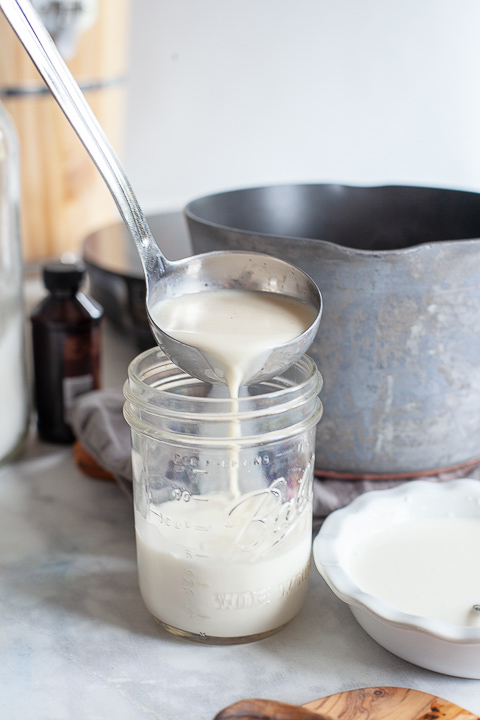
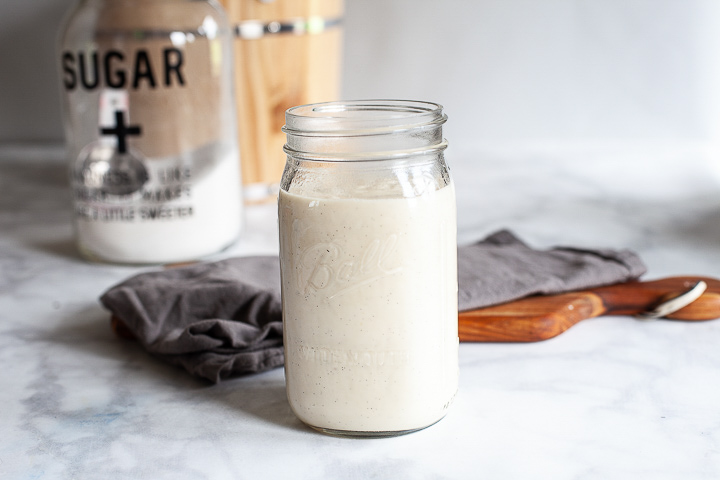
  • Ice cream base storage – this ice cream base recipe makes exactly a quart of the base. Naturally, a Ball® Quart Wide-Mouth Jar is the perfect way to store your ice cream base. However, to avoid thermal shock, you’ll want to make sure you invert the jars and then warm them by running under hot water before you ladle the hot ice cream base into the jar.  Make sure to dry the inside of the jar before adding the the ice cream base.Quickly chill your ice cream base in a @ballcanning quart jar in a ice bath - whipperberry
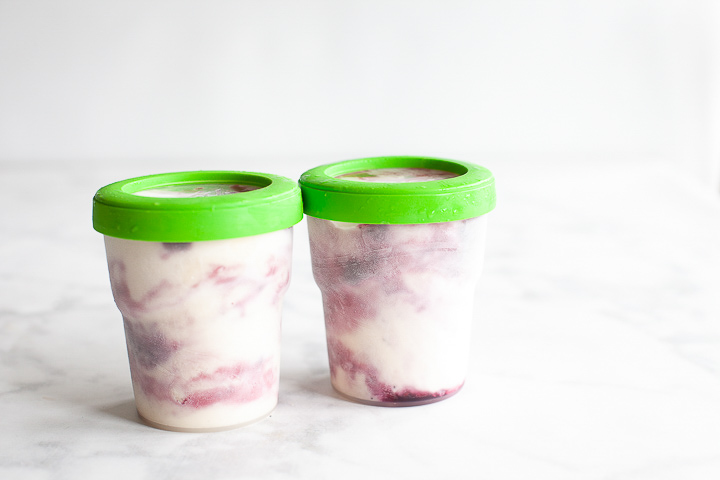
  • Ice cream storage container– Glass jars ARE NOT the best option when it comes to storing your ice cream due to the nature of freezing. However, Ball® Plastic Freezer Jars with special snap-on lids work great!

Instructions

Before you can start your ice cream, you’ll need to make up a small batch of the mixed berry jam. You can find that recipe at the top of this post. Make sure to allow for the jam to fully cool and jell before you add it to your ice cream.

This is one of those recipes that the kiddos can help with from start to finish and they will love making real ice cream.

2 votes

Print

Mixed Berry Swirl Ice Cream

Prep 30 mins

Cook 45 mins

Inactive 24 hours

Total 25 hours, 15 mins

Author Heather Thoming • WhipperBerry

Yield 4-5 servings

This ice cream is so fantastic and super easy to make. All you need are a few ingredients and you'll be whisked back to your childhood!

Ingredients

  • 2 1/4 cups whole milk, divided
  • 5 teaspoons cornstarch
  • 2 ounces cream cheese, very soft
  • 1/4 teaspoon fine salt
  • 1 cup heavy cream
  • 2/3 cup granulated sugar
  • 2 tablespoons honey
  • 1 vanilla bean, optional
  • 1 teaspoon vanilla extract
  • 4 tablespoons of mixed berry jam

Instructions

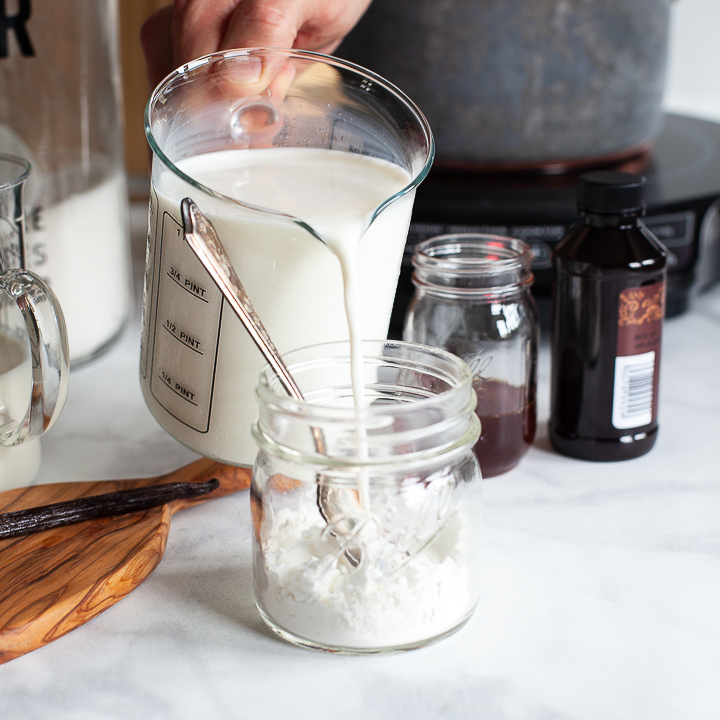
  1. Make the cornstarch slurry- Place a 1/4 cup of the milk and cornstarch in a small bowl and whisk until the cornstarch is fully dissolved. 
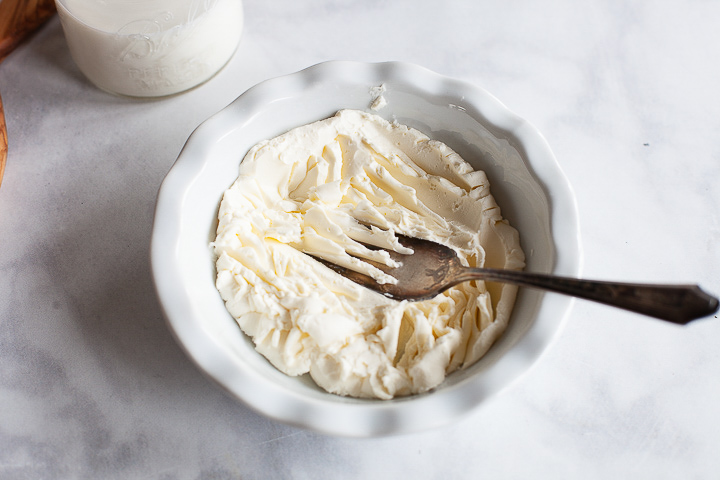
  2. Smooth out the cream cheese - Place the cream cheese and 1/4 cup of the milk in another small bowl and whisk until smooth then, whisk in the salt. 

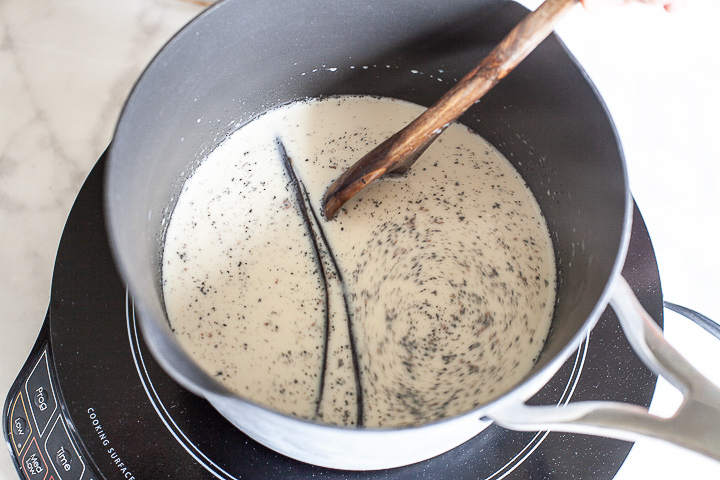
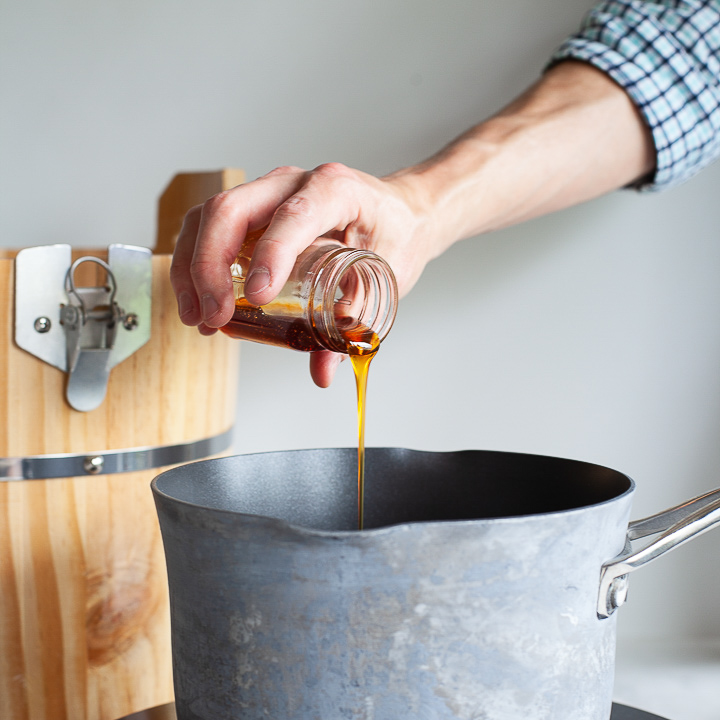
  3. Simmer the milk - Place the remaining 1 3/4 cups milk, sugar, cream along with the honey in a medium saucepan and whisk to combine. (If you are using a vanilla bean) Lay the vanilla bean flat on a cutting board and slit it open lengthwise. Use the tip of the knife to scrape all the vanilla beans into the saucepan, then toss in the whole vanilla bean pod. Bring to a simmer over medium heat, whisking frequently. Reduce the heat and simmer for 4 minutes. Remove from the heat. 
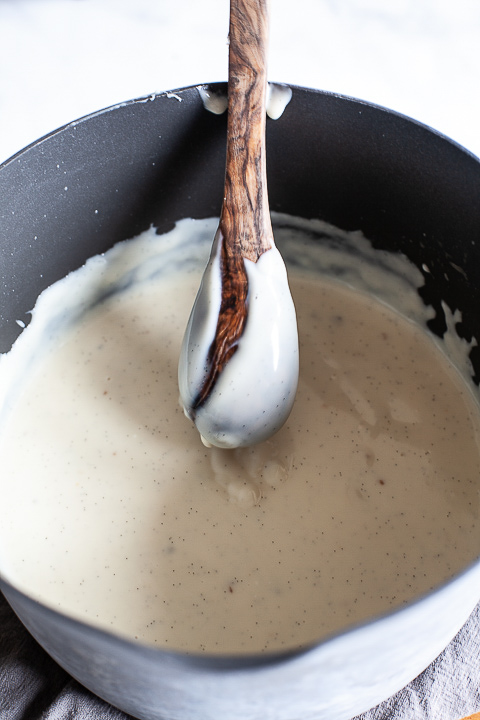
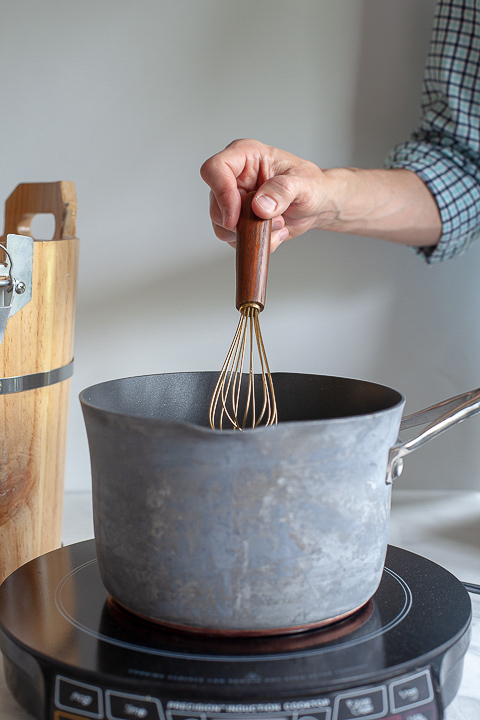
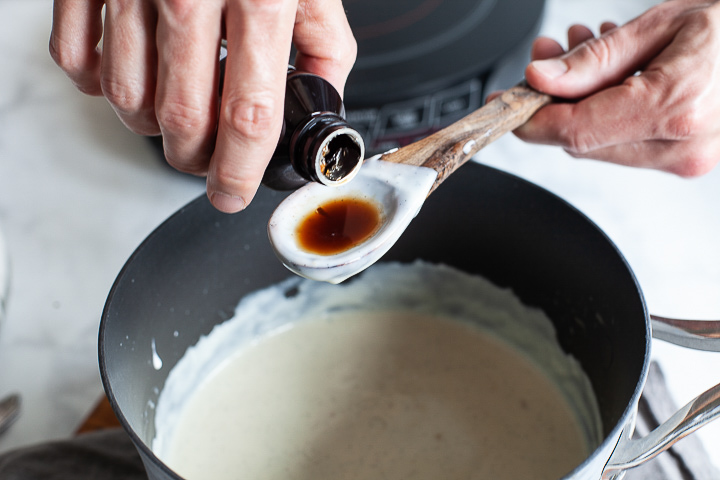
  4. Thicken the ice cream base -  Whisk about 1/2 cup of the hot milk mixture into the cornstarch slurry. Slowly pour this back into the hot milk, whisking constantly. Return to the medium heat and cook, whisking frequently, until it comes to a boil. Boil for 1 minute, then remove from the heat. Whisk in the cream cheese mixture. Remove the vanilla bean husk. Whisk in the vanilla extract.  
  5. Chill the ice cream base - Chill this ice cream base for at least 4 hours or overnight in the refrigerator. If you are in a hurry, you can also pour your ice cream mix into a quart jar and submerge it in an ice water bath. (Remove the lid of the jar being careful to not get any water into the jar.) Stir every few minutes until the ice cream base is nice and chilled. This will cool your base very fast and very thoroughly.  Quickly chill your ice cream base in a @ballcanning quart jar in a ice bath - whipperberry

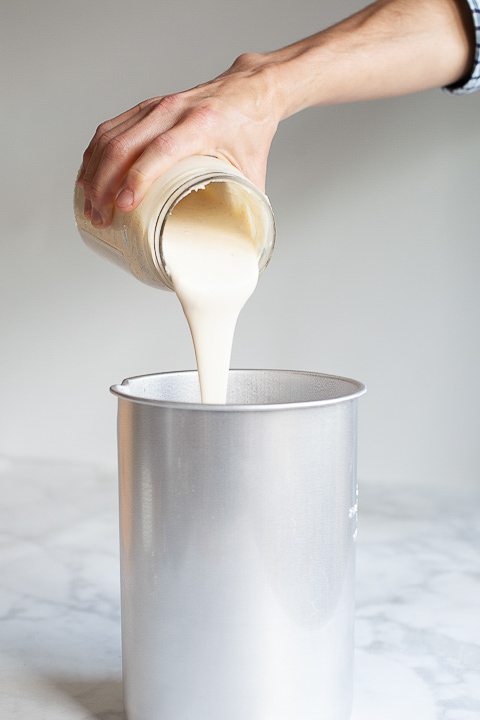
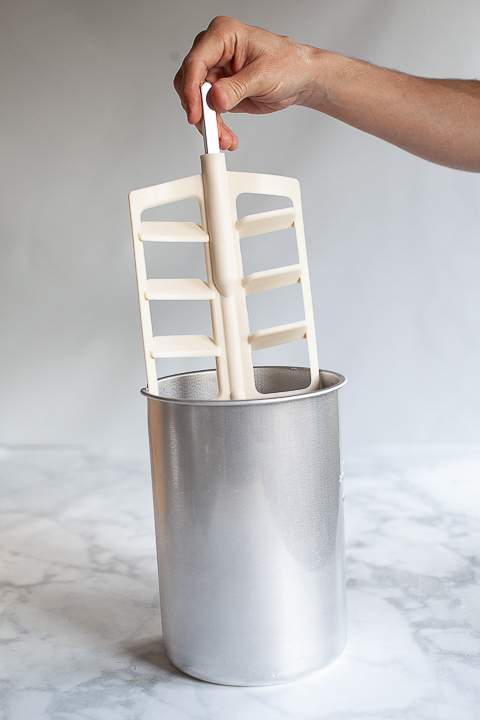
  6. Churn the ice cream base - The goal of churning the ice cream is to freeze the base while stirring the ice cream constantly so that large ice crystals don't form in the ice cream. You will need to follow the instructions for your ice cream maker for this step.  

  7. 10. Stir in mixed berry jam - No matter what kind of ice cream maker you use, the freshly churned ice cream will still be very soft and even runny after it has been churned. 

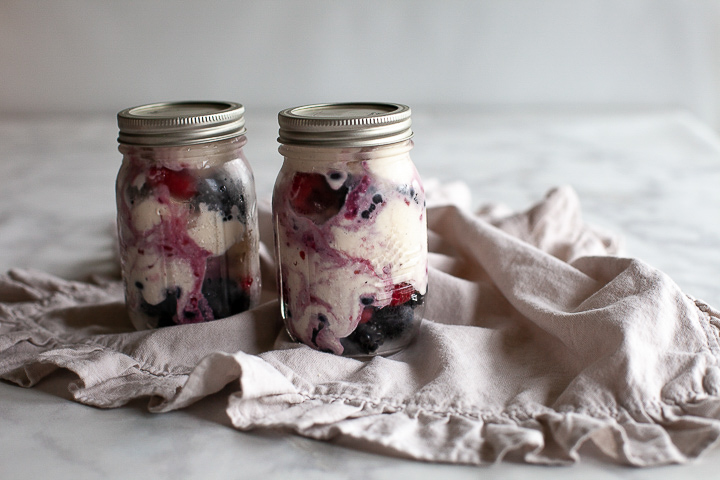
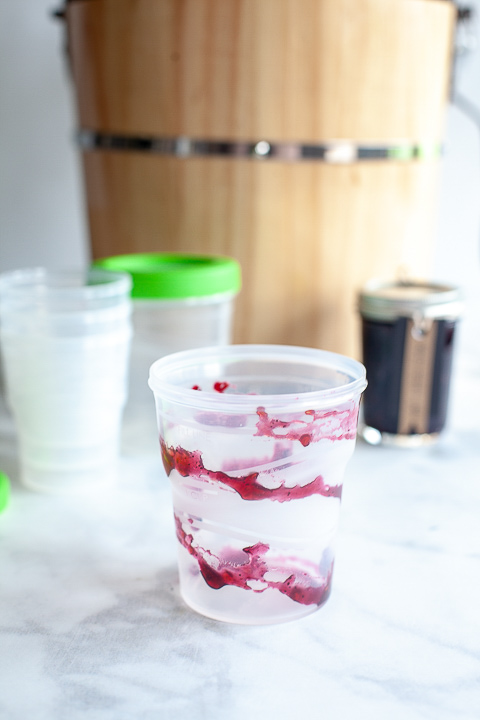
    Adding the jam is best done AFTER you have finished with the ice cream maker. I actually borrowed a trick from Starbucks and swirled the jam onto the inside of the plastic jar before I even put the ice cream in the jar.  Then, I filled the plastic jar half way and put a spoonful of jam on the top. I filled the plastic jar the rest of the way, leaving about 3/4 of an inch at the top of the jar to allow for expansion. Then I added another spoonful of jam. Then I took a knife and gently stirred the ice cream in ONE figure eight pattern. You want this ice cream to be swirled not totally stirred in. 
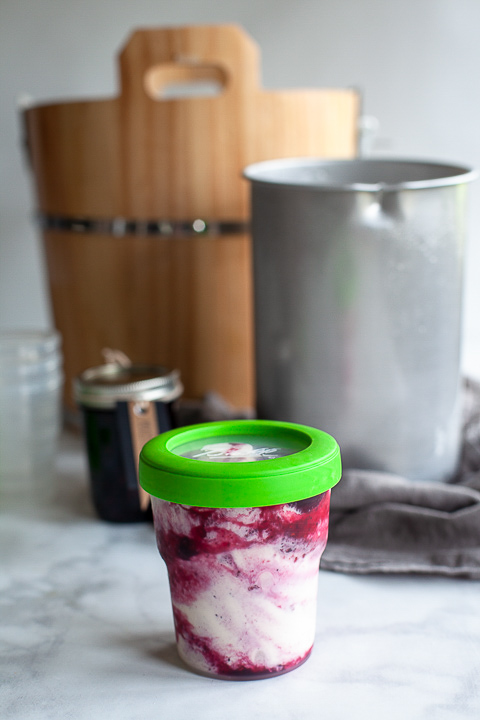
  8. Harden the ice cream in the freezer -  In order to get that scoopable texture, and to let the flavors bloom, it's best to freeze the ice cream for at least a few hours before eating.  EASY Homemade Mixed Berry Swirl Ice Cream Recipe • WhipperBerry

Notes

Storage -  The ice cream can be stored in the freezer for up to 2 months. Keep the plastic wrap or waxed paper pressed against the surface at all times to keep ice crystals from forming.

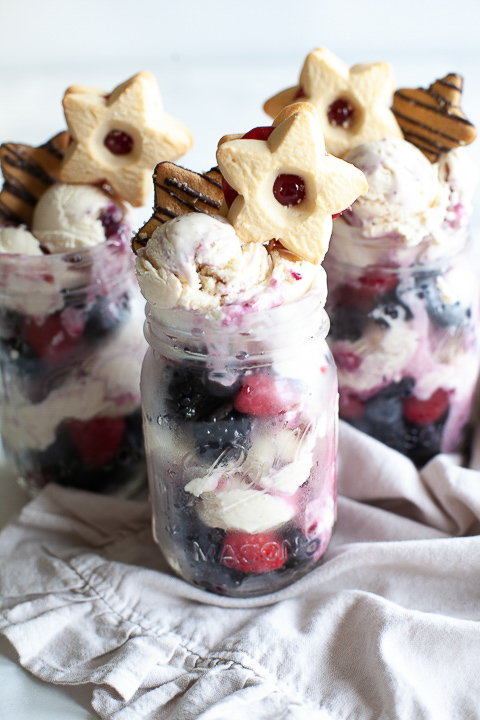
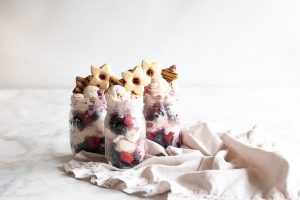
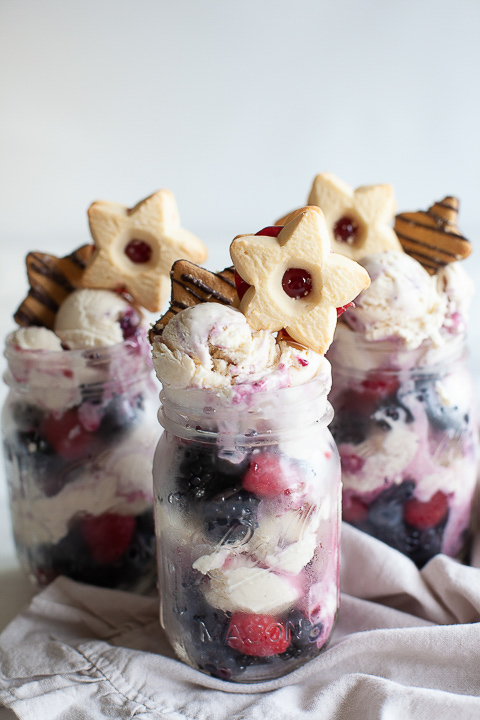
Serving - This ice cream is best served after it has been out of the freezer for a few minutes and had some time to thaw a little bit. I like to serve it in the NEW Ball® Stars and Stripes Keepsake Jars. I layer the ice cream with fresh berries and then top it all off with some fun cookies.

You can even send them home with your friends or give as a quick gift for a neighbor in these great jars.

Courses Dessert


Disclosure +  I am a paid partner for Newell Brands, makers of Ball® Fresh Preserving Products. However, all thoughts and opinions expressed are entirely my own. 


SaveSave

SaveSave

SaveSaveSaveSave

SaveSave

SaveSaveSaveSave

SaveSave

SaveSave

SaveSave

Mixed Berry Jam and Butter Cookies

13 · Nov 12, 2017 · Leave a Comment

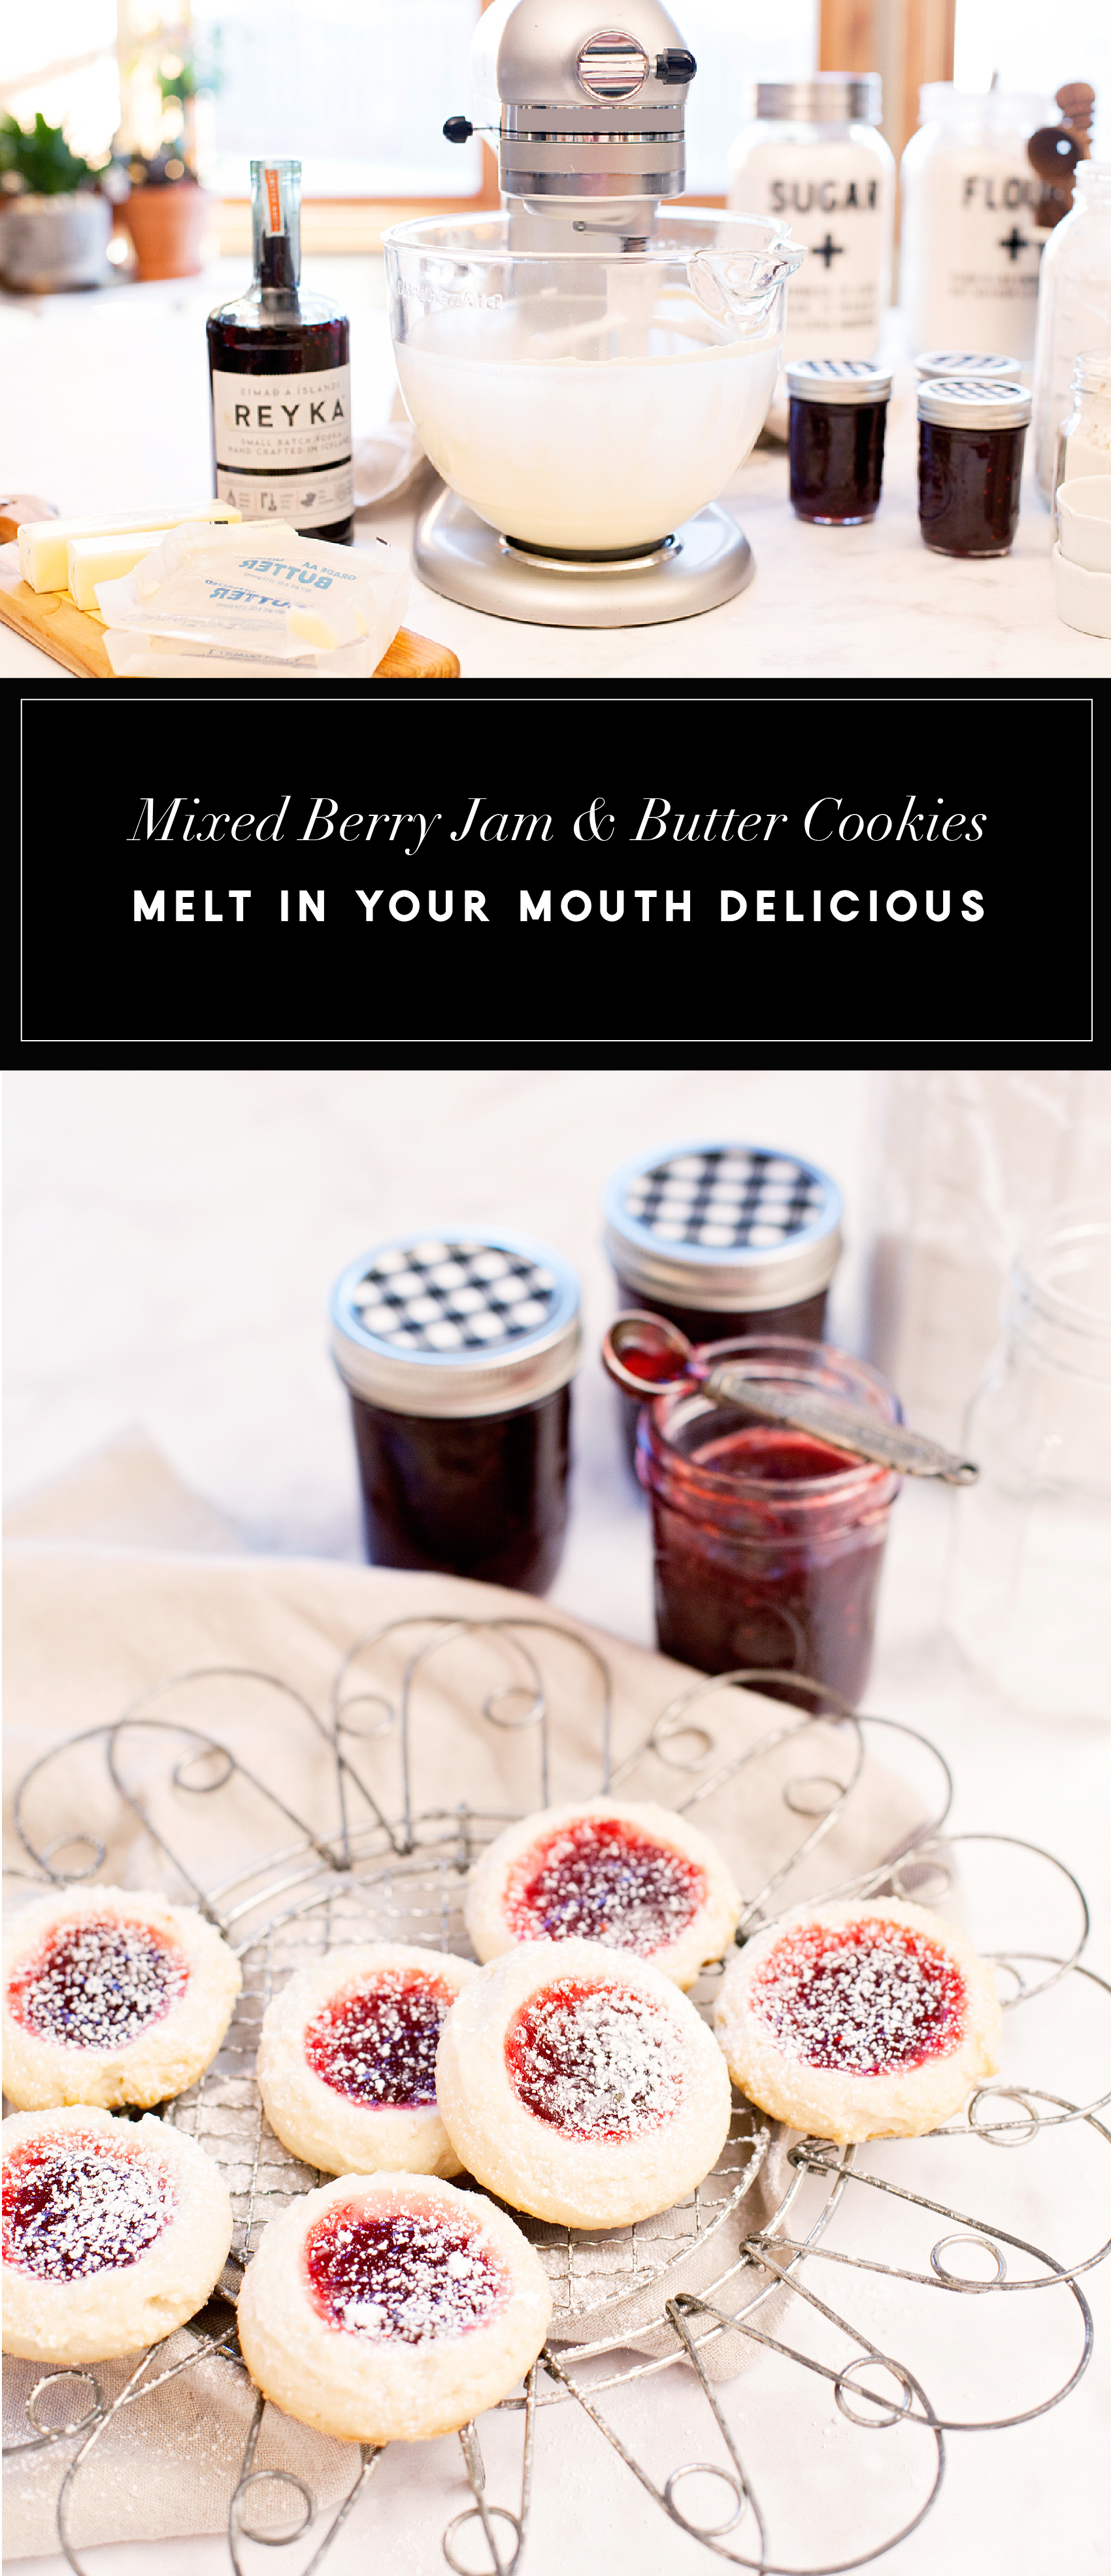
Is there anything better than the smell of cookies baking in the oven? One of my favorites is my Mixed Berry Jam and Butter cookies. The butter cookie literally melts in your mouth and then the jam follows with a burst of berry flavor… Oh my, it’s soooo good!! What makes these cookies extra special is the homemade mixed berry jam. It’s a must for sure, no cutting corners here. Come and learn how to make this beautiful jam along with my scrumptious mixed berry jam and butter cookies.

+ This post is brought to you by Newell Brands, makers of Ball® Fresh Preserving Products +

Is there anything better than the smell of cookies baking in the oven? On of my favorites is my Mixed Berry Jam and Butter cookies. The butter cookie literally melts in your mouth and then the jam follows with a burst of berry flavor in your mouth... Oh my, it's soooo good!! Come on over to WhipperBerry to learn how to make these tasty treats!

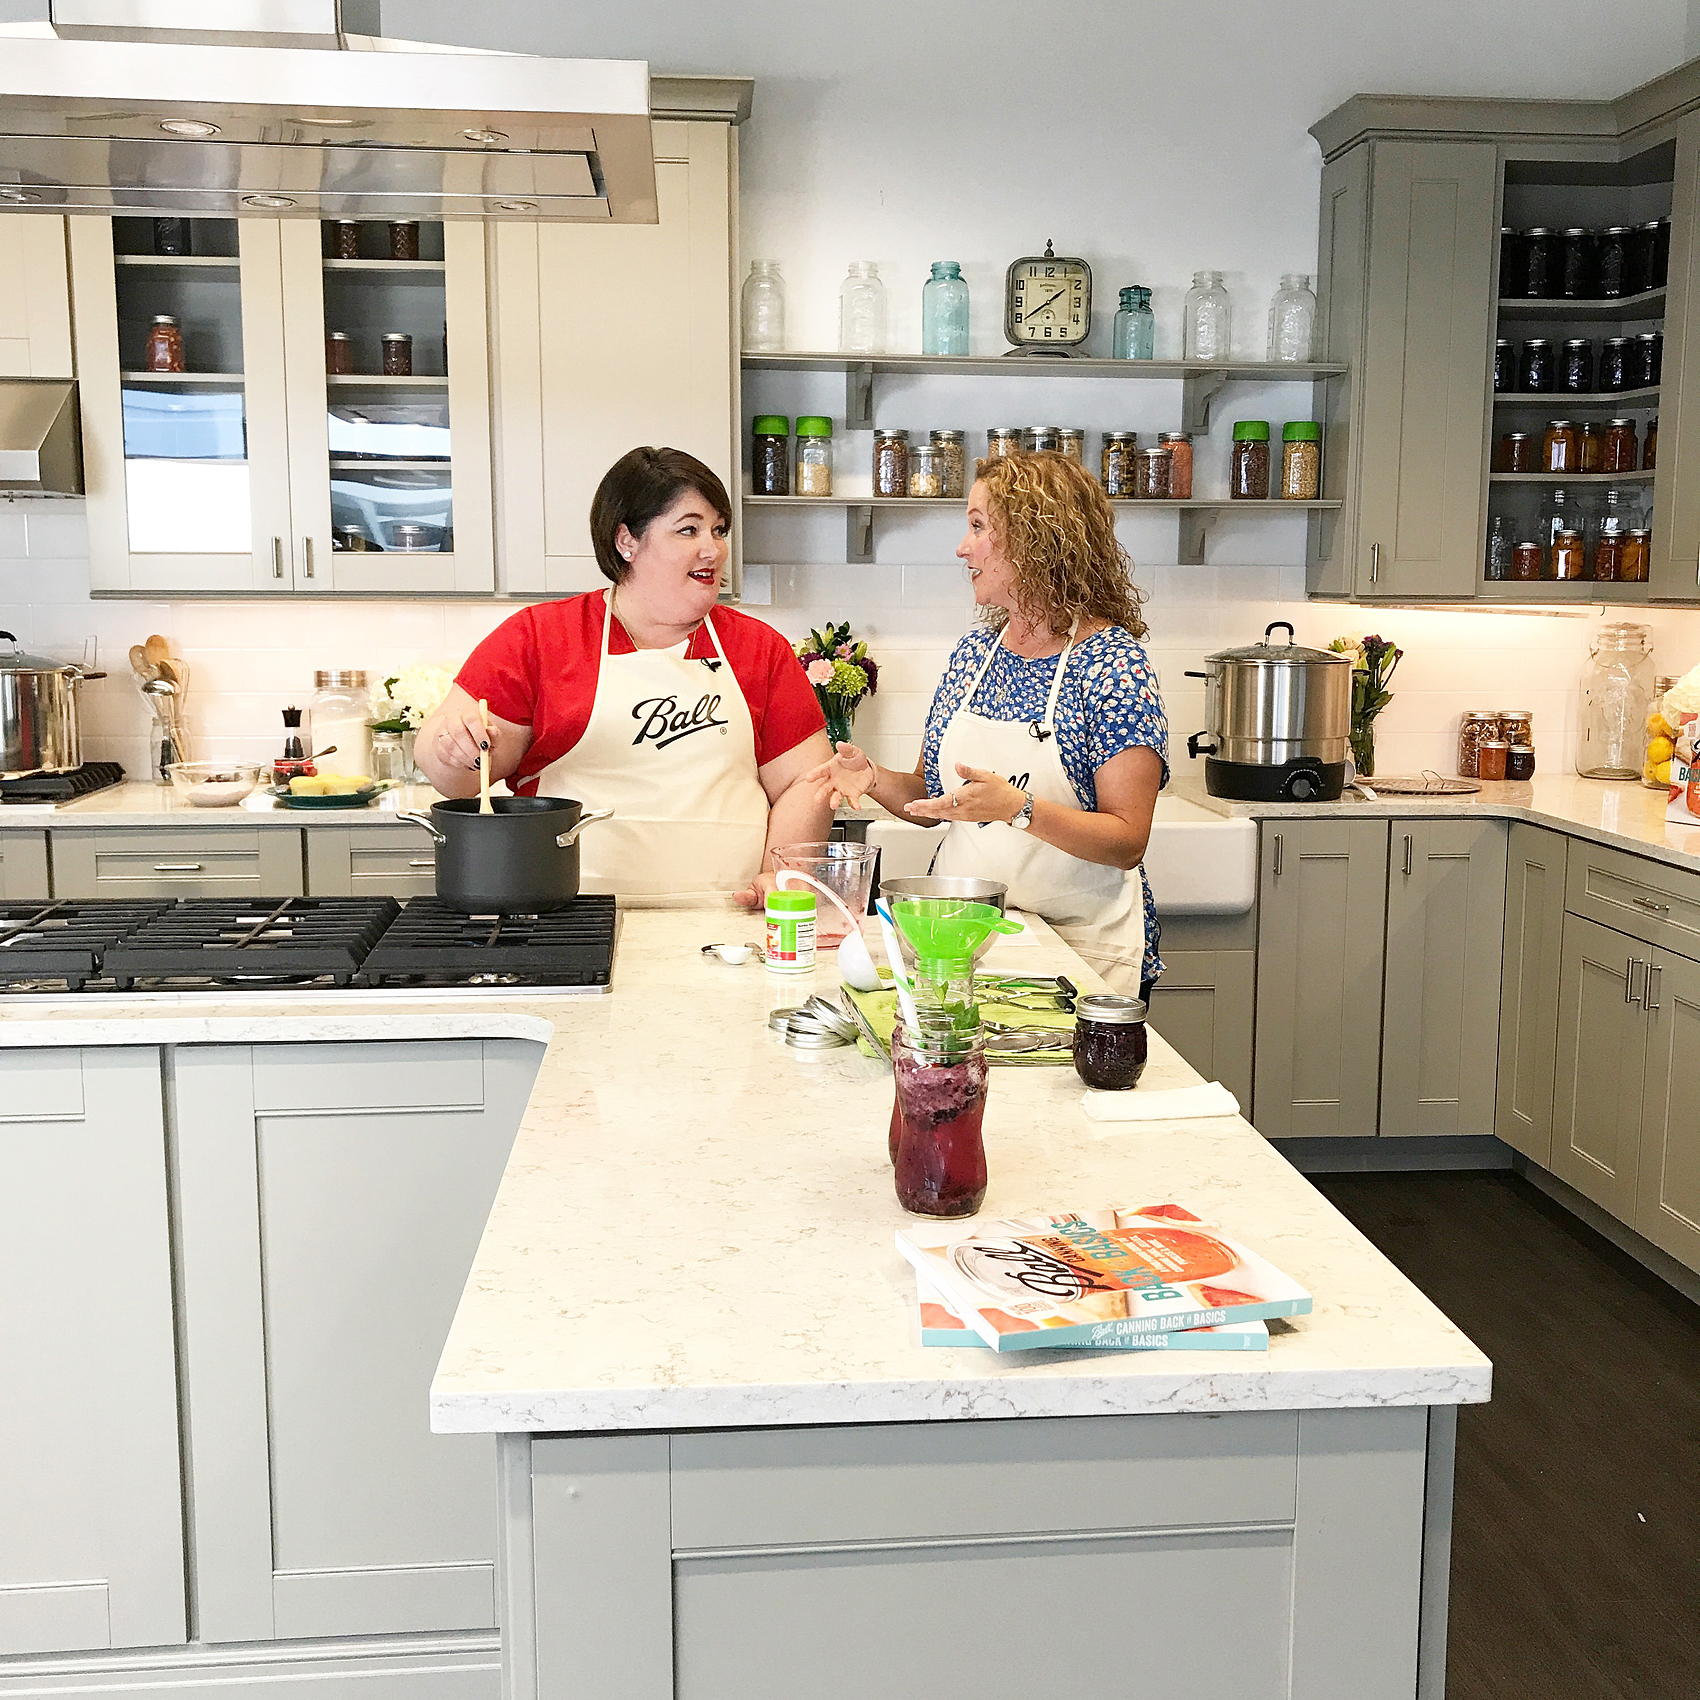
A few months ago, some of you may remember, I had the wonderful opportunity to travel to the Ball® Canning headquarters at Newell Brands in Indiana. I learned all kinds of fun stuff about how to preserve all of those scrumptious summer treats that we love like peaches & berries so that we can enjoy them all year long.

Is there anything better than the smell of cookies baking in the oven? On of my favorites is my Mixed Berry Jam and Butter cookies. The butter cookie literally melts in your mouth and then the jam follows with a burst of berry flavor in your mouth... Oh my, it's soooo good!! Come on over to WhipperBerry to learn how to make these tasty treats!

I had a hands-on lesson that we filmed on how to make my favorite mixed berry jam that I am using for the cookies. I’ve come home and made more jam and my family LOVES it! They love it so much on toast, peanut butter & jam sandwiches, even on top of vanilla yogurt. I thought I would make some of our favorite butter cookies and add some of the jam to make a Mixed Berry Jam and Butter Cookie. I would call it a thumbprint cookie but, I actually didn’t use my thumb… But more on that in a bit.

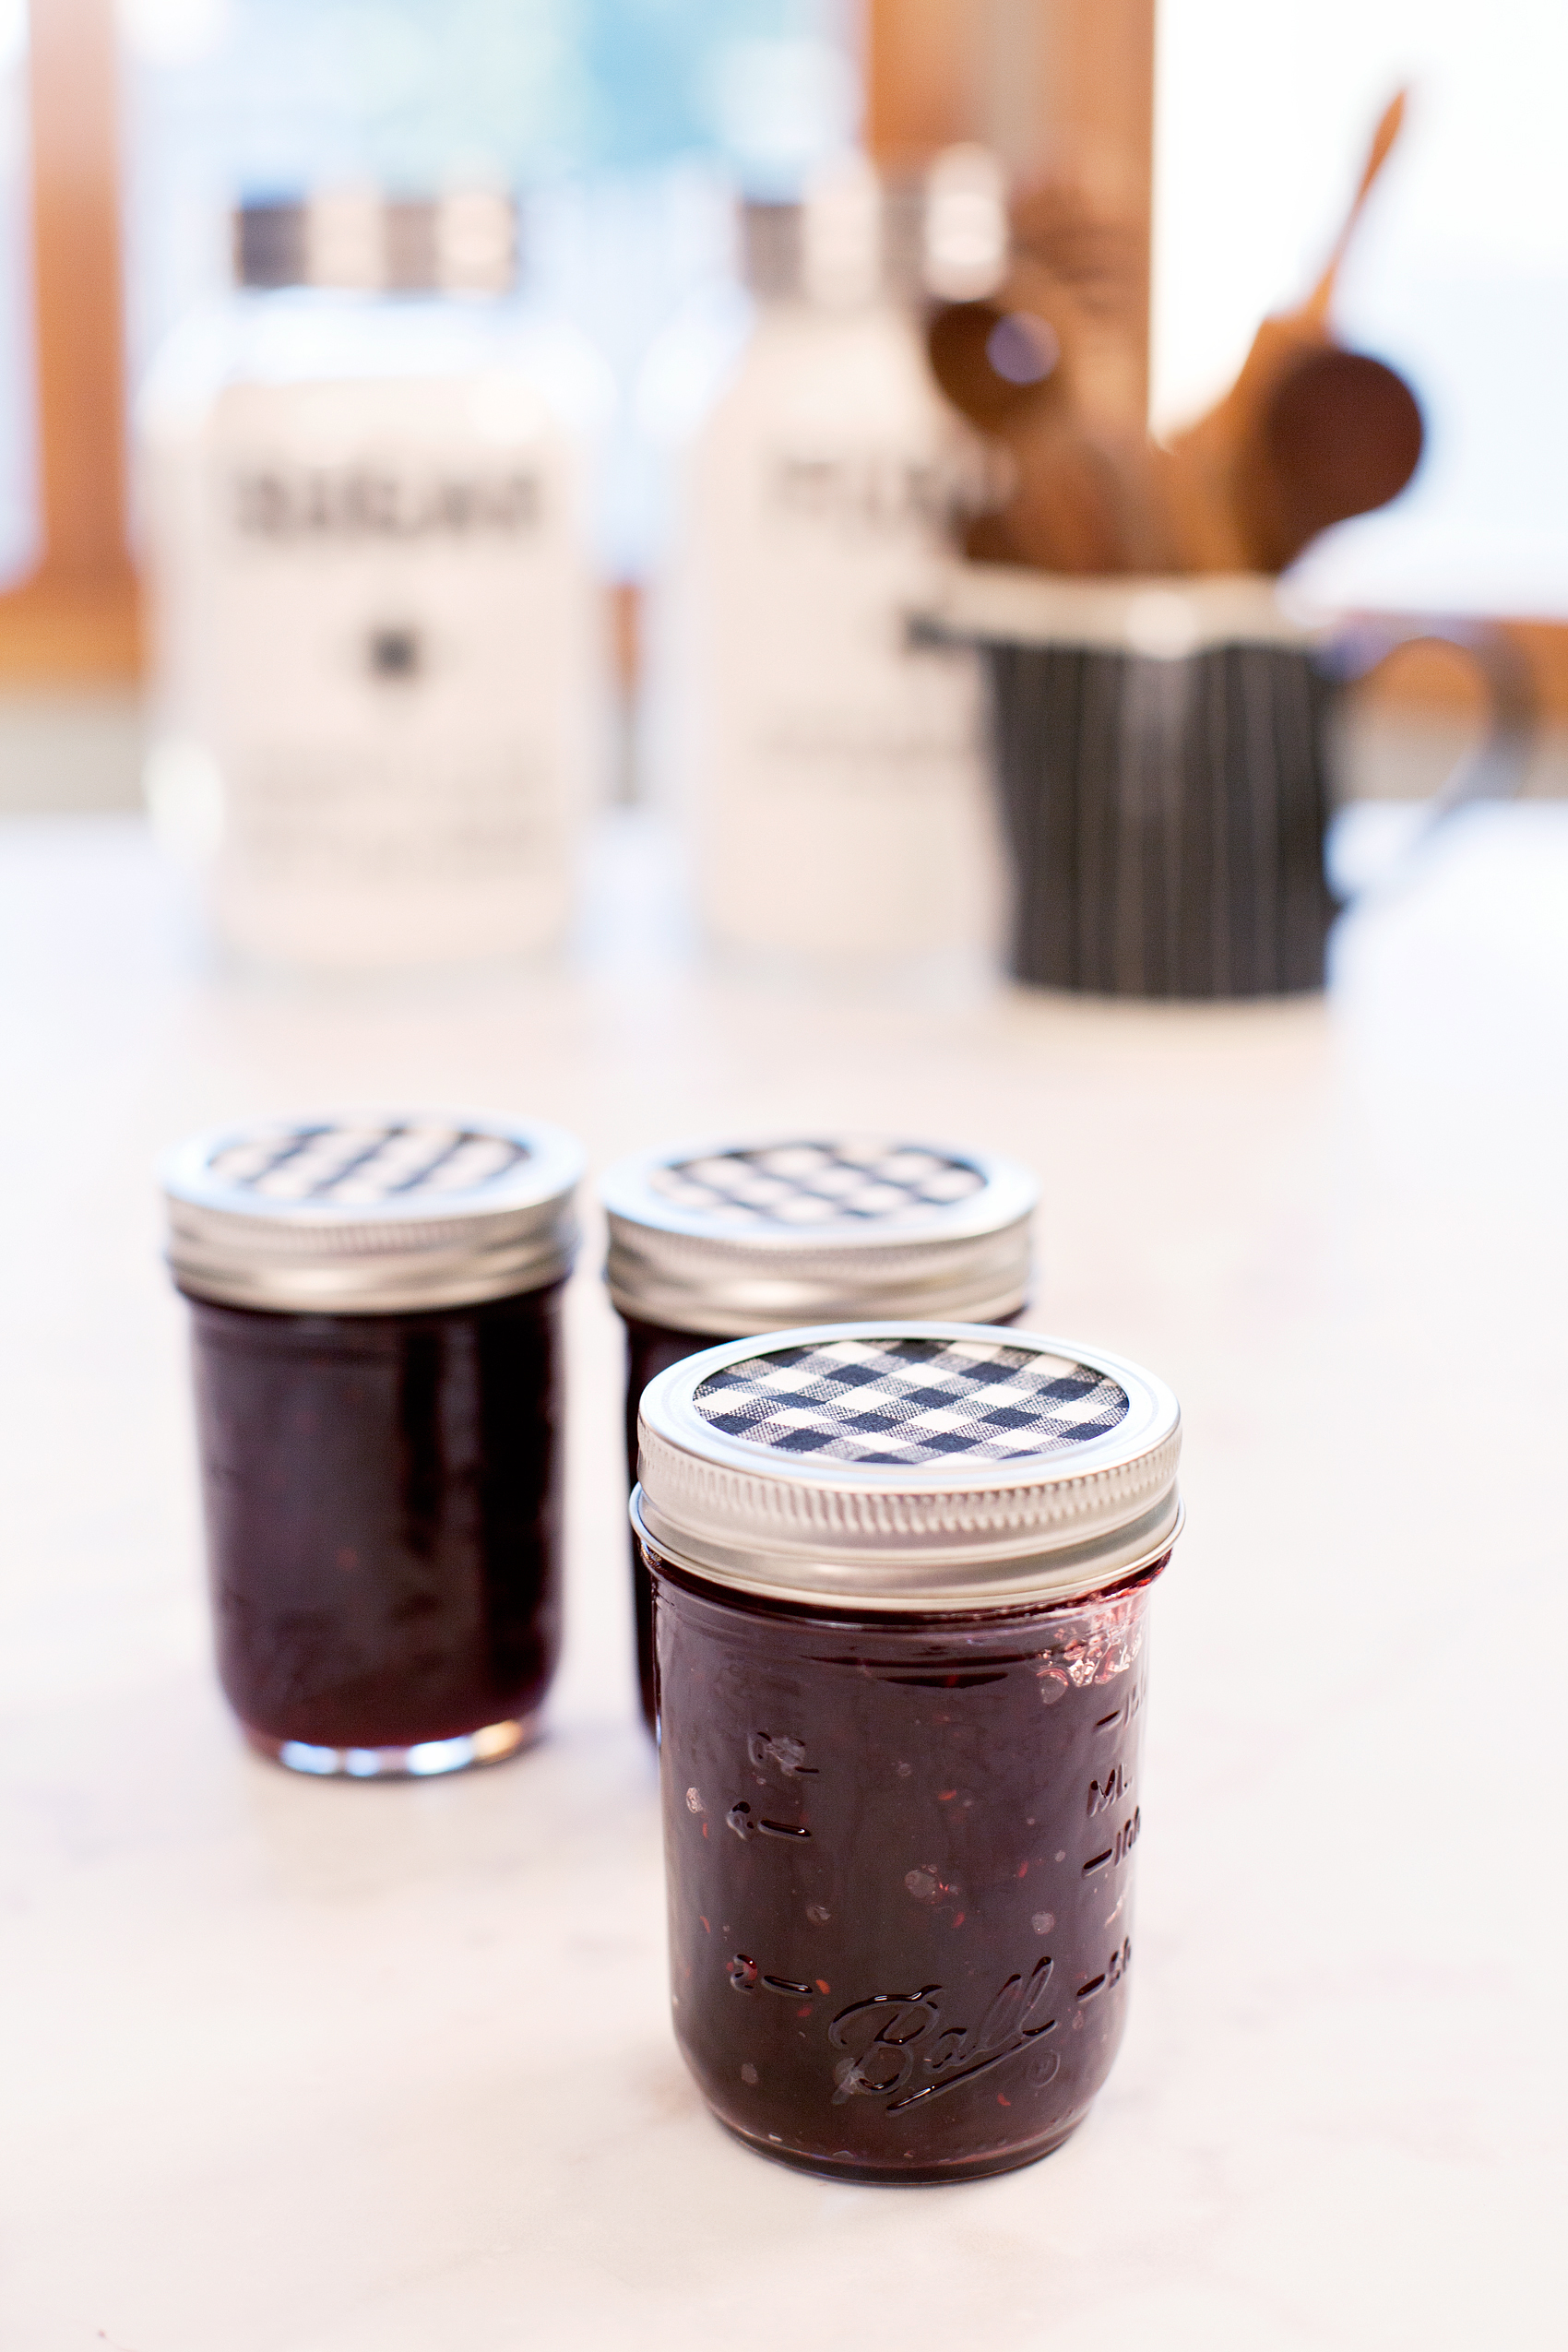
Mixed Berry Jam Recipe

First off, you need to make your jam. For that you can head over to the Ball® Fresh Preserving site so that you can follow there step-by-step directions. You know, it’s really important to follow a tested and proven recipe when it comes to preserving food. It would be horrible to make your family sick by using untested recipes that create opportunities for bacteria to grow in your preserved food.

Is there anything better than the smell of cookies baking in the oven? On of my favorites is my Mixed Berry Jam and Butter cookies. The butter cookie literally melts in your mouth and then the jam follows with a burst of berry flavor in your mouth... Oh my, it's soooo good!! Come on over to WhipperBerry to learn how to make these tasty treats!

Ball® Jars in the Pantry

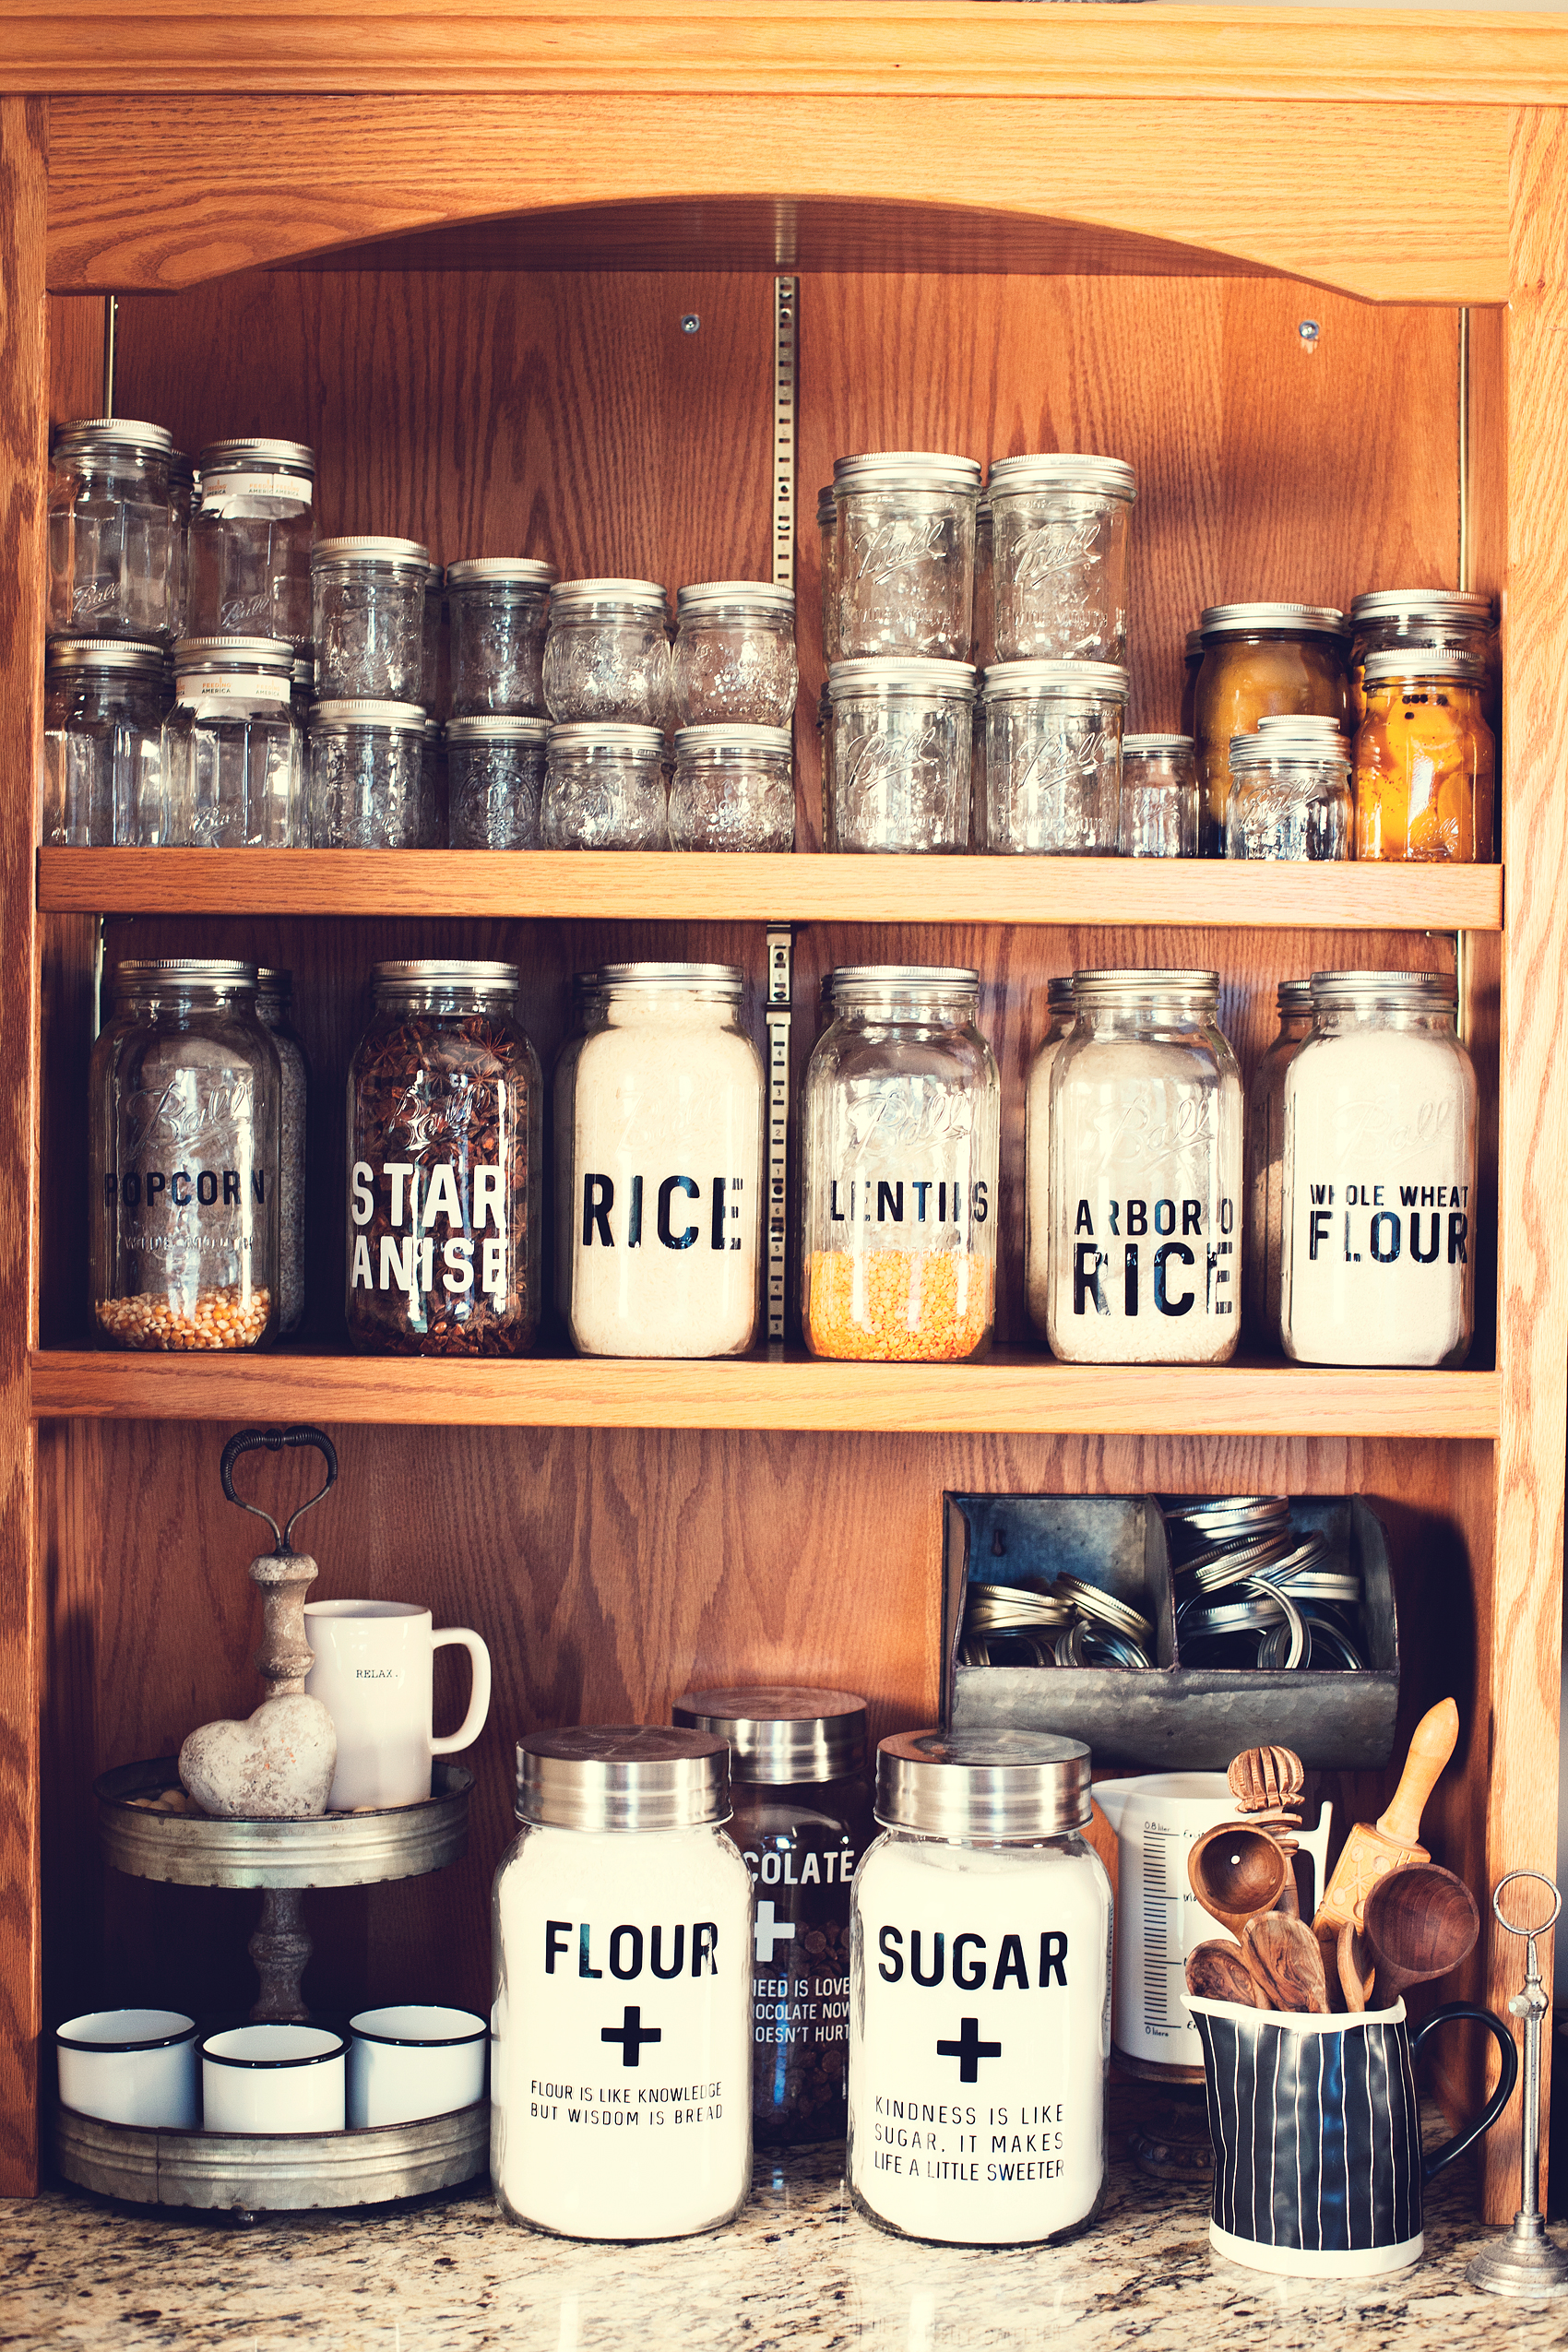
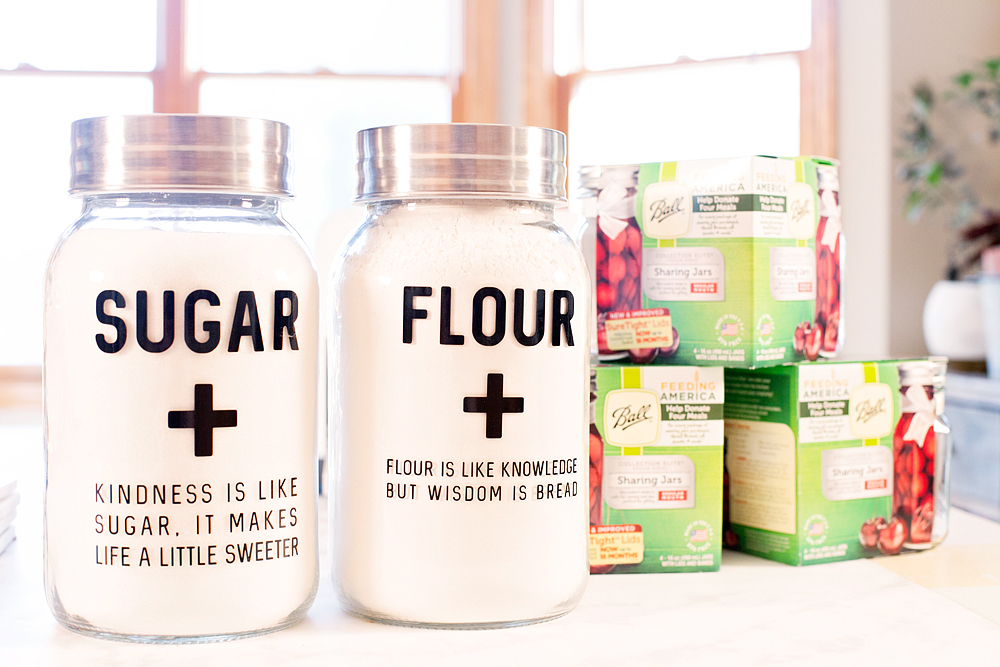
I have found that it’s really quite handy to use Ball® jars for canning and preserving food and also use them to store dry goods in my pantry. Check it out…

Here's a great way to store your dry goods in your pantry with Ball® Jars from WhipperBerry

I always keep some Ball® Jars on hand, so when I do have a fresh batch of berries, peaches, beets, you name it, I can easily preserve a batch and have it ready in no time. I especially like to keep some of the BALL® REGULAR MOUTH HALF-PINT 8 OZ. GLASS MASON JARS in the pantry so I’m ready when I have fruit or veggies ready to can. If you have to stop and run to the store to grab your Ball® Jars, thats makes the process even longer. I also use the BALL® SUPER WIDE MOUTH GALLON 128 OZ. COMMEMORATIVE GLASS JAR to store my flour, sugar and other dry goods that I use often and the BALL® WIDE MOUTH HALF-GALLON 64 OZ. GLASS MASON JARS for other dry goods that I use while cooking. LOVE THEM!!

Is there anything better than the smell of cookies baking in the oven? On of my favorites is my Mixed Berry Jam and Butter cookies. The butter cookie literally melts in your mouth and then the jam follows with a burst of berry flavor in your mouth... Oh my, it's soooo good!! Come on over to WhipperBerry to learn how to make these tasty treats!

Mixed Berry Jam and Butter Cookies Recipe

Now that you’ve made your mixed berry jam, we can get started on this SIMPLE recipe! I love that it is easy to whip-up and doesn’t have too many ingredients. Here’s a quick video to show you how to make them.

Butter and Jam Cookies from WhipperBerry from Heather Thoming on Vimeo.

Isn’t that fun? I made these quickly with my daughter and the whole family almost died with delight. The cookies totally melt in your mouth and then the sweet tanginess of the jam really makes them extra special. You’ll notice a few things that may be a little different that your normal thumbprint cookie. We didn’t use our thumbs, nor did we refrigerate the dough before we baked them. I tend to like a more uniform cookie, so we use a cookie scoop and then a 1/2 a teaspoon measuring spoon to make the “thumbprints” in the cookie. Again, more for uniformity than anything. Here’s the recipe…

Is there anything better than the smell of cookies baking in the oven? On of my favorites is my Mixed Berry Jam and Butter cookies. The butter cookie literally melts in your mouth and then the jam follows with a burst of berry flavor in your mouth... Oh my, it's soooo good!! Come on over to WhipperBerry to learn how to make these tasty treats!
Print

Mixed Berry Jam and Butter Cookies

Prep 15 mins

Cook 20 mins

Total 35 mins

Author WhipperBerry

Yield 25 cookies

These melt in your mouth delights are perfect for after school or for sharing with neighbors. The homemade Mixed Berry Jam from Ball® Fresh Preserving is really the star of the show!

Ingredients

  • 1 cup {2 sticks} unsalted butter, softened 
  • ½ cup powdered sugar, plus ¼ cup more for dusting
  • 2 teaspoons pure vanilla extract
  • ⅛ tsp table salt
  • 2 cups all purpose flour
  • ½ cup of Ball® Fresh Preserving Mixed Berry Jam

Instructions

  1. Preheat oven to 325°F with rack on middle position. Line a baking sheet with parchment paper.
  2. In the bowl of a stand mixer fitted with paddle attachment on high speed, beat butter and sugar until creamy and light, 2-3 minutes. This is where the magic happens, make sure to take the time to beat the butter and sugar until it's nice and fluffy.
  3. Add vanilla and salt, scraping down bowl as needed. Switch to low and slowly mix in flour, just until combined. Dough should be somewhat sticky. 
  4. Using a large cookie scoop, scoop dough on to a parchment-lined baking sheets. Take a 1/2 teaspoon dip it in a bowl of flour and press down the center of each ball, making a deep well in the middle.
  5. Fill cookie centers generously with Mixed Berry Jam. I use the the same 1/2 teaspoon that use to make the wells in the cookie to add the jam
  6. Bake 20 minutes or until golden brown and puffy. Let cool 5 min. on baking sheet, then gently transfer to finish cooling on wire rack.
  7. When cookies are completely cooled, dust with confectioners' sugar. Cookies can be kept in airtight container at room temp for a few days.

Pro Tips

  • This cookie dough is less sweet than others, making space for the very sweet mixed berry jam and the generous dusting of powdered sugar at the end. 
  • These cookies are not intended too brown much, as they're more of a shortbread color so keep and eye on them. 

Disclosure +  I am a paid partner for Newell Brands, makers of Ball® Fresh Preserving Products. However, all thoughts and opinions expressed are entirely my own. 

Tortilla Desserts Two Ways • Berry Hand Pies + Baked Tortilla Sundae Bowl

8 · May 5, 2017 · 6 Comments

Find yourself looking for some easy dessert options? Did you know that you can find uncooked tortillas at Costco from TortillaLand®? You CAN, and you can create all kinds of fabulous tortilla desserts with them! Come learn all about the Baked Tortilla Sundae Bowl & Easy Berry Hand Pies…Find yourself looking for some easy dessert options? Did you know that you can find uncooked tortillas at Costco from TortillaLand®? You CAN, and you can create all kinds of fabulous tortilla desserts with them! Come learn all about the Baked Tortilla Sundae Bowl & Easy Berry Hand Pies...

Post brought to you by • TortillaLand®

The Secret to Finding the BEST Tortillas

Have you ever hit one of your favorite stores, let’s say Costco (because it’s one of mine) and found a product that at the time seemed a little understated and yet, turned into a magical find? That’s what happened to me several years ago when I was walking through the refrigerated section of Costco and discovered a small little section in-between the bacon and orange juice. What I found truly intrigued me, TortillaLand® Fresh Uncooked Tortillas… What?

Why would anyone have the need for uncooked tortillas? In our fast paced world, doesn’t that mean a few extra precious steps. “Honey, would you like a quesadilla? Hold on for a minute, I need to cook the tortilla first.”  In my mind, I had a hard time figuring out what the benefit would be to buying uncooked tortillas. However, my adventurous self won the day. I wanted to learn WHY someone would go through the trouble of cooking their own tortillas when from what I knew, the already cooked ones were just fine.

Find yourself looking for some easy dessert options? Did you know that you can find uncooked tortillas at Costco from TortillaLand®? You CAN, and you can create all kinds of fabulous tortilla desserts with them! Come learn all about the Baked Tortilla Sundae Bowl & Easy Berry Hand Pies...That’s the key phrase though… JUST FINE. When I prepared my first TortillaLand® tortilla and tasted it, all of a sudden, just fine was no longer good enough. There is magic to cooking your own tortillas. It truly only takes an extra 60 seconds to cook and they taste warm, light, full of the flavor that tortillas are supposed to have. Somehow, unlocking those flavors right before you plan on eating them is the best way to have a tortilla! Whether you are using it for a humble quesadilla or creating some tasty desserts with them, the old saying is true… Fresh is best!

Another thing I absolutely love about TortillaLand® tortillas, they only have 5 simple ingredients. I don’t know if you’ve ever checked out the ingredients on your other tortillas but, they are full of all kinds of crazy stuff like soy for example. Now, I know that the origins of tortillas didn’t not include soy or preservatives. I have been recently diagnosed with several food allergies and soy is on my list of foods I can no longer have, along with yeast. When I found out about the yeast thing I thought, that’s alright, I will just eat tortillas instead. Sadly, when I went to my local markets and started reading the ingredients of all of the prepared tortillas, they ALL contained soy. I was shocked. I was now faced with no longer being able to enjoy bread AND tortillas. It was a tad bit heart breaking.

Years before, when we lived in Vegas, much closer to a Costco, we used the TortillaLand® tortillas all of the time, our family loved them. Right now our nearest Costco is about an hour away so we don’t get to shop there often. (They’re building one close to our house this year and we are thrilled!) Anyway, we drove up to Costco to check things out last weekend. I was curious to see what I would find on the Tortilla Land ingredient list. Sure enough, my beloved TortillaLand® tortillas did not contain soy or any crazy fillers, just FIVE simple ingredients; wheat flour, water, canola oil, salt and sugar. Honestly, that is as close to the original tortilla recipe as you can get. I was over the moon excited!! I gabbed a package (they contain 50 lovely fresh, uncooked tortillas that you can freeze by the way) and ran home to see what I could make with these tasty gems.

Find yourself looking for some easy dessert options? Did you know that you can find uncooked tortillas at Costco from TortillaLand®? You CAN, and you can create all kinds of fabulous tortilla desserts with them! Come learn all about the Baked Tortilla Sundae Bowl & Easy Berry Hand Pies...

Tortilla Recipe Ideas

Now, wrap your mind around this… With fresh uncooked tortillas the sky’s the limit. You are the master of this tortillas destiny. You can cook it according to the package directions and make all kinds of stuff; breakfast burritos, quesadillas for a quick snack, burritos or soft tacos for dinner.

Find yourself looking for some easy dessert options? Did you know that you can find uncooked tortillas at Costco from TortillaLand®? You CAN, and you can create all kinds of fabulous tortilla desserts with them! Come learn all about the Baked Tortilla Sundae Bowl & Easy Berry Hand Pies...

You can make a peanut butter and jelly roll-up for the kiddos after school or make some beautiful pinwheels as an appetizer for your next party. With the nature of the fresh uncooked tortilla, you can now make your own flautas & chimichangas as well. Really, you can cook all kinds of stuff.

Tortilla Dessert Two Ways

Having being limited as to what I could eat due to my new eating challenges, I decided the first item that I would make must be DESSERT! After playing around with a few ideas, I’ve come up with dessert two ways.

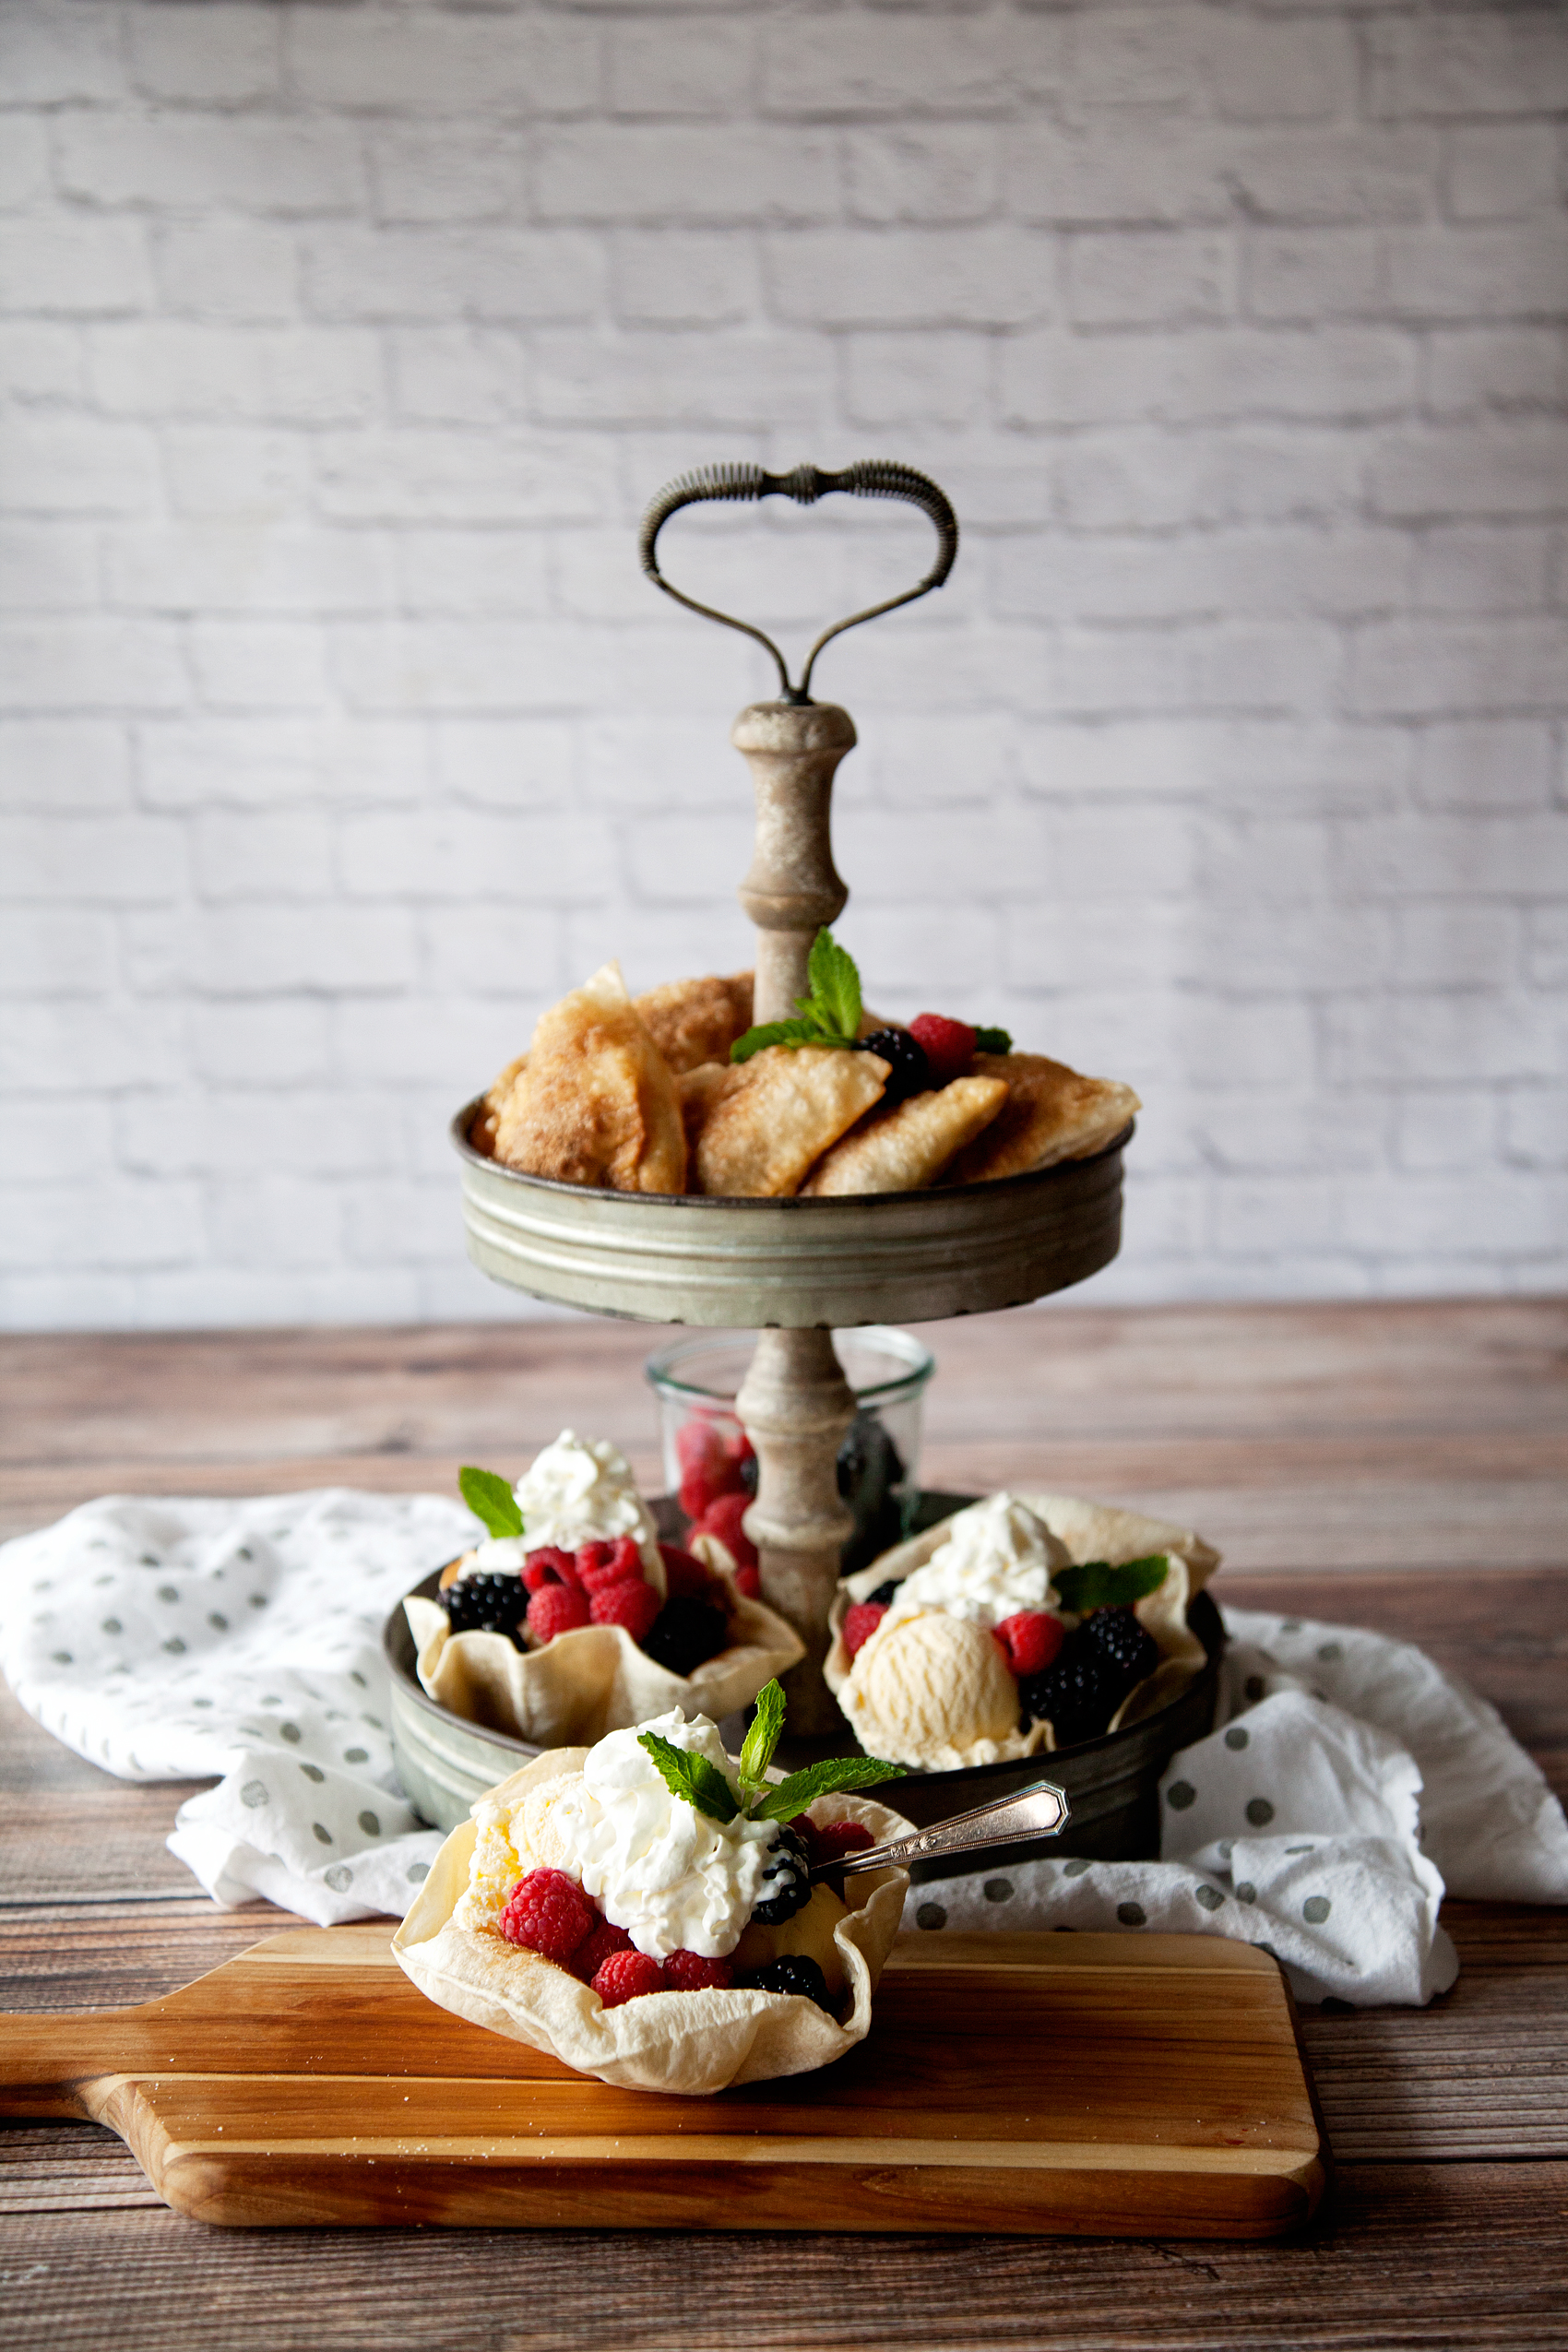
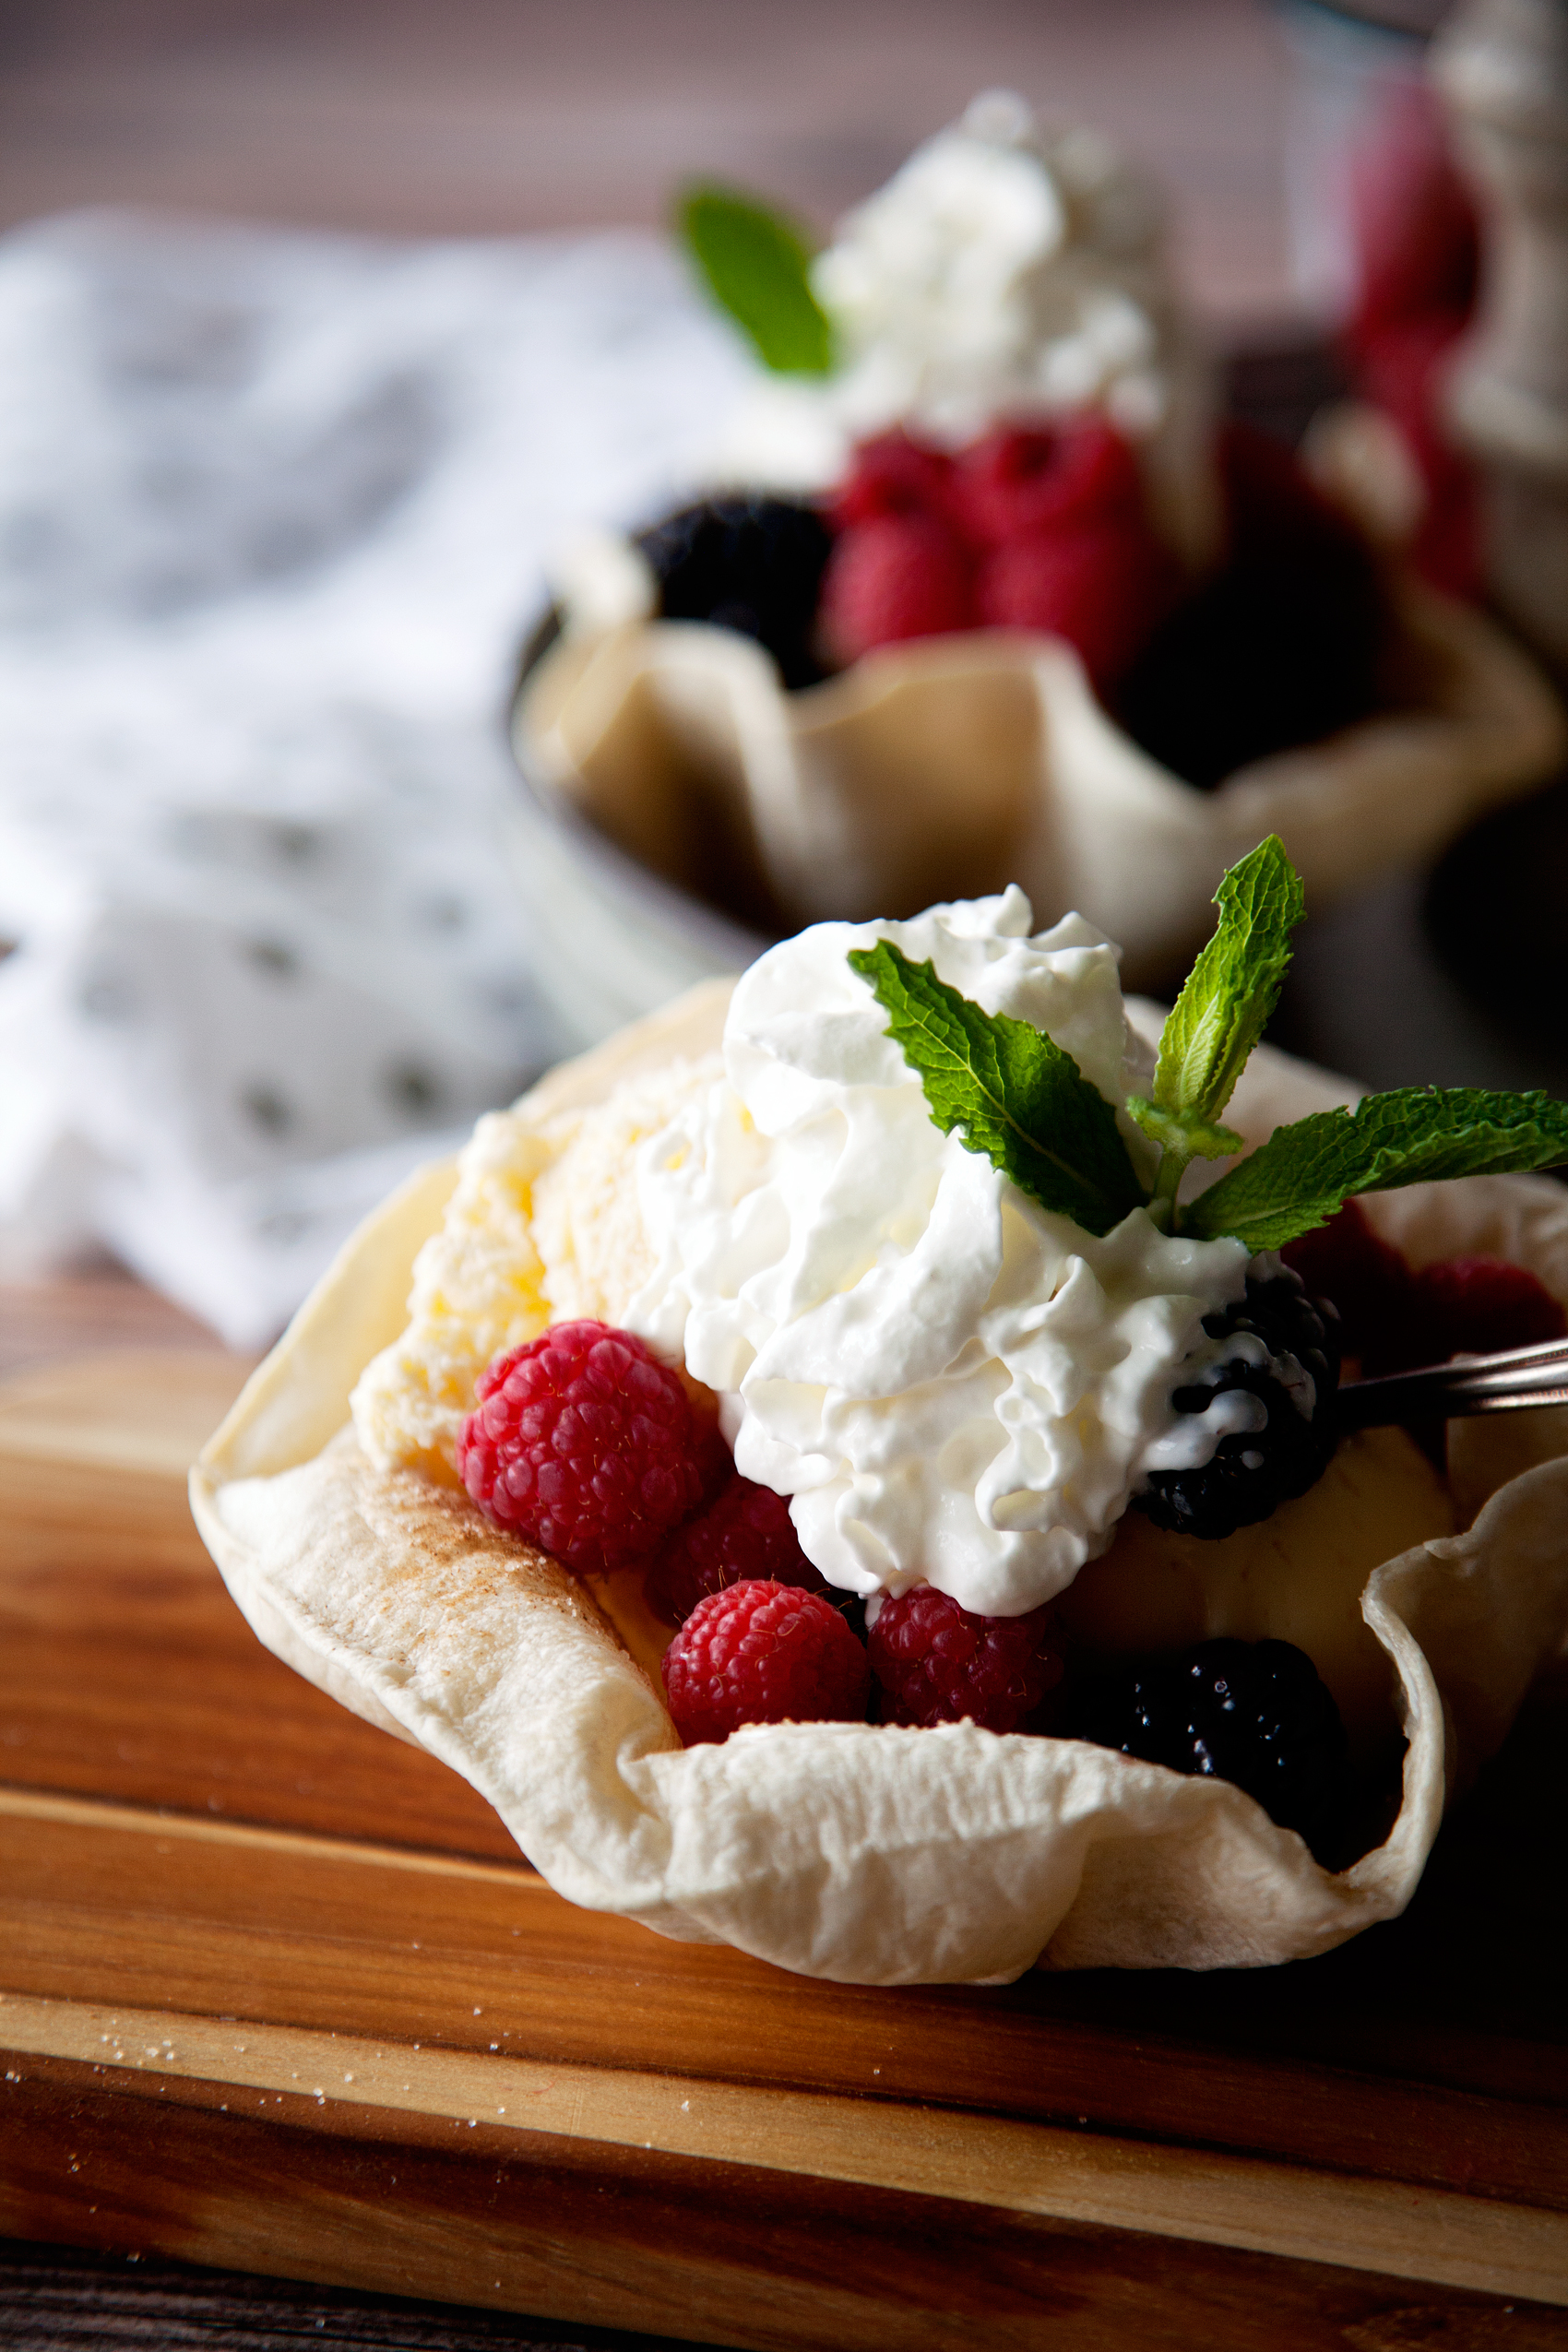
I created some beautiful tortillas bowls in the oven that don’t use a drop of oil, just the natural heat from the oven. Then I deep fried some fruity hand pies that turned out like scrumptious filled sopapillas, YUM!!

Find yourself looking for some easy dessert options? Did you know that you can find uncooked tortillas at Costco from TortillaLand®? You CAN, and you can create all kinds of fabulous tortilla desserts with them! Come learn all about the Baked Tortilla Sundae Bowl & Easy Berry Hand Pies...

Tasty Cinnamon Sugar Tortilla Bowl Sundae

The trick for the tortilla bowl is to drape them over an oven safe bowl our jar. I used some canning jars because I know that they are heat tempered and wouldn’t have an issue in the oven. I made sure they were clean, then draped the tortilla over the bottom of the jar. The trick to the bowl holding it’s shape is to not butter or grease the bottom of the jar. You actually want it to “stick” to the bottom of the jar. If it doesn’t it will fill with air in the oven and then fall off of the jar. If it sticks a little bit on the base it will make a perfect bowl for you. Don’t worry, they will come off the jar with just a little help after they have cooled.

When ready to serve, brush them with melted butter and sprinkle with cinnamon sugar if you like. Then fill them with your favorite ice cream and fruit for a fabulous summer treat! Here’s a quick video to show you how I make them…

Scrumptious Tortilla Berry Hand Pies

Now, for our second option… This is dessert is equally as scrumptious and super easy as well. It’s kind of a mix between a sopapilla and a hand pie.

Find yourself looking for some easy dessert options? Did you know that you can find uncooked tortillas at Costco from TortillaLand®? You CAN, and you can create all kinds of fabulous tortilla desserts with them! Come learn all about the Baked Tortilla Sundae Bowl & Easy Berry Hand Pies...

They couldn’t be easier to make, watch this video recipe so see how to make your own tortilla pies. The full recipes will follow the video.

Tortilla Land Berry Hand Pies from Heather Thoming on Vimeo.

Want to win a Costco Cash Card so that you can go load-up on some scrumptious TortillaLand®  Tortillas? Click this link for your chance to win TortillaLand $25 Costco Cash Card Giveaway

Tortilla Dessert Recipes

Find yourself looking for some easy dessert options? Did you know that you can find uncooked tortillas at Costco from TortillaLand®? You CAN, and you can create all kinds of fabulous tortilla desserts with them! Come learn all about the Baked Tortilla Sundae Bowl & Easy Berry Hand Pies...

1 vote

Print

Tortilla Berry Hand Pies

Prep 10 mins

Cook 10 mins

Total 20 mins

Yield 5 people

Nothing better than the sweet taste of summer berries wrapped in a uncooked tortilla a cooked to perfection!

Ingredients

  • 3 cups vegetable oil
  • TortillaLand® Uncooked Flour Tortillas
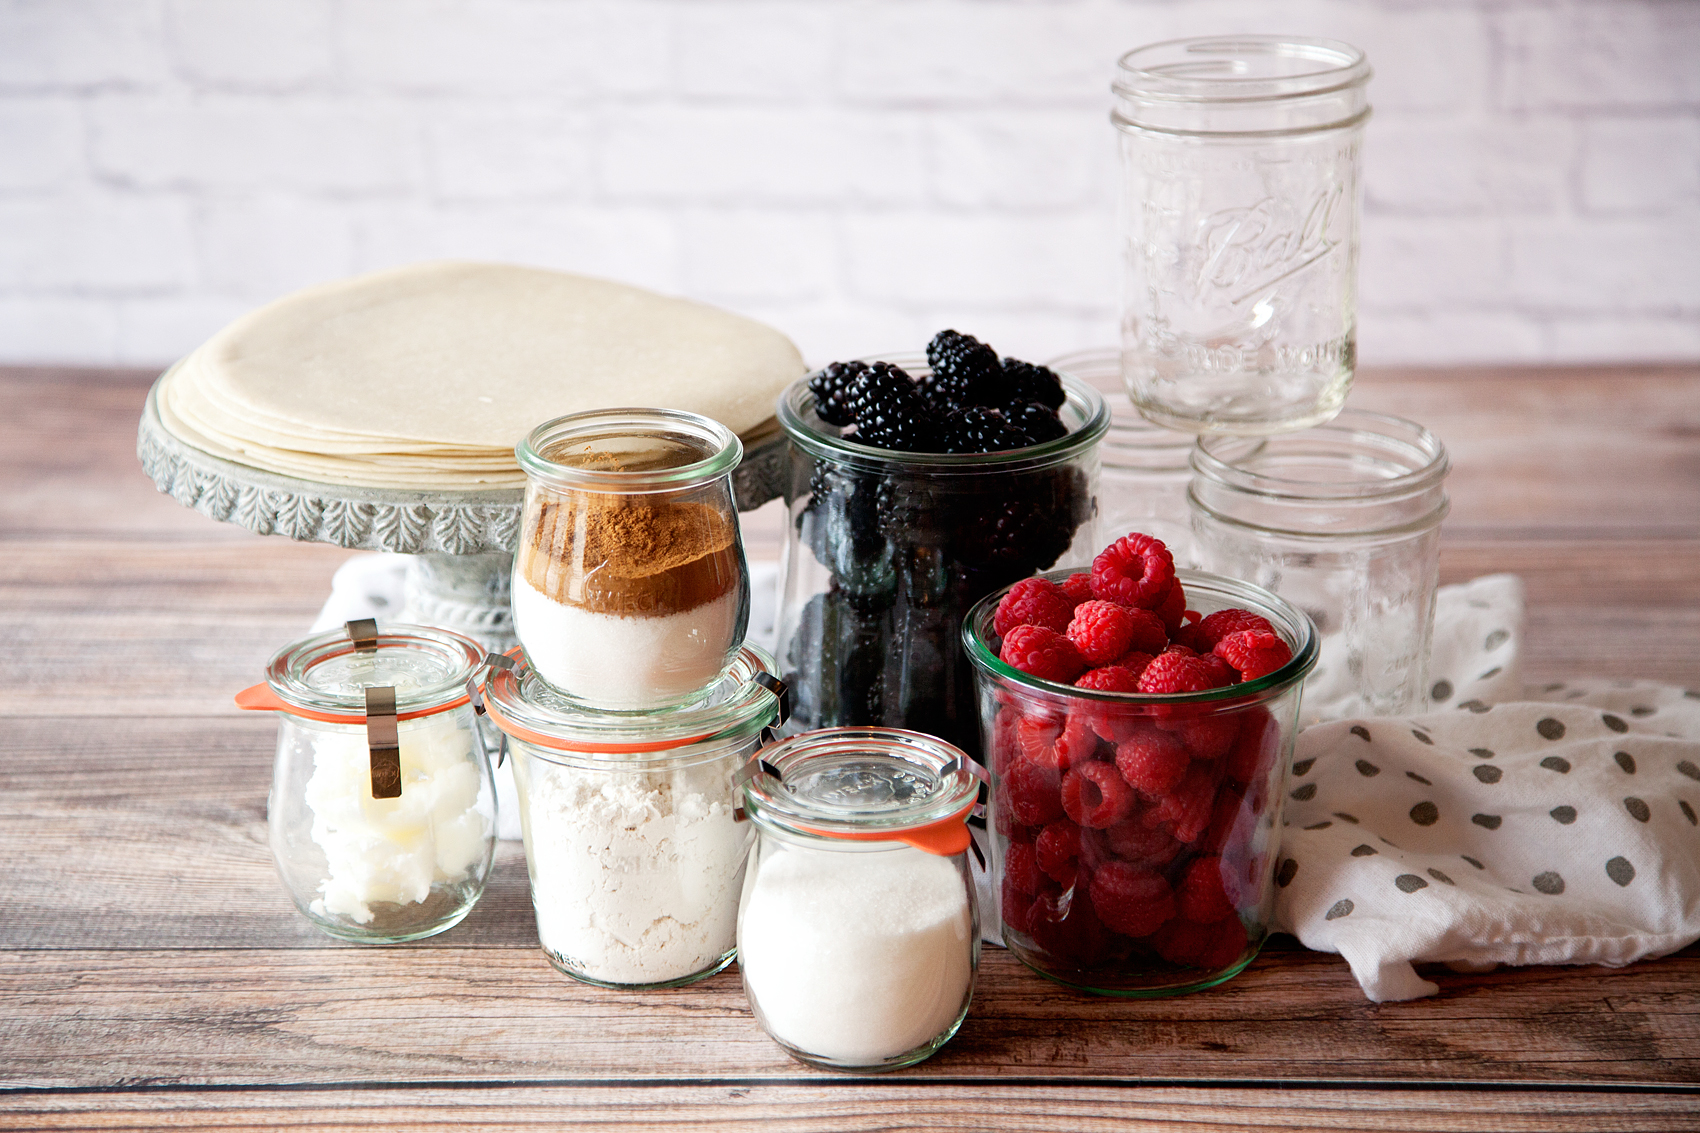
  • 1 lb. of berries • Strawberries, raspberries & blackberries
  • 2 tablespoons AP flour
  • 2 tablespoons cinnamon sugar
  • small bowl of water

Instructions

  • Prepare your berries by washing, removing leaves and stems. Cut into bite sized pieces if needed.
  • Place berries into a medium sized bowl and mix with flour and 1 tablespoon of cinnamon sugar. Set aside.
  • Pour oil into a sauce pan, and place over medium high heat until it reaches 350˚
  • Cut tortillas in half.
  • In one of the tortillas halves place a large spoonful of the berry mixture. 
  • Dip your clean finger into the bowl of water and lightly we the outside edge of the tortilla.
  • Fold tortilla in half and then crimp with a folk.
  • Place 1-2 of the hand pies into the 350˚ oil and fry on both sides until nice and brown.
  • Remove from the oil and let sit on a paper towel to drain any excess oil.
  • Sprinkle the hand pies with cinnamon sugar
  • Let cool and serve.

Courses Dessert


Disclaimer // This post is written by me on behalf of Tyson Foods, Inc. All opinions are entirely my own. This shop has been compensated by Acorn Influence, Inc. and its advertiser. All opinions are mine alone.

  • Go to page 1
  • Go to page 2
  • Go to page 3
  • Interim pages omitted …
  • Go to page 21
  • Go to Next Page »

Primary Sidebar

Heather from Whipperberry
Hello... my name is Heather and I'm the creator of WhipperBerry a creative lifestyle blog packed full of great recipes and creative ideas for your home and family. I find I am happiest when I'm living a creative life and I love to share what I've been up to along the way... Come explore, my hope is that you'll leave inspired!

Footer

  • Privacy Policy

Copyright © 2023 · Seasoned Pro