• Skip to primary navigation
  • Skip to main content
  • Skip to primary sidebar
  • Skip to footer

Whipperberry

WhipperBerry • Your Home For Creative Inspiration

  • Home
  • About
    • Terms
  • Recipes
    • ZipList
    • Starters
    • Easy Weeknight Dinners
    • Main Dish
    • Salads
    • Side Dish
    • Soups & Stews
    • Desserts
    • Breakfast
    • Miscellaneous
  • Tutorials
    • Creative Crafts
    • DYI Decor
    • Fabric Crafts
    • Food How-To
    • Jewlery
    • Paint Projects
    • Paper Art
    • Party Styling
    • Photography and Graphic Design
    • Silhouette
  • Holidays
    • St. Patrick’s Day
    • Easter
    • Mother’s Day
    • Father’s Day
    • 4th of July
    • Halloween
    • Thanksgiving
    • Christmas
    • New Years
    • Valentine’s Day
  • Gift Ideas
    • Gifts For Everyone
    • Gifts for Dad
    • Mother’s day
    • For The Girls
    • For The Kids
    • Teacher Gift Ideas
    • Christmas
  • Printables
    • Holiday
    • Gift Idea
    • LDS Primary
  • Travel
  • Contact
  • Nav Social Menu

    • Facebook
    • Instagram
    • Pinterest
    • RSS
    • Twitter

Autumn

Mummy Hot Dogs • How To Video

13 · Sep 26, 2017 · Leave a Comment

There’s nothing better than a simple, scrumptious and slightly spooky treat for Halloween! Come learn how easy it is to make these frightfully delicious Mummy Hot Dogs for your little {and BIG} Trick-or-Treaters.

• Disclaimer – This post brought to you by Pillsbury™ & Walmart. All thoughts, ideas & opinions are my own •

There’s nothing better than a simple, scrumptious and slightly spooky treat for Halloween! Come learn how easy it is to make these frightfully delicious Mummy Hot Dogs for your little {and BIG} Trick-or-Treaters • WhipperBerry

You guys… Halloween is almost upon us and it’s time to start preparing for the fun night. My little guy is super excited and the funny thing is my older kiddos are just as excited. Part of the fun for us adults is in creating the magic for our kiddos. It’s so fun to create creepy treats that have that weird quality of visually grossing you out, and then actually tasty quite good. Have you seen the brain cake that’s going around these day… eeeew! I’m not sure I could do that one.

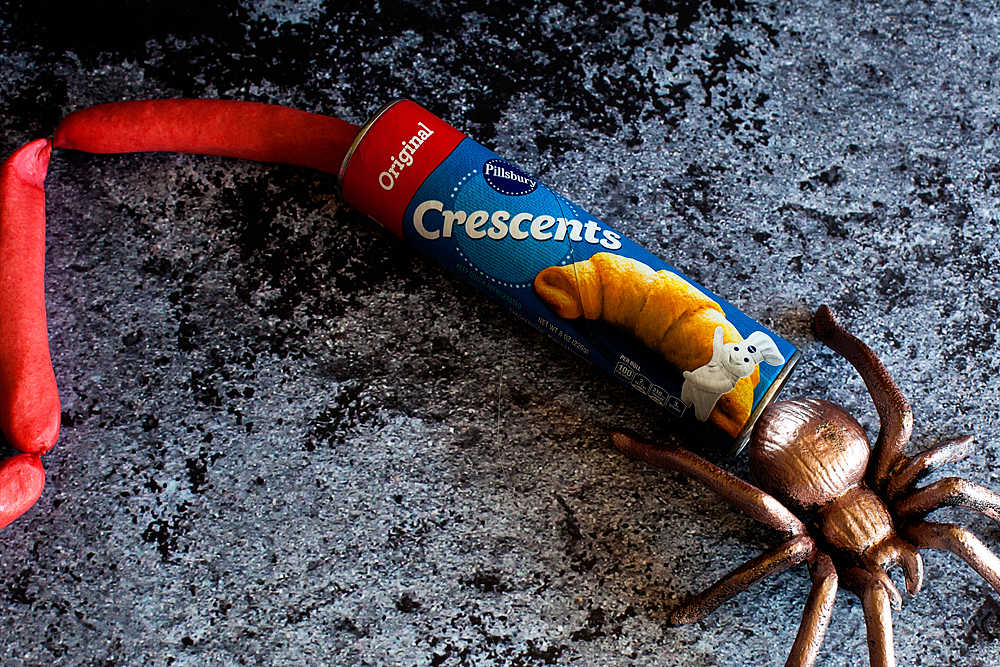
Pillsbury™ has a classic addition to the Halloween meal menu, the Mummy Hot Dog. This one is almost a little too cute to be creepy… My kiddos love them! We headed to Walmart today and grabbed some Mummy Hot Dog supplies. You’ll need…

Mummy Hot Dog Ingredients
There’s nothing better than a simple, scrumptious and slightly spooky treat for Halloween! Come learn how easy it is to make these frightfully delicious Mummy Hot Dogs for your little {and BIG} Trick-or-Treaters • WhipperBerry

•Hot dogs

•Pillsbury™ Crescent Rolls

•Sliced cheese

•Whole cloves

They are super easy to make. Here is a little video that I put together to show how fun they can be…

How cool is that? It’s one of those fun meals that the whole family can make together. You can change up the hot dog option for Dad and use a cooked brat instead or, how good would they be with pepper jack cheese… Really, the sky’s the limit. You can have all kinds of fun with this meal.
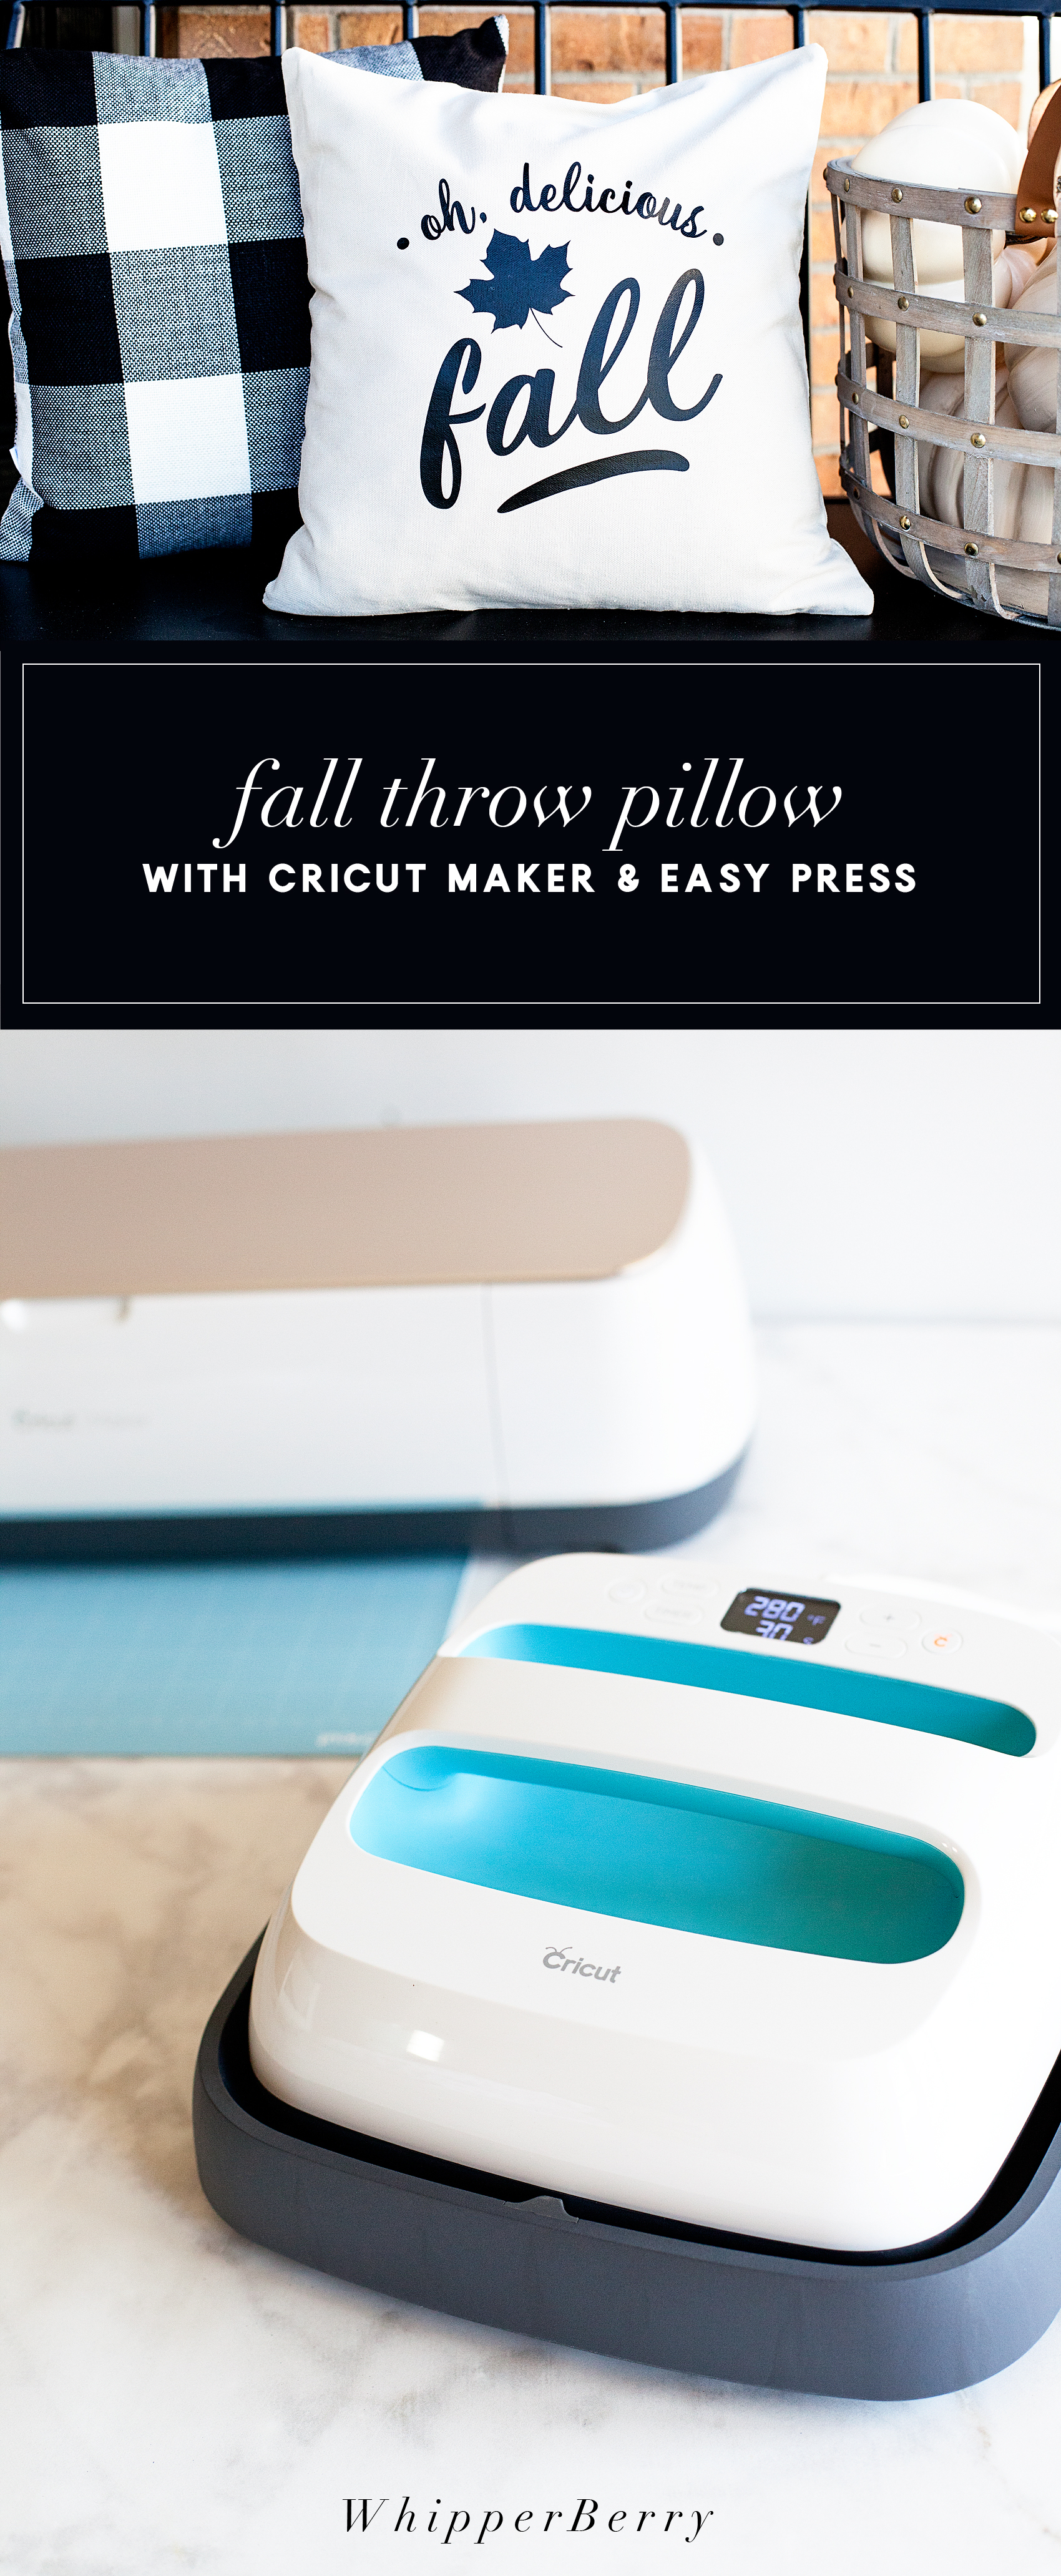
DIY Fall Throw Pillow • Oh, Delicious Fall

9 · Aug 30, 2017 · 3 Comments

Summer is coming to a close and it’s time to start thinking about Fall decor! This DIY Fall Throw Pillow is Perfect for your front porch or any room in the house!

Come make this simple Fall throw pillow with the fun "Oh, Delicious Fall" design by WhipperBerry. This is created with the Cricut Maker & Easy Press along with the Cricut Heat Transfer Material.

{ This post brought to you by • Cricut }

It’s time to start decorating for Fall and I’m over the moon excited to finally have a front porch that I can decorate! I’ve been working on all kinds of projects for the porch design and today I’m going to show you one of the elements. My DIY Fall throw pillow with the cute saying, “Oh, Delicious Fall.” Earlier today if you have been following my Story on Instagram… You watched live, how easy it is to make this simple accent pillow with the new Cricut Maker & Easy Press along with the Cricut Heat Transfer Material. It’s sooooo cool!!

The Cricut MAKER

You guys… I know you’ve seen all the buzz around the creative world about the new Cricut Maker and Cricut Easy Press. I’m here to tell you, everything you’ve heard is legit. These two new machines are game changers in the creative world. I’m sure you’ve seen some of the stuff the new Cricut Maker can do, it cuts…

  • fabric { without any type of backing }
  • felt
  • leather
  • balsa and bass wood
  • crepe paper
  • chip board
  • mat board
  • and the list goes on and on…

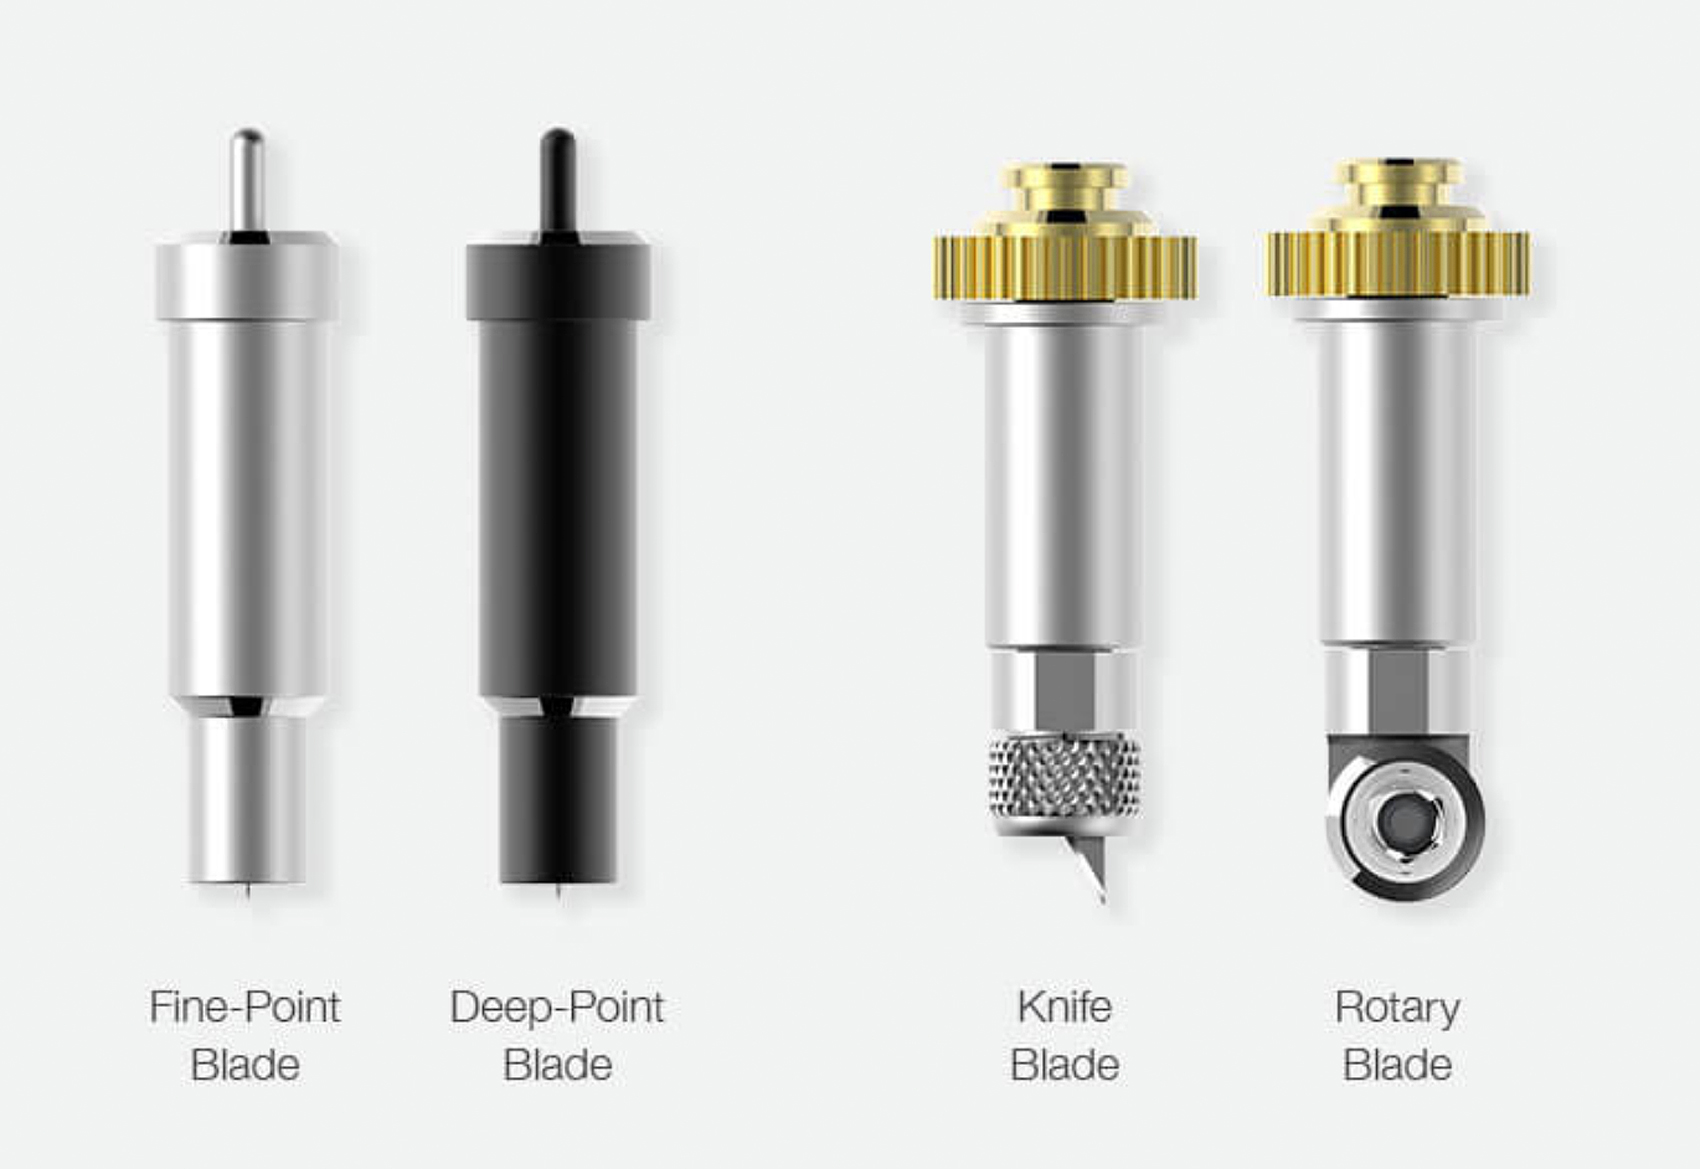
The engineers at Cricut have come up with an adaptive cutting tool system that is truly inspired. They have also dramatically increased the cutting power which allows for all of the new materials. They’ve increased the cutting power 10x… That’s seriously impressive! Here are some of the displays with amazing vignettes all created with the Cricut Maker for the launch event earlier this month.

The Cricut Maker and Easy Press Launch Event with WhipperBerry

The Cricut adaptive tool system

Well, enough about that… Let’s get to work on the Fall throw pillow. Now keep in mind, I am using the new Cricut Maker but, you can use any of the Cricut cutting machines like the Cricut Air 2 for this project. We are using the Cricut Heat Transfer Material that any of those machines can handle just fine. Also, I am using the Cricut Easy Press, which is FABULOUS!! But, you won’t be left out in the cold if you don’t have an Easy Press yet… You can use your iron to create this accent pillow as well.

Instructions for the DIY Fall Throw Pillow

Materials needed:

  • pillow cover
  • pillow form
  • Cricut Iron-On Lite – black
  • Cricut Light Grip cutting mat
  • Cricut cutting machine
  • Cricut Easy Press or an Iron
  • light cotton towel
  • Cricut Design Space

Directions:

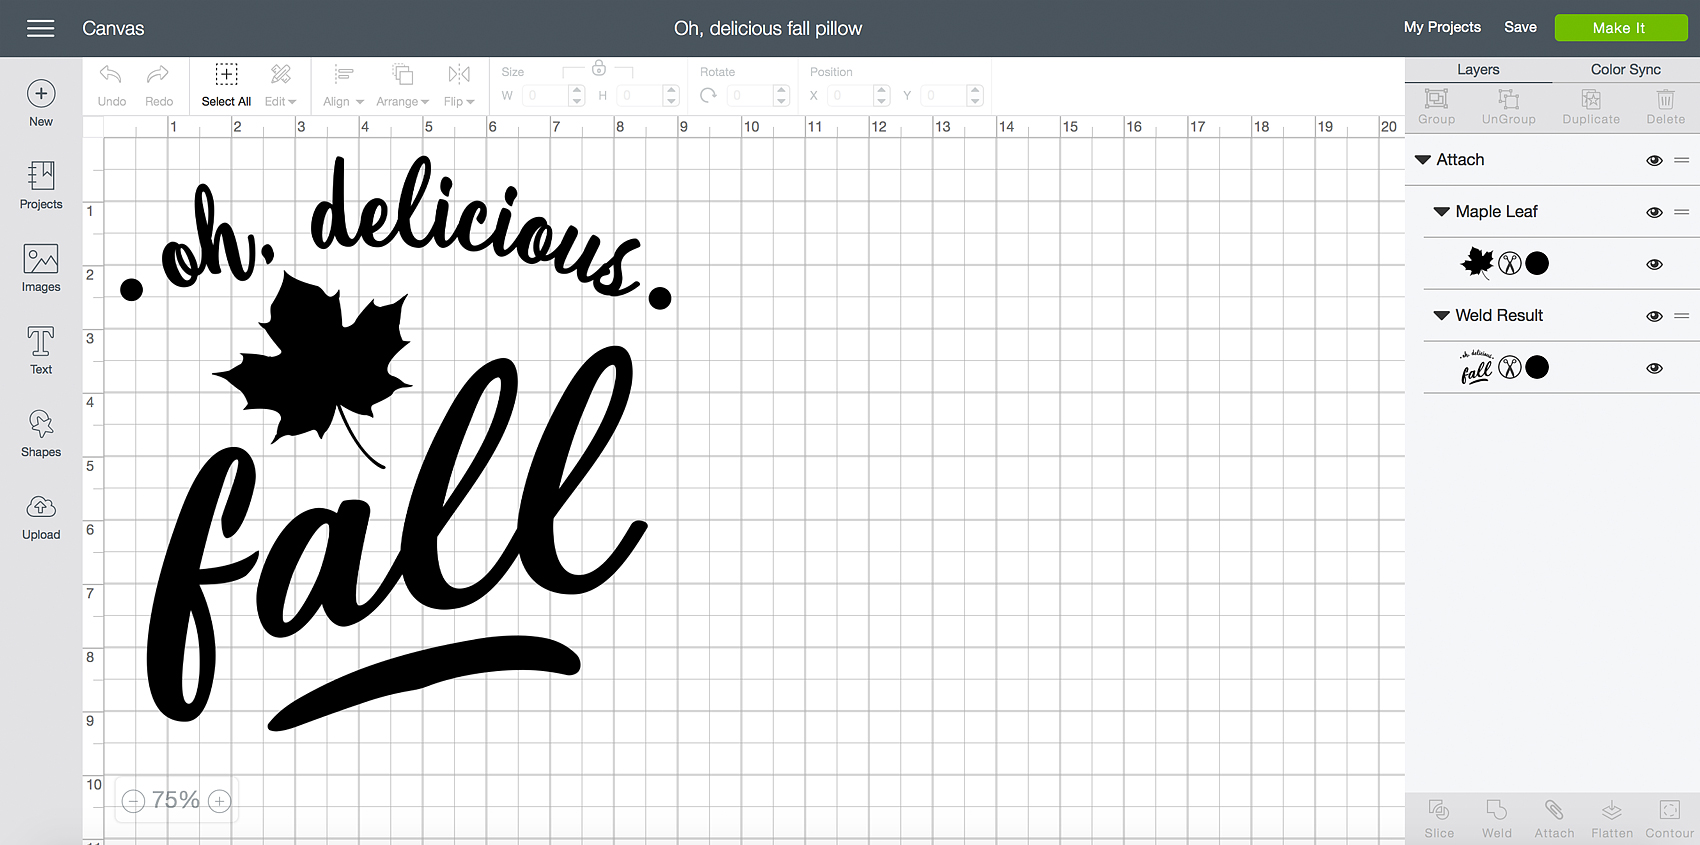
First, you need to download the “Oh, delicious Fall” design that I’ve created for this pillow.

Oh, delicious Fall design for accent pillow by WhipperBerry

Then you’ll need to upload it into Design Space…

Working in Cricut Design Space

You’ll do that by clicking on the upload button on the left side of the screen.

upload in cricut design space-100

Now, the design is already sized for your standard 15 inch throw pillow but you can size it larger or smaller if you like. You will also need to add the maple leaf from the image library. I searched for a maple leaf in the search bar and then selected the leaf below. You could always select whatever image you like.

Cricut Maple Leaf-100

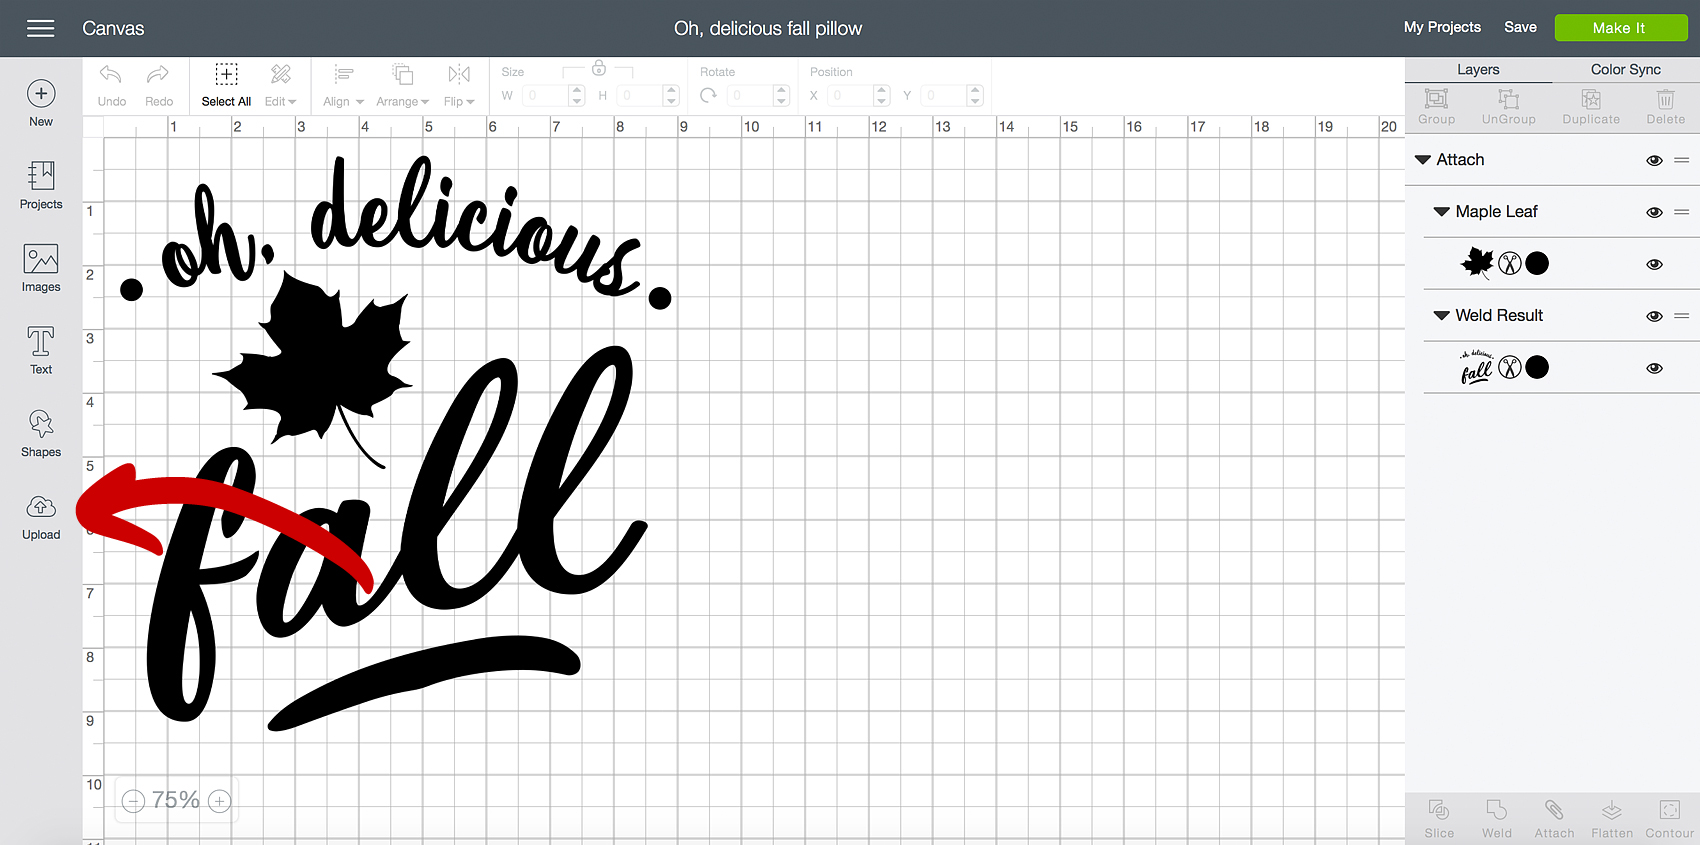
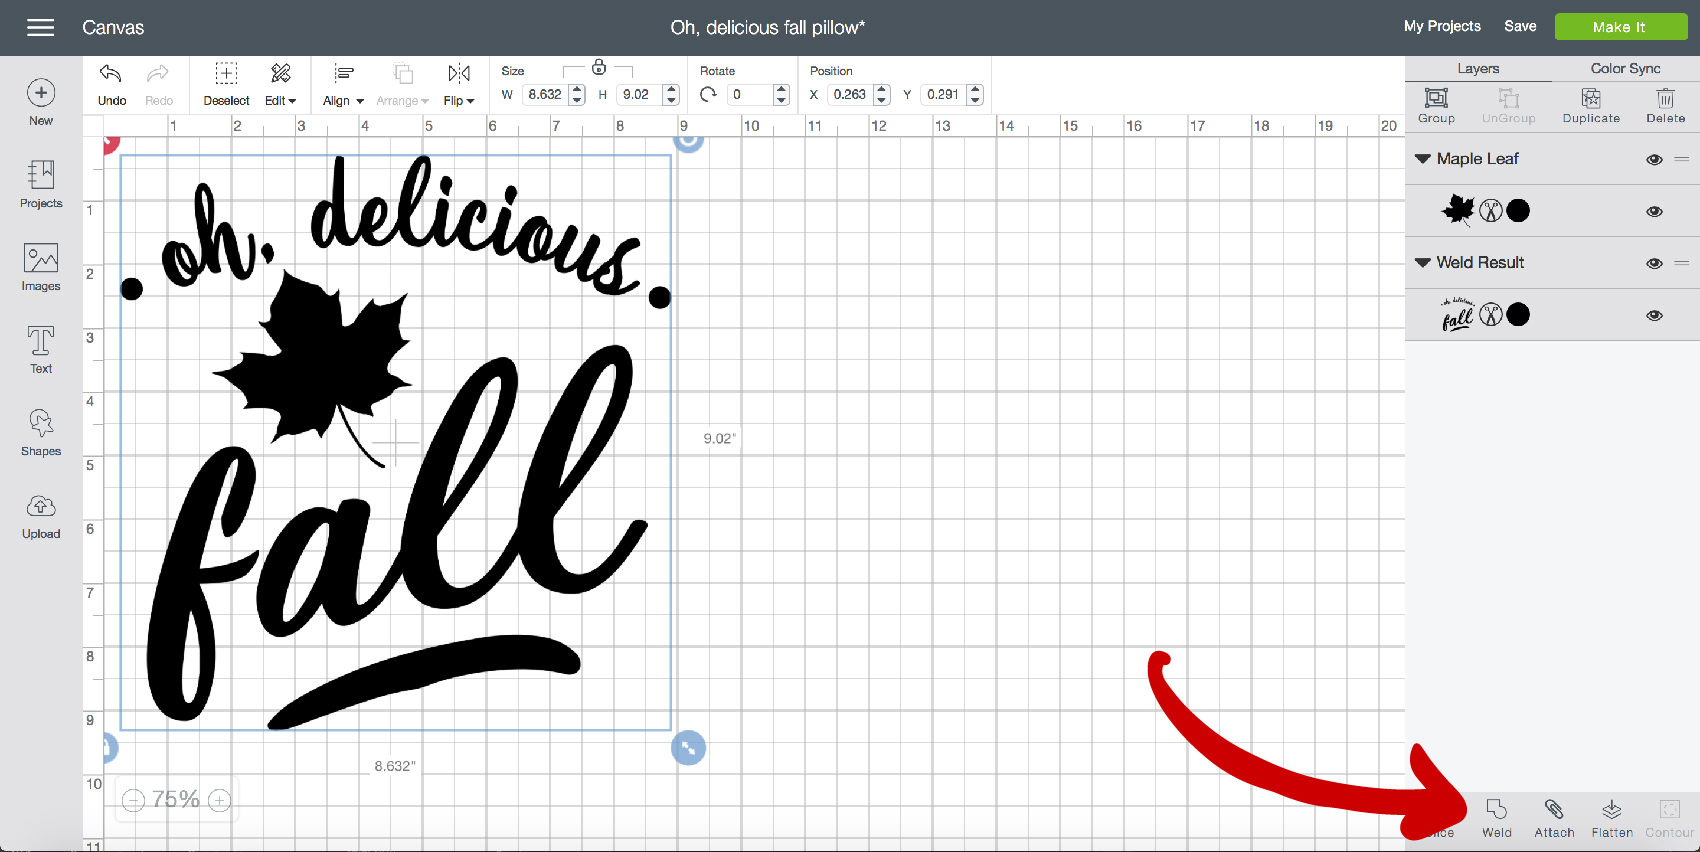
Size and place the leaf into the design and then you need to select your designs and then Weld them together and then Attach them to your “cutting mat.”

weld your design-100

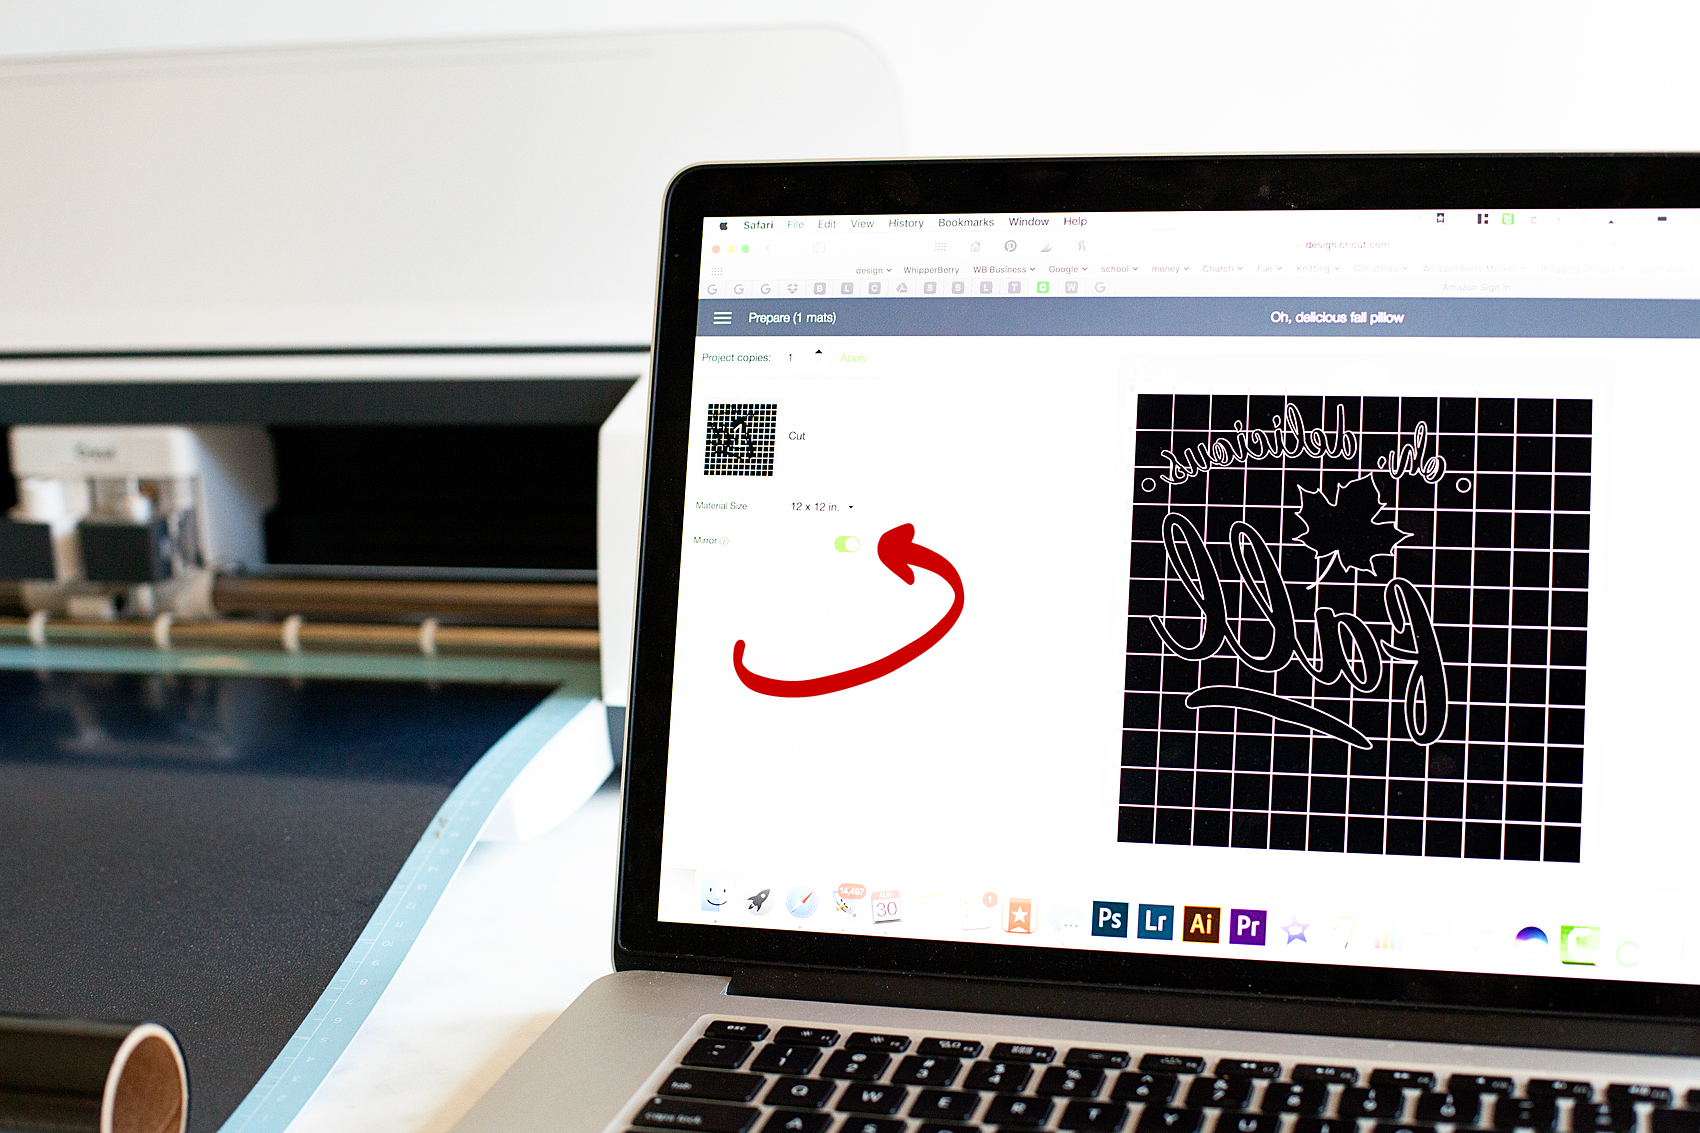
Now, it’s time to “Make It” by clicking on the Make It button at the top right of the screen. When working with iron-on material, you need to make sure that you mirror the design so that it cuts properly.

mirror image for iron on -100

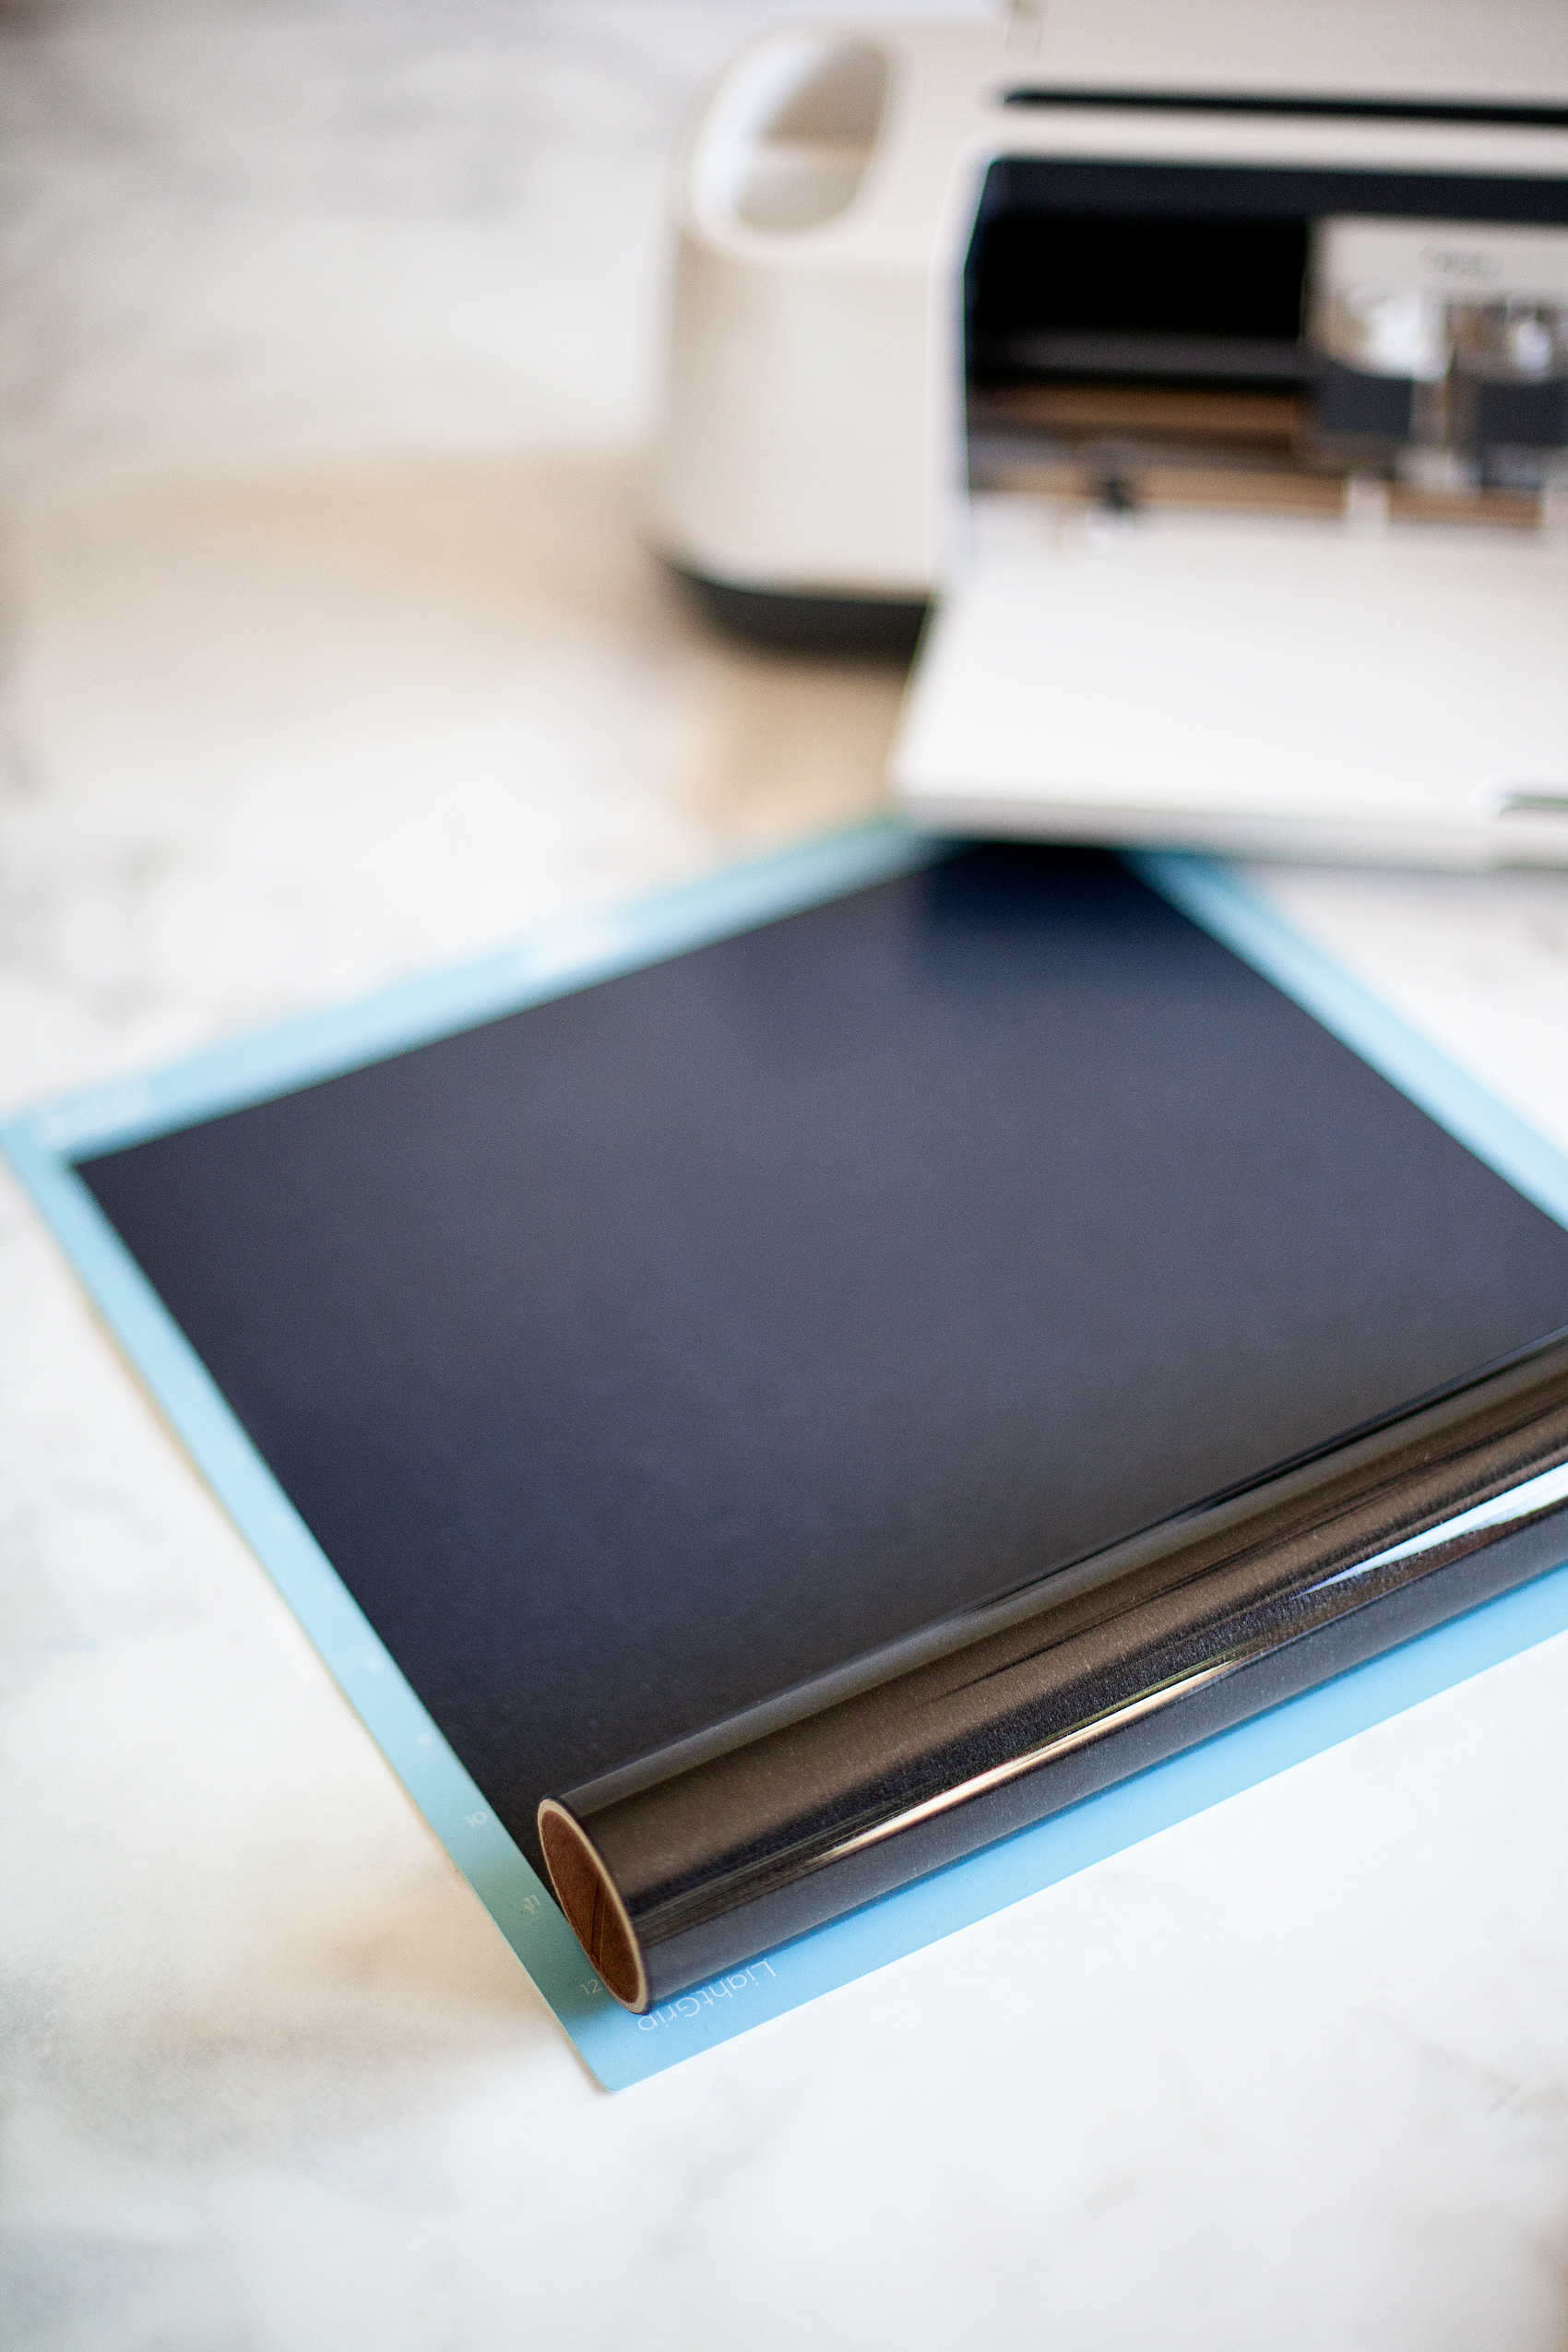
Now, you need to place your Cricut Iron-On light onto your cutting mat. Make sure to follow the package directions for how to place it on your mat. Basically, the shiny side needs to be placed face down on the mat. If you were following my Instagram Story, you would have seen that I don’t bother to cut the material off of the roll until I have finished cutting my design. It cuts down on waste and makes it easier to remove your design from the cutting mat. All you need to do is roll it right back up. It’s super slick.

How to load your Cricut Iron-On Lite onto your cutting mat.

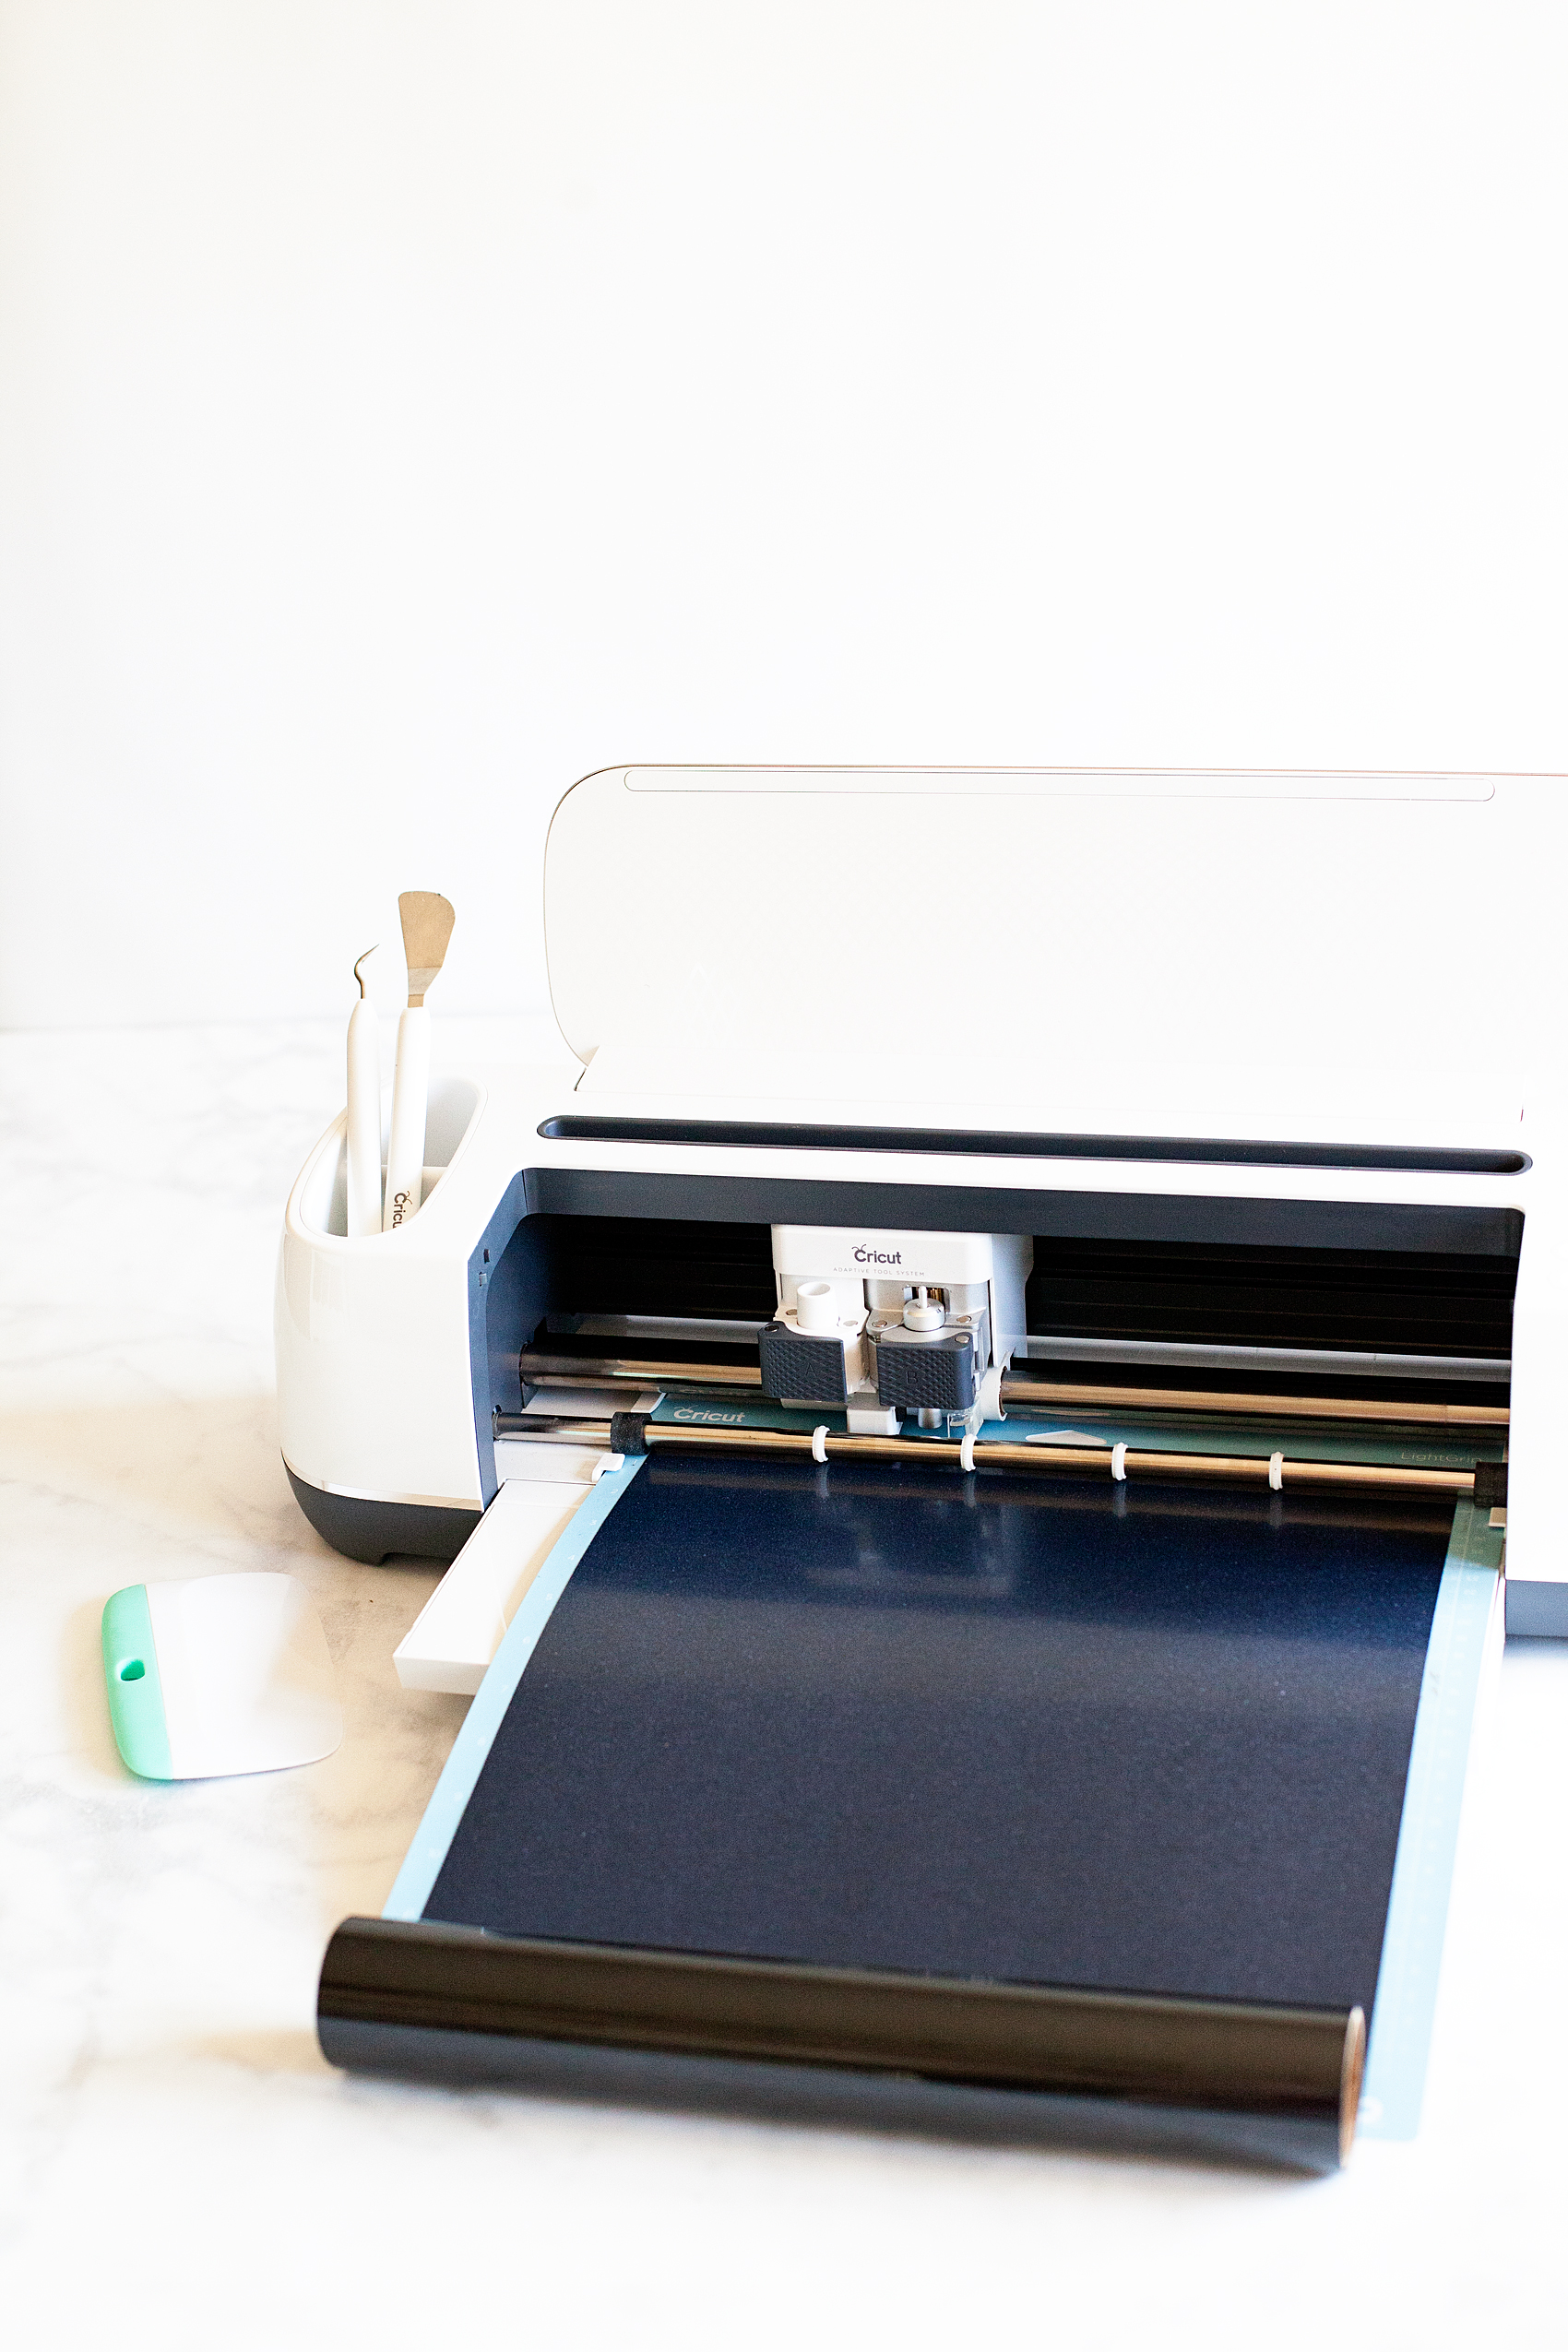
Now, you need to load your mat into the machine, connect your machine to your computer, iPad or other mobil device via Bluetooth and then select your material that you will be cutting.

Oh,-Delicious-Fall-Pillow-Cricut-Maker-Cricut-Easy-Press-WhipperBerry-12

Click on Iron-On and you’re all set to cut…

Learning how to cut iron on vinyl with the Cricut Maker via WhipperBerry

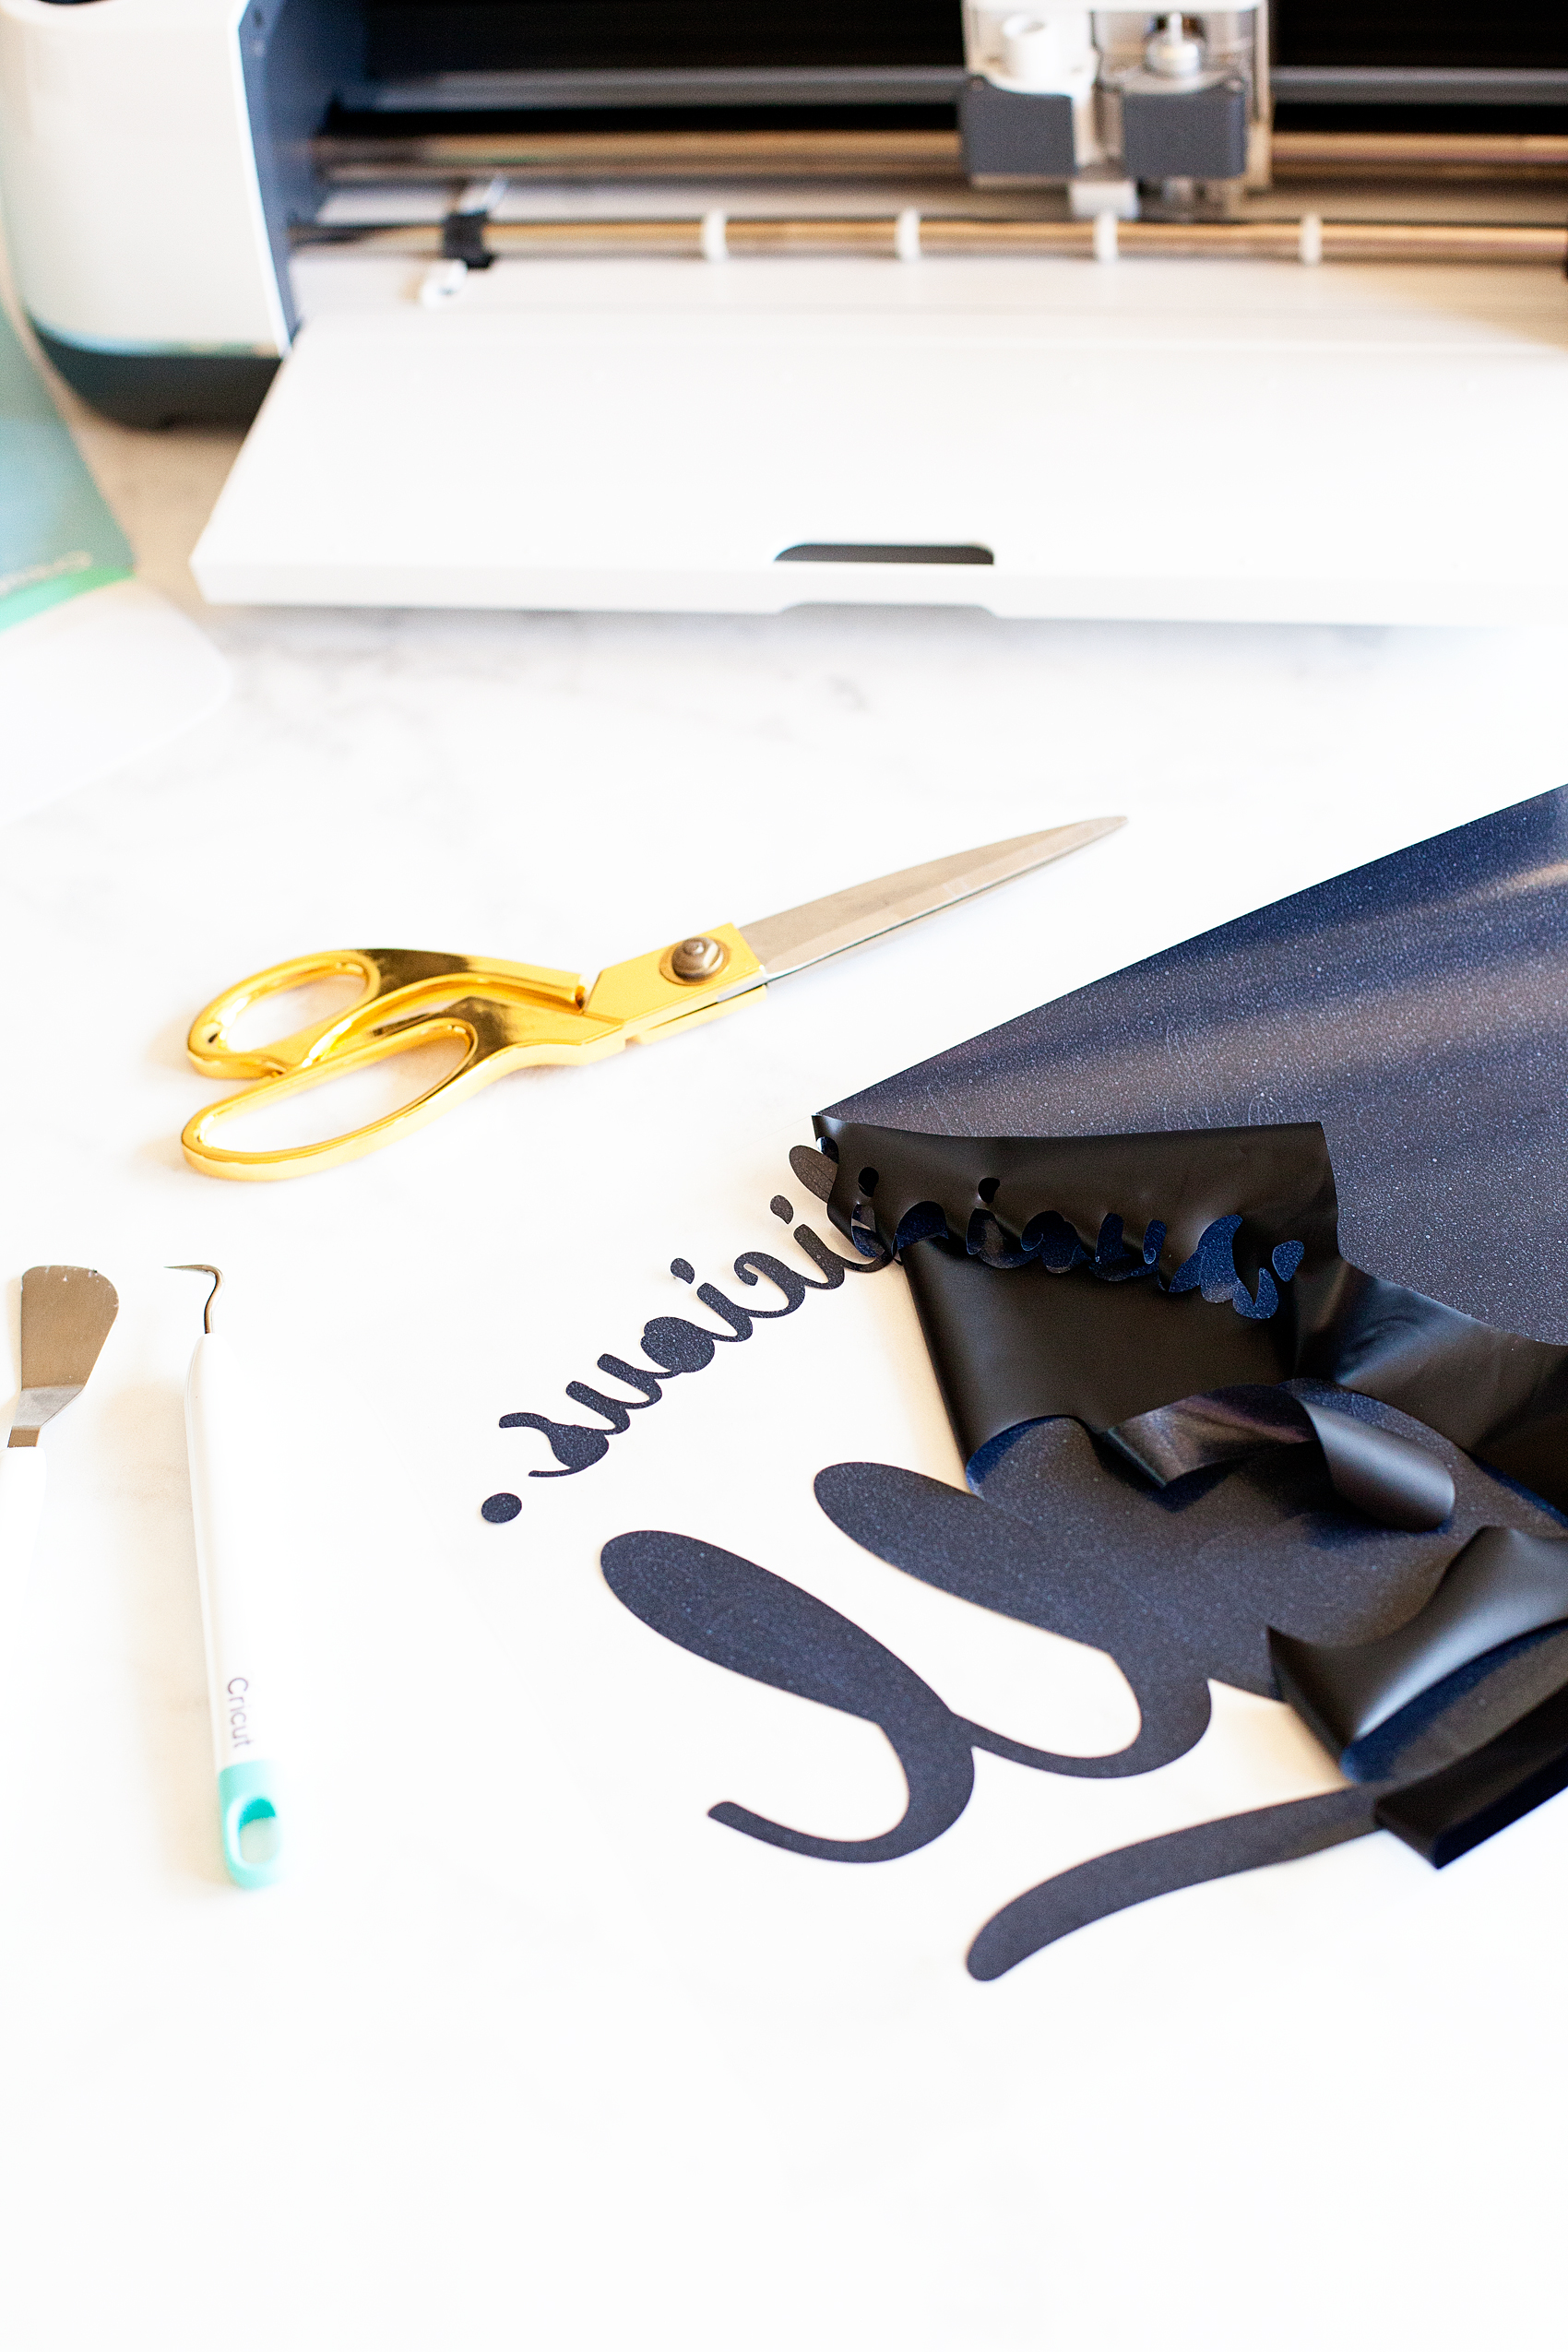
Once you have finished the cutting process, you’ll need to weed your iron-on vinyl to remove the excess material.

Oh,-Delicious-Fall-Pillow-Cricut-Maker-Cricut-Easy-Press-WhipperBerry-13

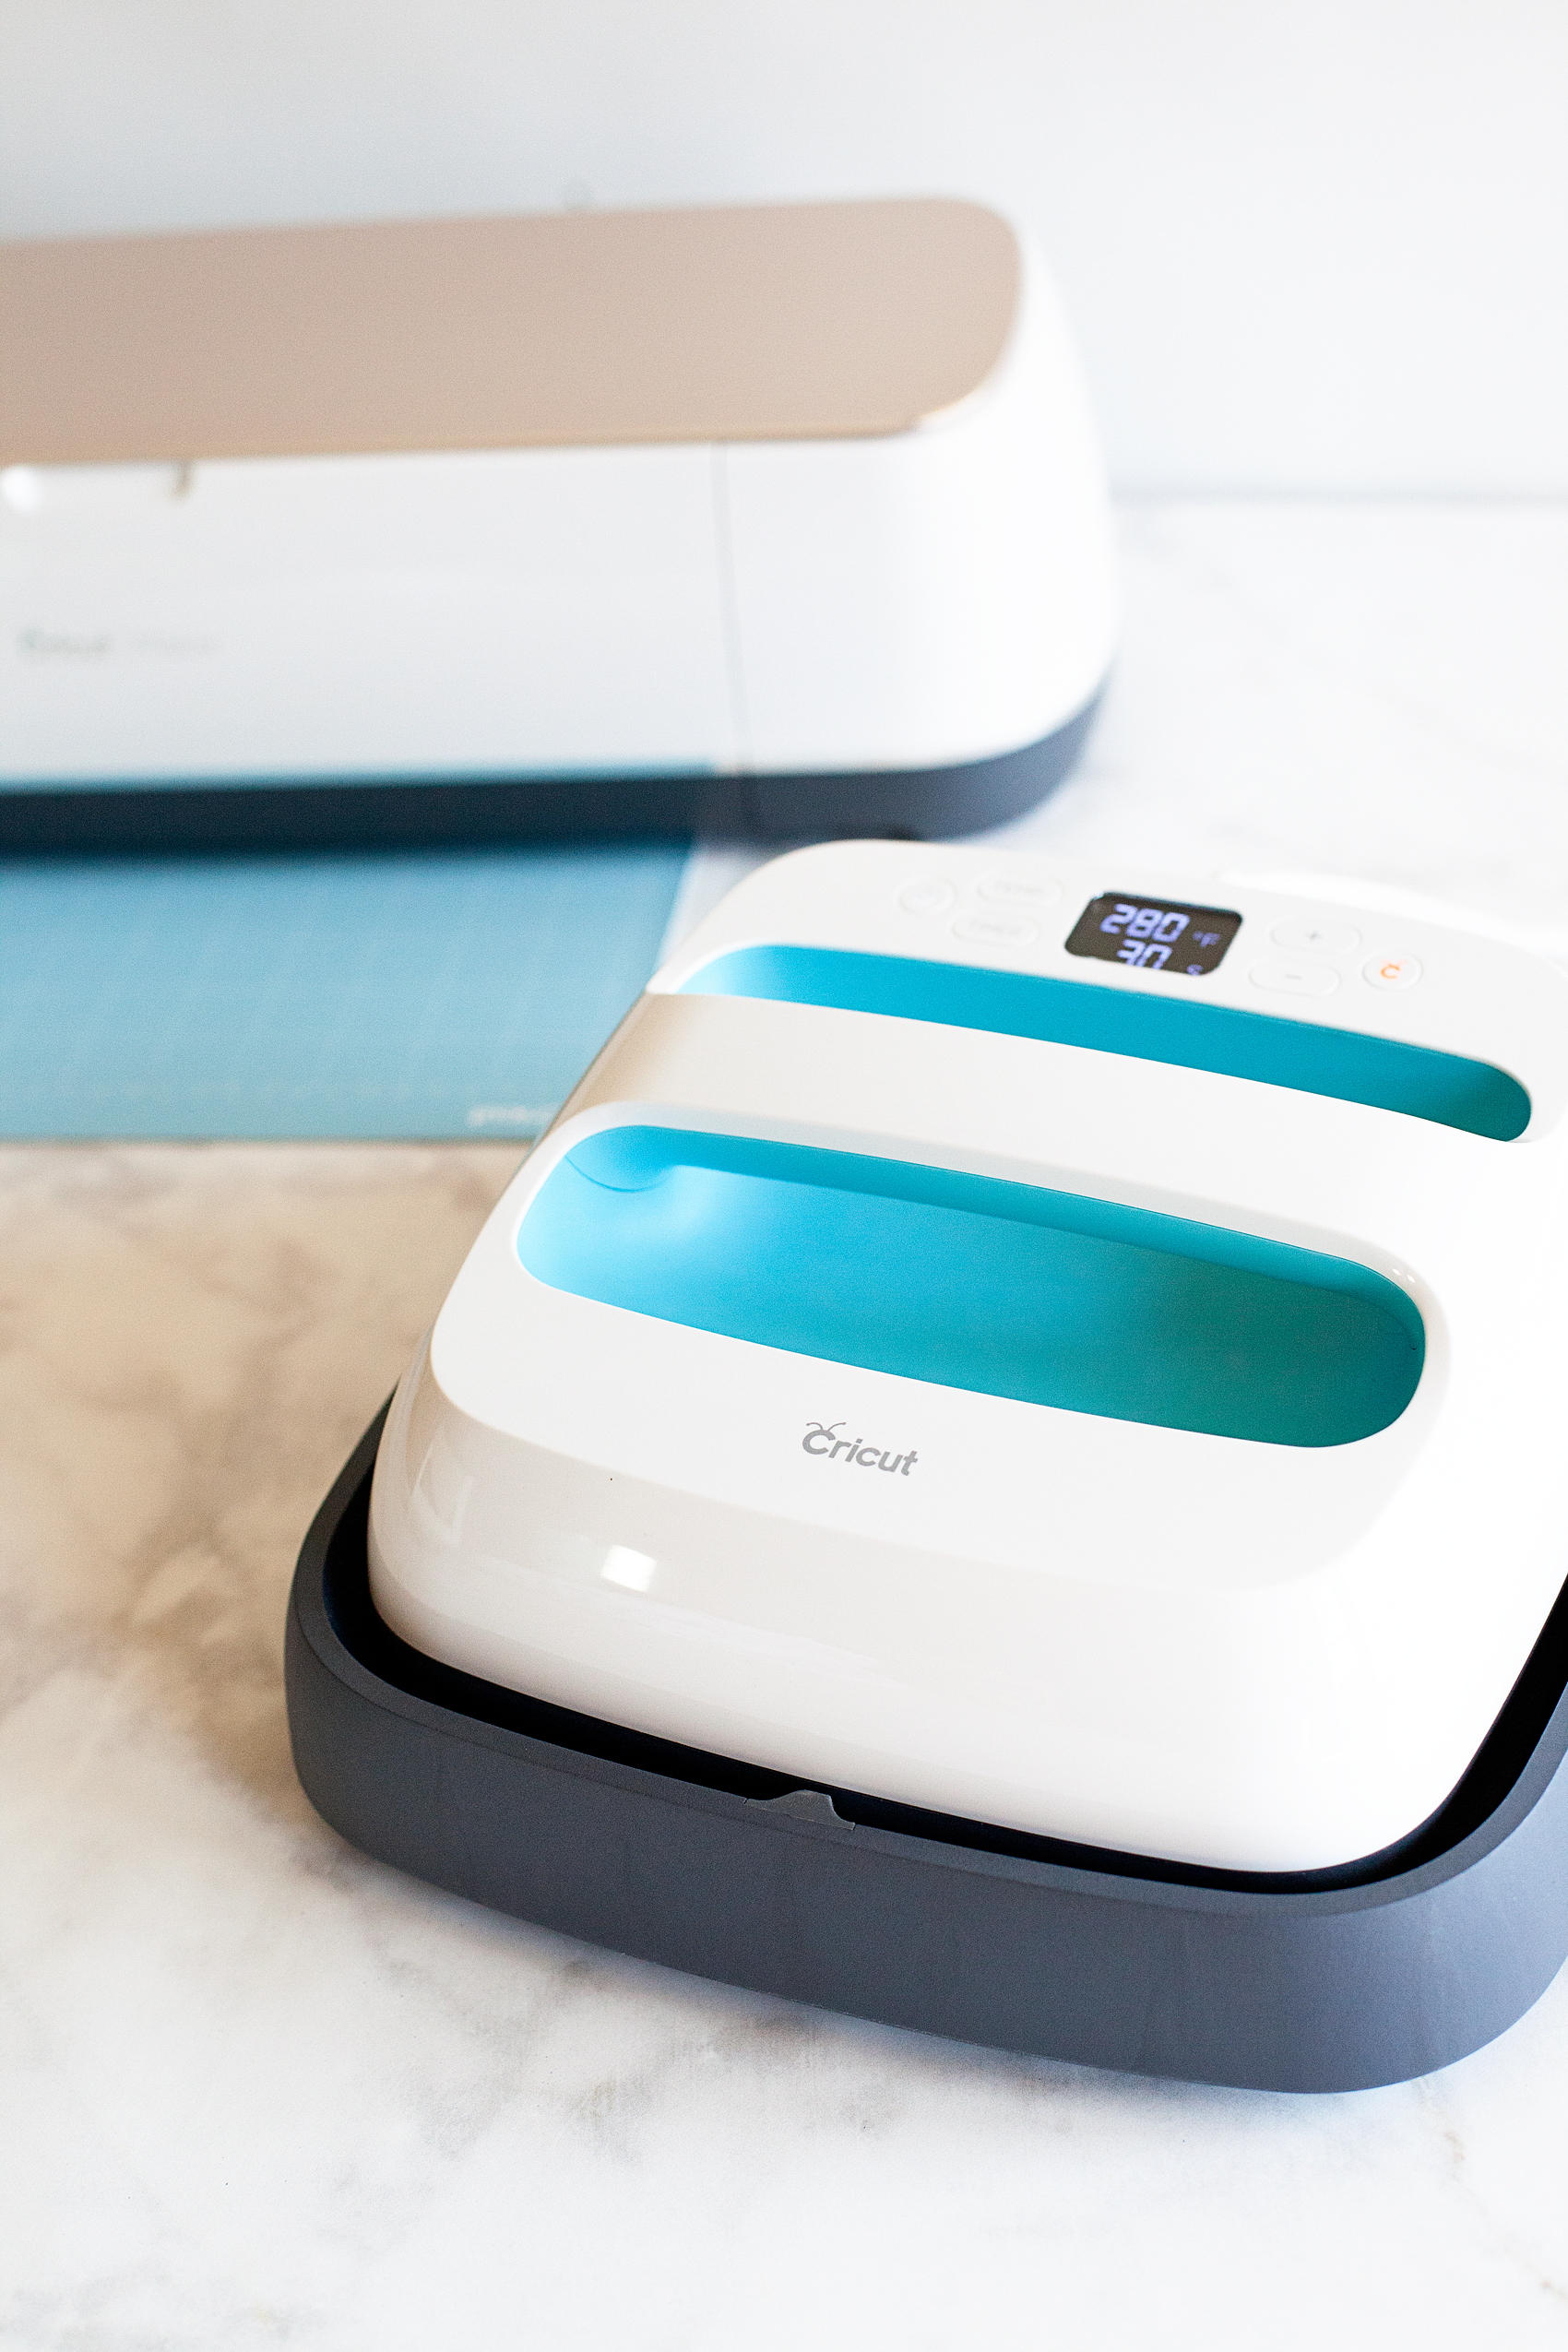
While you are weeding your iron-on vinyl, you’ll want to pre-heat your Cricut Easy Press or your iron so that you’re ready to go once you’ve finished weeding.

The NEW Cricut MAKER and the Cricut Easy Press

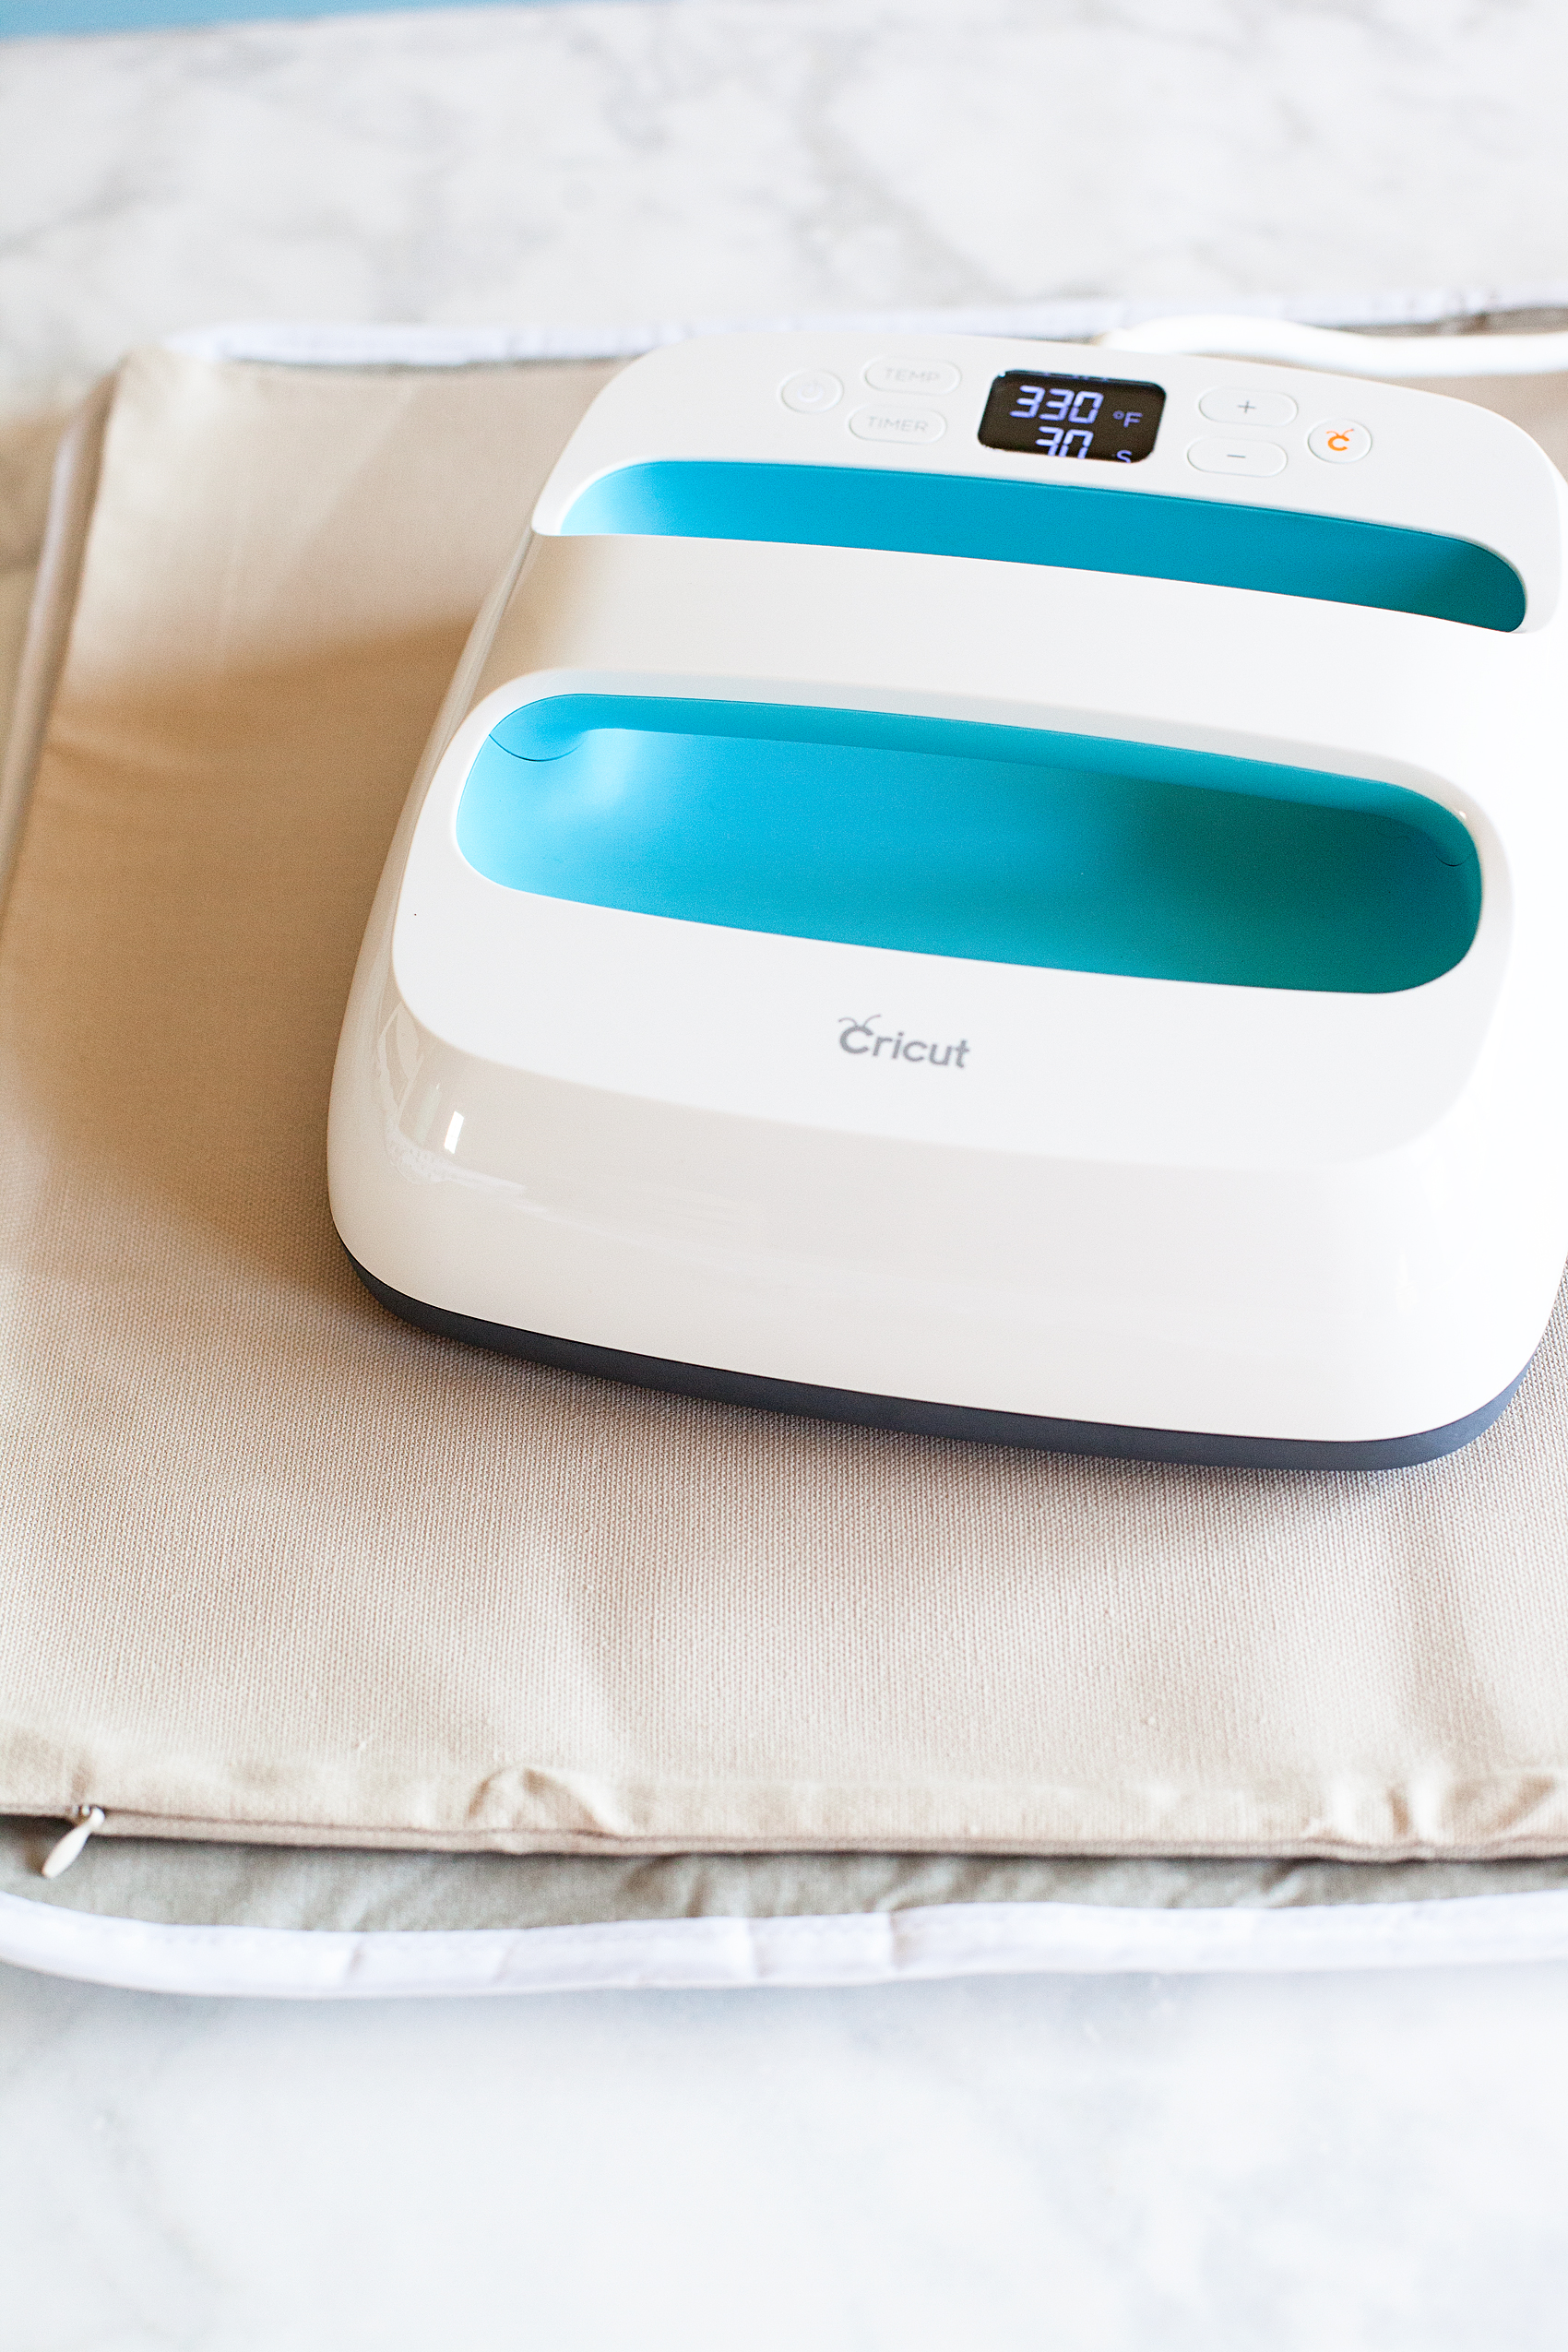
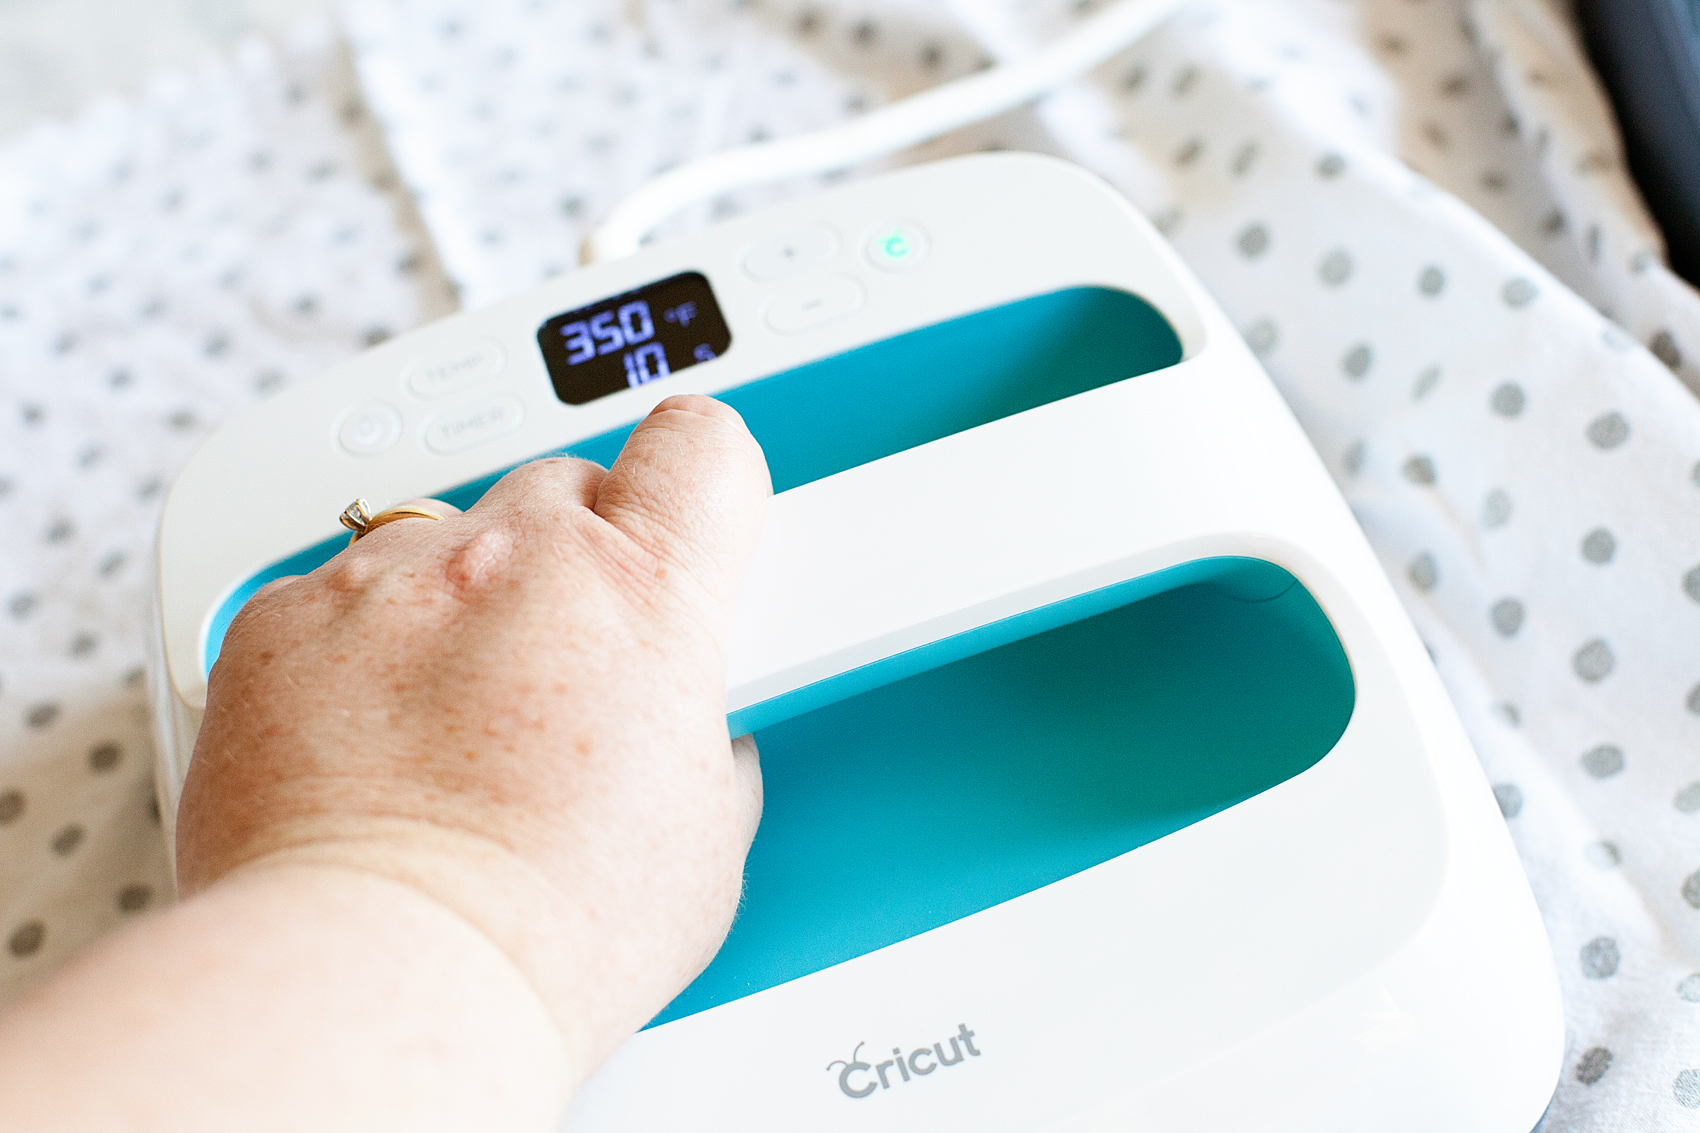
I have found a setting of 350˚ for about 50 seconds usually does the trick when I’m working with the Cricut Iron-On Lite. The nice thing about the easy press is that is has nice consistent temperature over the entire base. Check this out…

ed00ca8a52d9b0e655dc521e1366d505

This is showing the heat variance with a traditional iron. That’s why some people have been frustrated in the past with creating iron-on projects. You don’t have to worry about that anymore with the Easy Press. It has a large 9×9 inch plate which is AWSOME!! That’s how you’ll achieve professional results without investing in a bulking and expensive heat press machine. It’s light weight and easy to store which is a total bonus.

First, I pre-heat my pillow cover, this helps to start the iron-on process with the vinyl. Plus, it irons out any wrinkles in your pillow cover.

Oh,-Delicious-Fall-Pillow-Cricut-Maker-Cricut-Easy-Press-WhipperBerry-16

Oh, I also use a portable ironing blanket that you can find at Walmart or Target in the laundry section. It’s perfect for protecting your surface while you’re using the Easy Press.

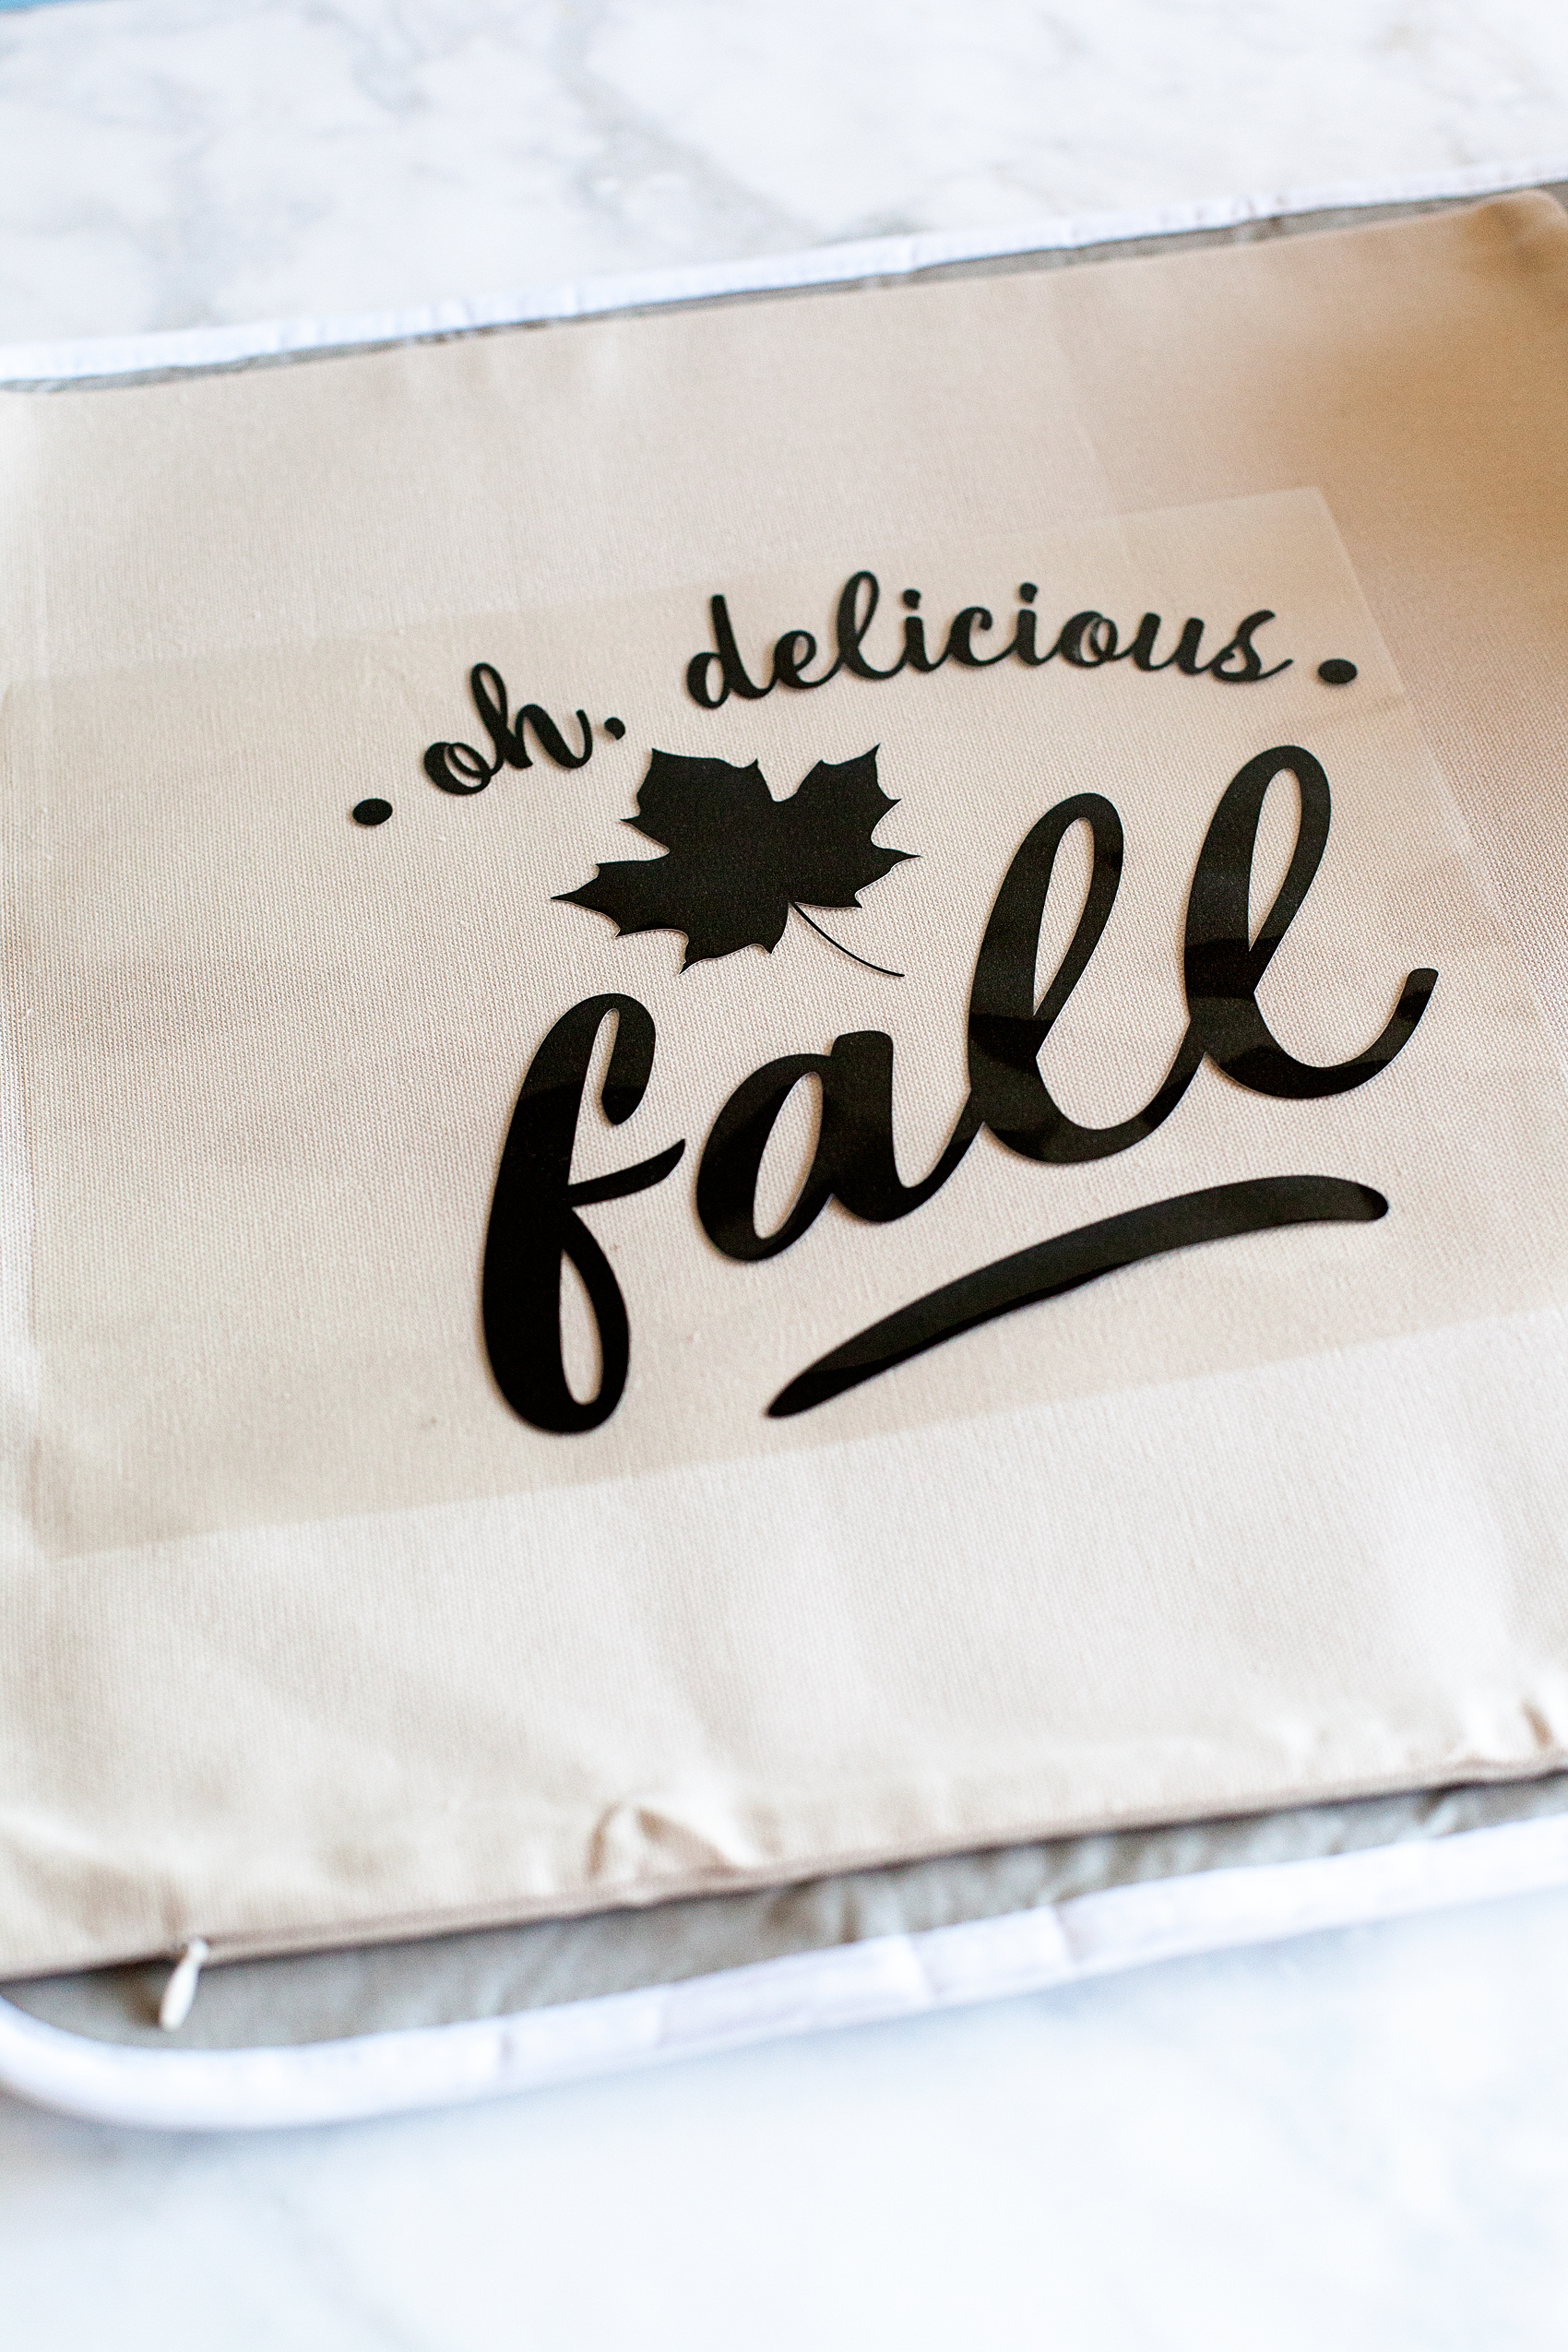
Now, center your design on your pillow cover.

Oh,-Delicious-Fall-Pillow-Cricut-Maker-Cricut-Easy-Press-WhipperBerry-17

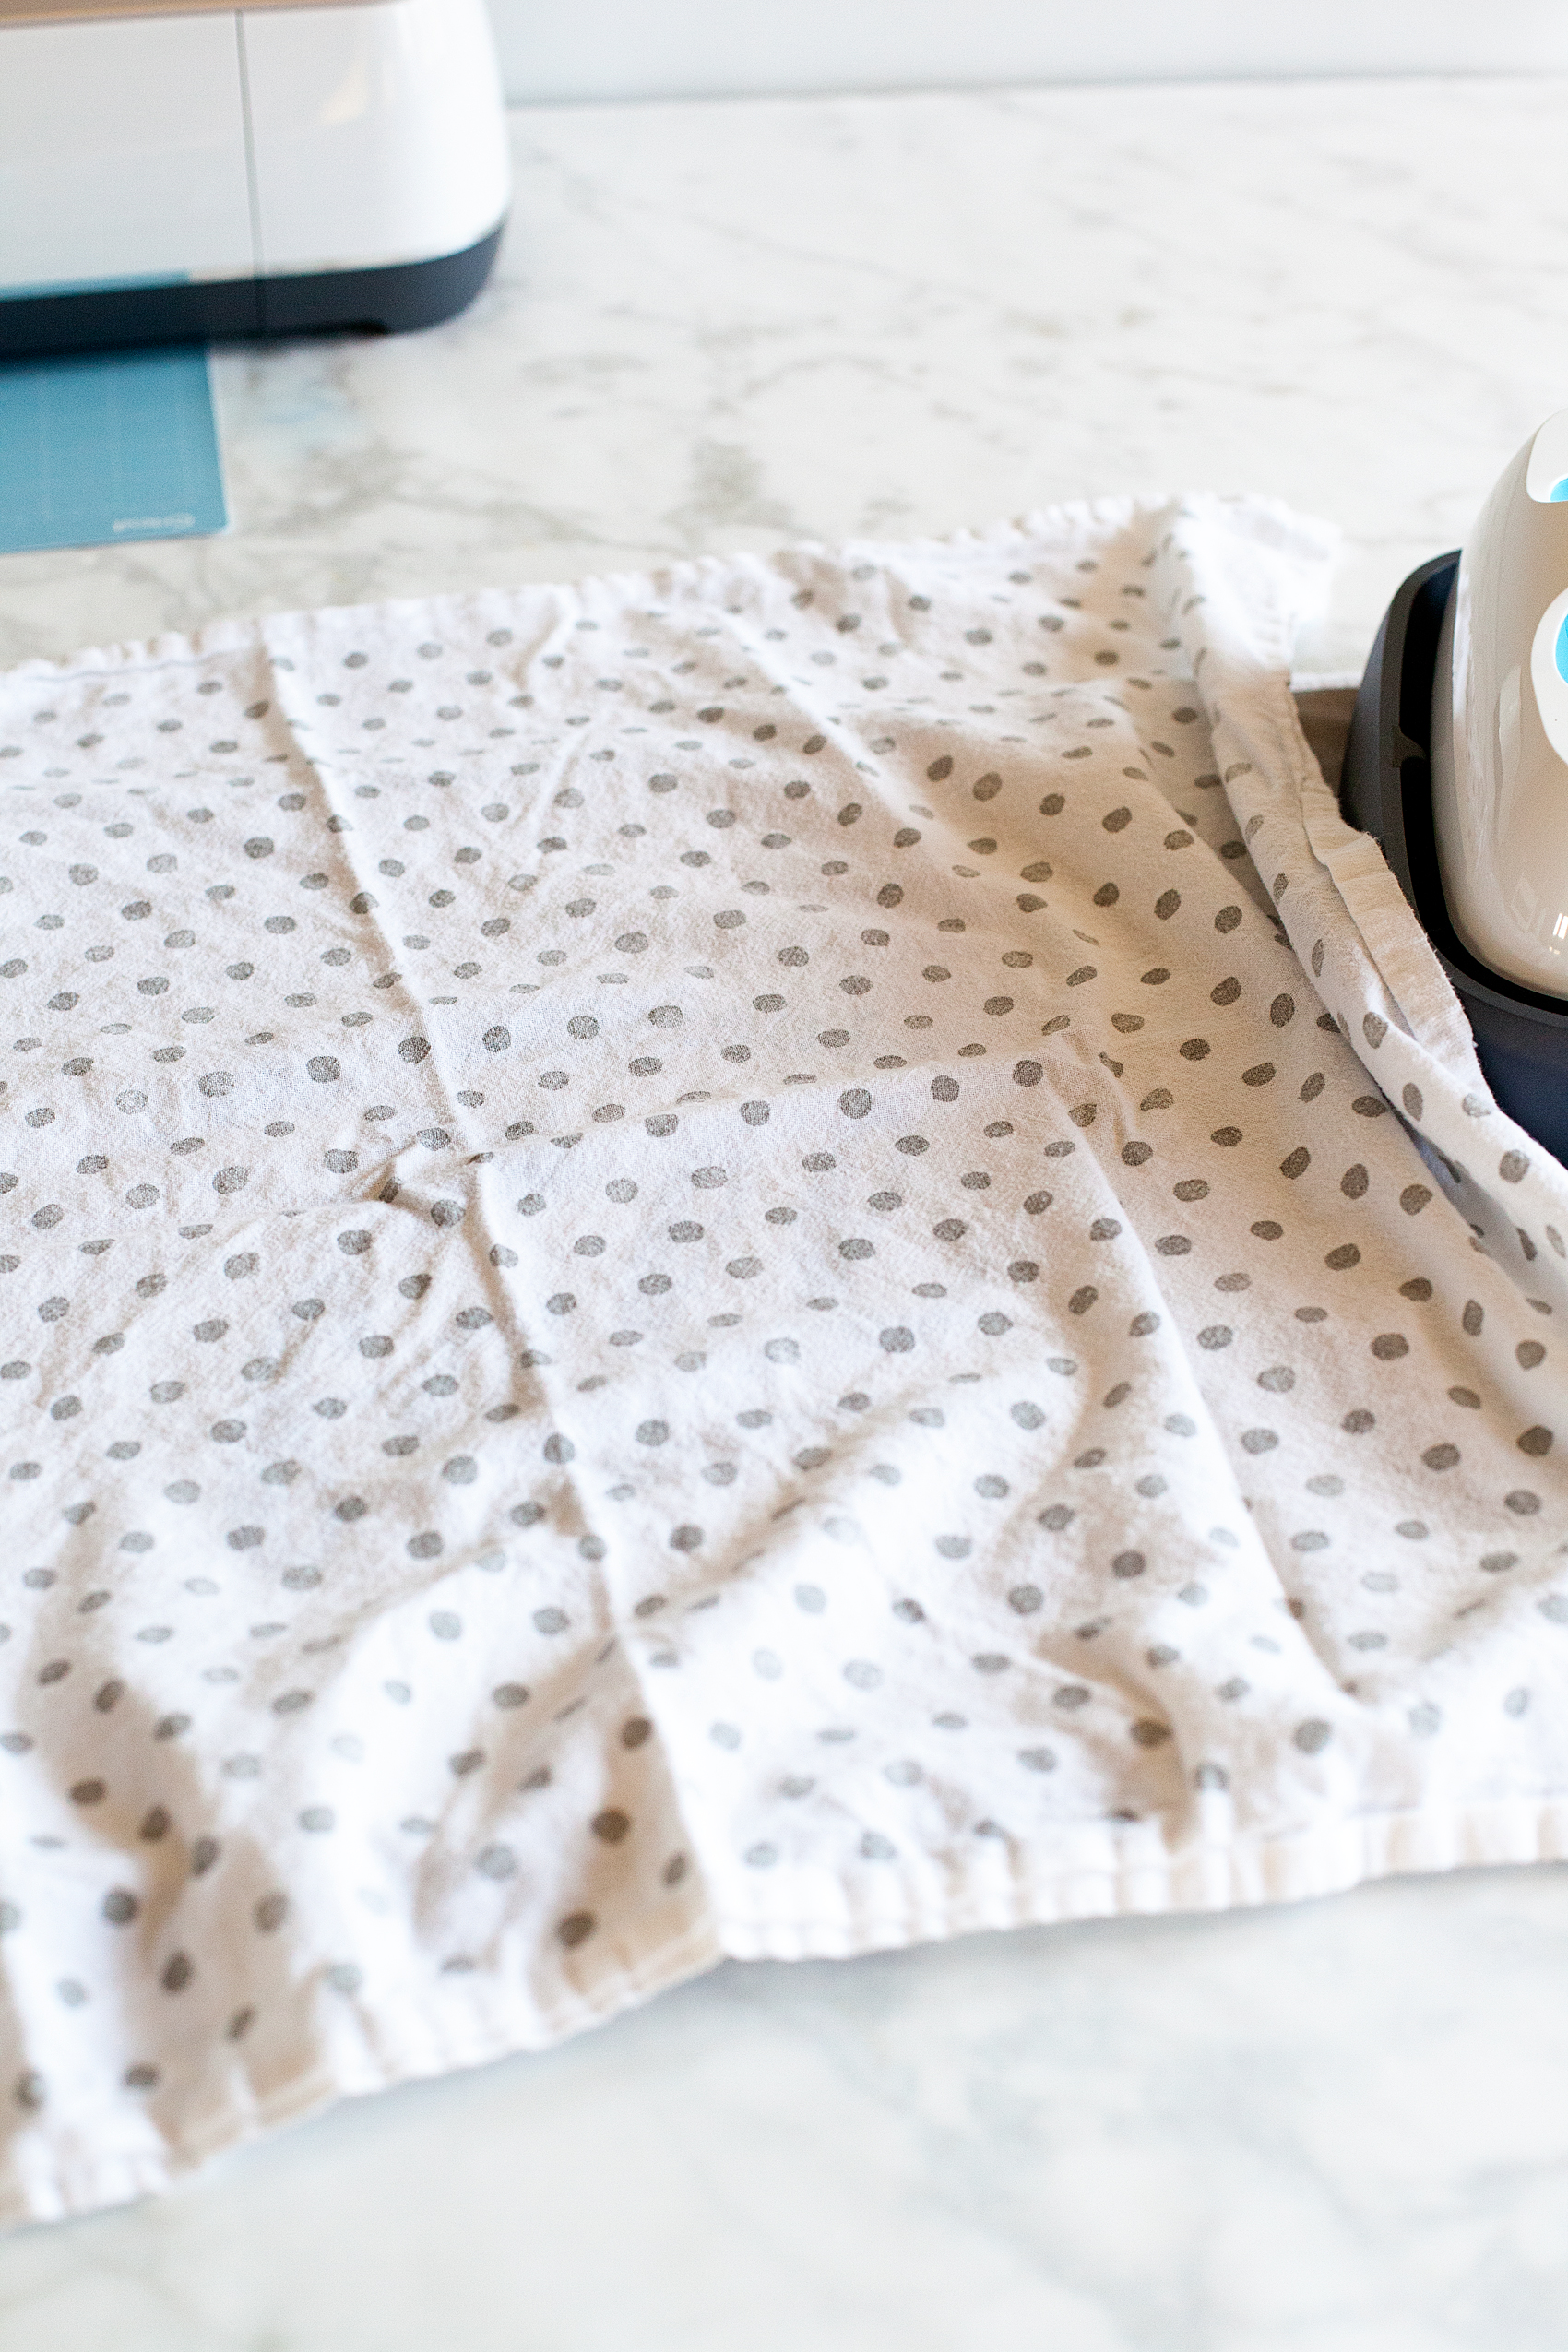
Cover your design with a light cotton tea towel.

Oh,-Delicious-Fall-Pillow-Cricut-Maker-Cricut-Easy-Press-WhipperBerry-18

And then, place the Easy Press onto your design with the timer set for 50 seconds and press the Cricut button to start the timer. Lightly press on the Easy Press and wait for the timer to go off.

Oh,-Delicious-Fall-Pillow-Cricut-Maker-Cricut-Easy-Press-WhipperBerry-19

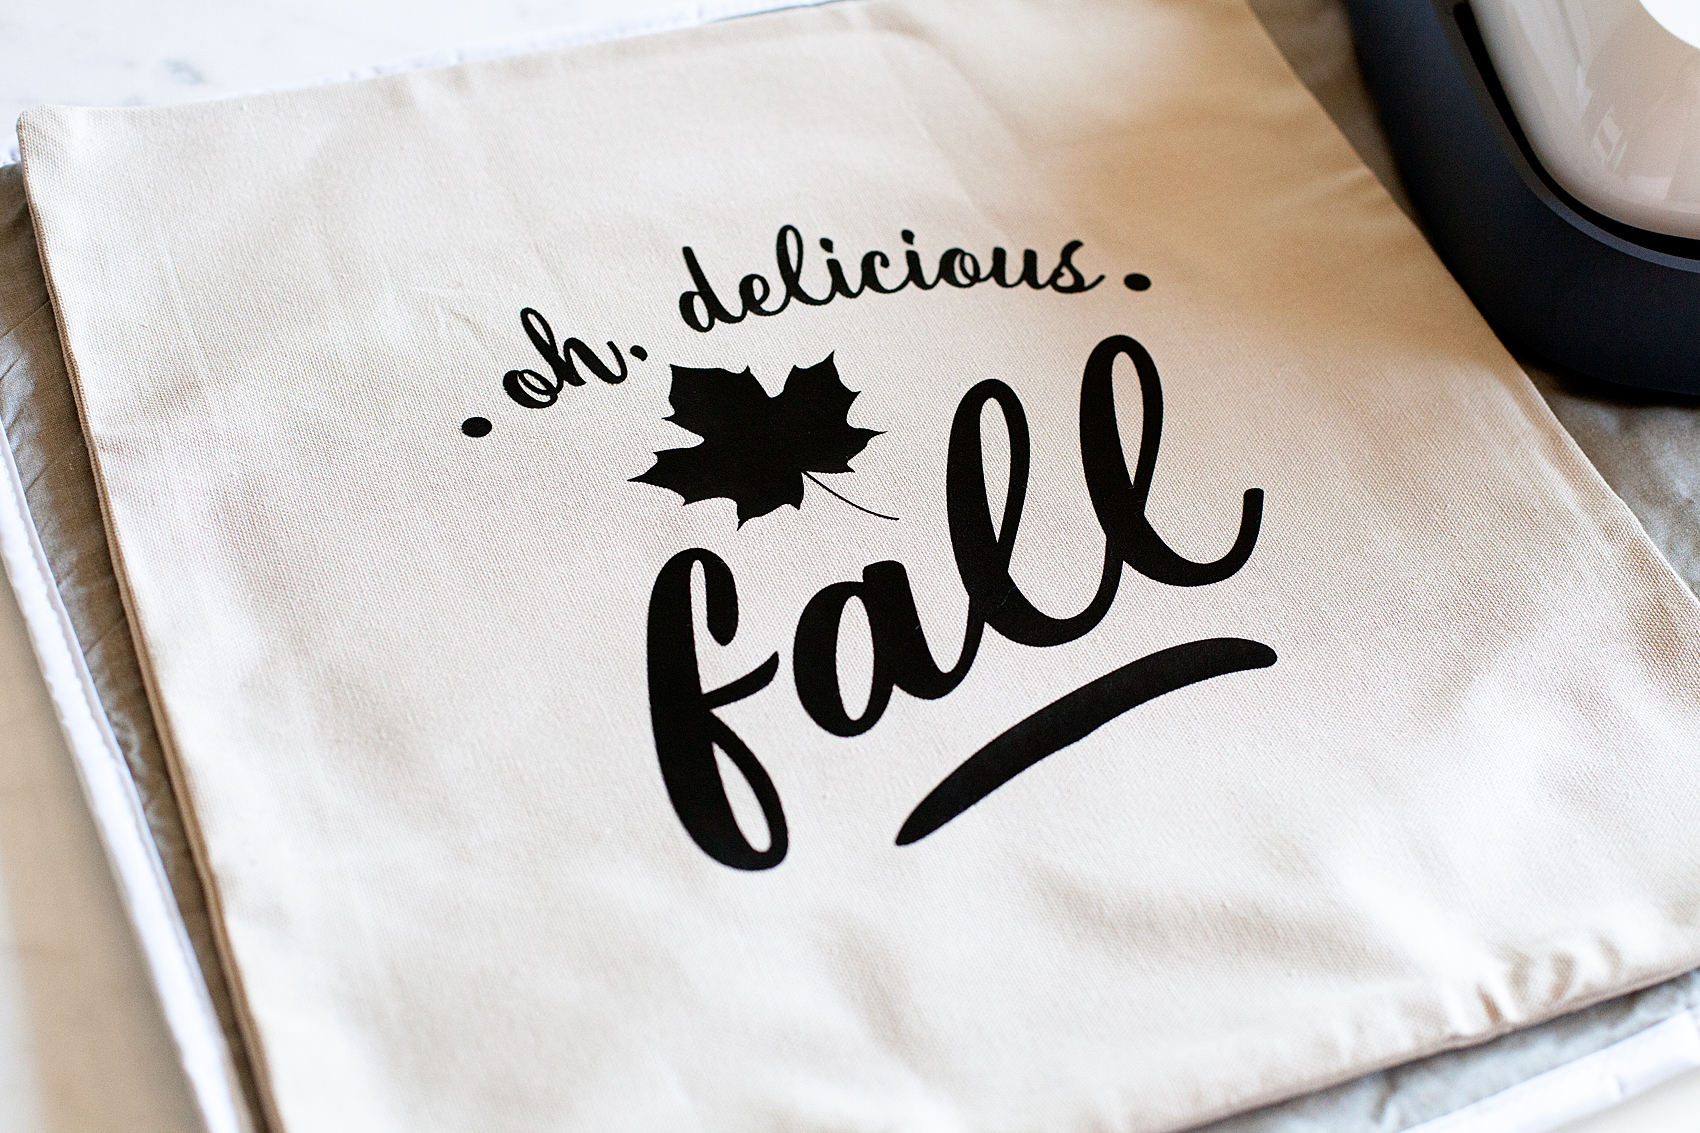
Now, my design was a little larger than the 9×9 plate so I did it a few times to make sure I had transferred the entire design onto my pillow cover. Then I removed the protective plastic cover, replaced the towel and then did one more go with the Easy Press to make sure everything was set.

Oh,-Delicious-Fall-Pillow-Cricut-Maker-Cricut-Easy-Press-WhipperBerry-20

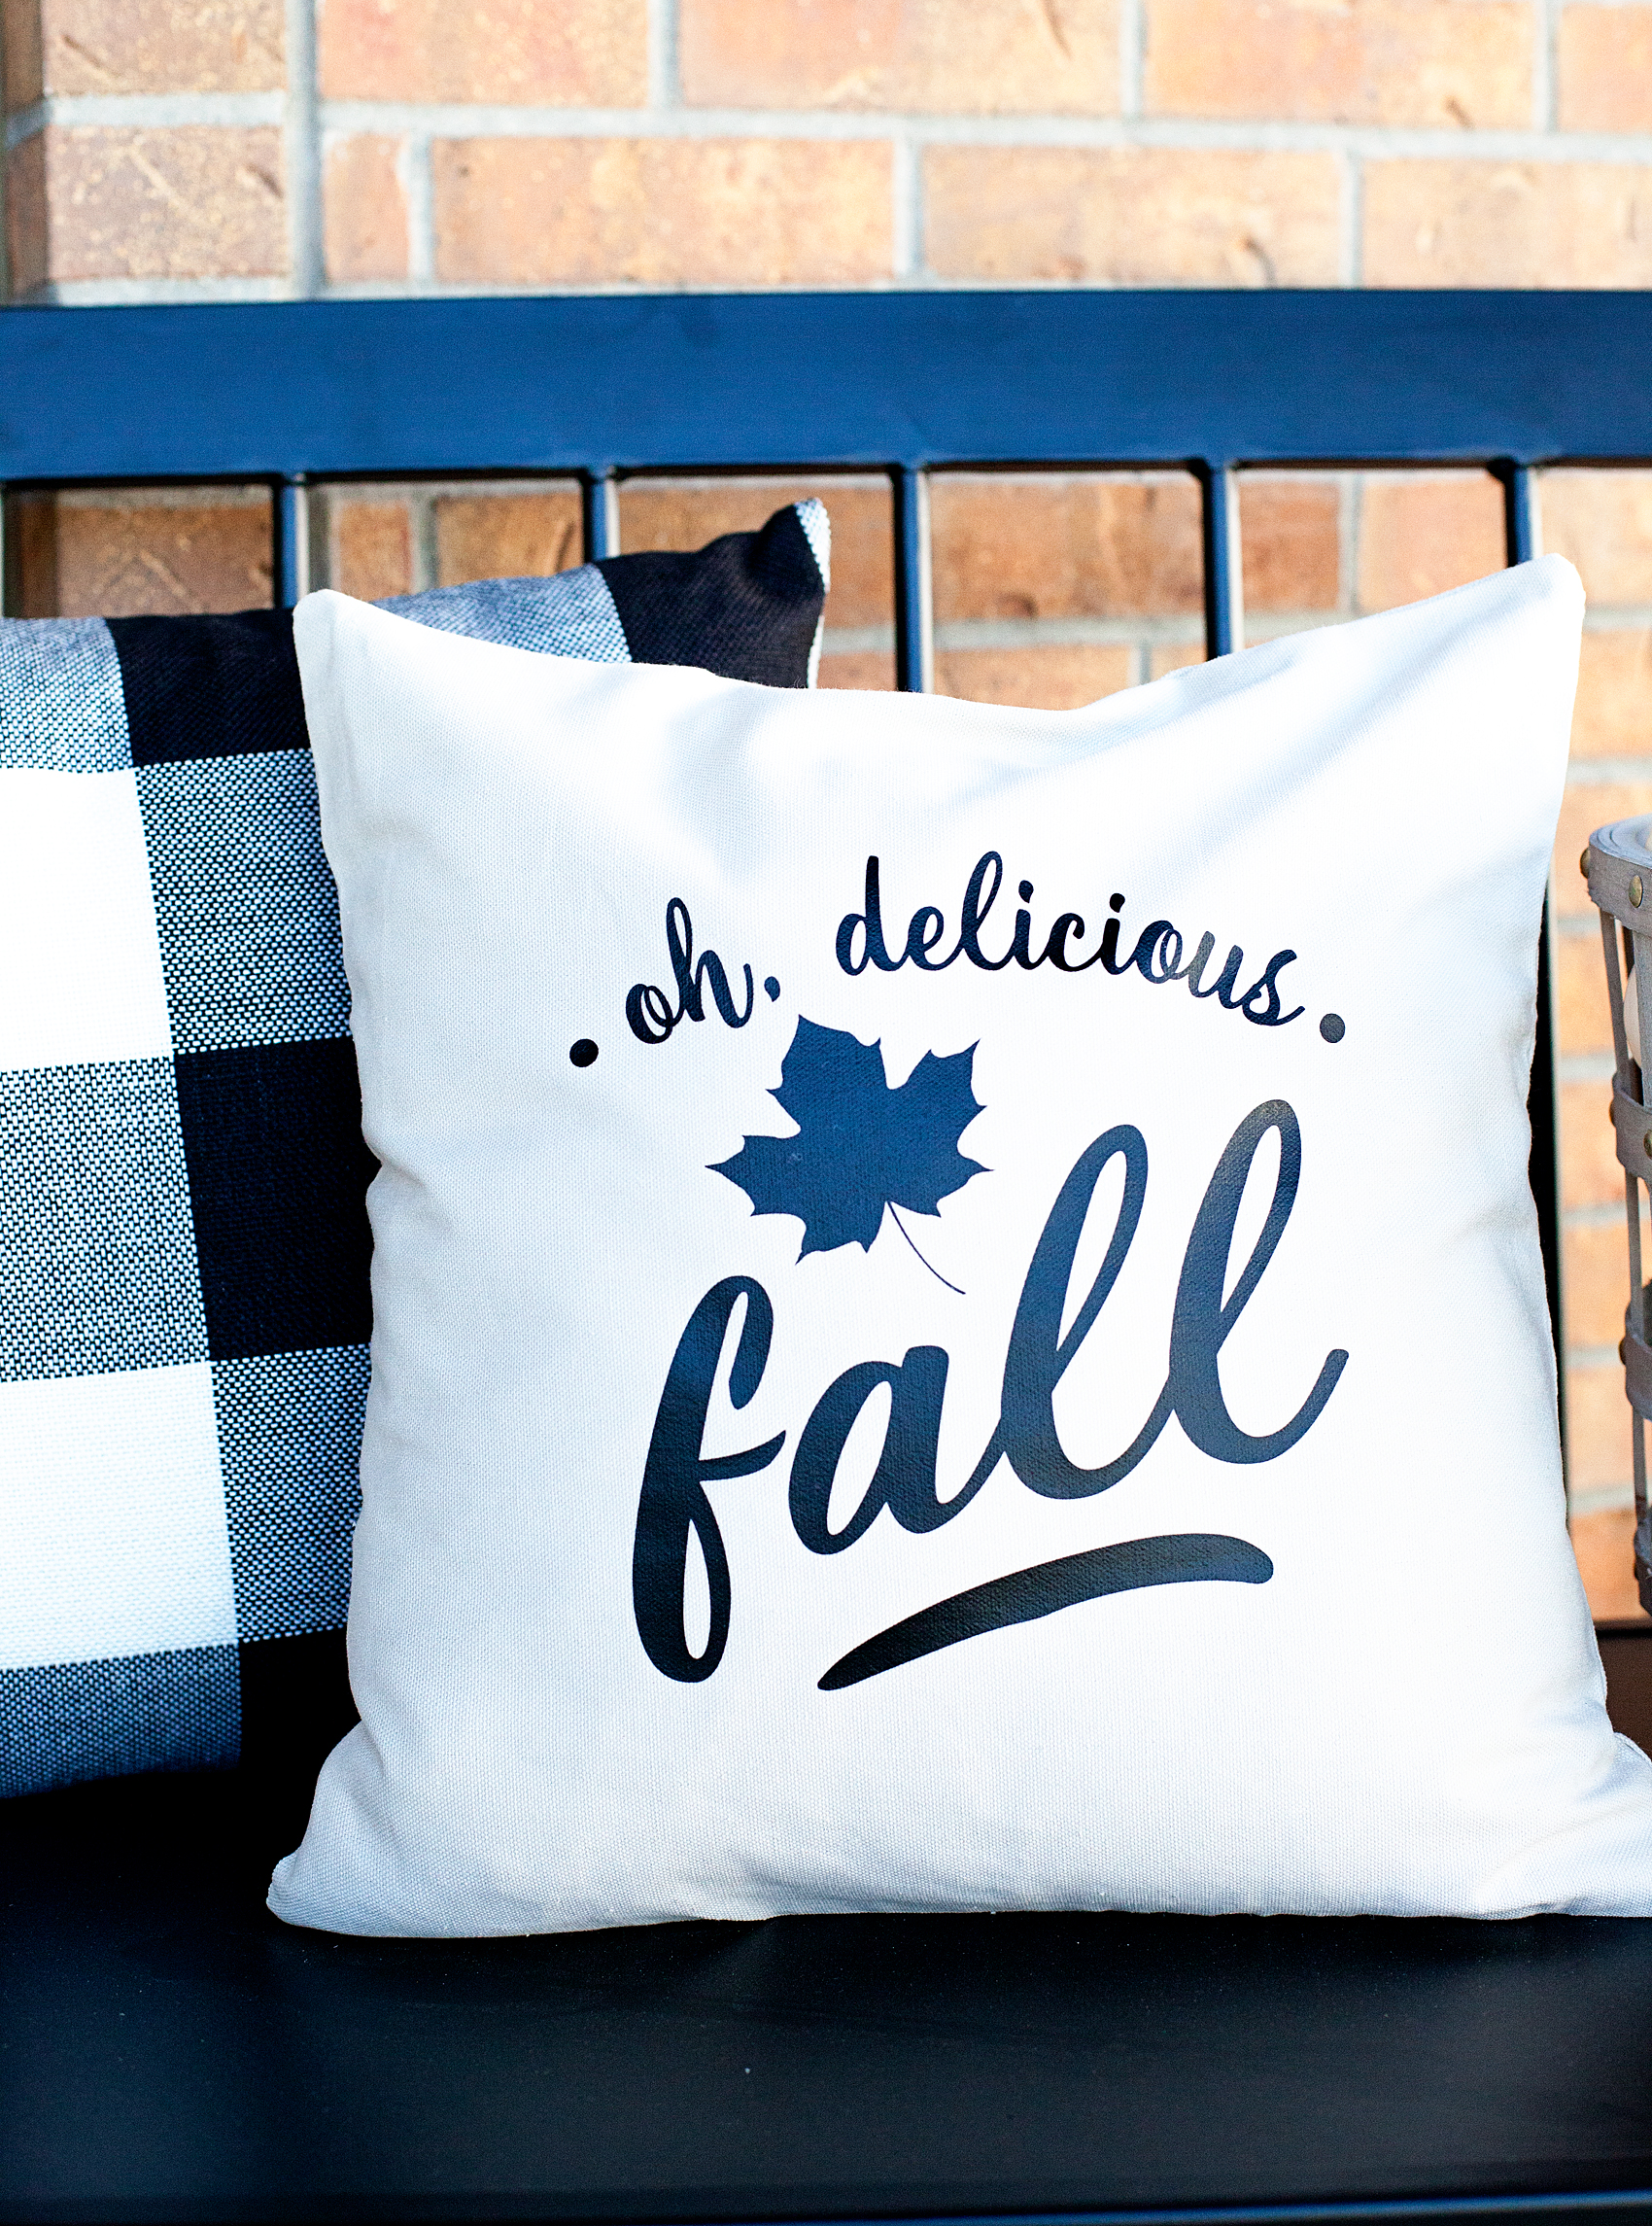
That was it! I put the pillow form into the pillow cover and voilá… I had a fun accent piece for my new front porch bench.

Oh, Delicious Fall accent pillow created by WhipperBerry

How simple is that? If you don’t have a Cricut machine or the Cricut Easy Press… I would for sure start dropping hints to Santa pronto! This is a new era for creating and these are the must have tools!!

Disclaimer • I am a Cricut Ambassador this year and I’m thrilled to be a part of that crew. I truly love these products and for sure would not share anything that I didn’t naturally use in my own life and LOVE. I have received product and payment for my time in putting together this informative post for you guys. I hope you ENJOY!

This is a sponsored conversation written by me on behalf of Cricut. The opinions and text are all mine.

Vanilla Macchiato Glaze Recipe + Pumpkin Recipe Ideas

9 · Sep 16, 2016 · Leave a Comment

Vanilla Macchiato Glaze Recipe from whipperBerry

One of the best parts of Fall is the ushering in of the baking season! You know what I’m talking about… Summer has been so hot, too hot to turn on the oven. Plus, we’ve been enjoying the fruits of the season, YUM! Now it’s time to turn our attention to the love of all things pumpkin & spice that goes so well with my new Vanilla Macchiato Glaze that I’m sharing today.

But, before I do that that, here are a few of my favorite fall pumpkin recipes from over the years here on WhipperBerry to get the fall baking ideas flowing. Some of these recipes will go great with this new Vanilla Macchiato Glaze…

5 Pumpkin Recipe Ideas

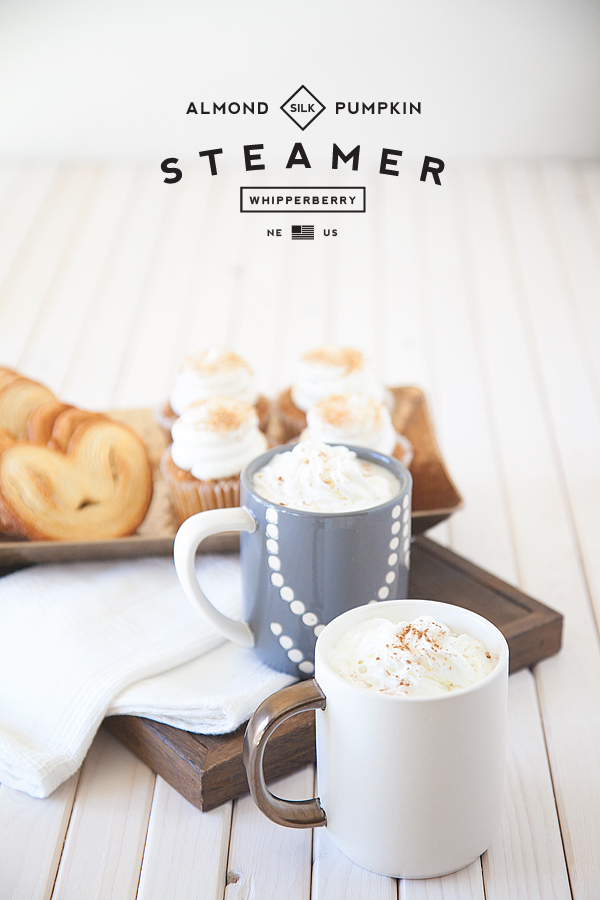
Who needs PSL when you can have a Pumpkin Spice Steamer right at home. Recipe from WhipperBerry

Pumpkin Spice Steamer

I know this isn’t a baking idea, but man-oh-man, this steamer pairs lovely with all things baked! Give it a go, I promise you’ll love me for it!

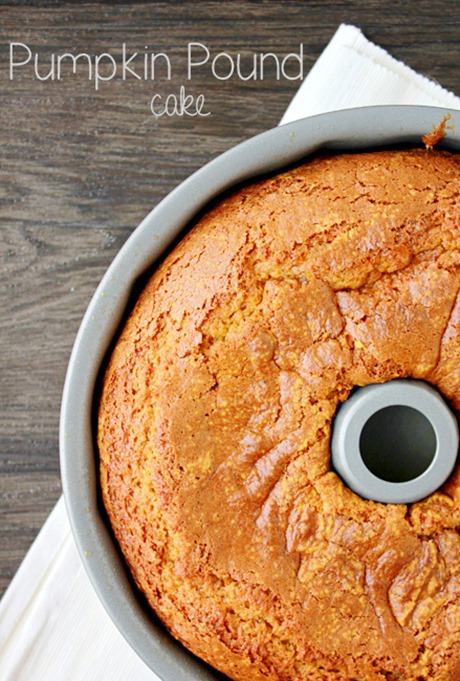
pumpkinpound-cake_thumb

Pumpkin Pound Cake

Need I say more? Pumpkin and Pound Cake… Yea, I know!

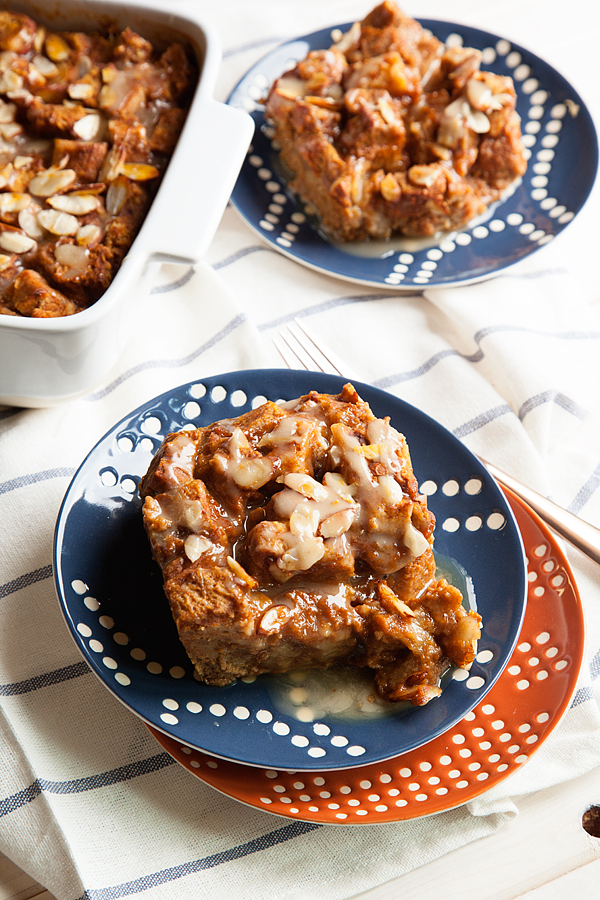
Pumpkin Bread Pudding Recipe from WhipperBerry

Pumpkin Bread Pudding

This recipe is out of this world, pumpkin bread pudding is perfect for those crisp fall nights snuggling by the fire.

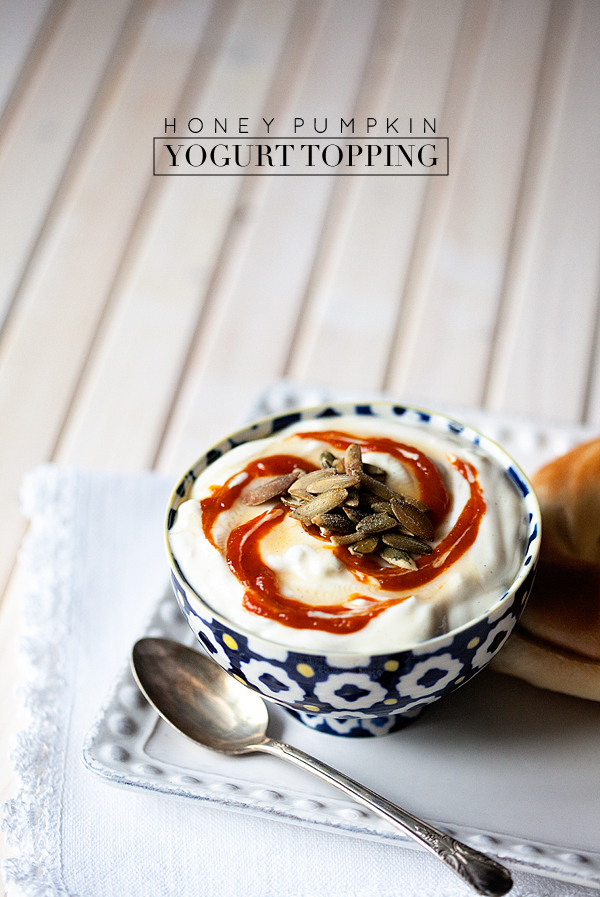
Honey Pumpkin Yogurt Recipe from WhipperBerry

Honey Pumpkin Yogurt

Again, not baking but oh-so good! Pumpkin Butter in yogurt… The perfect breakfast treat!

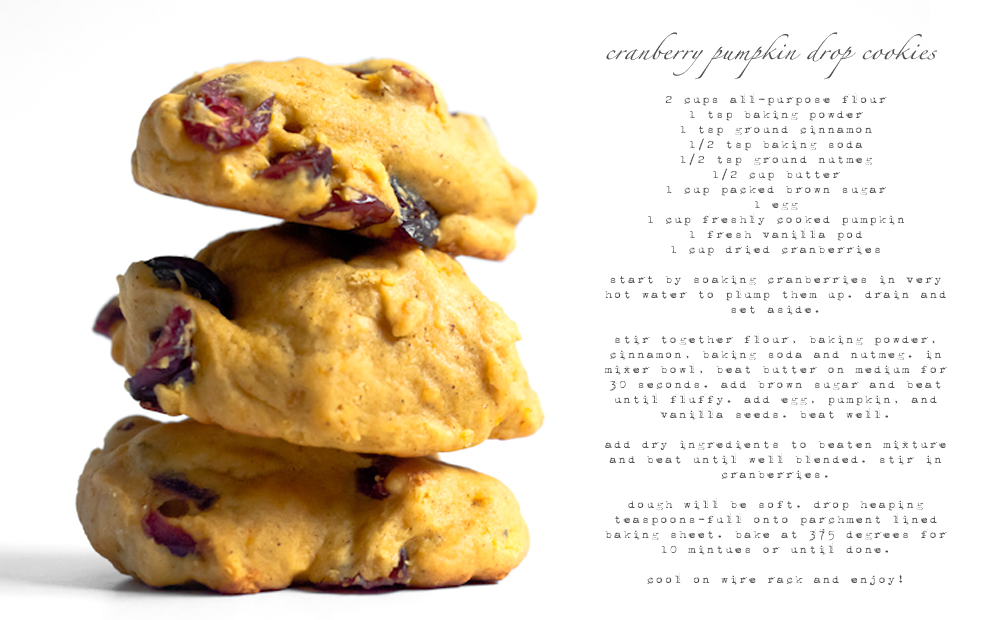
Cranberry Pumpkin Cookies from WhipperBerry

Cranberry Pumpkin Cookies

I am one who can NEVER turn down a good pumpkin cookie and these cookies with the tart cranberry are delicious!

Almost all of those recipes will go great with this new glaze recipe minus the yogurt and the steamer I guess. Ready to learn how to make it?

You’re going to laugh, it’s so easy. It’s cheating really.

Vanilla Macchiato Glaze Recipe

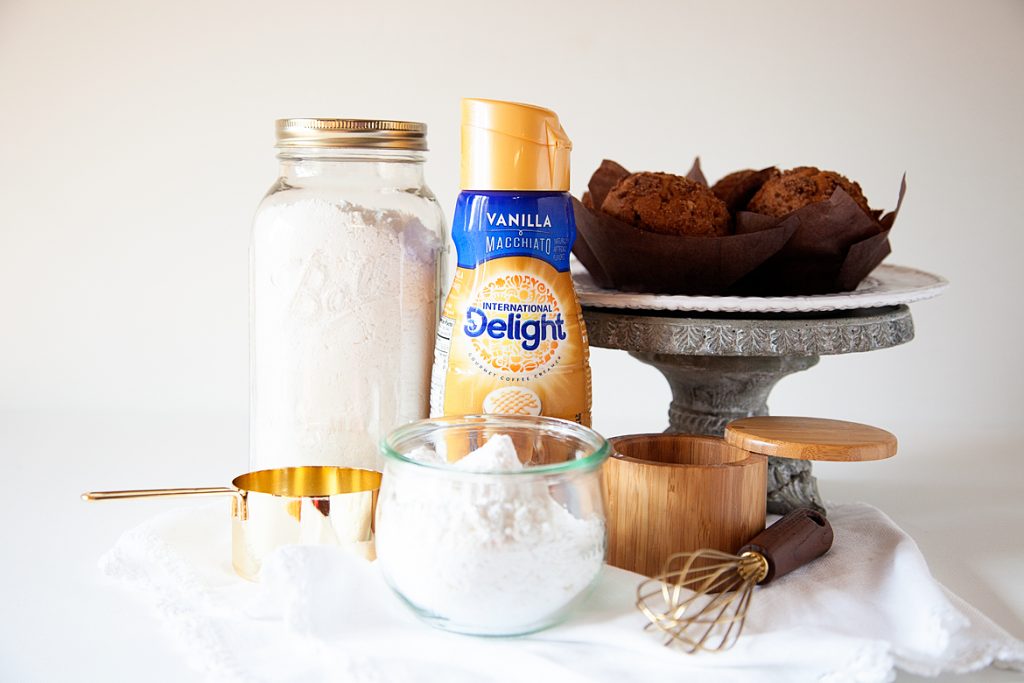
Vanilla Macchiato Glaze recipe ingredients

 Now the reason I came up with this was a silly little mix-up in my schedule. I FORGOT that I needed to bring treats to a gathering of friends and I needed something quick!

I know you’ve been there at one time or another. I’m never adverse to bringing something store-bought to a gathering, I just have to dress it up a bit to make it “look” homemade. That is exactly what I did that afternoon. I ran to the store and bought some cinnamon coffee cake muffins and brought them home to dress them up. I thought they would look good if I put them into some fancier wrappers and then topped them off with a little glaze. I looked into my refrigerator and found some International Delight Vanilla Macchiato Creamer and thought it would make a lovely glaze.

Vanilla Macchiato Glaze Recipe from WhipperBerry


Vanilla Macchiato Glaze Recipe
 
Save Print
Prep time
1 min
Cook time
1 min
Total time
2 mins
 
Author: Heather // WhipperBerry
Serves: 1 cup
Ingredients
  • 2 cups powdered sugar
  • ½ teaspoon salt
  • 3-4 tablespoonsInternational Delight Vanilla Macchiato Creamer
Instructions
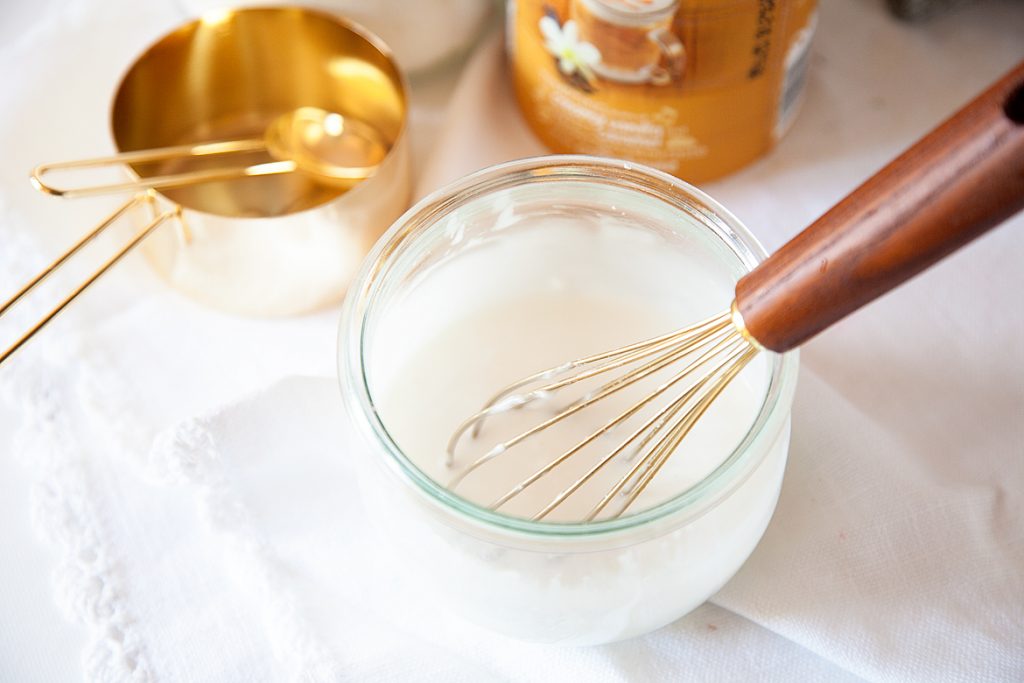
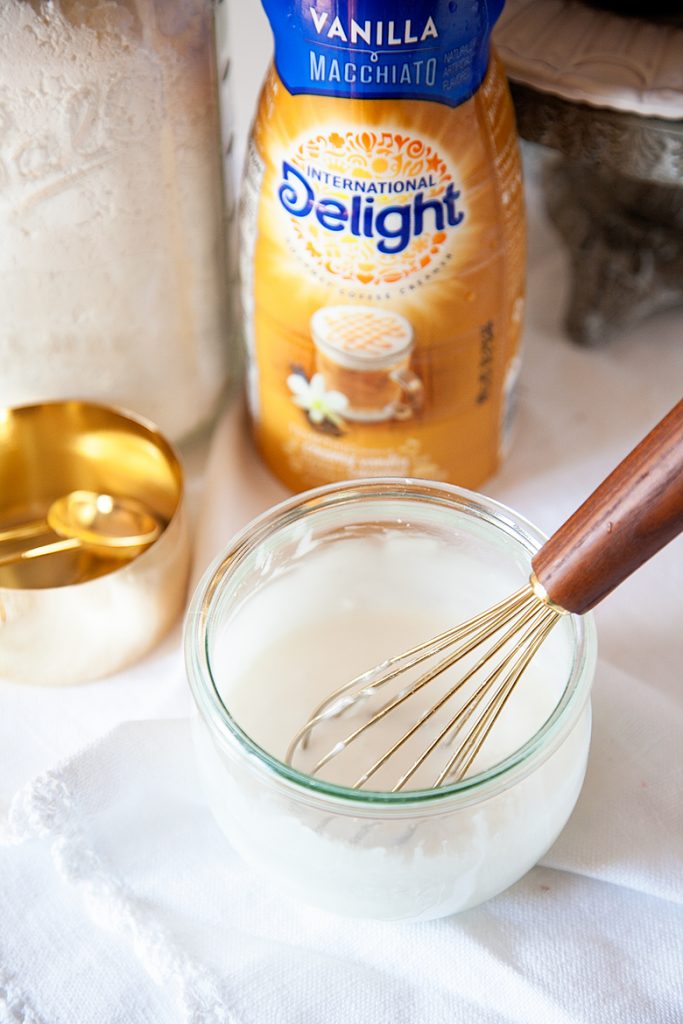
  1. Pour the powdered sugar into a small bowl, add salt and then slowly add the creamer until you get the consistency you would like.
3.4.3177


 Yep, it’s as easy as that. Using the creamer rather than milk adds that lovely flavor from the creamer to your glaze. It’s extra special! I just drizzled the glaze over the store-bought muffins and voila, I have a great treat that looks homemade! Shhhh, no one needs to know your secret.

Vanilla Macchiato Glaze Recipe from WhipperBerry

For more great ideas & recipes that you can use with your favorite International Delight Creamer, sign-up for there fabulous newsletter OR follow them on Facebook, Instagram or Pinterest.

This is a sponsored conversation written by me on behalf of International Delight. The opinions and text are all mine.

Fall Pumpkin Home Decor

30 · Sep 1, 2016 · 4 Comments

pumpkin-decor-from-whipperBerry-2-1

Happy SEPTEMBER!! We’re heading into my favorite time of year… FALL!

I tend to rush fall a bit because I love it so much. I love the crisp air, the leaves getting ready to change, I love to decorate my home for fall! I may not be all that into PSL (Pumpkin Spice Lattes) but I LOVE to decorate with pumpkins.

I’m also a fan of the heirloom variety pumpkins that aren’t your traditional jack-o-latern pumpkins and I LOVE that Michaels has both options to choose from when pumpkin season rolls around.

87816_MS_MM_SEP_s_Final

To kick off fall in your own home, visit Michaels.com and check out the variety of craft pumpkins available – there is every color, shape and size you could ever want! There are tons of ways to DIY your own craft pumpkin for your home, a party or even as a gift.

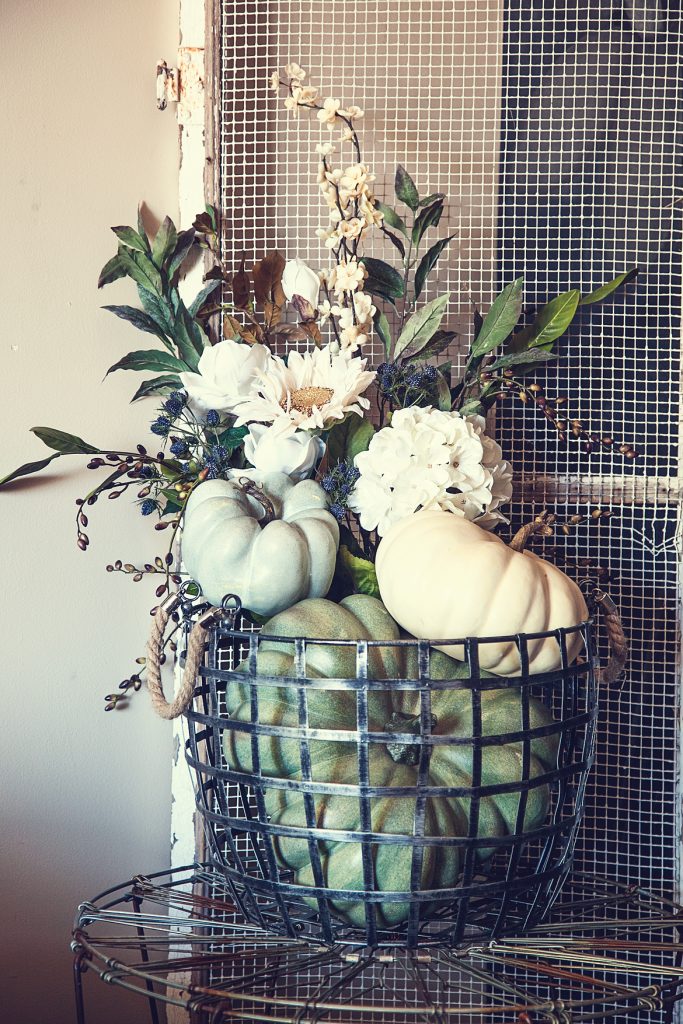
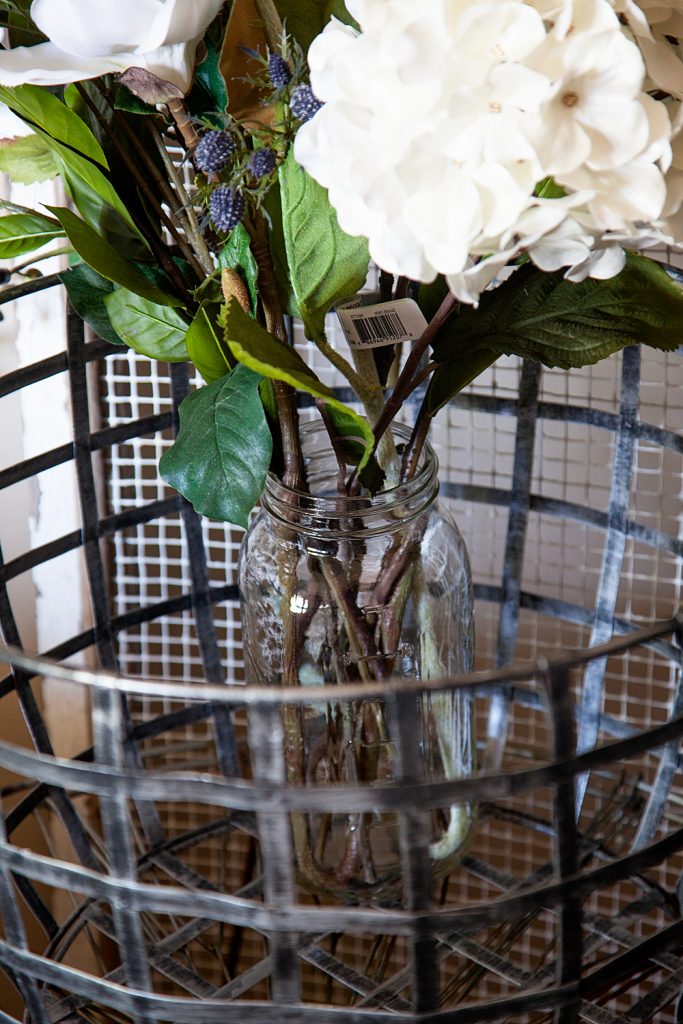
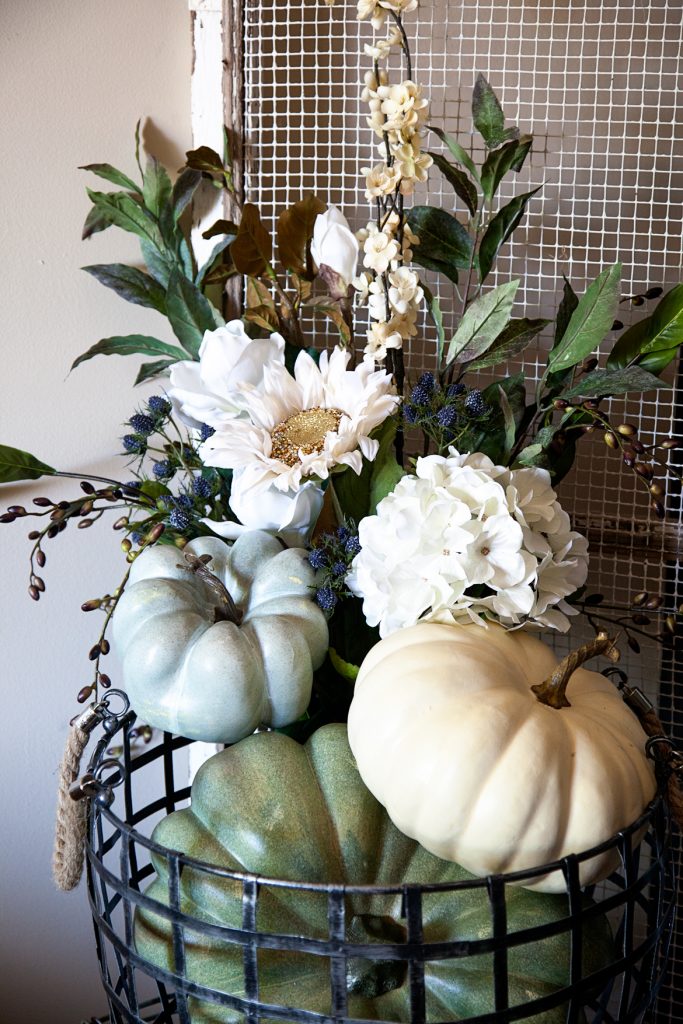
I decided that I wanted to pull together some simple decor that literally took just a few minutes to throw together. Not everyone has hours to invest into a project most of the time. I ran to Michaels and grabbed some pumpkins that I liked, a metal basket and some artificial flowers. Then I did something a little tricky, I placed a glass jar into the basket and arranged my flowers the way I wanted them…

pumpkin-decor-from-whipperBerry-4

Then I arranged my pumpkins in the basket and voilá… I have a simple yet fabulous fall decor that took just minutes to pull together.

pumpkin-decor-from-whipperBerry-3

Be sure to check out all of the other Michaels Makers pumpkin ideas on the Michaels blog.

Here are more great fall decorating ideas.

An InLinkz Link-up


Disclaimer // I am a member of the Michaels Makers Program and receive product in order to be able to take part in monthly challenges.

  • Go to page 1
  • Go to page 2
  • Go to page 3
  • Interim pages omitted …
  • Go to page 7
  • Go to Next Page »

Primary Sidebar

Heather from Whipperberry
Hello... my name is Heather and I'm the creator of WhipperBerry a creative lifestyle blog packed full of great recipes and creative ideas for your home and family. I find I am happiest when I'm living a creative life and I love to share what I've been up to along the way... Come explore, my hope is that you'll leave inspired!

Footer

  • Privacy Policy

Copyright © 2023 · Seasoned Pro