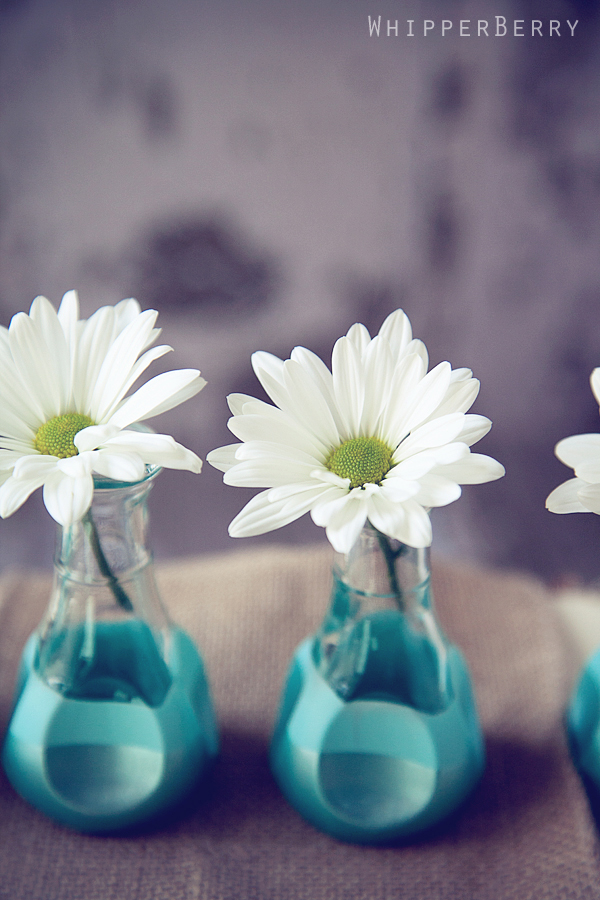
One of my Mom’s great loves in life is gardening. For as long as I can remember she has worked daily on her beautiful flower garden. Carefully planning and pruning to create a stunning floral landscape every year. She would always bring in her flower cuttings and was in constant need for vases of all shapes and sizes. For Mother’s Day this year I thought I would try out a new painting technique that I’ve been dying to try with the Martha Stewart Crafts Paint by Plaid. I created some fun paint-dipped bud vases for her to have on hand for her beautiful flowers. Maybe I should have been painting with stencils but you live and you learn.
Supplies Needed
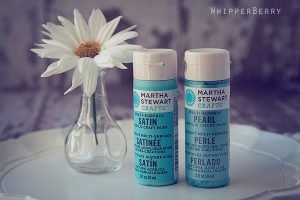
Martha Stewart Satin Paint {any color}
Martha Stewart Pearl Paint {coordinating color}
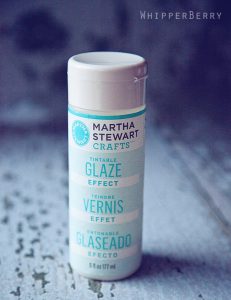
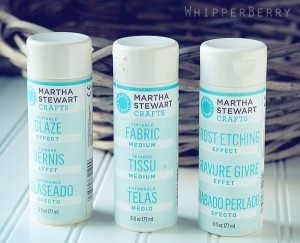
Martha Stewart Glaze Medium
Bud Vases
Ziplock bag
Small cup
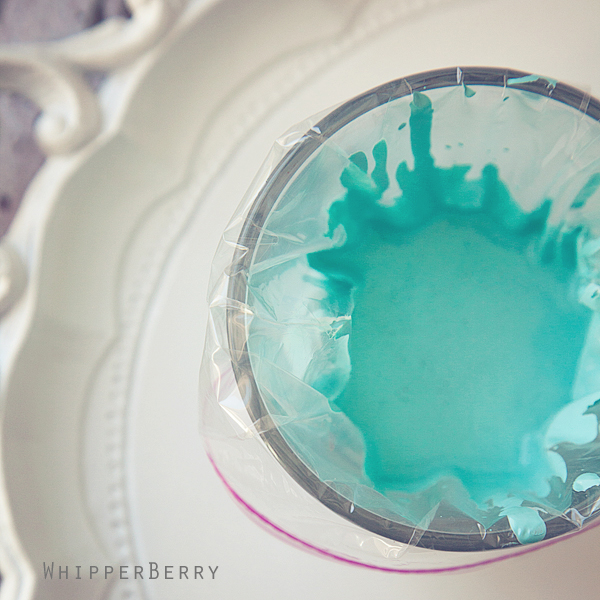
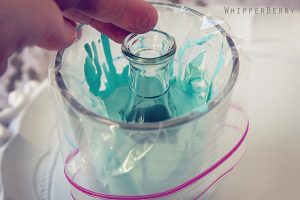
To prepare the paint, combine 3 parts paint to 1 part glaze medium in side the Ziplock bag inside the small glass. The bag is to protect the glass and it also makes storage and clean up just a zip away!
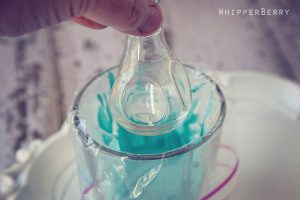
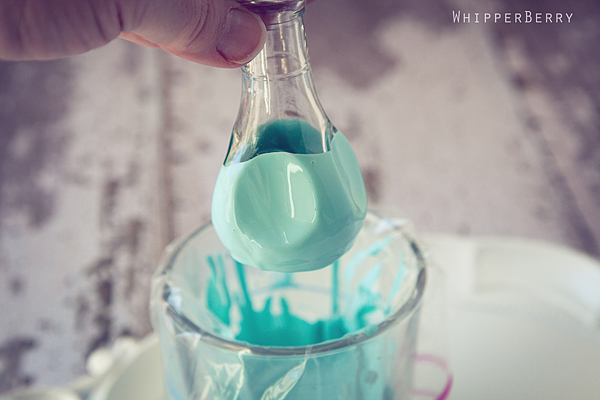
Here’s the easy part… Carefully dip the bud vase into the paint and submerge to your desired point.
Here is the step that requires a little patience. You need to hold the vase gently tapping it over the glass of paint for about 10 minutes. This will gently knock off excess paint and will allow for the paint to dry just enough so that you can place the vase upside down in order for it to dry completely. Carefully watch that the paint doesn’t start to drip down onto the clear part of the glass. You may need to hold it upright a little longer so that the paint can dry a little more.
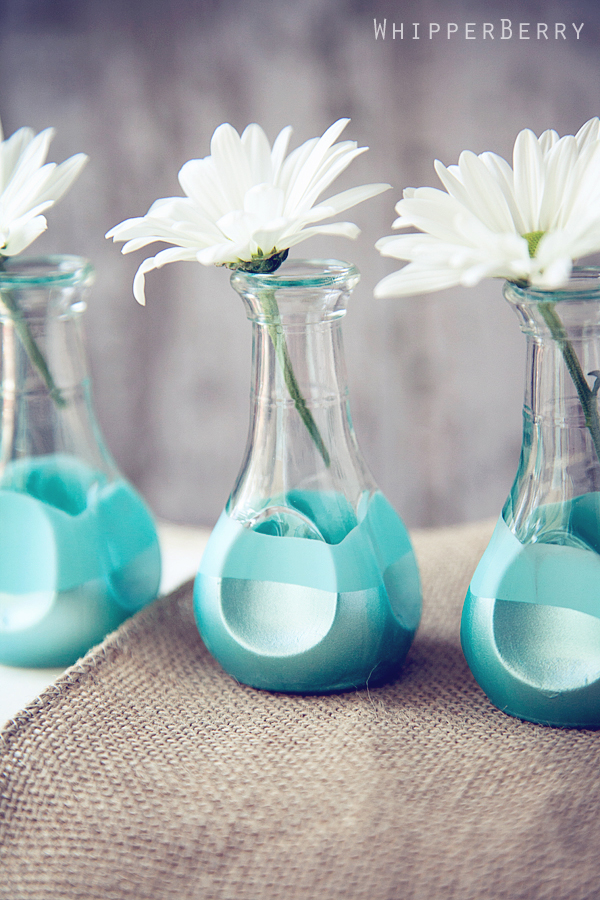
Once that layer of paint dried completely, I repeated the process with the pearlized paint from Martha Stewart Crafts. This time I dipped the vase halfway up the original paint line and created the second layer.
I just love how these turned out! I am becoming a huge fan of the dipped paint method. The beautiful imperfect lines it creates along with the unique finish, it a project I know I will try many more times.
I especially love the paints from Martha Stewart Crafts by Plaid. The quality is unmatched and the colors are phenomenal. I am finding more and more I am gravitating to the Martha Stewart products. For one I know that they are QUALITY products. I’m not going to have to worry about craft fails with them and that makes my “one take wonder” side very happy. Also, the colors and finishes follow the current trends and I know I will be able to find the exact color that I want. Oh and one more thing… the tools and paint applicators are aaaamazing. They are easy to use and require far less clean-up than most products. I LOVE that.
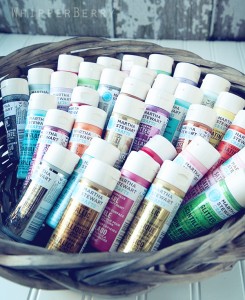
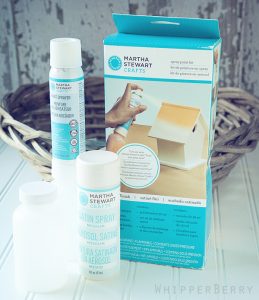
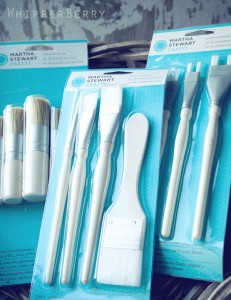
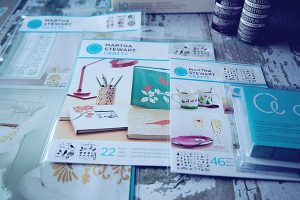
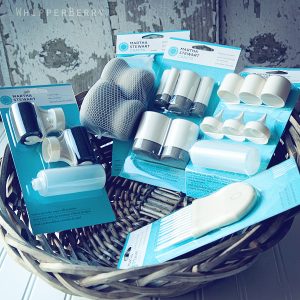
Here are some of the other products available from the Martha Stewart Craft line by Plaid…
Believe it or not, this is just a small sampling. The line is fantastic!! You can find it at Michaels.
I’m so excited to give my Mom her bud vases so that she can show off her stunning flowers all over the house for Mother’s Day.
What would you like to make for the Moms in your life this year for Mother’s Day with Martha Stewart Crafts? I would love for you to share your fun ideas!
2

I LOVE these! They are so pretty! I’m pinning them 🙂
Perfect, Heather…your Mom will adore them…and that color is absolutely gorgeous!!!
Beautiful! I love the dipped look and the color is perfect for spring!
These vases are so beautiful! I’m always in awe of your creativity!
Jo-Anna
What a cute, easy project. I don’t have any of Martha’s paints yet, doggone it.
Might just have to invest in some anyway. Love the cute little bud vases for Mother’s day. We’re going to be in a craft show on May 5th. and are busy making things for it. I was trying to think of something I could make for the show for Mother’s day and that would be a quick, easy, inexpensive craft. Thanks so much for the awesome project. We just decided today we’re going to be in the show so we have alot to do to get enough items ready.
Neat idea! Where did you get the bud bases?
KellyH
You can get these vases @ Walmart for $.97 (under $1.00) I have about 10 of them for my windowsill in the kitchen BUT now I am going to do about six of them in colors to coordinate with my kitchen (Bright yellows/blues/green……..)
These vases are just perfect! Love the color!
I absolutely love these! And of course you did them in my favorite color.
Simple and easy enough for my kids to do for grandma!!! Thanks for the great idea.
I love this! What color did y use?
Love these simple vases!!!
I so LOVE this idea!! It’s much too cute!!! It can be adopted for so many different projects. Thanks for the inspiration Heather!!
Love these Heather!! I want to try this method soon and I really want to try the pearl paint (I got satin and glitter!) It was so fun seeing you on the panel at SNAP!
Simple yet beautiful idea! I love the layering of the different types of paint. xoxo
This is SO pretty Heather!! 🙂 Great project! It was so fun to hang out this weekend! I just love you!
Wonderful paint job! The final result is so lovely, I could eat them :)) I’m totally gonna steal the idea…
Love. Love. Love!!
What a cool idea! These are so beautiful! The double dipping idea created such an amazing look.
Donna
So simple and pretty. Those paints are amazing! I’m lovin’ them!
These are SO cute. Love this – and blue is my fave color 😀
LOVE these Heather…pinning right now!
these are so sweet! love the color you chose and the simplicity of the project.
here’s a thought regarding holding the vases for ten minutes…perhaps one could rig up a simple stand with string dangling down to hold each vase until it dries? especially if you’re making several, it might be worth the trouble. OR if you have a chandelier hanging over a table, this could be used to hang the string and bottles from with newpaper & plastic underneath to catch any drips.
thanks for sharing and i found you on pinterest!
judi
Hi, I tried making these today and while they did turn out ok, mine were thick on the bottom with paint (I did find a way to hang them from a ribbon on a hook to dry) Now, I could not find the “glaze” and don’t know how important a step that may have been and maybe why my paint was thick (even though I did add water). I used the Folk paint as Hobby Lobby did not carry the Martha Stewart in “single” bottles. It was acrylic water base paint though. I want to try this again *I used the same vases you did*. Thanks…….
O My.. I love the dual finish!! I don’t think just a pearlized finish or just a plain finish would have had the same quality! You’re mom’s a lucky woman! (stumbled upon you!)
Je peux vous dire que c’est véritablement du plaisir de venir
sur votre blog
I think I am going to try this with plates for a wall hanging.