Hey new friends! I'm Shannon from the blogging duo over at Eat. Sleep. Make. My sis-in-law, Jen, and I, like pretty much every craft blogger out there, are consumed with the "Hey, I can make that" mentality. Sharing that obsession led us to start our little blog space together and now we are constantly fueling each others' creative fires.
When Heather asked us to be part of the WhipperBerry Creative Team, I think my exact response (to Jen) was, "Duh, of course we'll do it!" We are excited beyond words at this opportunity to make new friends and challenge ourselves.
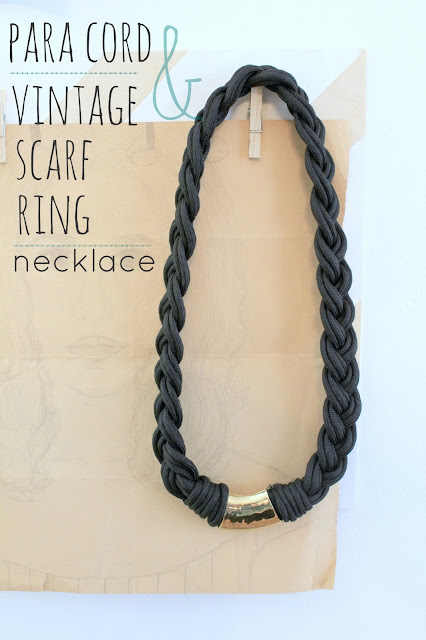
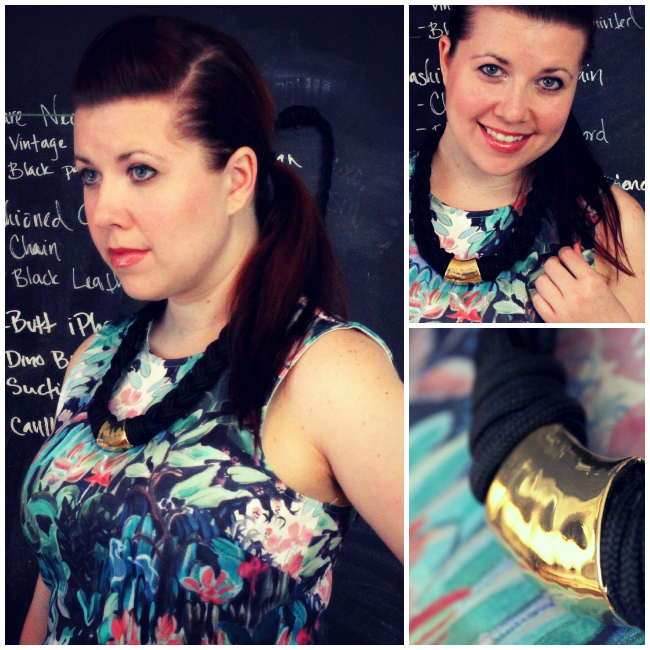
One of the things you'll learn about the two of us over at Eat. Sleep. Make. is that we love going to estate sales. (We did a whole series about our strategies here.) So, naturally, many many projects come from our compulsive shopping. Today, I'm showing you how to make a necklace using para cord from the hardware store and a vintage scarf ring that I got for 25 cents at an estate sale. Yay!
As you can see, my cord got a little tangled. It took me a good 15 minutes to even find the ends to begin untangling it.
For my necklace I used 6 strands that were 6' long each, folded in half, with a tie around the middle. That gives 12 – 36" strands to braid.
I braided 3 groups of 4 strands to get a thick, sturdy braid. Once the braid is complete, tie some cord around the end and use a hot glue gun to secure the ends together.
Next, slide your scarf ring on.
The hard part is fixing the 2 ends together. I used the tie that held the looped ends together and joined the 2 ends. Use hot glue to secure any pieces you think may come loose.
Slide the scarf ring over the joint to conceal it. I made sure it wouldn't move by putting some glue inside the ring, then wrapping 5 loops of cord on either side of the ring.

Come on over to Eat. Sleep. Make. and check out some of our other projects that we've done. Here's a few to pique your interest!
 |
 |
