• Skip to primary navigation
  • Skip to main content
  • Skip to primary sidebar
  • Skip to footer

Whipperberry

WhipperBerry • Your Home For Creative Inspiration

  • Home
  • About
    • Terms
  • Recipes
    • ZipList
    • Starters
    • Easy Weeknight Dinners
    • Main Dish
    • Salads
    • Side Dish
    • Soups & Stews
    • Desserts
    • Breakfast
    • Miscellaneous
  • Tutorials
    • Creative Crafts
    • DYI Decor
    • Fabric Crafts
    • Food How-To
    • Jewlery
    • Paint Projects
    • Paper Art
    • Party Styling
    • Photography and Graphic Design
    • Silhouette
  • Holidays
    • St. Patrick’s Day
    • Easter
    • Mother’s Day
    • Father’s Day
    • 4th of July
    • Halloween
    • Thanksgiving
    • Christmas
    • New Years
    • Valentine’s Day
  • Gift Ideas
    • Gifts For Everyone
    • Gifts for Dad
    • Mother’s day
    • For The Girls
    • For The Kids
    • Teacher Gift Ideas
    • Christmas
  • Printables
    • Holiday
    • Gift Idea
    • LDS Primary
  • Travel
  • Contact
  • Nav Social Menu

    • Facebook
    • Instagram
    • Pinterest
    • RSS
    • Twitter

Search Results for: label/12 Days of Christmas

12 Days of Christmas ~Day 12~ Cupcakes {Event}

1 · Dec 12, 2010 · 7 Comments

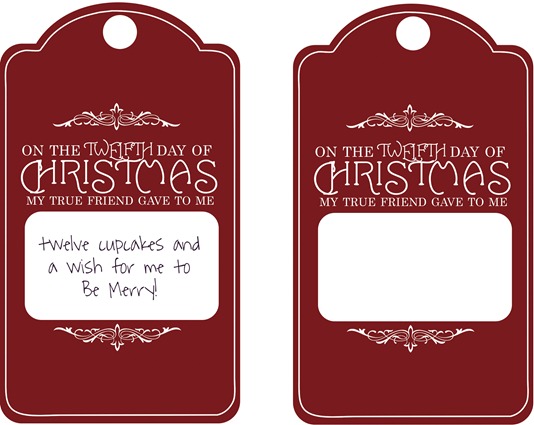
On the twelfth day of Christmas my true friend gave to me…

Picture1

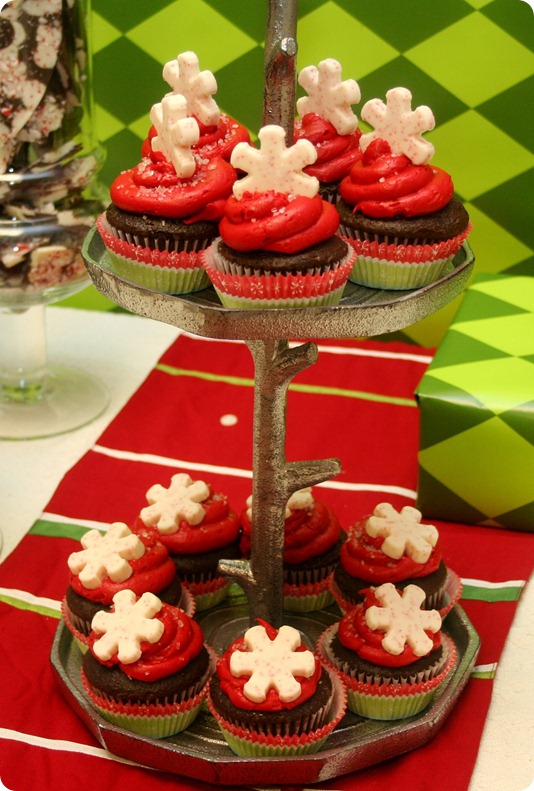
…twelve cupcakes and a wish for me to Be Merry!

Can you believe it’s day twelve of our 12 Days of Christmas event? If you want to start back at the beginning, and get all of the details, click here!

Here is Kristin’s final 12 days printable, and this completes the set. Click on the image to download.

12Days12

So for our twelfth day, we have something extra special for you, because today we are introducing our newest WhipperChick, Katie!

Katie is the talented cake artist from Sweet Street Cakes that made the beautiful black and white cake on this table.

She brings you our cupcakes for today!

WB 013-

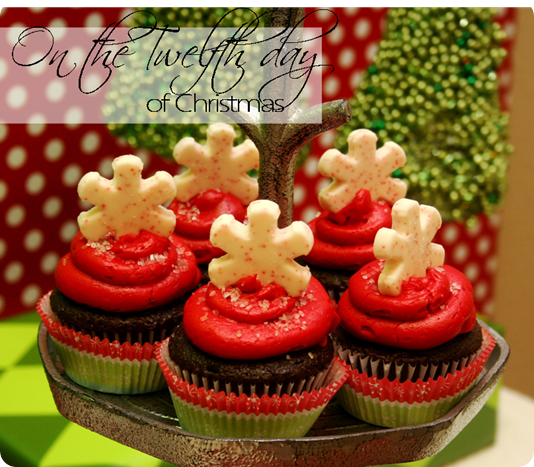
Double Chocolate Fudge Cupcakes

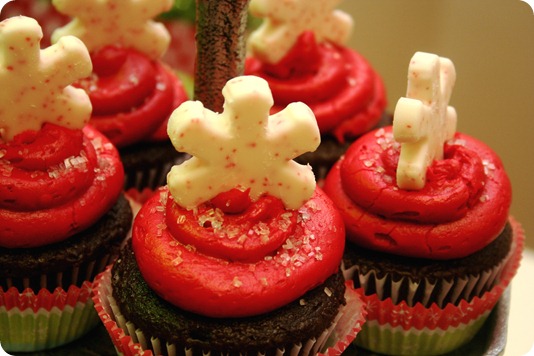
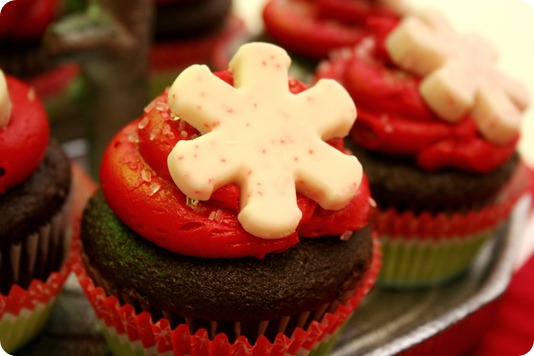
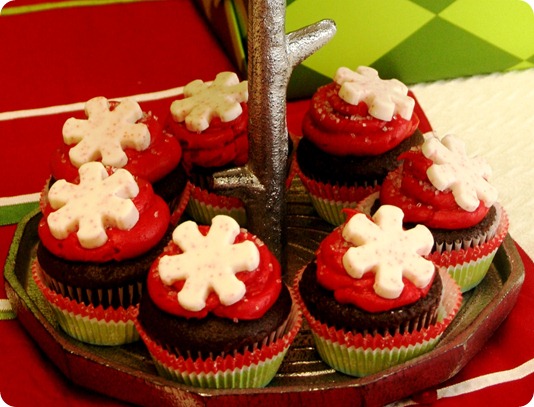
Who Doesn’t love a cupcake? It’s the perfect portion of sweet indulgence. They transcend through every season and holiday, and Christmas-time is no exception. These cupcakes are a double chocolate fudge with red buttercream frosting.

To make your cupcakes, you can use a special family recipe, or you can certainly use your favorite cake mix from the store. One of my favorite things to do is to jazz up a store bought cake mix. You can add any type of chip (milk, semi-sweet, butterscotch, peanut butter, etc.) to your batter to give it a pop of flavor when you bite into it. Or you can add any of your favorite nuts or sprinkles. One of my secrets to a really moist cupcake is to add pudding into my batter. I like to pick an instant pudding that matches my cake flavor, and I add it in with my wet ingredients. Be sure to make the pudding, not just add the powder into it. Do this and your cupcakes will come out moist and irresistible!

WB 008

For the frosting, I like to use a homemade buttercream recipe. It’s creamy and delicious, and so simple to make. A few tips about your frosting. First, if possible, use a high-ratio shortening. It gives your frosting an unbelievable creaminess. Second, if you want to make your frosting really white, use a clear vanilla extract and replace butter with shortening. And third, don’t forget to sift your sugar. It helps to make the frosting silky and free of clumps.


Red Buttercream Frosting (via Wilton.com)
1/2 cup solid vegetable shortening
1/2 cup (1 stick) butter or margarine softened
1 teaspoon of vanilla extract (or your favorite extract)
4 cups sifted confectioners’ sugar (approximately 1 lb.)
2 tablespoons milk
1 bottle of Wilton no-taste red food gel
Makes: About 3 cups of icing, enough to cover 24 cupcakes.
WB 016- 
 
In large bowl, cream shortening and butter with electric mixer. Add extract. Gradually add sugar, one cup at a time, beating well on medium speed. Scrape sides and bottom of bowl often. When all sugar has been mixed in, icing will appear dry. Add milk and beat at medium speed until light and fluffy. Gradually add your gel coloring until you get desired color. Keep bowl covered with a damp cloth until ready to use.
 
Once your cupcakes have cooled, place your icing tip at the bottom of your pastry bag, and snip off the tip. Use the biggest round frosting tip you have (if no.12 is the biggest you have use it) Load your frosting in your bag, and squeeze down to get the air out.  Then take one of your cupcakes and slowly, in a swirling motion, pipe your frosting onto your cupcake. Once you’re done you can add sugar crystals to your cupcakes to give them an extra sparkle.

Enjoy! –Katie

WB 011

And Jamie made the perfect white-chocolate snowflakes to go on top! She melted almond bark mixed with sprinkles and poured them into her silicone molds.

                                                                                                                                      Katie-Come read Katie’s bio on our WhipperChick page! You will love her!


Okay, that’s the last of our 12 Days of Christmas! but don’t fret, because we still have the linky party! Come back tomorrow and link up all of your takes on our gifts, or ideas of your own! We can’t wait to see!
Signature[5]

whipperberry

12 Days of Christmas~Day 11~Gift Tags {Event}

2 · Dec 11, 2010 · 19 Comments

On the eleventh day of Christmas my true friend gave to me…

Picture1

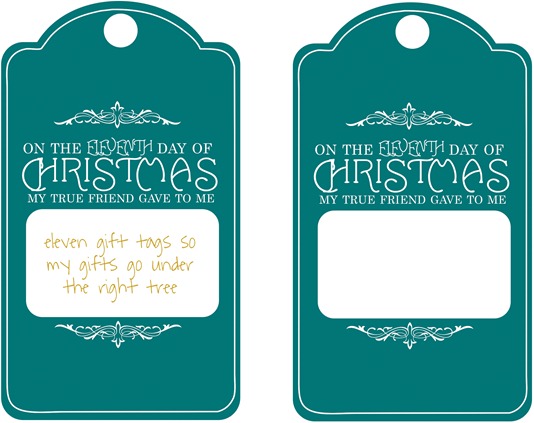
…eleven gift tags so my gifts go under the right tree.

If you are just joining us, refer back to day one for all the details of our 12 Days of Christmas event!

Click the image to download Kristin’s printable for today’s gift:

12Days11

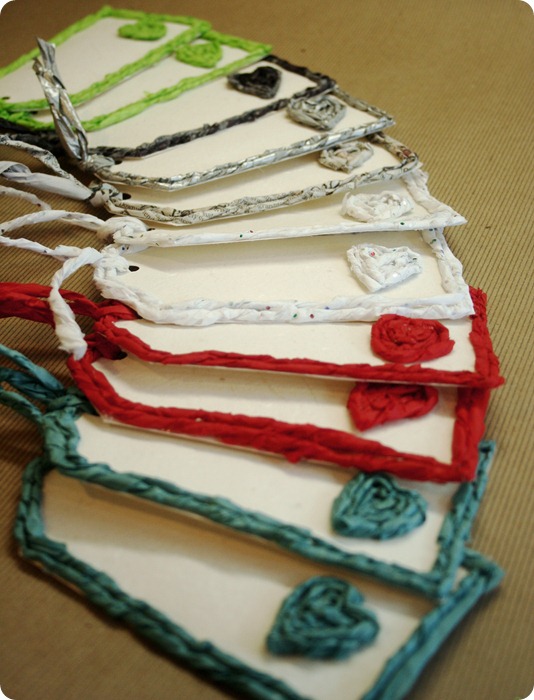
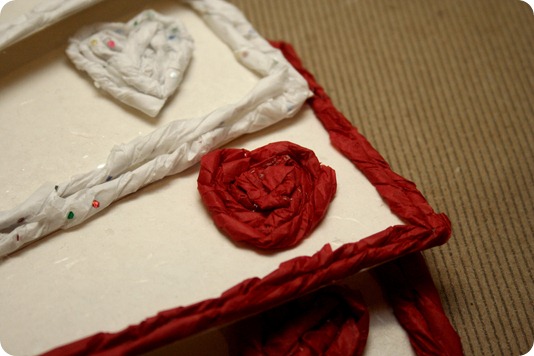
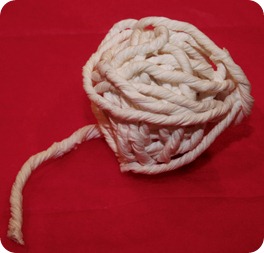
I decorated these gift tags using paper yarn that I spun from a variety of different papers.

WB 272

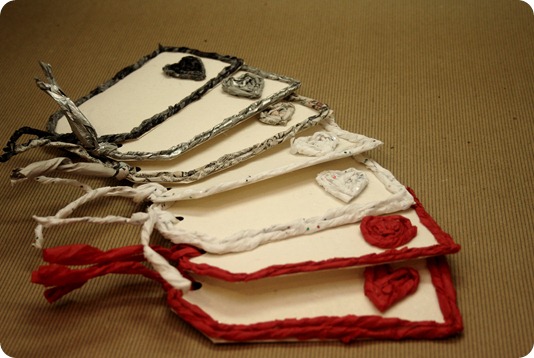
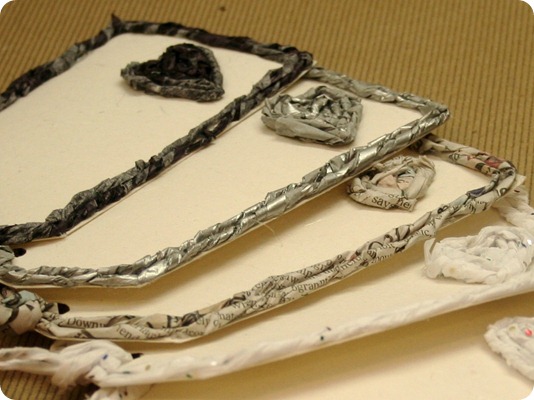
I cut tags out of heavyweight white paper, and lined the edges with two layers of home-spun paper yarn (tutorial below).  I also formed a decorative heart out of the yarn and glued it on each tag.

WB 265

I punched a hole in the top of each tag and tied on matching yarn.

WB 263

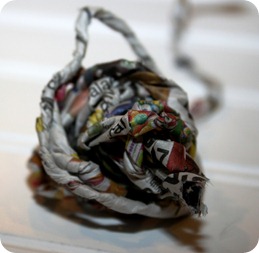
I used many colored tissue papers, newspaper, and even toilet paper (shhh!) to make my yarn.

WB 261

Here’s how I did it!

Home-Spun Paper Yarn Tutorial:

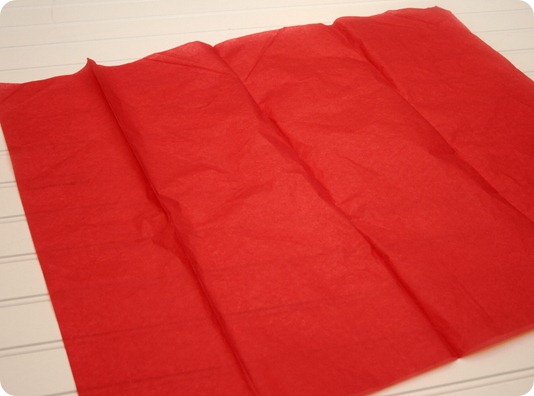
For this example I’m using one sheet of red tissue paper.

WB 131

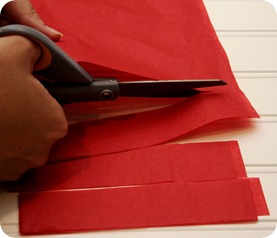
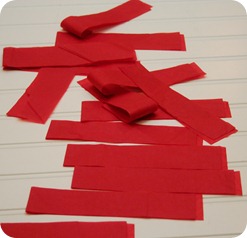
Fold the sheet on it’s natural fold lines and cut width-wise into 1-2 inch strips.

WB 145  WB 148

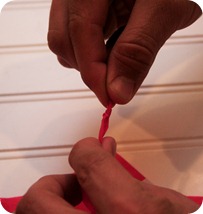
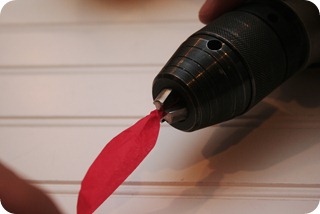
Unfold the strips and twist the end of one. Insert it into the end of an electric drill, and tighten it down. Two people are needed for this next part, so I enlisted the help of my darling husband. He was happy to help because there were power tools involved.

WB 151  WB 155 (2)

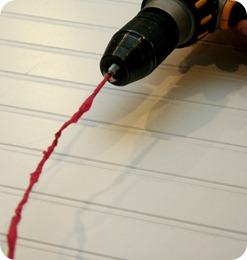
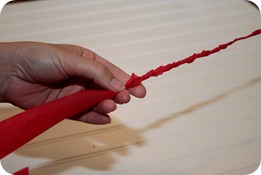
One person runs the drill (any bets who that was?) and the other person holds the other end of the paper strip. Run the drill until almost all of the paper strip is twisted tight. Leave a section big enough to fold in another strip and then keep on twisting.

WB 161  WB 165

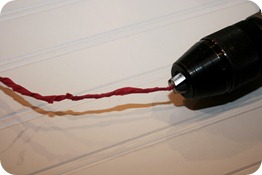
Keep folding in new strips and twisting them tight. Each sheet of tissue paper ends up making approx. 20 feet of yarn!

WB 168  WB 171

I made some out of newspaper and toilet paper too.  The toilet paper is easier because it’s already long and on a roll, so unwind it as far as you want, cut it to the width you want, and spin away! No need to fold in additional pieces.

WB 187  WB 177

Have fun spinning paper!

Signature[5]

whipperberry

12 Days of Christmas~Day 10~Napkin Rings {Event}

0 · Dec 10, 2010 · 8 Comments

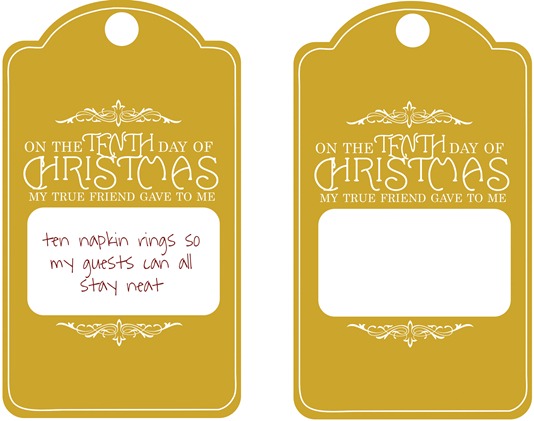
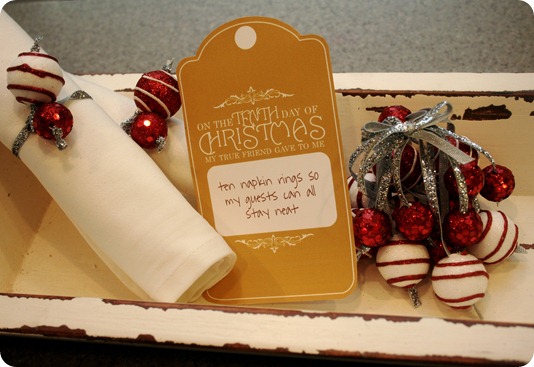
On the tenth day of Christmas my true friend gave to me…

Picture1

…ten napkin rings so my guests can all stay neat.

Welcome to our 12 Days of Christmas Event! If you need any details on this event, click here to go to day one.

Download Kristin’s free printable by clicking on the image!

12Days10

Whitney made our cute napkin rings today:

12 Days 020

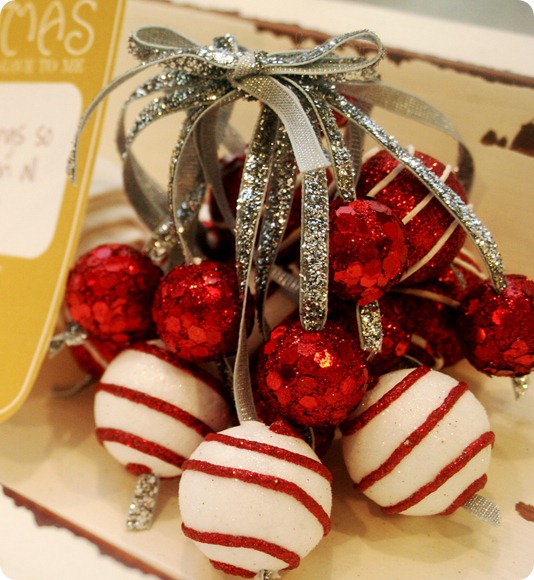
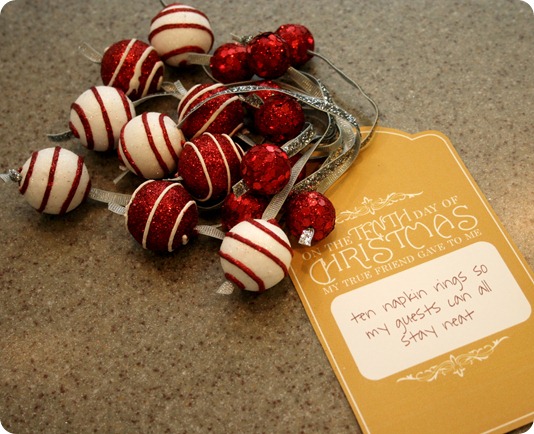
These napkin rings are festive and easy to make!  I bought the little balls at Michaels, along with the ribbon.  The only other thing you’ll need is a heavy duty needle with a large eye for the ribbon.
Take your ribbon and tie a knot at one end.  Thread your needle onto the string and then thread 2 balls onto the ribbon.  Space the little balls as far apart as you want them, cut the ribbon, and tie a knot at the other end.  Wrap the ties around a rolled up napkin and tuck the ribbon through itself so that it stays put. 
And there you go!  Fun, easy, and a great way to add a festive touch to your Christmas table!

-Whitney

12 Days 014

12 Days 010

Thanks Whitney!

Only two more days to go! This has been so much fun. Please give us some love with your comments. We absolutely adore hearing from you.

Signature[5]

whipperberry

12 Days of Christmas~Day 9~Pretzels {Event}

0 · Dec 9, 2010 · 8 Comments

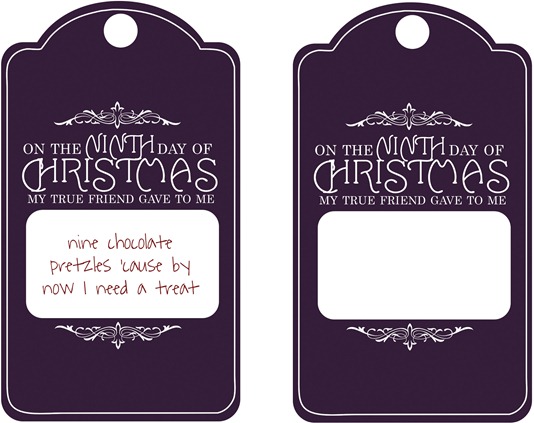
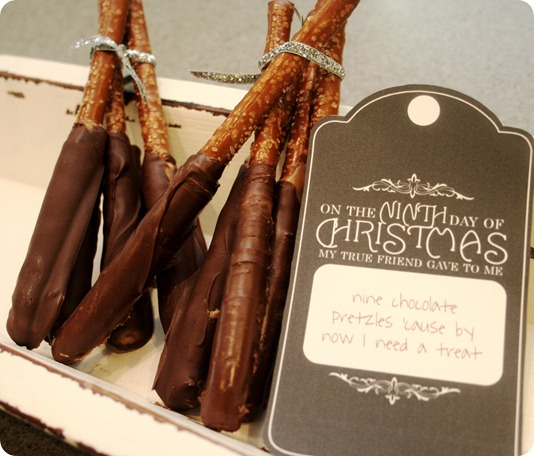
On the ninth day of Christmas my true friend gave to me…

Picture1

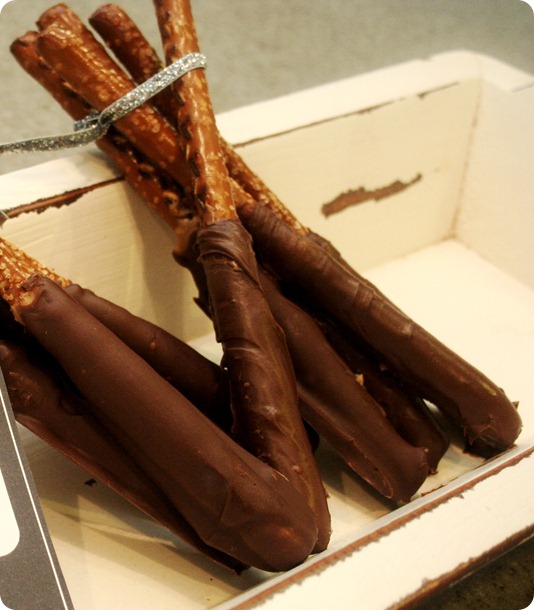
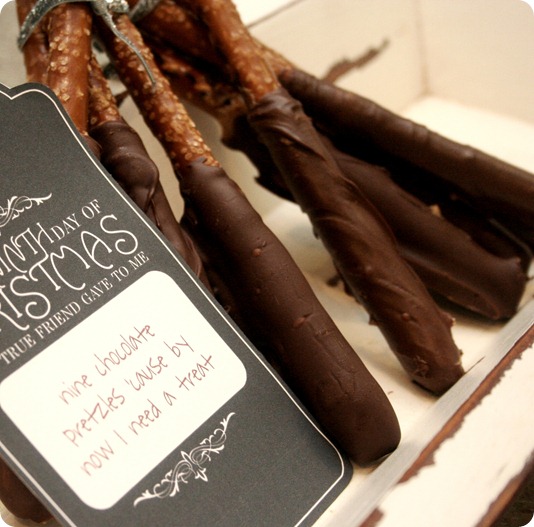
…nine chocolate pretzels ‘cause by now I need a treat!

It’s Day Nine of our 12 Days of Christmas event! Click here to go to Day One if you’ve missed any of the details!

Here’s Kristin’s awesome printable for today! Click on the image to download it for free!

12Days9

Whitney brings us our fabulous recipe today:

12 Days 039

Peanut Butter Chocolate Pretzels:

I am a self-proclaimed peanut butter connoisseur.  I LOVE it.  Everything is better with peanut butter smothered all over it.  But only certain kinds.  If it’s not the right kind of peanut butter, I won’t even eat it.
I’ve received a lot of chocolate covered pretzels as “neighbor gifts” at Christmastime over the years, and I’ve always loved them.  But when the idea popped in my head to make pretzel rods covered in peanut butter and THEN chocolate, nothing was stopping me.  I made a bee-line to the grocery store and bought some pretzel rods.  I experimented with a few different ways and finally got a delicious peanut butter chocolaty treat that any sweet tooth would die for.

12 Days 040 

12 Days 045

Here’s how I did it:
Gather together some pretzel rods, some chocolate (I just used chocolate chips) of your choice… milk, semi-sweet, dark… whatever you like, and your favorite peanut butter.
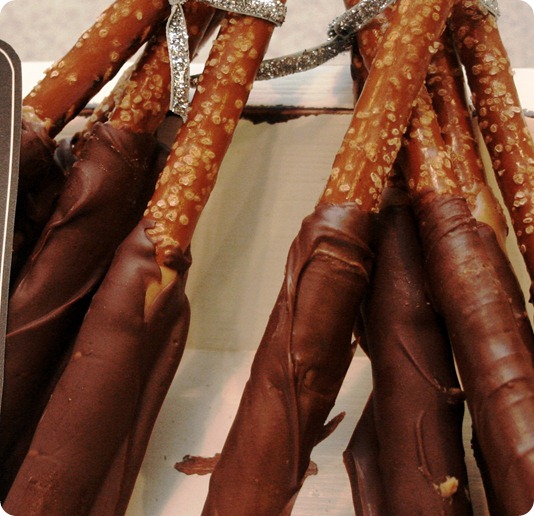
Melt the peanut butter in the microwave so that it runs.  I melted about 3/4 cup in 30 seconds.  Dip your pretzel rod in the melted peanut butter and immediately put it in the freezer.  Continue dipping and freezing until you have all the pretzels that you want.  I like to freeze mine until they’re nice and hard, to ensure that the peanut butter doesn’t just slide right off when you dip it in the chocolate.  This should take 1-2 hours.
Next, melt your chocolate in the microwave in small increments (10-15 seconds) so that you don’t burn it.  Make sure you stir it well in between.  Once it’s nice and melted, take your pretzels out and dip them, fully covering the peanut butter, and put it back in the freezer quickly so that everything doesn’t melt off the stick.  Once you’ve dipped all the pretzels, let them freeze until they’ve set up, 15-30 minutes.
Take them out of the freezer and give them away or eat them up, they’re definitely hard to resist!

-Whitney

12 Days 042

Don’t those look delicious? Thanks Whitney!

Guess what? WhipperBerry was chosen as a Top DIY Craft Blog by onlinedegrees.org. If you are looking for gifts on a budget, this is the list to check out!

Click on the link below to see the sweet things they said about us!

DIY logo

Only 3 days left of our 12 Days of Christmas Event, and then we can’t wait to see what you’ve got!  Start getting those projects ready to link up.

Signature[5]

whipperberry

Primary Sidebar

Heather from Whipperberry
Hello... my name is Heather and I'm the creator of WhipperBerry a creative lifestyle blog packed full of great recipes and creative ideas for your home and family. I find I am happiest when I'm living a creative life and I love to share what I've been up to along the way... Come explore, my hope is that you'll leave inspired!

Footer

  • Privacy Policy

Copyright © 2023 · Seasoned Pro