Have you ever had the secret fantasy of becoming a jewelry designer? Or, have you ever bought a piece of jewelry and wished that you could customize it to your taste, only to be sadly disappointed that you were stuck with what you bought? Well, your wait is over!! Tory Spelling has introduced a fabulous new line of affordable, customizable, easy to make jewelry called Styled by Tori Spelling!!
Design Elements
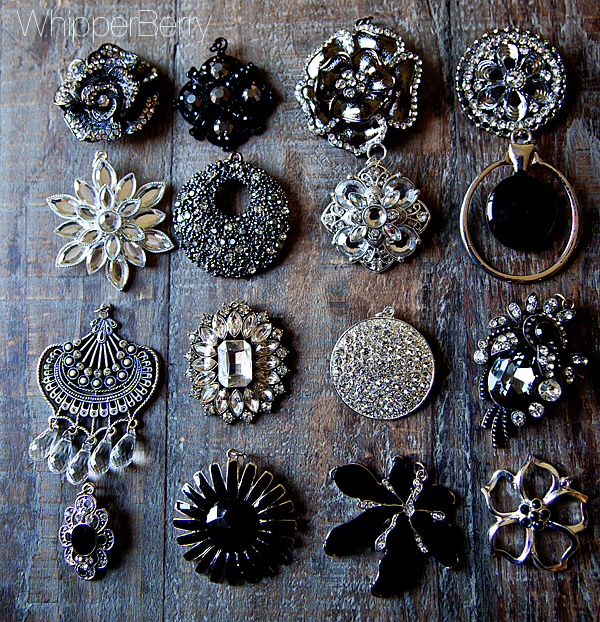
Tori's line as hundreds if not thousands of options for creating your own jewelry that you would be proud to show-off. Here are just a few of the fun pieces you have to work with…
These are some pendants / broaches / rings… quite frankly any thing you can dream up can be made with these beautiful statement pieces.
Here is a taste of some of the bracelet options from the Glitz and Noir lines. Here's how the whole thing works…
make a bracelet
- Select the bracelet chain or chains that you would like to work with. The have claw connectors at either end.
- Select a statement piece,
- For mine here I connected the three chains that I selected to the rosette on one side.
- Then I used a connector piece to connect the three chains to and then used the connector to secure the chains to the other side of the rosette. That way I can easily put the bracelet on without fumbling with three chains. Voila, it's finished and STUNNING!!
make a necklace
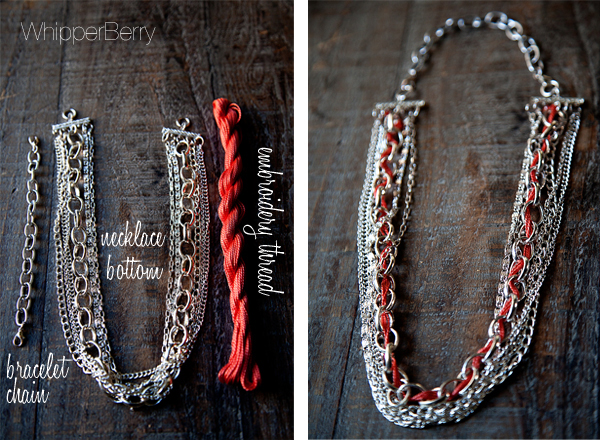
- For this necklace I used a bracelet chain as the connector for the bottom of the necklace because I wanted the necklace to be a little shorter than it would be with the normal necklace connectors.
- I also wanted to add some color so I weaved some embroidery thread into the larger chain of the necklace bottom and knotted it on either side.
- Then I secured the bracelet chain to the necklace bottom and it was finished. It took like 5 minutes tops!
make earrings
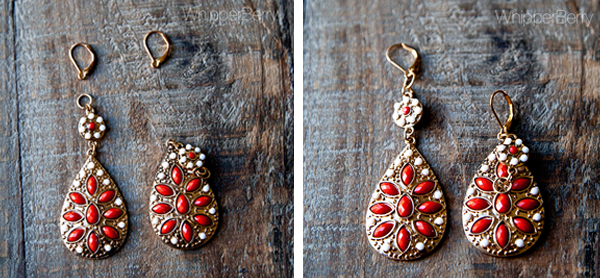
Now this little trick is what made me fall in LOVE with this line. I don't have the longest neck so wearing long earrings looks a little silly on me. Here is what I did to make some fun earrings that I just adore!
- I selected earrings and the earring connectors and then took the small bead at the top of the earring and created a bead overlay for the main earring.
- Then I secured the earring connector at the top of the main earring. It looks great.
- The nice thing is that you can wear it either way.
where to find Styled by Tori Spelling
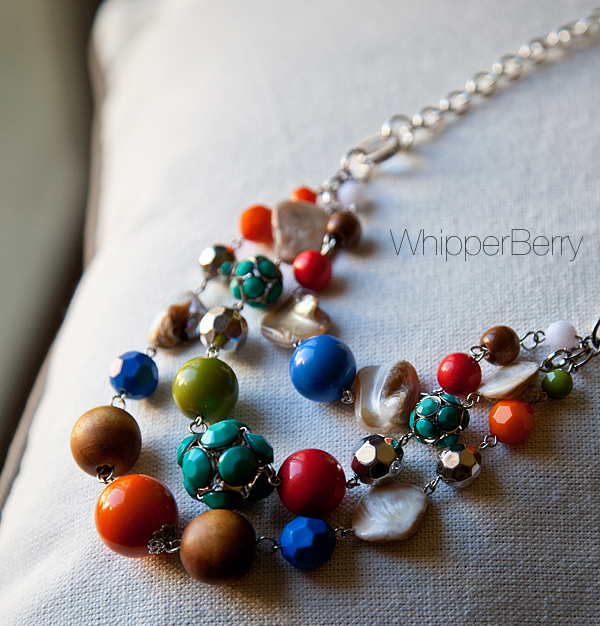
I am just overwhelmed by the options in the four different lines. The necklace above is one of my favorites!! I just adore all of the colors and textures. Now if you would like to become your very own jewelry designer you can find the entire line at Jo-Ann Fabric and Craft Store or select pieces are also at Michael's.
Here are some more fabulous ideas on how to use the new Styled by Tori Spelling line…
0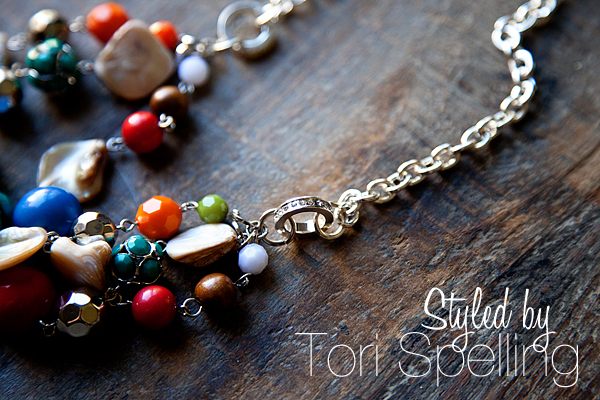



As much as I love making jewelry “from scratch” this looks like such a fun line to play with. I think I’ll have to mix in some of the pieces!
I like your smart fix to shorten the earrings a bit.
Beautiful photos.
Wow, how great for the sellers, and for Tori. She’s come far.
I’m right there with you on the long earrings and wasn’t sure what to do. LOVE your solution! Beautiful pics as always Heather. Thank you!