When I first told my friends I was setting out to make a fabulous paper pumpkin, the idea did not seem to astound them as I thought it should. I could see the vision and wondered why their response was so unenthusiastic. I suppose paper has a narrow reputation. People consider it to be a two-dimensional medium containing limited capabilities. I am here to expand that reputation and shed some light on the full capabilities of paper craft potential! Okay, so I'm not going so far as to start an official movement, but I aim to give credit where credit is due. And paper does not get enough credit!
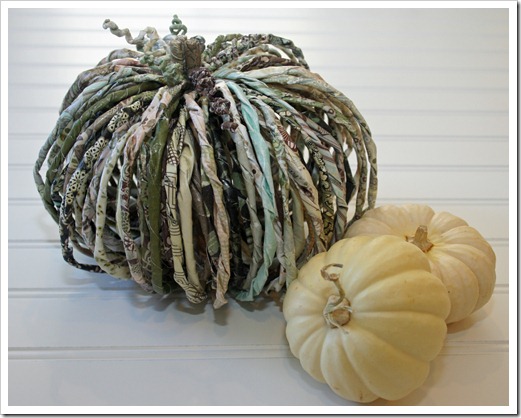
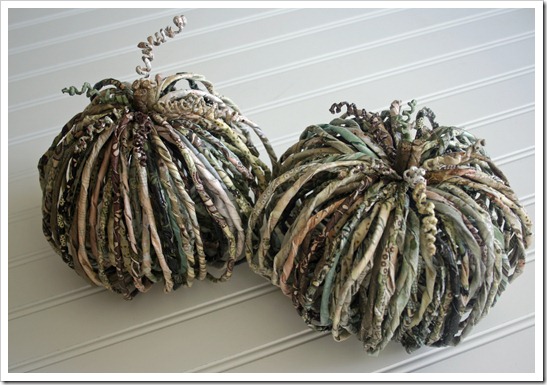
So enter my 3D paper pumpkins. Pick out some pretty paper, add a little Mod Podge, throw on some good old Rock n' Roll twist music, and voila! Magical paper pumpkins.
Supplies:
- Scrapbook paper in shades of brown
- Scrapbook paper in coordinating designs
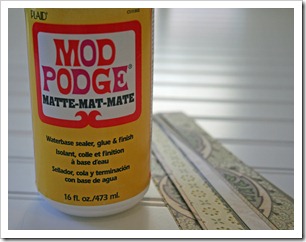
- Original Mod Podge (matte finish)
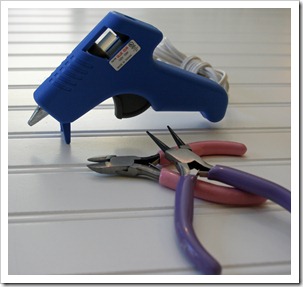
- Hot glue gun, wire cutter & wire pliers
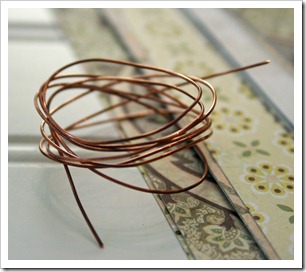
- Floral wire
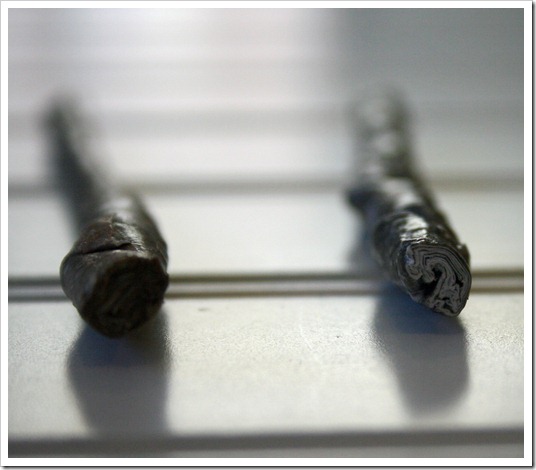
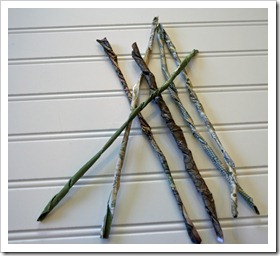
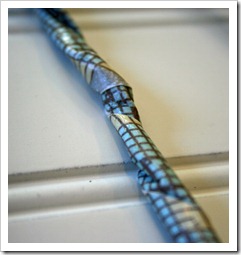
To make the pumpkin stem, cut strips of brown paper (I used Basic Grey Paper Pack in Basic Kraft) into 2 to 3 inch strips. Cover strip on both sides with Mod Podge and twist paper into a stick. Make sure paper is twisted tight, and not just rolled up. It should not be a hollow tube. Make several sticks, in alternating colors and widths, and allow to dry. Trim sticks to desired length (slightly shorter than your pumpkin will be tall) and glue several of them together to create a stalk.
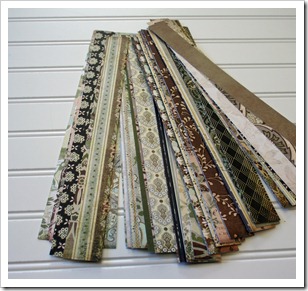
Cut coordinating papers into one inch strips. I used Basic Grey Paper Pack in Capella. Dip a strip into Mod Podge to cover completely, and remove excess. Twist the piece into a tight stick, taking care not to rip the paper, or leave it hollow. Place onto non stick surface to dry. Repeat with more paper strips.
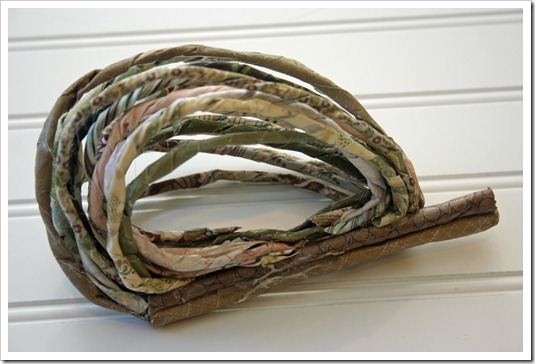
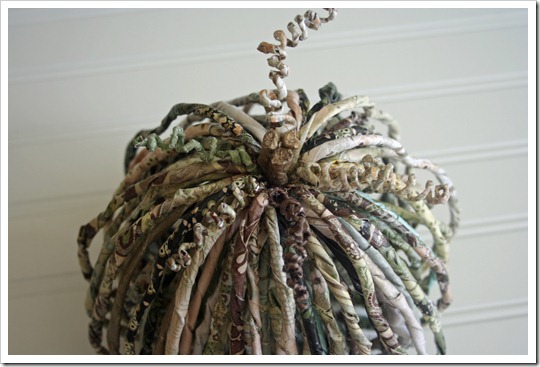
When mostly dry (as early as 20 minutes) bend each paper stick into a "C" shape and hot glue onto the stem starting about an inch down from the top, and ending by slightly overlapping the bottom. Attach paper strips one by one, shaping them as you go. Eventually the paper sticks will completely cover the bottom of the stem, and accumulate several layers to add dimension to the project. Continue until your pumpkin is the size and shape you want.
Cut paper into very thin strips (about ⅛ in.) and cover with Mod Podge. Wind paper around floral wire to fully cover, and allow to dry. Use round nose pliers to bend into tendrils. You can also coil the wire around a pencil, but I find this to make the curls a bit too perfect. I like to keep things a little messy and inconsistent. Glue the tendrils close to the stem, and arrange them as you wish.
And you're done! Yes, I'll admit that this can be a tedious process, but isn't it worth it in the end?
Here's a few tips I found helpful along the way:
-
Wear latex gloves when Mod Podging (it helps keep things moving faster).
-
Try to be in a time and place free from interruptions, because it's hard to respond with your hands covered in a gooey mess!
-
Wrap your TV remote and phone in plastic wrap before beginning (for obvious reasons), you should have seen my husband's face.
132
This is adorable…and doable! I have it bookmarked for a future project.
Those are SOOOO cute!! I totally ♥ them!!
That is one of the most fabulous pumpkin projects I have seen!! Great idea!
This is amazing! Very unique and beautiful. Great job!
Very cute!
I really like the look…I might have to give this a try.
What great idea!! Love this!
Now that's one crafty Emily. 2 thumbs up girl!!
This is paper art rather than a simple halloween pumpkin. You should be in a gallery with that!
This is seriously amazing. I do not have the patience. I'm in complete awe of this project. It looks phenomenal. Nice work!
What a cute idea! They are so fun! & I can"t believe they are made out of all paper.
I love this! Another project to add to my list.
Adorable! What a great idea.
Oh Emily!!! Those are fabulous!!
I absolutely love these!!!!!!
These are super cute. wonder if you could do this with newspaper and then spraypaint??
There is so much of the "same stuff" out there. This is truly original and wonderful. thanks for sharing.
These are so beautiful! I HAVE to make one. I think I'll try doing a great big one. Do you think it will work? I'm featuring this post on my blog if you'd like to check it out. (Friday)
Thanks for the inspiration!
Krystal
sassysanctuary.blogspot.com
BEAUTIFUL!!!!!
So, let me ask you to join in, AS WE ARE REALLY KEEN ON PROMOTING RECYCLED ART:
Come link up your tutorial article on our website & our readers can find you also: http://www.finecraftguild.com/diy-tutorial-linky-party-16/
We'd love to show your work,
Rose
ps when you 'follow the rules' and create a link back from your website/article, you can easily find us again and come back week after week with new craft DIY tutorials.
That is SO cool! Very creative and it looks so unique!
Man this is brilliant! I love a new idea and this one is new to me!
I loved this paper pumpkin so much I'm featuring it on my site today. Hope you don't mind.
I love this project! They are beautiful…
I absolutely love this!
I think these are totally fabulous and I can't wait to try making some myself.
Linked up from my Pumpkin Patch Roundup post at http://scrimpalicious.blogspot.com/2010/10/roundup-pumpkin-patch.html
Hi there! I am your newest follower!! I found you on the weekend linky! I love finding new blogs and your is lovely:) You can find me at http://www.bouffeebambini.blogspot.com
I love your blog design and these are FABULOUS!!
Wow, these are the coolest things I've seen for Halloween tutorials so far! I'd love to share it with my readers if that is ok with you :]
Oh My – This is simply fabulous! I love the txture and the unique look. So creative and clever. Hope you are enjoying your weekend! ~ Stephanie Lynn
These are made out of paper?! So amazing and I'm so glad my friend sent this to me! I'll be linking!
The coolest thing I have seen lately! I hope to give these a try.
~Gay~
http://itsahodgepodgelife.blogspot.com/
Finally something new to do with the stash of paper I have! (I hate scrapbooking, but I'm addicted to paper) Love this idea!
this is just so super cool and a wonderful tutorial x
This is so awesome. The possibilities of paper and Mod Podge seem endless now. THis is my favorite pumpkin craft I have ever seen. I saw you featured at Ucreate.
This is so awesome! What a fun project and it turned out so cute!
I would love for you to link up to Scraptastic Saturday!
Hannah @ http://youngancrafty.blogspot.com/2010/10/scraptastic-saturday_15.html
These are amazing.. Thank you so much for sharing your talents..
Awesome! Not sure I have the patience, though…
😉
This is absolutely precious. You are really talented. Thanks for sharing. I think this is going on my to do list.
These are SO cute!!! I just love them! Thank you so much for sharing the tutorial!
These are awesome!! I have to try them!!
I'm so glad you stopped by and linked up! I sure hope to see you next time!
Hannah @ http://youngancrafty.blogspot.com/
Stopping by to let you know I featured this over at Crafts & Sutch. Please stop by and take a peek when you get a chance and grab a featured button too! 🙂
Thanks so much for sharing! Have a wonderful week!
Erin 🙂
Thank you Emily for sharing these and your awesome tutorial. I have featured them in my wrap-up!
~Gay~
itsahodgepodgelife.blogspot.com
These are absolutely beautiful! What a unique and creative project. 🙂
Wow, those are incredible! I just clicked over from Ucreate where they caught my eye. I would love to link to them if you didn't mind.
This is amazing! I love them. I am featuring them at somedaycrafts.blogspot.com. Grab my "featured" button.
That is hands down the cutest pumpkin craft I have ever seen! How long did it take you to make one?
I agree these are AMAZING! But what is this uninterrupted time thing you speak of? maybe on a weekend!
@Green Willow Pond – I did not make the whole pumpkin in one sitting, but I'm embarrassed to say I think the hours I ended up putting into them were no longer in single digits. 🙂
@Spark*Amy – Ha ha! I have four kids and a husband who works 24/7, but I magically found a whole segment of uninterrupted time that often goes unseen: It's called NIGHT. Who needs sleep when you're making something fabulous? 🙂
clever .. and original!!
Love this! Really cute idea.
This is awesome! awesome! awesome!
I totally want to try this with green or red paper for apples!!! Awesome!!!
I would love it if you came and linked up to my Halloween Party!!!
http://www.paperissues.blogspot.com/
Great idea! Love the pumpkins!!
Well darn, I just saw this for the first time, thinking it's too late for this year… hmmm…. wonder if I could make Christmas trees. Adorable, thanks for sharing!
Thank you SO much!!!
We featured you today!!
http://paperissues.blogspot.com/2010/10/pumpkin-made-of-what.html
saw you at Paper Issues. thank you for the fabulous tutorial. I adore this project.
Oh! These are great – I love them.
Looks like a great project when your snowed in. Very good tutorial.
My friend just pinned this and I had to come here because I truly didn't believe they were paper. I'm sorry you didn't get the shock you deserved! I promise to send you pictures when I make mine!
can’t wait to try my hand at this.
These are AMAZING!!!! I am going to try this out, can’t wait to have these in my home! About how many 12×12 sheets did you cut up for the pumpkin? Thanks so much for sharing!!!! =)
Super fantastic. Love it! Is this the same technique used in the 12 Days of Christmas wreath from last year? I have always wanted to try that one. Thanks for sharing your tutorials and inspiration.
So Cute! I blog over at http://2crafty4myskirt.blogspot.com/ This Thursday I will be posting a round up of handmade pumpkins. I plan to include this project with a link to your tutorial. Please let me know if you are not OK with that. Great work!
I have a suggestion, and I think you'll like it! Instead of paper for that inside stem, why not a cinnamon stick? It would smell MARvelous AND give extra strength to the project. … just a suggestion and I'm going to try!
I love this! I featured your project on Creative Green Living today.
I cannot figure out what the wire is for? Am I reading it and just not seeing it? I have to make some – – – – TODAY!!