I’ve been madly working on another project for yet another dessert table. Thought I would share as a sneak peak to wet your whistle! What we are making today is a Shabby Chic Fabric Chandelier!
Let’s get started!
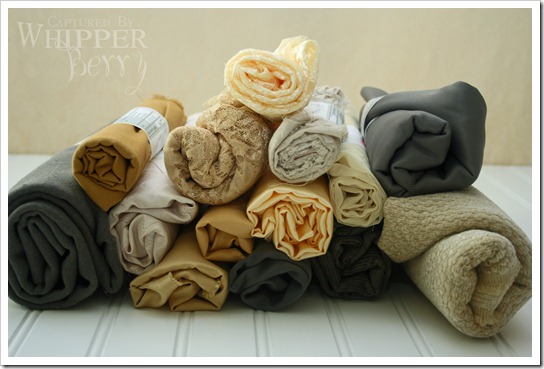
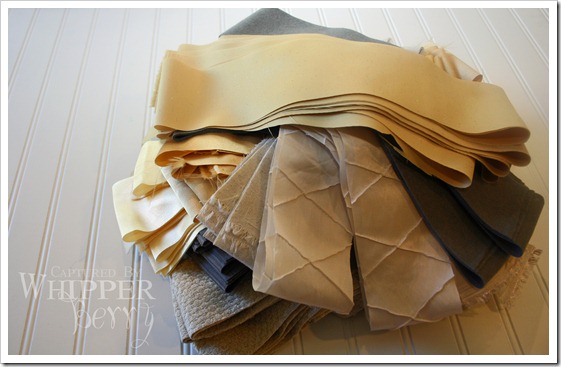
First you will need to raid the remnant bin at your local fabric store. I gathered yellow and gray fabric of all different shades and textures.
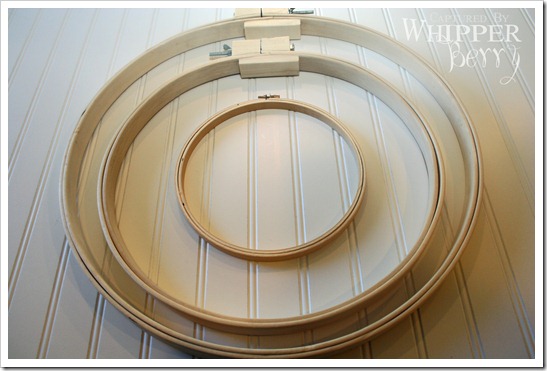
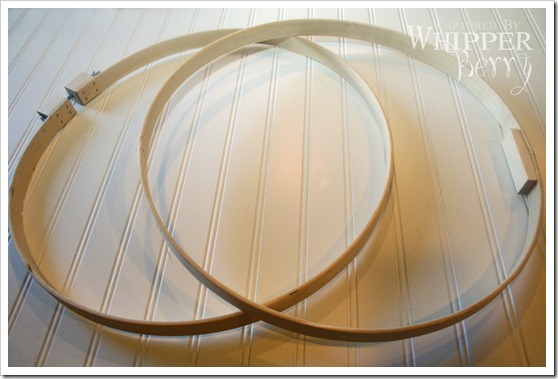
Next, you will need three hoops of different sizes. I wanted mine rather large so I had to use two quilting hoops and one large embroidery hoop.
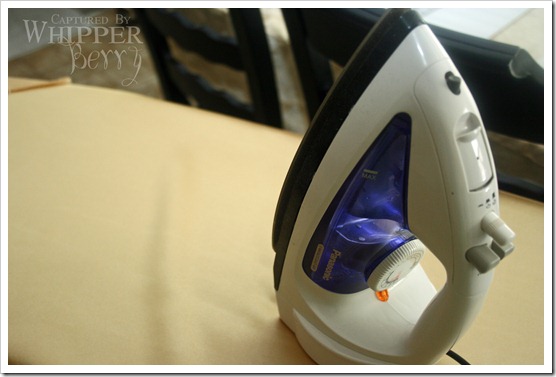
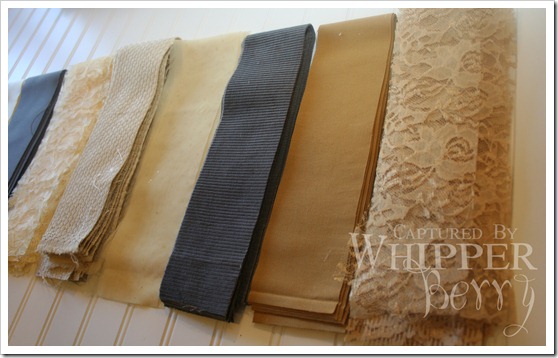
Don’t skip this part! You must iron all of your fabric. Lazy me likes to skip this part, and I’m telling it’s worth taking the time to iron the fabric! Not only does it make a huge difference when cutting the fabric, it also makes for a better final project.
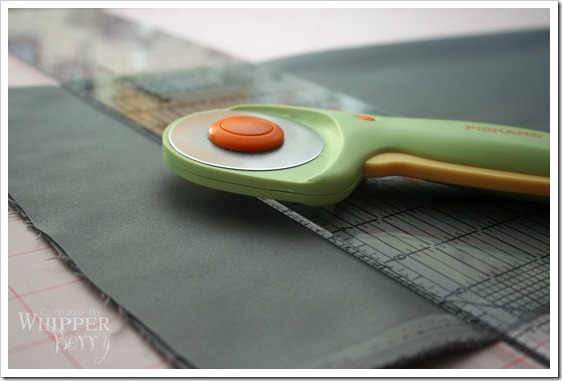
I then cut the fabric into three inch strips.
And then into twenty-three inch strips. Why twenty-three? I don’t know, it looked good. All sizes should be based on your hoop size.
Separate your hoops.
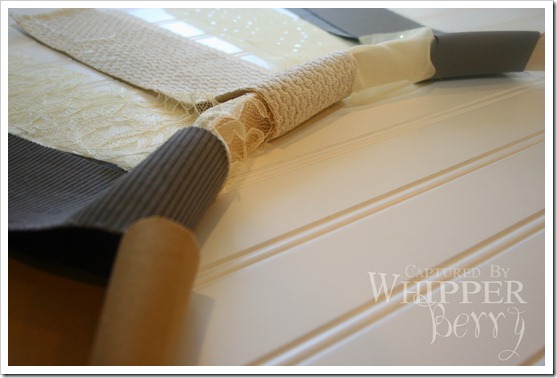
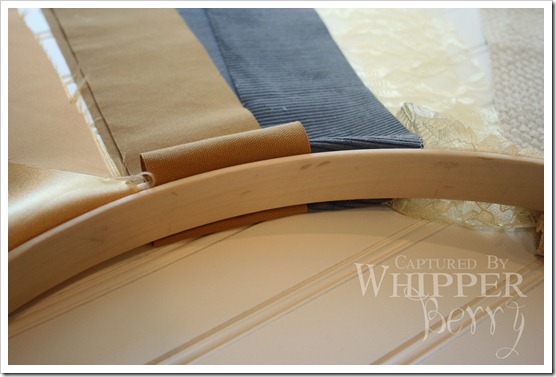
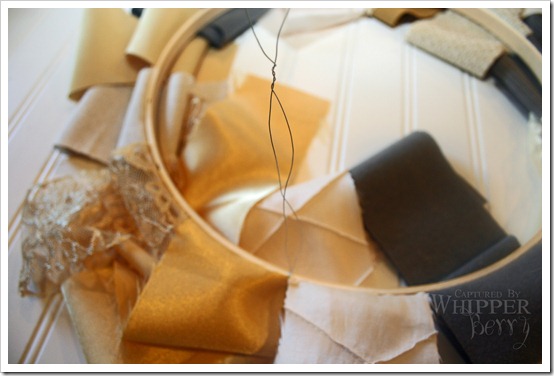
Take the outer hoop and drape your fabric strips over the hoop. Making sure that they are even and spaced appropriately.
Replace the inner ring of the hoop. Adjust the fabric to your liking and then tighten the clamp.
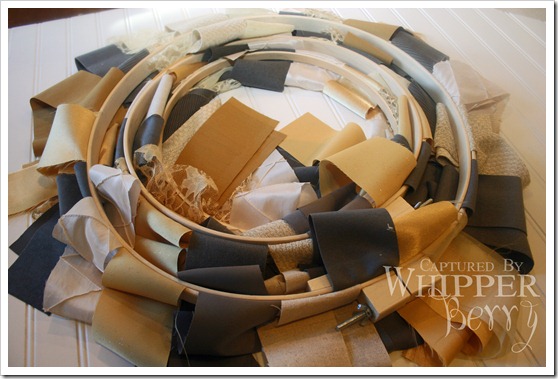
Do the same thing with the remaining two hoops.
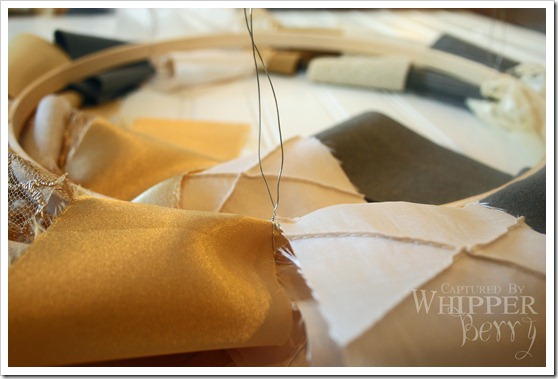
Next, you will need some floral wire and some wire cutters. You will need to wire the three hoops together. Start with the smallest hoop first.
Wrap the wire around the hoop and twist to fasten the wire to the hoop.
Do this two more times, evenly spaced around the hoop.
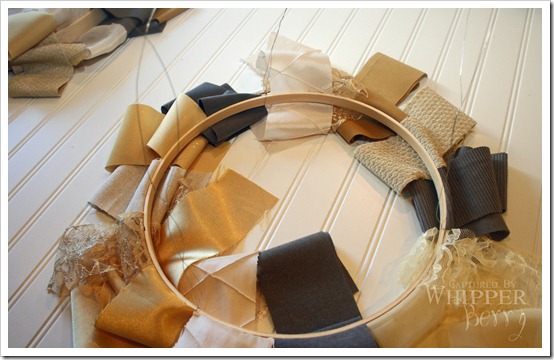
You will then need to measure up the wire about five inches. Twist again to make a shelf for the next hoop.
Place the next hoop on the “shelf” that you have created with the wire. Twist to secure the hoop. Repeat for the other two wires. With the same technique attach the last hoop.
Voila! You have a fun shabby chic fabric chandelier. Have I peaked your interest? The fabulous table that goes with this chandelier is coming up in the next few weeks. Gotta say, it’s going to be fun!!
Kisses, Heather!
Check us out on “Today’s Creative Blog!”
1



Wow, Heather! This is gonna be great!
Cute! The different textures are what really add dimension. This would be a fabulous idea for a wedding as well!
I love the colors and textures! Beautiful!
Love it!
UM, hello adorable!!!! I'm dying and want to make one this very instant!!!
Gotta make one!
I arrived at your blog via Today's Creative Blog – Get your Craft On. I absolutely love this tutorial!! I spent a good amount of time on your blog this morning and thoroughly enjoyed myself!!
I'm very much in love with this!! I may have to share it on my blog…is that ok??
Saw your fabric chandelier on Tatertots and Jello and had to check this out as I am currently working on a chandelier idea myself. However, I was stuck as regards the hoops I was going to dangle my dangly bits from ;-). Now I have an idea… Thank you – and do pop round to my own blog if you have time: http://craft-werk.blogspot.com
This is fab! Innovative project (never seen before), good photos & tutorial.
Good luck – hope you get chosen for Crafting with the Stars!
Wouldn't a hanging light kit from IKEA be cool on the inside, too? Just thinkin out loud here… 😉 I'm SO gonna make one for my bedroom… A lot of eye candy for your buck!! 🙂
Horrid! What a waste of fabric, time and effort!
Everyone loves it when individuals get together and share ideas.
Great blog, stick with it!
Do you would like to lose 10 pounds everyday 5 pounds
everyday or 1 pound in one day. You’ll get no arguments from me to go on a diet this good.
If you are listening to diet nonsense on TV, inside magazines and within the lunch room, you may be skeptical of the, but that
is science. Your parents usually are not around to tell you what to do.
When an individual is unable to take control of theireating, they’re also likely to get out of
controlwith other areas of their life also.