I just can’t help myself… I love this style of wreath. I love how full and rich it looks when finished. Thus far I’ve made two different versions, my Candy Corn Wreath and my Candy Cane Wreath from last year’s wreath tutorial.
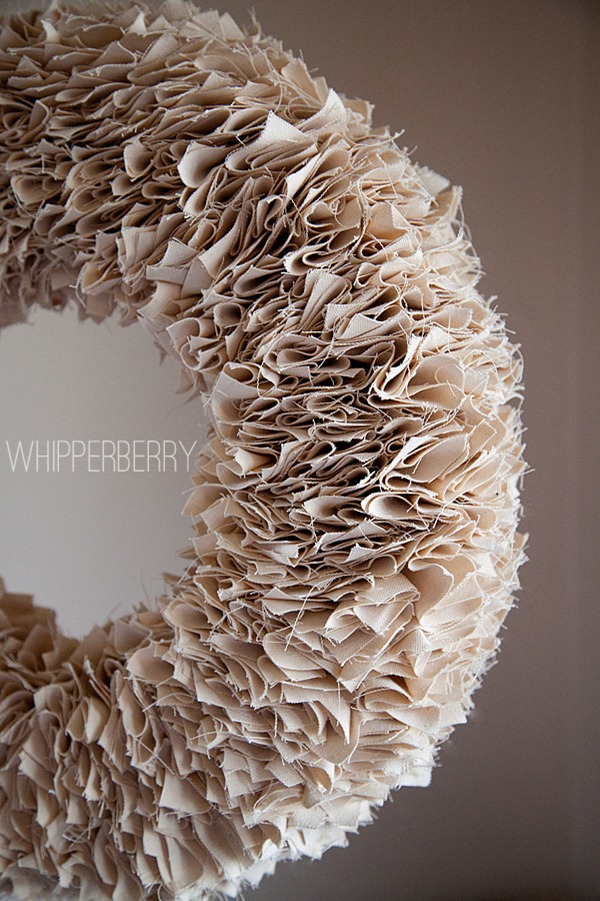
This year I made a simple yet stunning Winter White Canvas Wreath that I can use throughout the year…
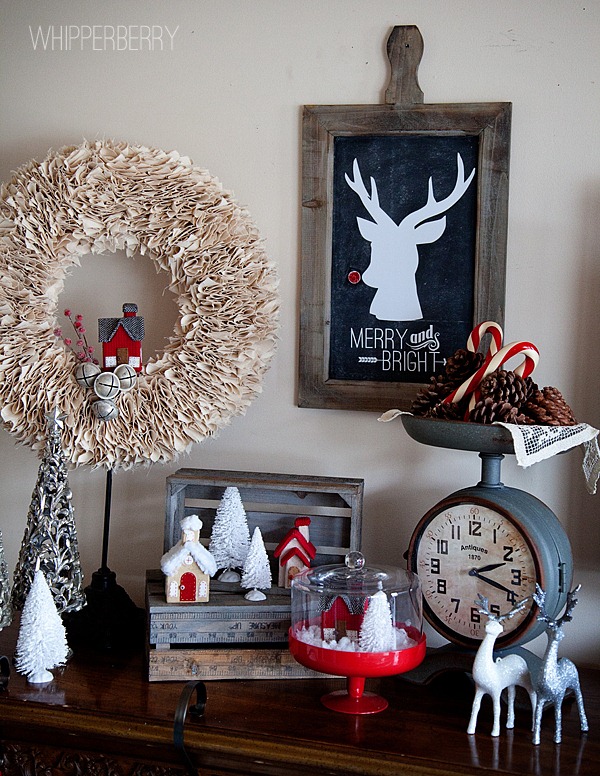
I love a good thick wreath full of rich colors and textures. I think they are always a fabulous statement piece for anything from a front door to a fun vignette like this one I created for Christmas this year.
This wreath is super easy to make, it just takes a little time. Here is what you will need…
Supply List
-
Foam wreath form
-
16 inch floral wreath form
-
3 yards of winter white canvas or duck cloth
-
Cutting mat and rotary cutter
Instructions
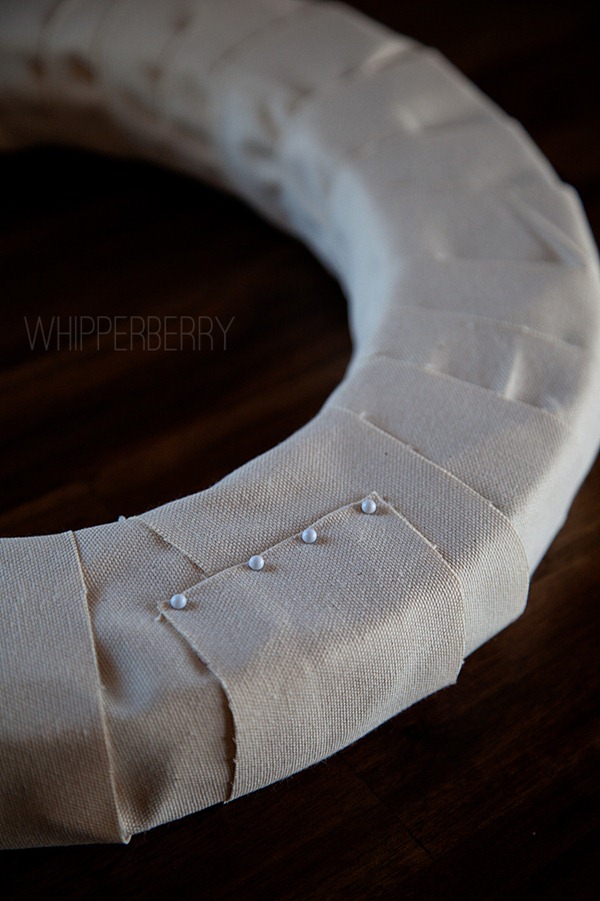
Cut your canvas into 3 inch strips and wrap the wreath form with a few of the strips of fabric to cover the Styrofoam. Use some pins to pin the fabric down at the end.
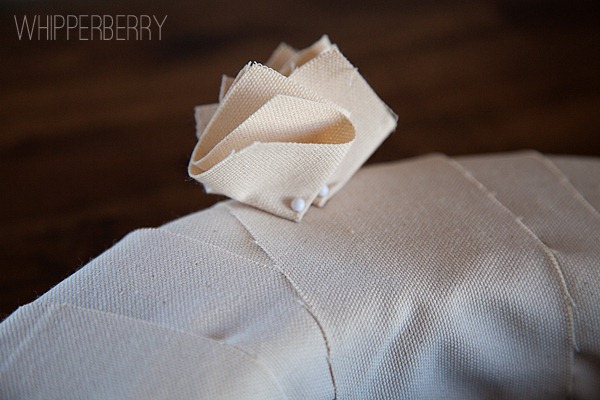
Cut the remaining fabric into 3×3 inch squares. You don’t need to be super precise, this wreath is very forgiving. Fold a square in half and then half again and then pin to the wreath form.
You don’t need to make these little squares very precise either. Actually, the messier they are, the better the wreath will look.
Now… grab a Diet Coke and a good movie (I watched on of my favorites, White Christmas) and go to town…Continue to fill in the wreath, packing them pretty tight.
I really used every speck of the 3 yards of canvas for this wreath and it looks so rich and full, I ADORE it!!
Now, this wreath is a bit of an investment (I totally get that) So… I plan on creating fun ways to dress it up throughout the year to make the investment of time and materials worth it.
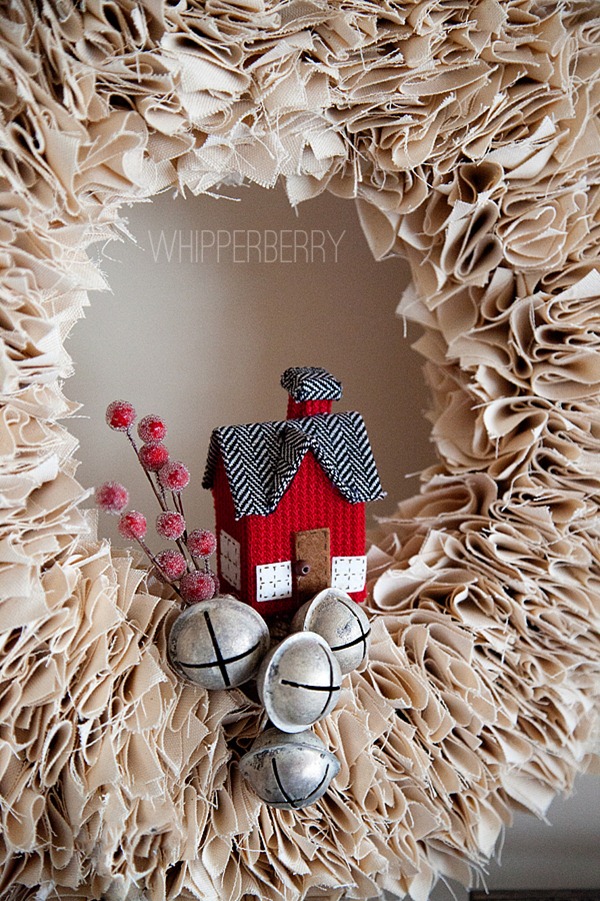
Here is what I did to accessorize it for Christmas…
I added a cute little house ornament from the Target holiday collection along with some vintage jingle bells that I found at Old Glory Antiques in Denver, and a little frosted berry sprig.
I pinned the bells to the back of the wreath, tucked the berries into the folds of fabric and set the house on the wreath.
This is perfect for indoors, If you were going to use the same accessories for outdoors, I would secure it a little better.
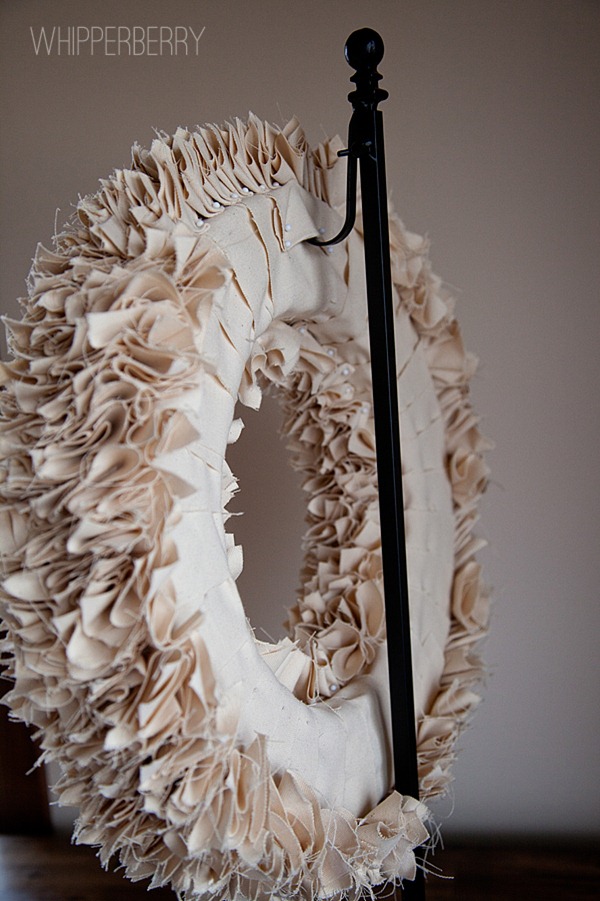
To hang the wreath, I use the little pocket created when wrapping the foam base with the fabric…
It actually works quite well with the stiff canvas fabric. Don’t worry about all the strings from the fabric. After a little bit of time and grooming they settle down and you don’t even see them.
This week I am giving away an elegant holiday décor kit from the Sterling Pear, that’s where I found those amazing stocking hangers from my faux mantle. Make sure you head over to enter the giveaway!!
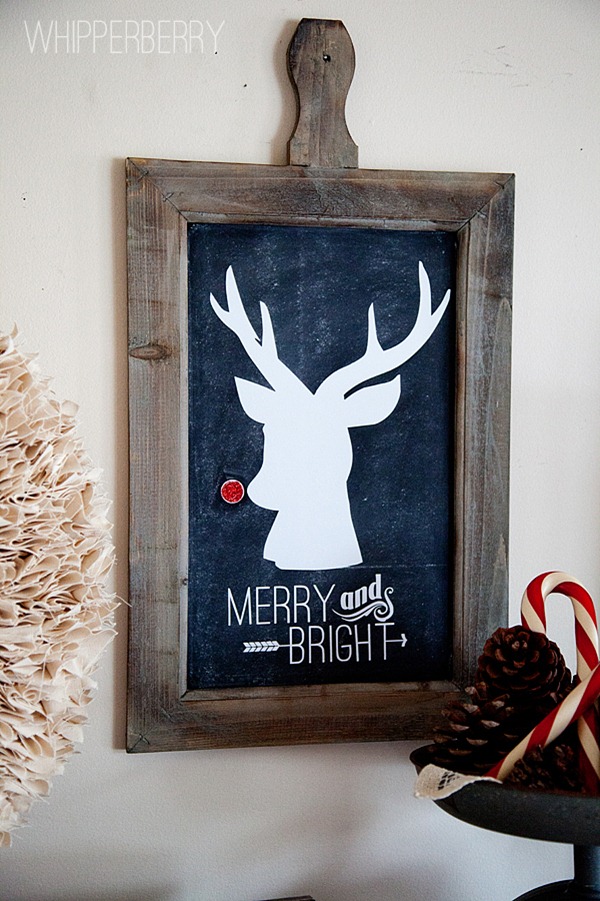
I will also in a future post teach you guys how to make that fun Rudolph sign that I created using my favorite Rhonna Designs digital artwork!
That one is going to be really fun!! Some great Silhouette tips and tricks I can’t wait to share! So… Enough about me, what have you guys been working on? Any fun Holiday projects you’ve been working on? I would love to hear about them!
120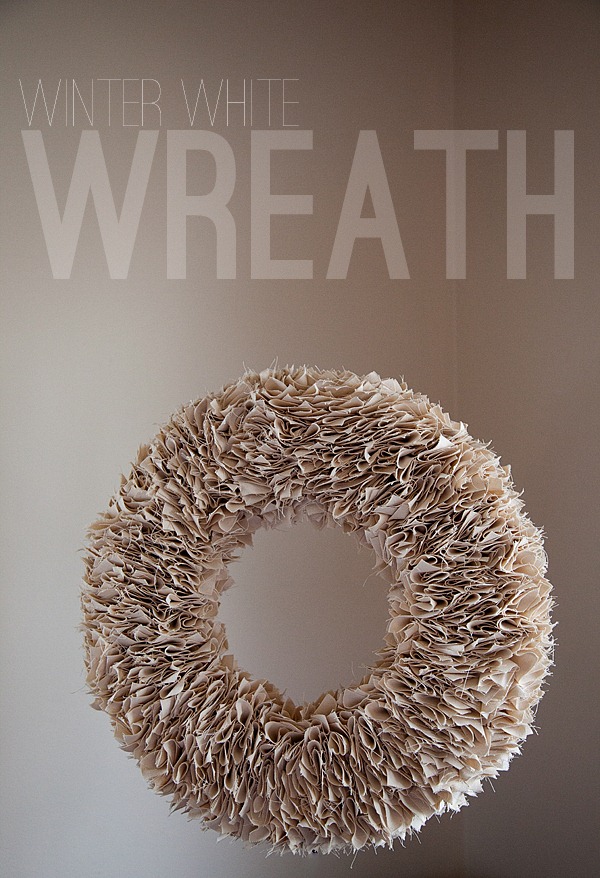

Gorgeous! I love this style of wreath too! So much! And love the wreath hanger – fantastic idea!!
Jo-Anna
Thanks Jo-Anna, this is one of my all time favorites!!
kisses
heather
Just gorgeous Heather! Love how you added the little house and the cute vintage bells. Can’t wait to see how you dress it up for other seasons as well!
Thanks Kara, I’m excited to see how the rest of the year is going to take shape!
kisses
heather
Love it!!! The whole vignette is beautiful! I really love how you dressed up that chalkboard too. I have been on the fence about purchasing one but definitely will be picking one up next time I see it!
Jenn you totally should! I LOVE playing around with my chalkboards! Thanks for the sweet comment…
kisses
heather
Beautiful vignette! How do you get the silhouette?
Thanks Ann! I am actually going to do a post on the Rudolph silhouette in a few days, so stay tuned!
kisses
heather
I love these projects. The wreath is awesome!
Thanks so much Elizabeth, you’re sweet!
kisses
heather
love that wreath, heather. going to try this one after christmas.:)
Oh Kiki my long lost friend… I miss being close to you! It’s so fun to see your name pop-up. You should totally try one of these wreaths they are so fun!
kisses
heather
Ooh, I love all the yummy texture this wreath has! I love decor items that can be easily revamped for the seasons.
I love your wreath it is sooo beautiful! Rudolph is really cute too 🙂
xoxo, Tanya
I LOVE this! I like to use this method of wreath making with felt circles, but I may have to try canvas next! Simply scrumptious!!
This wreath is beautiful! I just love the fullness and the rustic quality. I have made a few tied rag wreaths and know how long they take. I am sure this takes even more time, but I love it!!
Love this wreath, may have to try this. Love the Rudolph sign too, want to see the post on how to make this. Saw your photos on CedarHill Ranch page, Anita is a friend of mine.
Hi there! I'm a little slow to comment but I LOVE this! Question. In the supply list you have two different kinds of wreath forms listed. I'm really new at this, so do I need both? I didn't see where you explained what to do with the second form but maybe I just missed that part? Let me know if you get a sec to answer. Thanks!
Thanks Natalie! Nope you only need one wreath form.
kisses // heather
If you used simple muslin for wrapping the form, the color would be the same but you'd save a little money.
Just a suggestion.
I love the wreath! Great idea.