Fashion has always reflected culture, creativity, and personal identity, but today’s wardrobes are becoming noticeably more expressive. Many people are choosing clothing that feels meaningful, comfortable, and unique. Artistic fashion has emerged as a natural extension of this shift, bringing colorful prints, handcrafted aesthetics, and creative design into everyday life.
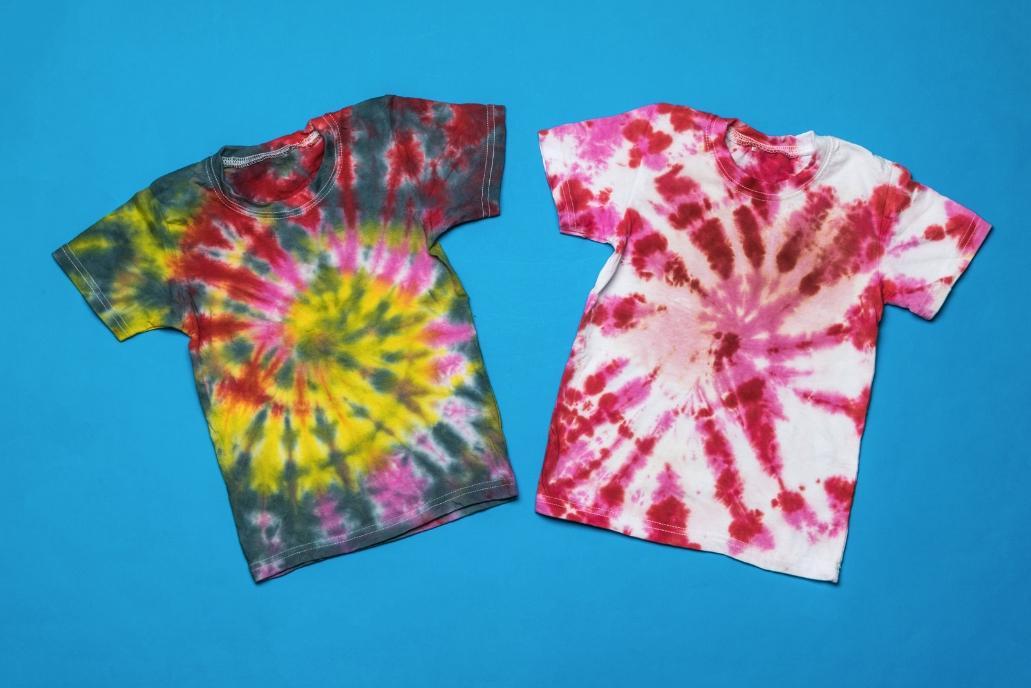
Once associated primarily with festivals, art communities, or niche boutiques, artistic fashion has become much more accessible. Tie-dye, hand-painted garments, embroidered details, and abstract prints now appear alongside timeless wardrobe staples, proving that expressive clothing doesn’t have to feel over-the-top.
The appeal lies in finding balance. People are learning how to incorporate artistic elements into outfits that remain practical for work, weekends, travel, and everyday activities.
[Photo by KVLADIMIRV on Canva]
Why Creative Clothing Is Resonating with More People
Today’s shoppers often want more from their clothing than simply following the latest trend. Many are looking for pieces that reflect their interests, personalities, and lifestyles.
Artistic fashion offers exactly that. Whether inspired by painting, nature, music, travel, or handmade crafts, creative clothing allows people to tell a story through what they wear.
Some characteristics that define artistic fashion include:
- Unique prints and patterns
- Handcrafted or artisan-inspired details
- Bold or thoughtfully chosen color palettes
- Relaxed, wearable silhouettes
- Clothing that feels individual rather than mass-produced
Artistic fashion encourages personal expression. This makes wardrobes feel more authentic and often leads to clothing that remains enjoyable to wear long after seasonal trends have changed.
Creativity Doesn’t Mean Dressing Loudly
One of the biggest misconceptions about artistic fashion is that every outfit has to be colorful or dramatic. In reality, creativity often comes from subtle styling choices.
A single statement piece can transform an otherwise simple outfit without making it feel overwhelming. For example:
Start with One Artistic Item
Choose one expressive garment, such as:
- A tie-dye sweatshirt
- A printed T-shirt
- A colorful overshirt
- A patterned midi dress
Then pair it with classic basics like denim, neutral trousers, or white sneakers.
Keep the Rest of the Outfit Simple
Minimal accessories help artistic clothing remain the focus. Good options include:
- Leather crossbody bags
- White trainers
- Neutral ankle boots
- Delicate jewelry
- Denim jackets
This styling approach creates balance while making bold pieces feel surprisingly wearable.
Everyday Inspiration Can Come From Creative Hobbies
Someone who spends weekends painting may naturally gravitate toward colorful clothing. A pottery enthusiast might appreciate earthy tones and handcrafted textures, while someone who enjoys photography may prefer garments inspired by landscapes or abstract imagery.
Creative hobbies can subtly influence clothing choices by encouraging people to experiment with color, texture, and design.
This connection between creativity and fashion also makes getting dressed more enjoyable. Even introducing one creative piece into your wardrobe can make everyday outfits feel fresher and more interesting.
Choosing Artistic Pieces That Work Beyond One Season
Versatility is one of the reasons artistic fashion has become increasingly popular. Modern designs are created to fit naturally into everyday wardrobes instead of being reserved for special occasions.
Tie-dye, for example, has evolved considerably. Softer color palettes and contemporary cuts make today’s designs much easier to wear throughout the year. Brands like Free Spirited focus on artistic casual clothing that blends expressive prints with comfortable everyday silhouettes.
Before investing in new clothing, many shoppers prefer to learn more about product quality and customer experiences. Reading Free Spirited Clothing reviews offers helpful insight into how others have found the fit, comfort, and overall experience before making a purchase.
Taking a few minutes to research clothing before buying can lead to more confident decisions and a wardrobe built around pieces you’ll genuinely enjoy wearing for years, not just one season.
Mixing Artistic Fashion With Timeless Wardrobe Staples
One reason artistic clothing remains practical is that it pairs exceptionally well with classic wardrobe essentials.
Instead of building an outfit entirely around bold designs, allow creative pieces to work alongside timeless basics.
Some dependable combinations include:
Casual Weekend Style
- Artistic sweatshirt
- Straight-leg jeans
- White sneakers
- Canvas tote bag
Relaxed Everyday Outfit
- Printed T-shirt
- Neutral chinos
- Denim jacket
- Leather trainers
Comfortable Travel Look
- Tie-dye hoodie
- Black joggers
- Crossbody bag
- Lightweight trainers
Building outfits this way allows artistic garments to stand out naturally without competing against multiple statement pieces. It also increases the number of ways each item can be worn, making every purchase more versatile.
Building a Wardrobe That Reflects Your Personality
Many people feel pressure to update their wardrobes as trends change constantly. Artistic fashion encourages a different approach by focusing on individuality instead of constant replacement.
Rather than asking whether something is fashionable this season, consider whether it genuinely suits your personality and lifestyle. Questions worth asking include:
- Will I enjoy wearing this regularly?
- Does it coordinate with clothes I already own?
- Does it reflect my personal style?
- Can I wear it across multiple seasons?
Answering these questions often leads to smarter purchases and fewer impulse buys. Free Spirited demonstrates how artistic clothing can fit comfortably into everyday wardrobes by offering colorful yet wearable designs that pair easily with classic basics.
Instead of overwhelming an outfit, thoughtfully designed artistic pieces add personality while remaining practical enough for daily wear.
Artistic Fashion Encourages More Mindful Styling
Expressive clothing doesn’t require an overflowing wardrobe. In many cases, owning a handful of distinctive pieces provides more styling opportunities than constantly chasing new trends.
By combining artistic garments with reliable basics, you create outfits that feel fresh without requiring an entirely new collection every season.
This approach also encourages creativity. Mixing colors, experimenting with layers, and finding new combinations can make getting dressed feel enjoyable again rather than repetitive.
Fashion becomes less about keeping up with trends and more about building a wardrobe that reflects who you are.
Final Thoughts
The rise of artistic fashion reflects a broader appreciation for individuality, creativity, and personal expression. Rather than reserving colorful prints and unique designs for special occasions, more people are incorporating them into everyday wardrobes in thoughtful, wearable ways.
Whether your style leans toward subtle patterns or bolder artistic pieces, the key is balance. Pair expressive clothing with timeless basics, focus on quality over quantity, and choose garments that genuinely fit your lifestyle. Over time, you’ll create a wardrobe that not only looks distinctive but also feels authentic every time you get dressed.

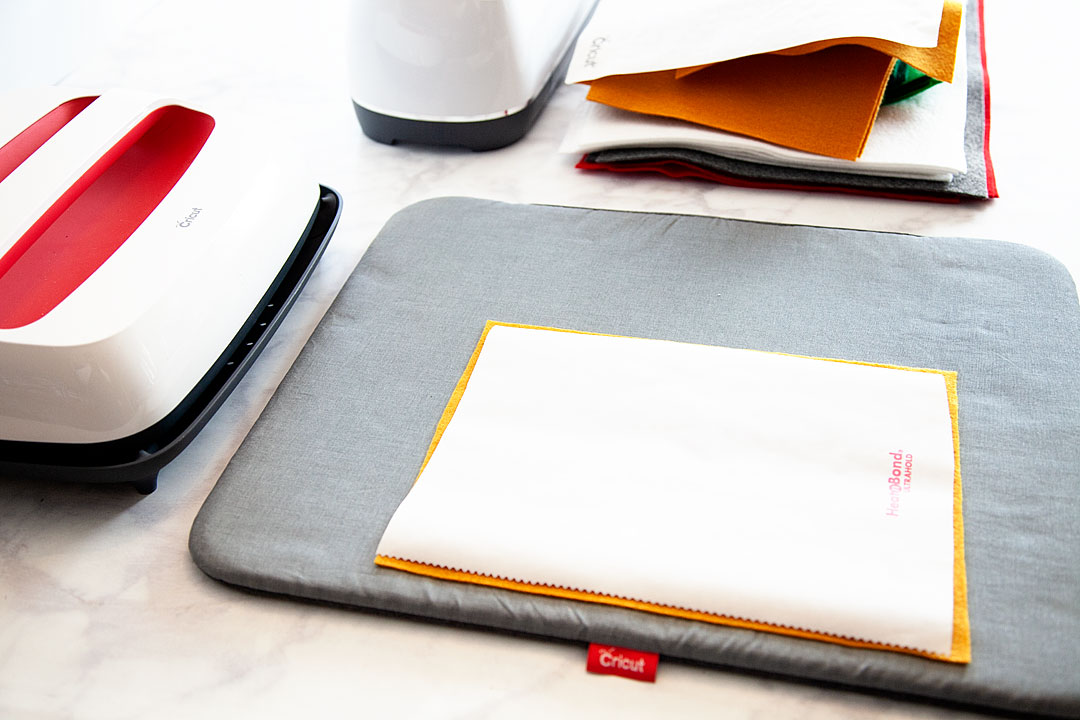

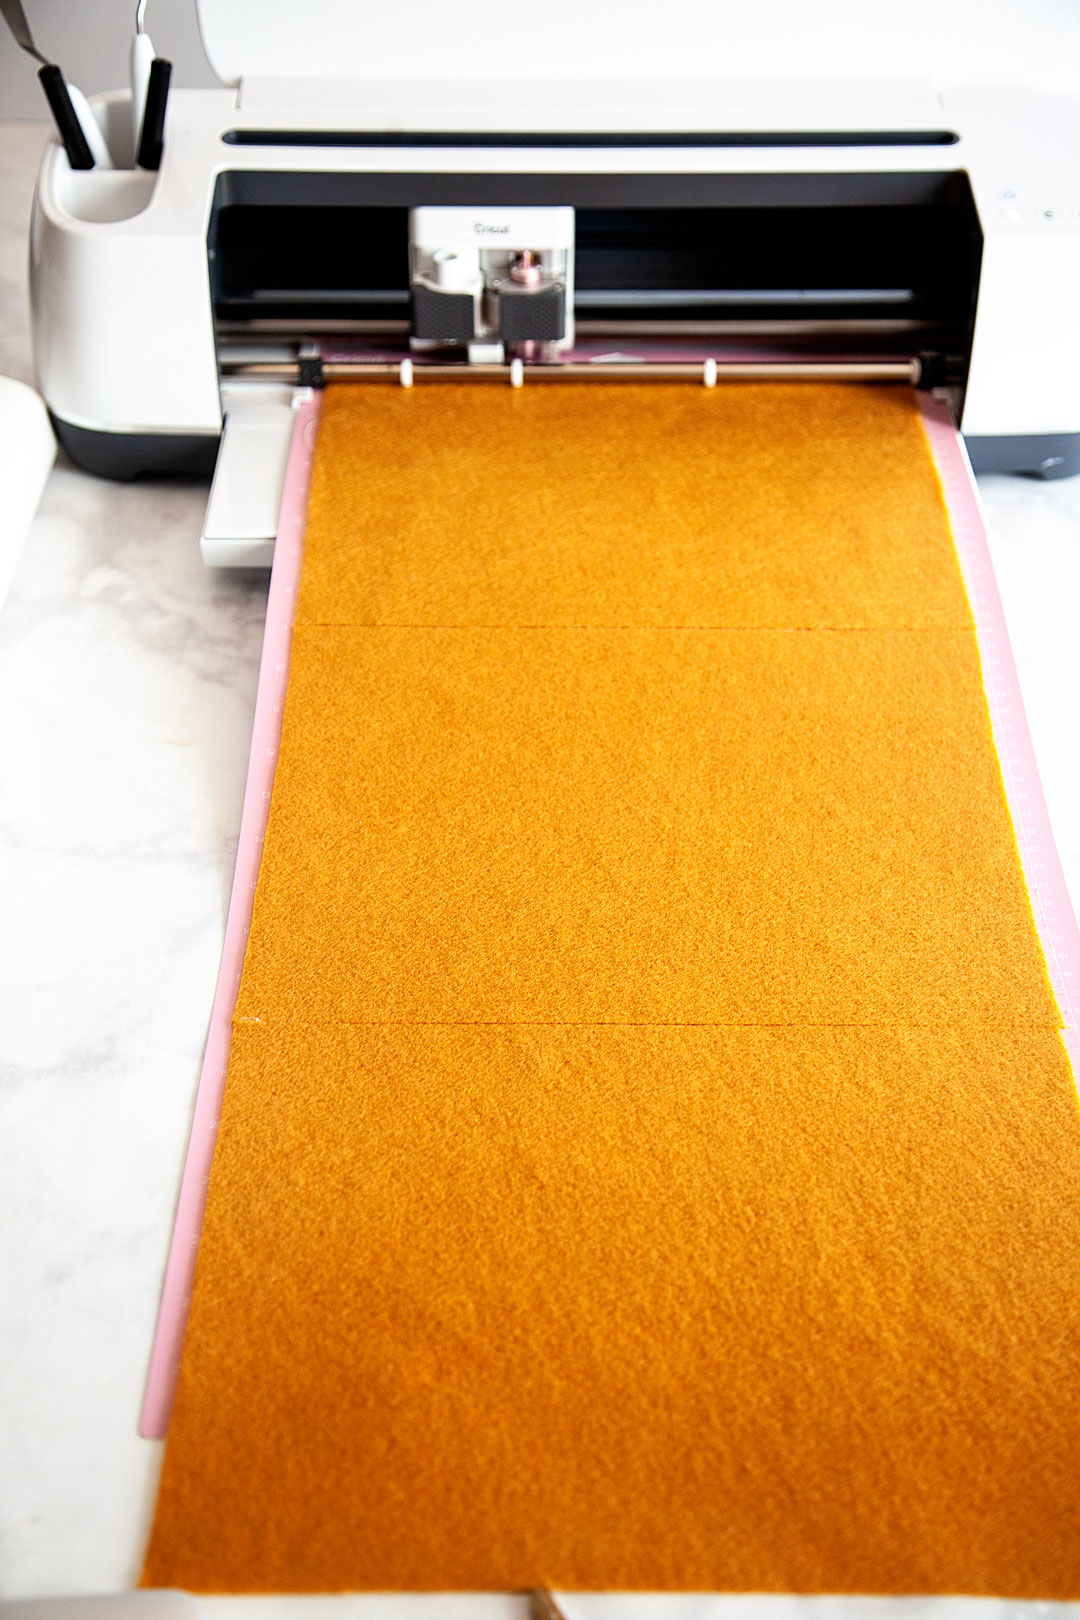
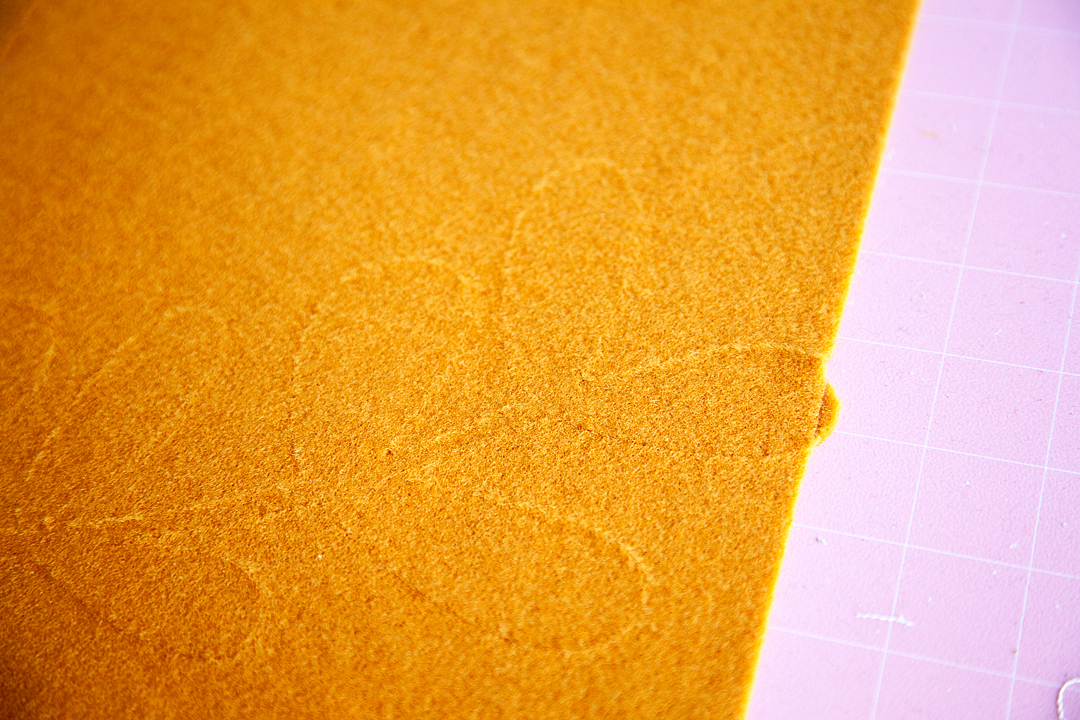
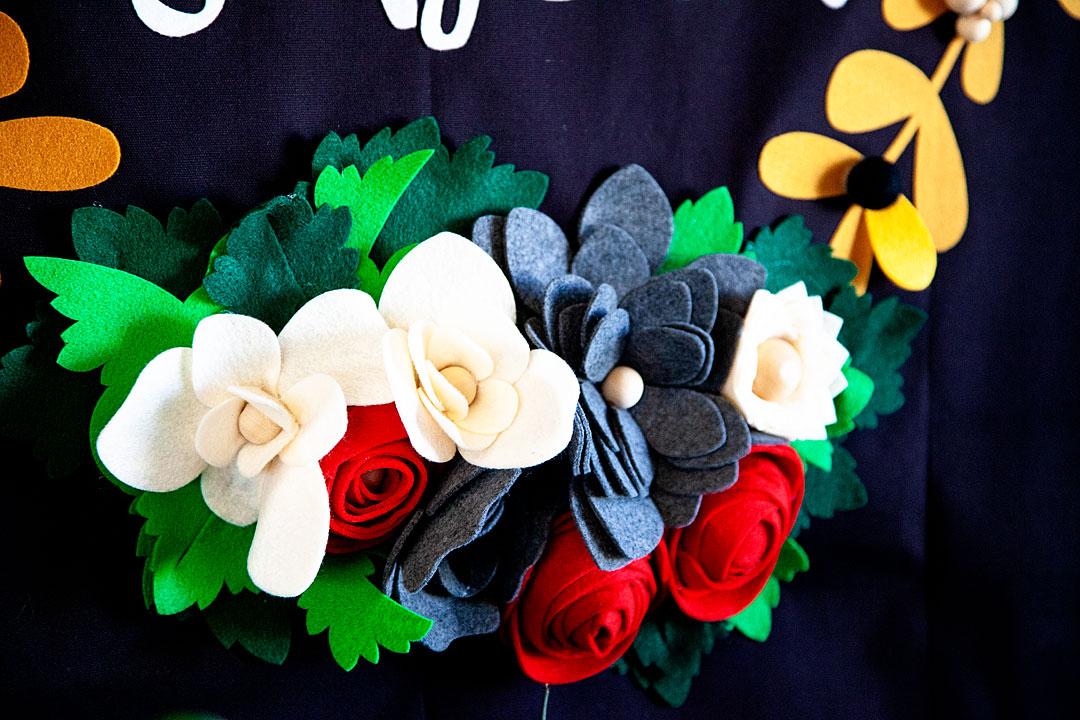
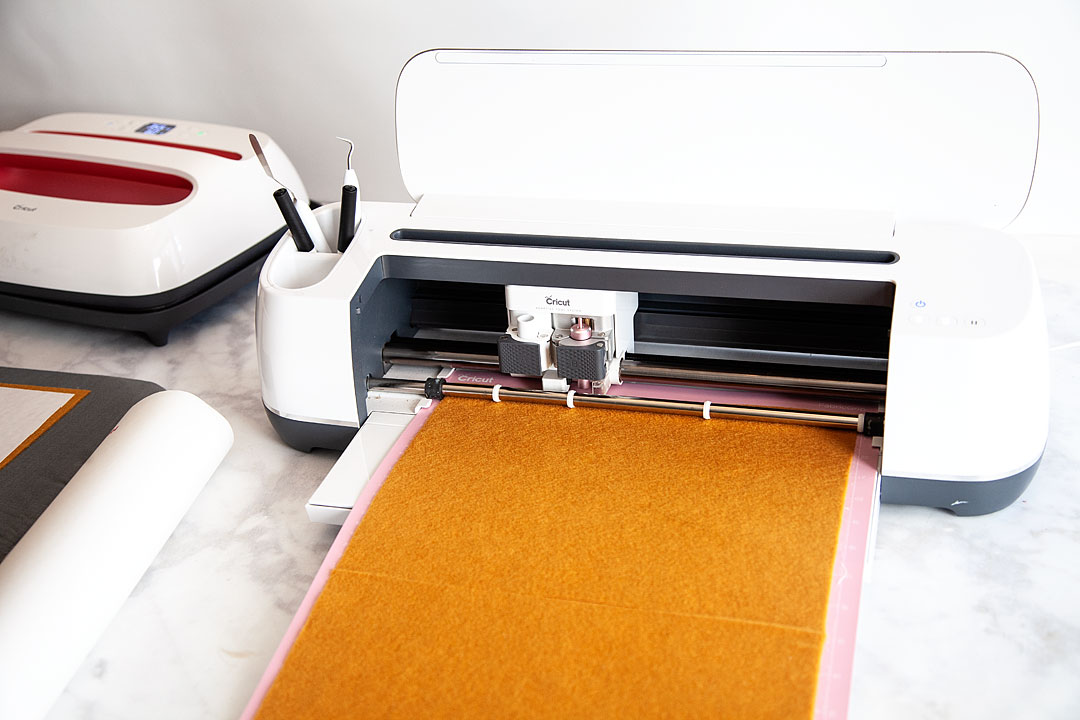 NOW, the felt that I had was smaller than the designs, not to worry though. I placed my felt onto the cutting mat and easily pieced them together while I was pressing them onto the fabric. If you’re careful you won’t even see the seam.