• Skip to primary navigation
  • Skip to main content
  • Skip to primary sidebar
  • Skip to footer

Whipperberry

WhipperBerry • Your Home For Creative Inspiration

  • Home
  • About
    • Terms
  • Recipes
    • ZipList
    • Starters
    • Easy Weeknight Dinners
    • Main Dish
    • Salads
    • Side Dish
    • Soups & Stews
    • Desserts
    • Breakfast
    • Miscellaneous
  • Tutorials
    • Creative Crafts
    • DYI Decor
    • Fabric Crafts
    • Food How-To
    • Jewlery
    • Paint Projects
    • Paper Art
    • Party Styling
    • Photography and Graphic Design
    • Silhouette
  • Holidays
    • St. Patrick’s Day
    • Easter
    • Mother’s Day
    • Father’s Day
    • 4th of July
    • Halloween
    • Thanksgiving
    • Christmas
    • New Years
    • Valentine’s Day
  • Gift Ideas
    • Gifts For Everyone
    • Gifts for Dad
    • Mother’s day
    • For The Girls
    • For The Kids
    • Teacher Gift Ideas
    • Christmas
  • Printables
    • Holiday
    • Gift Idea
    • LDS Primary
  • Travel
  • Contact
  • Nav Social Menu

    • Facebook
    • Instagram
    • Pinterest
    • RSS
    • Twitter

Michaels Maker

Stylish Organization Ideas

17 · Jan 21, 2019 · 1 Comment

The New Year always brings on the organization bug… I have it for sure! I hit up Michaels the other day looking for stylish ways to get my office organized. To be fair, I don’t really have an office, my “office” is my kitchen table and the space around my kitchen table. It’s out where everyone can see my creative mess therefore, I need to find a stylish way to keep it nice and tidy. Here’s what I came up with…

+  This stylish organization ideas post is brought to you by the amazing folks at Michaels  +
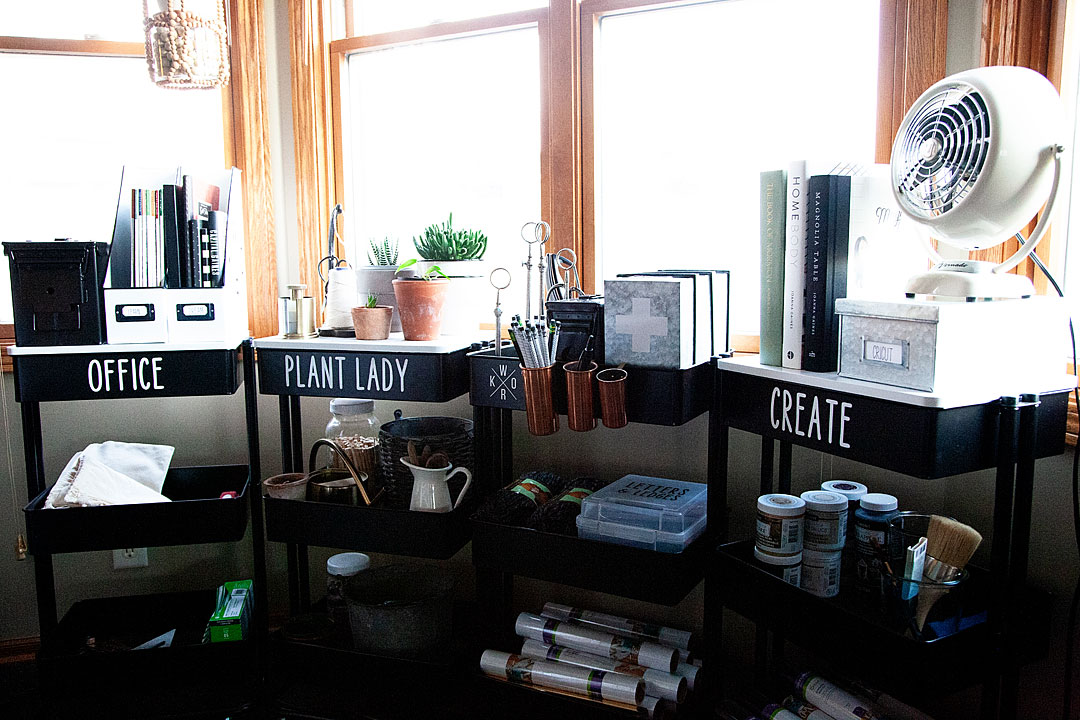
Stylish Organization Ideas for my “Office”
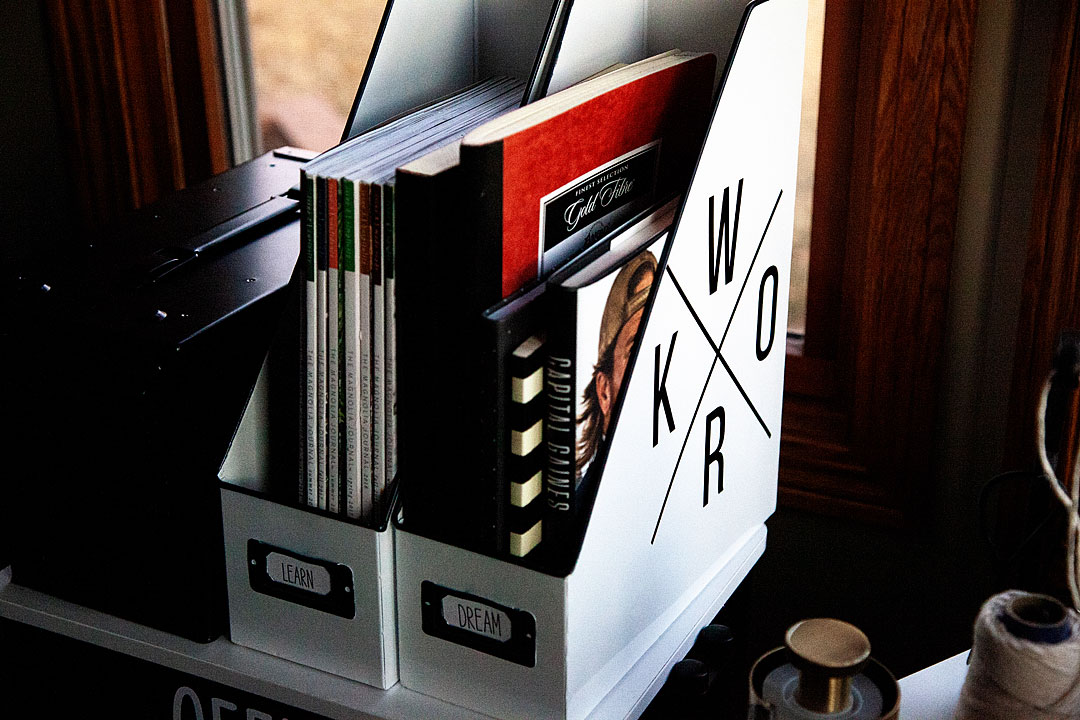
The New Year always brings on the organization bug... I have it for sure! I hit up Michaels the other day looking for stylish ways to get my office organized. To be fair, I don't really have an office, my "office" is my kitchen table and the space around my kitchen table. It's out where everyone can see my creative mess therefore, I need to find a stylish way to keep it nice and tidy. Here's what I came up with...

My kitchen has always been my office… It’s where I work my magic. It’s my photo studio, my creative space, my office, where I entertain and where I feed my family. Therefore, the way I use to organize my tools of the trade needs to be tidy, portable & stylish.  Here is a video that I put together to show you how I create the perfect little space to organize all of my odds & ends.

Supply List
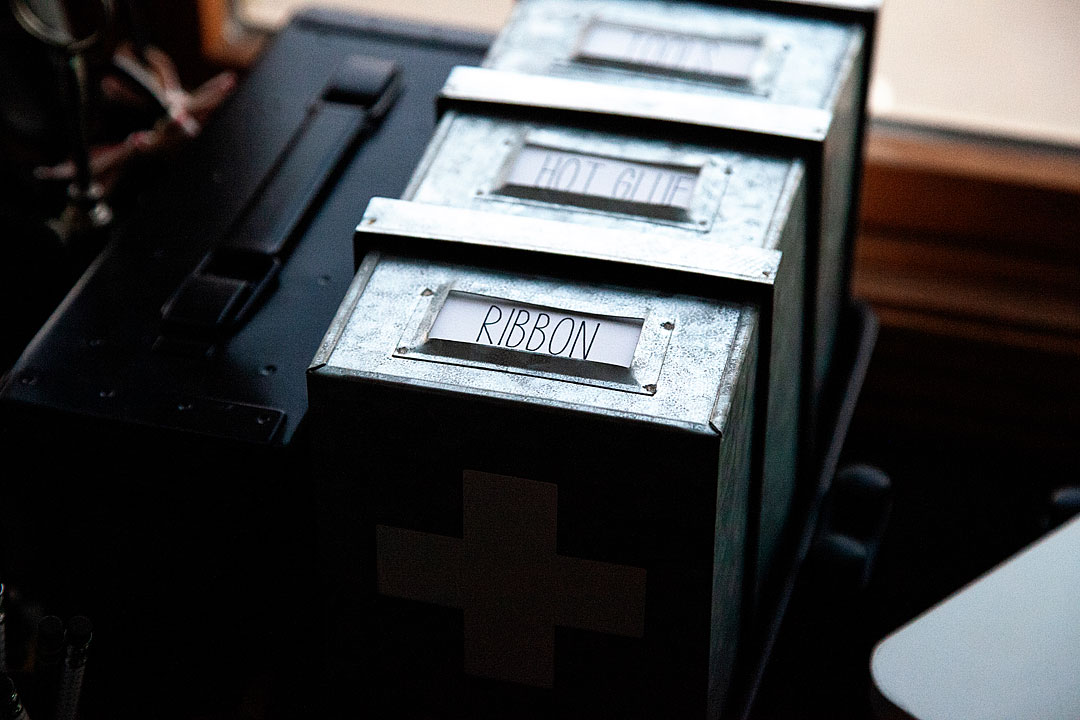
The New Year always brings on the organization bug... I have it for sure! I hit up Michaels the other day looking for stylish ways to get my office organized. To be fair, I don't really have an office, my "office" is my kitchen table and the space around my kitchen table. It's out where everyone can see my creative mess therefore, I need to find a stylish way to keep it nice and tidy. Here's what I came up with...

I thought it turned out super cute! Ok, stylish… not just cute. Creating a station that is super functional was very important to me. A place that doesn’t just get cluttered-up and then written off as another messy place to have to clean and ORGANIZE. I love that when I’m wanting to entertain, these four Lexington carts can be rolled into the laundry room and then my kitchen is nice and tidy for our guests. Here’s what you’ll need to create your stylish organization station.

  • Enamel Tabletop Magazine Organizer 
  • Small galvanized tabletop box
  • Large galvanized tabletop box
  • Lexington Cart – black
  • Lexington Cart topper – white
  • Cricut Explore Air 2 – Sunflower
  • Premium Vinyl – permanent- White & Black
  • White cardstock
  • Cricut pens – black
  • WhipperBerry Cricut cut files

This project is super easy, if you watch the video it will show you exactly how to create a space like this for yourself. Plus, as an added bonus, I’m sharing my Cricut Design Space files that are fully editable so you can create the exact same look for your space. Here are some tips on how to apply vinyl if you’re new to vinyl.  The rest is super easy!

The New Year always brings on the organization bug... I have it for sure! I hit up Michaels the other day looking for stylish ways to get my office organized. To be fair, I don't really have an office, my "office" is my kitchen table and the space around my kitchen table. It's out where everyone can see my creative mess therefore, I need to find a stylish way to keep it nice and tidy. Here's what I came up with...

I love how each cart has a different purpose. I have my office cart, my plant lady cart and then my creative carts full of my favorite craft supplies. Let’s see what kind of stylish spaces you create!! Tag me on Instagram @whipperberry to show me what you’ve created.
Hanging with My Gnomes Wreath • Video Tutorial

27 · Dec 3, 2018 · 1 Comment

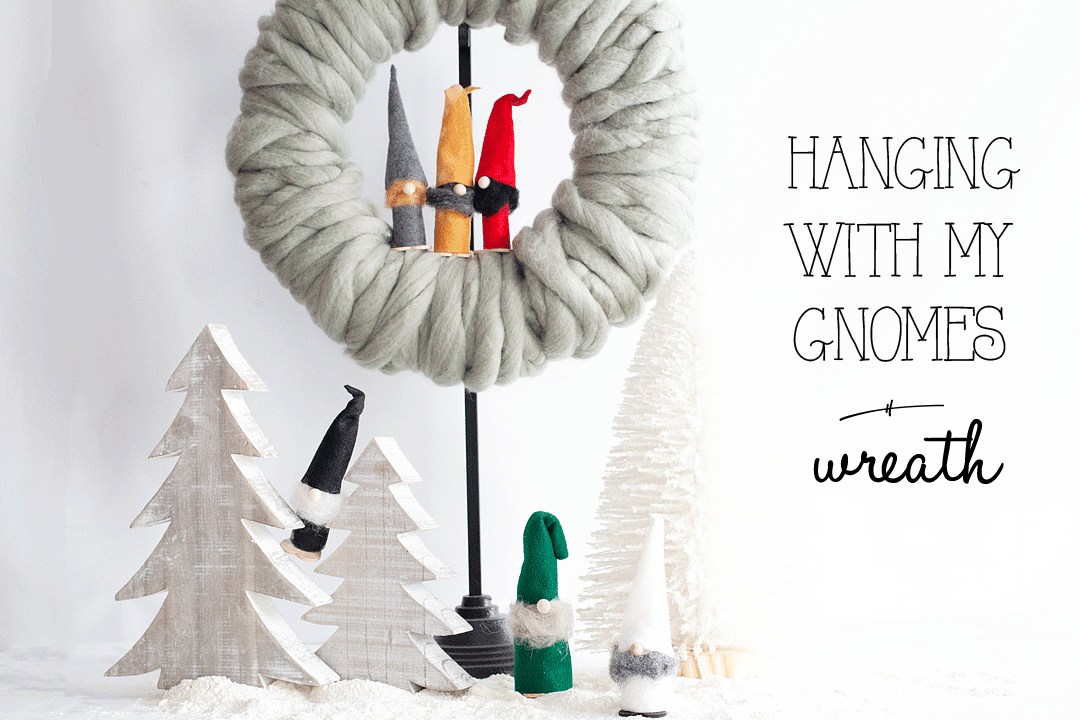
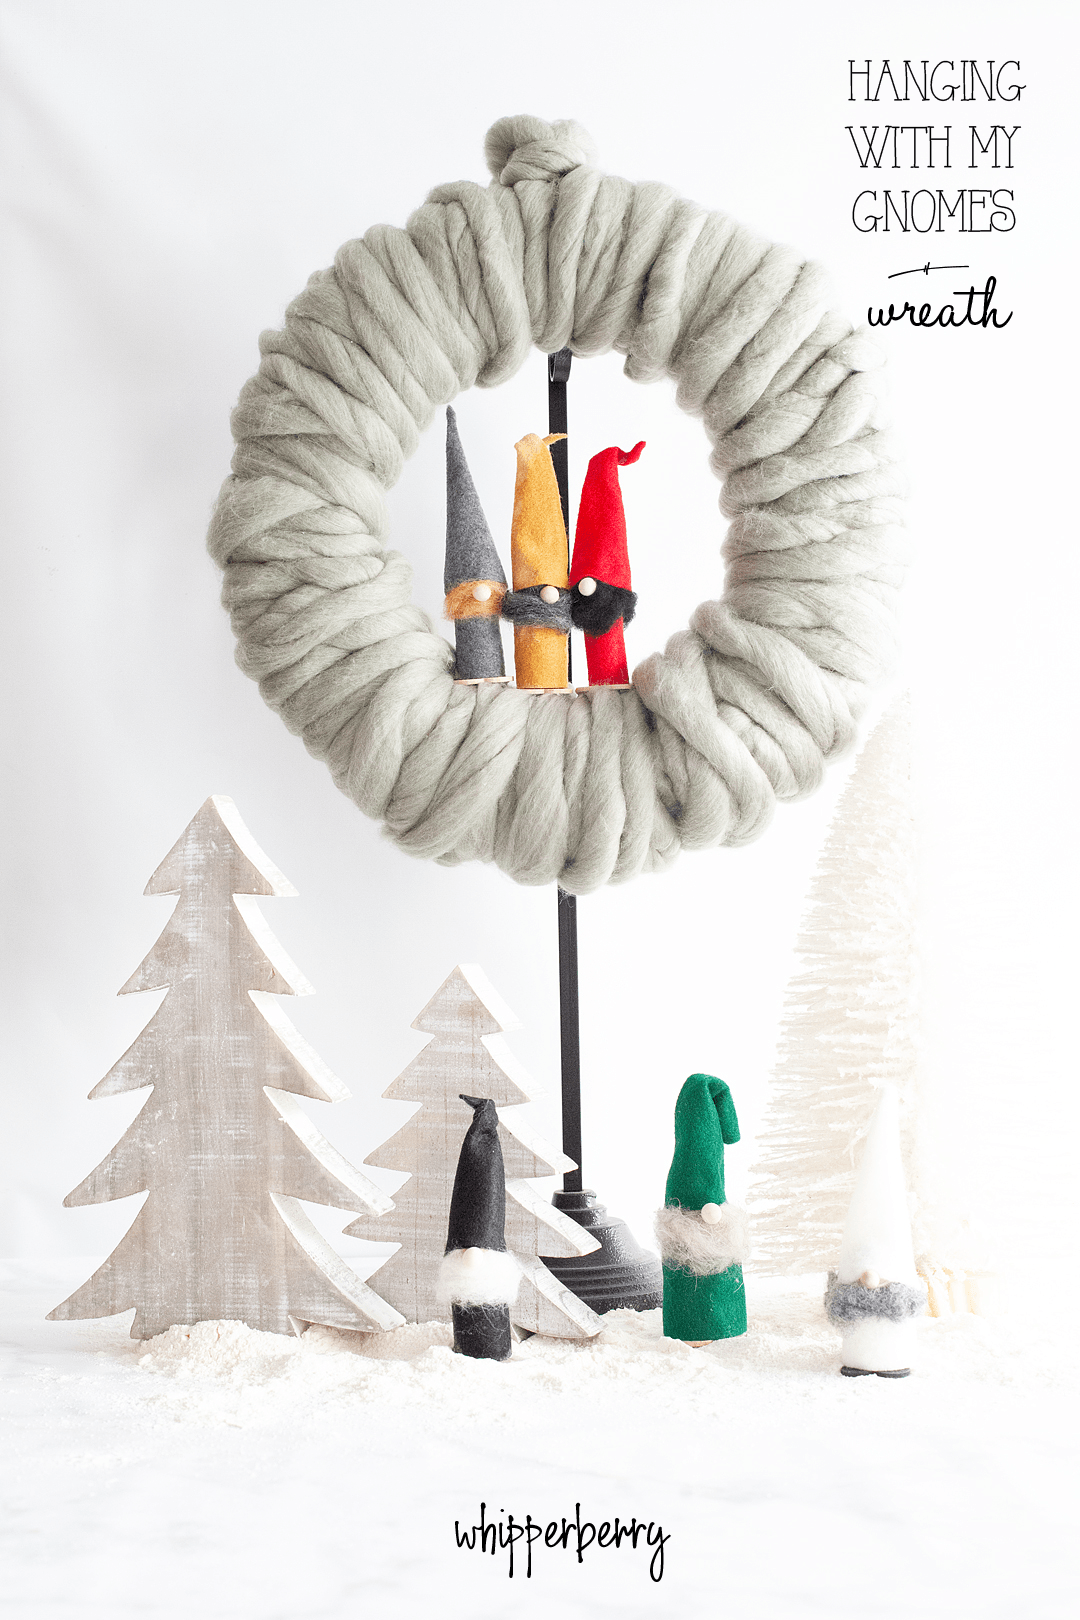
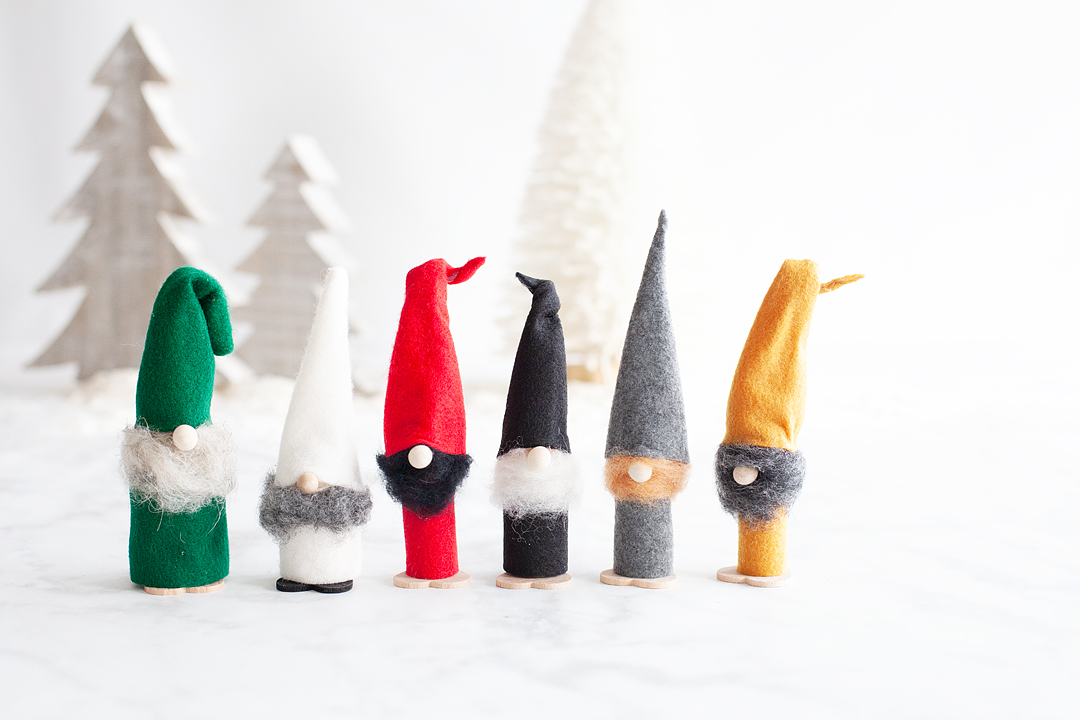
Yo, yo, yo… I’m hanging with my Gnomes this Holiday season! LOL!! This is actually a fun Christmas tradition that comes from our favorite Nordic friends up in Sweden & Norway. Gnomes have always been a big part of their Holiday traditions and I thought it would be a fun one to add to our family’s Christmas this year. These cute gnomes are so easy to make and to add them to a yarn wrapped wreath form is a quick and easy way to introduce some new friends to your home. I grabbed all of my supplies at Michaels, my favorite creating store and set to work. Here’s how I made them.

+ This post brought to you by my favorite friends at Michaels +Yo, yo, yo... I'm hanging with my Gnomes this Holiday season! LOL!! This is actually a fun Christmas tradition that comes from our favorite Nordic friends up in Sweden & Norway. Gnomes have always been a big part of their Holiday traditions and I thought it would be a fun one to add to our family's Christmas this year. These cute gnomes are so easy to make and to add them to a yarn wrapped wreath form is a quick and easy way to introduce some new friends to your home. I grabbed all of my supplies at Michaels, my favorite creating store and set to work. Here's how I made them.

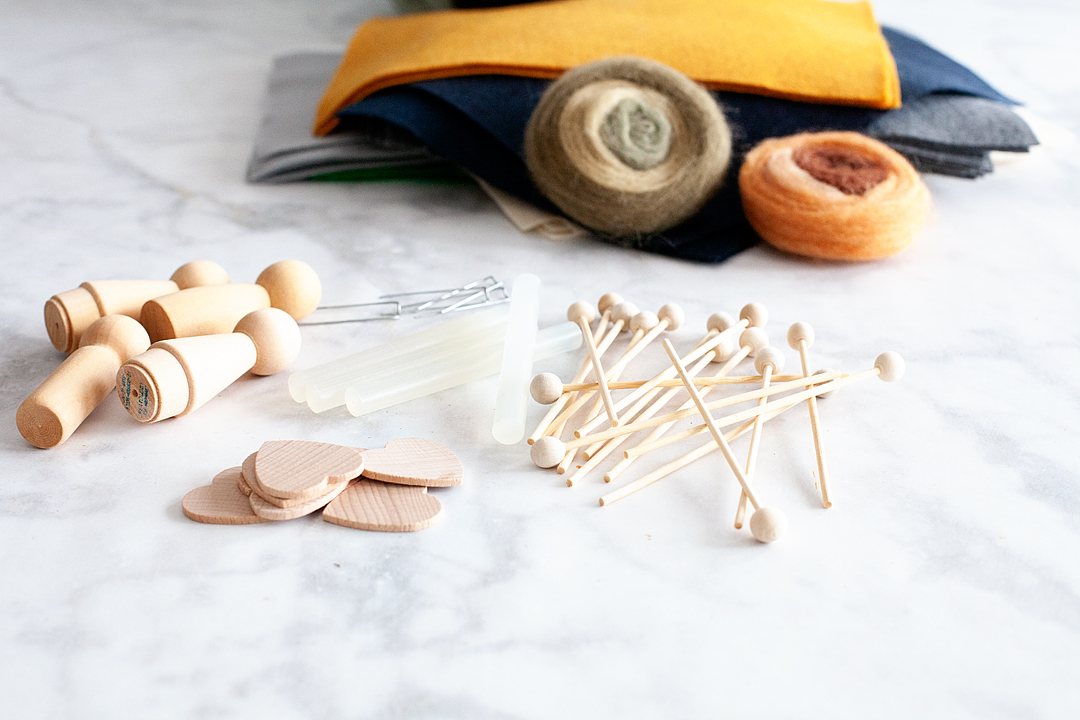
This wreath couldn’t be easier! You could even get the kiddos involved as long as you’re in charge of the hot glue part. We don’t want any burned little fingers. They can cut out felt, make beards & even wrap the wreath with the yarn. It’s a great Holiday project for the family. Here is what you’ll need to make one.

Yo, yo, yo... I'm hanging with my Gnomes this Holiday season! LOL!! This is actually a fun Christmas tradition that comes from our favorite Nordic friends up in Sweden & Norway. Gnomes have always been a big part of their Holiday traditions and I thought it would be a fun one to add to our family's Christmas this year. These cute gnomes are so easy to make and to add them to a yarn wrapped wreath form is a quick and easy way to introduce some new friends to your home. I grabbed all of my supplies at Michaels, my favorite creating store and set to work. Here's how I made them.

Hanging with my Gnomes Wreath Supply List

  • wreath form
  • super chunky yarn
  • floral greening pins
  • large peg people -raw wood
  • wood hearts – raw wood
  • felt
  • wool roving
  • rock candy sticks
  • floral wire
  • hot glue gun and glue sticks
  • scissors
  • wire cutters

Video Tutorial

Here is a fun, quick video tutorial to show you how to make these little guys…


Ok, had to create something fun when working with gnomes, right?

Here’s a quick list of instructions for the hanging with my gnomes wreath as well.

Yo, yo, yo... I'm hanging with my Gnomes this Holiday season! LOL!! This is actually a fun Christmas tradition that comes from our favorite Nordic friends up in Sweden & Norway. Gnomes have always been a big part of their Holiday traditions and I thought it would be a fun one to add to our family's Christmas this year. These cute gnomes are so easy to make and to add them to a yarn wrapped wreath form is a quick and easy way to introduce some new friends to your home. I grabbed all of my supplies at Michaels, my favorite creating store and set to work. Here's how I made them.

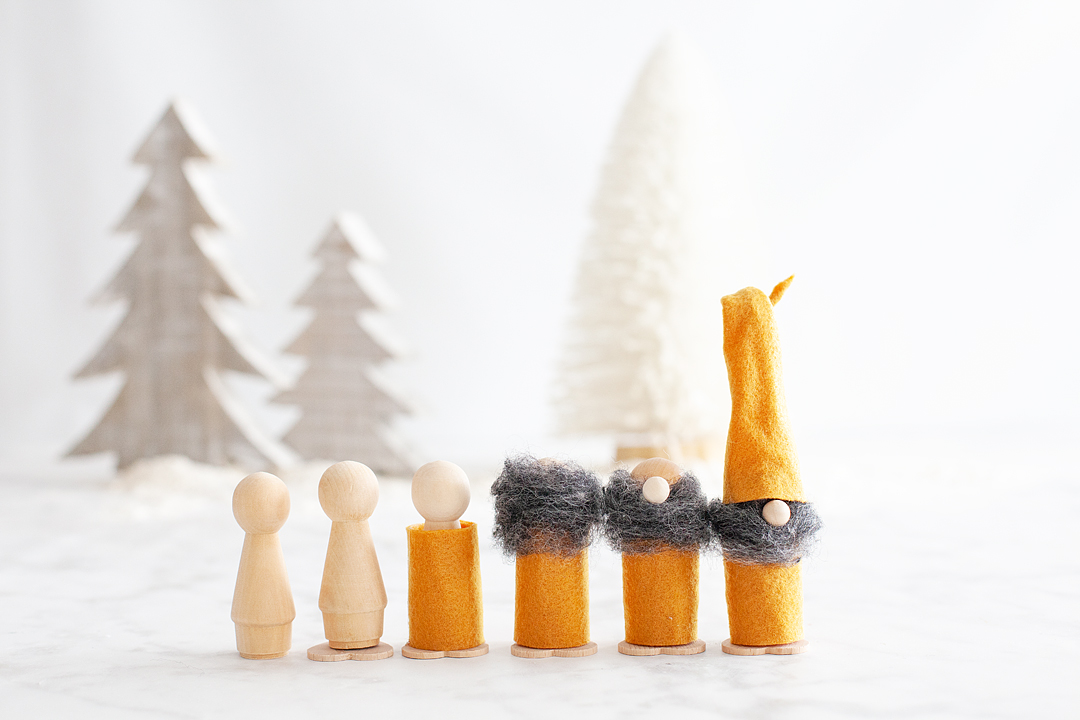
  1. Hot glue the wood heart onto the bottom of the peg person. The top of the heart will be the top of his feet.
  2. Measure the height of the peg person’s body and cut a strip of felt that is large enough to wrap around the peg person. I can’t really give exact measurements for this because all peg people are a little different.
  3. Hot glue the felt onto the body of the peg person.
  4. Tear a 2.5 inch section of wool roving and gently pull it apart a bit to create your gnomes beard.
  5. Carefully hot glue the beard onto the peg person.
  6. Cut a tall triangle out of felt for the gnomes hat. Make sure the base is wide enough to wrap around the peg person’s head.
  7. Hot glue a section of floral wire onto the inside part of the felt triangle.
  8. Hot glue the trangle together to create the gnome hat like in the video.
  9. Hot glue the hat onto your gnome’s head.
  10. Cut the stick off of the rock candy stick and then hot glue the wood ball onto the peg person for the nose.Yo, yo, yo... I'm hanging with my Gnomes this Holiday season! LOL!! This is actually a fun Christmas tradition that comes from our favorite Nordic friends up in Sweden & Norway. Gnomes have always been a big part of their Holiday traditions and I thought it would be a fun one to add to our family's Christmas this year. These cute gnomes are so easy to make and to add them to a yarn wrapped wreath form is a quick and easy way to introduce some new friends to your home. I grabbed all of my supplies at Michaels, my favorite creating store and set to work. Here's how I made them.
  11. To start the wreath, tie a knot into the chunky yarn and secure it with the greening pins onto the wreath form.
  12. Wrap the form with the yarn until completely covered. It’s easier to work with smaller sections of yarn so cut lengths that are about 2 yards long and continue wrapping the wreath form until covered.
  13. Hot glue your new little gnome friends onto the center of the wreath.

Yo, yo, yo... I'm hanging with my Gnomes this Holiday season! LOL!! This is actually a fun Christmas tradition that comes from our favorite Nordic friends up in Sweden & Norway. Gnomes have always been a big part of their Holiday traditions and I thought it would be a fun one to add to our family's Christmas this year. These cute gnomes are so easy to make and to add them to a yarn wrapped wreath form is a quick and easy way to introduce some new friends to your home. I grabbed all of my supplies at Michaels, my favorite creating store and set to work. Here's how I made them.

Vintage Canvas Christmas Tree Cart

47 · Nov 28, 2018 · 2 Comments

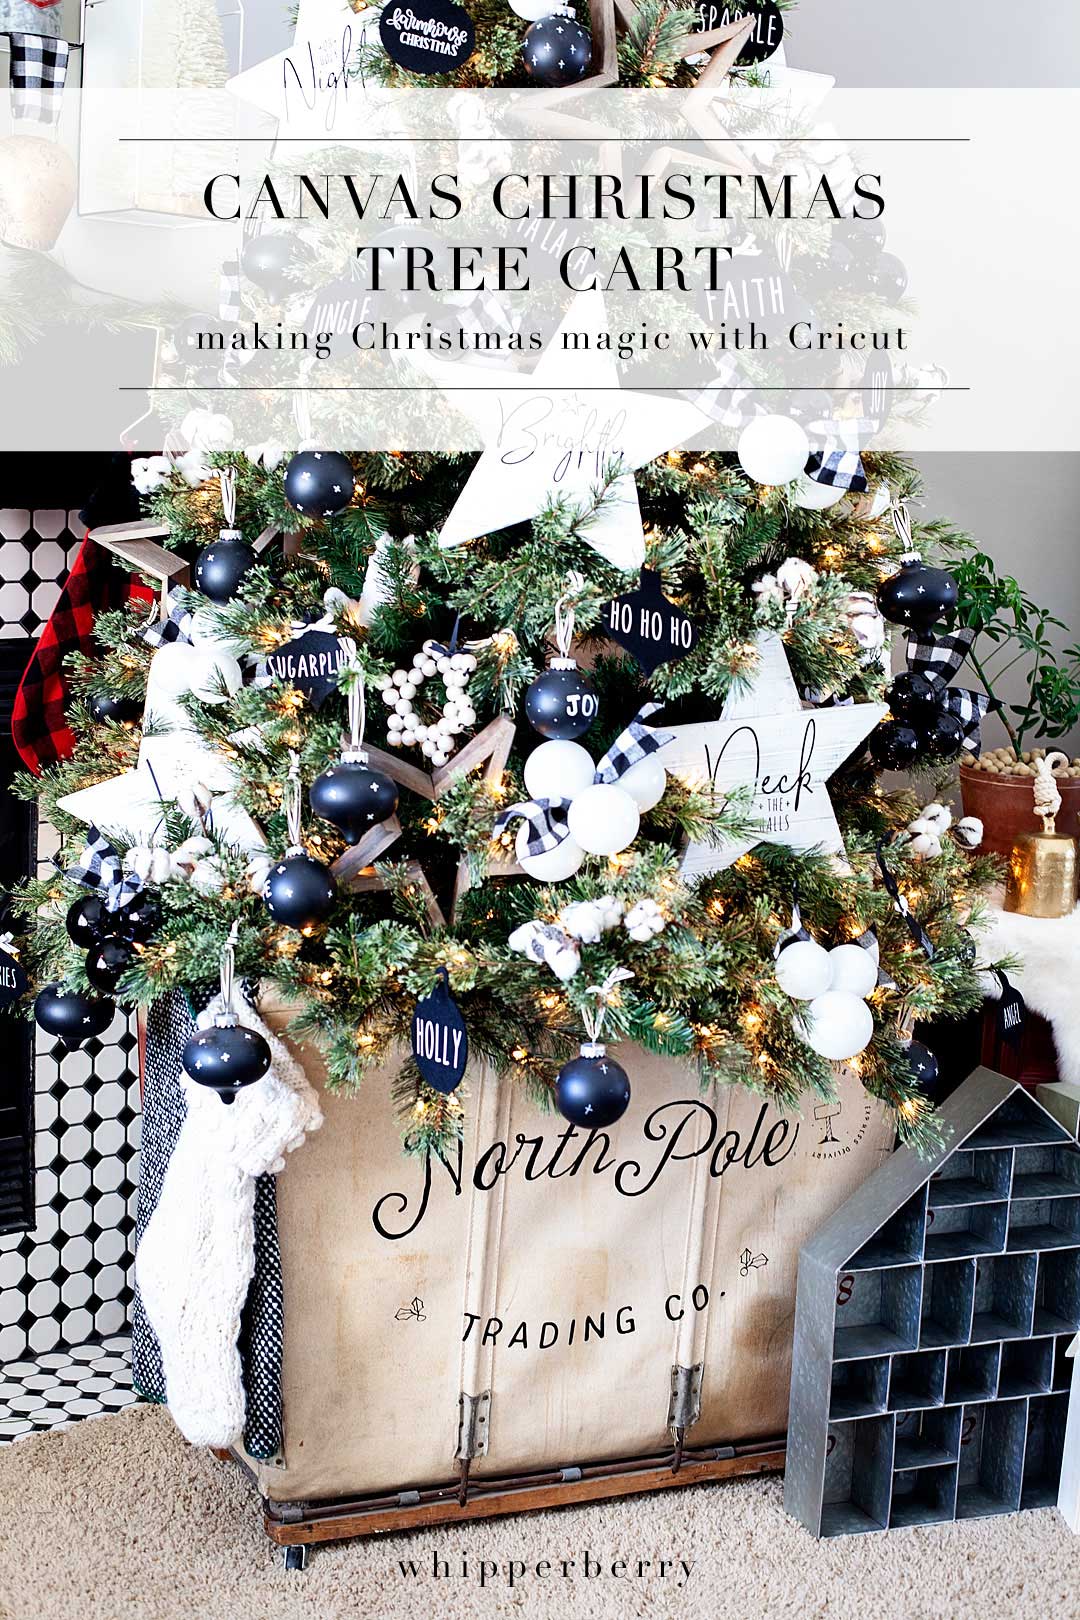
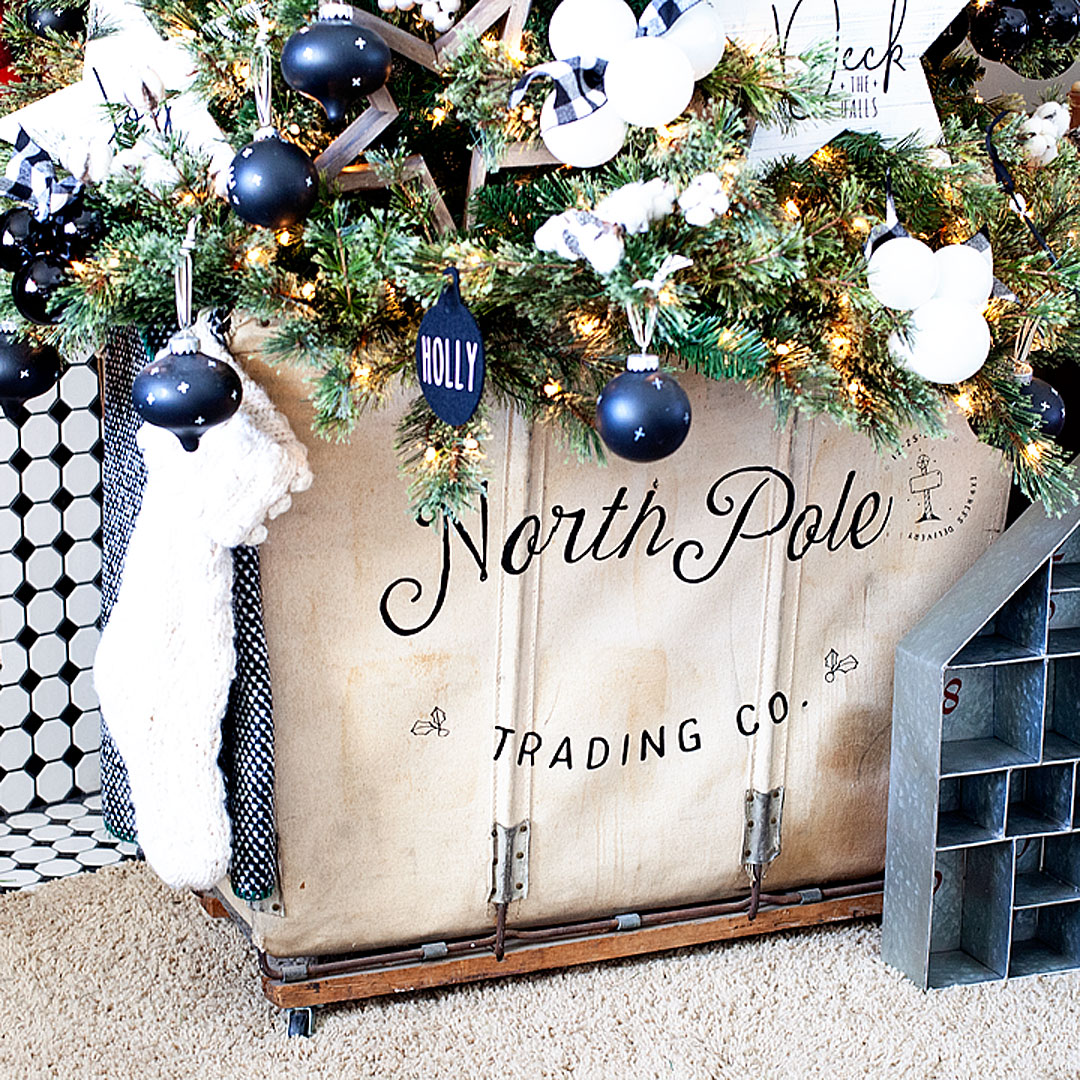
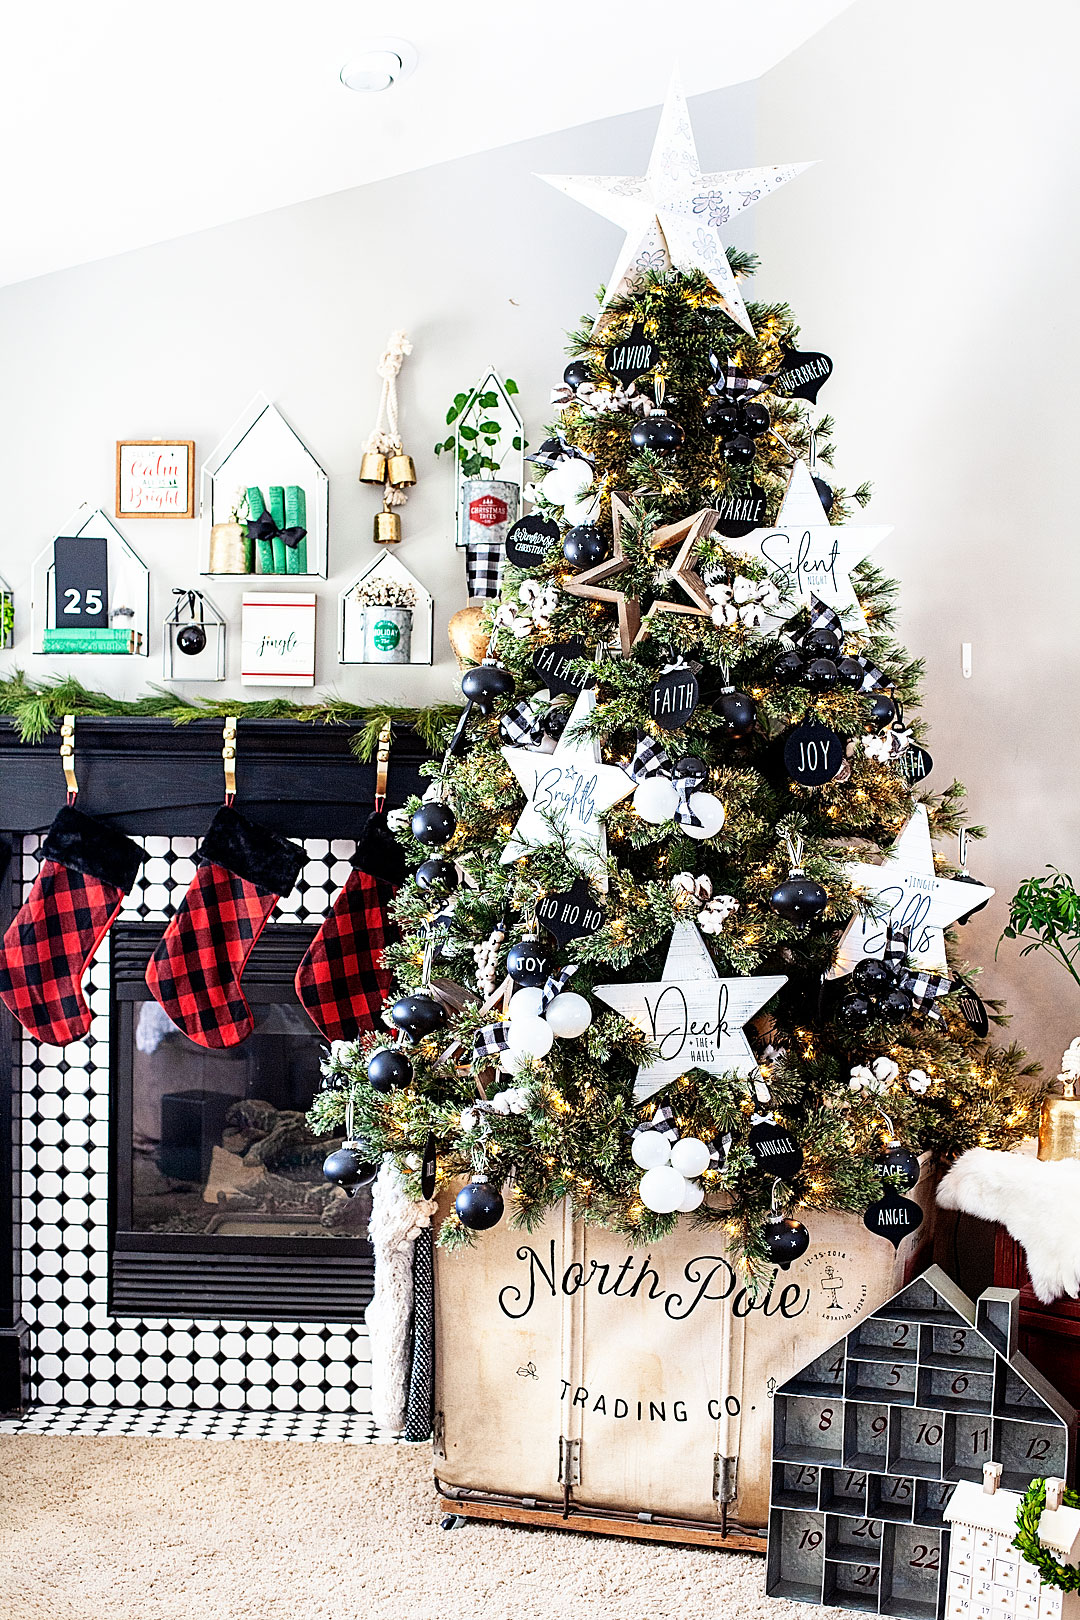
You guys, this project has been a long time coming! I’ve made all kinds of ornaments for my Christmas tree using my favorite Cricut tools like these felt ornaments or my farmhouse stars from last year. Now, I have something extra special for you! I have some good friends here in Nebraska, Brent & Leah from Old Cotton Wood, who are master pickers. They find all kinds of goodies and then travel the country selling at vintage markets. A few years ago Leah texted me about a vintage canvas mail cart that she thought I might like. The instant I saw it, I knew I needed it for my Christmas tree. My family hated me and begged me to get rid of it as we were moving to our new house and I held firm. I have plans for this beauty and you are all just going to have to wait and see what I create. Finally this year, I had the tools to create a beautiful canvas Christmas Tree Cart using my new, absolute favorite tools my Cricut Easy Press 2 mini & my new Sunflower Cricut Explore Air 2!! Now my family LOVES it and will be far more tolerant of my crazy hoarding of vintage finds. Come see how you can make one for your Christmas Tree.

+ this post brought to you by the amazing folks at Cricut +

create a beautiful canvas Christmas Tree Cart with @cricut • WhipperBerry

The Canvas Cart

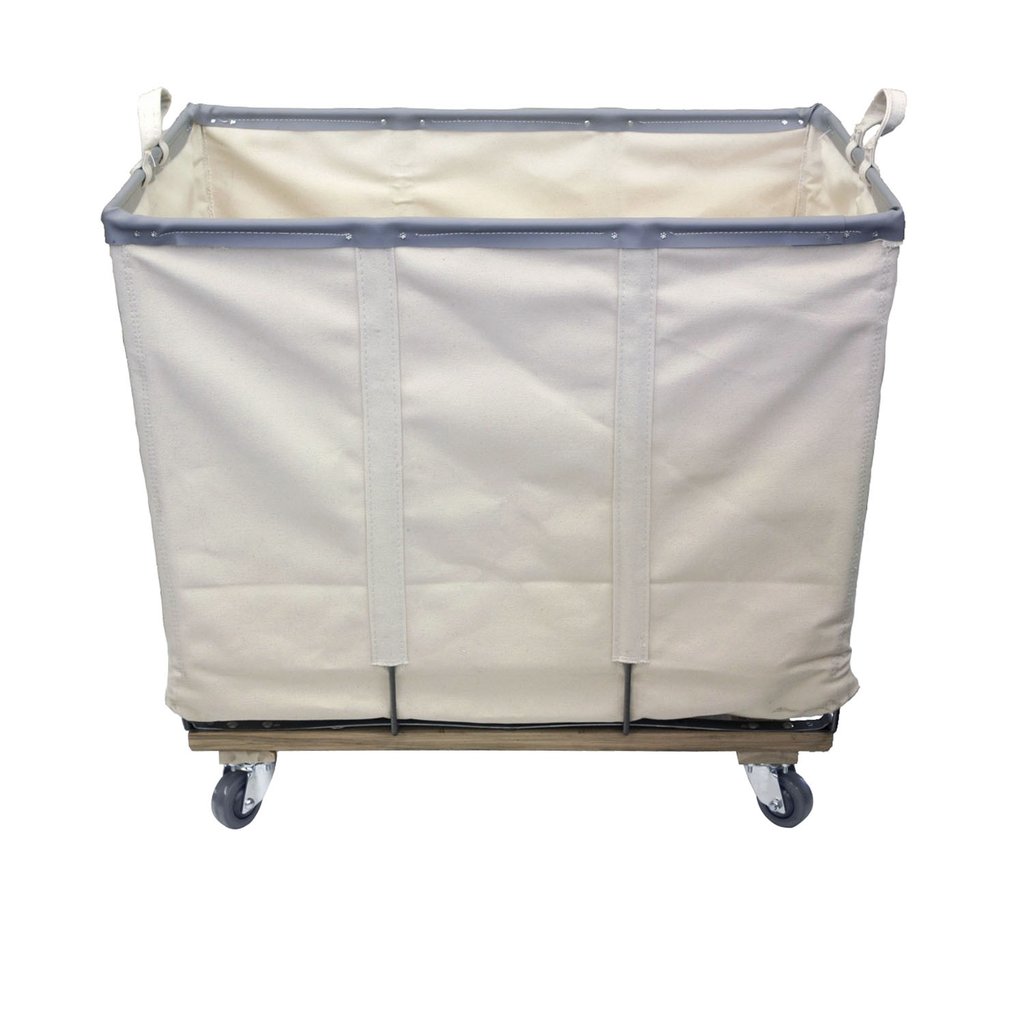
I know, I know, I know… You guys don’t have a Leah looking out for you, finding fabulous vintage canvas carts for you. I get it. However, you do have ME and I have found a fabulous new canvas cart that will be perfect for this project. It’s from one of my favorite (new to me) companies, Steele Canvas. They have a perfect canvas cart that will become a family favorite for the Holidays I’m sure! Plus, when it’s not holding up your Christmas tree, you can use it as a laundry cart or for storage. You guys, I crush hard on basically anything they make… I love canvas in all shapes and forms.

steel canvas cart

Now, your canvas cart won’t have that vintage patina but, it will look amazing either way… Old or New!

The Design

I do my best to create all of my designs within Cricut Design Space but, this one I had to design on my own in Illustrator. However, I’m sharing the SVG file for you guys to use on your own cart. Click on the image below to download the SVG file or click HERE to access it in Design Space.create a beautiful canvas Christmas Tree Cart with @cricut • WhipperBerry

Canvas Christmas Tree Cart Supplies

create a beautiful canvas Christmas Tree Cart with @cricut • WhipperBerry

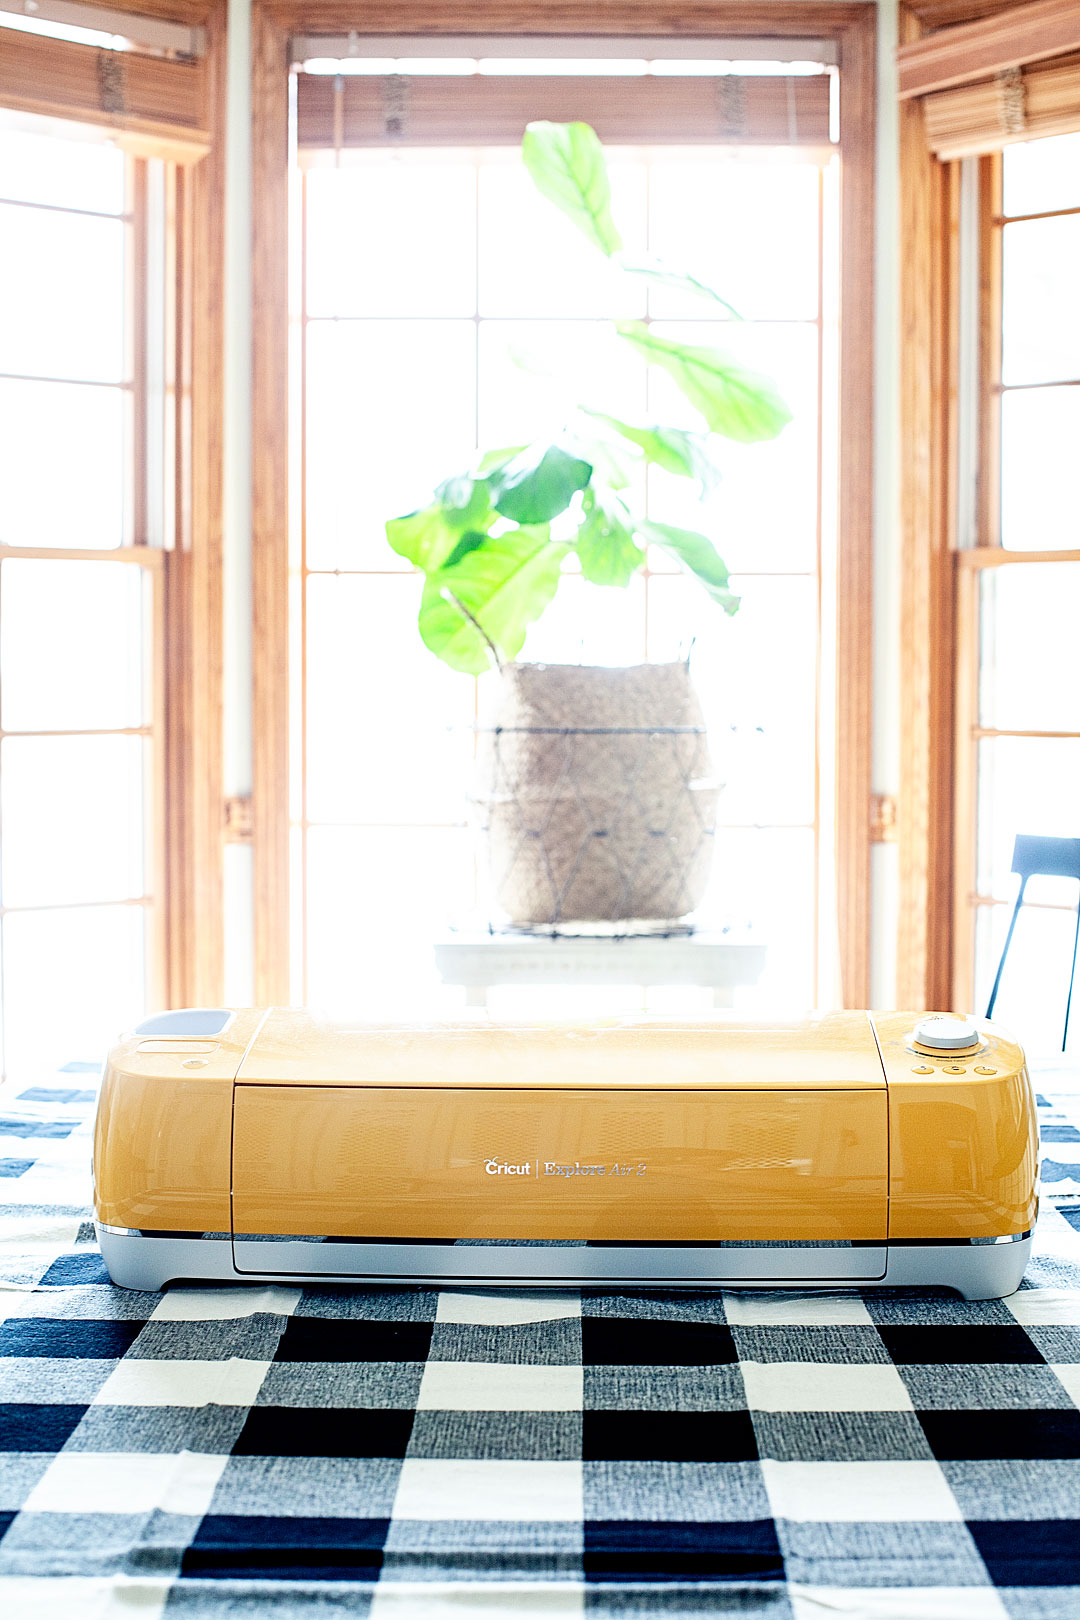
Now, when you are cutting Iron-On material like Cricut Iron-On Lite or my new favorite Everyday Iron-On you can use any of the Cricut cutting machines; the Explore Air, Explore Air 2 or the Maker. Any of these fabulous machines cut iron material just fine. BUT… if you want the Sunflower Explore Air 2 you need to grab it at Michaels AND they are on a crazy awesome sale this week for Cyber Monday!

The new Sunflower @Cricut Explore Air 2 from @michaelsstores • WhipperBerry

Here’s what else you will need…


  • Cricut Machine • the Sunflower one will make you HAPPY
  • Cricut Everyday Iron-On OR Iron-on Lite  • black
  • 12×24 cutting mat • green or purple
  • Cricut Easy Press 2 • small
  • Canvas Cart
  • North Pole Design in Design Space

Instructions

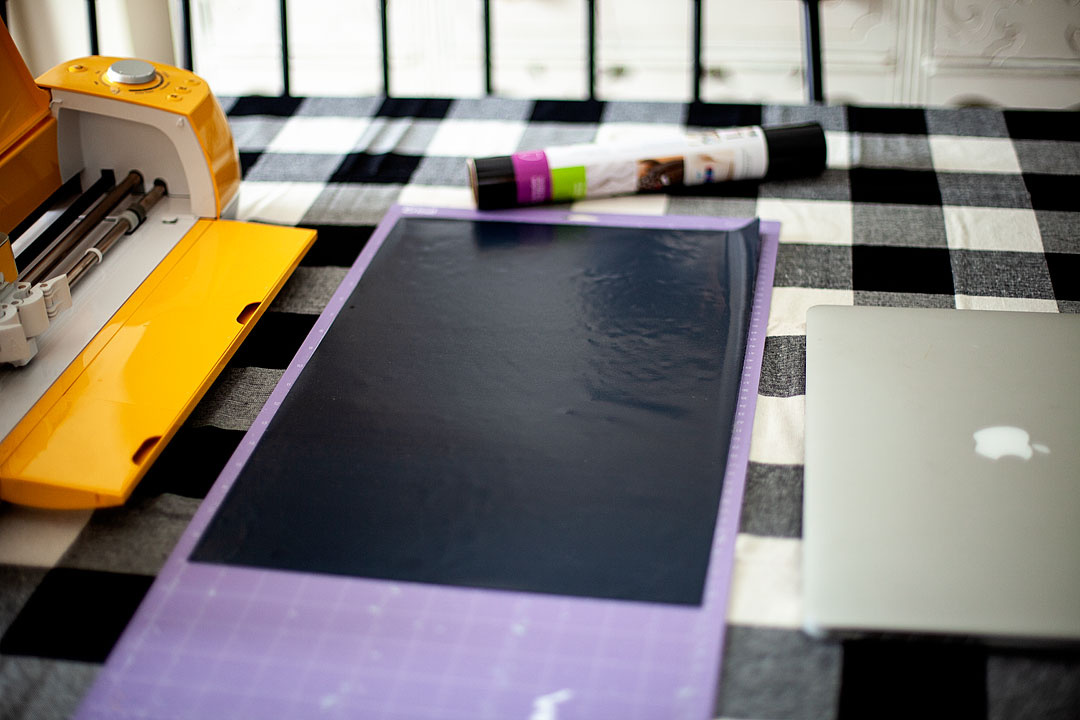
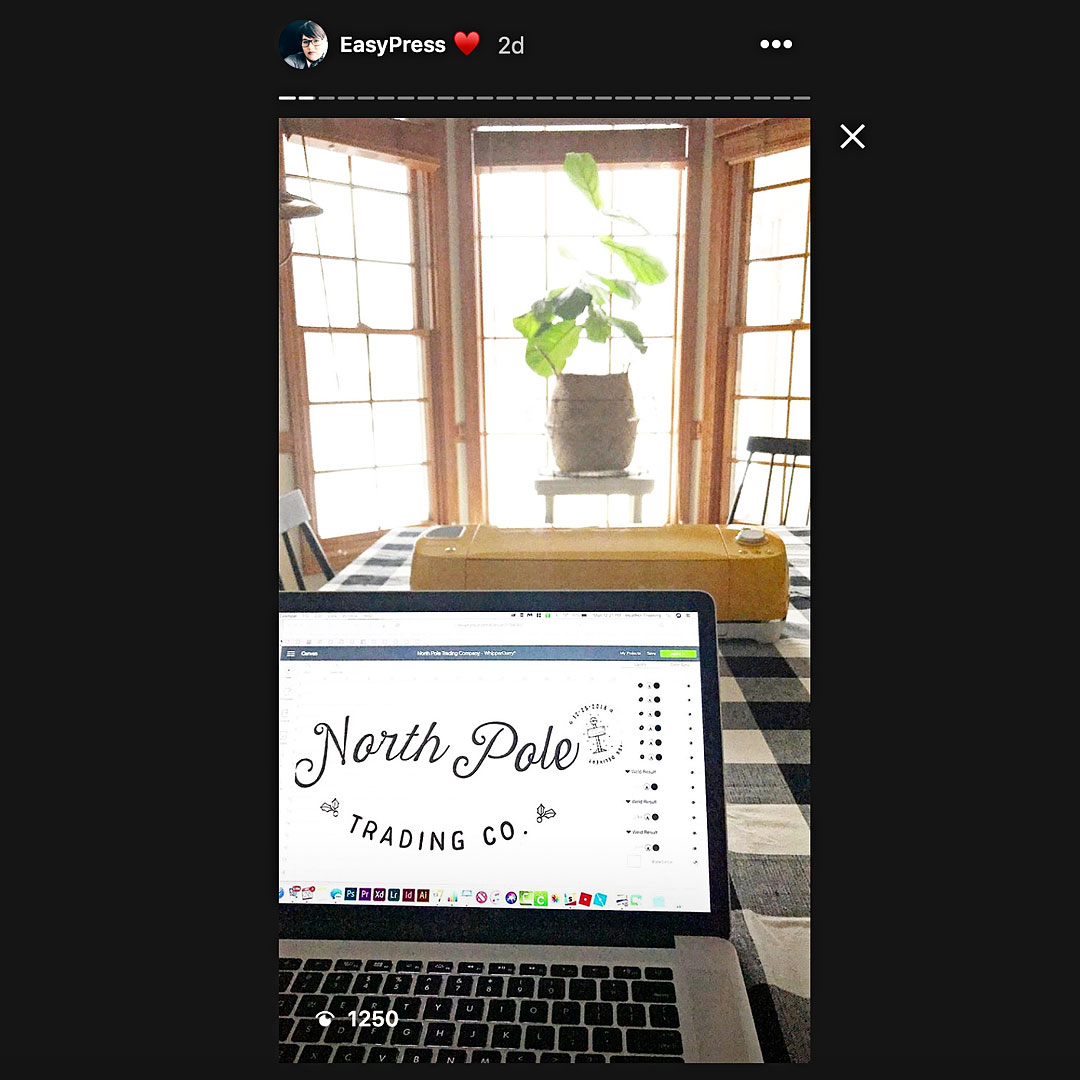
  1. You’ll need to cut the design in Design Space which is sized for a large canvas cart right now. However, you can resize as needed. I’m sharing several tips and tricks in my STORY that help with all kinds of things for this project. Go check it out before you start anything. DO NOT FORGET TO MIRROR YOU DESIGN BEFORE YOU CUT! Also, remember the shining side of the iron-on material goes face-down on your cutting mat.
  2. In my Instagram Story, I share how to get all of your design onto ONE cutting mat, therefore, saving MONEY by not wasting iron-on material. I also talk about using more than one piece of iron-on for this LARGE design. 
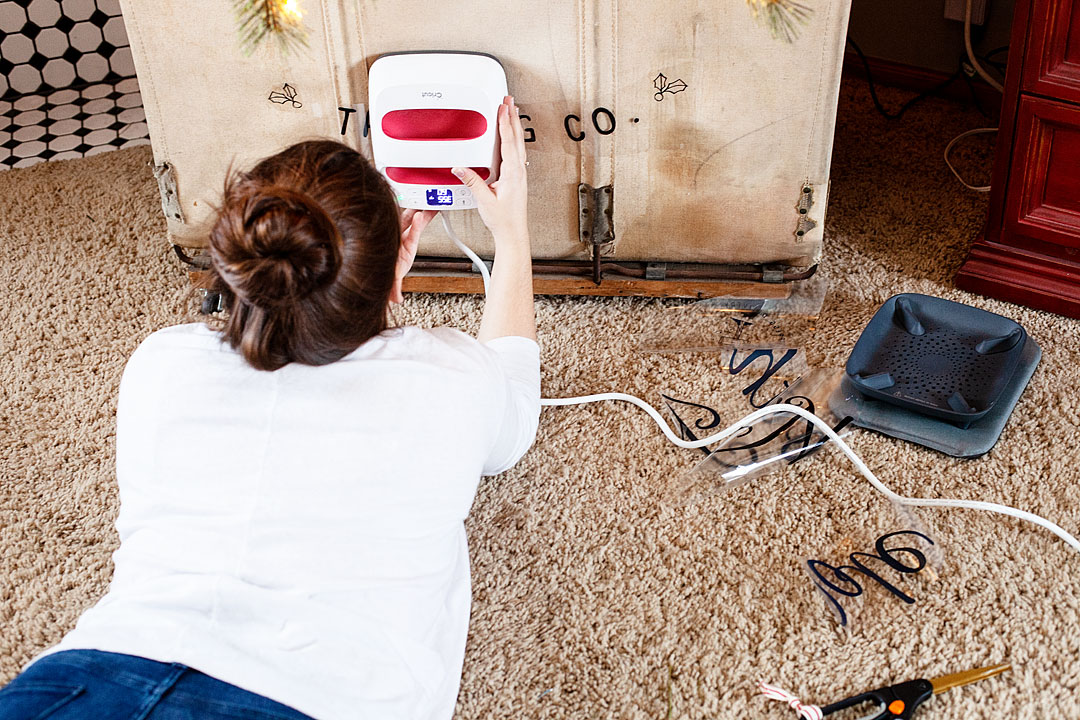
  3. Weed your design and grab your Easy Press 2 (small) and get ready to iron on your design onto your cart. I recommend starting by centering the  Trading Co. part first and pressing it onto your cart. If you are smart, you will do with before you load your tree into the cart and lay the cart on its side. It’s totally do-able pressing your iron-on vertical, it’s just a good arm workout. 😉 Again, watch my story to get all of the tips and tricks for this process. 
  4. Set your Easy Press to 375˚ and start pressing your design onto the cart. It helps to use the Cricut spatula tool to press the Cricut Iron-On lite or Everyday Iron-on onto the canvas surface. Not having a hard work surface, you do have to baby this project a little bit. Work in sections until the whole design is complete.

create a beautiful canvas Christmas Tree Cart with @cricut • WhipperBerry


DIY Pearlized Wood Bead Star Ornament

71 · Nov 16, 2018 · 1 Comment

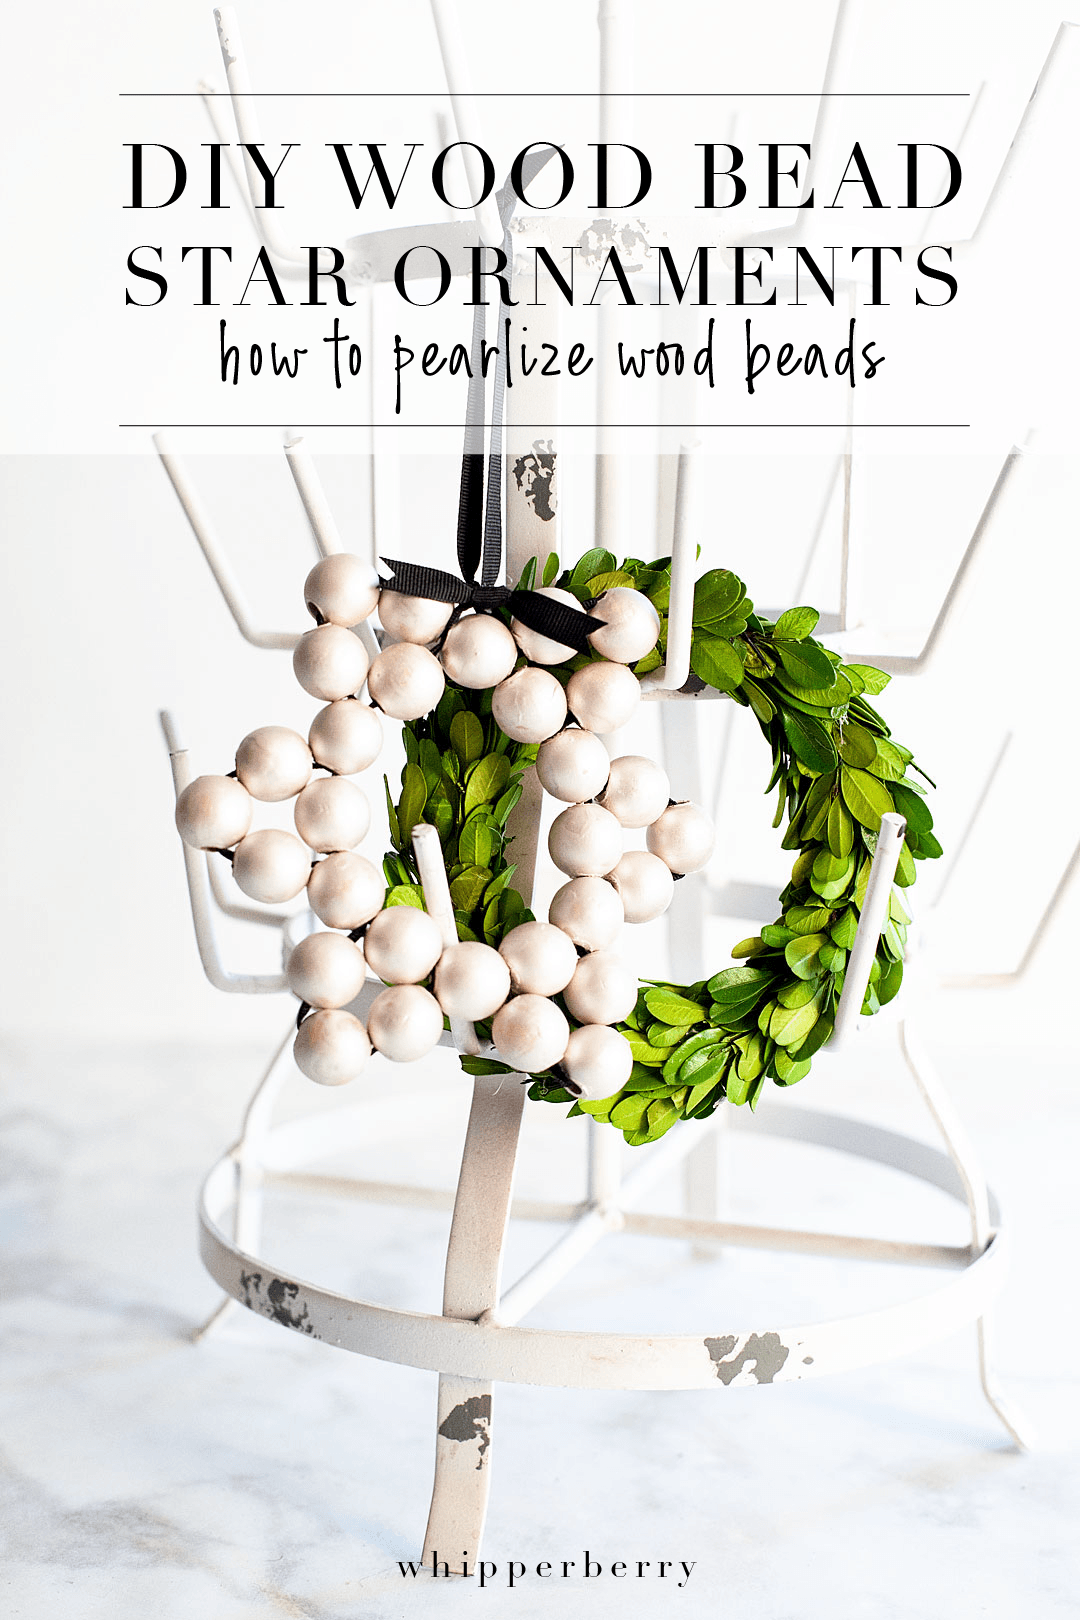
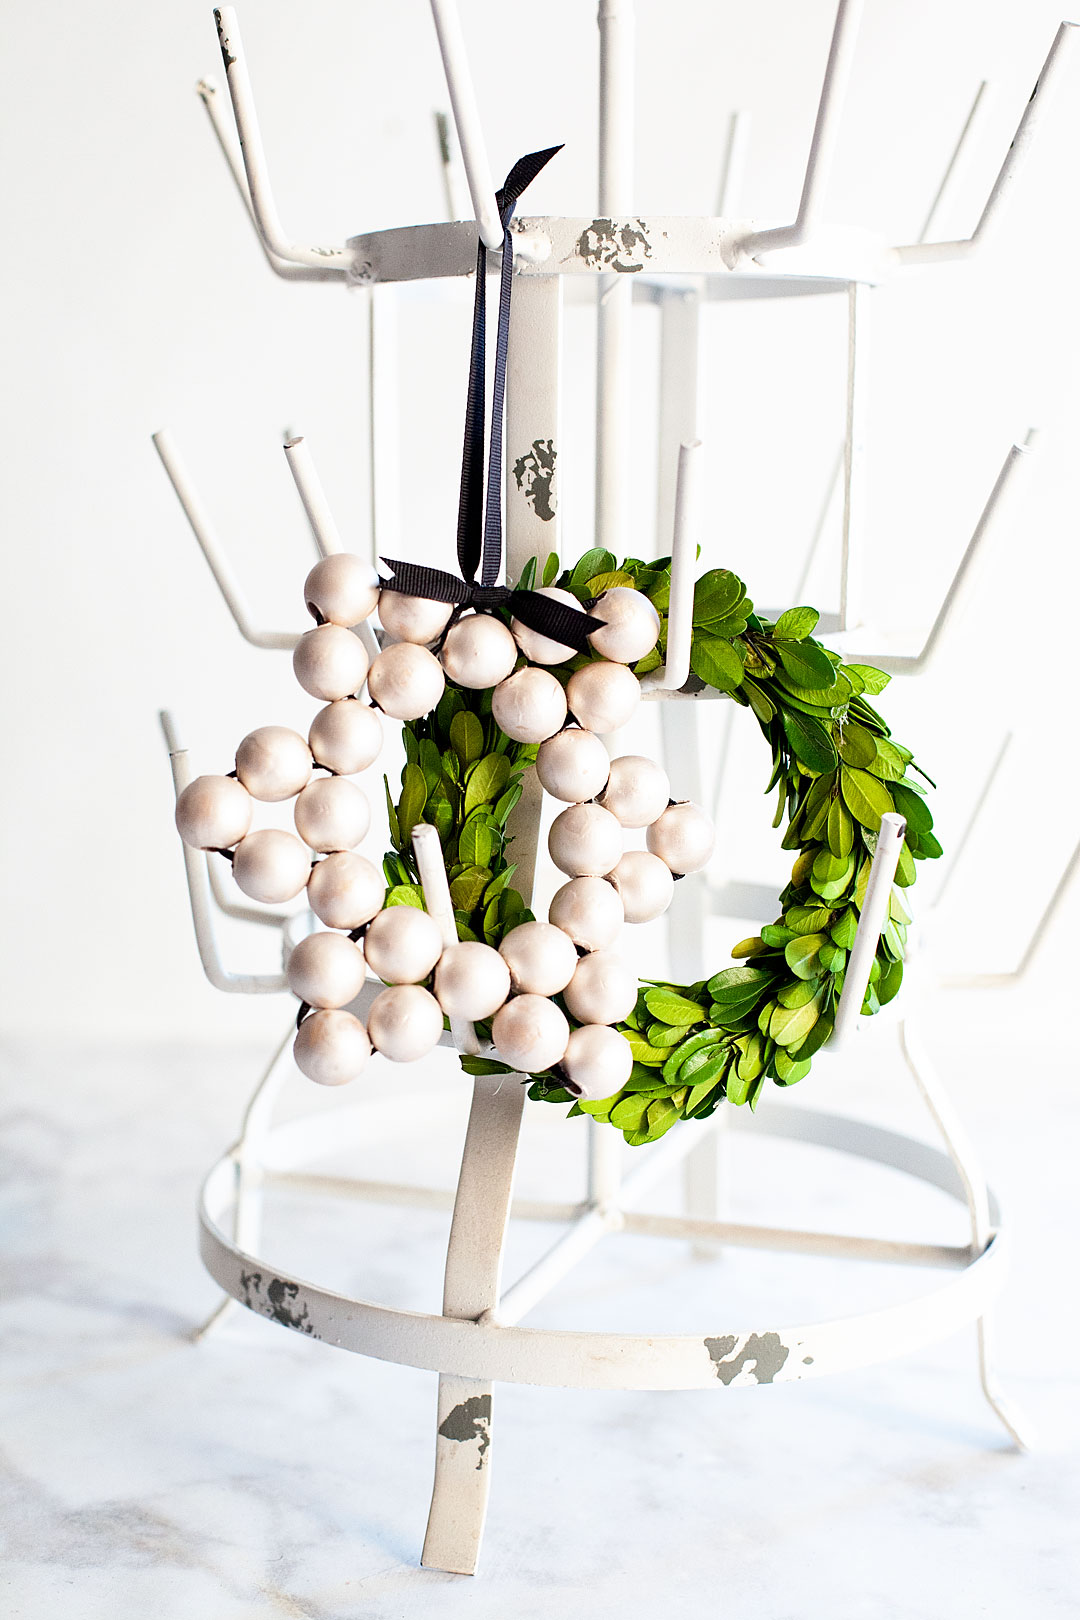
I love wood beads, it’s a classic trend that I can fully embrace and not feel like it’s going to go out of style anytime soon.  Plus, you don’t have to worry about them breaking which is an added bonus as well. This year for the Michaels Dream Tree Challenge I made a large wood bead star for the top of my tree and I fell in LOVE with my new star. Then I thought it would be fun to use some DecoArt Americana Decor Matte Metallic paint to pearlized some wood beads to make a smaller wood bead star ornament for my Christmas tree. As promised in my Instagram story, I also made a video for how to make the star. Let me show you how EASY it is!

+ This post sponsored by DecoArt+How to make a classic pearlized wood bead star ornament for Christmas decorating or for Hanukkah • WhipperBerry

Over the years I’ve fallen more and more in love with making my own Christmas ornaments. It really does add more of a story to your Christmas celebration. If they are ornaments that the whole family can make together, even better. This project can be a bit messy, however, if planned for that’s not a bit deal. It would be great fun for kiddos of all ages to play around with the paint and string some “pearls” during a cozy winter activity together. Here is what you’ll need to make the pearlized wood bead ornament.

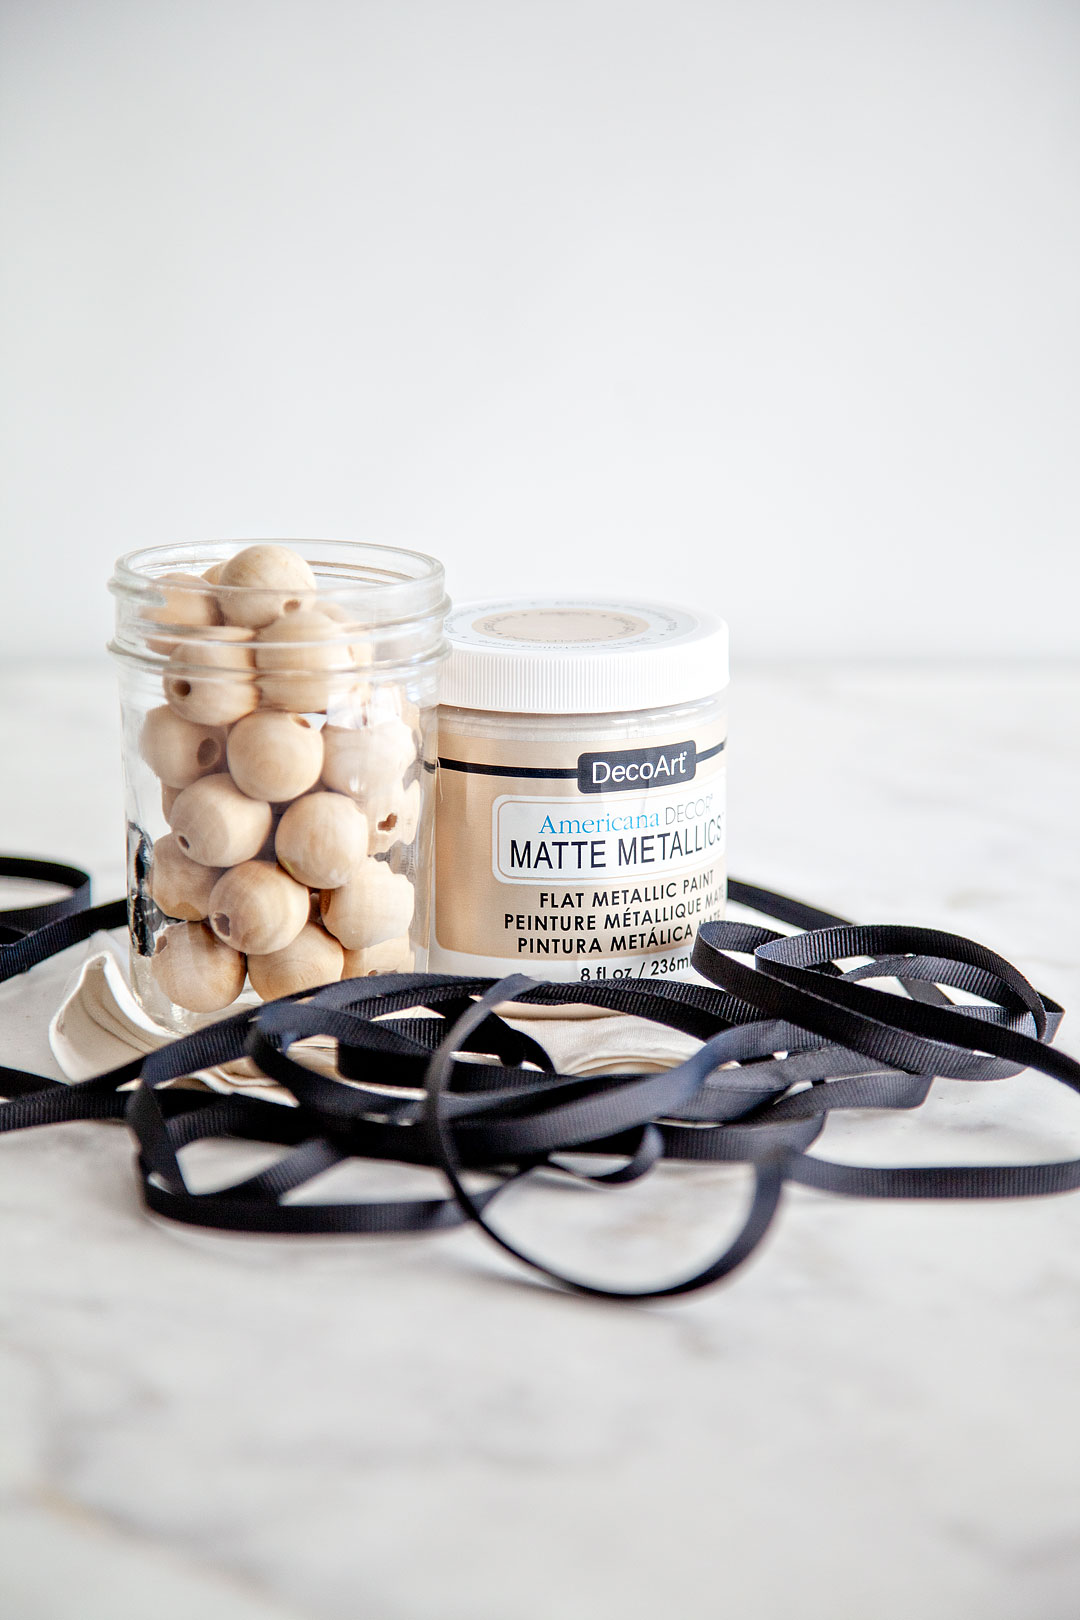
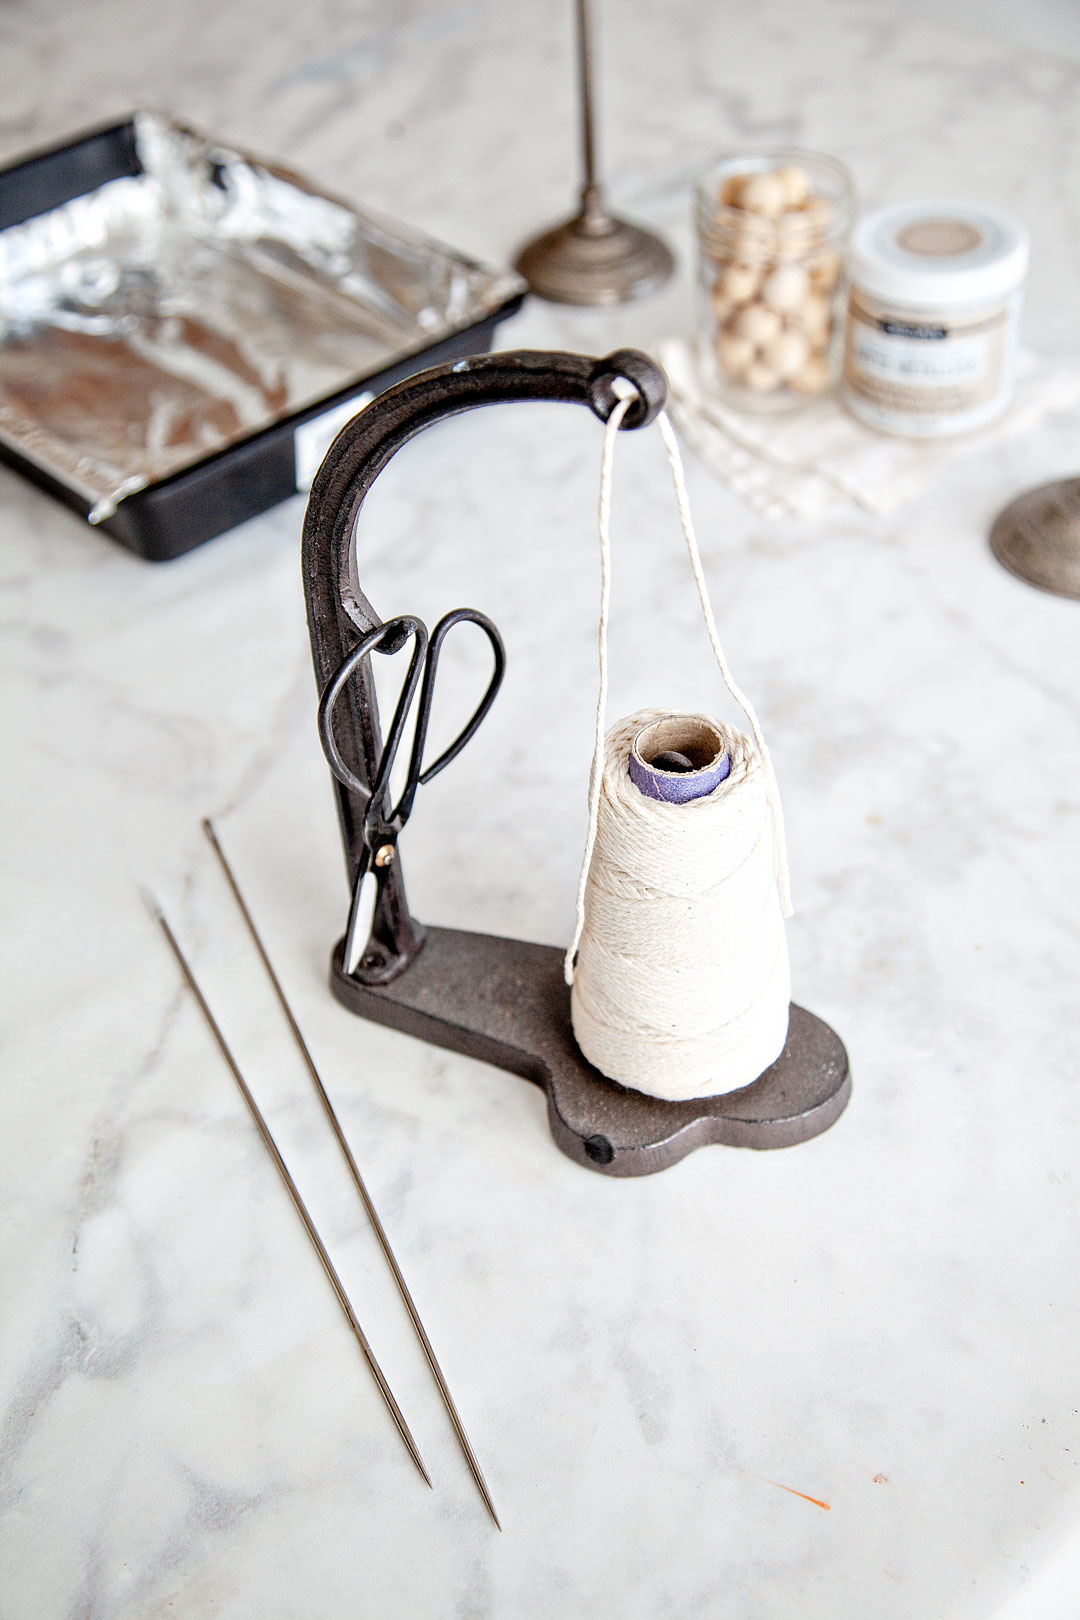
Pearlized Wood Bead Ornament Supplies

How to make a classic pearlized wood bead star ornament for Christmas decorating or for Hanukkah • WhipperBerry

  • raw wood beads 
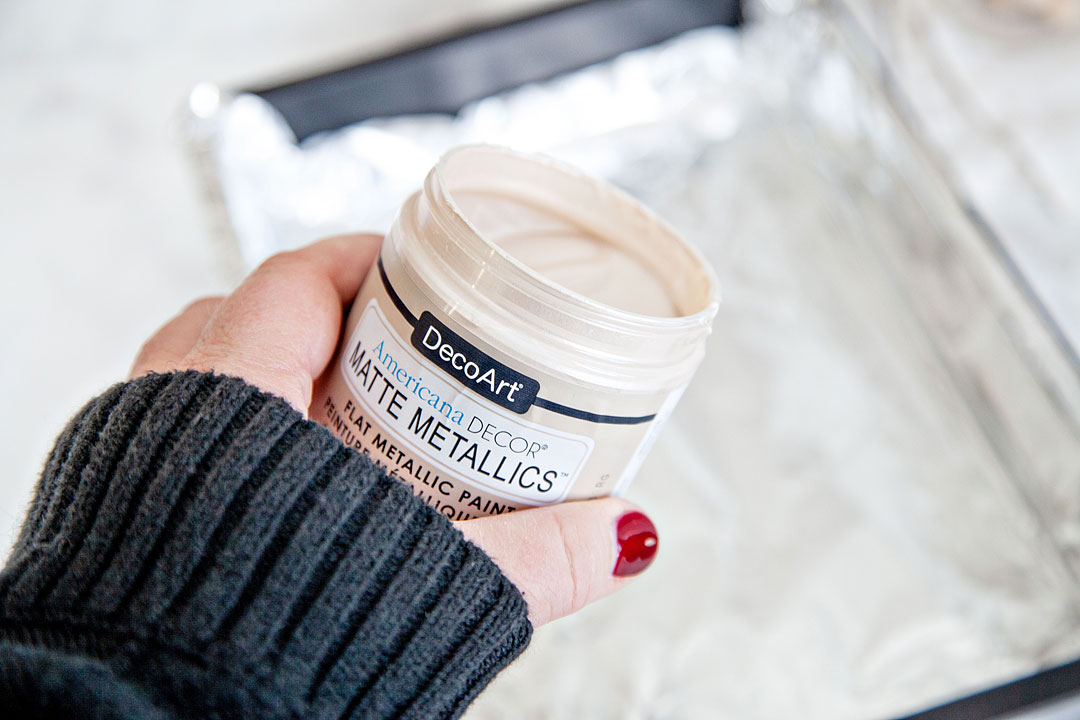
  • Americana Decor Matte Metallic paint – Ivory Pearl
  • string
  • scissors
  • aluminum foil
  • ribbon
  • large needle
  • hot gun
  • hot glue stick

Instructions

You guys, this project can be some messy fun if you’d like OR, you can keep it nice and neat. Either way, it’s a fun project to work on with the family. The first thing you’ll need to do is create your “pearls.”

How to make a classic pearlized wood bead star ornament for Christmas decorating or for Hanukkah • WhipperBerry

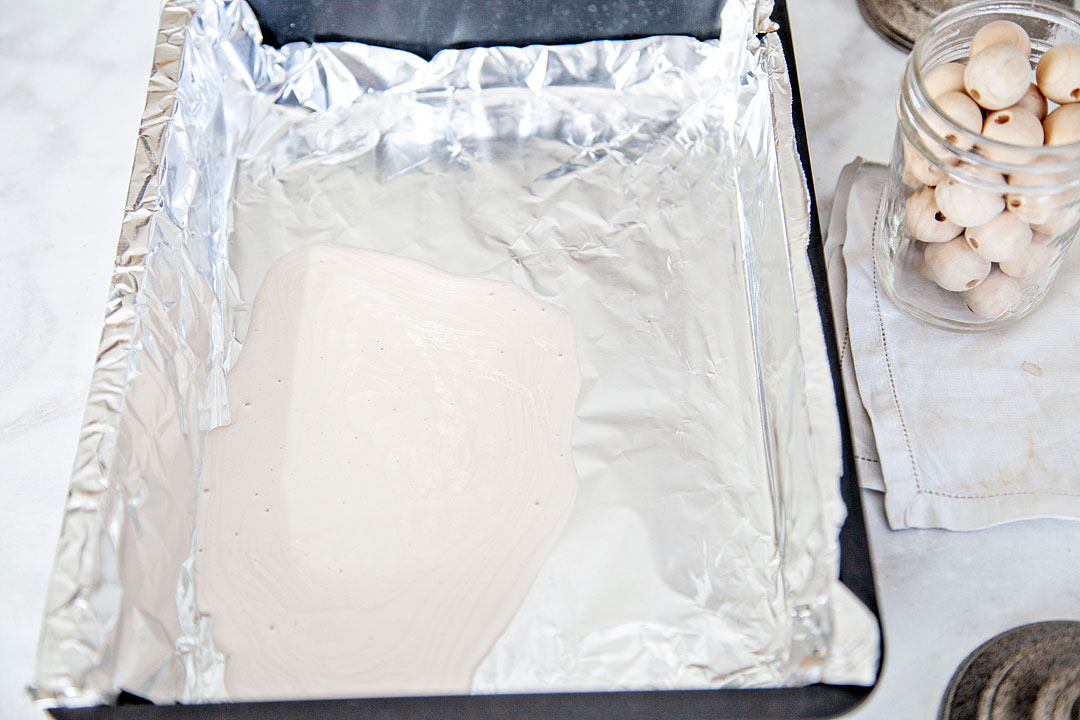
To do that, you’ll need to line a dish with aluminum foil and then pour a small amount of paint into your lined paint tray.

How to make a classic pearlized wood bead star ornament for Christmas decorating or for Hanukkah • WhipperBerry How to make a classic pearlized wood bead star ornament for Christmas decorating or for Hanukkah • WhipperBerry

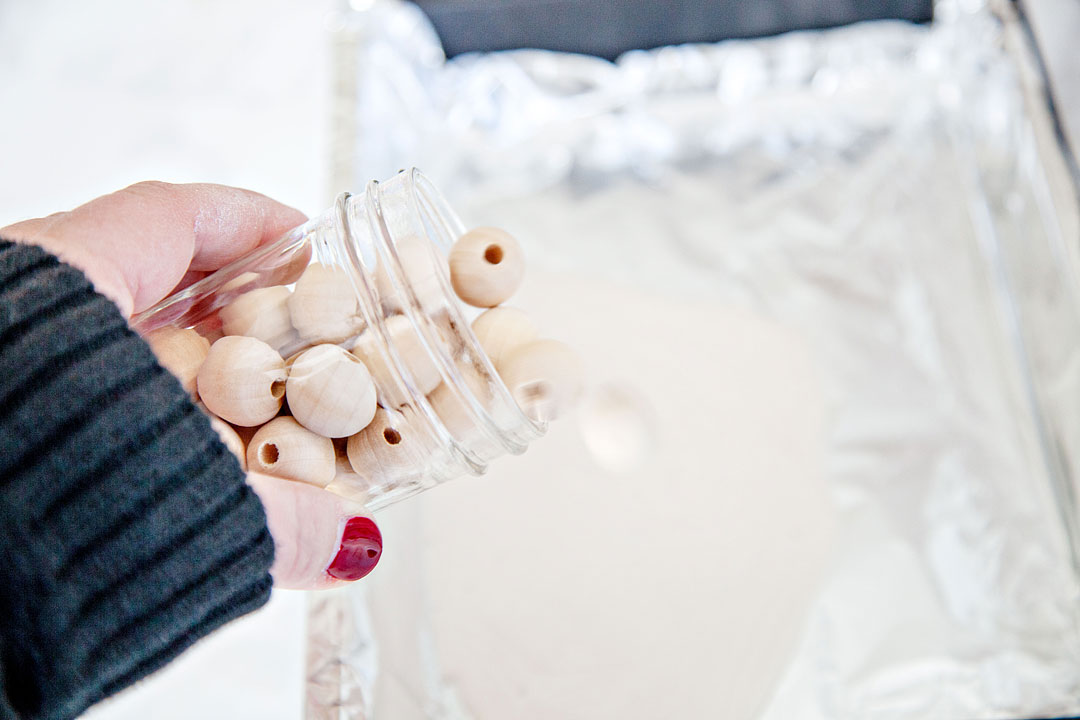
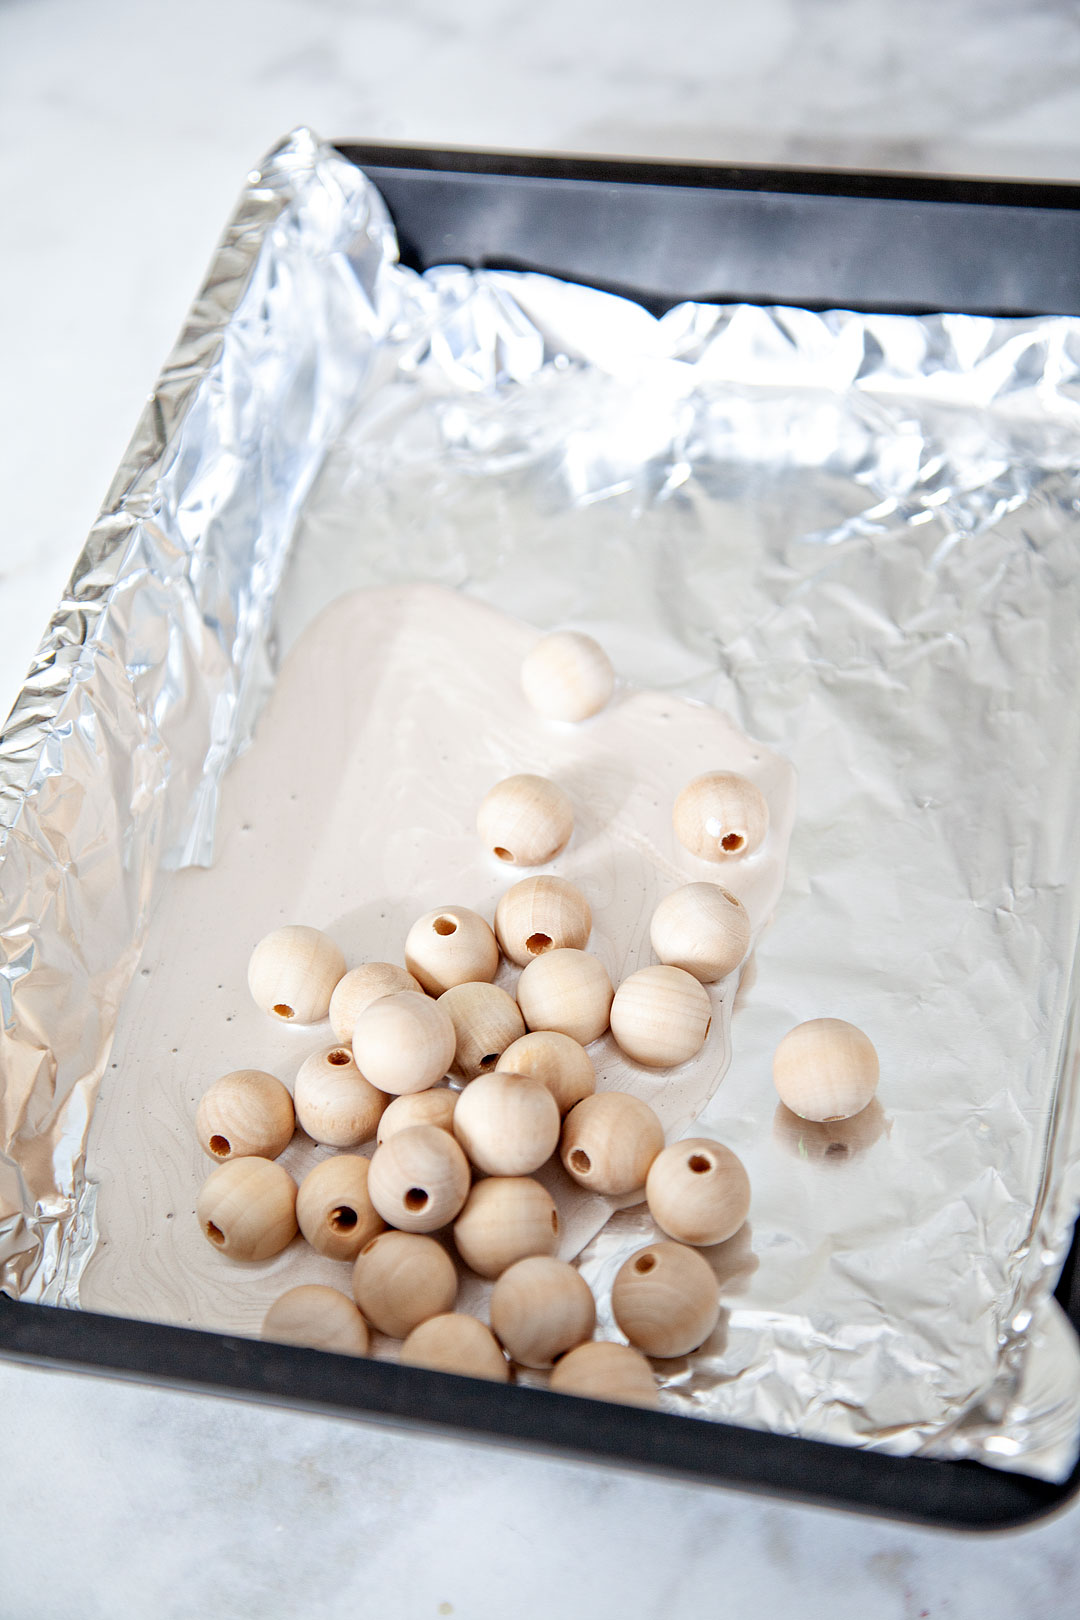
This is the fun part… rather than laboriously painting each and every bead (there are 30.) You will just dump them into the tray of paint.

How to make a classic pearlized wood bead star ornament for Christmas decorating or for Hanukkah • WhipperBerry

How to make a classic pearlized wood bead star ornament for Christmas decorating or for Hanukkah • WhipperBerry

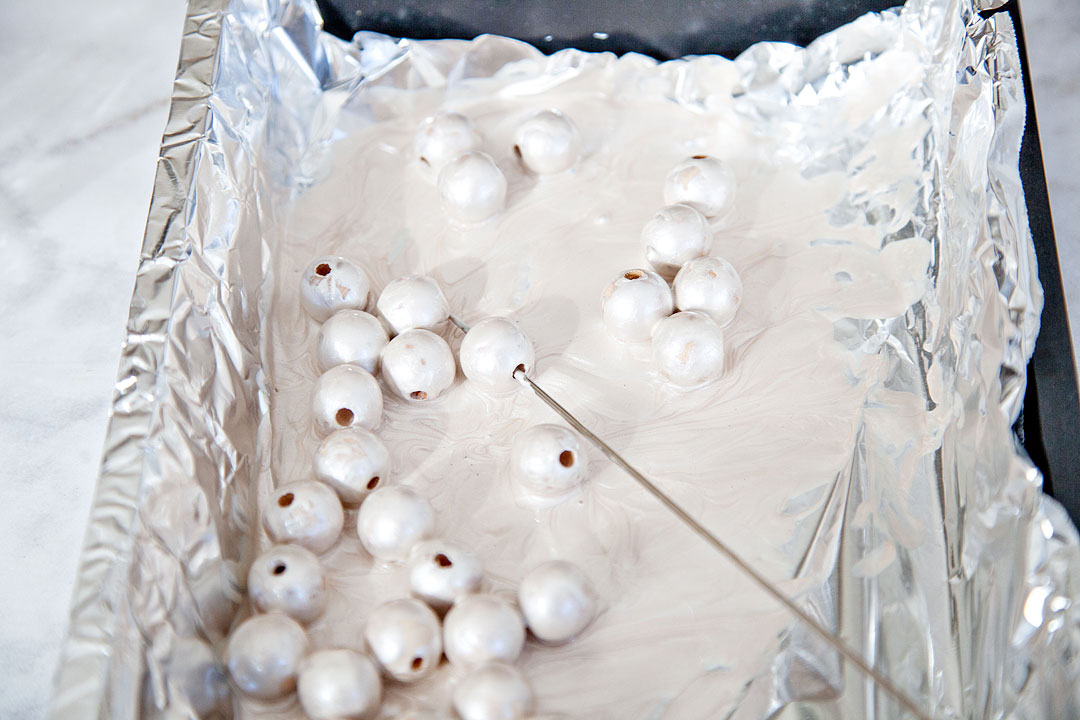
The paint is a little think so you can move them around by moving the tray a bit but, you most likely either need to use your fingers or a tool to spin the beads around in the paint to cover the surface of the bead.

How to make a classic pearlized wood bead star ornament for Christmas decorating or for Hanukkah • WhipperBerry

For this project, I’m using an upholstery needle to string the beads so I used that to move the beads around a bit and then resorted to my fingers. 😉

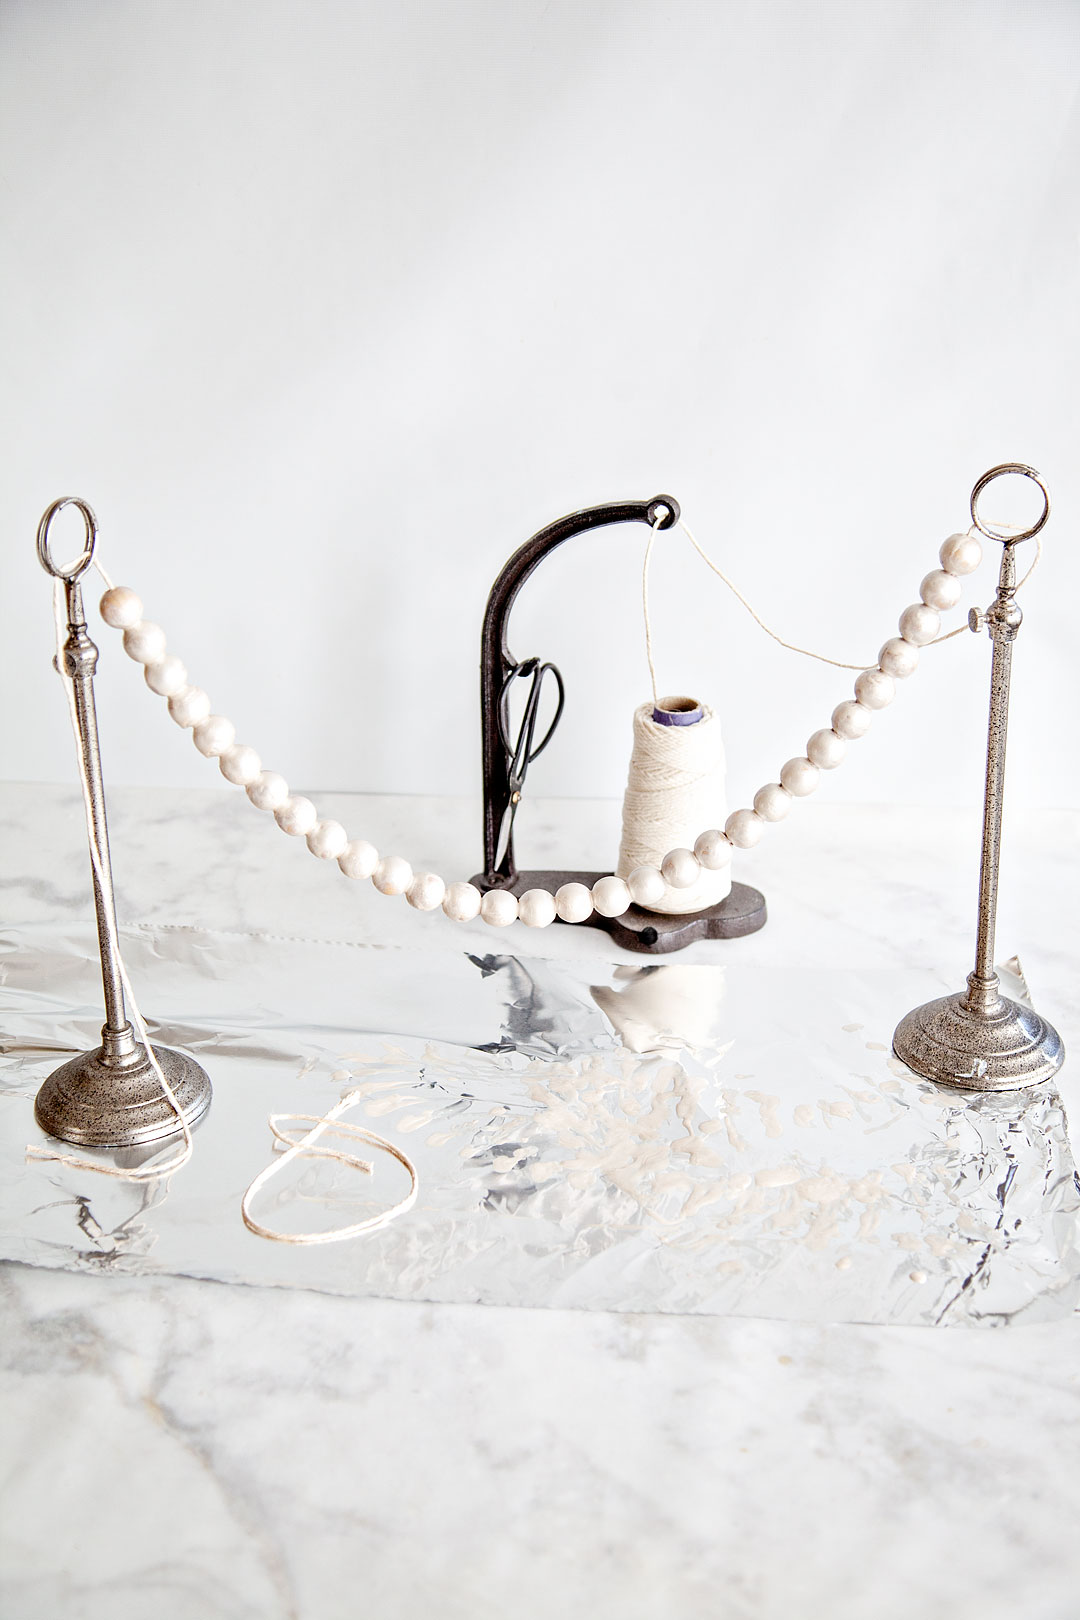
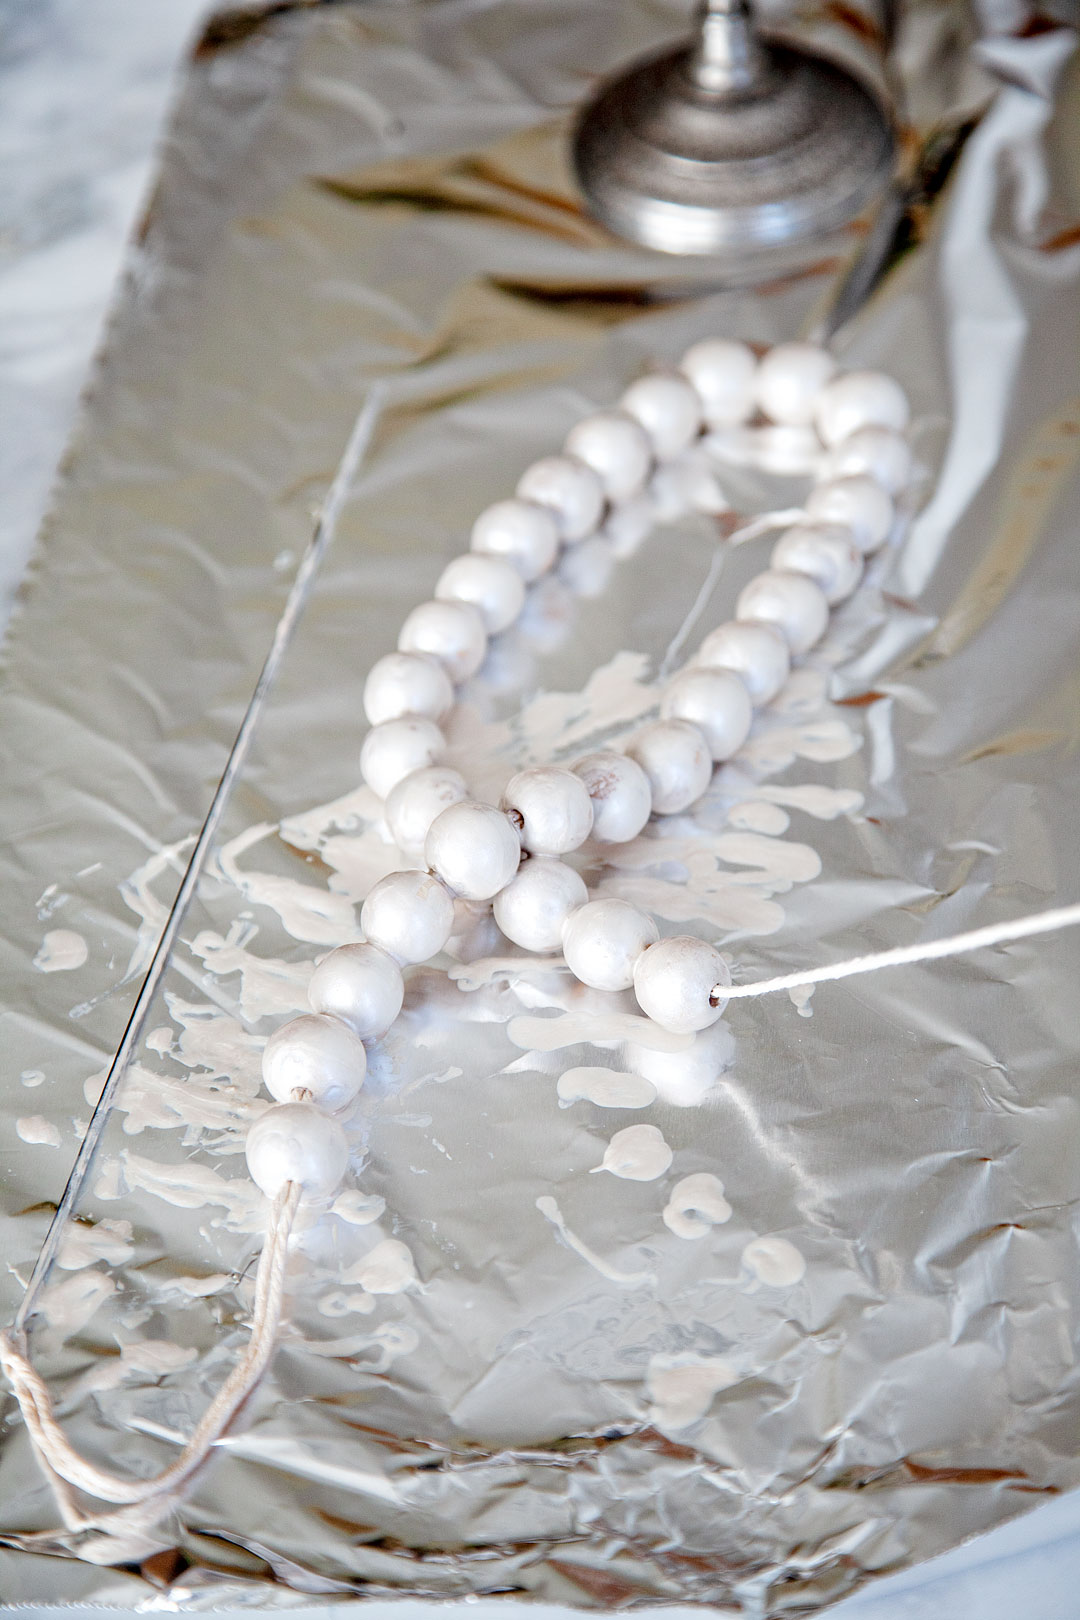
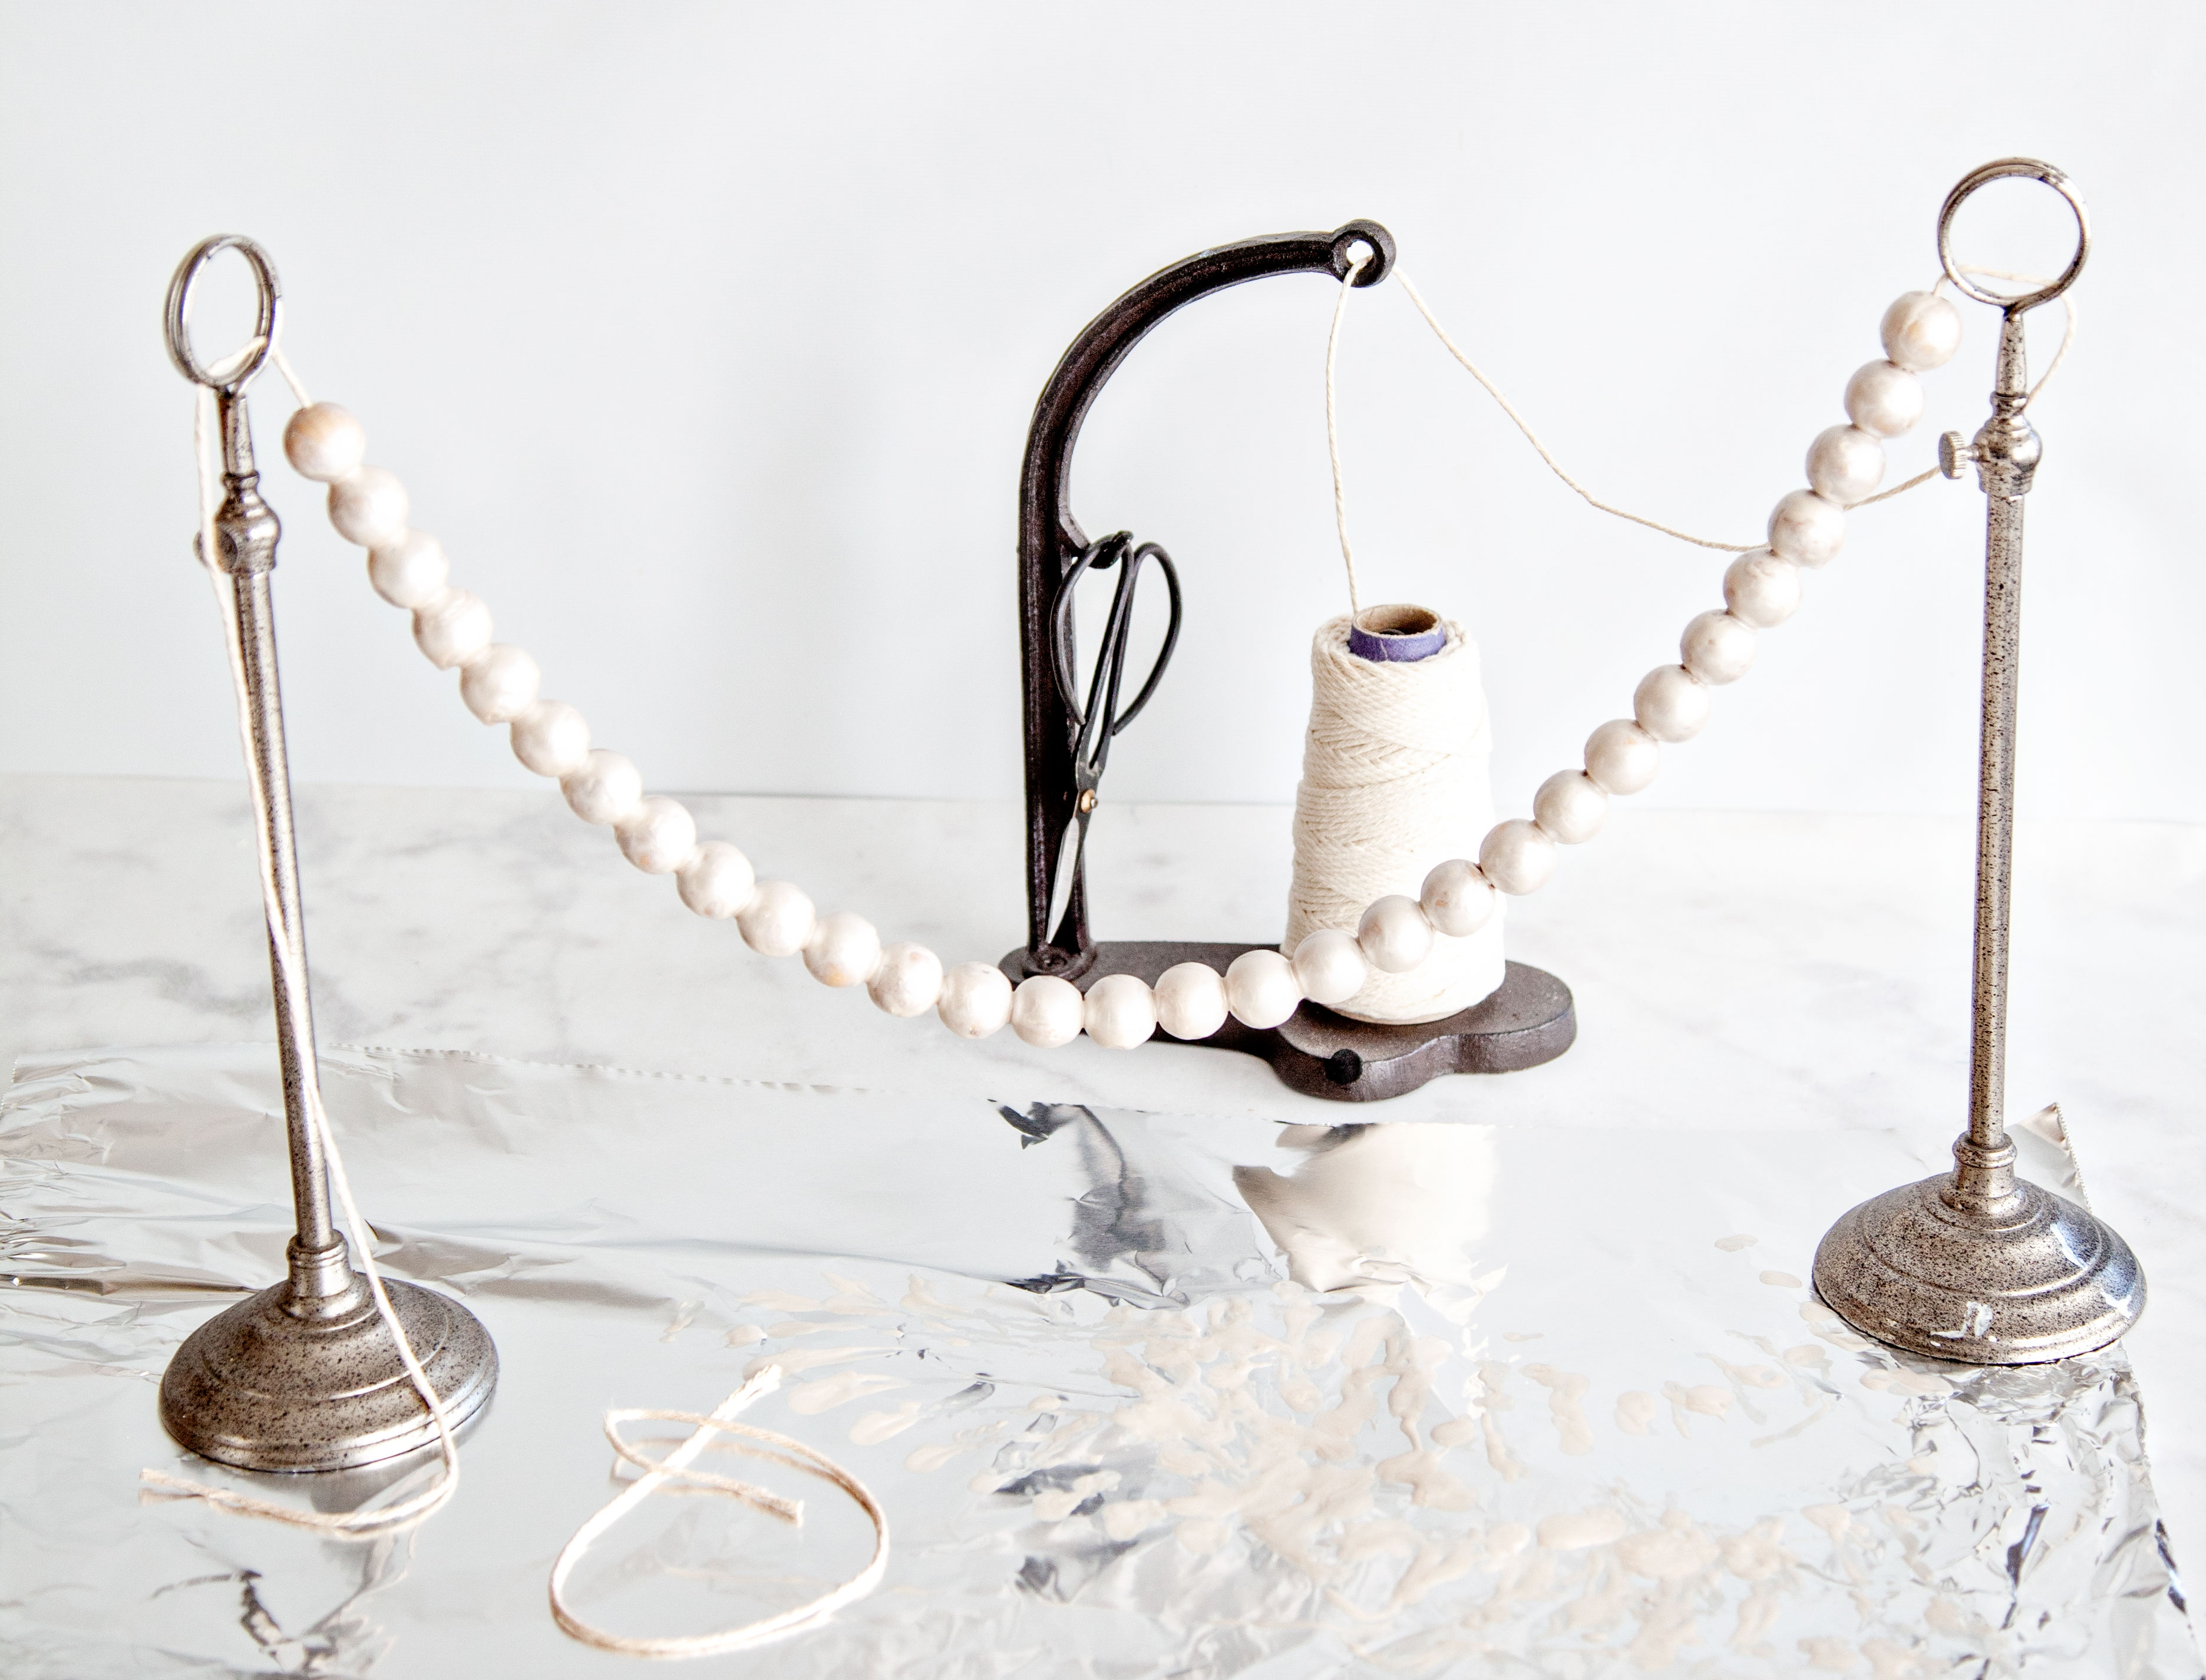
Next, I threaded the string on my needle and strung the beads onto the string so that they could dry without resting on a surface.

How to make a classic pearlized wood bead star ornament for Christmas decorating or for Hanukkah • WhipperBerry

How to make a classic pearlized wood bead star ornament for Christmas decorating or for Hanukkah • WhipperBerry

How to make a classic pearlized wood bead star ornament for Christmas decorating or for Hanukkah • WhipperBerry

Now, this part can get a little messy, make sure your surface is protected with foil or some other material to cover your surface. Once all of the beads are on the string, you will want to hang it from something you have around the house, even taping it between two soda boxes will work.

How to make a classic pearlized wood bead star ornament for Christmas decorating or for Hanukkah • WhipperBerry

Now, you will need to touch up any bald spots and then let them dry for a couple of hours. Halfway through, when the beads are dry to the touch, pull them apart so that the paint dries between the beads. Once they are dry, you’re ready to make your star. As promised, I created a video to show you how.

How cool is that? So EASY, right? Go grab your supplies and have these ready to go for when you have downtime next week during your Thanksgiving celebration. The family will love it AND, they’ll look fabulous on your tree!!

How to make a classic pearlized wood bead star ornament for Christmas decorating or for Hanukkah • WhipperBerry

  • Go to page 1
  • Go to page 2
  • Go to page 3
  • Interim pages omitted …
  • Go to page 9
  • Go to Next Page »

Primary Sidebar

Heather from Whipperberry
Hello... my name is Heather and I'm the creator of WhipperBerry a creative lifestyle blog packed full of great recipes and creative ideas for your home and family. I find I am happiest when I'm living a creative life and I love to share what I've been up to along the way... Come explore, my hope is that you'll leave inspired!

Footer

  • Privacy Policy

Copyright © 2023 · Seasoned Pro