• Skip to primary navigation
  • Skip to content
  • Skip to primary sidebar
  • Skip to footer

Whipperberry

WhipperBerry • Your Home For Creative Inspiration

  • Home
  • About
    • Terms
  • Recipes
    • ZipList
    • Starters
    • Easy Weeknight Dinners
    • Main Dish
    • Salads
    • Side Dish
    • Soups & Stews
    • Desserts
    • Breakfast
    • Miscellaneous
  • Tutorials
    • Creative Crafts
    • DYI Decor
    • Fabric Crafts
    • Food How-To
    • Jewlery
    • Paint Projects
    • Paper Art
    • Party Styling
    • Photography and Graphic Design
    • Silhouette
  • Holidays
    • St. Patrick’s Day
    • Easter
    • Mother’s Day
    • Father’s Day
    • 4th of July
    • Halloween
    • Thanksgiving
    • Christmas
    • New Years
    • Valentine’s Day
  • Gift Ideas
    • Gifts For Everyone
    • Gifts for Dad
    • Mother’s Day
    • Mother’s day
    • For The Girls
    • For The Kids
    • Teacher Gift Ideas
    • Christmas
  • Printables
    • Holiday
    • Gift Idea
    • LDS Primary
  • Travel
  • Contact
  • Nav Social Menu

    • Facebook
    • Google+
    • Instagram
    • Pinterest
    • RSS
    • Twitter
You are here: Home / Crafts / DIY Pearlized Wood Bead Star Ornament

DIY Pearlized Wood Bead Star Ornament

48 · Nov 16, 2018 · 1 Comment

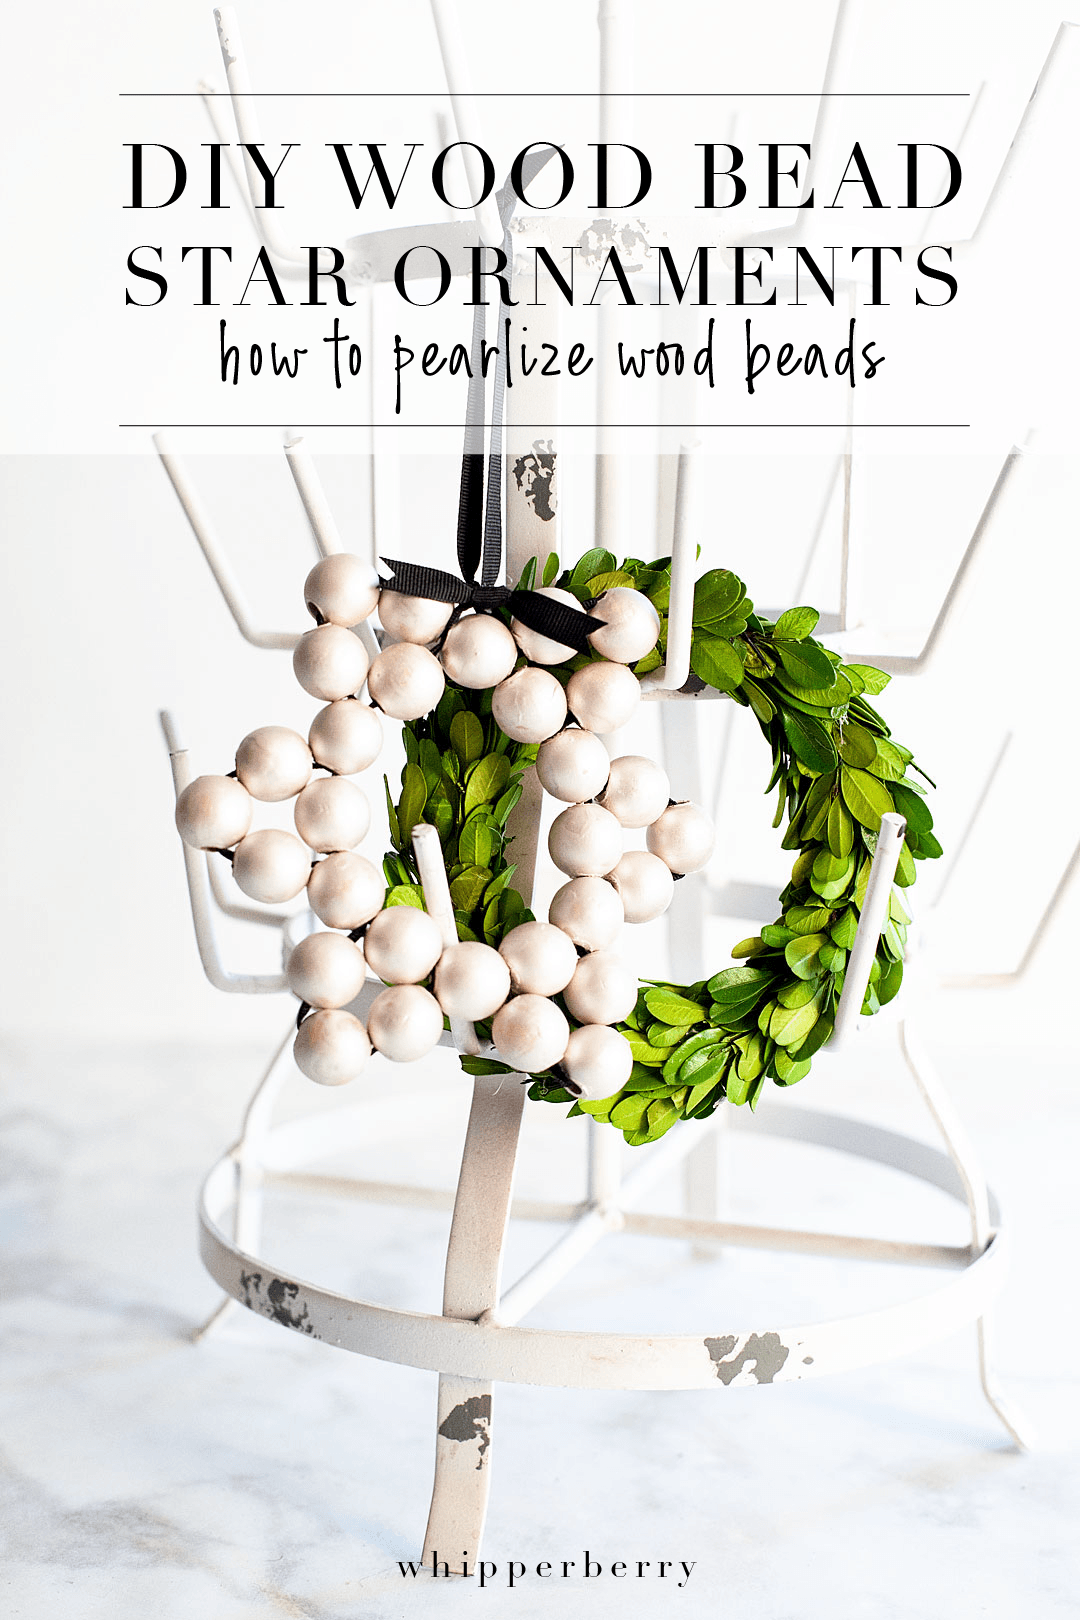
I love wood beads, it’s a classic trend that I can fully embrace and not feel like it’s going to go out of style anytime soon.  Plus, you don’t have to worry about them breaking which is an added bonus as well. This year for the Michaels Dream Tree Challenge I made a large wood bead star for the top of my tree and I fell in LOVE with my new star. Then I thought it would be fun to use some DecoArt Americana Decor Matte Metallic paint to pearlized some wood beads to make a smaller wood bead star ornament for my Christmas tree. As promised in my Instagram story, I also made a video for how to make the star. Let me show you how EASY it is!

+ This post sponsored by DecoArt+How to make a classic pearlized wood bead star ornament for Christmas decorating or for Hanukkah • WhipperBerry
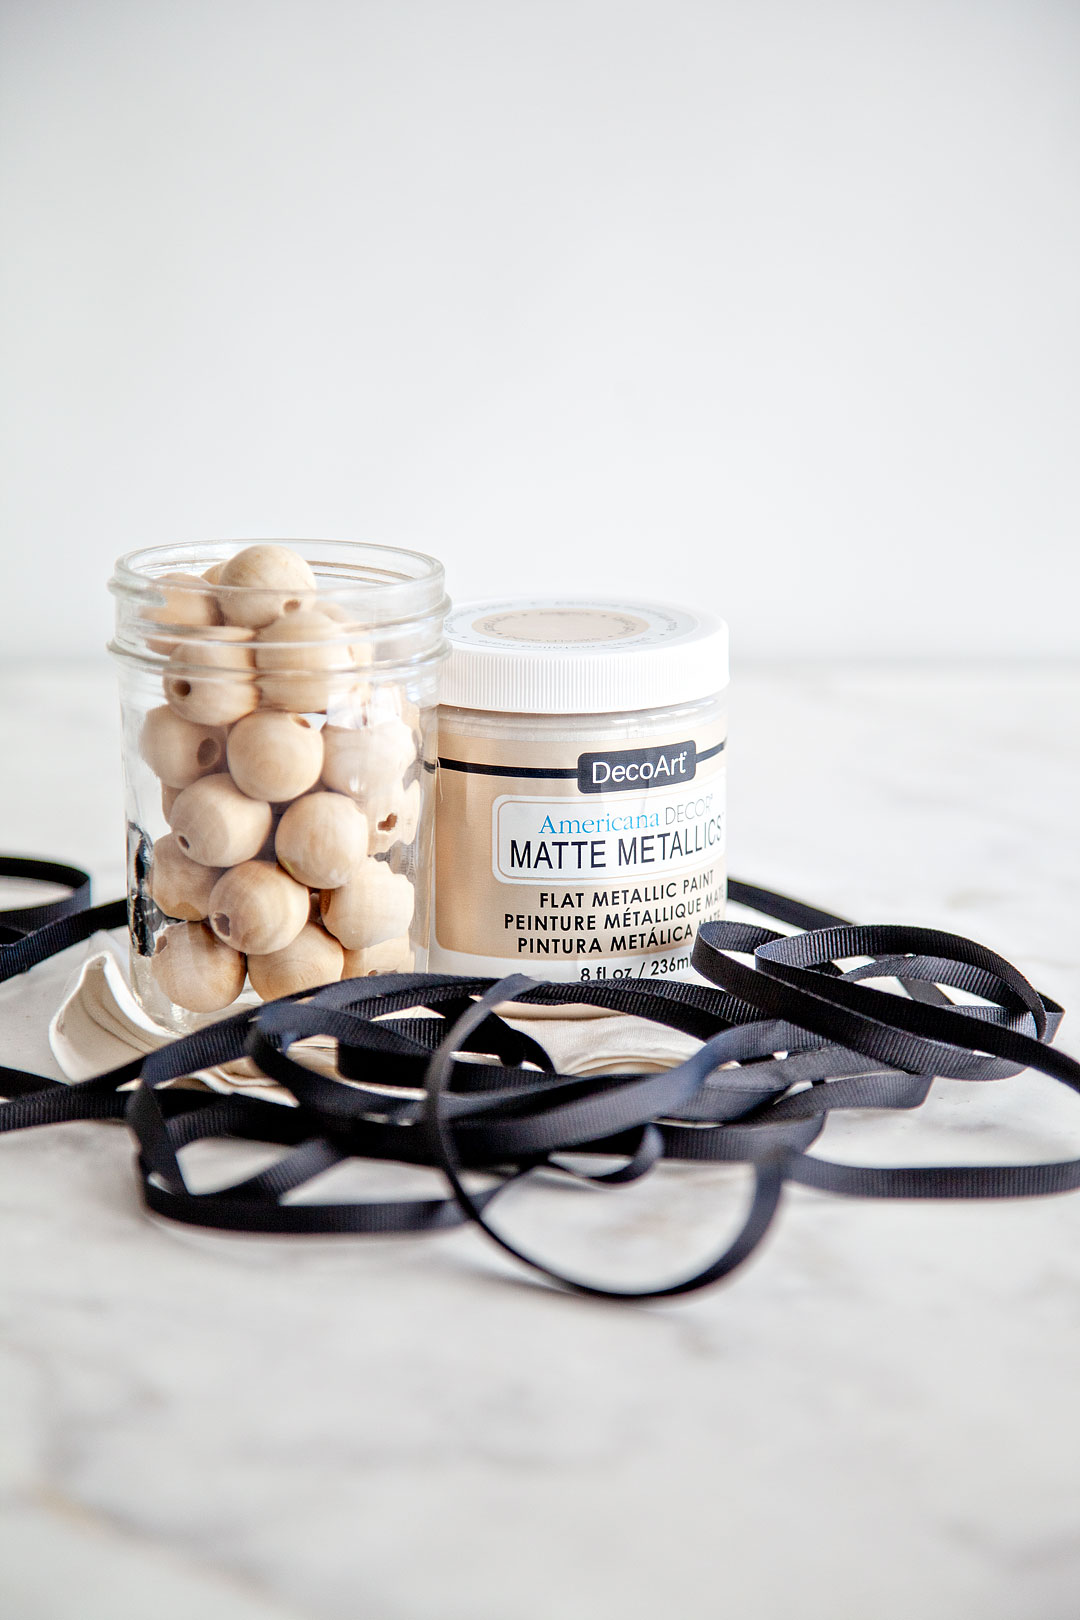
Over the years I’ve fallen more and more in love with making my own Christmas ornaments. It really does add more of a story to your Christmas celebration. If they are ornaments that the whole family can make together, even better. This project can be a bit messy, however, if planned for that’s not a bit deal. It would be great fun for kiddos of all ages to play around with the paint and string some “pearls” during a cozy winter activity together. Here is what you’ll need to make the pearlized wood bead ornament.

Pearlized Wood Bead Ornament Supplies
How to make a classic pearlized wood bead star ornament for Christmas decorating or for Hanukkah • WhipperBerry

  • raw wood beads 
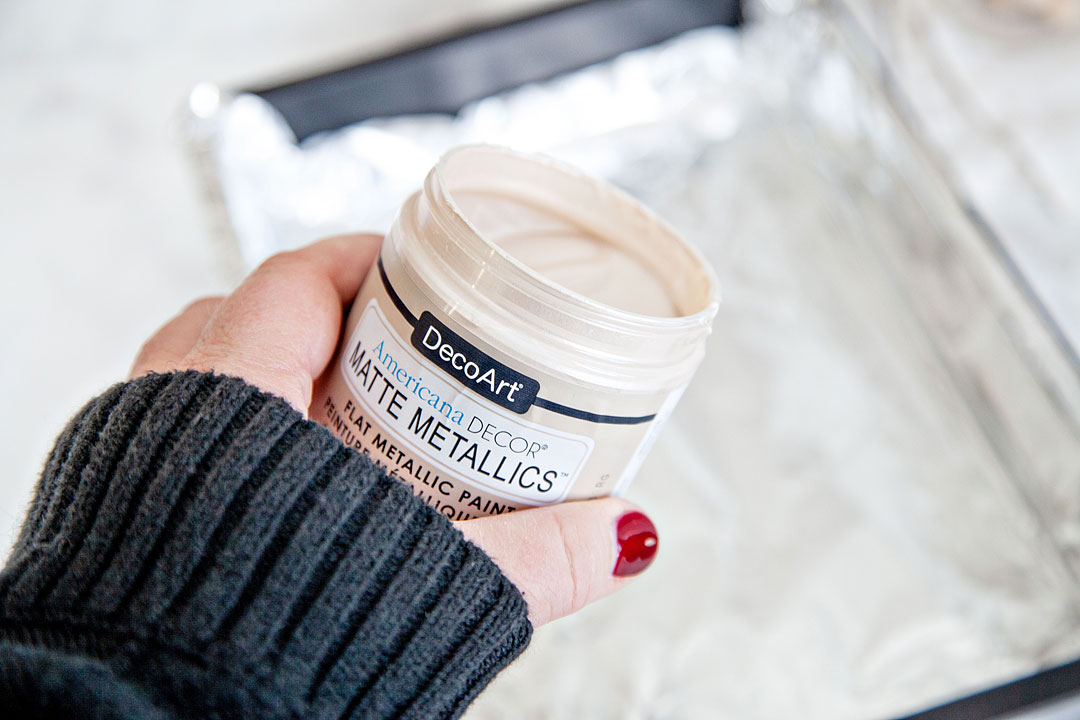
  • Americana Decor Matte Metallic paint – Ivory Pearl
  • string
  • scissors
  • aluminum foil
  • ribbon
  • large needle
  • hot gun
  • hot glue stick

Instructions

You guys, this project can be some messy fun if you’d like OR, you can keep it nice and neat. Either way, it’s a fun project to work on with the family. The first thing you’ll need to do is create your “pearls.”
How to make a classic pearlized wood bead star ornament for Christmas decorating or for Hanukkah • WhipperBerry

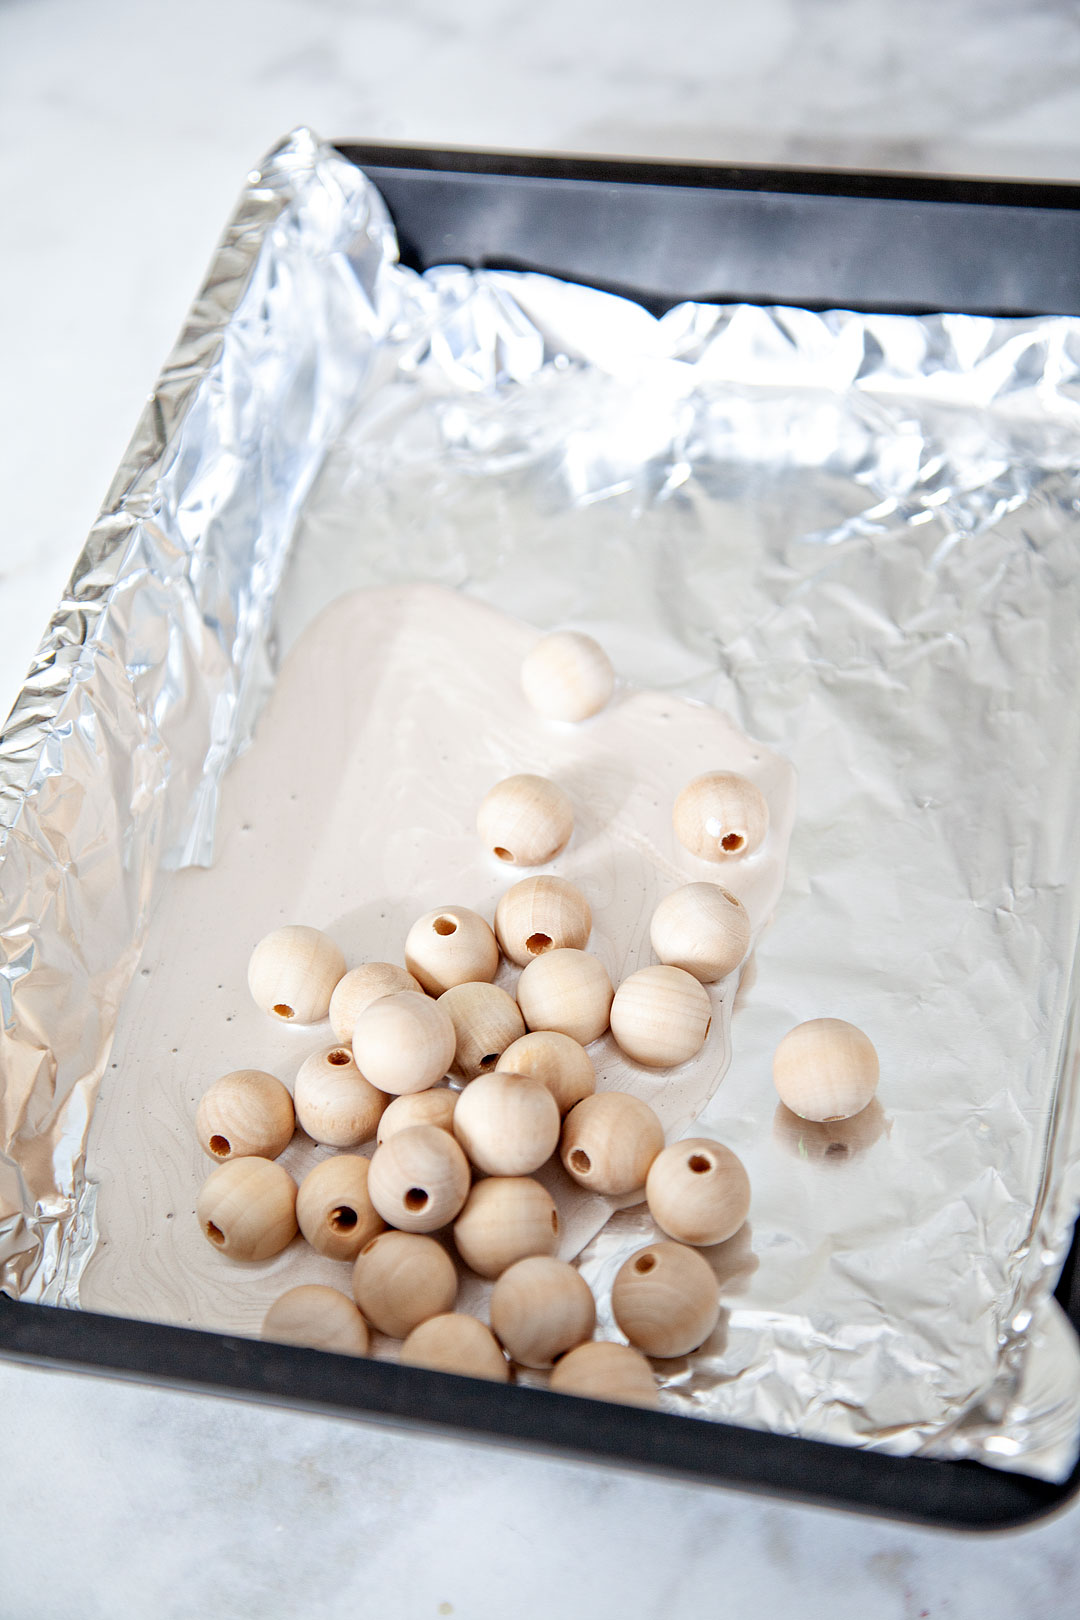
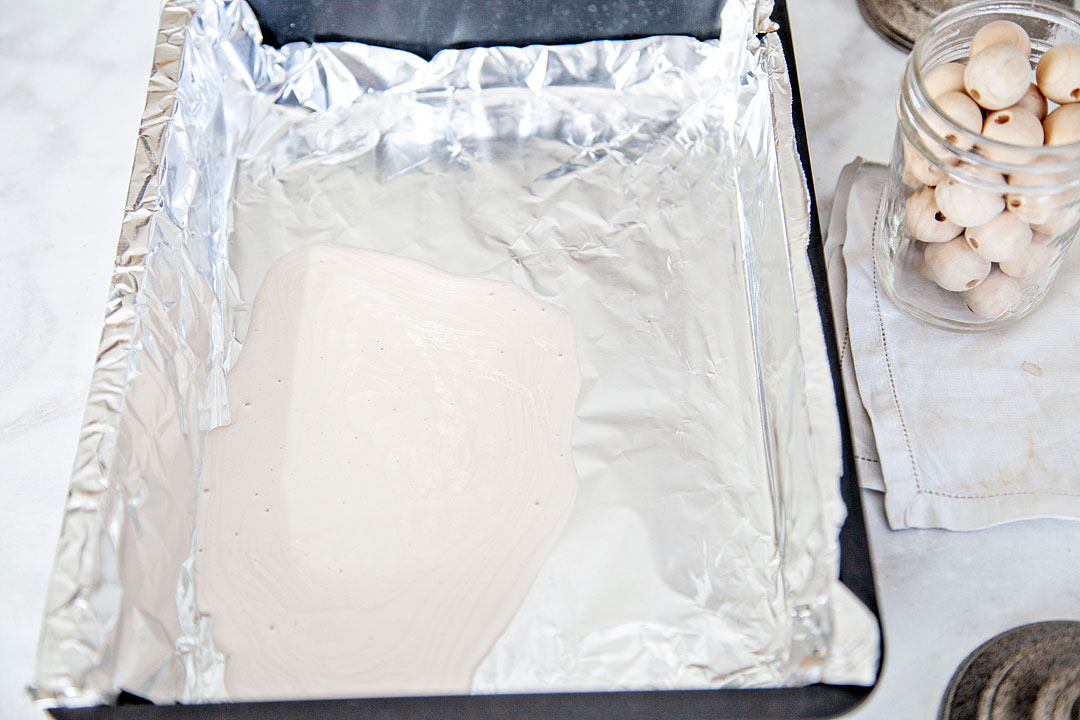
To do that, you’ll need to line a dish with aluminum foil and then pour a small amount of paint into your lined paint tray.
How to make a classic pearlized wood bead star ornament for Christmas decorating or for Hanukkah • WhipperBerry How to make a classic pearlized wood bead star ornament for Christmas decorating or for Hanukkah • WhipperBerry

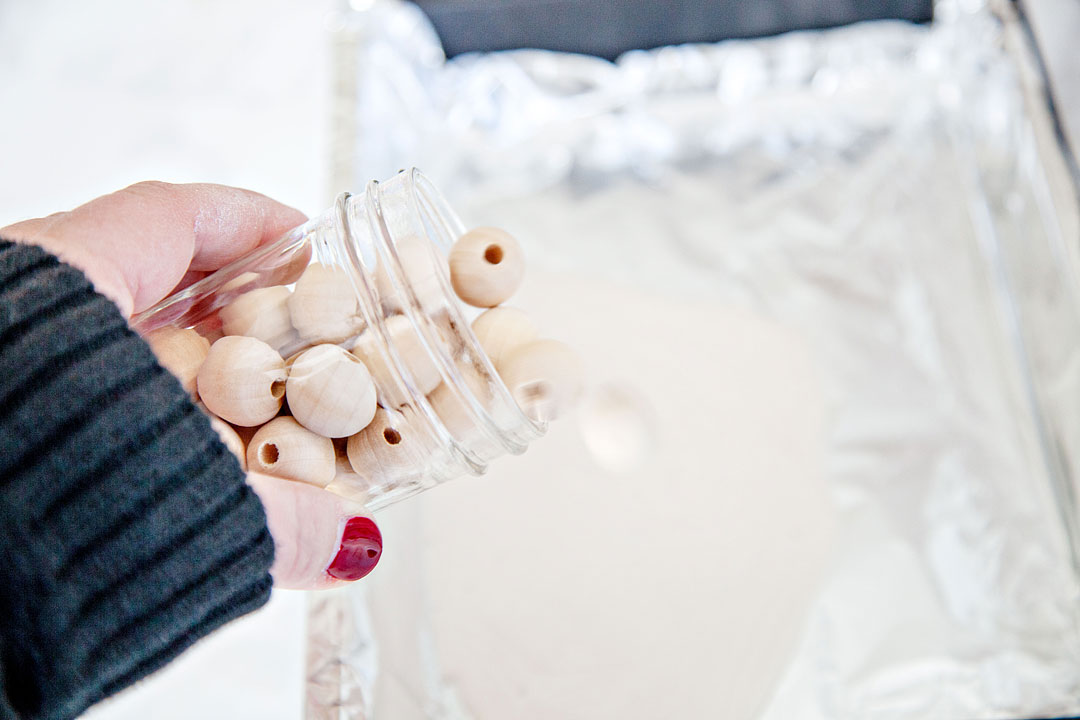
This is the fun part… rather than laboriously painting each and every bead (there are 30.) You will just dump them into the tray of paint.
How to make a classic pearlized wood bead star ornament for Christmas decorating or for Hanukkah • WhipperBerry

How to make a classic pearlized wood bead star ornament for Christmas decorating or for Hanukkah • WhipperBerry

The paint is a little think so you can move them around by moving the tray a bit but, you most likely either need to use your fingers or a tool to spin the beads around in the paint to cover the surface of the bead.
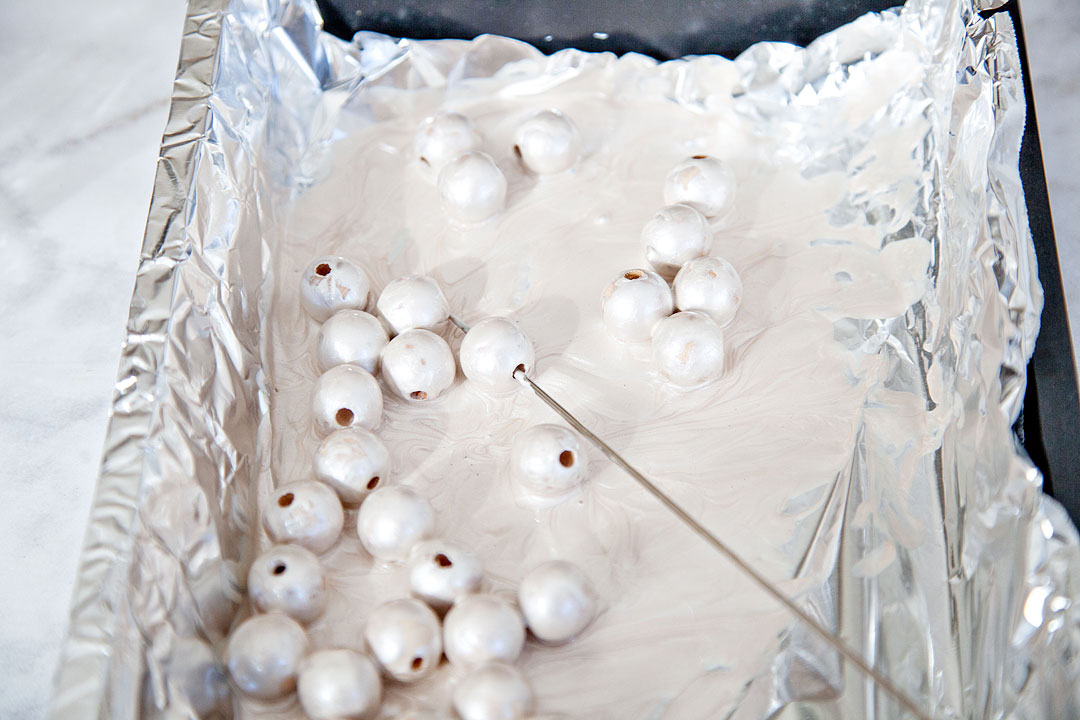
How to make a classic pearlized wood bead star ornament for Christmas decorating or for Hanukkah • WhipperBerry

For this project, I’m using an upholstery needle to string the beads so I used that to move the beads around a bit and then resorted to my fingers. 😉

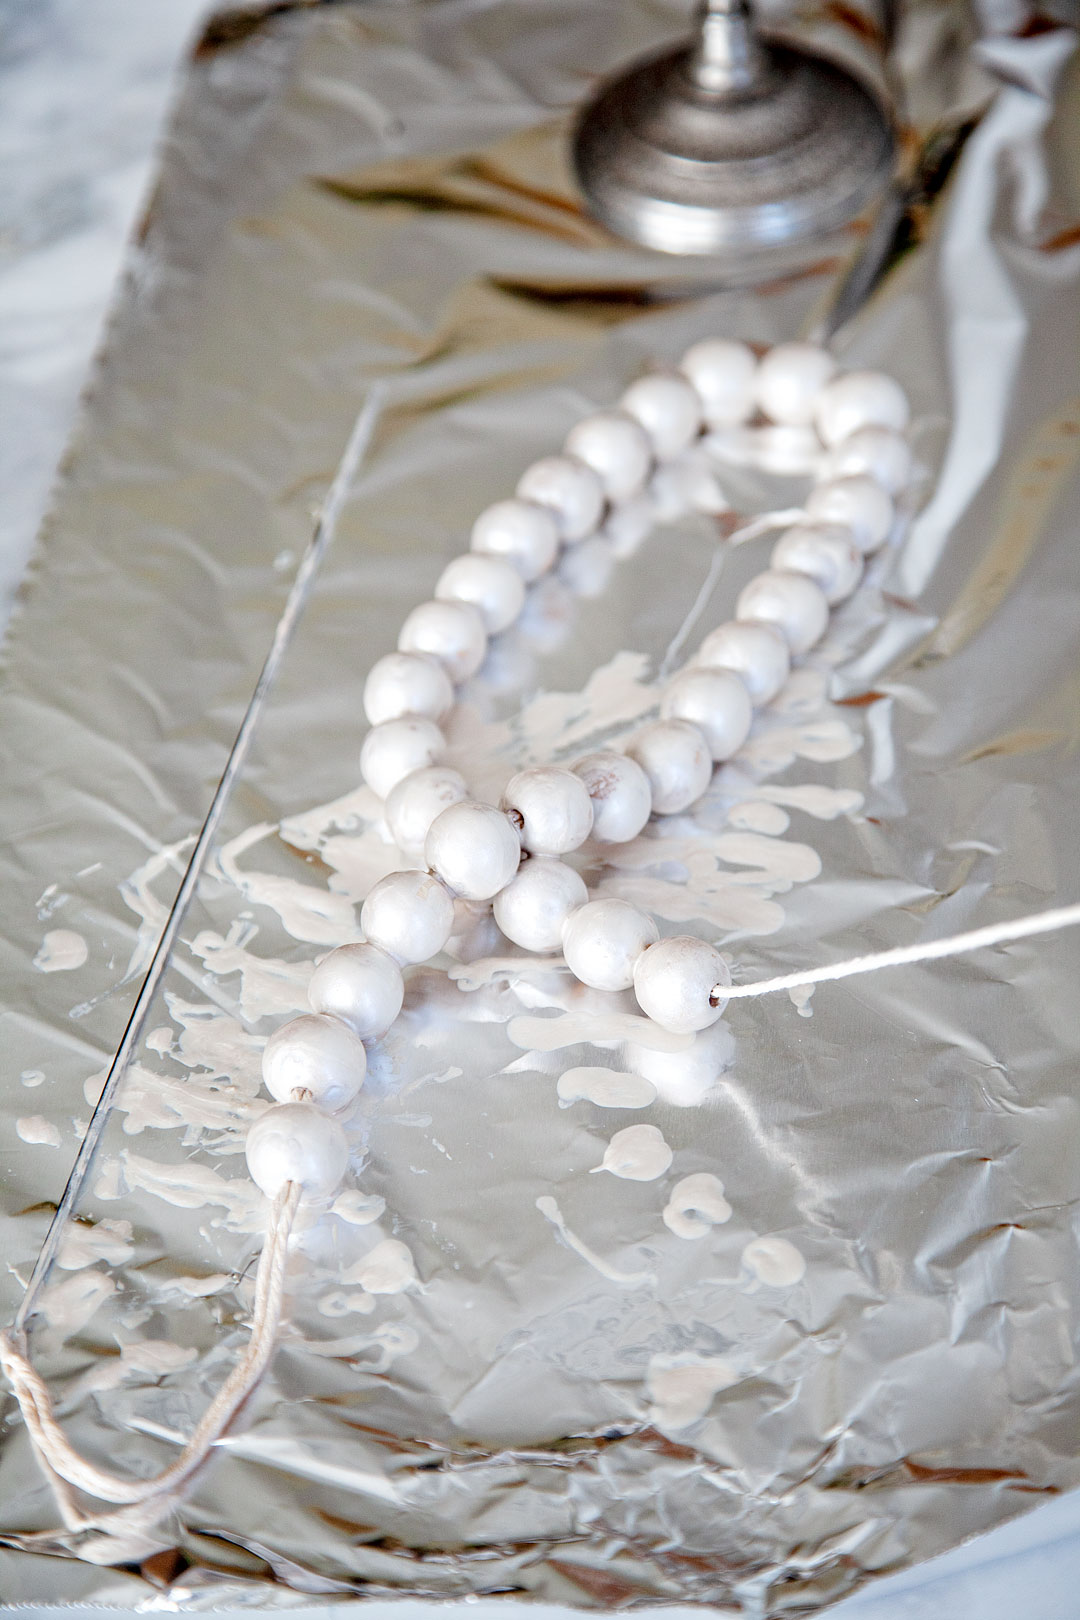
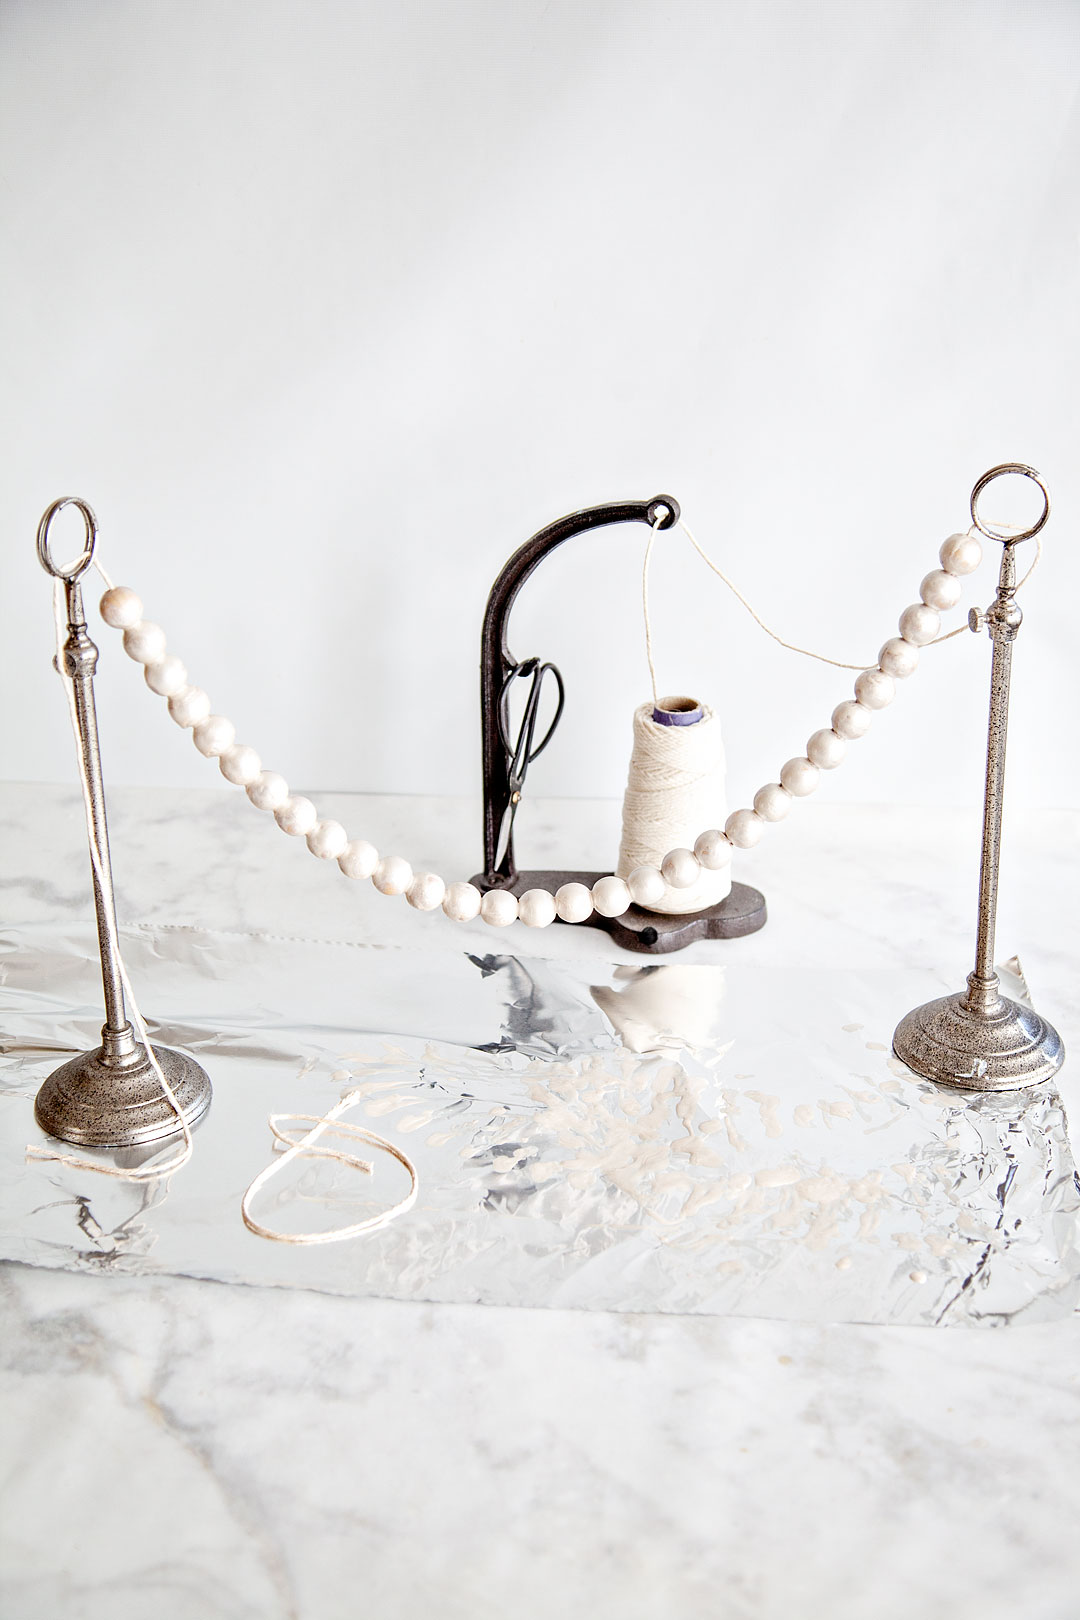
Next, I threaded the string on my needle and strung the beads onto the string so that they could dry without resting on a surface.
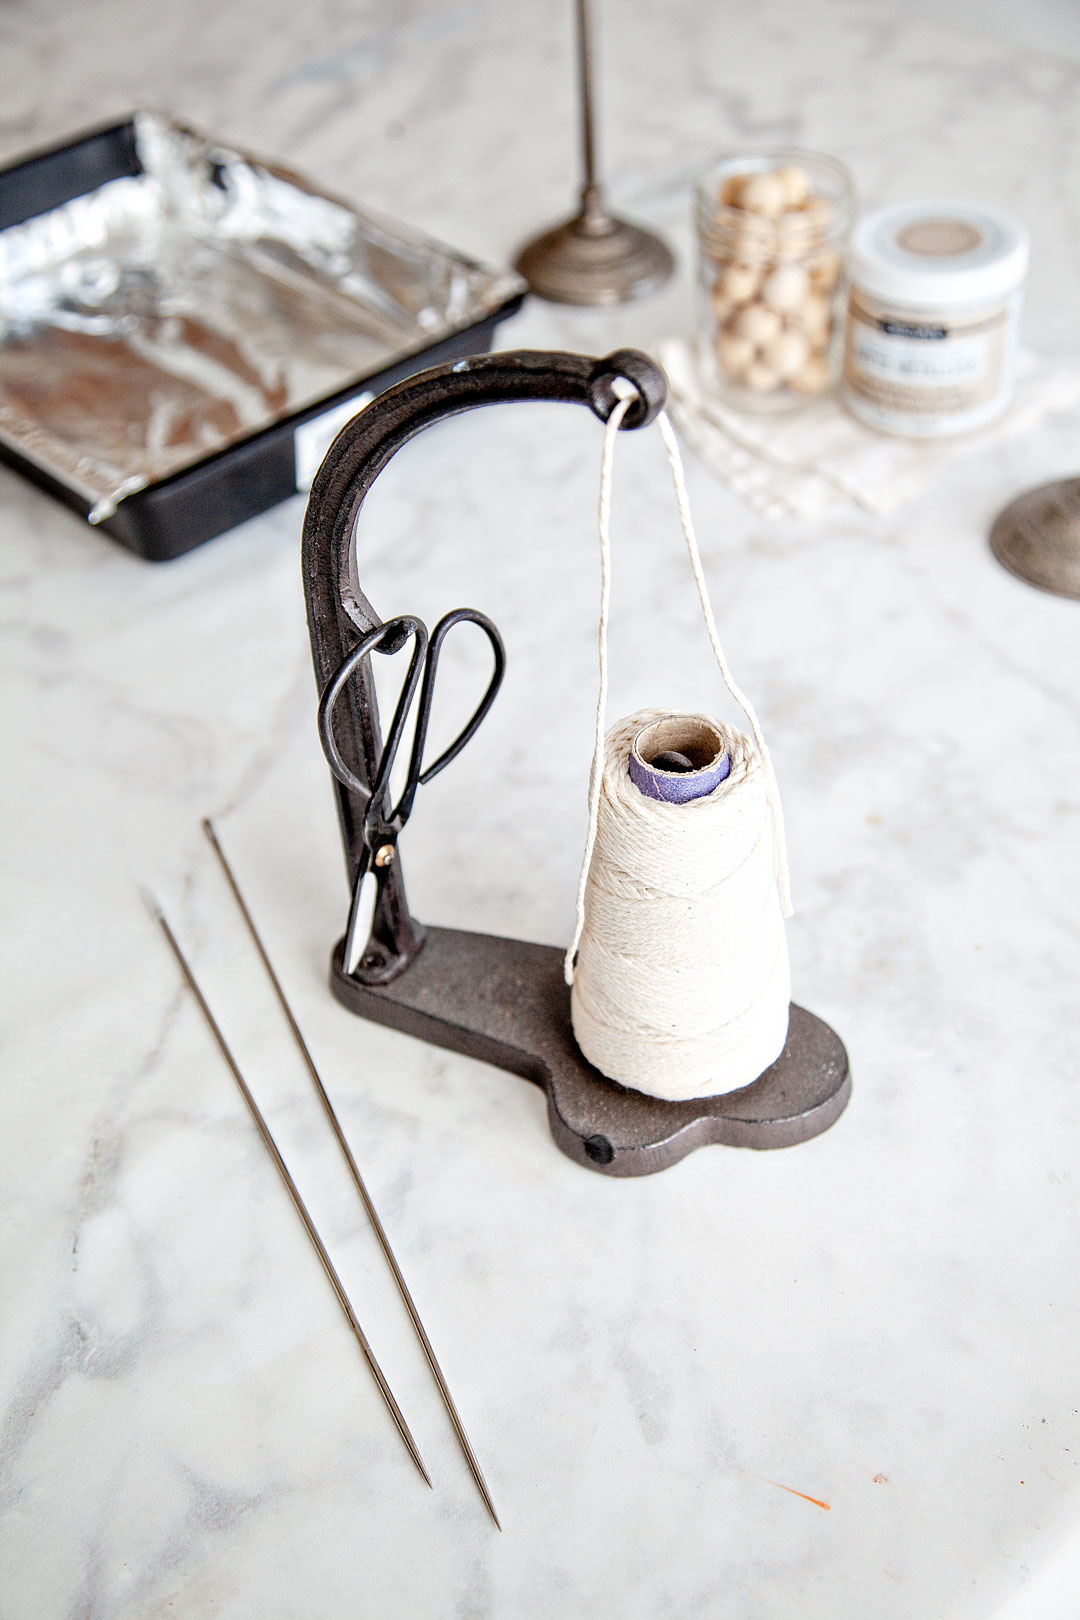
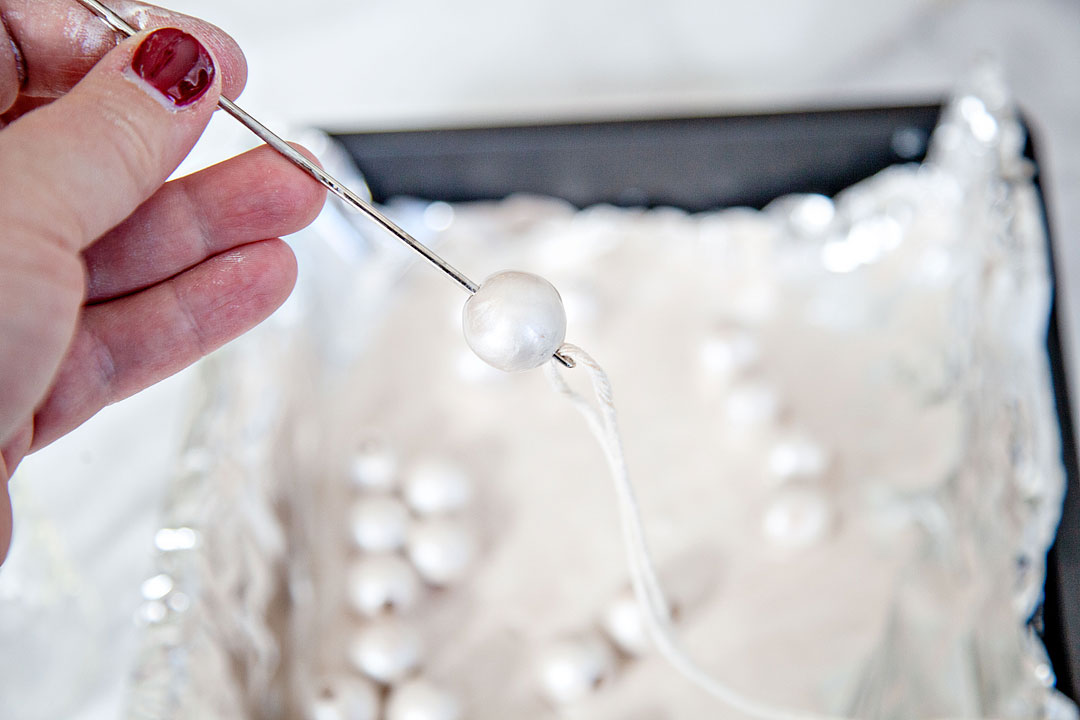
How to make a classic pearlized wood bead star ornament for Christmas decorating or for Hanukkah • WhipperBerry

How to make a classic pearlized wood bead star ornament for Christmas decorating or for Hanukkah • WhipperBerry

How to make a classic pearlized wood bead star ornament for Christmas decorating or for Hanukkah • WhipperBerry

Now, this part can get a little messy, make sure your surface is protected with foil or some other material to cover your surface. Once all of the beads are on the string, you will want to hang it from something you have around the house, even taping it between two soda boxes will work.
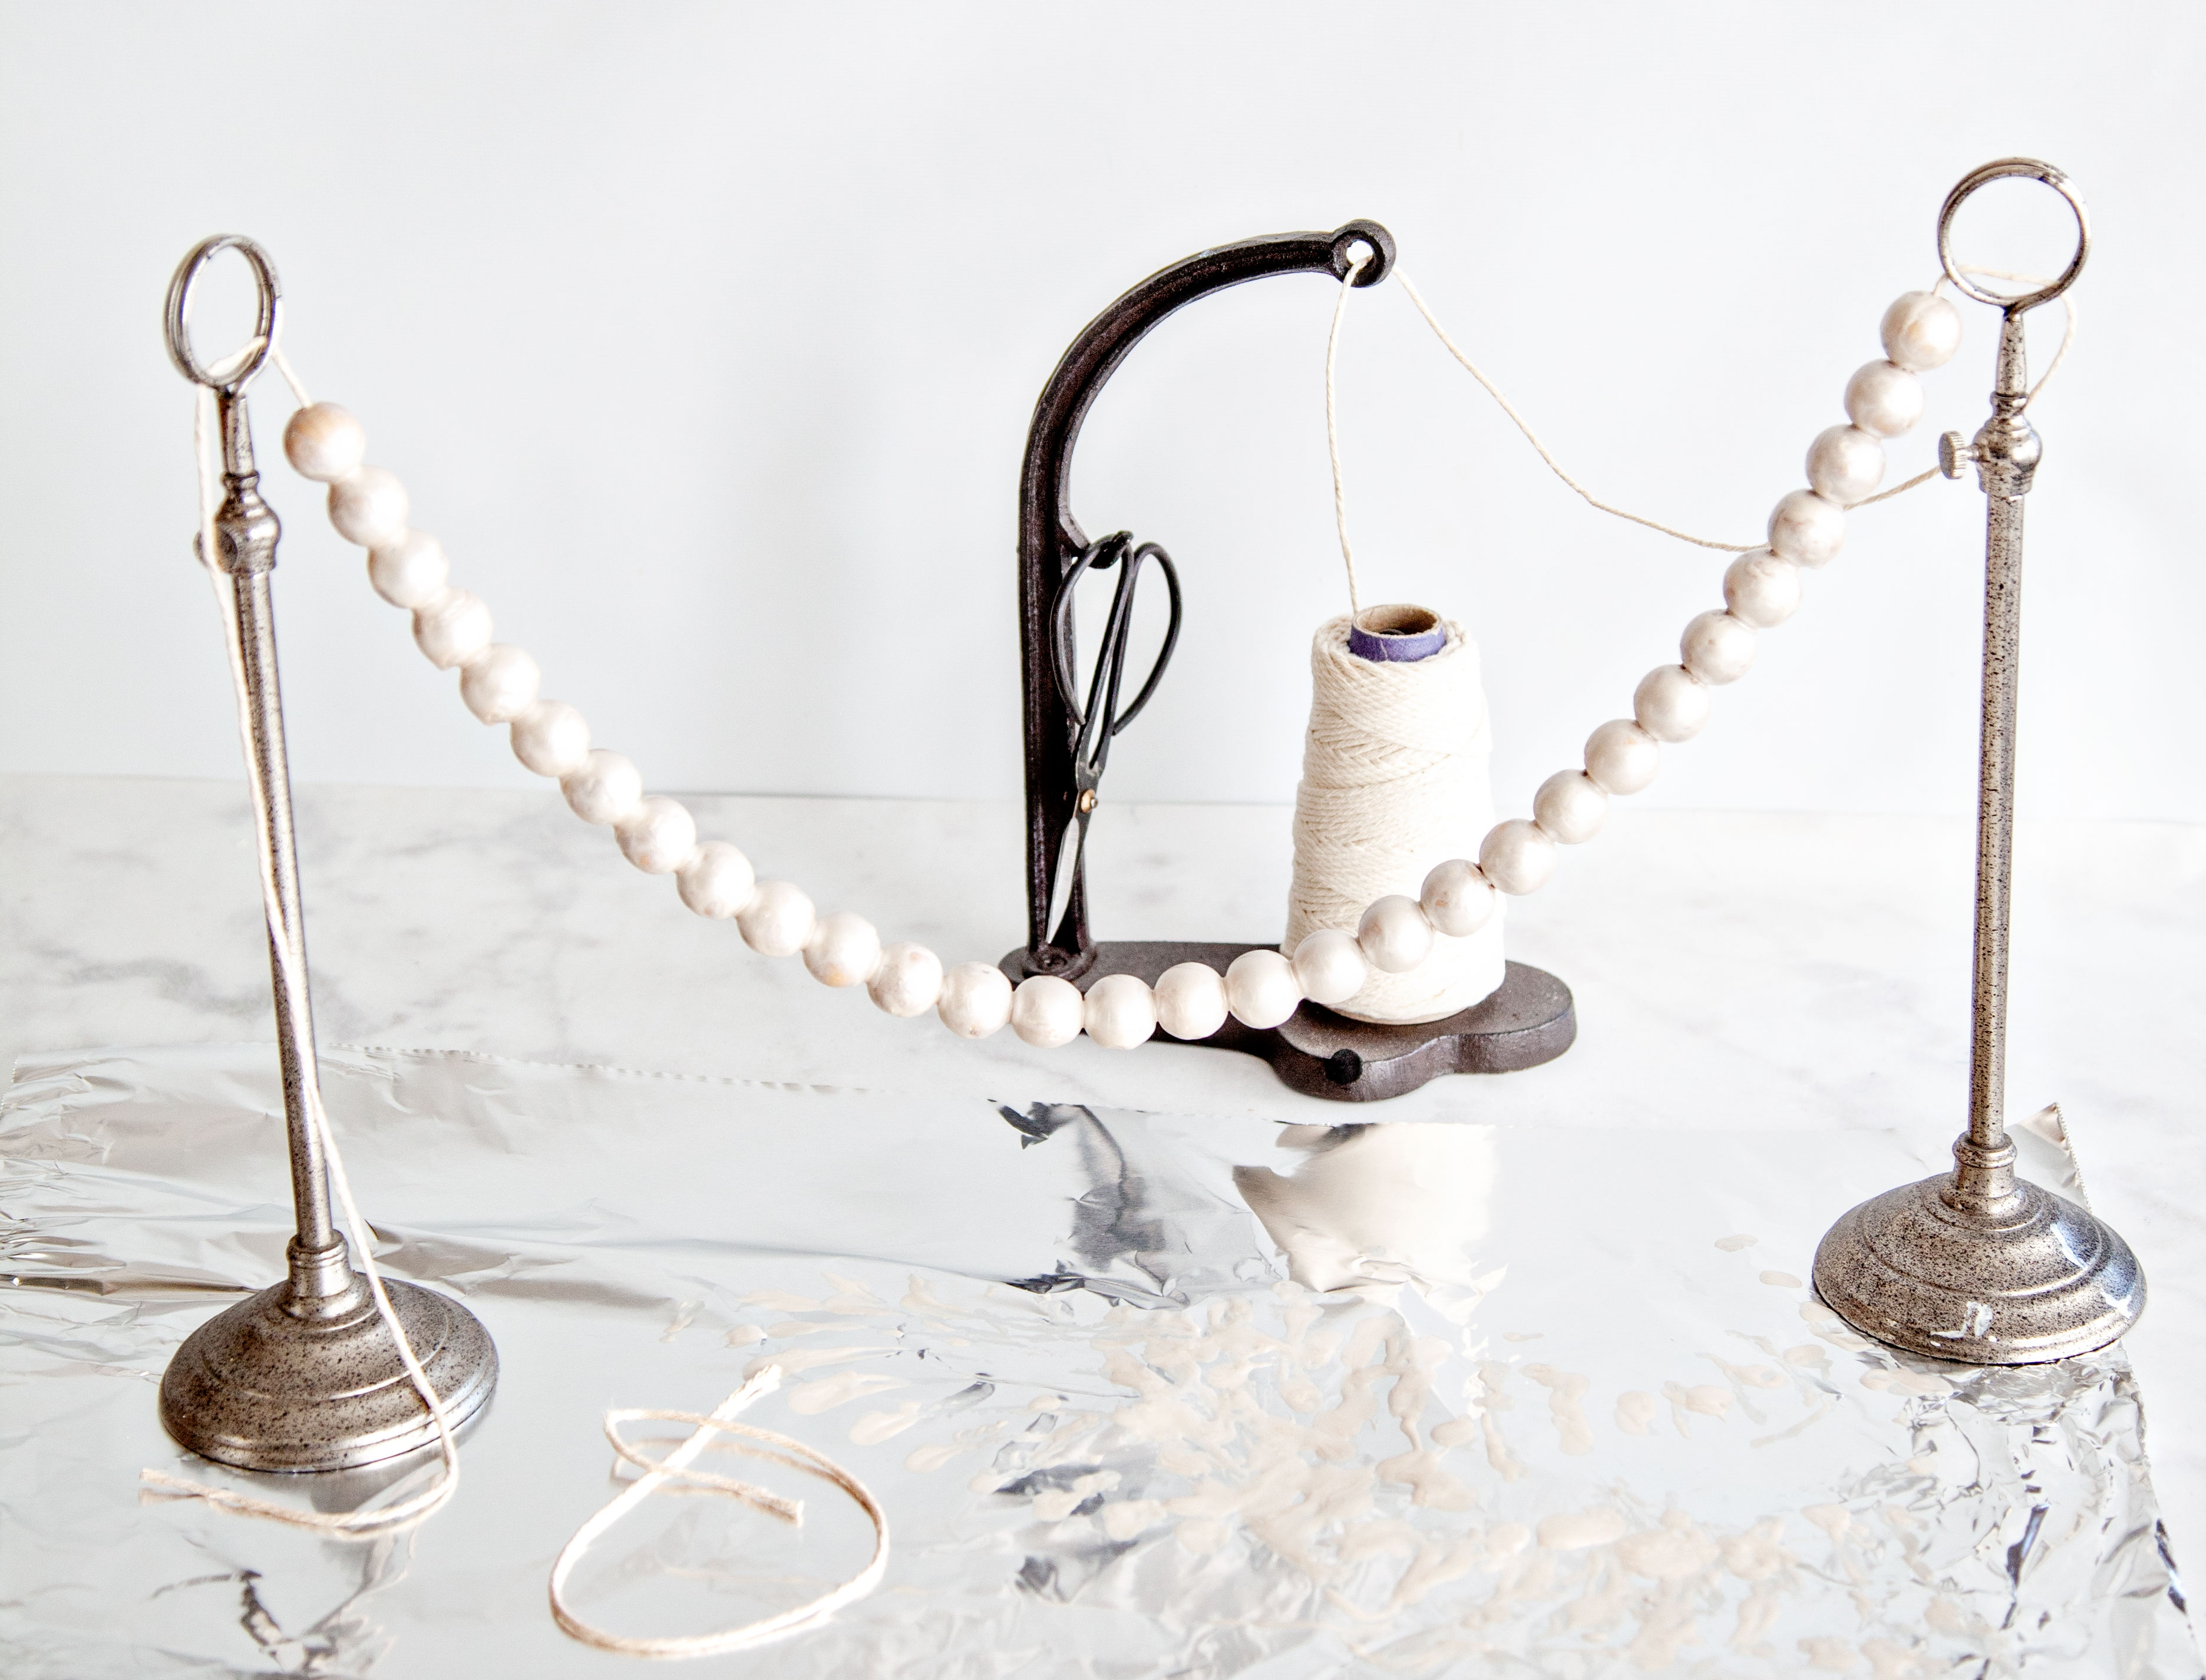
How to make a classic pearlized wood bead star ornament for Christmas decorating or for Hanukkah • WhipperBerry

Now, you will need to touch up any bald spots and then let them dry for a couple of hours. Halfway through, when the beads are dry to the touch, pull them apart so that the paint dries between the beads. Once they are dry, you’re ready to make your star. As promised, I created a video to show you how.

How cool is that? So EASY, right? Go grab your supplies and have these ready to go for when you have downtime next week during your Thanksgiving celebration. The family will love it AND, they’ll look fabulous on your tree!!
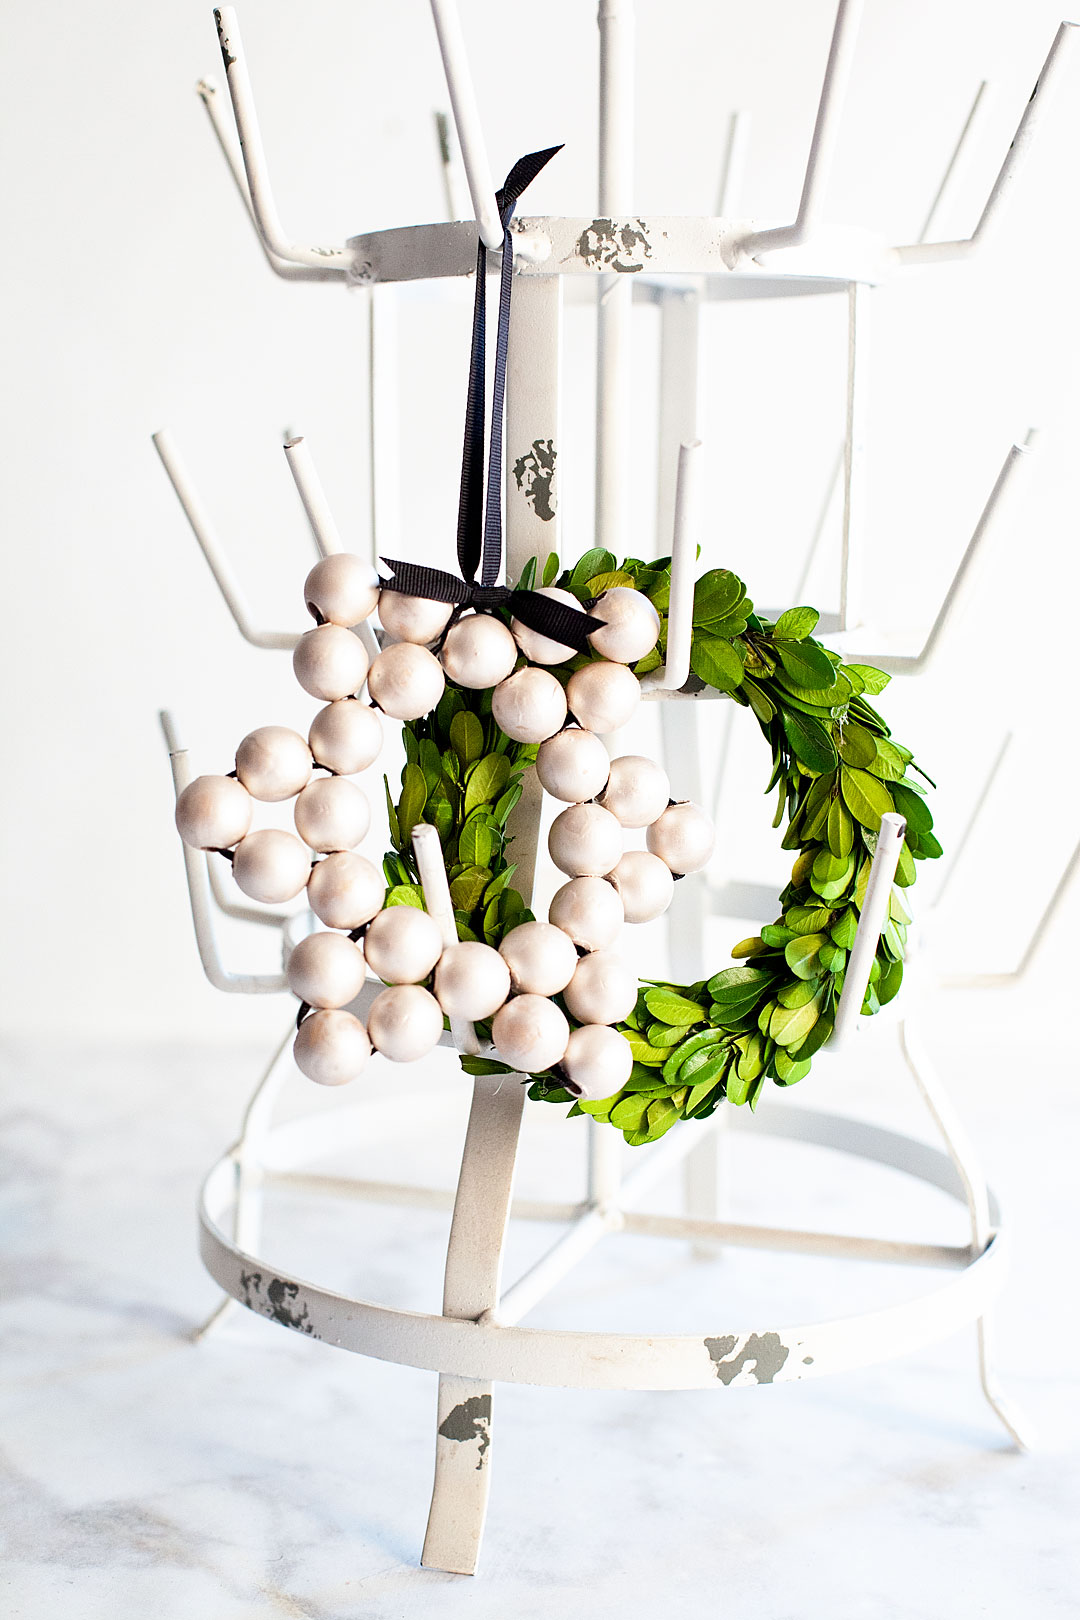
How to make a classic pearlized wood bead star ornament for Christmas decorating or for Hanukkah • WhipperBerry

48
Pin
Share
Tweet
+1

Christmas, Crafts, DecoArt, Gifts, Hanukkah, Holidays, Michaels Maker, Neighbor Gifts, Paint, ribbon, Teacher Gifts, Wood Christmas, Crafts, DecoArt, Gift Giving, Holidays, Michaels Maker

Reader Interactions

Comments

  1. Mary says

    August 12, 2019 at 6:02 pm

    What size wooden beads did you use? What size ribbon did you use? And how long? In the video it appears you looped the ribbon while making the points. Is that correct? Great project!

    Reply

Leave a Reply Cancel reply

Your email address will not be published. Required fields are marked *

This site uses Akismet to reduce spam. Learn how your comment data is processed.

Primary Sidebar

Hello... my name is Heather and I'm the creator of WhipperBerry a creative lifestyle blog packed full of great recipes and creative ideas for your home and family. I find I am happiest when I'm living a creative life and I love to share what I've been up to along the way... Come explore, my hope is that you'll leave inspired!

Load up on new recipes, exclusive goodies, + more!

Get the exclusive content you crave straight to your inbox.

Featured Recipes

Not all holiday gifts need to be ooey gooey sweet. Savory holiday gifts are just as lovely, sometimes even more so. I personally have been off sugar for 3 months now and I’m really nervous for the holiday season to arrive. Having the house fill up with sweets is NOT what I’m wishing for this Christmas. I would LOVE to get one of these Ball® Sharing Jar soup mixes as a gift. Not only are they soothing to the soul, but they are also good for you as well. - WhipperBerry @ballcanning #soupinajar #printabletags #souprecipe

Soup Mix Sharing Jars 

This year, I’m working on all kinds of fun gifts for the Holidays that will look spectacular gifted inside of a jar. One of my favorites is the White Chocolate Ginger Scone Mix in a jar. It’s really easy to put together a whole bunch of these gifts and really not expensive at all. It’s always a bonus to save a little money during the holidays. @ballcanning #giftsinajar #neighborgifts #teachergifts #sconeinajar

White Chocolate Ginger Scone Mix In A Jar 

As much as we hate to admit it, cold and flu season is on its way. There is nothing more miserable than one of those lousy winter colds. What’s almost just as bad is watching someone you care for dealing with a cold or, Heaven forbid, the flu! I’m always looking for ways to help cheer them up and let them know that we love them and hope for their better health. That’s when I came up with this idea for a Cold and Flu Rescue Kit to share with those loved ones that are suffering. • WhipperBerry

Cold and Flu Rescue Kit

Not to knock commercially prepared applesauce, but when you have the opportunity to enjoy homemade applesauce, you will know the difference. It’s sweet and tangy with the perfect texture. Not to mention the fact that it harmonizes well with many different notes on your palette AND, it’s super easy to make! #applesauce #applesaucerecipe #homemadeapplesauce

Maple Applesauce Recipe + Maple Applesauce Overnight Oatmeal Recipe

I was recently introduced to a simple Roasted Garlic and Roma tomato sauce recipe from Ball® Fresh Preserving that I have been dying to try. I knew it was going to be a GREAT base for my favorite Israeli Shakshuka dish and boy was I right. Come learn how to make this fabulous sauce for your family.

Roasted Garlic and Roma Tomato Sauce + an Easy Shakshuka Recipe

More

Footer

Instagram

Instagram has returned invalid data.

Copyright © 2021 · Seasoned Pro