Teachers put in so much effort to help students succeed, so why not show your appreciation with something special? A custom teacher gift basket is a meaningful way to say thank you, and making it yourself adds a personal touch that store-bought gifts just don’t have.
Of course, finding time to get crafty can be tricky when you’re juggling assignments and exams. Yet, you can easily ask expert writers to ’finish my essay’ and have more time to think about gifts. Managing schoolwork and personal projects takes planning, but making a handmade gift doesn’t have to be overwhelming.
Creating something amazing doesn’t have to be expensive or time-consuming if you use the right method. Here’s how you can make a custom teacher gift basket:
Choosing and Decorating the Basket
Before you start making gifts, you need a solid base. The basket you choose establishes the overall feel of your gift:
- Woven baskets are a classic choice and can be reused for storage.
- Wooden crates give a rustic feel and are great for repurposing.
- Fabric totes are both stylish and practical for carrying books or supplies.
You can also upcycle an old basket with a little creativity. If you have one lying around, a fresh coat of paint or fabric lining can make it look brand new. Try these basket decoration ideas:
- Paint the basket in the teacher’s favorite color.
- Wrap twine or ribbon around the handles for a polished look.
- Line the inside with patterned fabric or tissue paper to make it pop.
- Use stencils to add a fun design or the teacher’s initials.
A well-decorated basket makes the whole gift feel extra special, even before they see what’s inside.

Handmade Gifts to Include
The best part of a custom gift basket is filling it with thoughtful, handmade items. These don’t have to be complicated—just something small and personal that shows effort.
DIY Self-Care and Relaxation Items
Teachers work hard, so giving them something to help them unwind is always a great idea. Experts from The Snuggles often remind that small comfort-focused gifts – soft textiles, cozy aromatics, or soothing self-care items – can make a meaningful difference in helping teachers relax after long, demanding days.
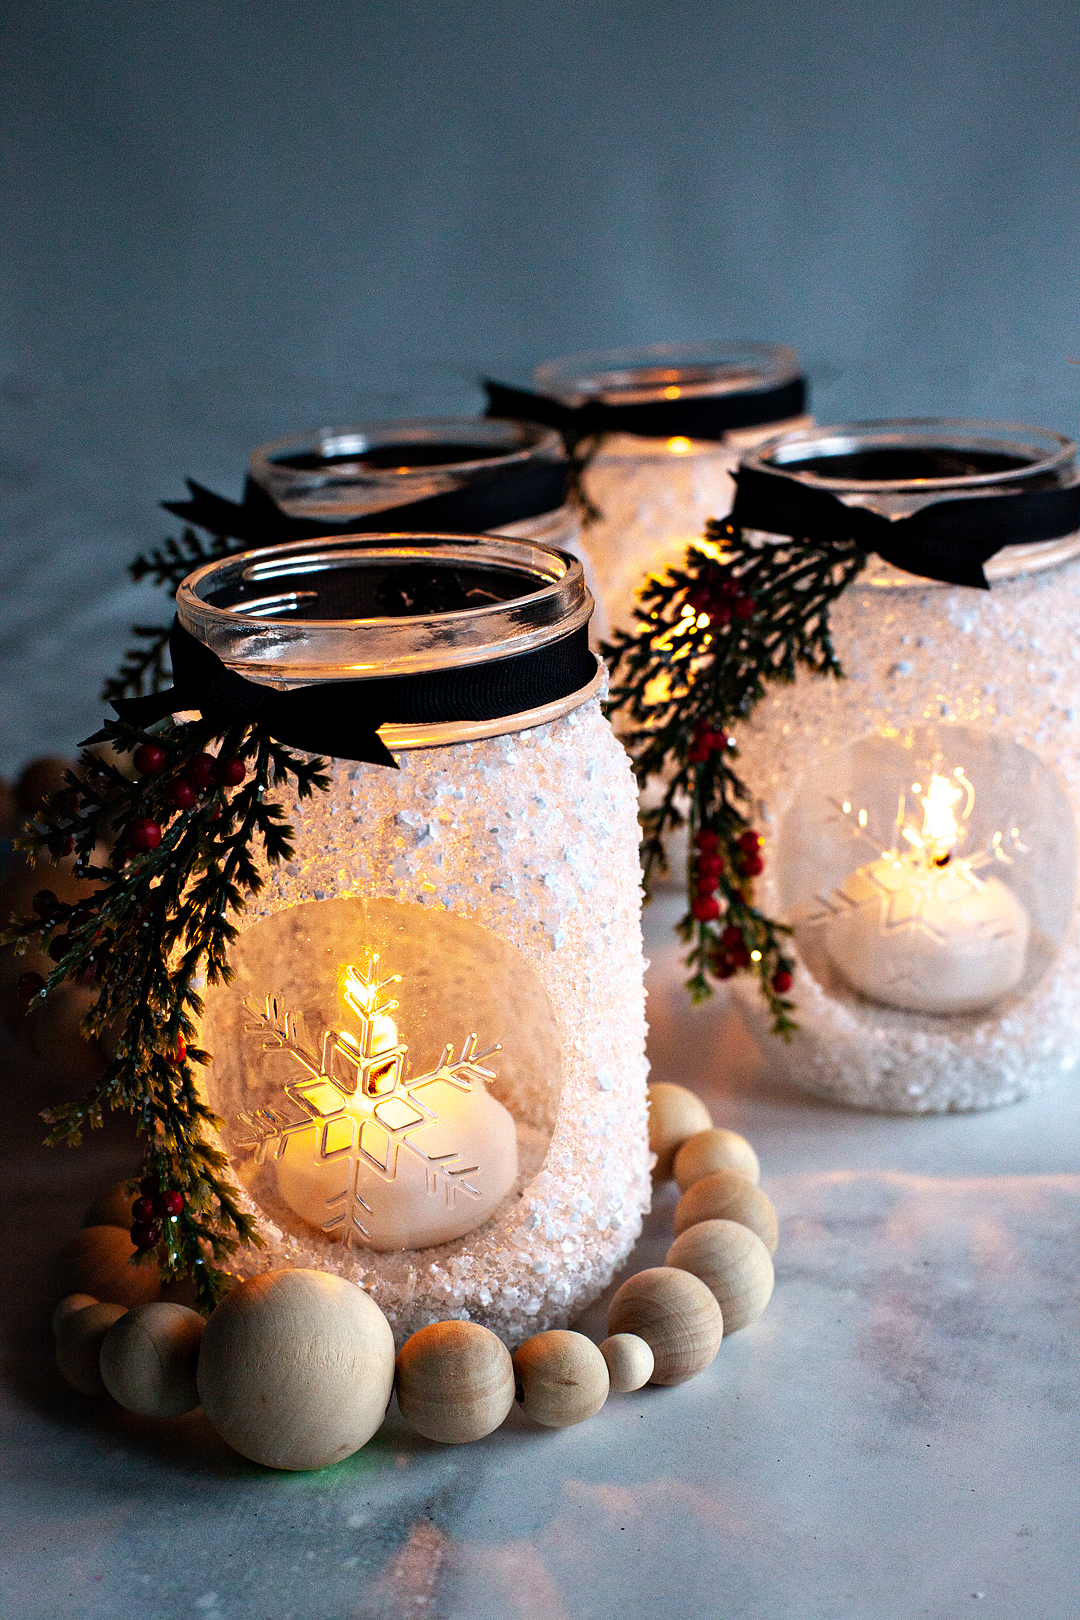
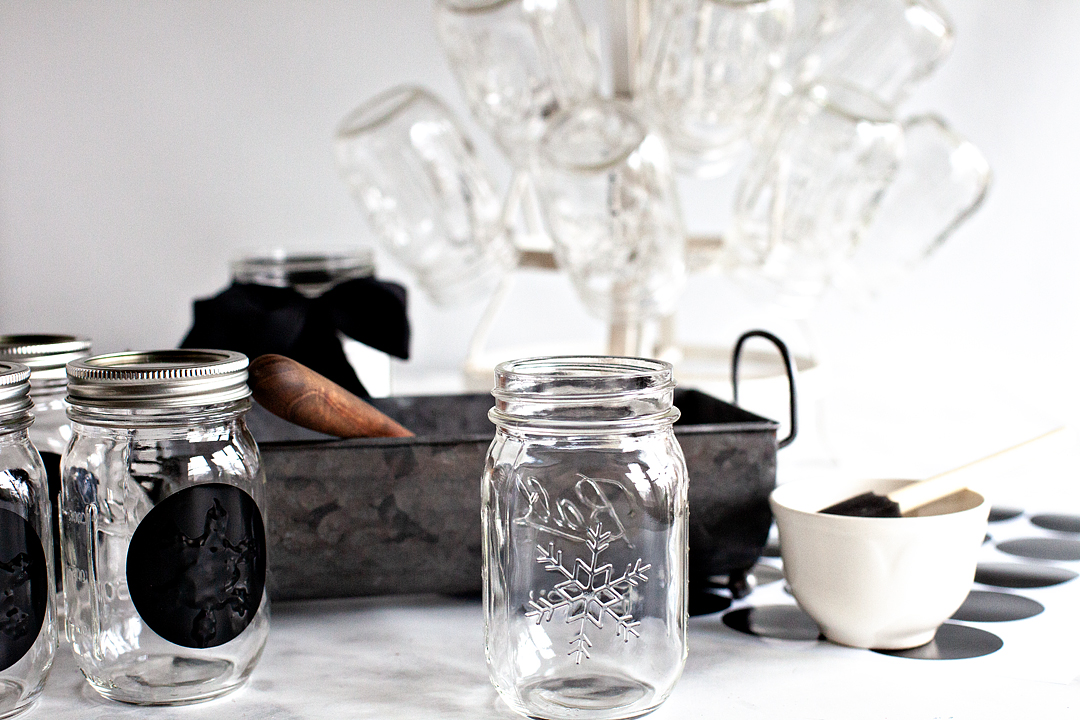
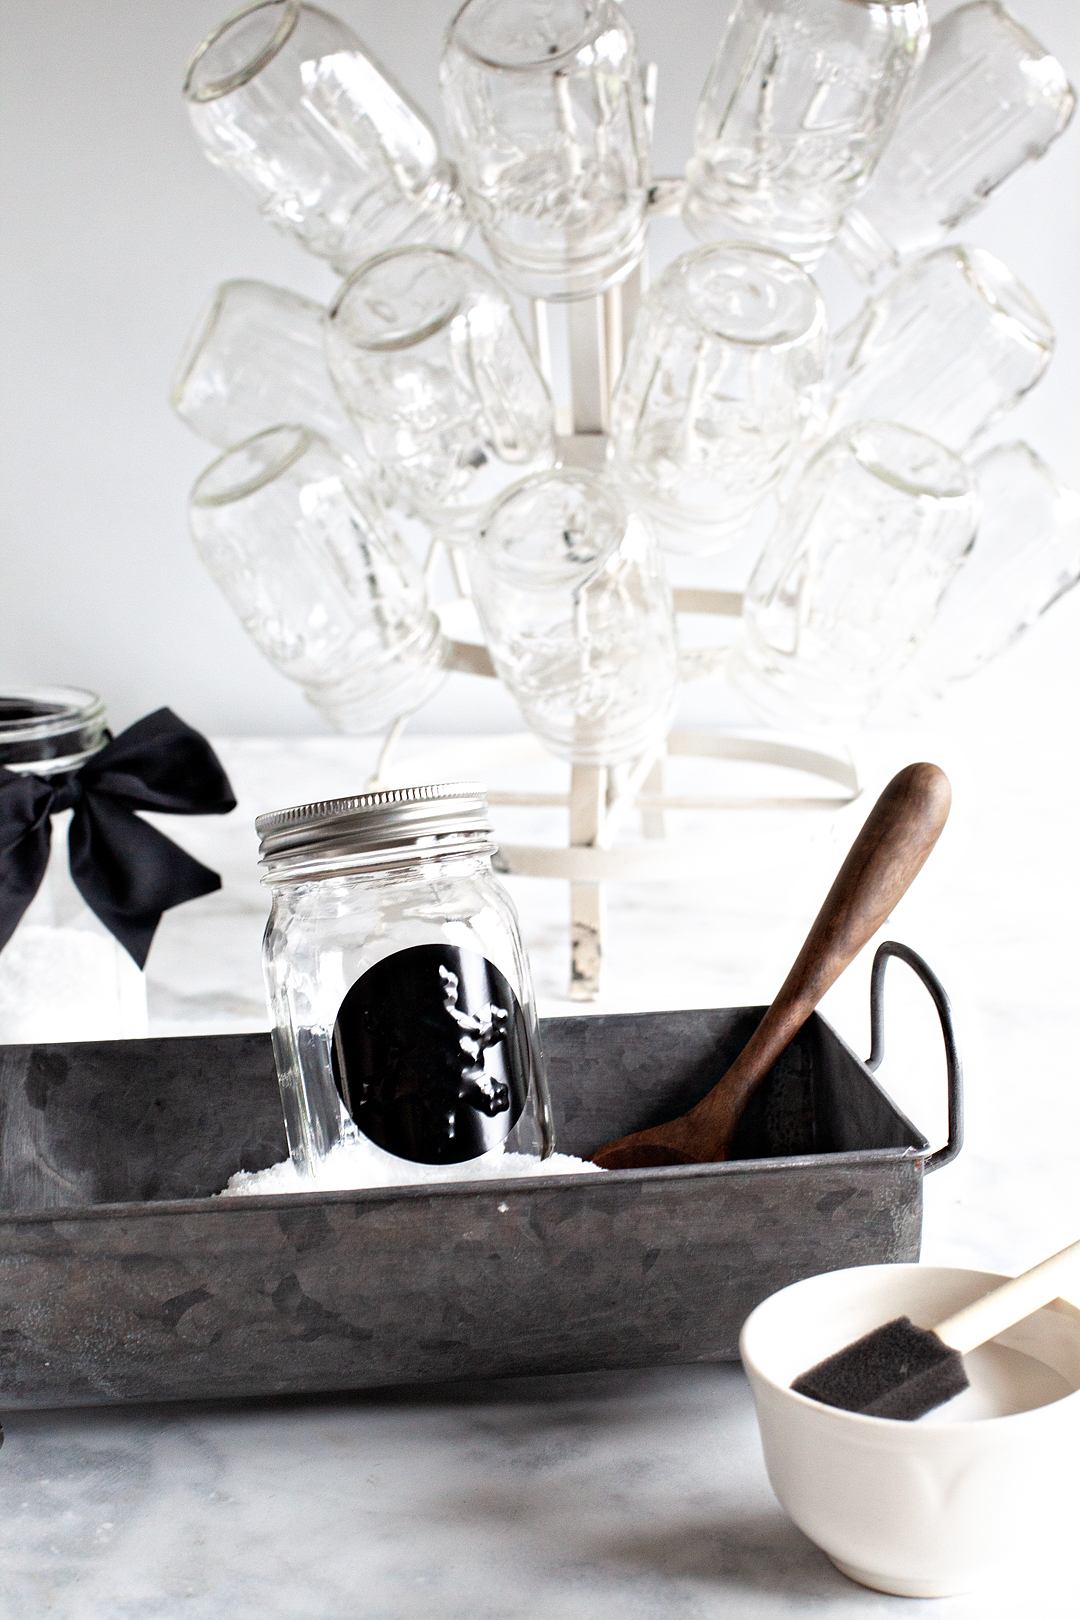
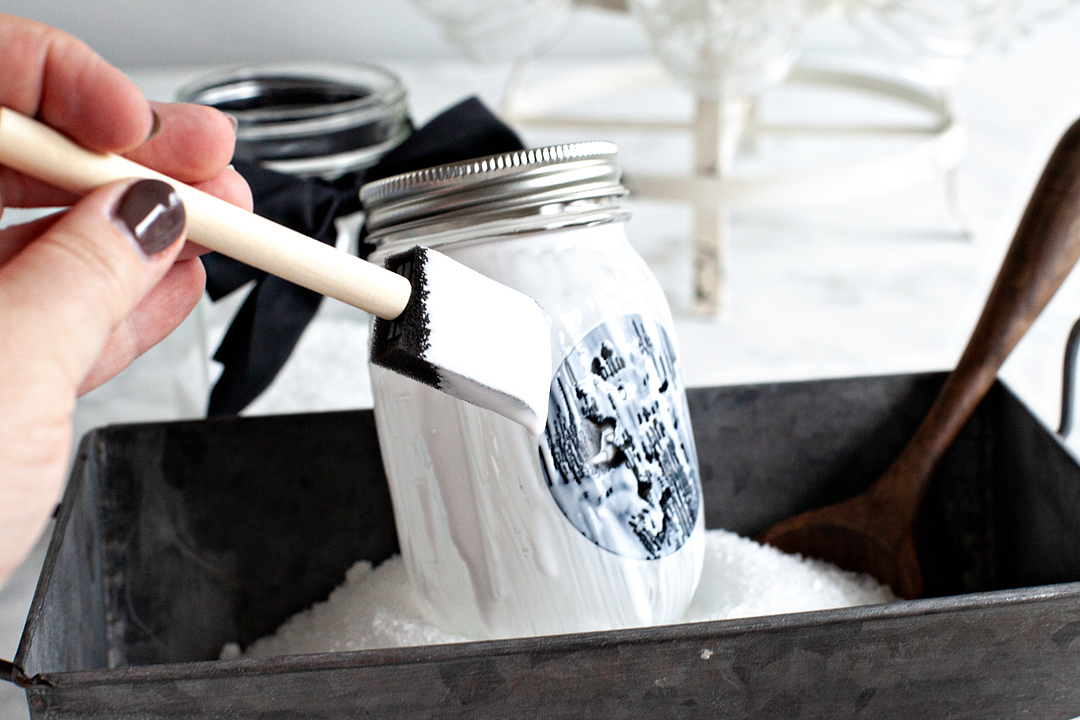
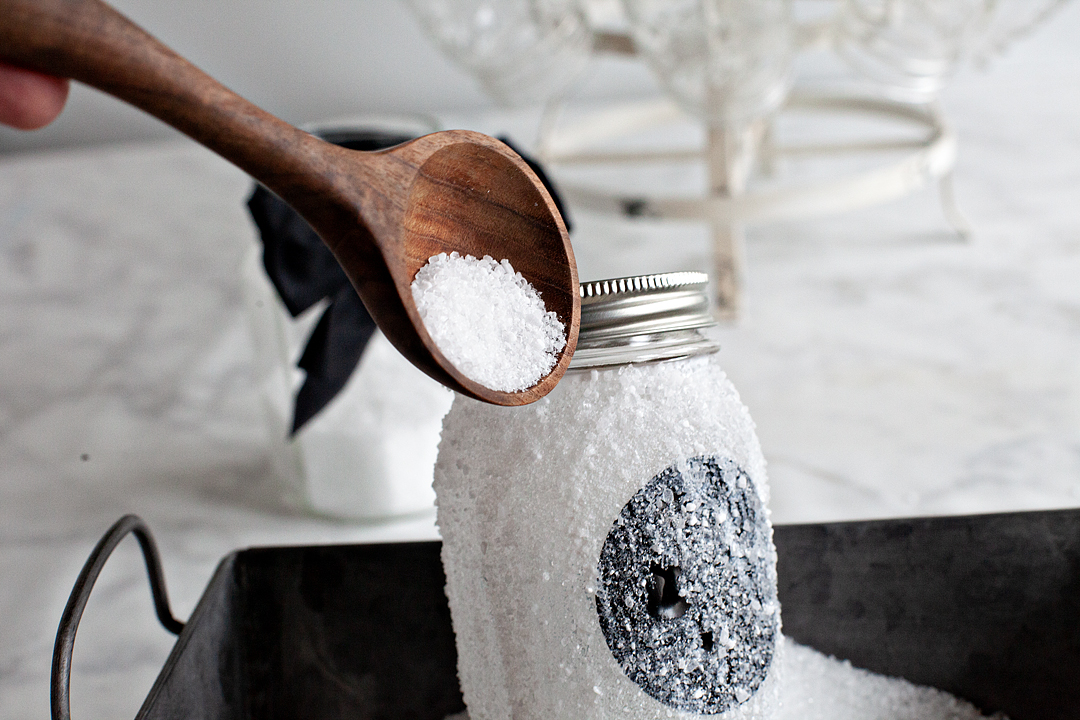
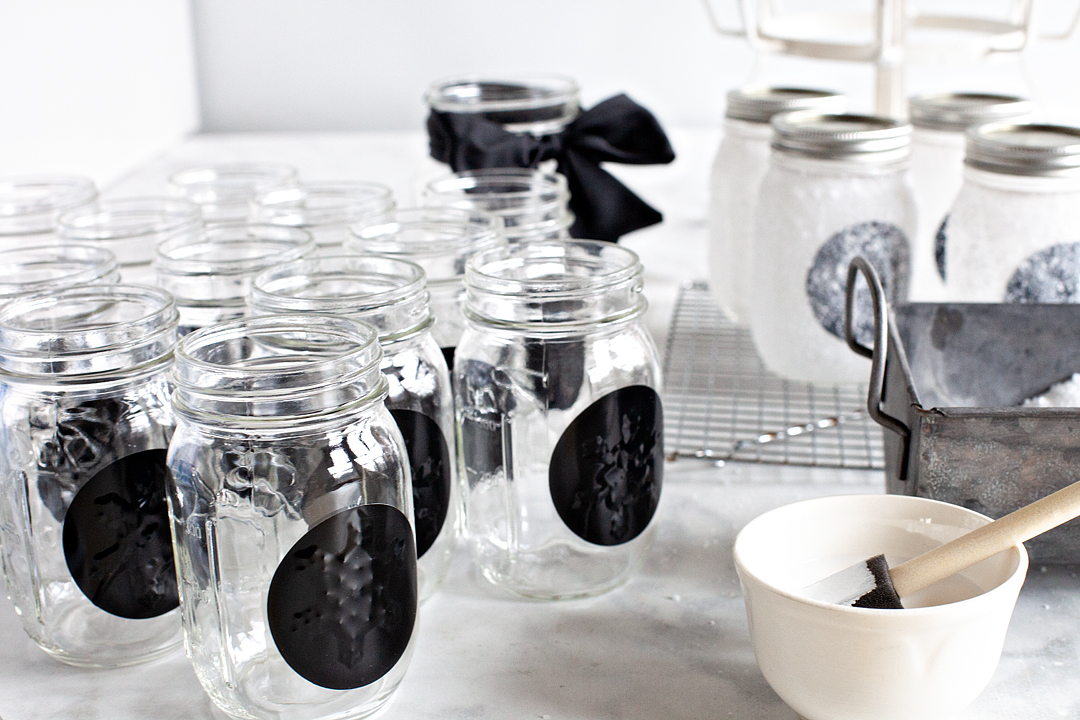
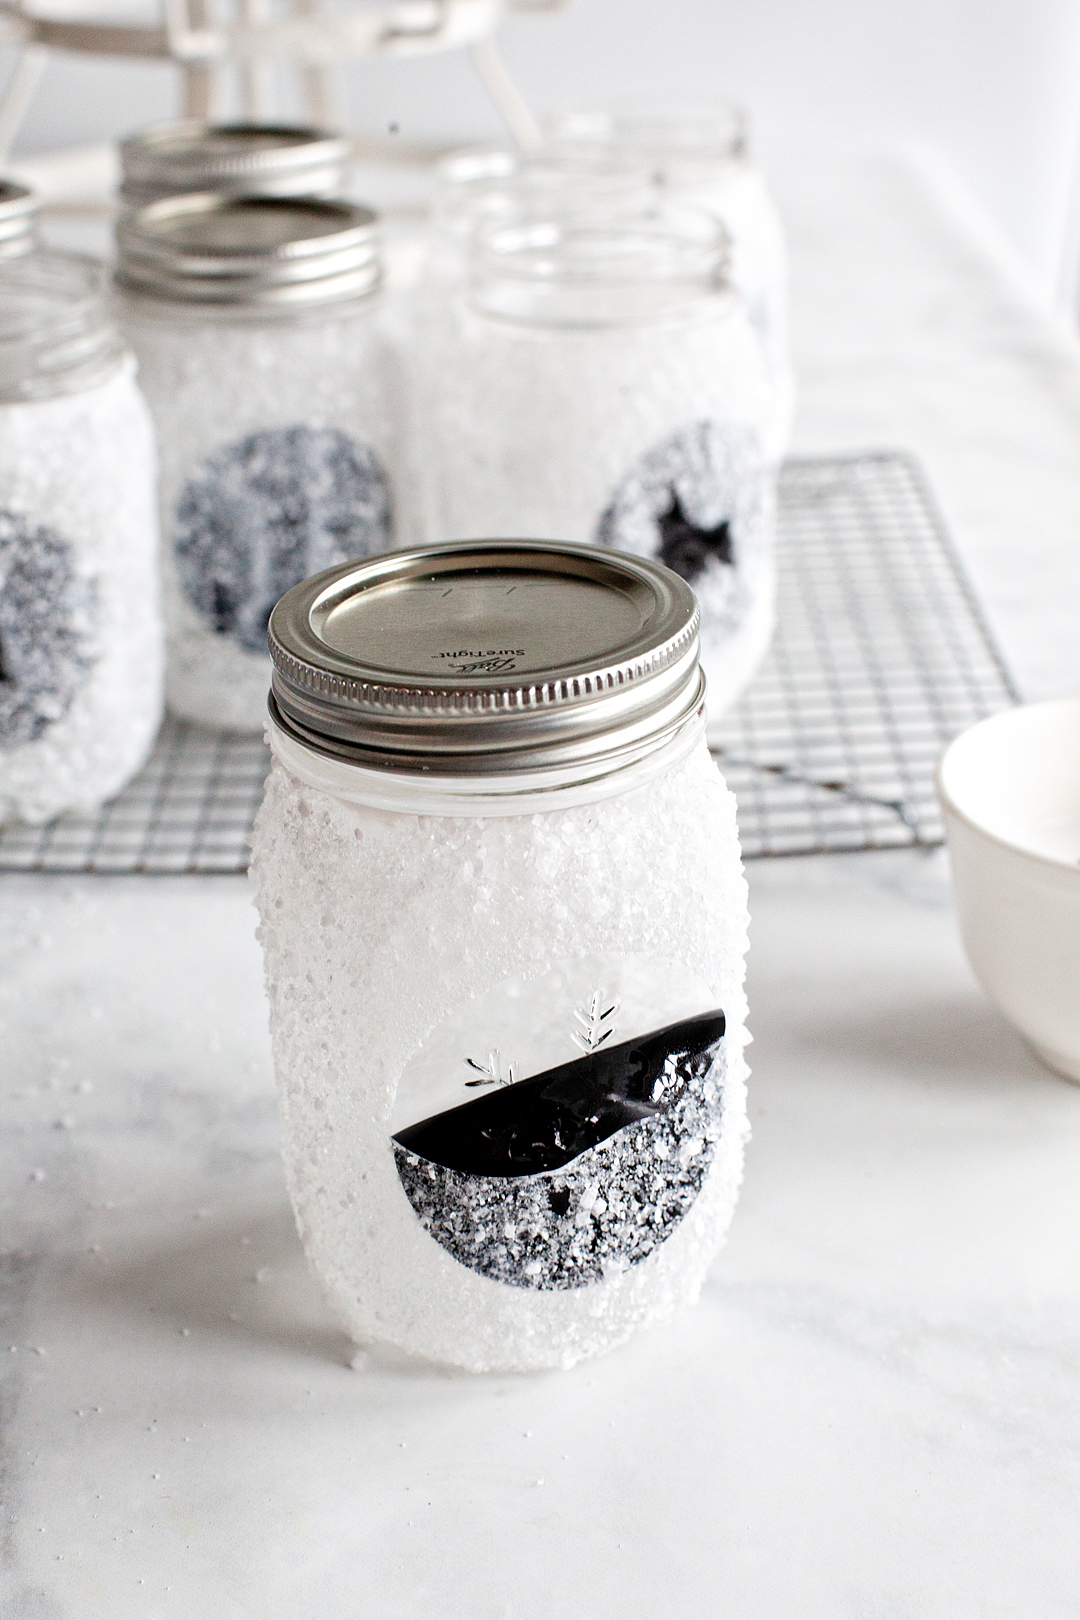
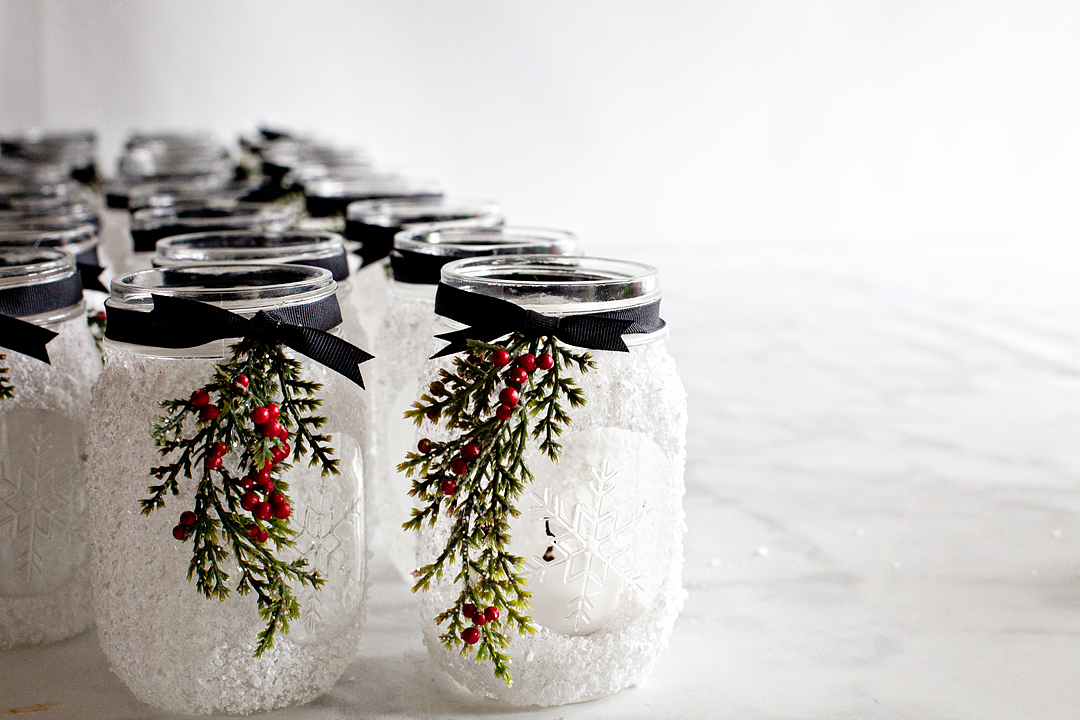
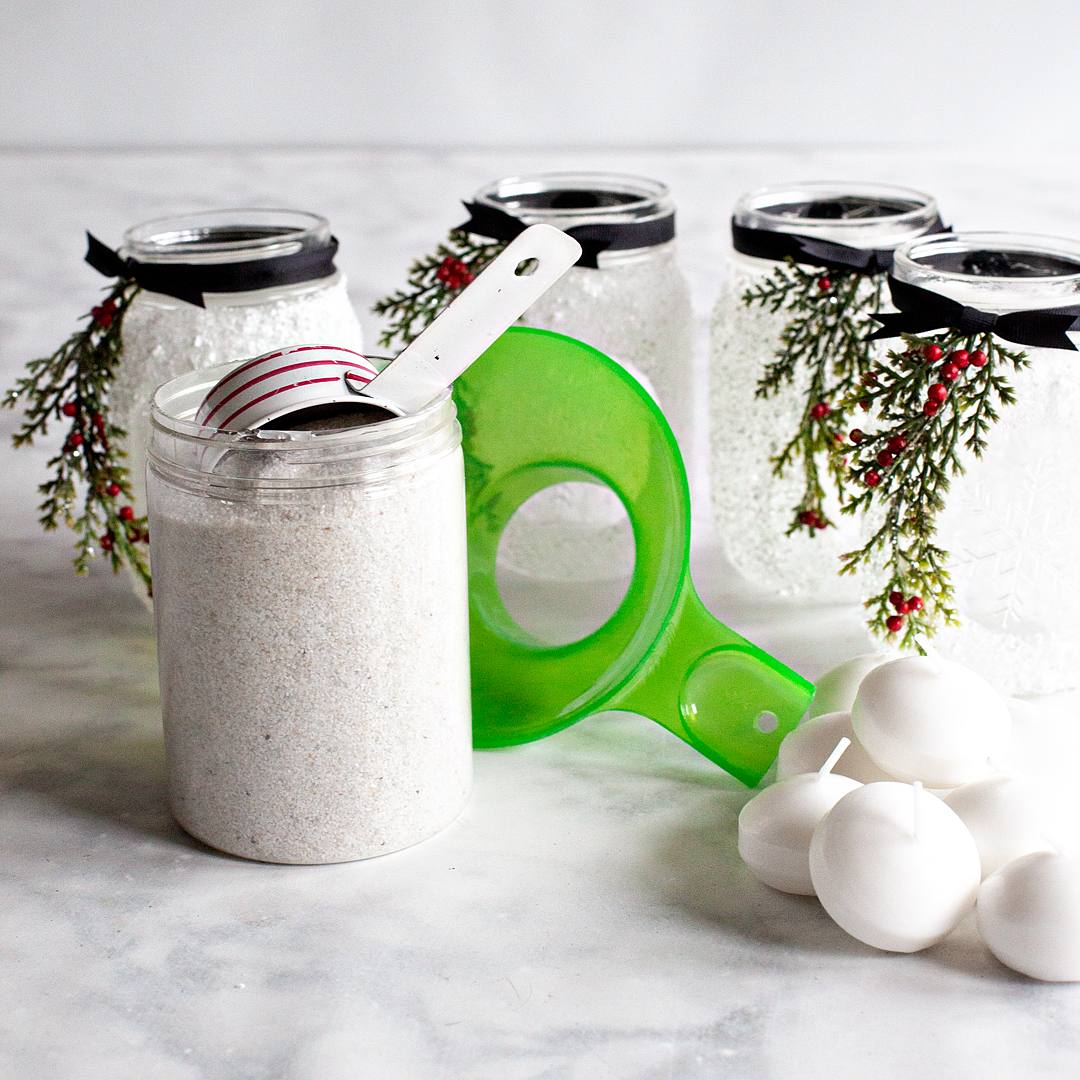
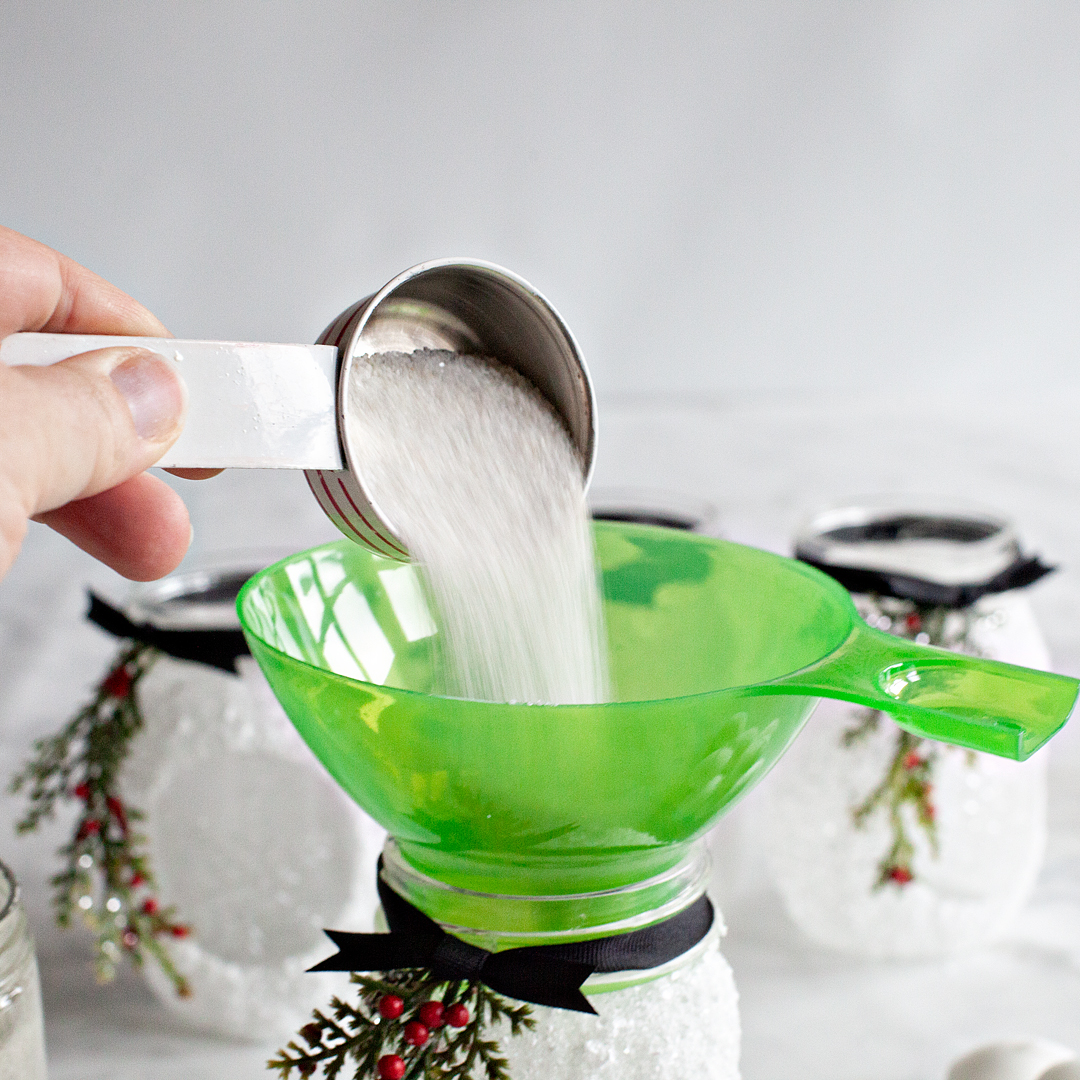
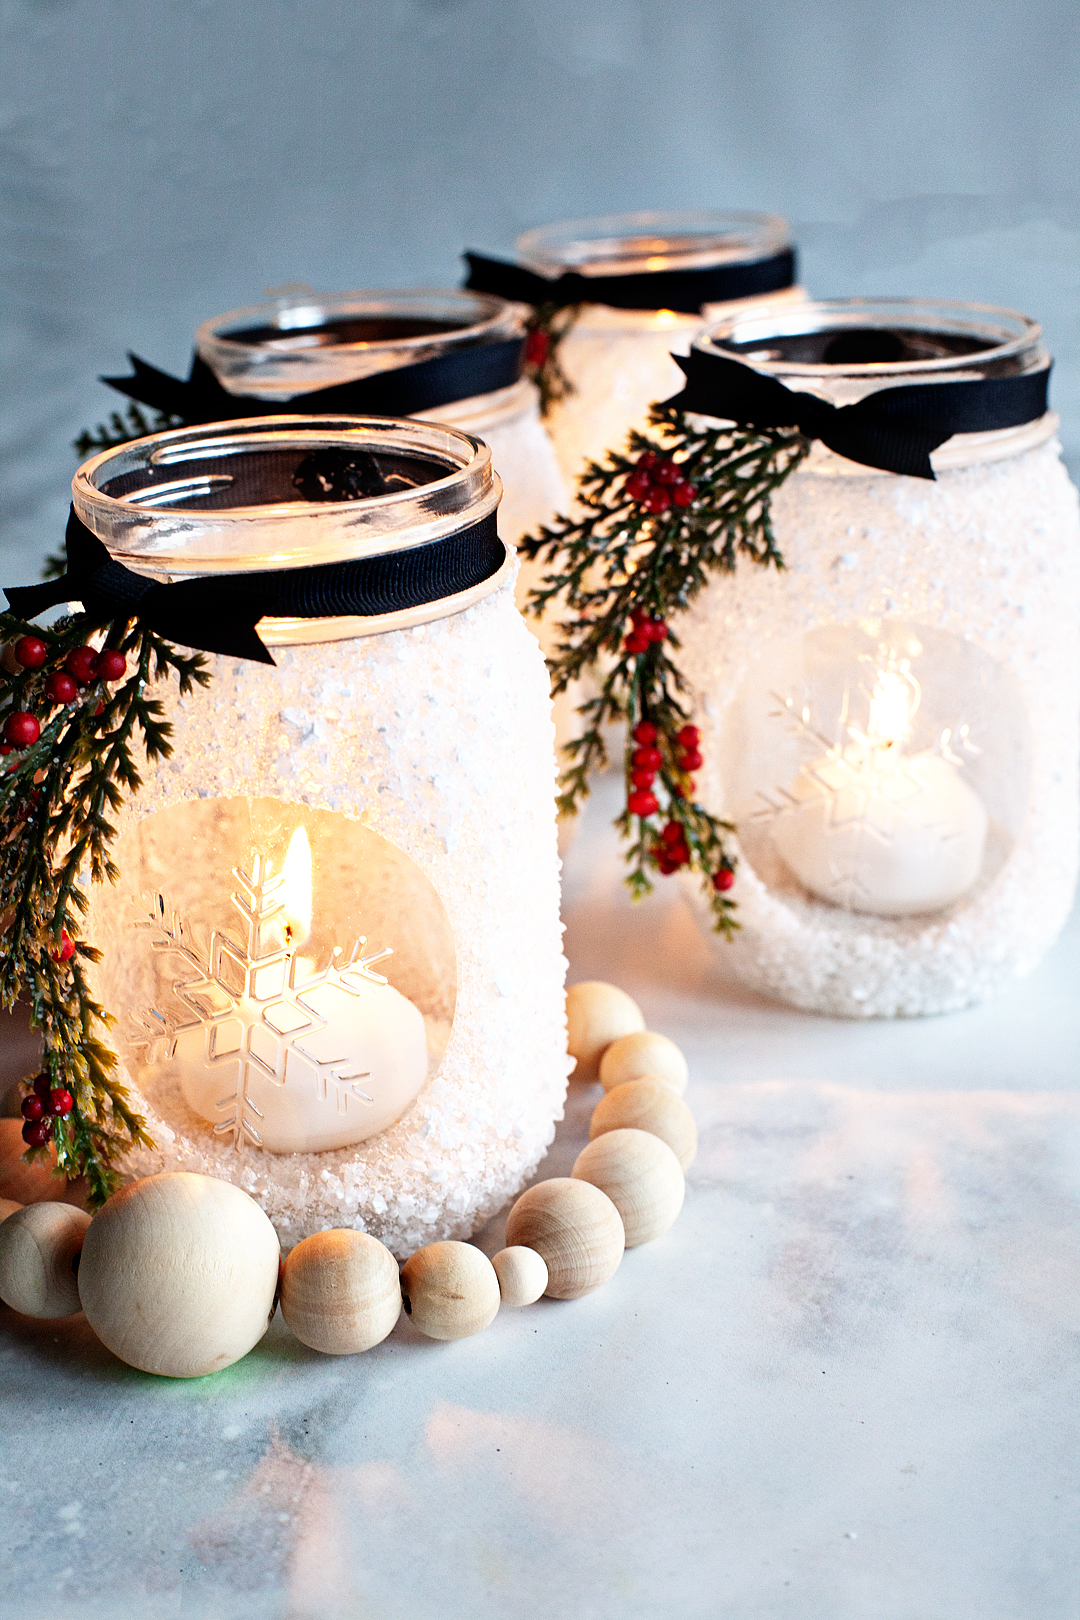
- Homemade Candles – Melt soy wax, mix in essential oils, and pour it into a mason jar. Customize it with a cute label.
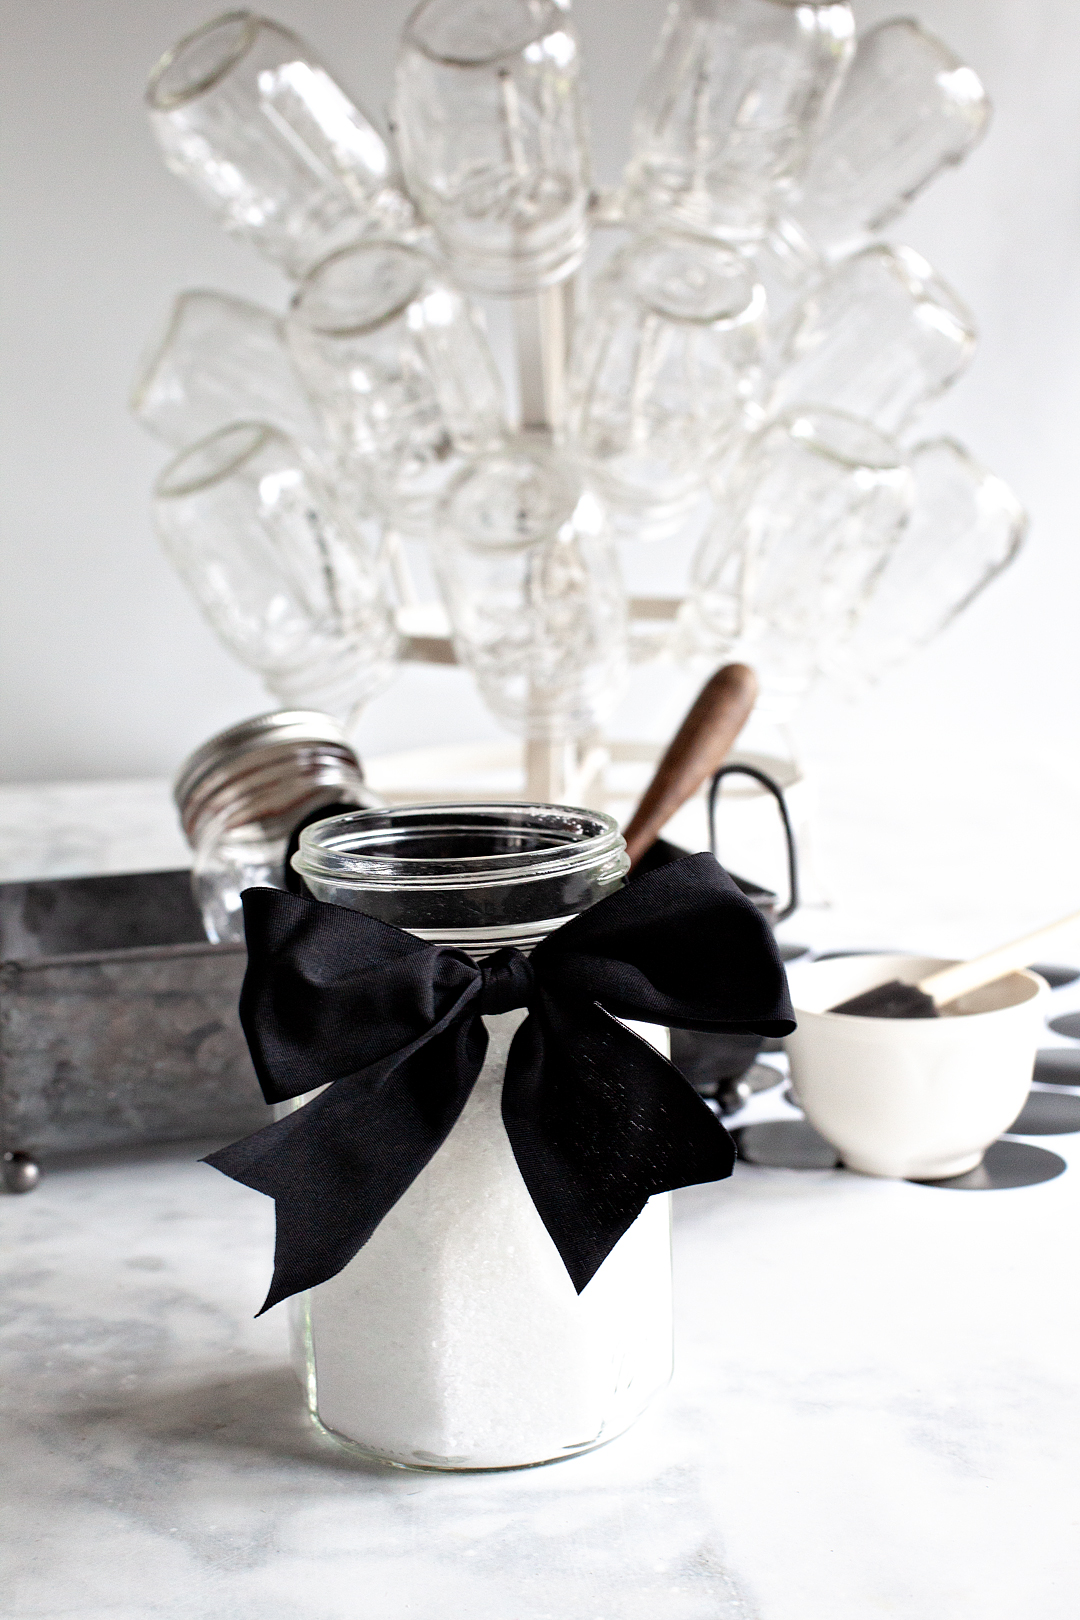
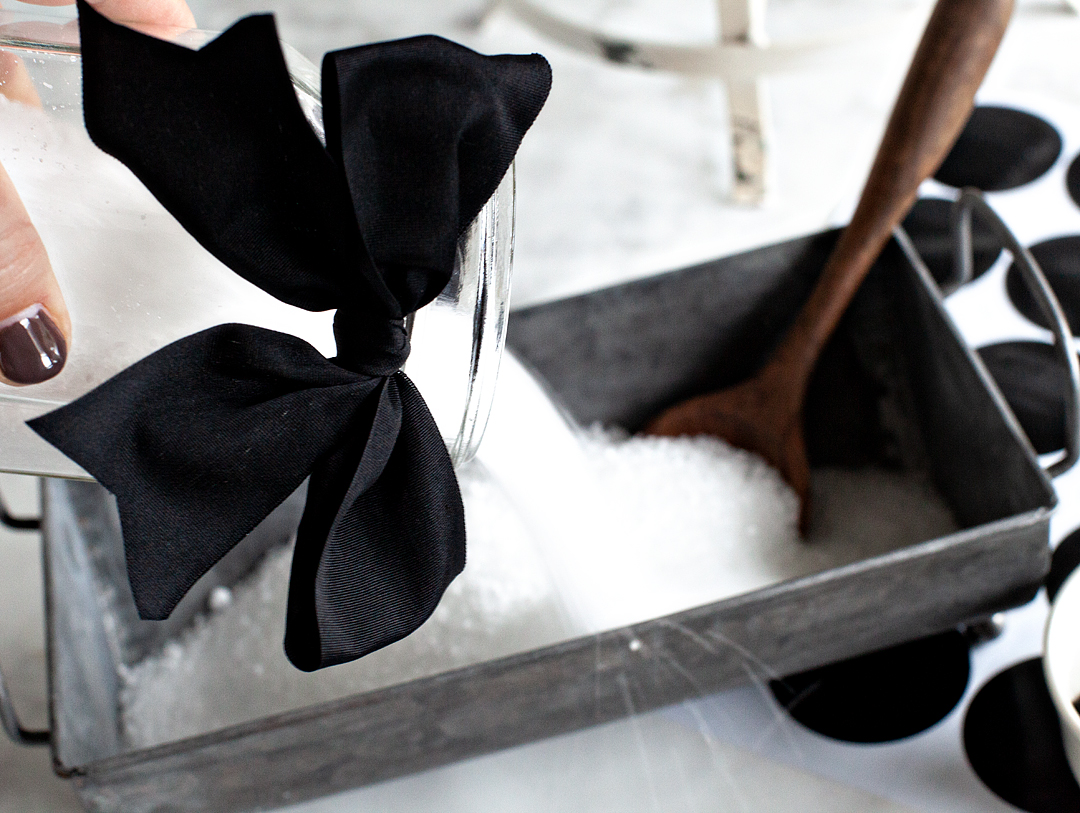
- Handmade Bath Bombs or Salts – Mix baking soda, Epsom salt, and a few drops of lavender or citrus essential oil. Package in a glass jar or a small bag.
- DIY Lip Balm or Lotion Bars – A mix of beeswax, shea butter, and coconut oil makes for a nourishing treat. You can add peppermint or vanilla extract for scent.
Handcrafted Stationery and Classroom Supplies
Teachers always need supplies, but store-bought ones lack personality. Adding a creative touch makes them feel extra special.
- Decorated Notebooks – Buy a plain notebook and personalize it with scrapbook paper, washi tape, or hand-drawn designs.
- DIY Chalkboard or Whiteboard – Paint a small wooden board with chalkboard or dry-erase paint. Fasten a marker or piece of chalk with a ribbon.
- Handmade Desk Organizer – Repurpose tin cans or small wooden boxes by painting them or wrapping them in decorative paper.
Creative Handmade Treats
Who doesn’t love snacks? Adding something homemade makes the basket even more personal.
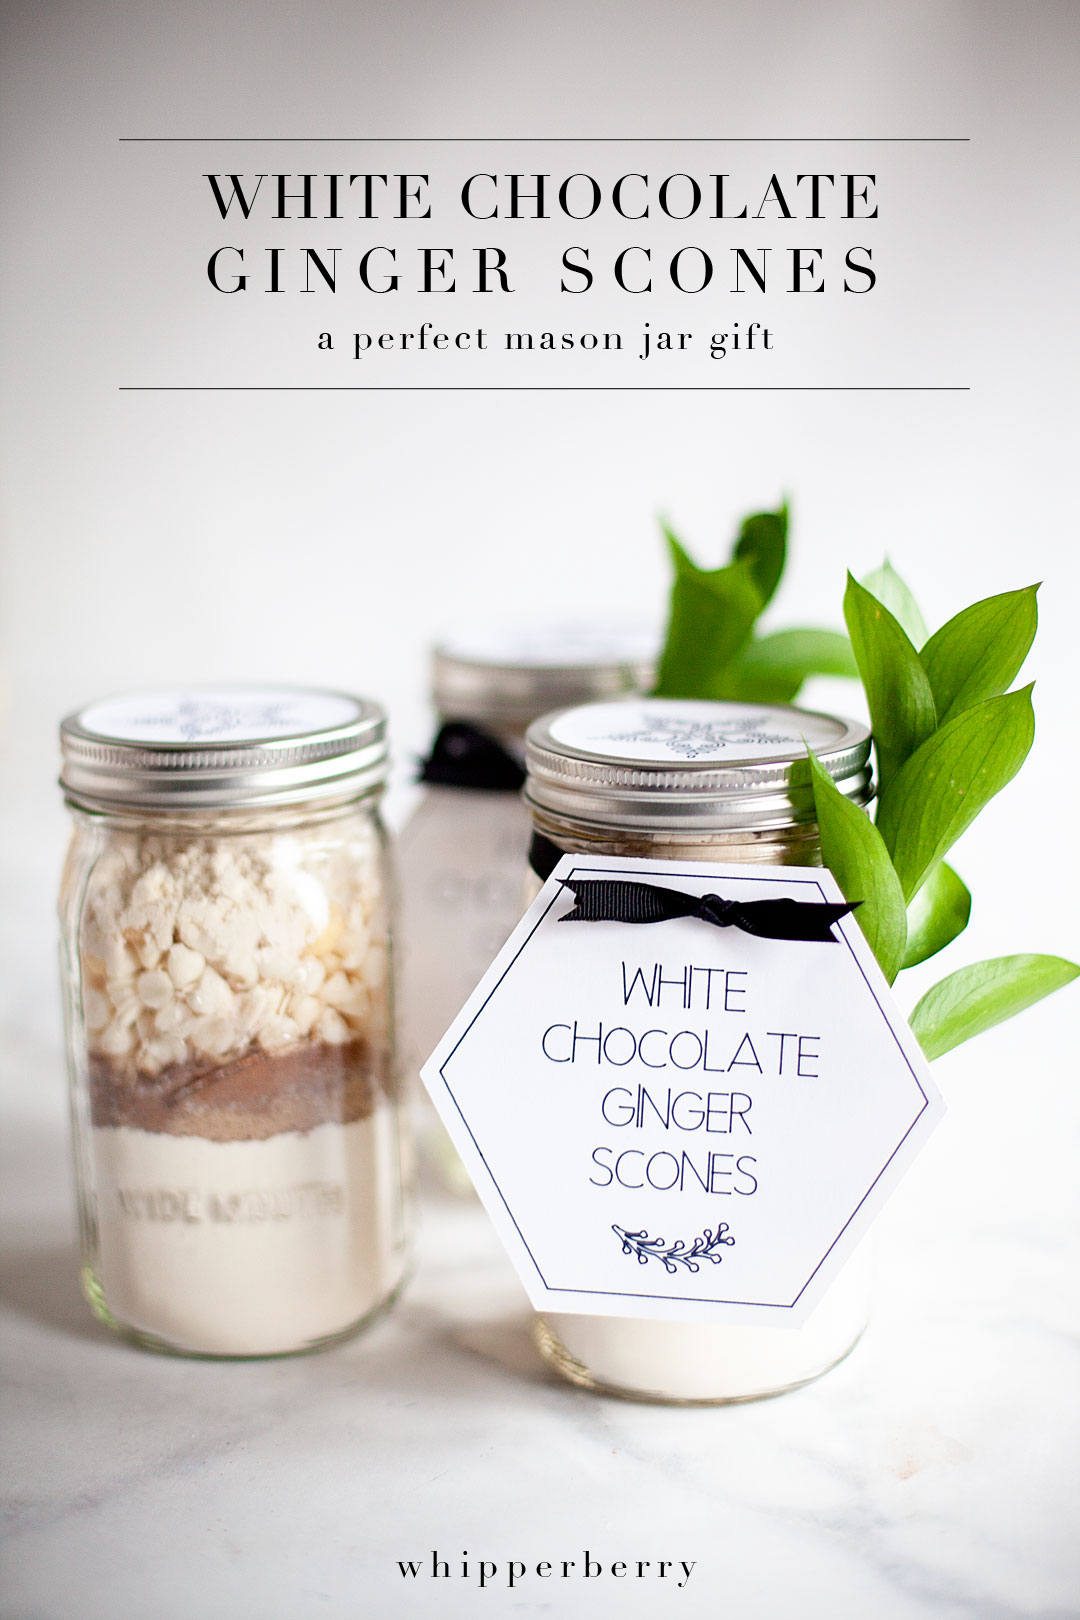
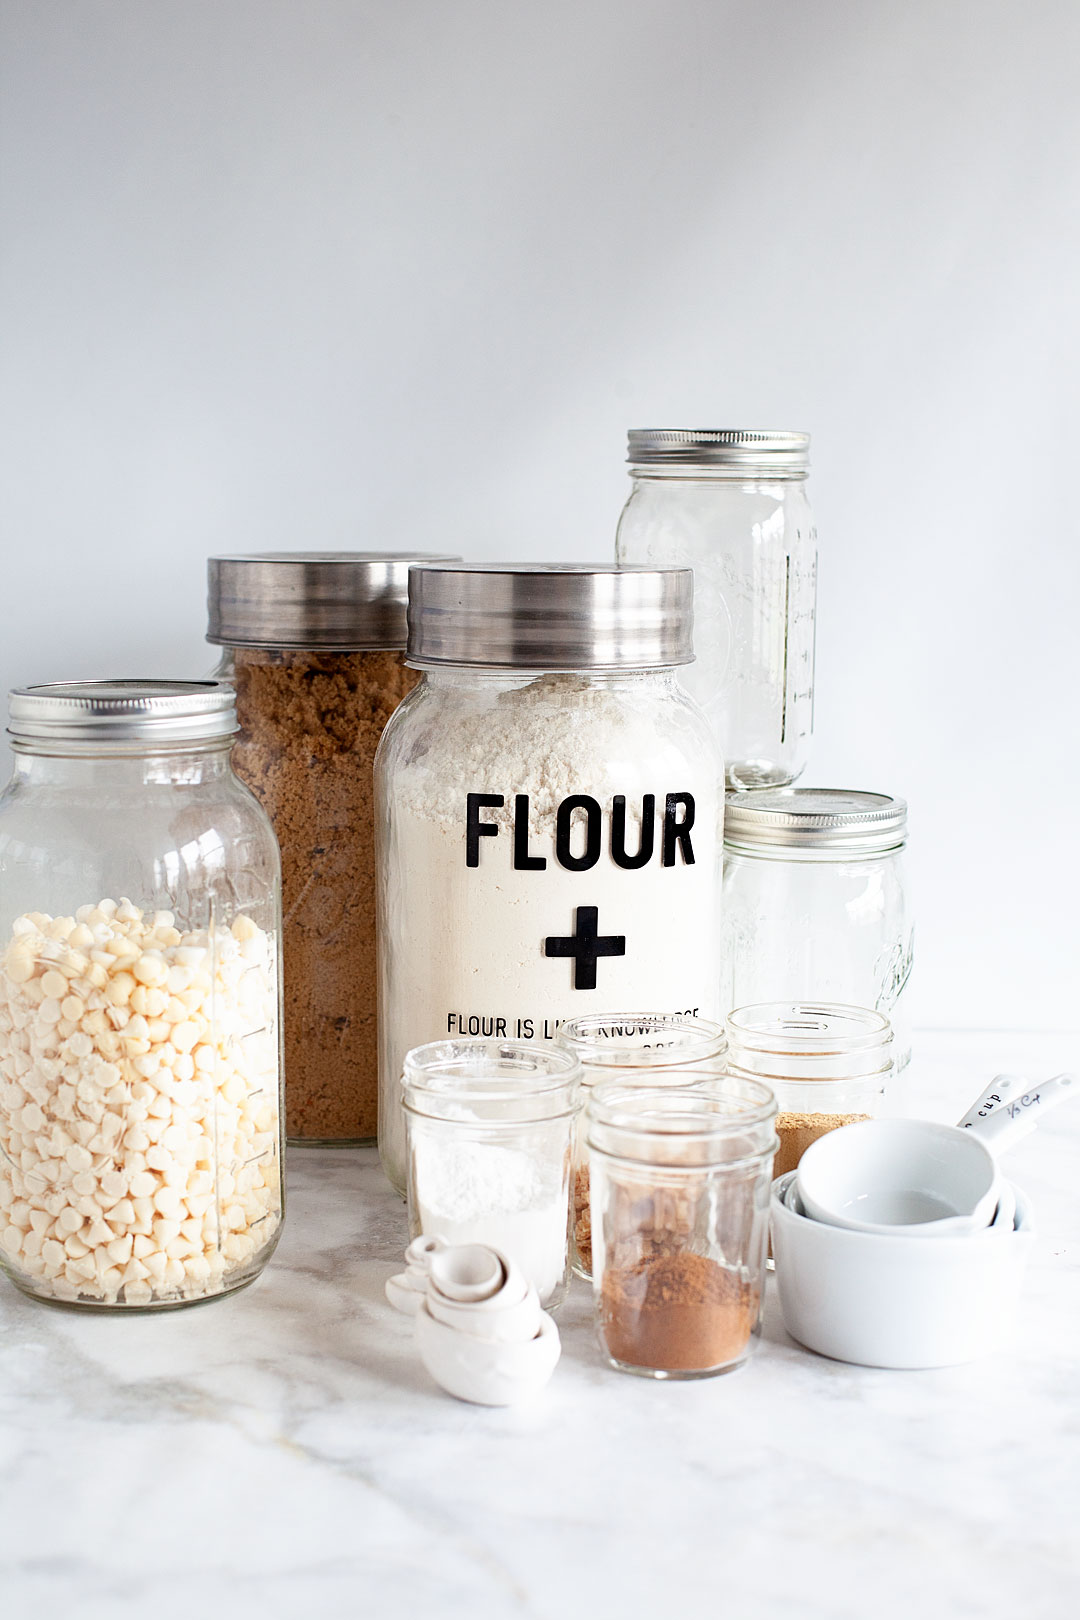
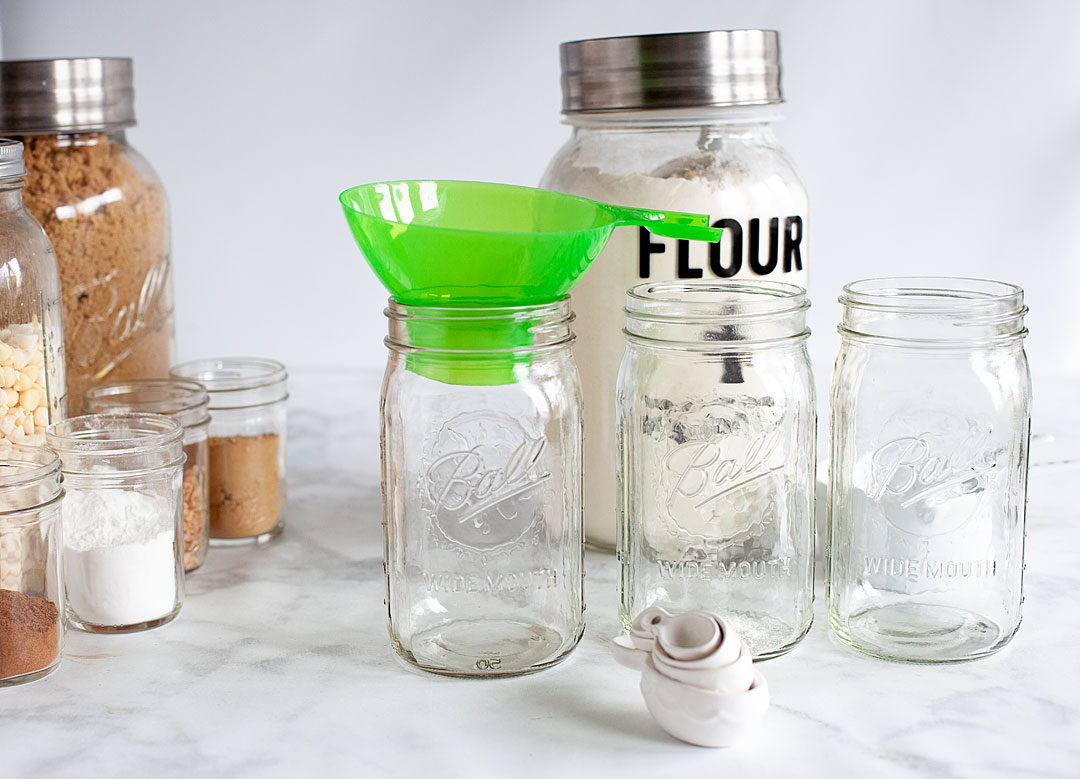
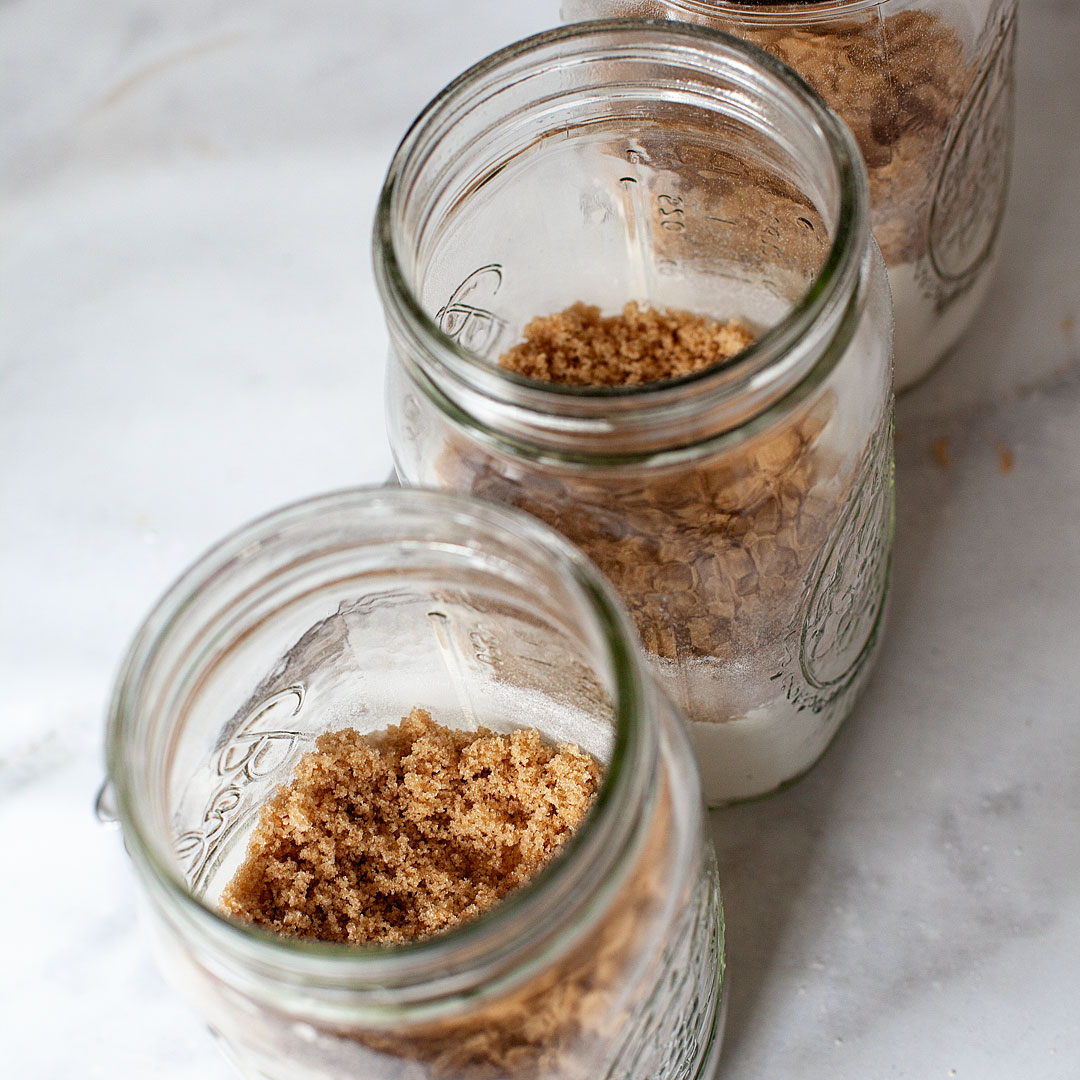
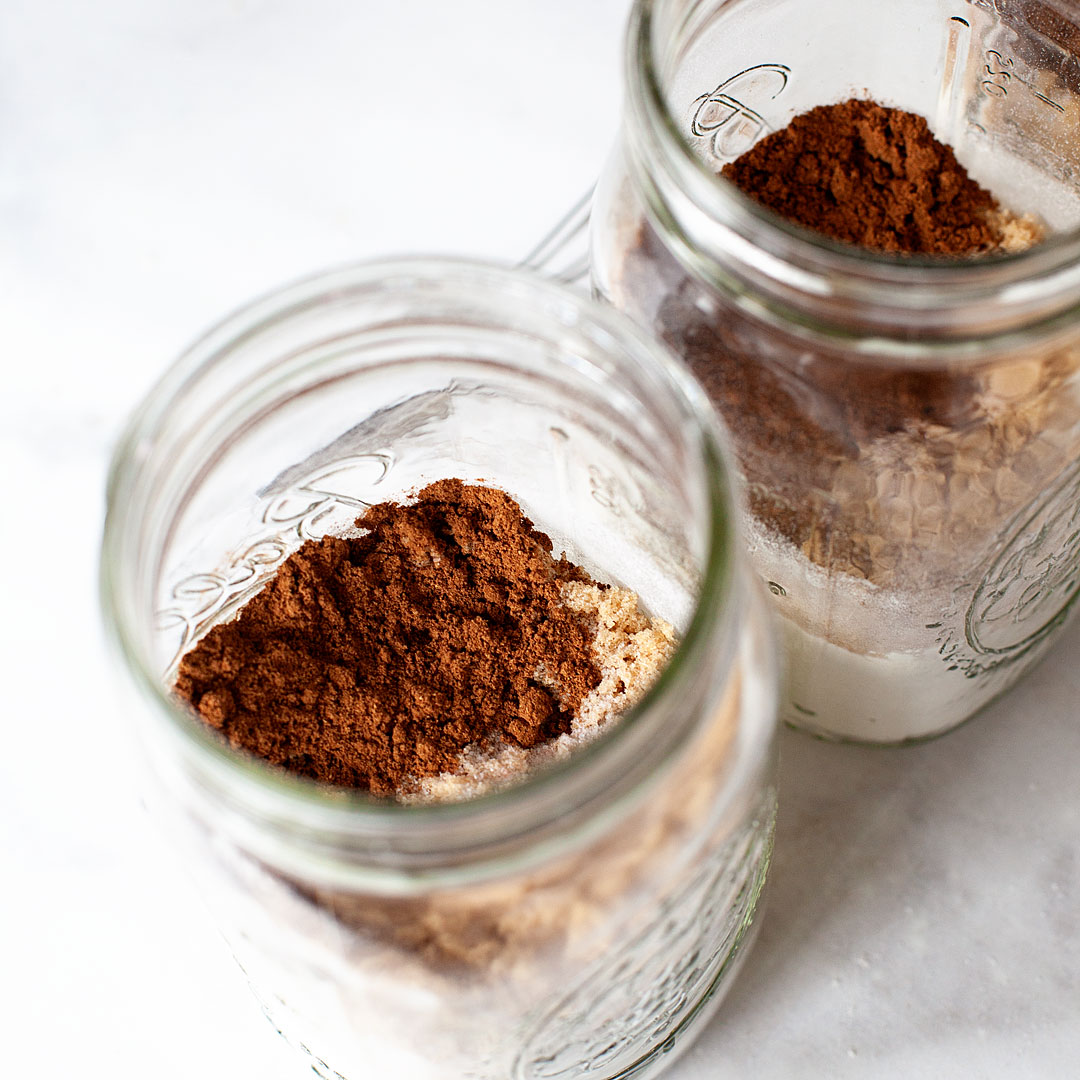
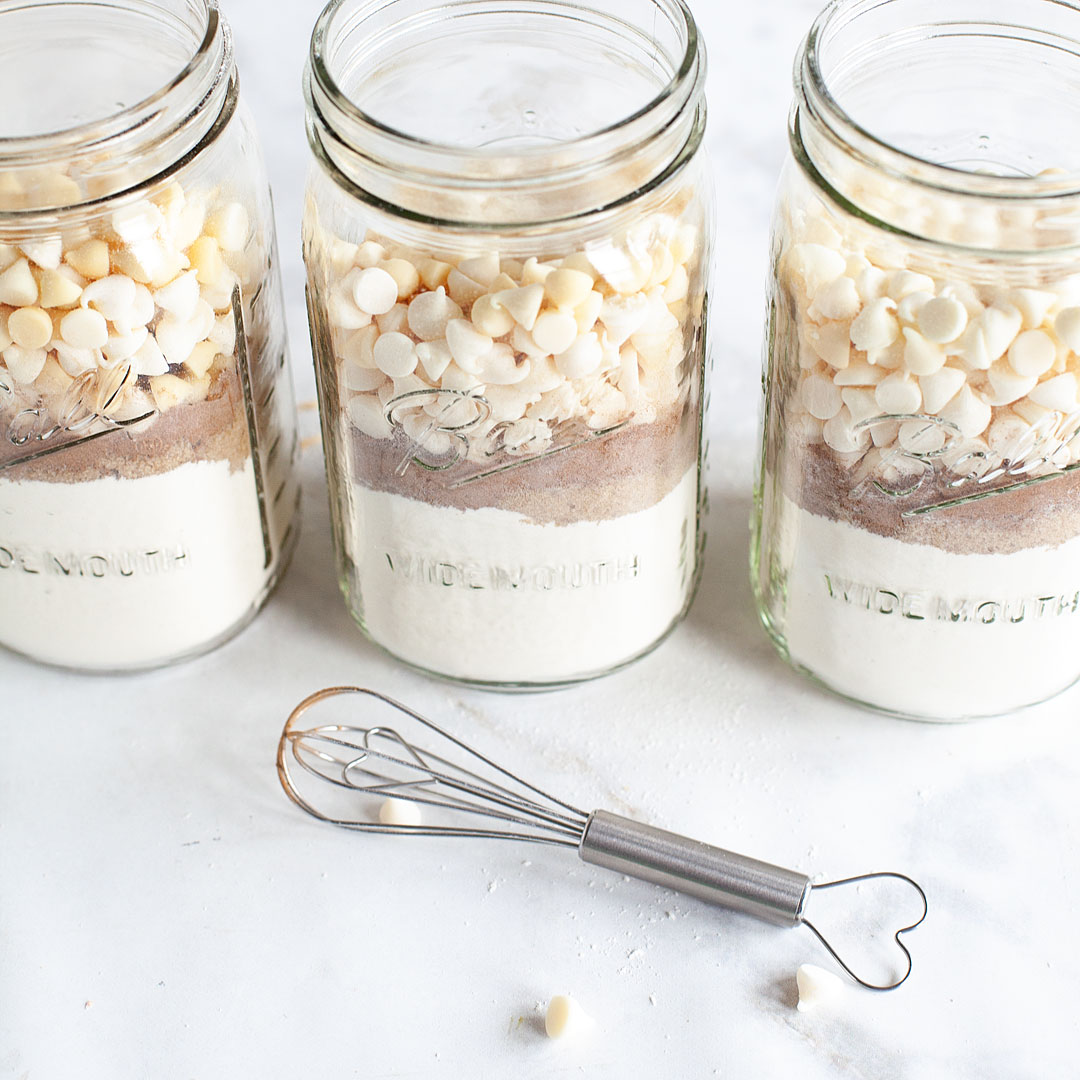
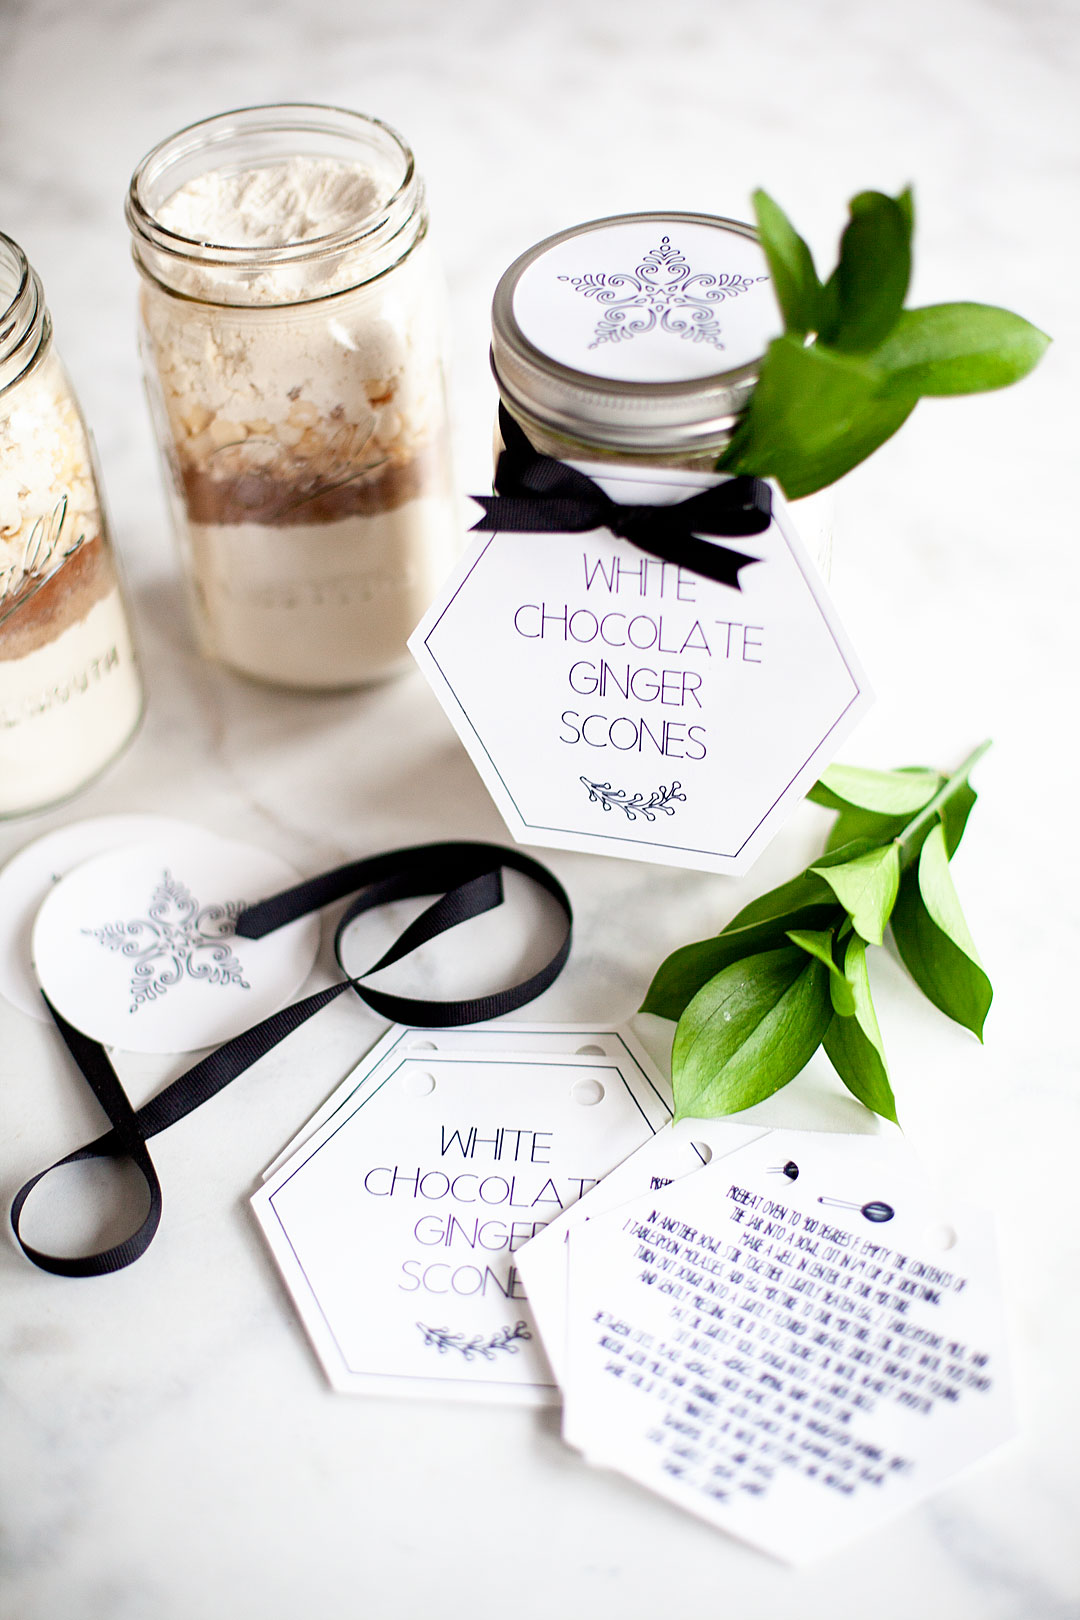
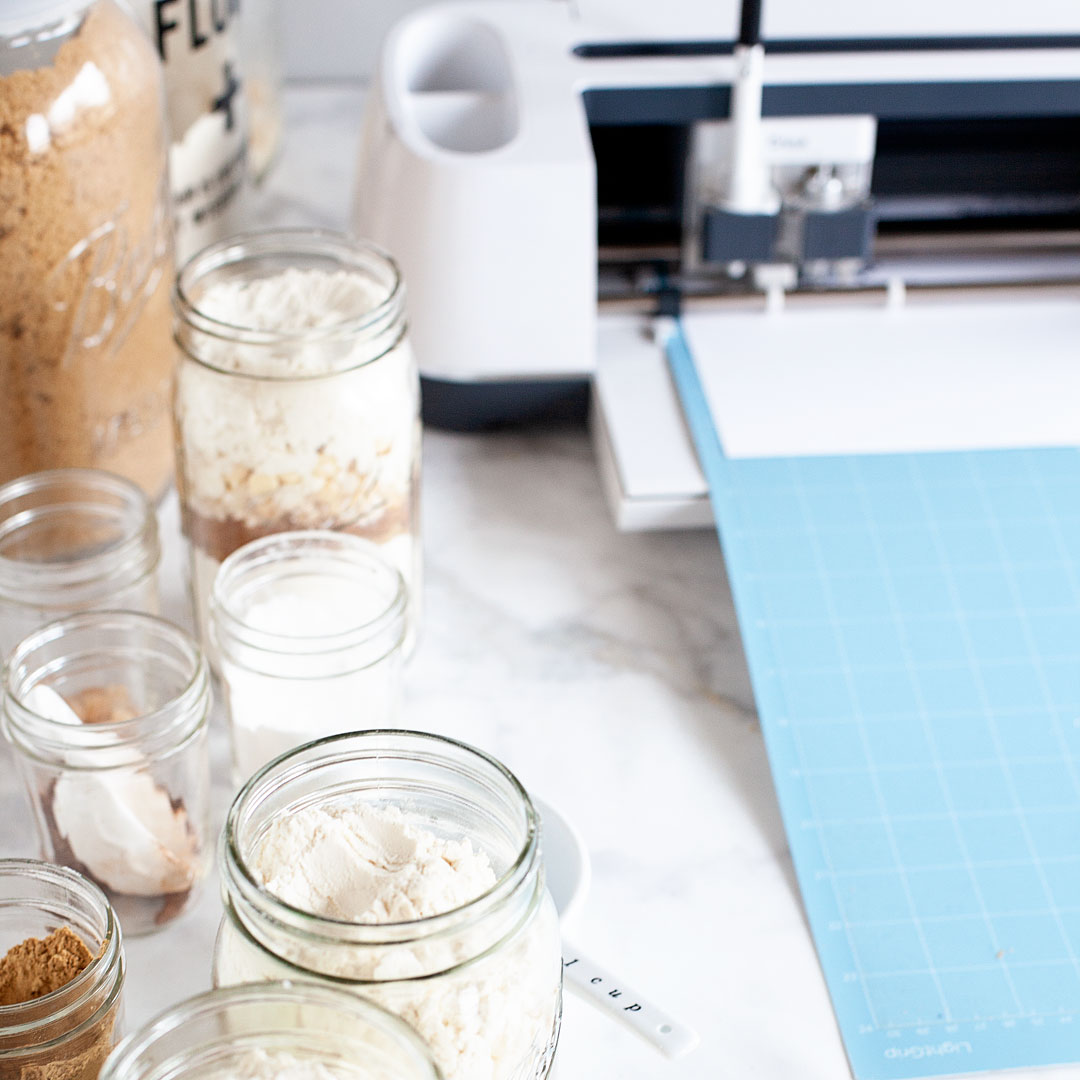
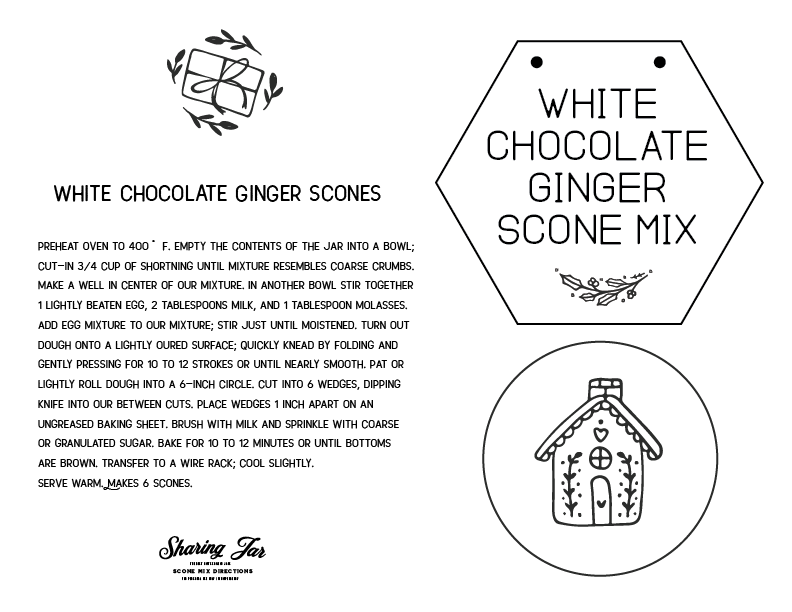
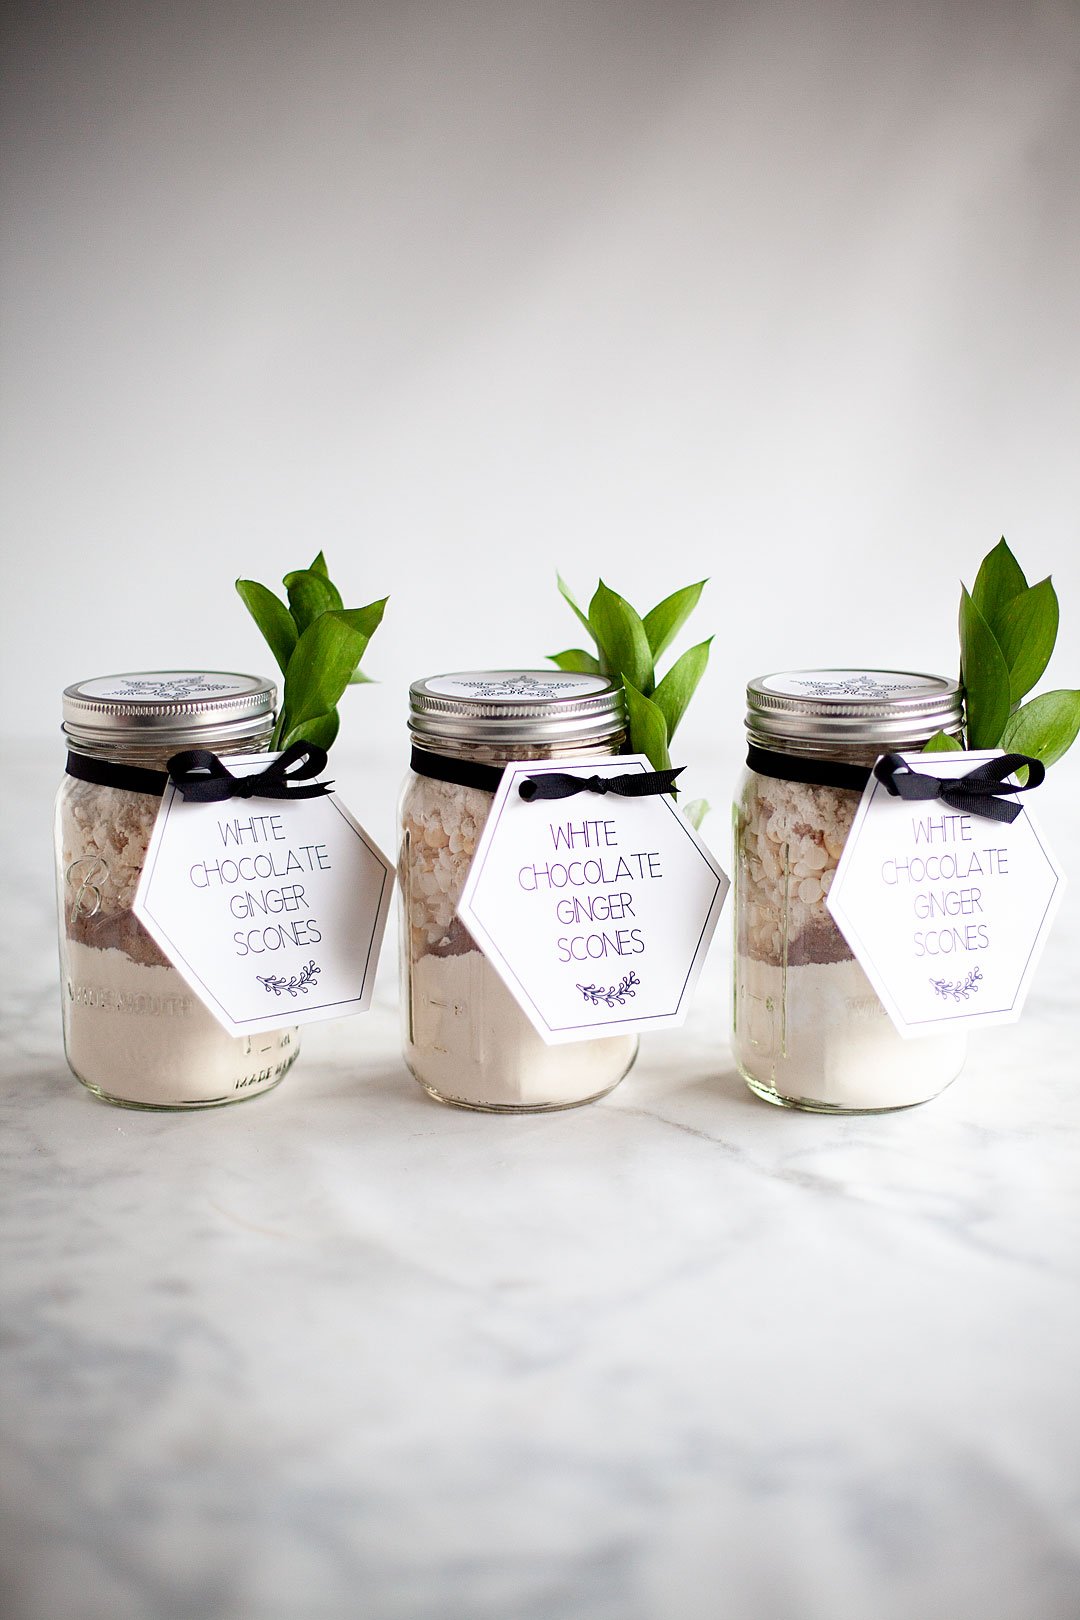
- Custom Cookie or Brownie Mix in a Jar – Put the dry ingredients in a mason jar in layers and add a recipe tag.
- Homemade Herbal Tea or Coffee Blend – Dry herbs like chamomile or mint for a tea mix, or blend flavored coffee grounds in a small tin.
- Hand-Decorated Mugs or Tumblers – Use paint pens to write an inspirational quote or the teacher’s name on a ceramic mug.

Group Gift from the Whole Class
While handmade items are lovely, organizing a group gift from the class can add a memorable, collective touch. From meaningful gift cards to unique experiences or personalized bundles, combining efforts makes it easy for everyone to take part. Group cards for teachers help streamline the process by collecting messages and money in one place—perfect for a heartfelt class gift without the hassle.
Adding Thoughtful Handmade Touches
A few small, personal items can make the basket feel even more heartfelt.
- Handwritten Thank-You Note or Letter – A heartfelt, handwritten thank-you note can be deeply appreciated. You can even get classmates to write small messages and compile them in a mini booklet.
- DIY Personalized Bookmark – Decorate a piece of cardstock with washi tape, stickers, or pressed flowers. Laminate it for durability.
- Handmade Keychain or Bag Tag – Use polymer clay, wood, or resin to craft a keychain with the teacher’s initials or a fun design.
According to EssayHub education experts, teachers appreciate gifts that feel personal and practical. A personalized bookmark or a sincere letter can be more valuable than expensive presents.
Arranging and Wrapping the Basket
Now that you have all your handmade items ready, it’s time to put everything together!
Layering and Organizing Items
- Place taller items like notebooks and candles in the back.
- Arrange smaller items like treats and keychains toward the front.
- Use shredded paper, fabric scraps, or tissue paper as filler to make the basket look full and polished.
DIY Wrapping and Presentation
- Wrap the entire basket in clear cellophane for a professional look.
- Tie it with a large ribbon or bow that matches the color scheme.
- Attach a handmade gift tag with a short thank-you message.
Taking a few extra minutes to arrange everything neatly makes the final presentation look even better.
Final Thoughts
Creating a personalized teacher gift basket can be a simple process. With a little creativity, you can craft something that feels personal and meaningful. Handmade items, whether it’s a candle, a decorated notebook, or a batch of cookies, show thoughtfulness in a way that store-bought gifts don’t.
You can customize it entirely based on your teacher’s personality and preferences. Whether they love coffee, reading, or self-care, there’s a way to make the basket fit them perfectly.
Gather your materials, unleash your creativity, and craft a present that your teacher will always remember. It’s a small way to say thank you for all the hard work they do.