I’m not sure if there is anything more glorious than the thought of the first snow each year. I don’t care if you love or hate snow, the first snowfall of the year is always a fun event.
The autumn is full of fun treats like all things pumpkin, apple preserves, hayrides through the pumpkin patch and so much more.
Towards the end of the autumn festivities there arrives a great anticipation in the air… when will it snow? I feel like no matter what part of the country you live in, snowflakes are truly magical. I’m thrilled that this season’s Ball® Keepsake Collectible Holiday Jar is an ode to the stunning snowflake!
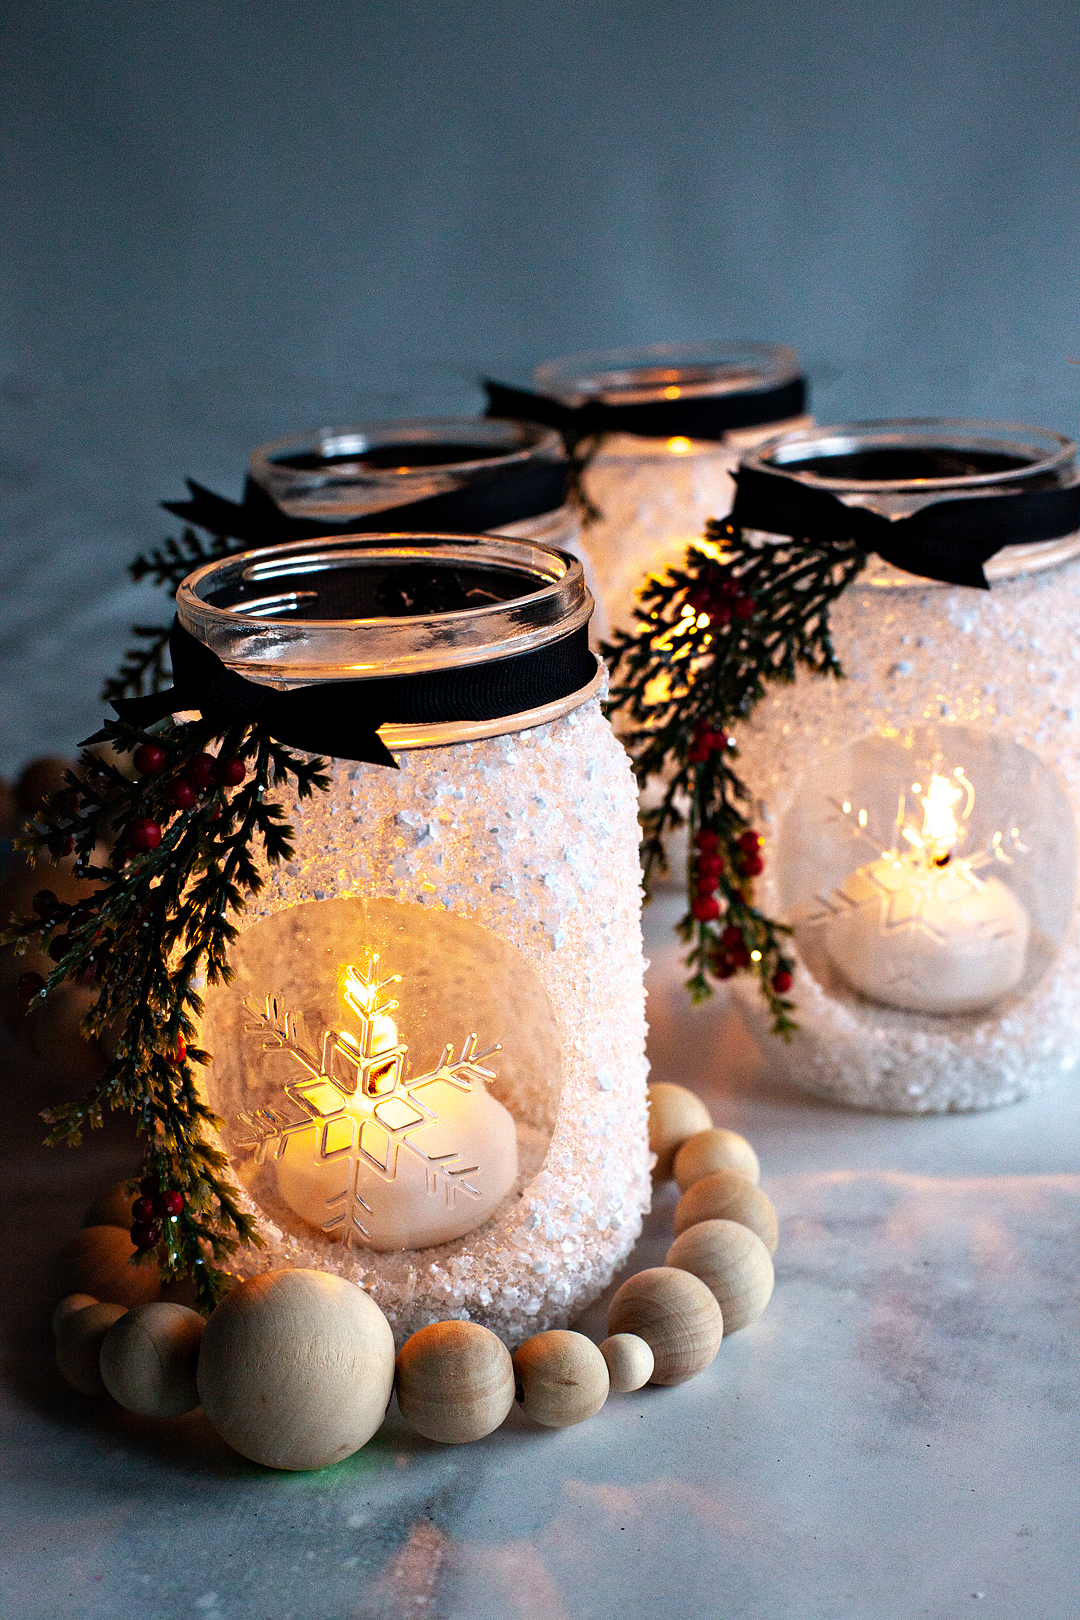
I decided that a fun way to use this fun collectible jar is to make snowflake lanterns that are perfect for dressing up your home for the winter season or, as a fabulous holiday gift.
I can just imagine an army of these snowflake lanterns lining the walkway up to your home this winter season, warmly inviting your friends into your holiday gathering.
Won’t that be pretty? Let me teach you how to make them.
Snowflake Lantern Supplies
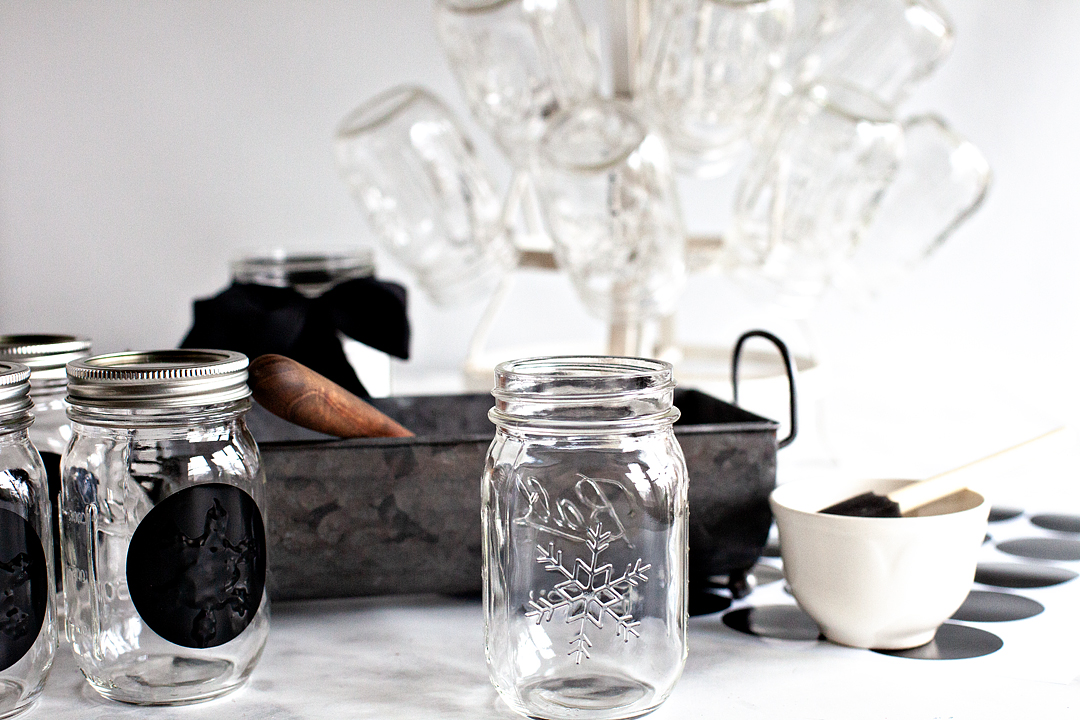
This project is pretty simple and doesn’t really require much in the way of supplies. Here is what you’ll need.
There are three different options for the Ball Mason jars. You can get a 4 pack of Keepsake Ball Mason jars, an 8 pack of regular Ball Mason jars, or a 12 pack of Snowflake Holiday jars. Now that I’ve redone this project a few times, I recommend the Snowflake Jars.
You can make these every Christmas! The snowflake jars add a really nice touch.
- Ball® Snowflake Holiday Jars (12 Pack) This is the best option!
- Regular jars in a set of 8
- Regular jars set of 4
- decoupage glue & Foam Brush Kit
- Epsom salt – 1/2 cup for every 4 pack of jars
- 2 1/2 inch circle vinyl sticker (optional)
- decorative sand filler (optional)
- small candles
- 3/8” black ribbon
- greenery with small berries
- hot glue gun with sticks
Snowflake Lantern Instructions
This first part of the project will be super fun to do with your older kiddos. Grab your Ball® Keepsake Collectible Holiday Jars, decoupage glue, foam brush, stickers (if you are using them) and Epsom salt.
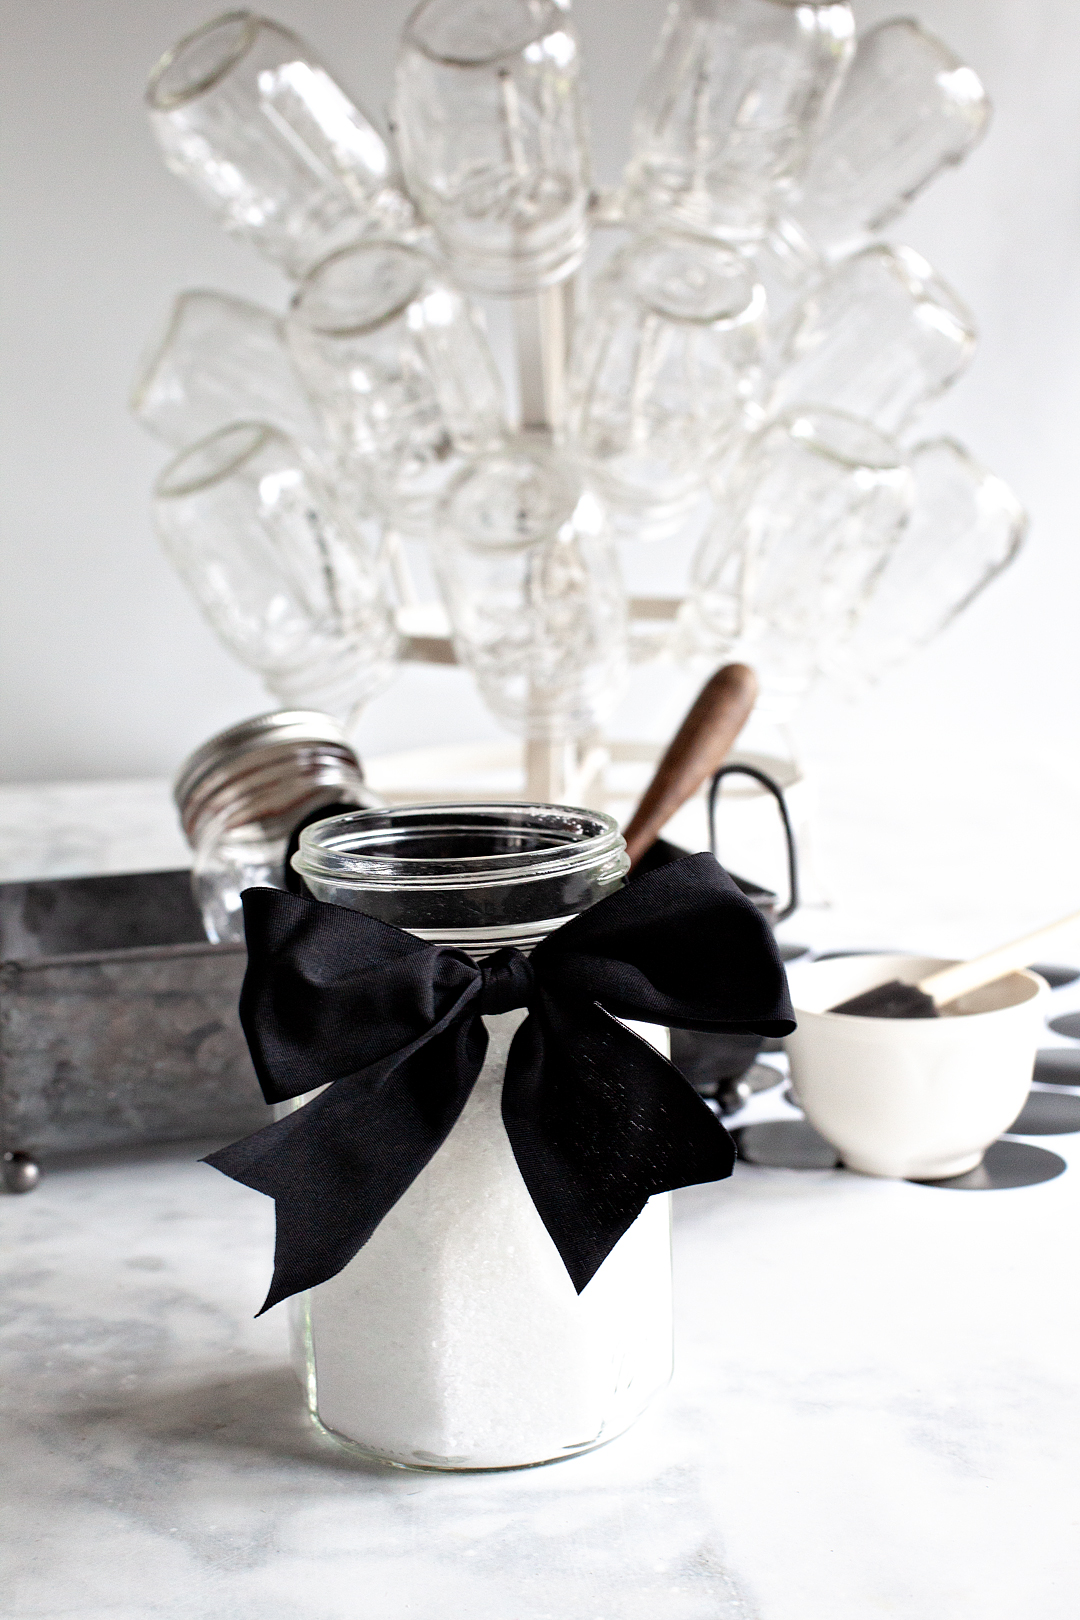
You’ll want to protect your work surface and have some type of container big enough to fit the jar into along with a large spoon at the ready.
ball
Fill your container with the Epsom salt half way.
Place your sticker over the snowflake to protect that area from the decoupage glue and Epsom salt.
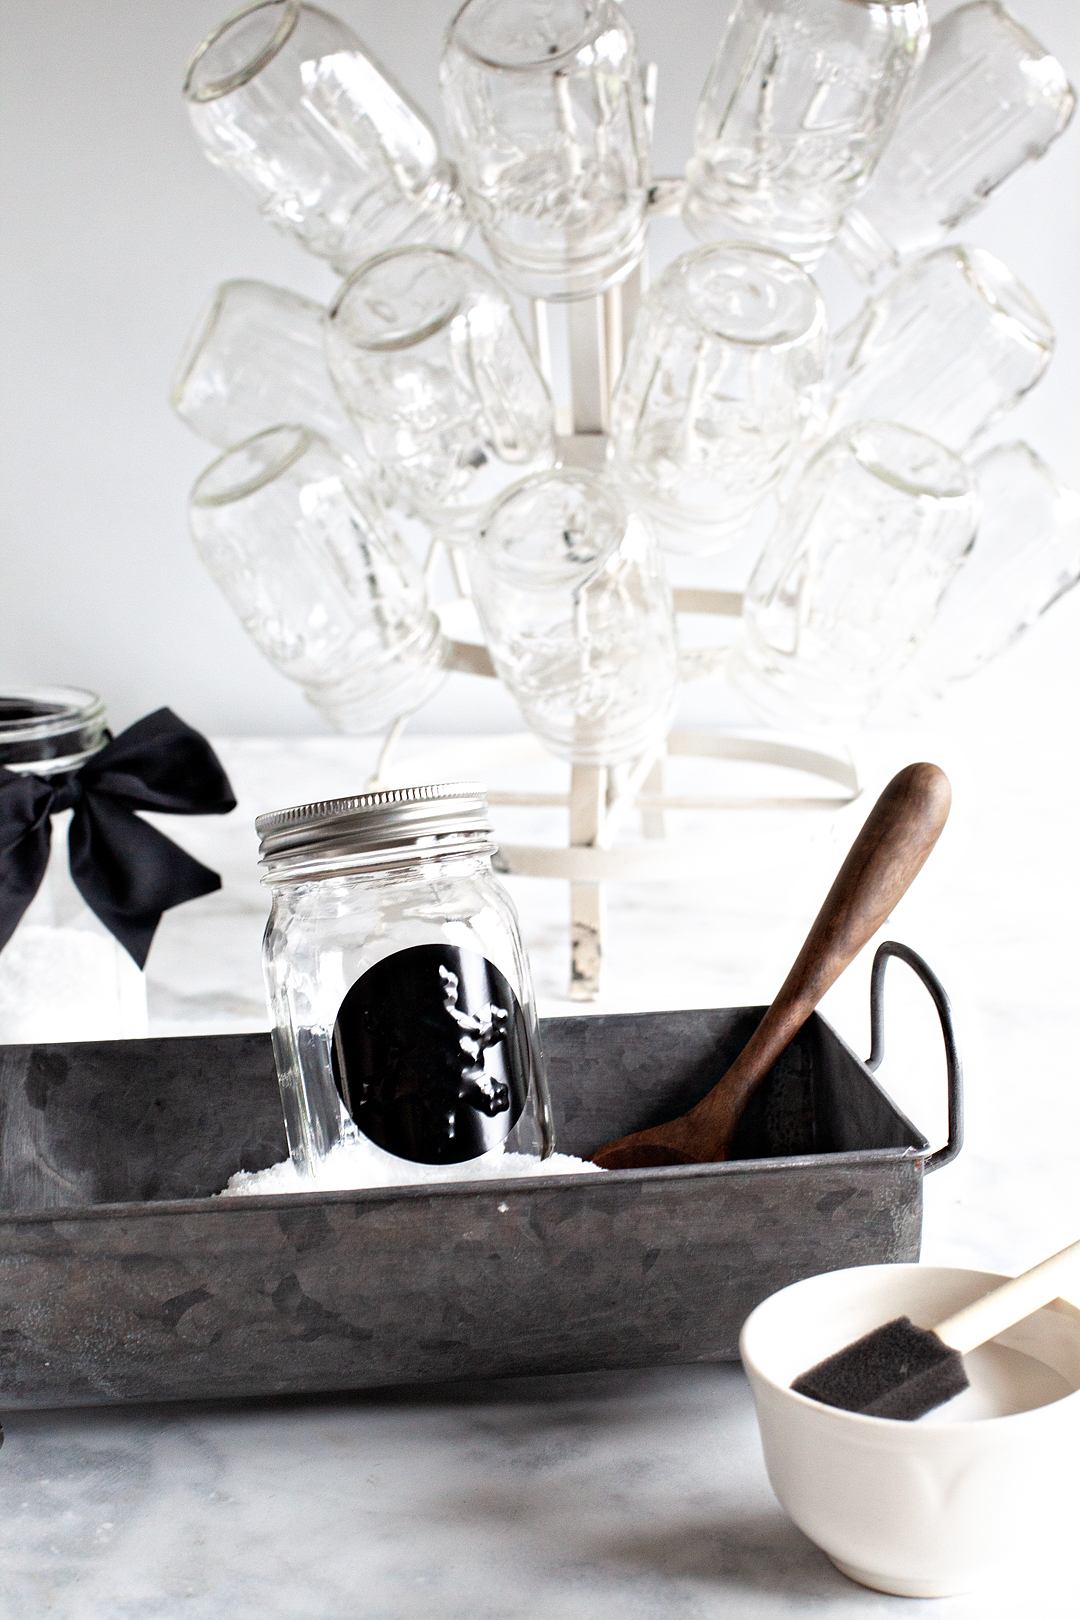
If you don’t want to bother with the sticker, that’s totally fine. I made mine using my Cricut Maker or you can order them online. I prefer the sticker method because it creates a nice crisp line for the circle window of the lantern.
You are more than welcome to freehand a circle around the snowflake with your foam brush. Just know that your lines won’t be as perfect.
Cover your jar from below the rim down with the decoupage glue. Do not place glue on the bottom of the jar or on the jar threads.
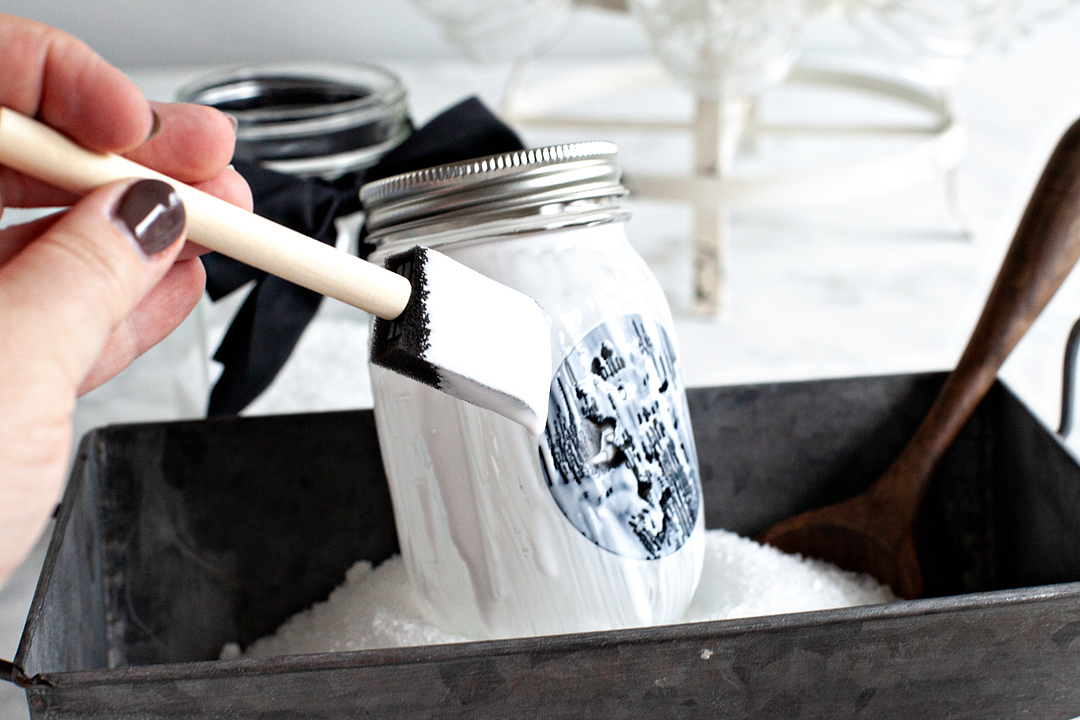
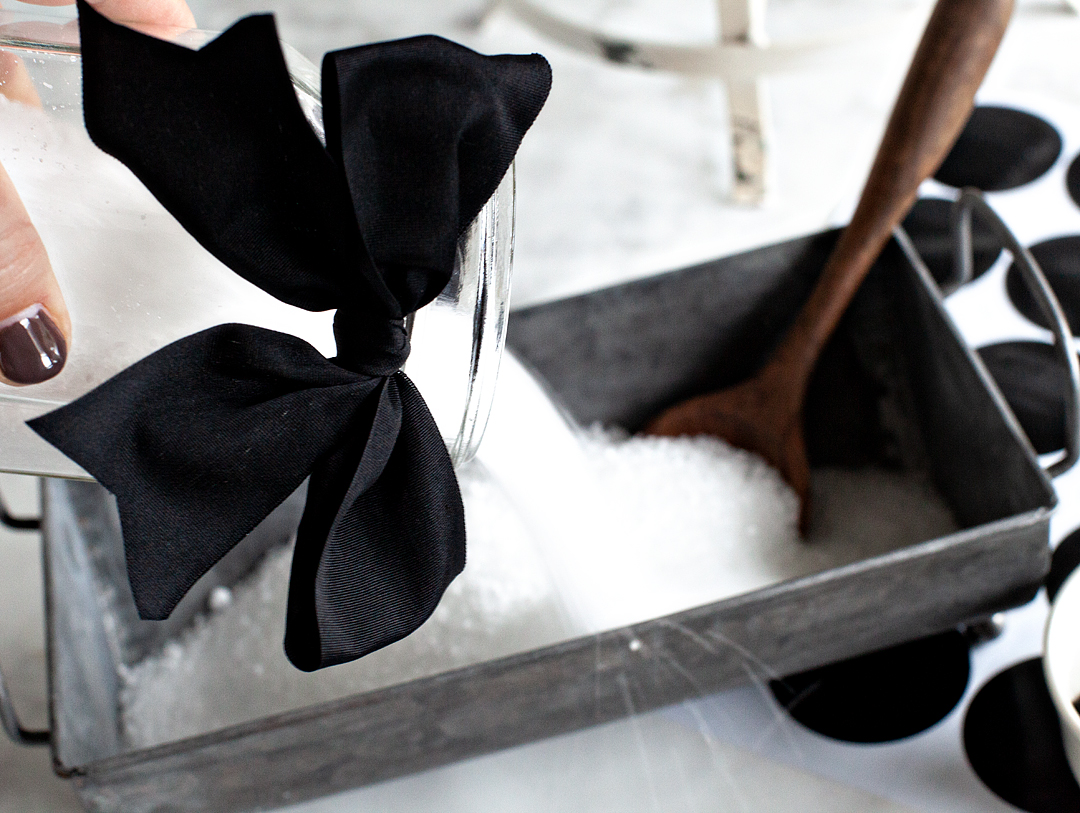
Using your large spoon, carefully cover the jar with the Epsom Salt. Make sure not to touch the surface of the jar with the glue on it. It will make for uneven coverage of “snow” on the jar. I also found that rolling the jar in the Epsom salt really didn’t give the desired effect as well. You really want to pour the “snow” over the decoupaged jar to create the nice snowy effect.
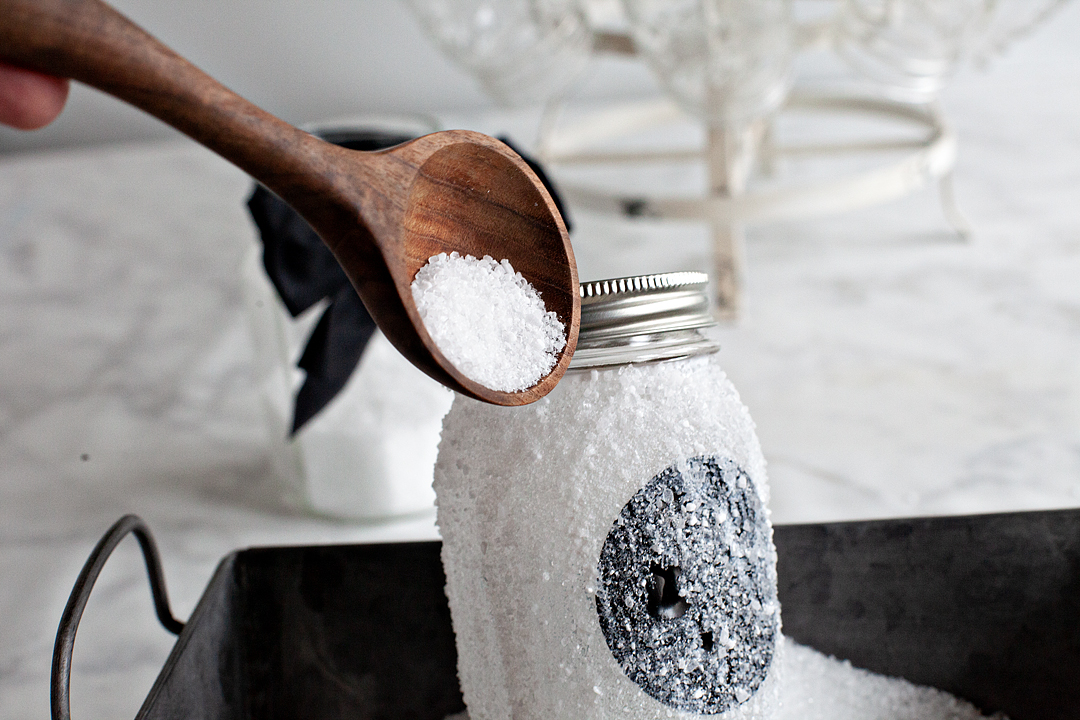
Let your jars dry, undisturbed overnight.
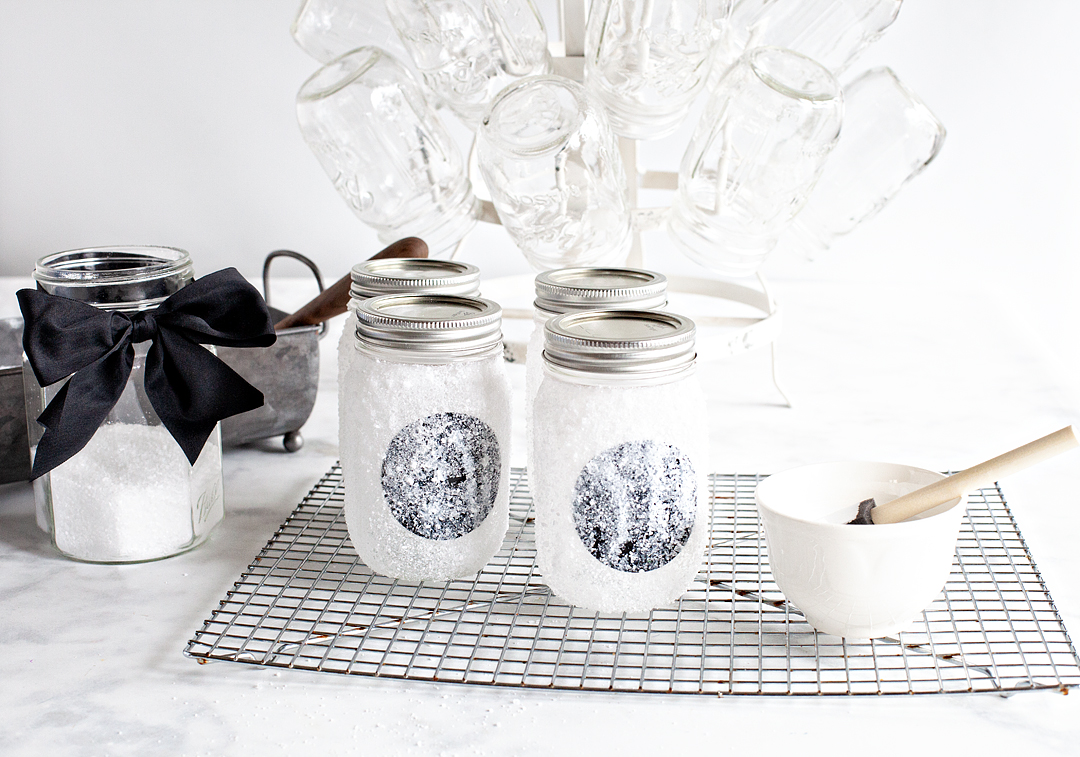
This is a great project to make an assembly line. Grab a friend or your older kiddos and go to town and make a bunch of these fun gifts for friends, neighbors, teachers, bosses… I could go on and on. I LOVE that it could be a great holiday gift that doesn’t involve sugar!
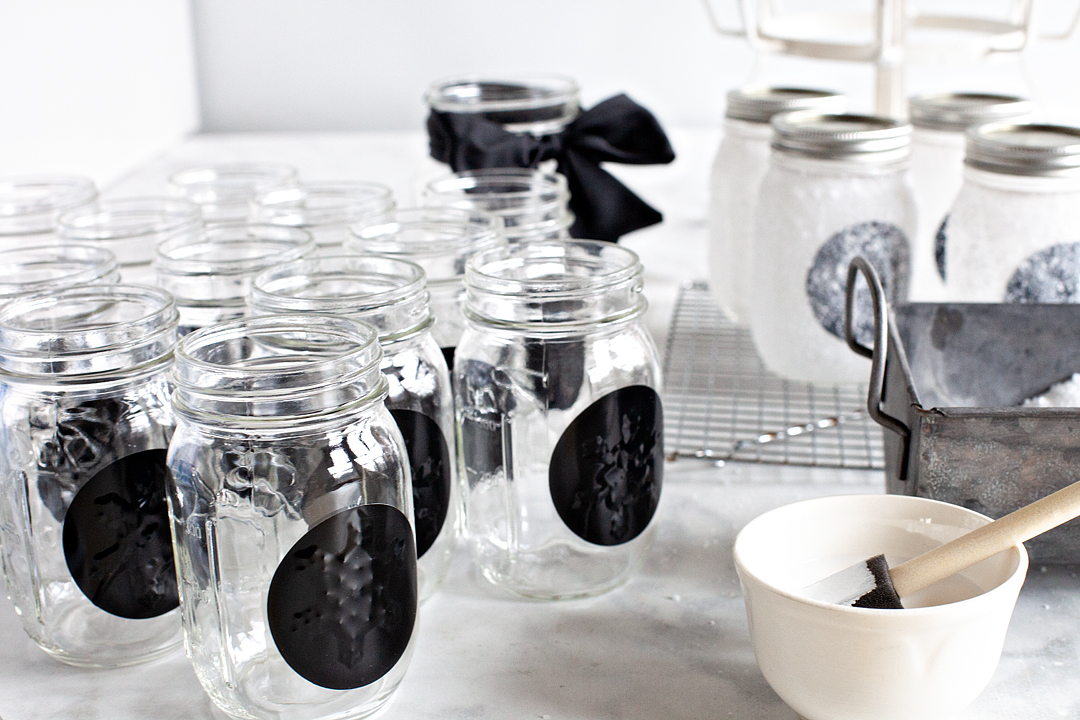
The following day, carefully remove your vinyl sticker. You may want to use a toothpick or tweezers to help get the sticker removal started.
Also, you may want to wear eye protection, the Epsom salt tends to fly in this stage of the process. I managed to have a little piece fly into my mouth and it was NOT tasty. So…eye protection and keep your mouth closed.
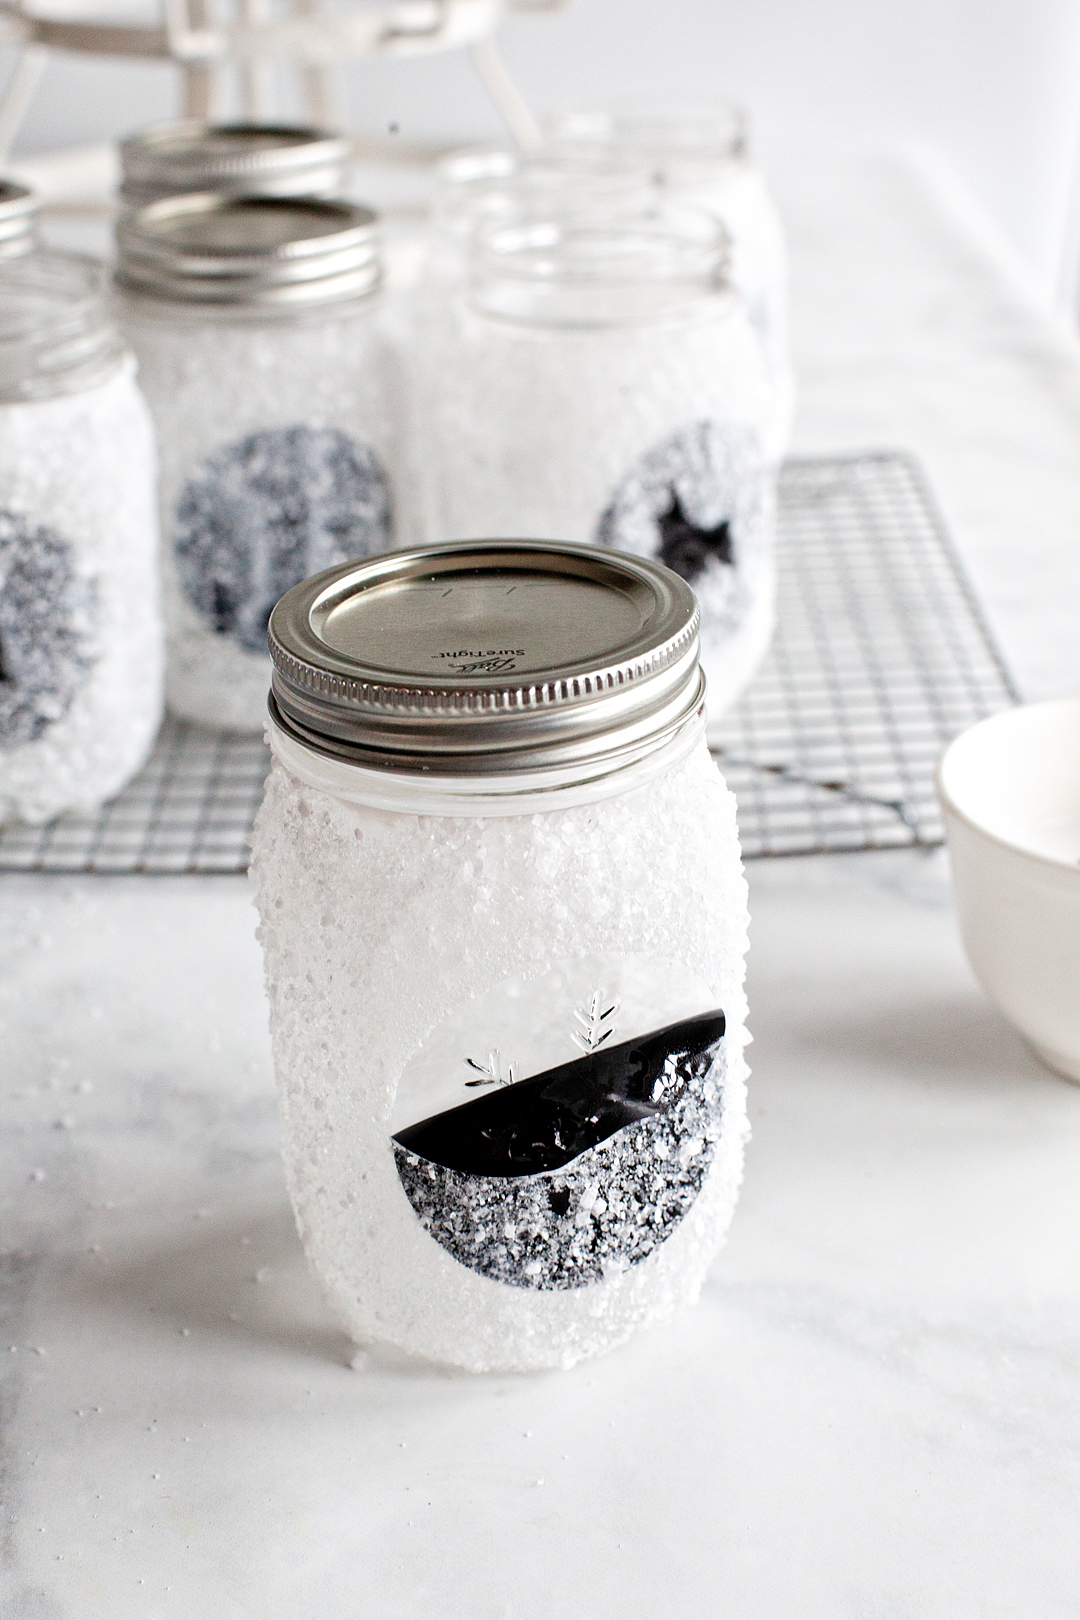
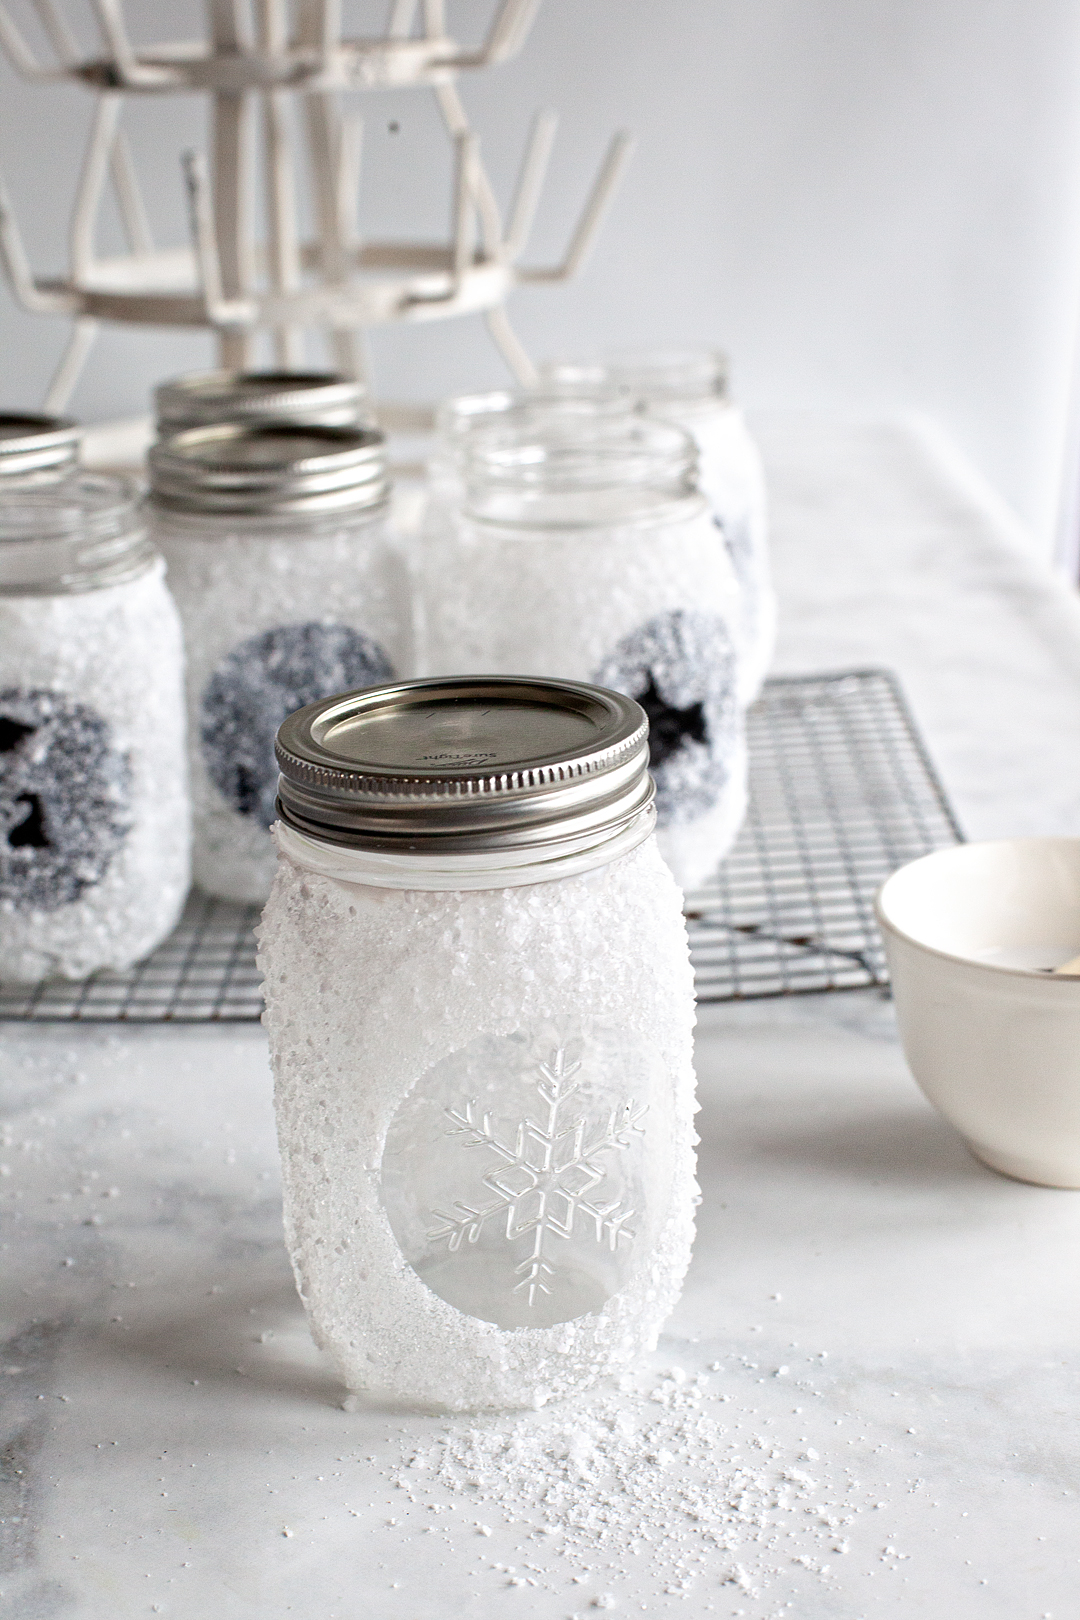
Now you’re ready to decorate your jar. Fire-up your hot glue gun and prep your ribbon and winter greenery. I found my greenery at Michaels. It was a little wreath that I disassembled, and it worked perfectly.
I hot glued the greenery just above the lip of the jar that leads into the jar threads. I found that a little hot glue dot helped to secure the bottom section of the greenery to the jar creating it a nice frame around one side of the snowflake window.
Next, I tied the ribbon around the top of the jar, covering the hot glued section of the greenery, and tying a little knot. After that, I snipped off the ends using the inverted point technique.
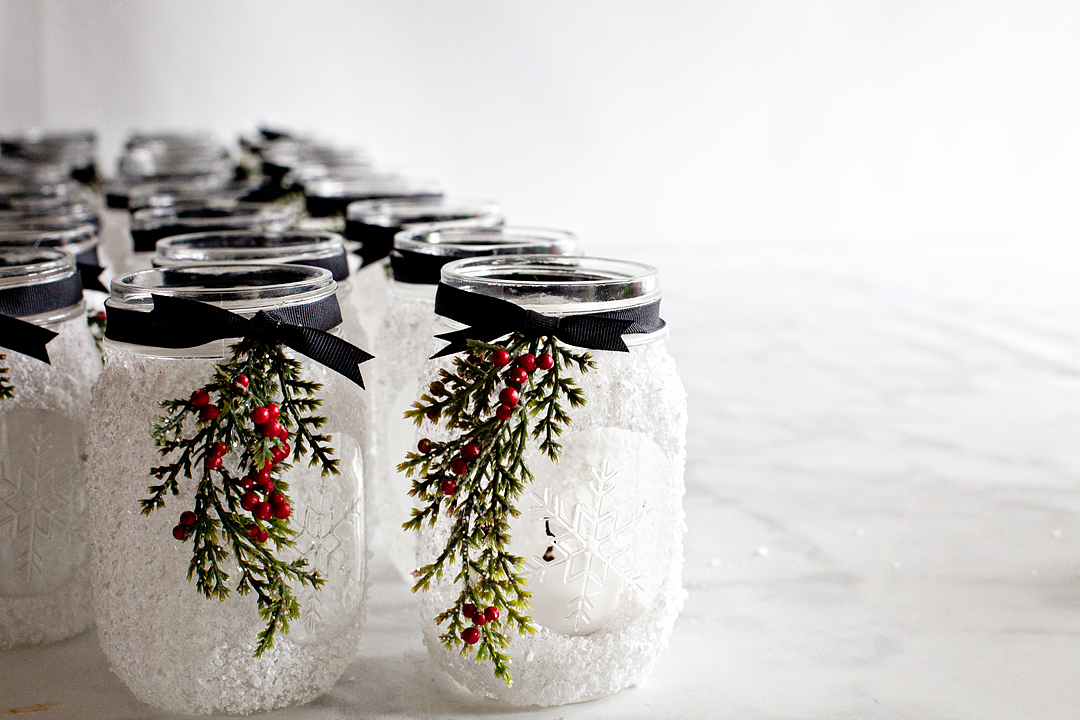
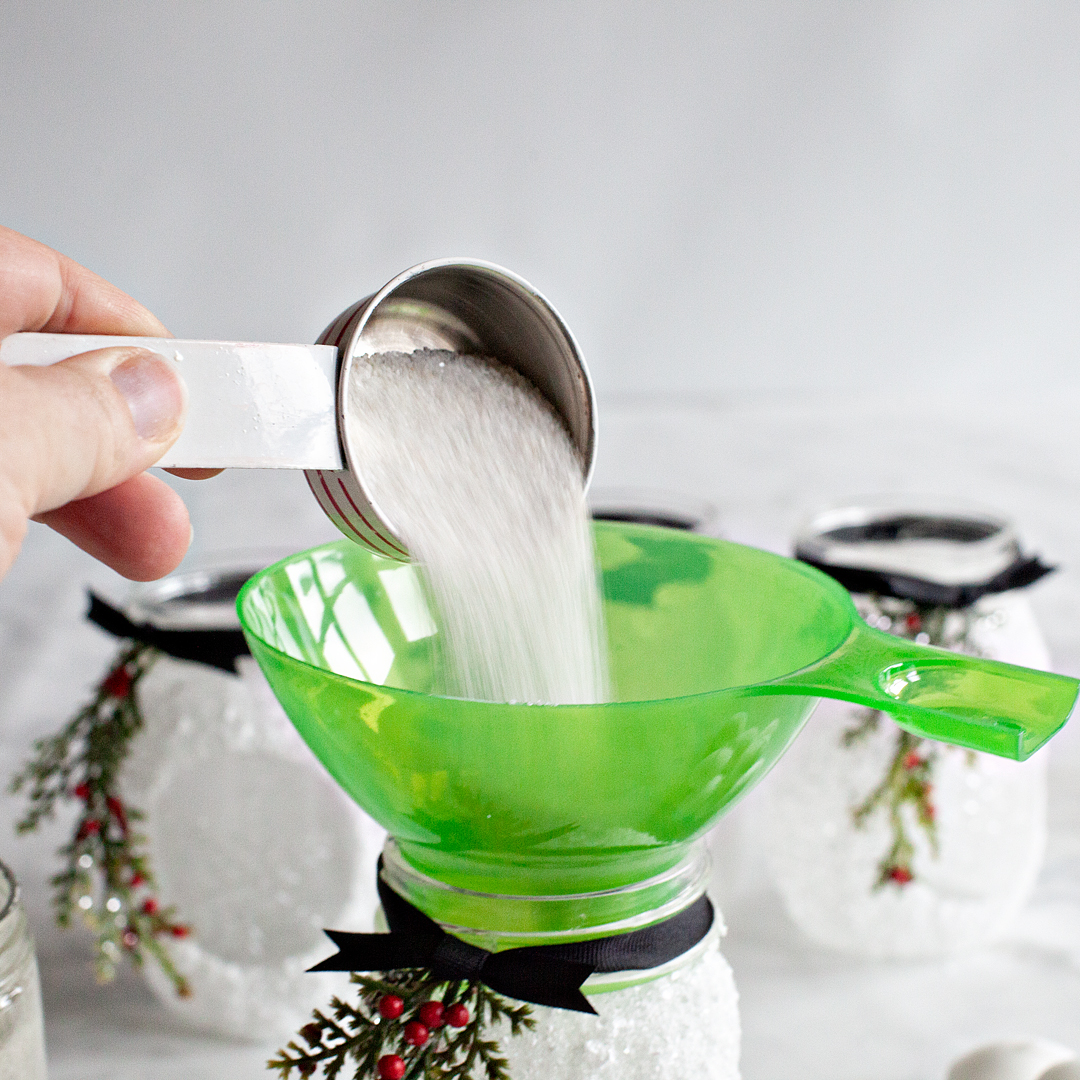
Then, fill the bottom of the jar with a 1/4 cup of either Epsom salt or decorative sand.
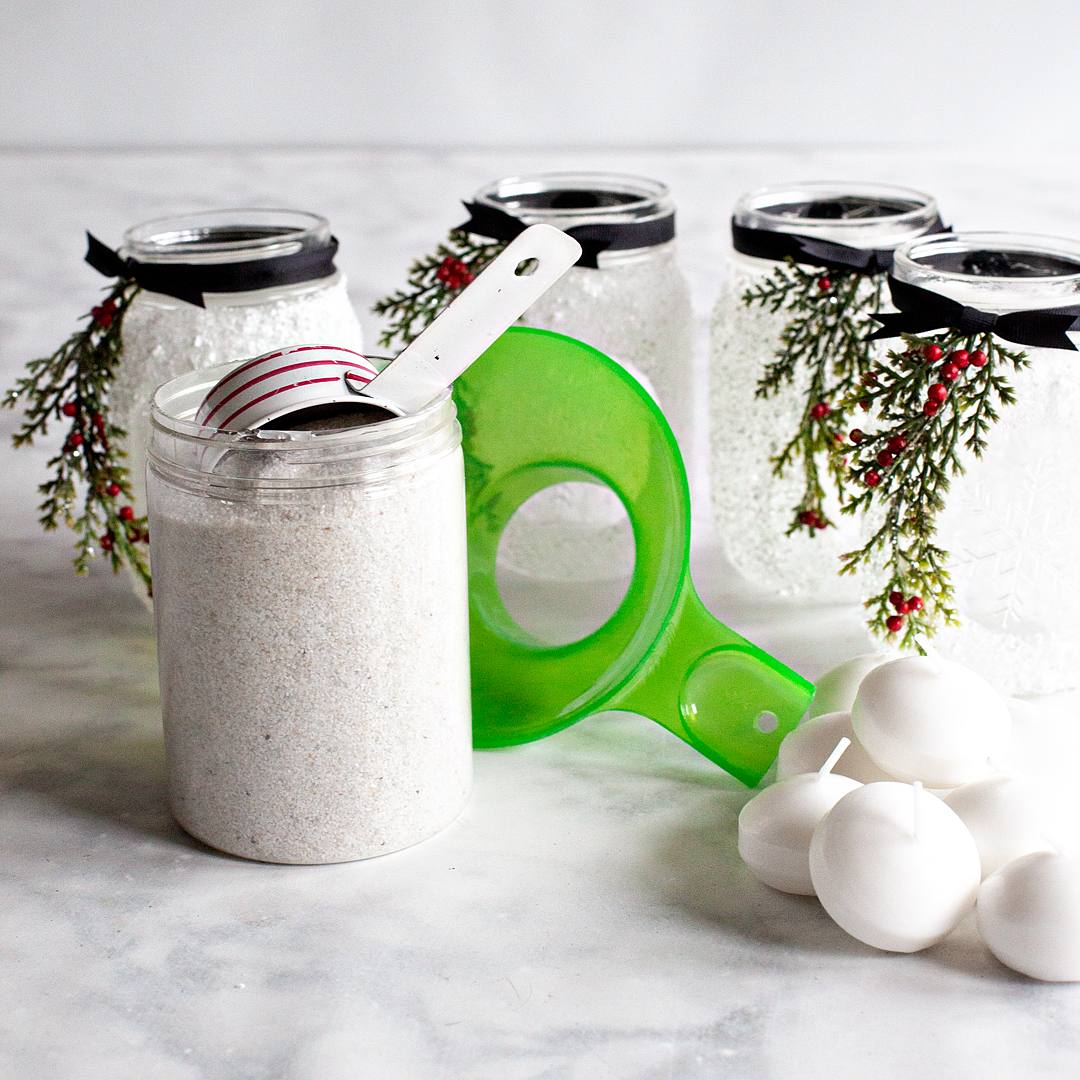
I found the Ball® preserving funnel came in handy here.
After I placed the little candle into the jar, I lit-her-up!
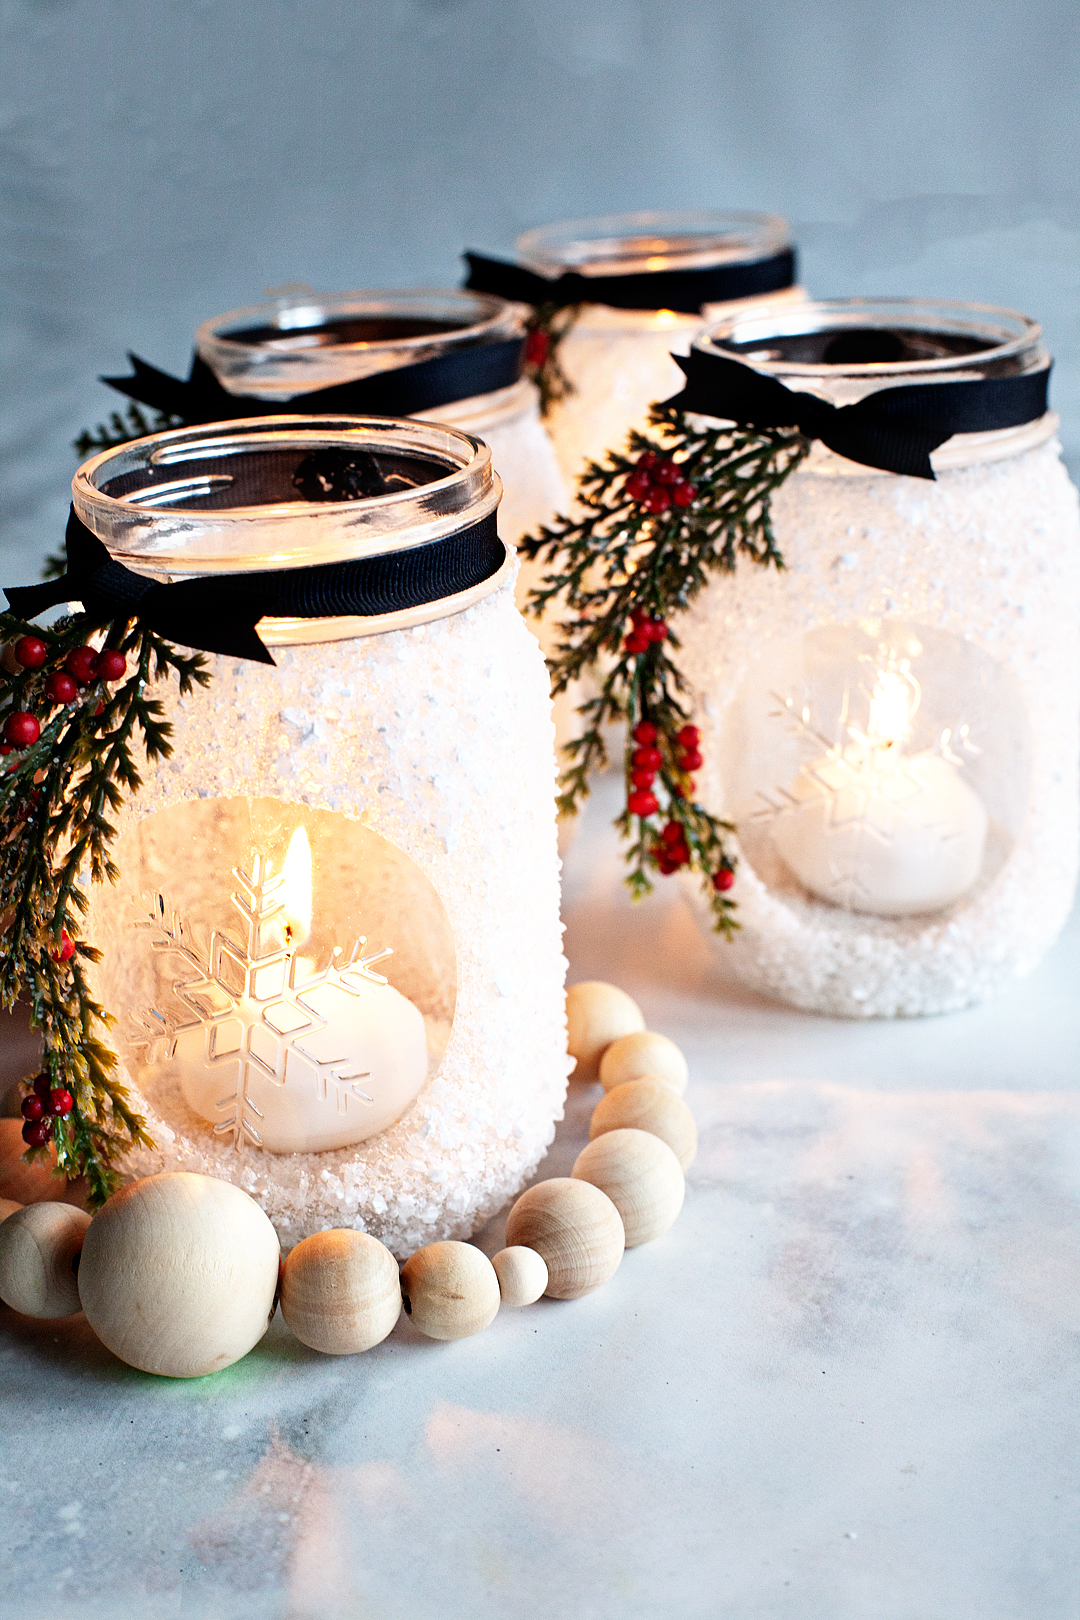
These snowflake lanterns made from the Ball® Keepsake Collectible Holiday Jars look snowy and beautiful. All ready to usher in those Hygge winter nights!

Those are lovely!!
Thank you so much Mary Anne!
Heather
I’ve been looking for the perfect gift for a few of my close friends, this will be perfect!! Thanks so much for sharing!
–Lynda
Oh Lynda, that makes my day! I would love to see how they turn out.
Heather
That is a MOST BEAUTIFUL easy DIY for Holiday decorating! Thanks for the tutorial.
I love these! I plan on making some for Christmas gifts. Where did you find the cute little candles to go inside?