Painted furniture can completely change the feel of a home without spending a fortune. An old dresser can make a bedroom feel calm and finished. A tired console table can bring warmth to a busy entryway. Even a thrifted bedside table can start to feel like it truly belongs in your home.
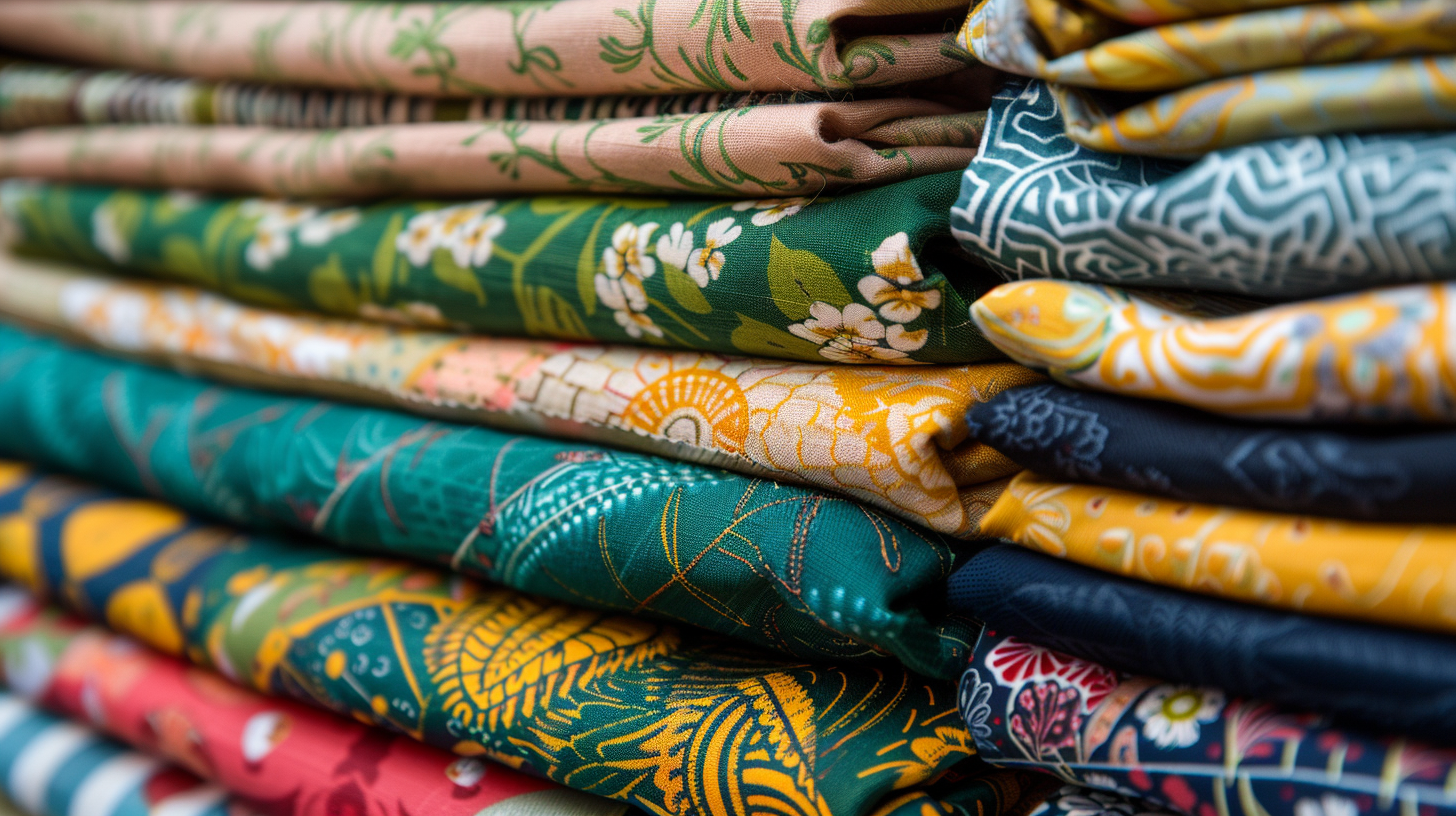
The tricky part is choosing the right colour. Many DIY furniture makeovers look beautiful on a paint sample but feel out of place once the piece is back in the room. A colour may look too cool beside warm walls, too dark in a family room, or too flat next to cozy textures and natural wood.
Before pulling out the paintbrush, it helps to look at the room as a whole. Notice the wall colour, flooring, nearby furniture, fabrics, hardware and natural light. If you want to test ideas before starting, an AI paint visualizer for interiors can help preview wall colours, painted furniture finishes and room palettes before the DIY makeover begins.
Here is how to choose painted furniture ideas that help your home feel warm, welcoming and pulled together long after the paint dries.
Start with the Room, Not the Piece
The easiest mistake is falling in love with a furniture colour before checking the room around it. Sage green may look soft in a bright kitchen, but muddy in a north-facing bedroom. Black can make a cheap console table look expensive, but it can also make a narrow hallway feel smaller. White sounds safe until it sits beside warm cream walls and suddenly looks blue.
Take the furniture into its real context. If it is a dresser, look at the bed frame, bedding, bedside tables and wall colour. If it is a console table, check the flooring, stair rail, mirror frame and any baskets underneath. If it is a cabinet in a living room, compare it with the sofa, rug, curtains and TV unit.
A good painted furniture colour usually repeats something already in the room or creates one deliberate contrast. Random colour is what makes a makeover feel like a craft project that never found its place.
A Furniture Color Decision Table
This is the practical part worth doing before buying paint. Match the furniture type to the room problem, then choose the colour family.
| Furniture piece | Works well in | Safer paint colours | Be careful with |
| Dresser | Bedroom, hallway, guest room | sage, mushroom, navy, charcoal, warm white | pure white gloss, bright red, very pale grey in cold rooms |
| Console table | Entryway, living room, landing | black, olive, warm white, muted blue, dark wood stain | high-gloss colours in narrow halls |
| Bedside table | Bedroom, small guest room | taupe, soft green, off-white, pale blue | very dark paint beside a bulky bed |
| Dining chairs | Dining room, breakfast nook | black, cream, forest green, muted blue | too many different colours at once |
| Cabinet | Living room, kitchen, utility room | deep green, navy, clay, mushroom, soft black | trend colours that clash with fixed finishes |
| Coffee table | Living room, snug | black, warm white, natural top with painted base | paint that cannot handle daily wear |
The table is not a rulebook. It is a filter. If a colour fails against the wall, floor and nearby furniture, it probably will not improve once the whole piece is painted.
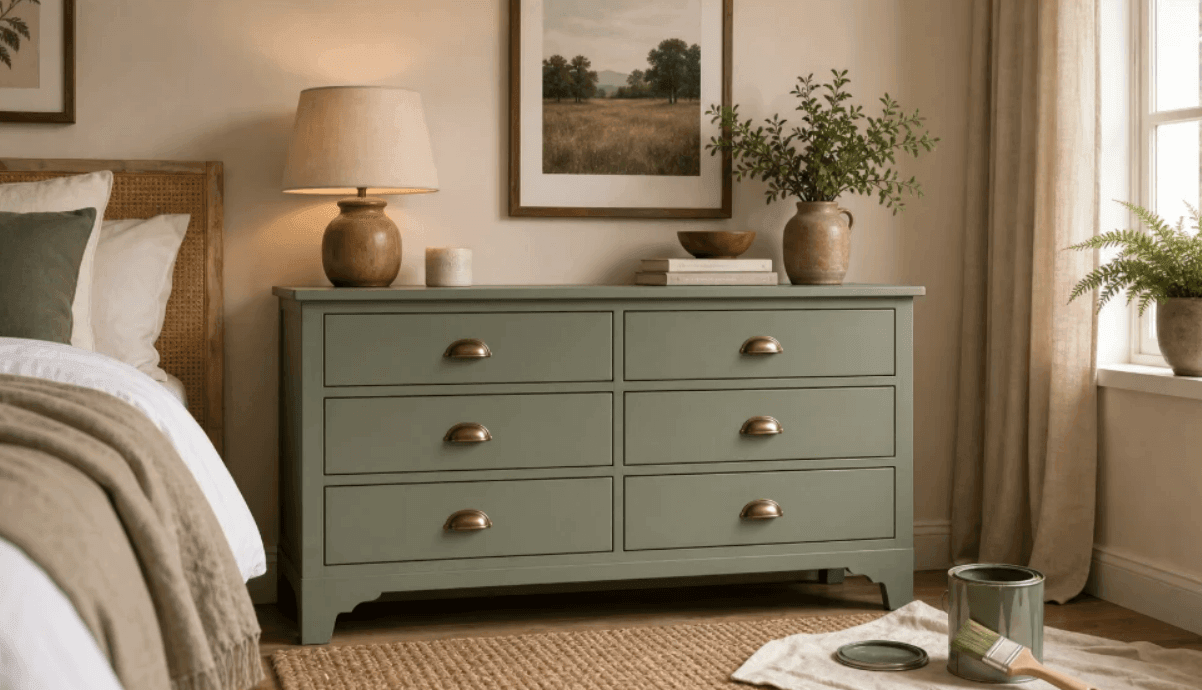
Painted Dresser Ideas
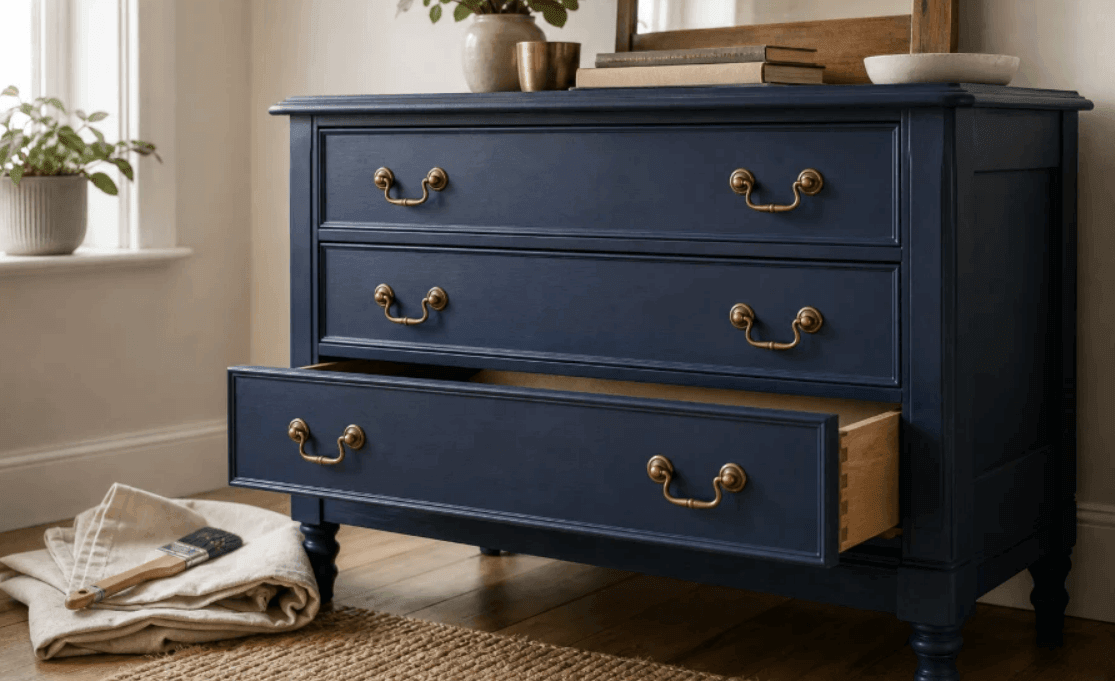
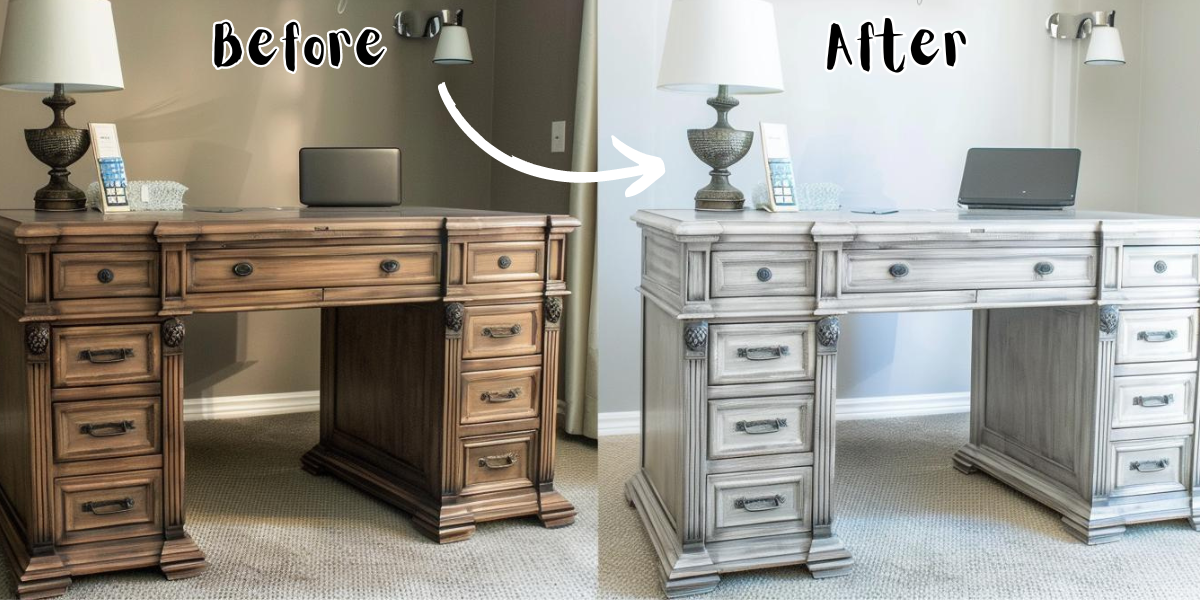
A dresser is usually large enough to change the mood of a room. That is why painted dresser ideas need more restraint than small accent pieces. If the bedroom already has patterned bedding, a strong rug or dark curtains, a calm dresser colour often works best. Sage, mushroom, warm white, smoky blue and charcoal are forgiving because they can sit with wood, metal and soft textiles.
For a plain bedroom, the dresser can carry more character. Navy with brass hardware feels tailored. Deep green with wooden knobs looks warmer and less formal. Black can be excellent if the room has enough light and at least one other dark detail, such as a curtain rod, lamp base or picture frame.
The finish matters as much as the colour. A matte dresser can look soft and handmade, but it may show fingerprints in a busy bedroom. Satin is a good middle ground for most pieces because it cleans more easily without looking too shiny.
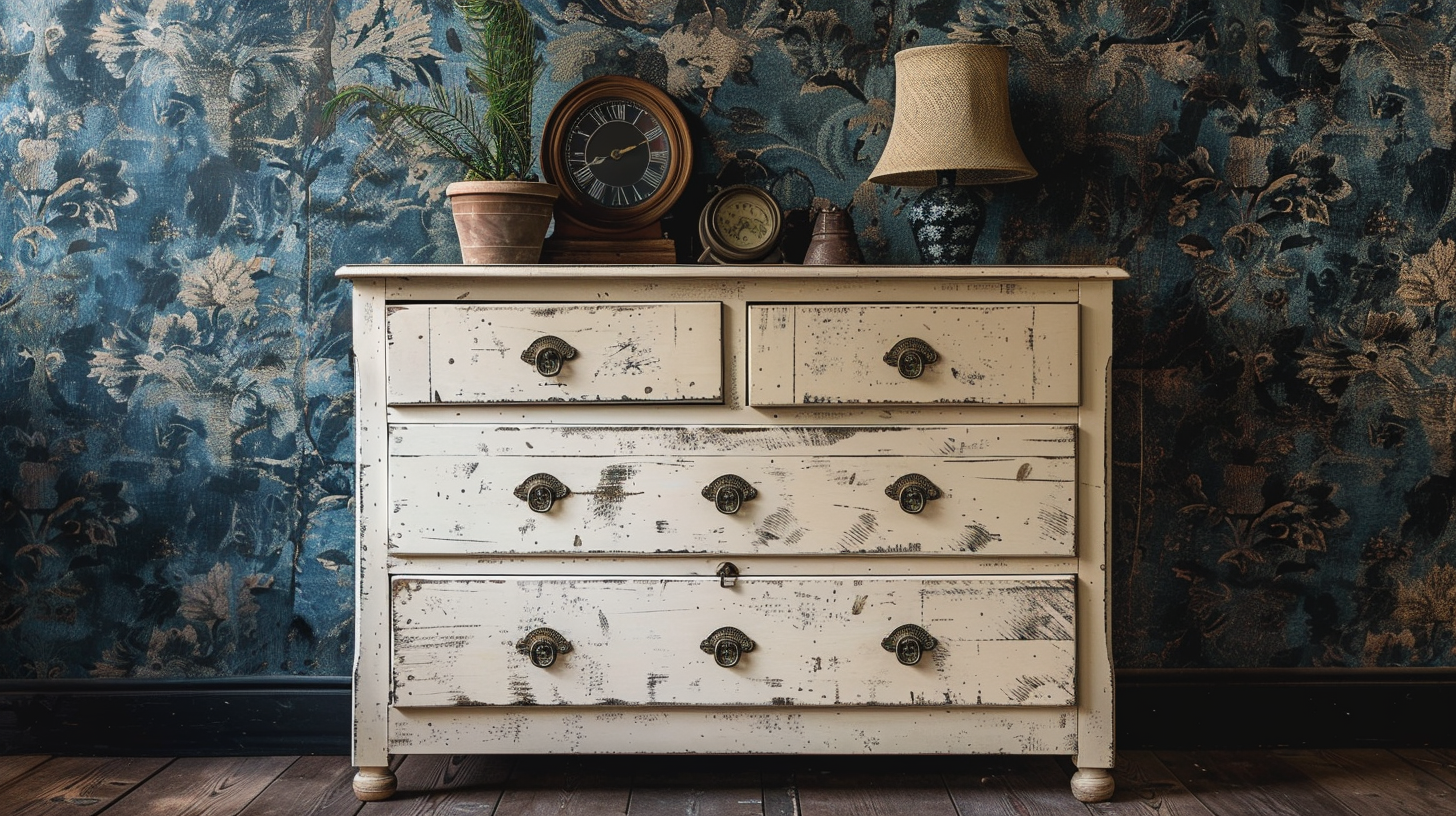
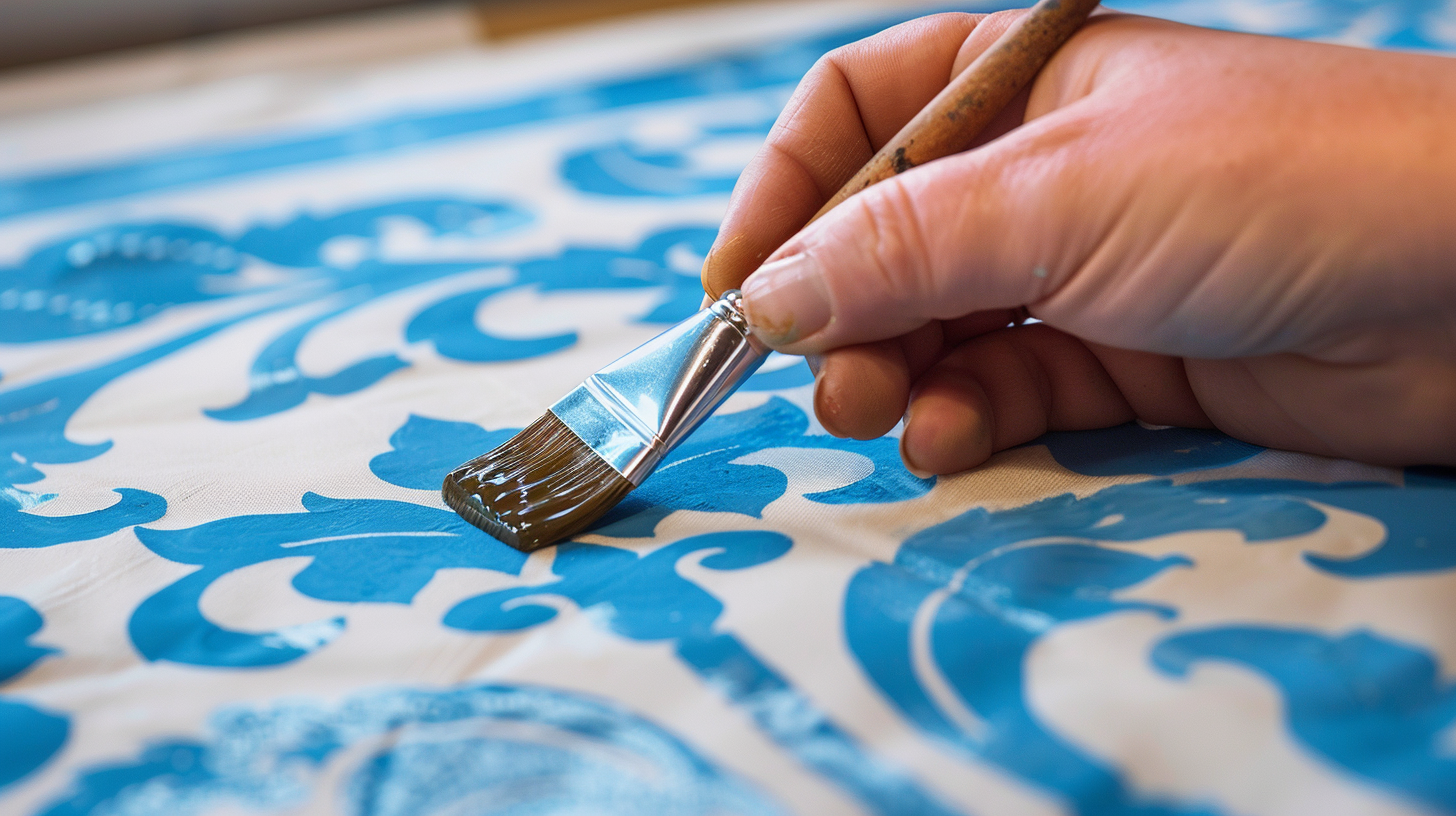
Chalk Paint Furniture Ideas
Chalk paint is popular because it gives furniture a soft, matte look and usually needs less prep than traditional paint systems. It suits dressers, bedside tables, hutches, small cabinets and decorative chairs. It is less ideal for surfaces that take heavy daily abuse unless you seal it properly.
The best chalk paint furniture ideas tend to lean into texture rather than fight it. Older wood, carved details and slightly worn edges can look better with chalk paint because the finish does not pretend to be factory-perfect. A flat-pack piece with very smooth laminate can be painted too, but it needs the right primer and more patience.
For colour, chalk paint works well in muted shades: dusty green, warm grey, cream, clay, charcoal, putty, pale blue. Bright colours can work for a child’s room or a playful craft space, but they are harder to place in a main living area.
If the piece has pretty hardware, remove it before painting. If the hardware is cheap or dated, replace it after painting. New knobs can make a simple painted piece feel finished without adding much cost.
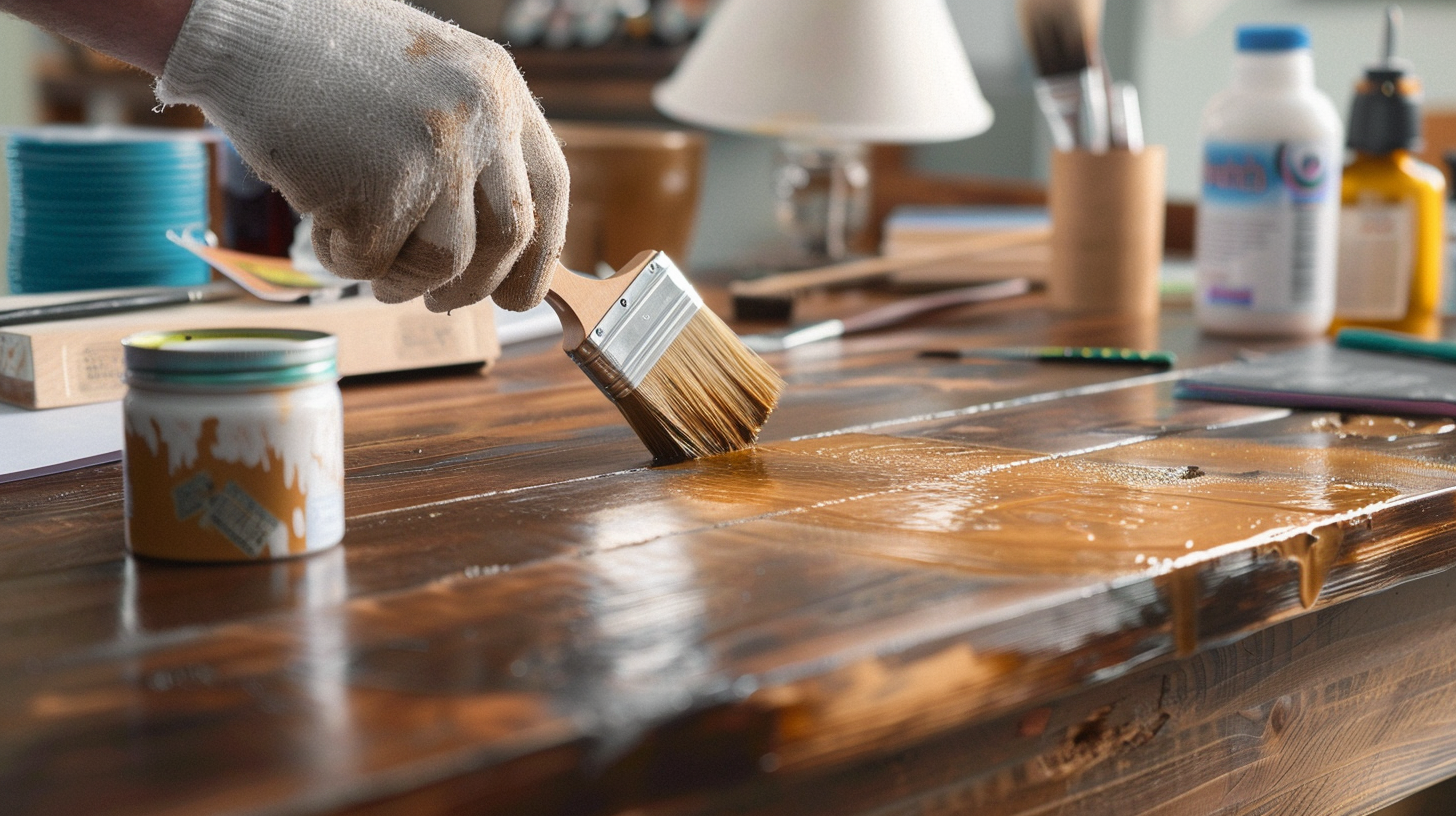
Painted Wood Furniture Ideas
Painting wood furniture is not the same as painting a wall. Wood has grain, knots, tannins, old wax, oil, varnish and sometimes mystery residue from decades of polish. The paint colour is only one part of the result.
If the wood is beautiful and in good condition, consider painting only part of the piece. A natural wood top with a painted base can be more interesting than covering everything. This works especially well on coffee tables, console tables, sideboards and dining tables.
For orange-toned wood, cooler colours can calm it down: muted blue, green-grey, charcoal, soft black. For pale pine, warmer neutrals usually look better than cold grey. For dark wood, a deep colour can feel rich, while a pale colour creates stronger contrast and may need more coats.
Prep is where patience pays off. Clean first, sand enough to key the surface, prime if needed, then paint thin coats. Thick paint hides detail and chips more easily.
How to Match Painted Furniture with Wall Color
Wall colour can make painted furniture look expensive or slightly wrong. The issue is undertone. A warm cream wall can make a cool white dresser look stark. A grey wall with blue undertones can make a green cabinet look dull. A beige room can make bright white furniture feel unfinished.
Use contrast on purpose. If the wall is light, a darker painted piece can anchor the room. If the wall is dark, a warm neutral or natural wood detail can stop the space feeling heavy. If the wall has a strong colour, the furniture usually looks better in a quieter shade.
A simple test: place the paint sample beside the wall, not just on the furniture. Then check it morning, afternoon and evening. Artificial light can change the colour more than you expect.
When White, Black, Green, Blue and Neutral Paint Work Best
White painted furniture is safest when the room has clean whites, pale woods or soft neutrals already. Choose warm white for older homes, cream walls and vintage pieces. Use cooler white only if the room is already crisp and modern.
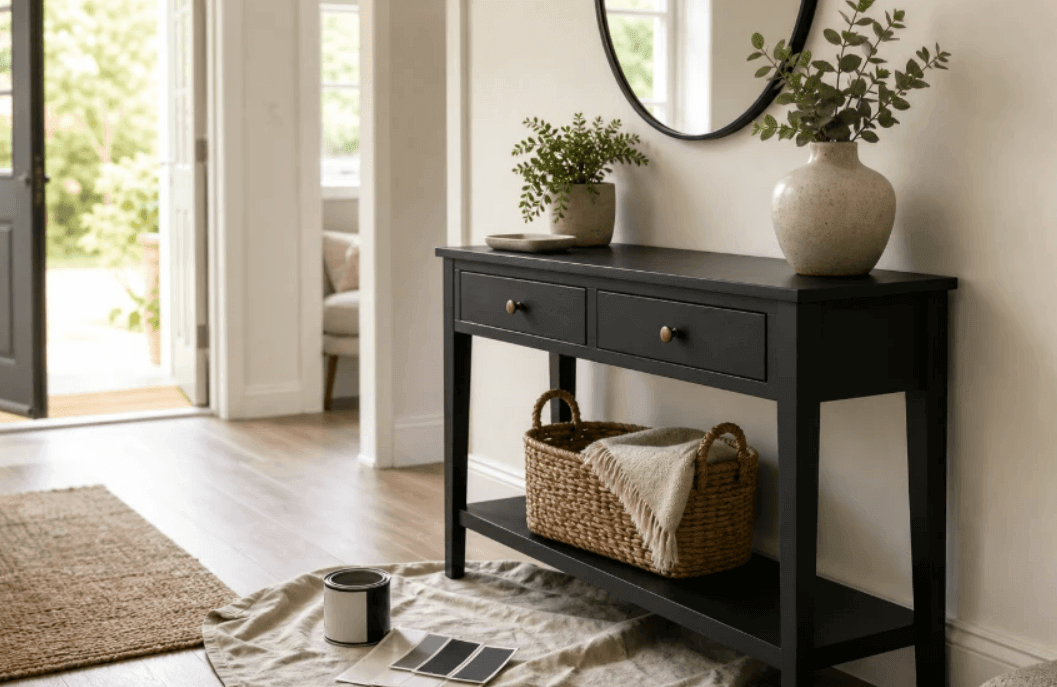
Black works when the room needs structure. It is good for console tables, dining chairs, side tables and cabinets with clean lines. In small rooms, black works better when the piece has slim legs or open space around it.
Green is one of the easiest colours for painted furniture because it sits between neutral and colour. Sage feels quiet, olive feels earthy, forest green feels more formal. It works especially well with brass, cane, oak and warm white walls.
Blue is more sensitive. Pale blue can look charming in a bedroom but weak in a busy living room. Navy is safer for larger pieces because it behaves almost like a neutral.
Mushroom, taupe, putty and clay are underrated. They make old furniture look calmer without shouting for attention. They also work well when the room already has several materials: wood, metal, linen, stone, rattan.
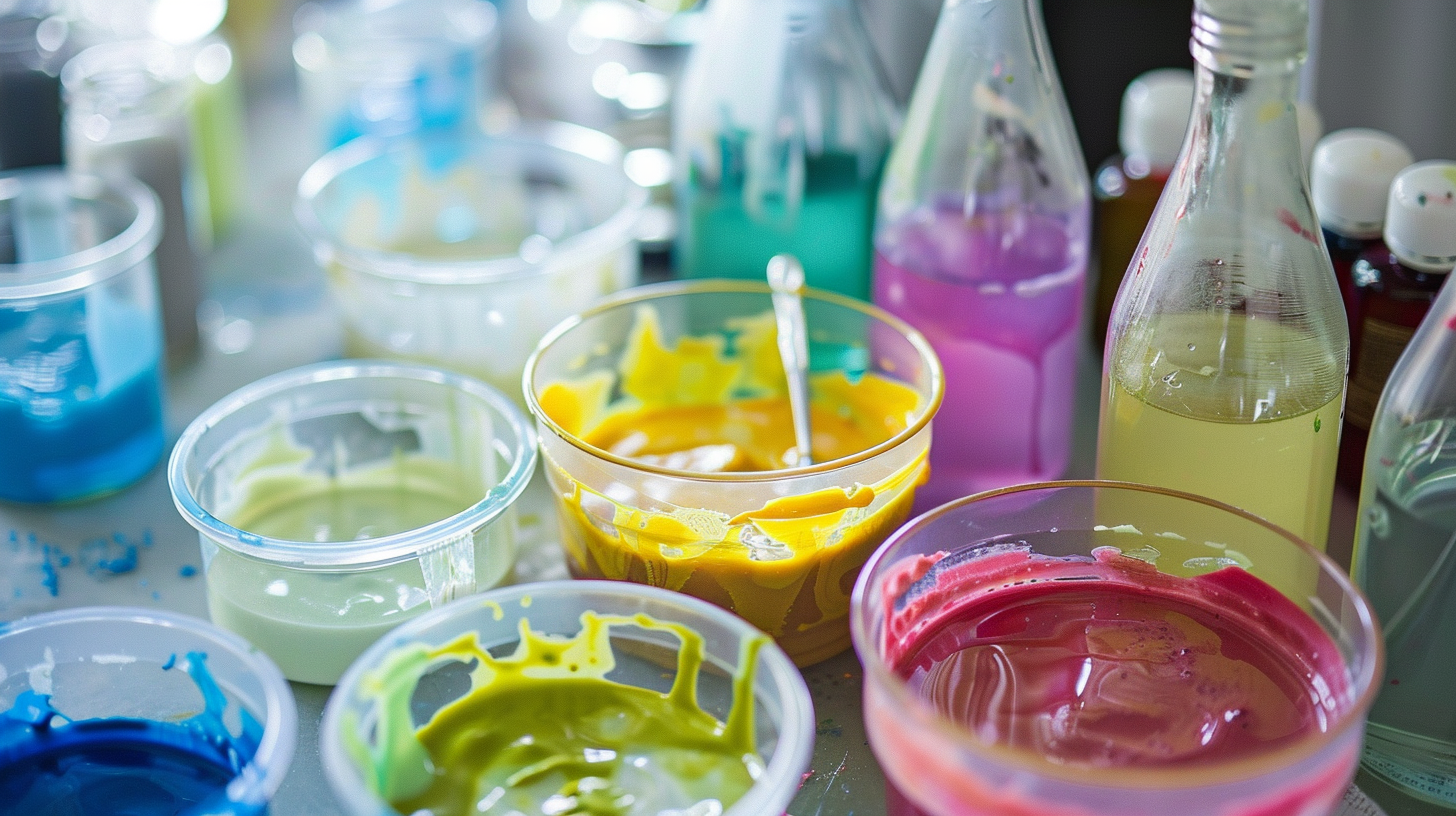
How to Test a Furniture Paint Color Before Painting
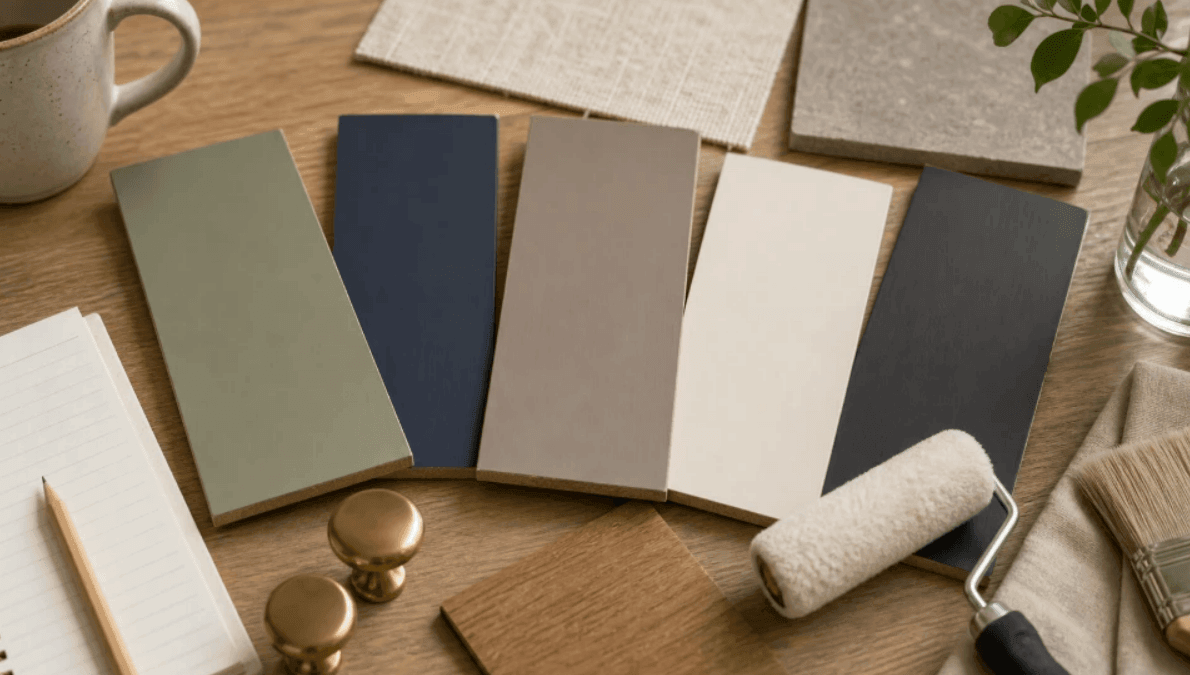
Do not test paint only on a tiny card. Paint a sample board or the inside of a drawer if the piece allows it. Put the sample where the furniture will live and leave it there for at least a day. If the piece will sit near a window, check it in direct and indirect light.
Also look at the colour beside hardware. Brass, chrome, black, ceramic and wood knobs all change how a paint colour reads. A green dresser with brass handles feels different from the same green with black handles.
If you are testing several colours, narrow them to three. More than that usually creates confusion. One safe option, one slightly bolder option and one darker option is enough.
DIY Painted Furniture Ideas That Do Not Look Homemade
The difference between charming and unfinished is usually in the edges, hardware and sheen. Clean edges around drawers and legs matter. So does letting paint cure before putting the piece back into heavy use. A cabinet may feel dry after a few hours, but the finish can stay soft for days.
For a more polished result, remove drawers and doors before painting if possible. Label hardware in small bags. Paint thin coats. Sand lightly between coats if the surface feels rough. Seal pieces that will be touched often.
There is nothing wrong with a handmade look. It just needs to look intentional. Distressed edges can suit a farmhouse cabinet, but random chips on a modern sideboard usually look like damage.
Common Painted Furniture Mistakes
One common mistake is skipping cleaning because the piece “looks fine”. Old furniture often carries wax, polish, oil or kitchen film. Paint does not like any of that. Cleaning is not glamorous, but it is often the difference between a finish that lasts and one that peels.
Another mistake is choosing colour in isolation. The painted piece has to live with the wall, floor, rug and nearby furniture. A bright colour that looks fun in the garage can feel loud in the bedroom.
People also rush the cure time. Dry paint and cured paint are not the same. A tabletop, dresser top or cabinet door may need several days before it can handle normal use without marks.
The last mistake is over-styling the finished piece. A painted dresser does not need a tray, vase, stack of books, candle, lamp and framed print all fighting on top. Let the colour do some of the work.
FAQ
What is the best color to paint furniture?
The best colour depends on the room. Sage, mushroom, navy, warm white, charcoal and soft black are reliable because they work with many wall colours and wood tones. Bright colours can look good, but they need a clear link to something else in the room.
Is chalk paint good for furniture?
Chalk paint is good for decorative furniture, dressers, bedside tables and cabinets that do not take heavy daily wear. It gives a soft matte finish and suits older pieces with detail. For tabletops, chairs and busy cabinets, use a durable sealer.
Do I need to sand furniture before painting?
Usually, yes, at least lightly. Sanding helps the paint grip and smooths rough areas. Some chalk paint products need less sanding, but cleaning and surface prep still matter. Glossy, varnished or laminate furniture may also need primer.
What painted furniture ideas work for a small room?
In a small room, choose lighter colours, slim furniture shapes and finishes that repeat the room palette. A dark painted piece can work if it has open legs or sits against a light wall. Avoid painting several large pieces in different bold colours.
How do I make painted furniture look professional?
Clean the piece well, remove hardware, paint thin coats, let each coat dry properly and seal high-use surfaces. Choose hardware that fits the new colour. The finish looks better when the colour, sheen and handles all feel like one decision.
Can I paint wood furniture and leave part of it natural?
Yes. A natural wood top with a painted base works well on console tables, coffee tables, sideboards and dining tables. It keeps some warmth from the wood while still updating the piece. This is especially useful when the wood grain is still attractive.
Final Thoughts
Painted furniture is one of the simplest ways to refresh a family home and give older pieces new life. The best DIY makeovers are not just about the paint colour itself. They work because the piece fits naturally with the walls, flooring, textures and everyday feel of the room.
Take time to test colours in the actual space, pay attention to lighting and choose finishes that suit real family life. When the colour feels right in the room before painting even starts, the finished piece will feel less like a project and more like part of a comfortable, lived-in home.