Creative Team
Mint Chocolate Chip Ice Cream Recipe
Mint Chocolate Chip Ice Cream Recipe // It is great to be back here at Whipperberry! Let’s talk about one of my favorite summer treats… Ice cream! It gets pretty warm here in Utah. As the temperatures rise, my mind gets busy trying to think of fun and new flavors of ice cream to make. I always end up back at the old standby of chocolate chip. This time I wanted to get a little crazy and add a little somthin’ extra!
Now, you might be surprised to learn that I DO NOT own an ice cream maker! *GASP!* So how is it that I made this amazingly fluffy and delicious looking treat? Easy! I combined two basic ingredients, added in my mixers and froze away. You can see the tutorial for the basic two ingredient ice cream here.
Here is what you will need: 2 cups of heavy whipping cream 1 (14 oz) can sweetened condensed milk 1 cup chocolate chunks 1/2 teaspoon peppermint extract 1/2 teaspoon vanilla extract Now, let’s get started! In a small bowl mix together the condensed milk, chocolate chunks, and extracts. Set aside. Whisk your heavy cream in the bowl of an electric mixer until soft peaks form. Gently fold your whipped cream into your condensed milk mixture. Pour this into an airtight container and transfer to your freezer. Allow to freeze 6 hours, or overnight.
I like to chop my chocolate chunks a bit to make them a little smaller, but that’s just personal preference.
The best thing about this recipe is how adaptable it is! Don’t like mint or chocolate chips? No problem! Switch them out for cherries or cheesecake. Or stick with plain ol’ vanilla. The possibilities are endless! Hop over to my site and check out a few of the fun flavors I’ve made!
Triple Chocolate Deep Dish Brownies
Hello Whipperberry friends, it's me Jo-Anna from A Pretty Life in the Suburbs!
I'm so happy to be over here at Whipperberry again (I'm still pinching myself)! I hope you enjoyed my last recipe, and I'm hoping you're going to love this one too! I know we did.
Today I'm sharing a recipe for Triple Chocolate Deep Dish Brownies with Ice Cream. Now just take a moment to absorb that…say it out loud…Triple Chocolate Deep Dish Brownies. Mmmmmm! Oh yes, I went there. You should too.
And I won't even tell you that these brownies are gluten free. They're so good you won't even realize there's no flour in them. But don't let the gluten free thing scare you either…this recipe is versatile…just use all purpose flour instead if you wish.
These are seriously delicious. Gooey, warm, chocolatey and rich.
You must, I repeat you must, eat these brownies warm with ice cream. A treat of epic proportions! 😉 And perfect for guests, special occasions or just the occasion of every day. I mean really, do we need a reason to eat brownies?!
4 oz of dark chocolate 1/2 cup butter 1/2 cup almond flour (or all purpose flour if you don't wish to use almond flour) 1/4 cup cocoa powder 1/2 tsp baking powder 2 eggs 1 cup brown sugar 2 tsp vanilla 1/2 cup chocolate chips (semi-sweet) vanilla ice cream
- Preheat your oven to 350 degrees.
- Melt the dark chocolate and butter over indirect heat. To do this, I put a heat-proof bowl over a saucepan of simmering water, and stir it constantly until it is melted and smooth. Then remove from heat, and cool slightly. Set aside.
- In a separate bowl, whisk together the almond flour, cocoa, and baking powder. Set aside.
- Once the melted chocolate mix is cooled slightly, add the eggs, sugar and vanilla. Mix thoroughly.
- Then stir in flour mix. Mix well.
- Stir in the chocolate chips.
- Pour the brownie batter, evenly between 6 – 125 mL Mason Jars.
- Bake for 25-30 minutes.
- Let them cool slightly before serving, then add a scoop of vanilla ice cream and enjoy!
Tips!
- If you make these brownies ahead of time, just reheat them in the oven at 200 degrees for about 15 minutes, or stick them in the microwave for a few seconds to heat them up.
Dig in friends, dig in.
– – – – – – – – – – – – – –
Come on by and check out some of my other Summer Inspired Posts! I'd love to have you over!
Mason Jar Lanterns | Chocolate Chocolate Chip Ice Cream Sandwiches | Shirley Temple Popsicles
Or connect with me here: Facebook | Twitter | Pinterest | Instagram
– – – – – – – – – – – – – –
DIY Polka Dot Denim
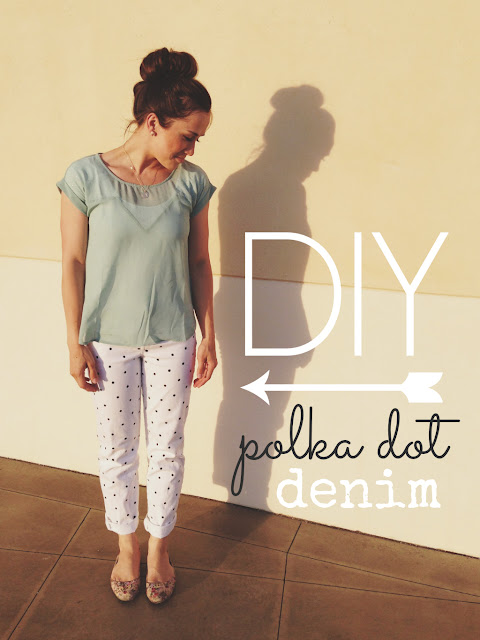
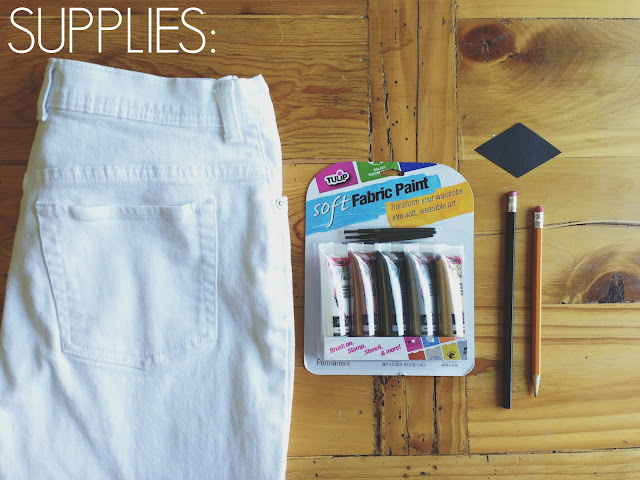
Hello WhipperBerry friends! I'm still on cloud 9 to be able to share here with the rest of the lovely ladies on the WhipperBerry Creative Team…thank you Heather! Today I'll be sharing a tutorial involving one of my favorite patterns: polka dots. They can be fun and casual, classy and bold. I've seen polka dotted pants here and there for a little while now, and I love them! Recently I found a pair of white denim pants with black polka dots that I couldn't help but gush over, sadly the price tag put a stop to that train rather quick. So I made them happen with a pair of pants I already owned! And they're my new favorite pair of jeans. Do you like polka dots? If so, give this a try!
Haley


