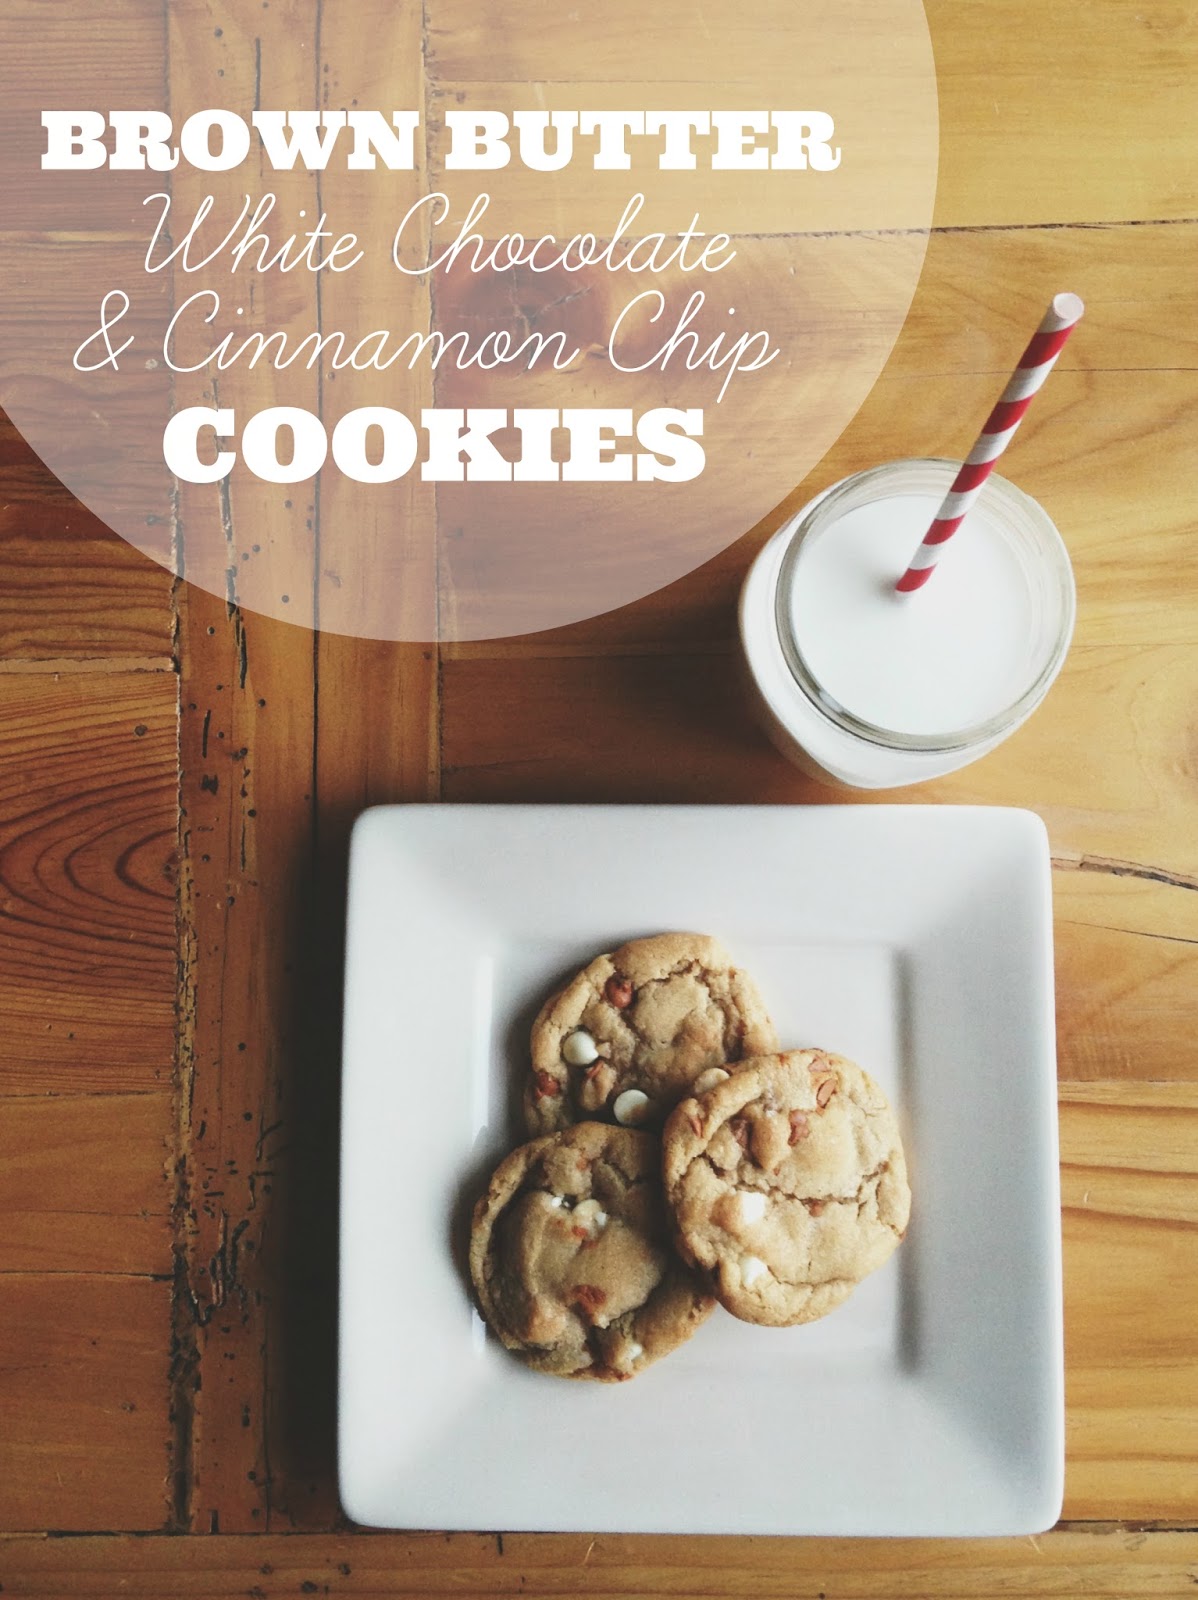
// Brown Butter White & Cinnamon Chip Cookies Recipe //
Thanks again Heather for having me!
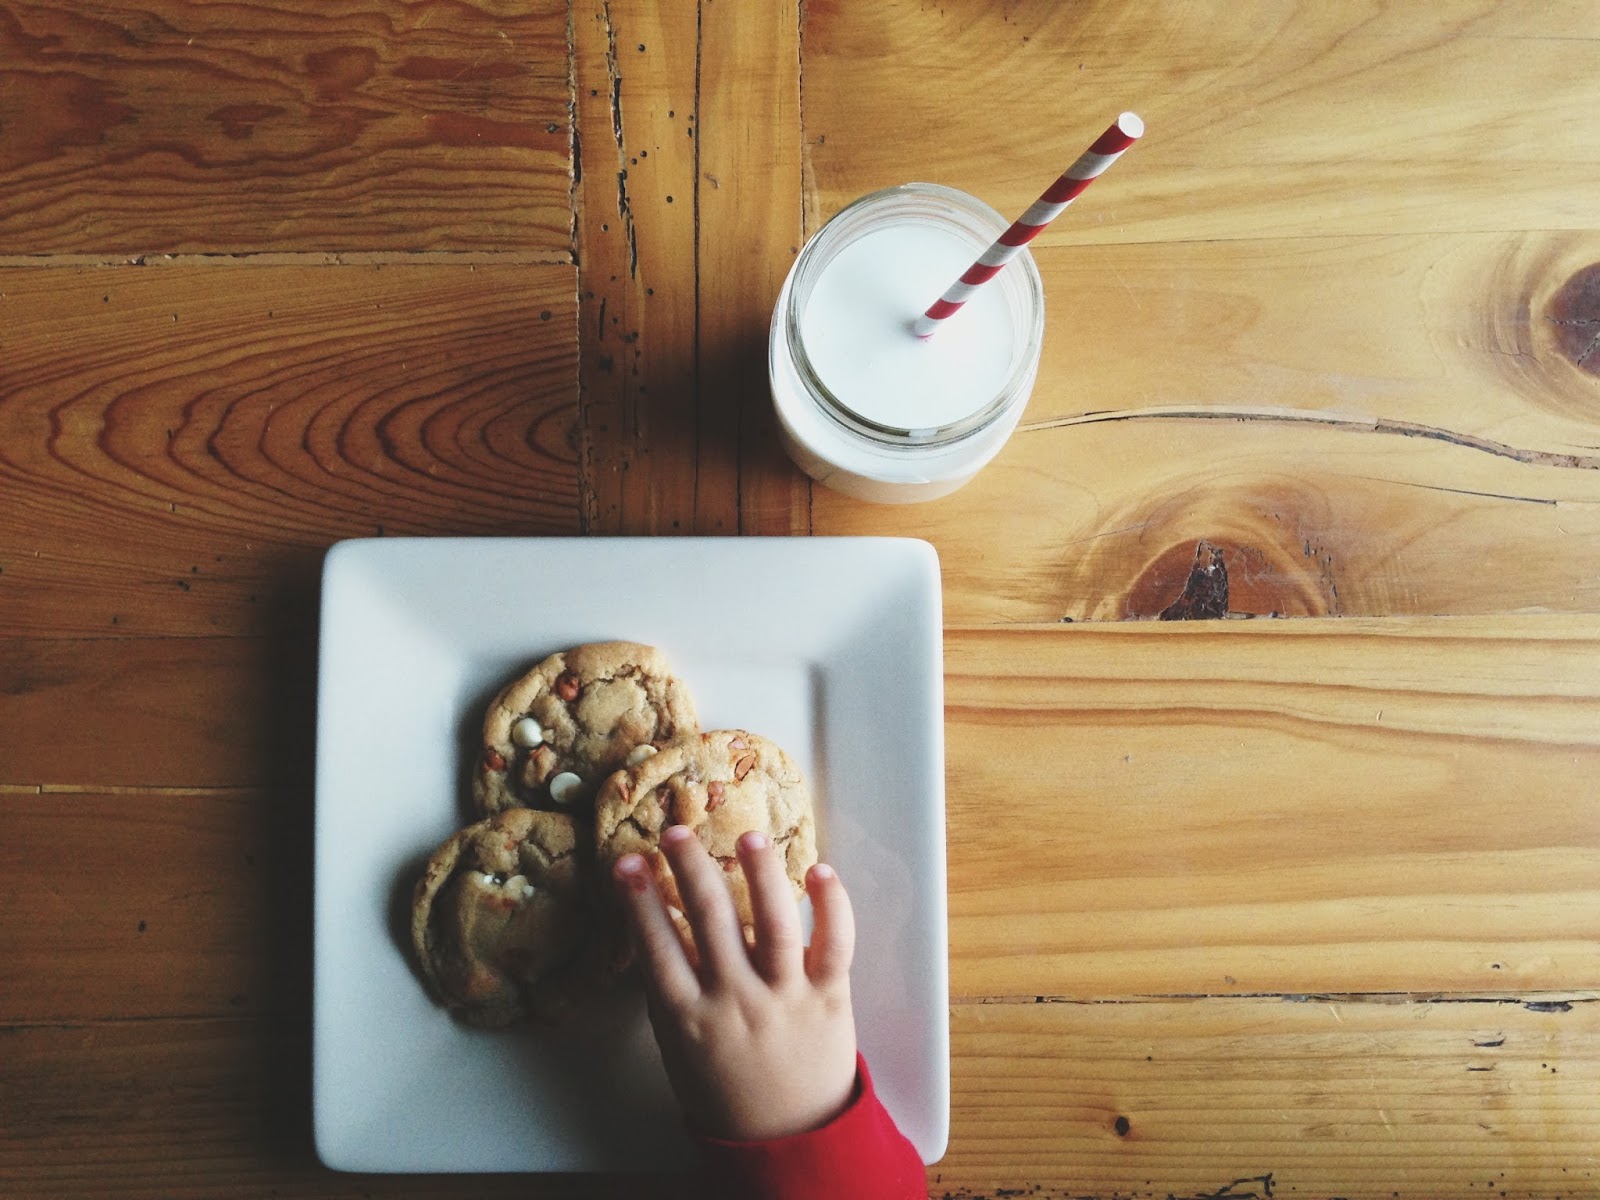
When September arrived a few weeks ago, I absolutely loved knowing my nieces, nephews, and dear little friends were starting up school again. This time of year is so nostalgic for me. It's hard to beat the thought of freshly baked cookies ready at home for our hard-working school kids, right? My little ones aren't quite there yet, but before I know it I'll be sending them off to school, and I hope they'll enjoy coming home to a sweet treat every once in a while.
I recently discovered Hershey's Cinnamon Chips (I've only been able to find them at Walmart) and wanted to try them in cookies. Brown butter anything is a winner in my book, so I looked up my favorite brown butter cookie recipe found here and adjusted the recipe a bit. They have a delicious nutty flavor, rich with the white chocolate, and the cinnamon chips add a wonderful fall flavor. I think they'd be a great after school snack, for kids and parents!


BROWN BUTTER WHITE CHOCOLATE & CINNAMON CHIP COOKIES
{Adapted from Ambitious Kitchen's Nutella-Stuffed Brown Butter + Sea Salt Chocolate Chip Cookies}
2 1/4 cups all-purpose flour
1 1/4 teaspoon baking soda
1/4 teaspoons of salt
2 sticks (1 cup) unsalted butter
1 1/4 cup packed dark brown sugar
1/4 cup granulated sugar
1 large egg plus 1 egg yolk
1 1/2 teaspoon vanilla extract
1 tablespoon plain greek yogurt or sour cream
2/3 cup white chocolate chips
2/3 cup cinnamon chips
Whisk together the flour, baking soda, and salt in a bowl and set aside. Melt butter in a saucepan over medium heat. The butter will begin to foam. Make sure you whisk constantly during this process. After a couple of minutes, the butter will begin to brown and give off a nutty aroma–smelling heavenly. Immediately transfer the butter to a bowl to prevent burning. Set aside to cool for a few minutes.
With an electric mixer (I used my kitchen aid with the paddle attachment), mix the butter and sugars until thoroughly blended. Beat in the egg, yolk, vanilla, and yogurt until combined. Add the dry ingredients slowly and beat on low-speed just until combined. Gently fold in all the chocolate chips.
Chill your dough in a covered container for about 2 hours in the refrigerator. Just before the dough is done being chilled, preheat the oven to 350 degrees F. Scoop balls of dough (about 2 tablespoons) onto a lined baking sheet. Bake for 9 minutes (a little more or less depending on your oven). They will look a bit underdone in the middle, but will continue to cook once out of the oven. Let cookies sit on baking sheet for a minute or two, then remove them and let them fully cool on a wire rack. Or, if you're like us you'll enjoy one or two straight off the pan, being sure to "blow blow blow" as my little boy would say. 😉 Repeat with remaining dough and enjoy!!
xo,
Haley
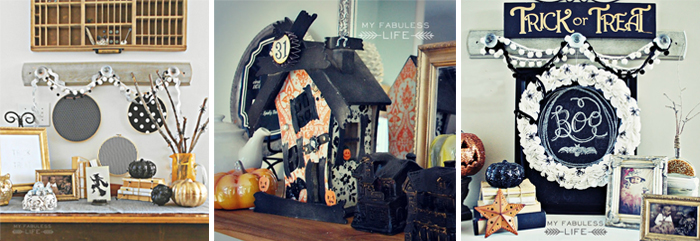
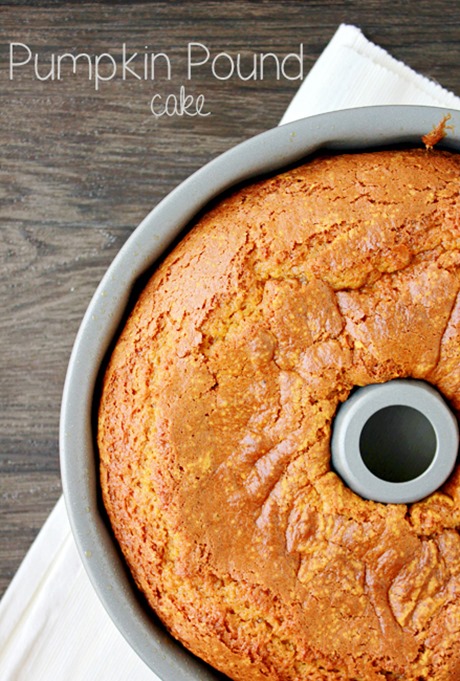
And here are a few recipes and projects that make my autumn-loving heart all sorts of happy: