Hello my Whipperberry friends! It's me, Shannon, from eat.sleep.make. If any of you follow us over at ESM, you know that I'm a vegetarian. I share an abundance of veggie-friendly recipes that I've come up with. Today I'm going to share with you a delicious (and very pretty, if I may say so) Cole Slaw lettuce wraps recipe. This is perfect for holiday gatherings or even just for no reason at all! I chose to use all organic products. And not only is this organic and vegetarian, but it is also gluten-free.

Measurements:
1/2 cup Cranberries
6 cups chopped Cabbage
1 Carrot
1/3 cup Mayo
1 tablespoon Honey
Fresh Ground Black Pepper (to taste)
1 teaspoon Celery Seed
1/2 Squeezed Lemon Juice
Feta
1 teaspoon Raw Sugar
1 – Slice and dice your cabbage and carrot
2 – In a food processor, chop up your cranberries and Raw sugar.
3 – In a bowl, mix your cranberry/sugar into the mayo, lemon juice, and honey.
4 – Pour cranberry/mayo mix onto cabbage and carrots. Add celery seed and black pepper – MIX.

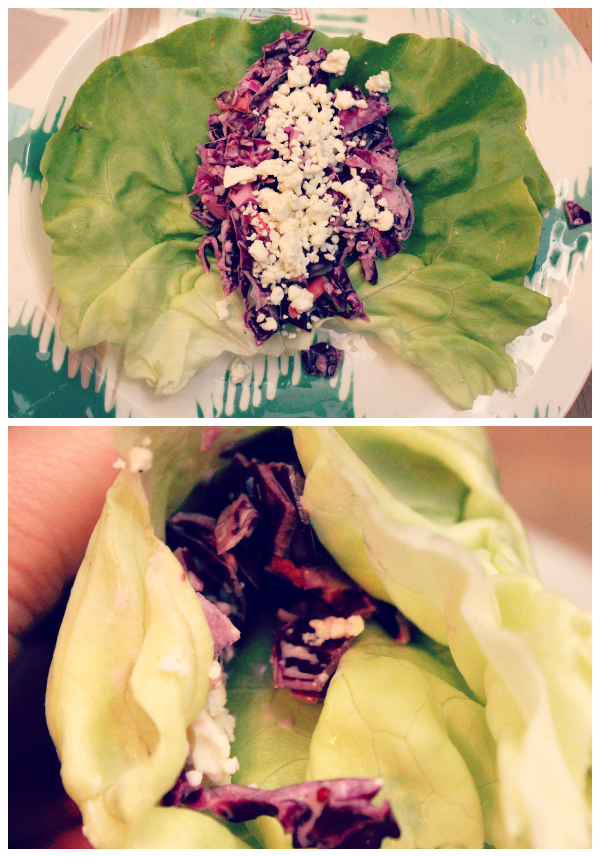
5 – Once your cole slaw is done, clean and lay out one leaf of butter lettuce. Fill it with your cranberry cole slaw, drench with feta and wrap it.
6 – Enjoy!
Stop on over at eat.sleep.make. and check out some of my other vegetarian friendly recipes!