• Skip to primary navigation
  • Skip to main content
  • Skip to primary sidebar
  • Skip to footer

Whipperberry

WhipperBerry • Your Home For Creative Inspiration

  • Home
  • Recipes
    • Starters
    • Easy Weeknight Dinners
    • Main Dish
    • Salads
    • Side Dish
    • Soups & Stews
    • Desserts
    • Breakfast
    • Miscellaneous
  • Tutorials
    • Creative Crafts
    • DIY Decor
    • Fabric Crafts
    • Food How-To
    • Jewlery
    • Paint Projects
    • Paper Art
    • Party Styling
    • Photography and Graphic Design
    • Silhouette
  • Holidays
    • Easter
    • Mother’s Day
    • Father’s Day
    • 4th of July
    • Halloween
    • Thanksgiving
    • Christmas
    • Valentine’s Day
  • Gift Ideas
    • Gifts For Everyone
    • Gifts for Dad
    • Mother’s day
    • For The Girls
    • For The Kids
    • Teacher Gift Ideas
    • Christmas
  • Printables
    • Holiday
    • Gift Idea
    • LDS Primary
  • Travel
  • About
    • Terms
  • Contact
  • Nav Social Menu

    • Facebook
    • Instagram
    • Pinterest
    • RSS
    • Twitter

Creative Team

DIY Paper Fan Photo Ornaments

57 · Dec 8, 2013 · 7 Comments

 
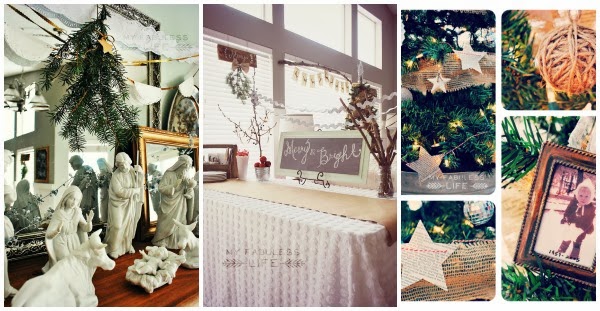
Hello everyone! December snuck up on me…but I'm grateful Heather is so sweet to still share my photo ornament project! Hopefully some of you are like me, and still doing holiday crafting and decorating. Anyone? Buhler?? haha! I love subtly incorporating photos into decor…as seen here. 🙂 I made quite a few photo ornaments this year…and hope to carry on the tradition in years to come, making just a few more ornaments each year to add to the collection, displaying sweet winter memories.
 
Supplies you'll need:
Cardstock (I used gold glitter cardstock from Joann Fabric & Craft)
White Cardstock (or whatever color you'd want to frame/outline your photo)
Hot glue gun (with extra glue!)
Scissors
String/twine/yarn
Photos!
 
You can print/create your circular photos a few different ways:
–> I used two apps on my phone–Afterlight to get the photos into frames, then Diptic to put the circular photos into a collage (I put one picture in one part of the two-picture collage, and printed them out as 4×6's)
–> Print a bunch of photos (I liked mine black and white) and then use a cup or something circular to trace circles onto the photos….just make sure they're as uniform as possible.
–> Or you can use an online photo editing site like PicMonkey to create the circular pictures.
 
Then cut!
 
You'll want to reinforce the sturdiness of the photo by hot glueing the photos to card stock, then cut them out again (I left a thin frame/outline around the edge).


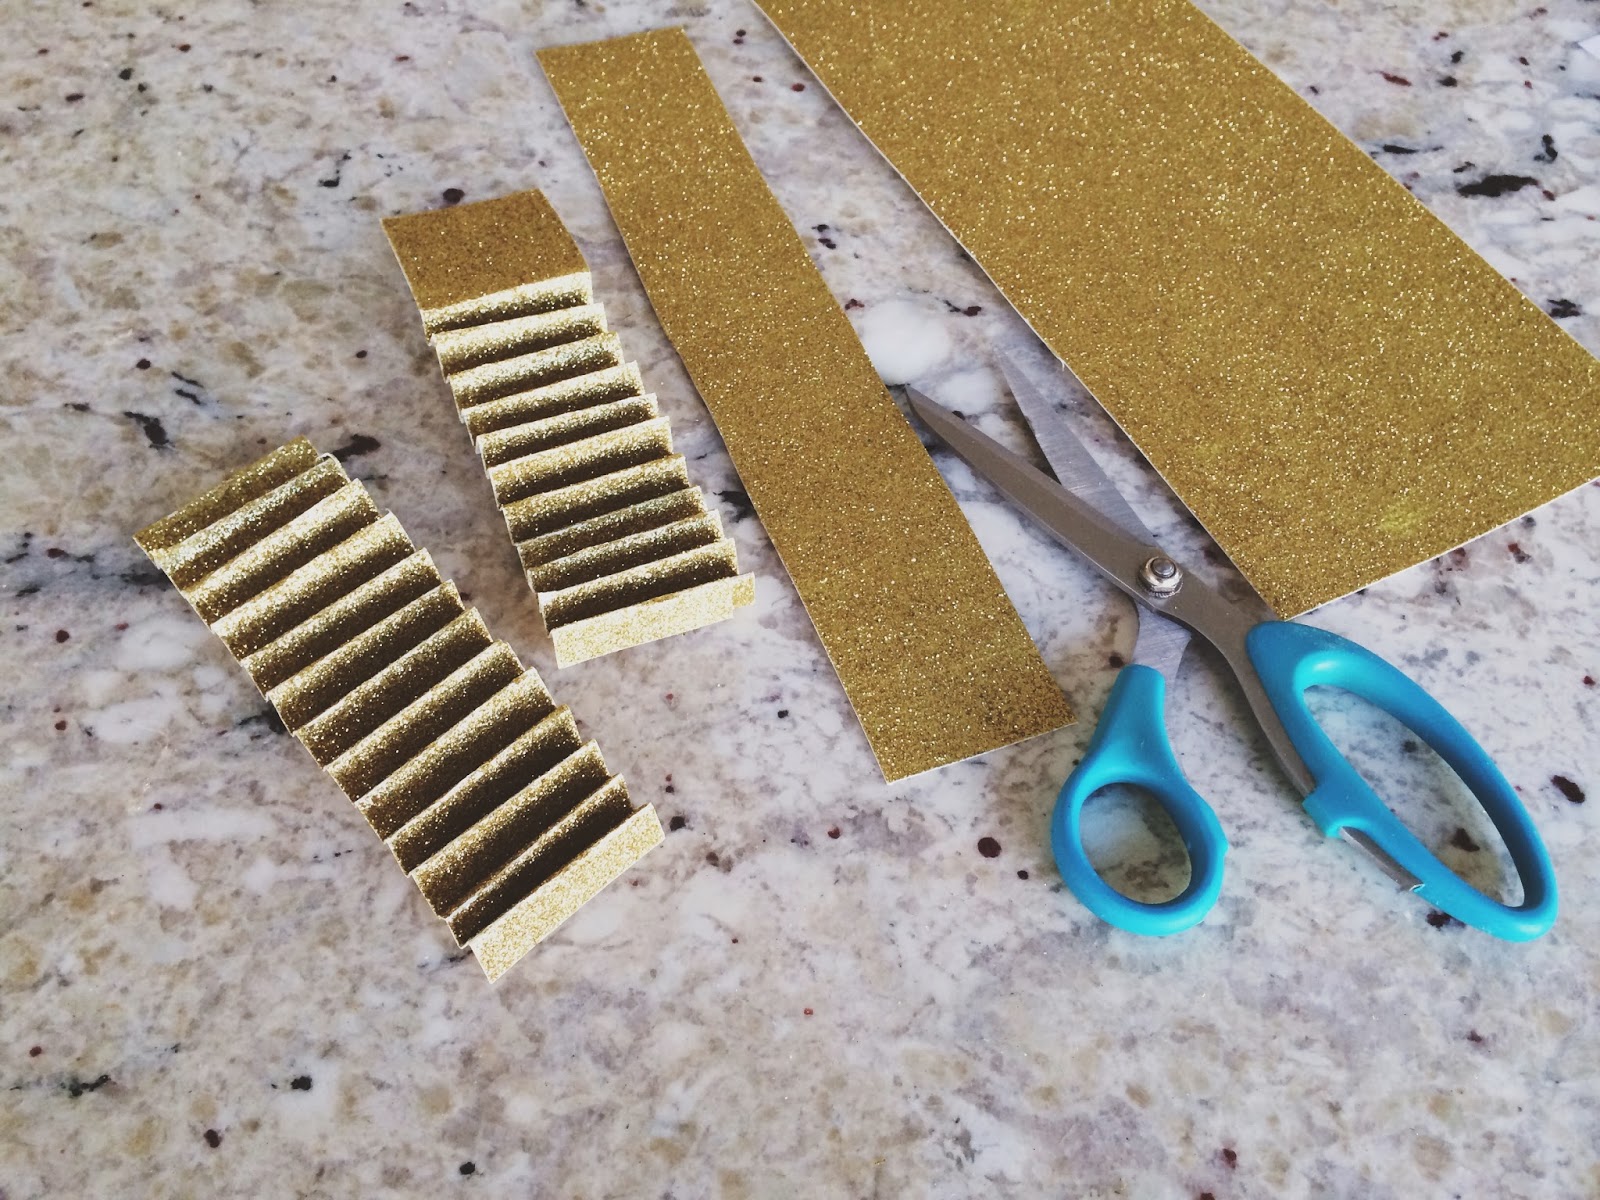
To create the paper fans, I used a tutorial Heather actually shared a few years ago over on the lovely Stephanie Lynn's blog, Under The Table and Dreaming. 🙂 Go here to see the how-to. Just be sure that the width of the paper strips you cut out (you'll need two strips per ornament) are a little more than what the radius (half the width) is of your circular photo.
 
Heather's tutorial for the paper fan has you glue a piece of paper to back, which I did here–and I wrote the month/year of the photo that would be on the front. And with the thicker card stock paper, I needed more than just a drop of glue, so I put about 3 or 4 circle/swirls of hot glue (moving quickly, as it dries fast) on each cut-out circle and pressed them onto the paper fan and held for a few seconds to make sure it was secure. 
**A photo is hot glued on the back of the lower fan already…that way I didn't have to hold it for the picture I was taking. But you'll need to hold it tight and flat on your work surface until you hot glue your paper to it.
 
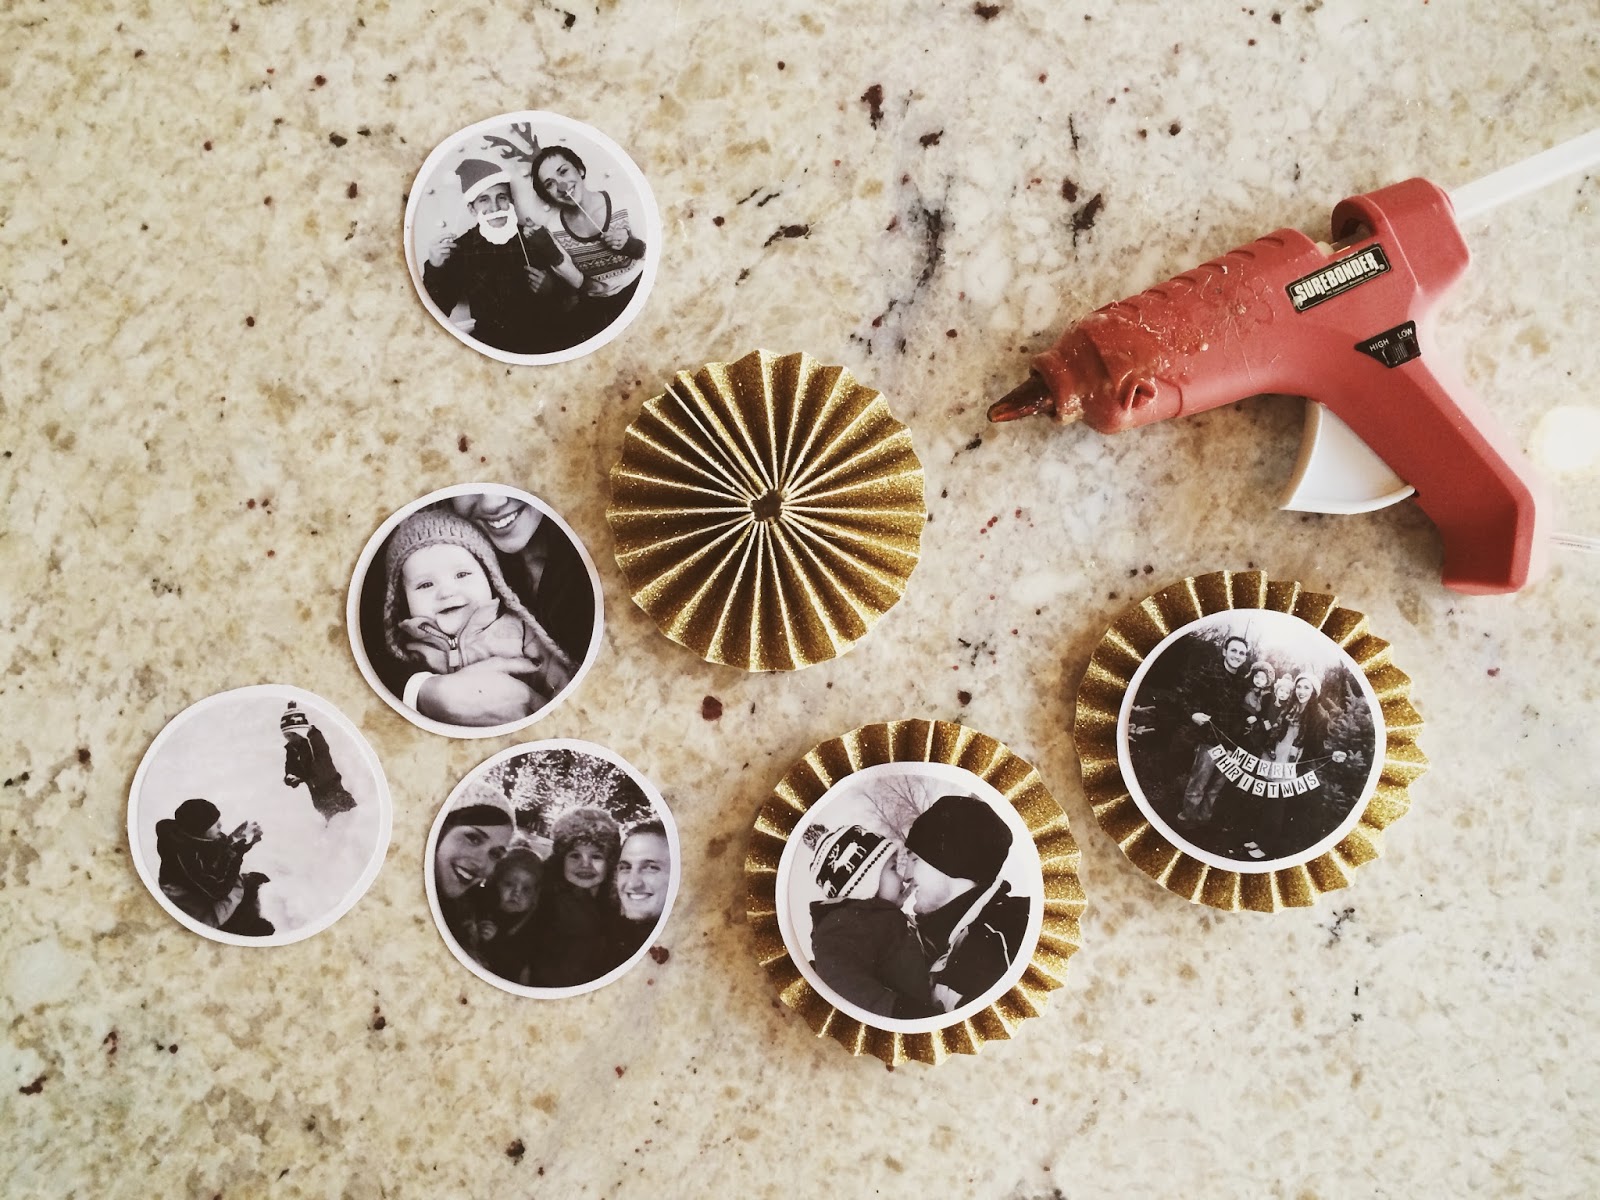
Then you'll hot glue the photos…it's coming together! Again, quickly swirling the hot glue around the back of the paper/photo to make sure there is good coverage, then press it onto the paper fan and give it a good rub down to make sure it stays put. 😉 


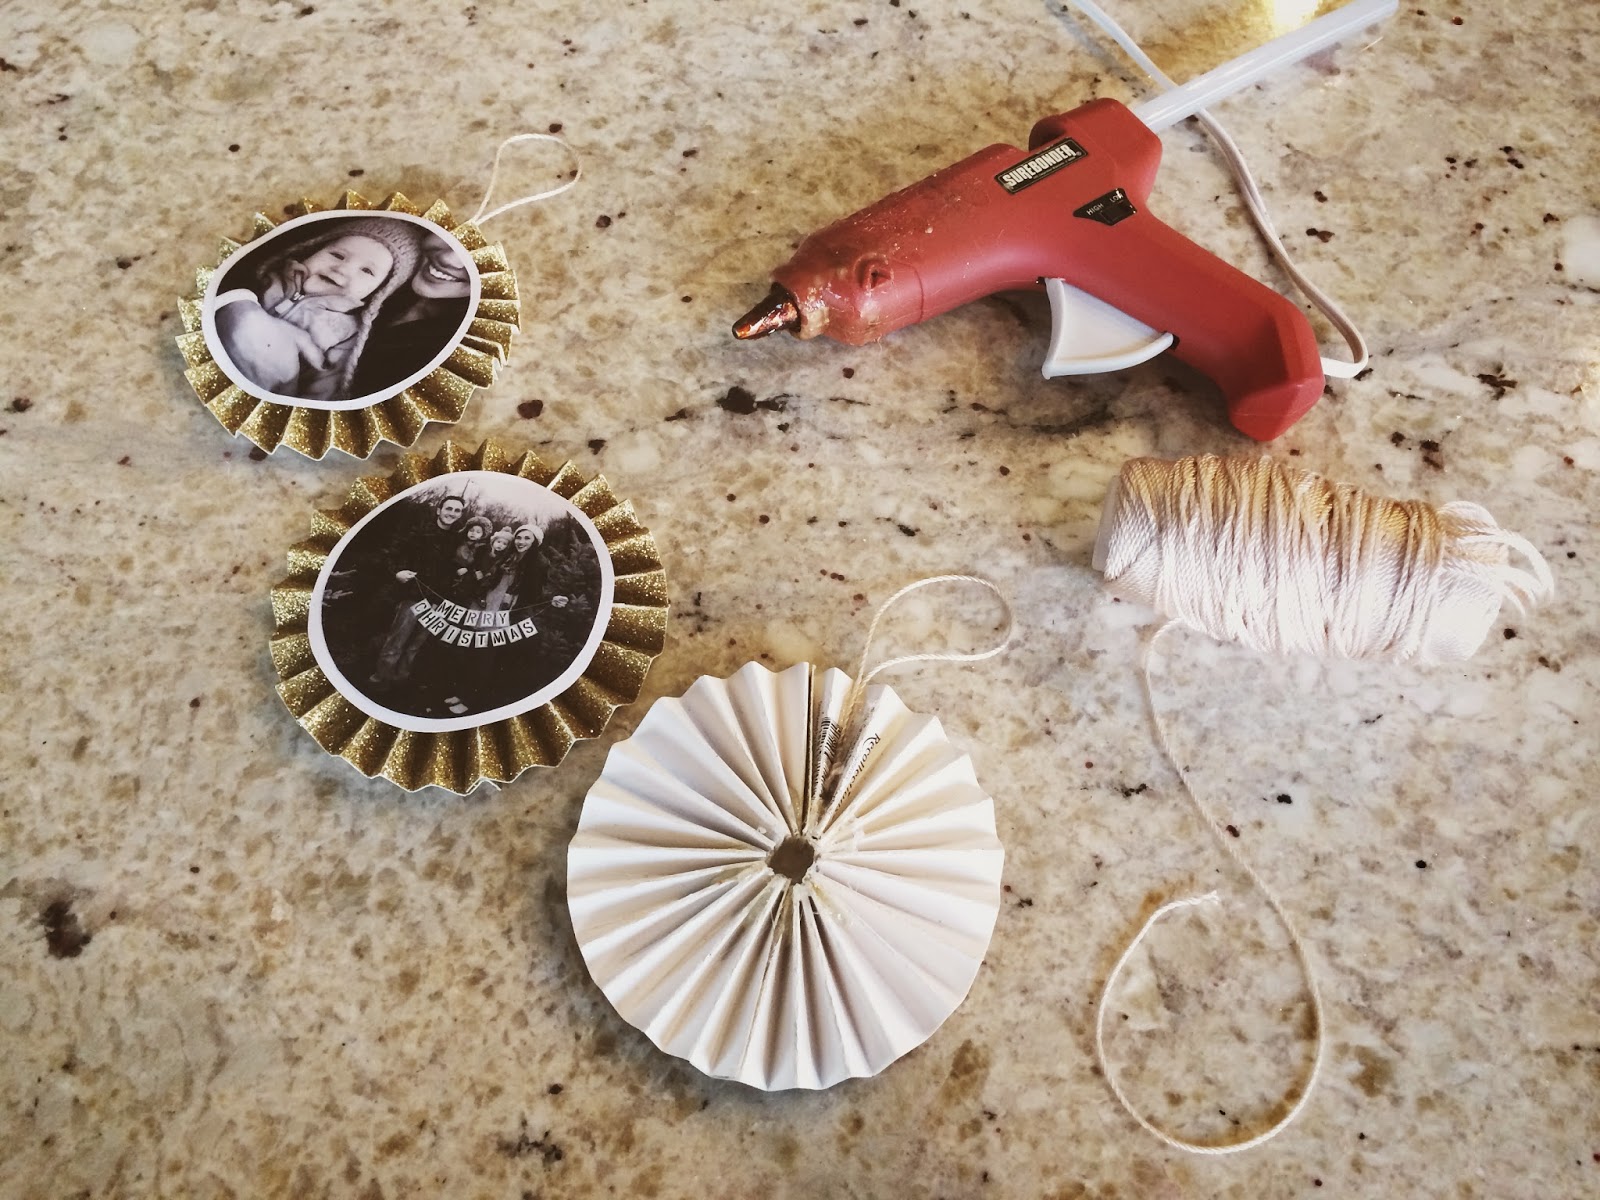
Next, put the "hangers" on. I just cut pieces of the string/twine and, with a dab of hot glue, glued the two ends to the back, in one of the folds). And I used a pen to push the string down and get it nice and stuck in the glue. Remember to make sure you're putting the loop at a spot in the back where, when it hangs, the picture will be straight. 🙂 
 
Voila!!


Then trim your tree and deck yours halls!! I used ours as ornaments…but I'm thinking I may make more and create a garland for over our mantle. Lots and lots of possibilities. 🙂
 

Thank you Heather! And thank you WhipperBerry readers! Happy Holidays everyone!

 
xo
Haley
 
PS – Here are a couple Christmas projects I shared last year:
 
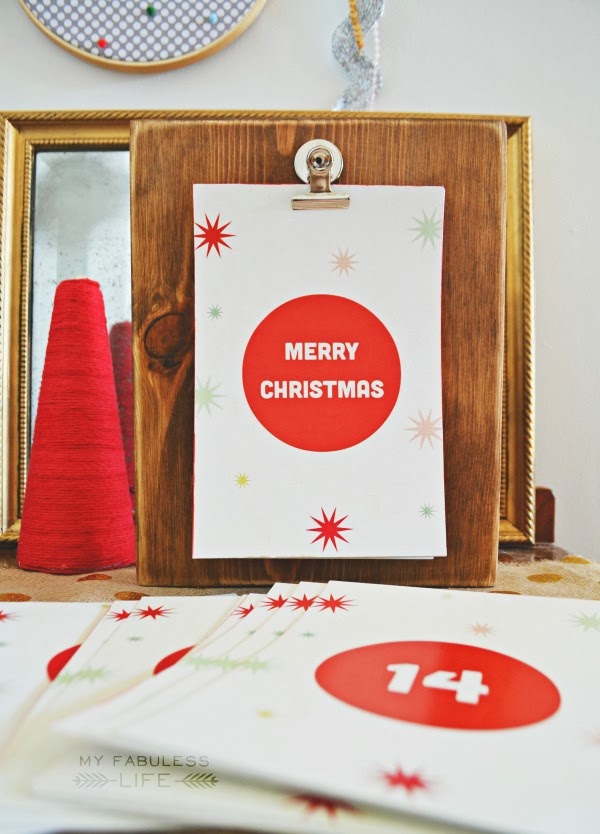
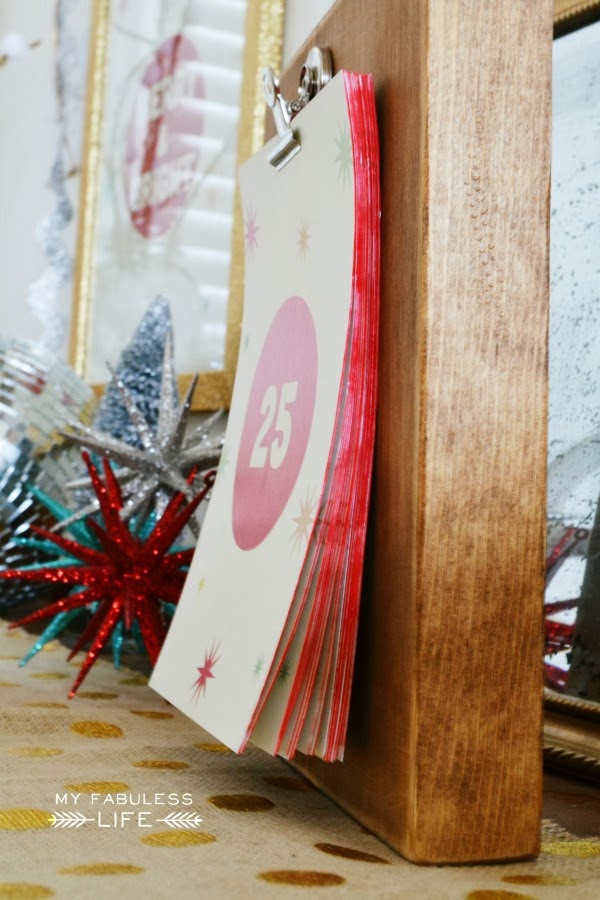
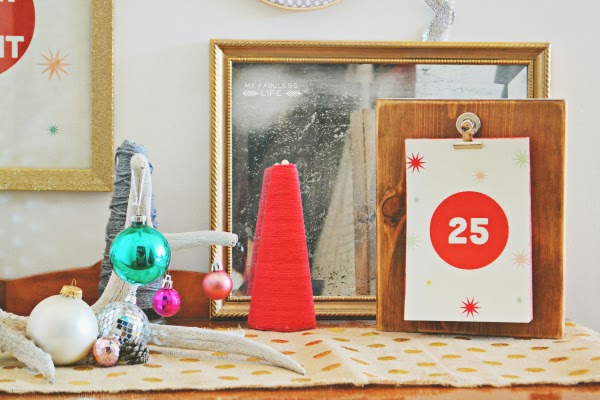
Go here for our Christmas box advent calendar…love this magical season and the sweet traditions that come with it!! 
 
Go here for stencils to create these Christmas photo booth props. We used them for our Christmas card, as well as at an Ugly Sweater party and a company holiday party! SO FUN.

Caramel Corn Recipe

0 · Dec 3, 2013 · 5 Comments

Caramel Corn Recipe //  Hello Whipperberry friends!  Can you believe that it's December already?  It feels like this season flies by so fast…it's hard to take it all in isn't it?  There's just so much to do, and so little time to do it!  But I admit I love it all…the fast pace of the malls, the music, the gatherings and the goodies.  Oh my, how much do I love the goodies!  I might need a bigger pants by the time January rolls around!  Nah, holiday calories don't count right?!  😉

Speaking of goodies, I wanted to share a family favorite recipe with you today.  This caramel corn is actually my Grandma's recipe, and I remember my Mom making it for us every year…I always looked forward to it!  And now I make it for my family.  Don't you just love recipes that get passed down through the generations?  There's something so special about sharing a recipe with your loved ones that generations before you have been enjoying too.  Love that so much.

Anyway, this caramel corn is SO good.  Creamy, and chewy and delicious!  I hope you try it and love it!

Caramel-Corn-{A-Pretty-Life}

This caramel corn is also perfect for gift giving or simply just enjoying with your family during a movie night!  It's quick and easy to make and it's crazy delicious!  Trust me when I say this treat will get devoured.  I seriously could eat this all by my lonesome!

 Whisk

Ingredients

  • 1⅓ cups granulated sugar
  • 1 cup salted butter
  • 1/2 cup corn syrup
  • 1 tsp vanilla
  • 8 cups popped popcorn
  • 1 cup pecans & almonds (optional)

Instructions

  1. Pop your popcorn.  Then measure out about 8 cups and spread it out onto a large cookie sheet.
  2. If you wish to add nuts to your popcorn, you might want to toast them in a 350 degree oven for 2-5 minutes, watching them very carefully.  Toasting them brings out amazing flavor!  When the nuts are toasted, sprinkle them over the popped popcorn.  Set aside.
  3. Now on to the caramel!  In a saucepan melt the butter, then add the sugar and corn syrup.
  4. Bring to a boil over medium heat, stirring constantly.
  5. Continue to boil, stirring occasionally until the mixture turns caramel colored.
  6. Remove from the heat and stir in the vanilla.
  7. Then pour the caramel over the popcorn and nuts.  Using a fork, gently mix, and separate into clusters.
  8. You can eat it at this point while it's soft and warm, or you can let it cool and enjoy it later.
  9. Store in a tightly closed container.

Deeeelish!  I hope your holiday season is full of cheer and much deliciousness!

– – – – – – – – – – – – – – – –

If you get at chance this season, I'd love for you to stop by my blog for some Christmas cookie recipes!  Yum.

Christmas-Cookies-{A-Pretty-Life}

Mint Chocolate Chip Blizzard Cookies  |  Candy Cane Crumble Nutella Cookies  |  Eggnog Ice Box Cookies

Have a delicious day! Signature

Free Printable Christmas Countdown and Wood Clipboard Tutorial

0 · Nov 26, 2013 · 3 Comments

Hi all!  It’s Jenn from My Fabuless Life.  I’m SO excited that the Christmas season is HERE, and even more excited to share a little printable Christmas Countdown project with all of you.  If you follow me on my blog, you already know that I’m a sucker for all things counting down to the big Holiday, so this is one of several advent calendars that I have around my house.  
 
 
All you’ll need for this project is:
* a block of wood (mine is 8×10, purchased from a local woodcraft store, but you can easily use whatever scraps you have lying around, or even a picture frame).
*a metal clip or clothespin
*the printables I’ve provided for you at the end of the post
 
I sanded and rounded out the edges of my wood block, and then stained it with my favorite stain (Early American from Minwax).  Once the stain was dry, I sanded the edges again to give them a more aged look,
then I hot glued the clip on in the center of the wood. 
 
 
To give the cards a little something extra, I colored the edges with a red marker. 
 
 
This would be a really fun project with a picture frame too.  Just put some pretty paper inside the frame, and glue the clip to the glass on the frame.  
 
 
{DOWNLOAD FILES HERE}
 

Enjoy!  And happy Holiday decorating!  You can get details on my full Christmas display (including details on the coordinating "Merry & Bright" print) over at My Fabuless Life.


Or you might enjoy a few of these other Christmas projects:

Gold & White Nativity / Holiday Table Decorating Tips / $20 Handmade Tree 


Grinch Oreo Pops

2 · Nov 21, 2013 · 5 Comments

Hello Whipperberry readers!  Jenn here from Clean and Scentsible. I am SO excited to be back here today with these fun Grinch Oreo Pops….

Grinch Oreo Pops.  So fun!

Although I love celebrating all of the holidays, the Christmas season is by far my favorite.  December is always filled with so many activities with family and friends and I love repeating all of our Christmas traditions.  The kids and I look forward to all of the Christmas specials that come on television and The Grinch Who Stole Christmas is always on the top of our list.  This past weekend, we had an early Grinch party with some of the neighborhood kids to start off the Christmas season and these Grinch pops were the hit of the party!

Grinch Oreo Pops.

Ingredients

  • Oreo cookies
  • wooden skewer sticks {or thin sucker sticks}
  • green candy melts {I used about half a package for 8 pops}
  • banana marshmallows
  • black edible ink pen
  • large red sprinkle for the nose
  • strawberry marshmallows
  • mini marshmallows
  • toothpick
  • white mini cupcake liners

Directions

  • Melt chocolate melts in the microwave according to package directions.  Be careful not to overheat.
  • Cut banana marshmallows into small almond shapes for the eyes and use the edible ink pen to draw in an eyeball.  
  • Insert skewer into the center of the Oreo.
  • Spread chocolate around all sides of the cookie.  
  • Add eyes and the sprinkle for the nose.
  • Place on parchment paper and allow chocolate to harden.
  • Spread out cupcake liners, turn it upside down, ad pierce skewer through the center.

NOTE: My original plan was to draw on a mouth with the edible marker, however, it did not draw well over the chocolate and I just decided to skip it.  If you would like to do a mouth, you could try using a toothpick to carve it out of the chocolate before it hardens.

Grinch Oreo Pops

Even if you are not having a party, these pops would be great for a family Grinch night or fun class treat!  And of course, you can't have Oreos without milk! 🙂

If you are looking for more Grinch party ideas, head on over to Clean and Scentsible to see the rest of the party.

Grinch Party.

 Feel free to check out some of my other Christmas projects while you are there or connect with me here: FACEBOOK / PINTEREST / INSTAGRAM / TWITTER 

Fun Christmas projects!

Elf on the Shelf Breakfast / Twinkling Christmas Canvas / Chocolate Oreo Cheesecake Balls

"Maybe Christmas", he thought, "Doesn't come from a store.  Maybe Christmas, perhaps, means a little bit more."

Happy Holidays!

  • « Go to Previous Page
  • Page 1
  • Interim pages omitted …
  • Page 5
  • Page 6
  • Page 7
  • Page 8
  • Page 9
  • Interim pages omitted …
  • Page 14
  • Go to Next Page »

Primary Sidebar

Heather from Whipperberry
Hello... my name is Heather and I'm the creator of WhipperBerry a creative lifestyle blog packed full of great recipes and creative ideas for your home and family. I find I am happiest when I'm living a creative life and I love to share what I've been up to along the way... Come explore, my hope is that you'll leave inspired!

Footer

  • Privacy Policy
  • Crafts
  • Food
  • Gifts
  • Holidays
  • Home
  • Mom Life
  • Recipes
  • Travel

Copyright © 2026 · Seasoned Pro