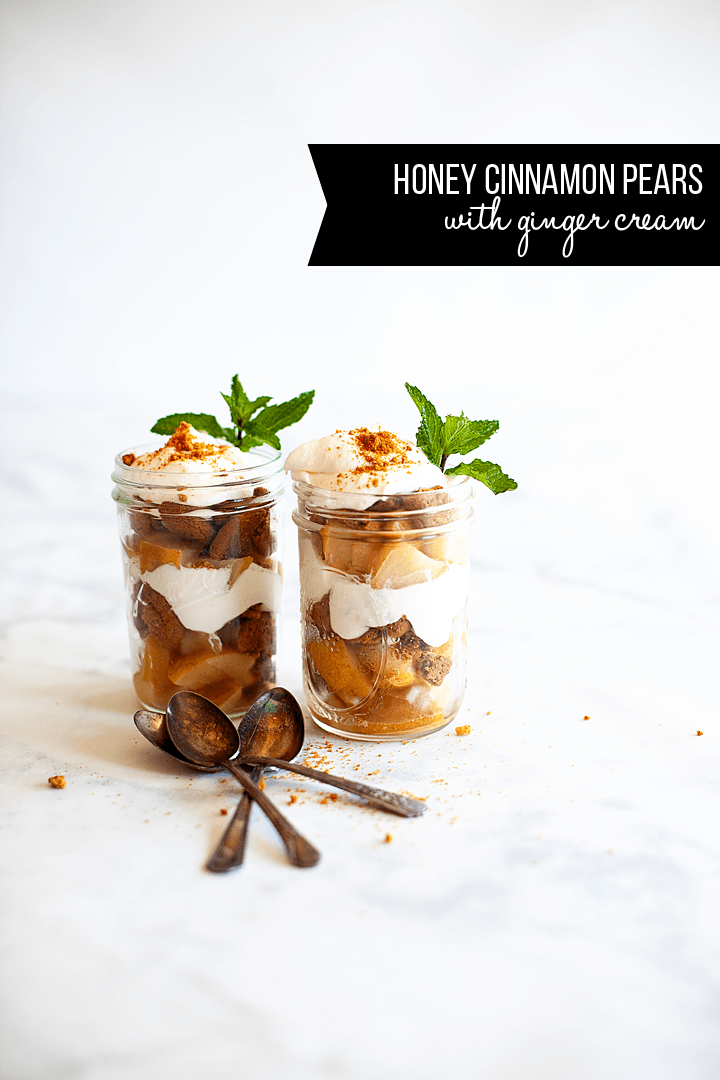
Peanut butter and jelly, mac and cheese, grilled cheese and tomato soup… The food world is filled with classic pairs. Foods that work so harmoniously together that they become synonymous with each other. Within this world, there are a few hidden gems that people tend to miss if they aren’t out there looking for it. One of those pairings is ginger with pears, it’s delightful! This month’s fresh preserving recipe is honey cinnamon pears with a lovely ginger cream. Come follow along as I preserve some pears and then make this late summer early fall dessert that will for sure tickle the taste buds.
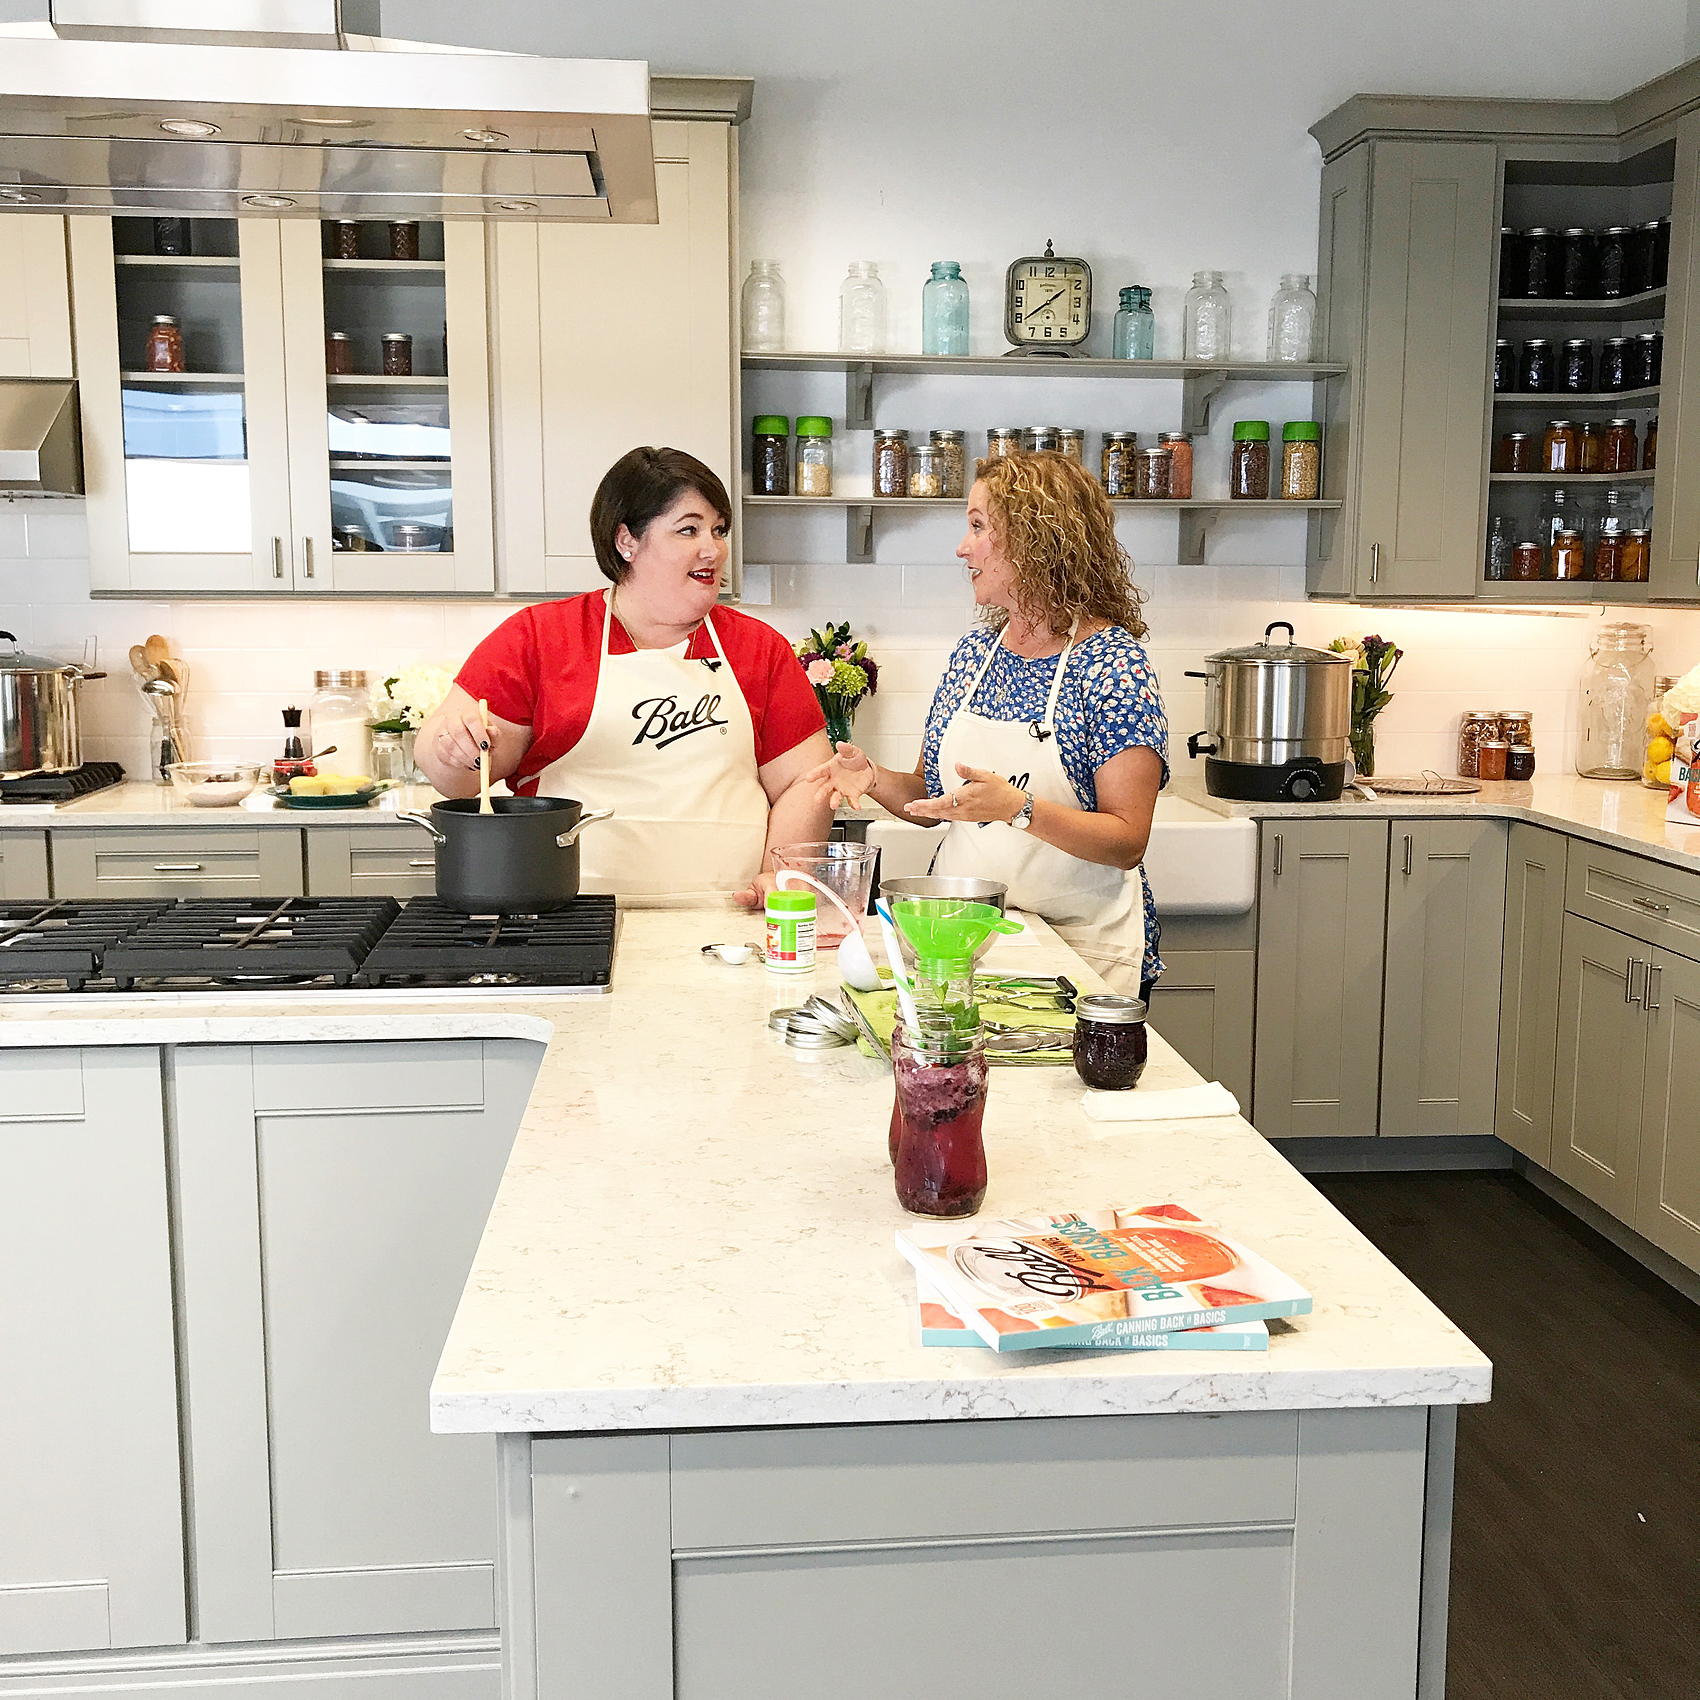
+ This post is brought to you by Ball® Fresh Preserving Products by Newell Brands +
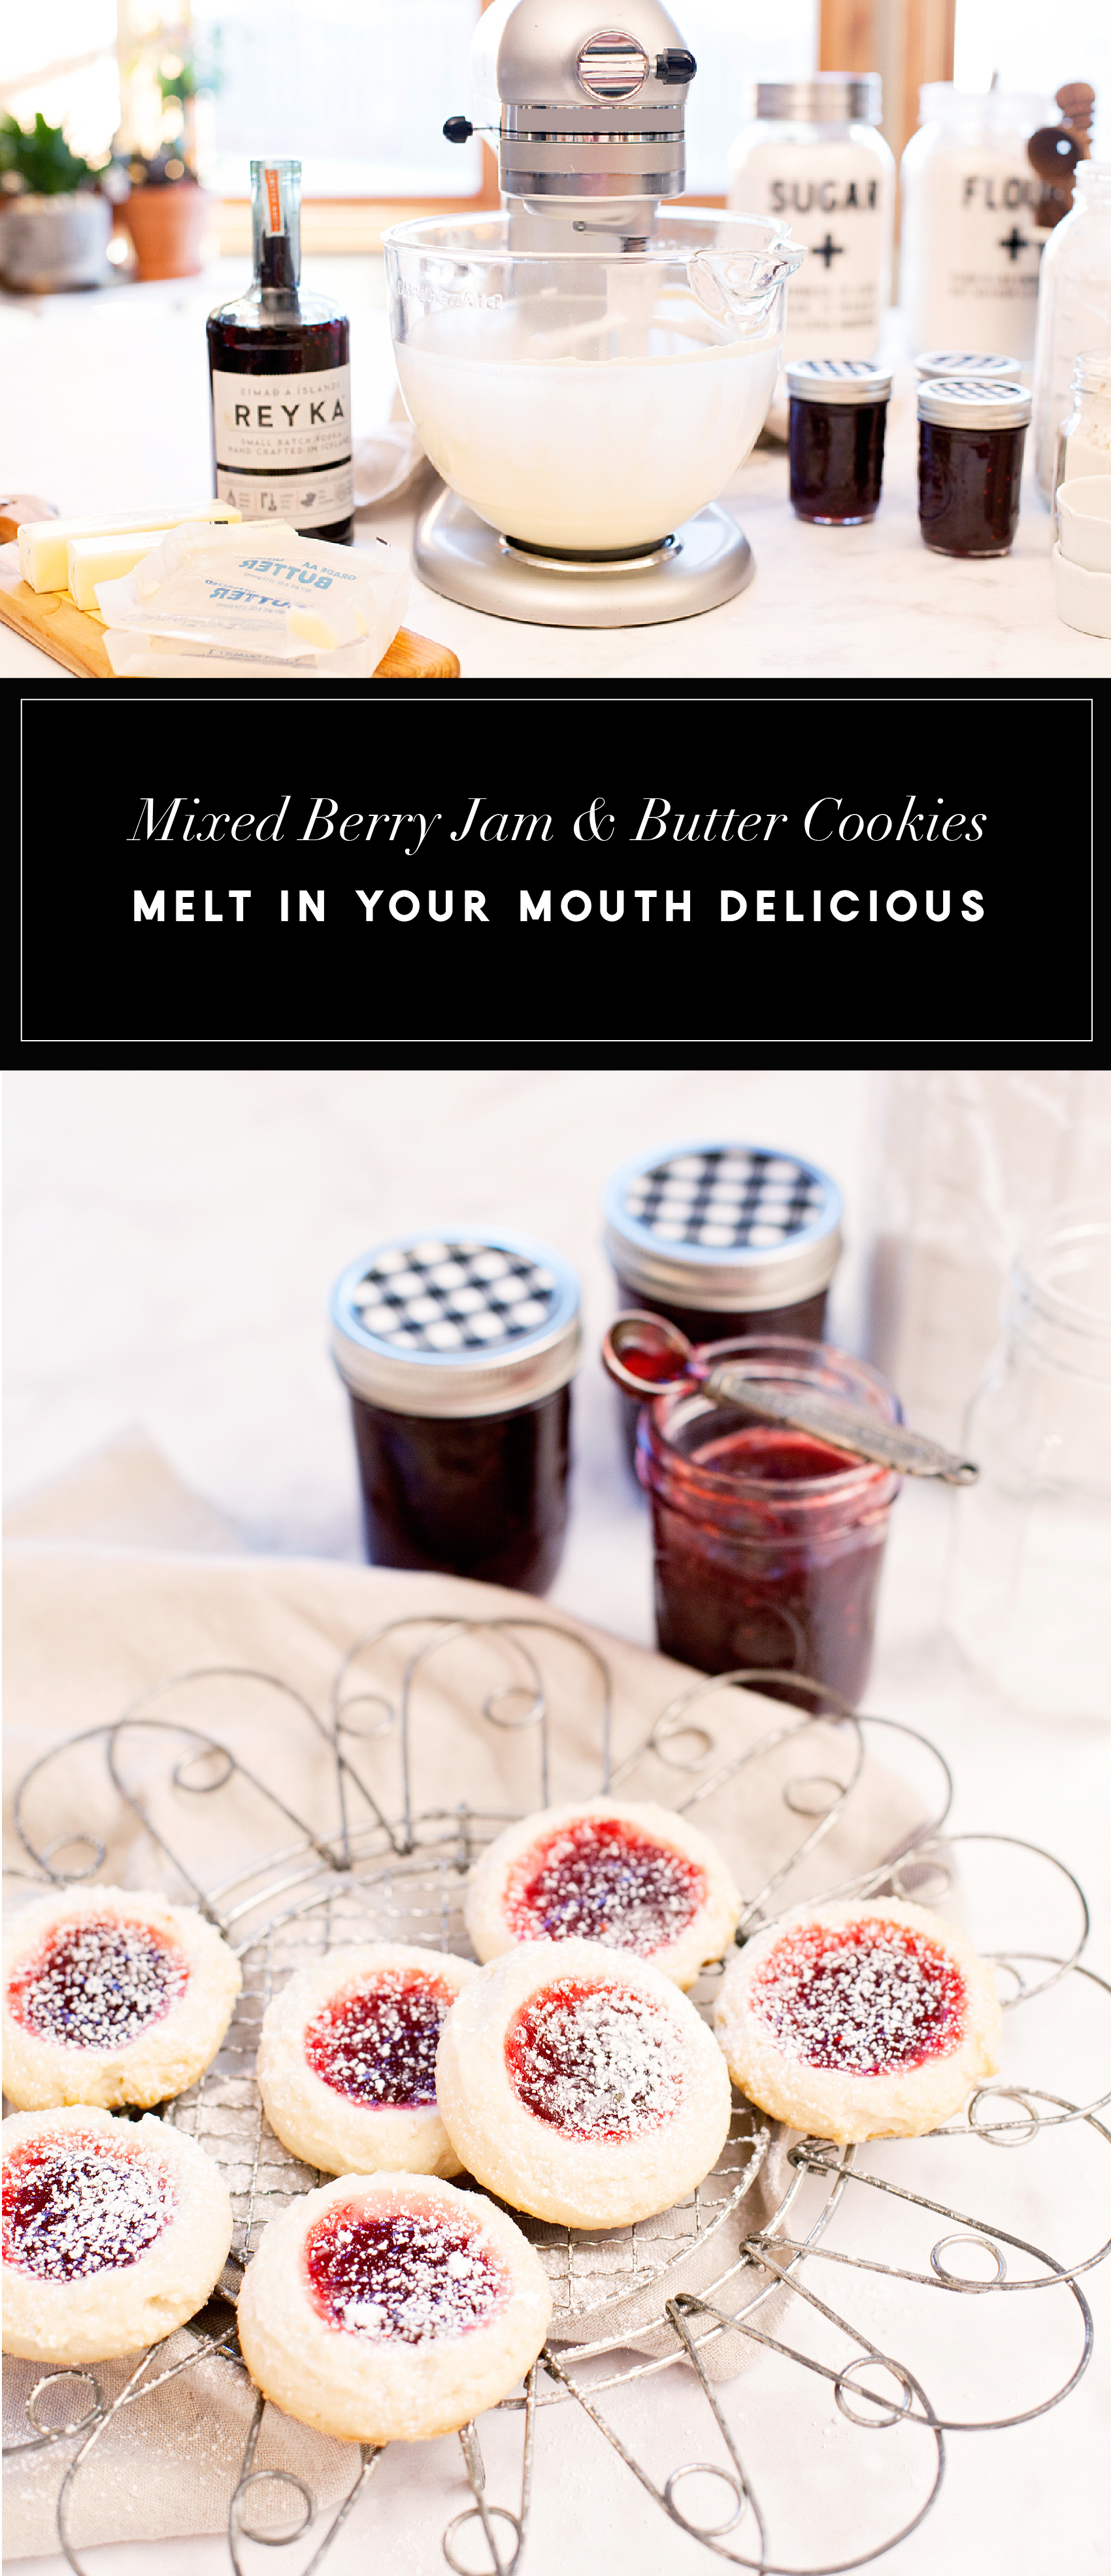
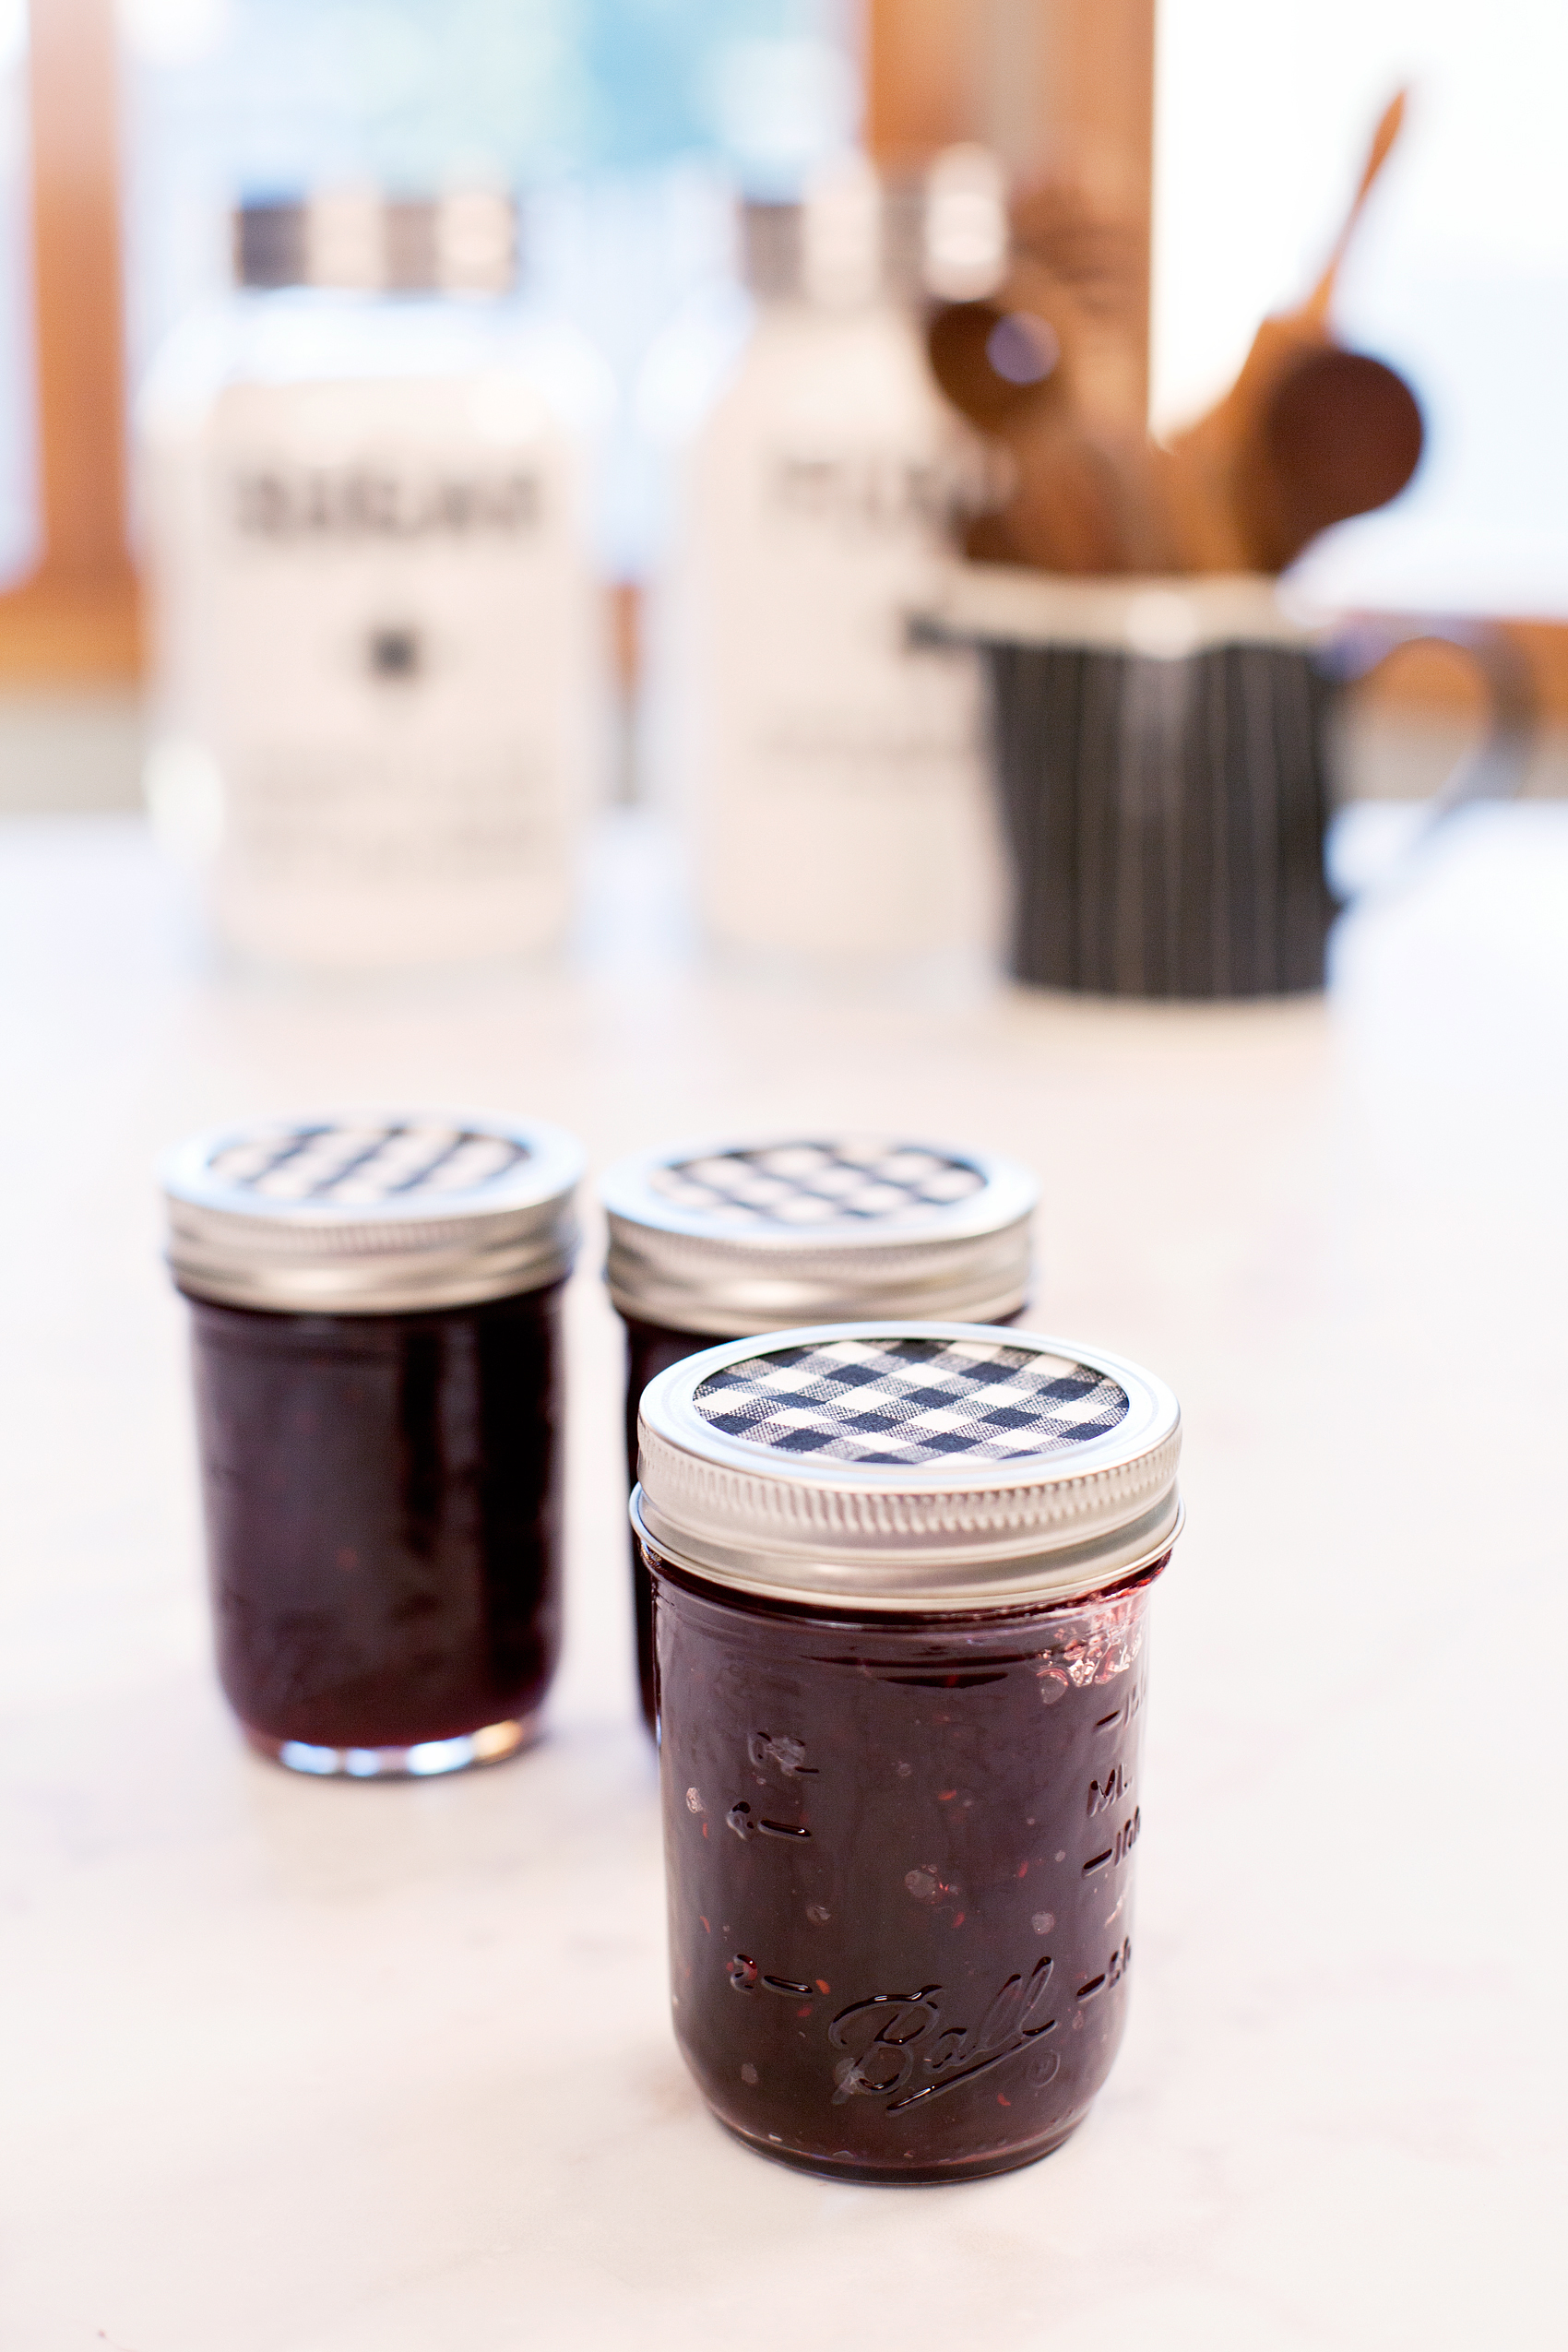
I have fallen in love with learning all about preserving fresh produce at the peak of their freshness. Even more, I love having it to savor for months to come. One of my favorites is the mixed berry jam that I added to some homemade ice cream last month… divine!
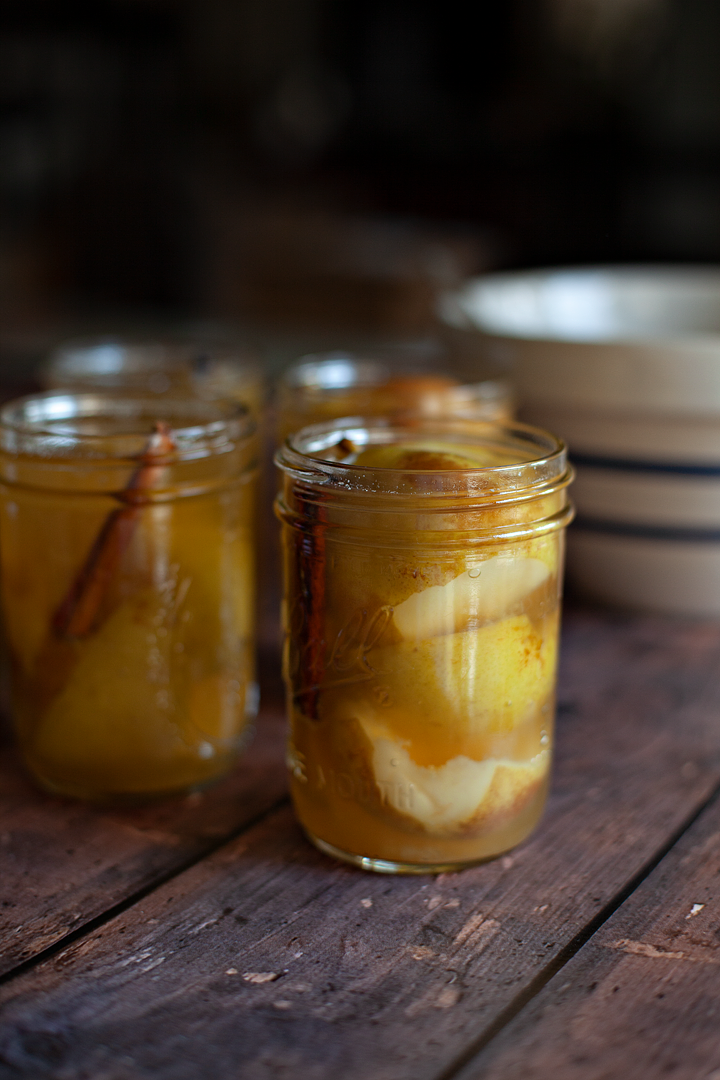
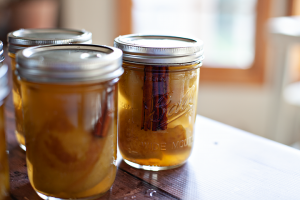
This month I’m preserving pears using a recipe from the Ball® Brand that is light and sweet capitalizing on honey and apple juice instead of sugar. This creates a lighter syrup that I really like. The addition of cinnamon is perfect as well.
Tips For Preparing Your Workspace and Tools For Canning
The first steps to preserving anything is to get your space and your tools ready. Here are a few tips to get you started.
- Start with a clean and sanitized kitchen free from clutter. It goes really without saying a clean kitchen is one that produces the best outcomes. Obviously for health reasons but, also it just feels better to work in a clean, uncluttered space.
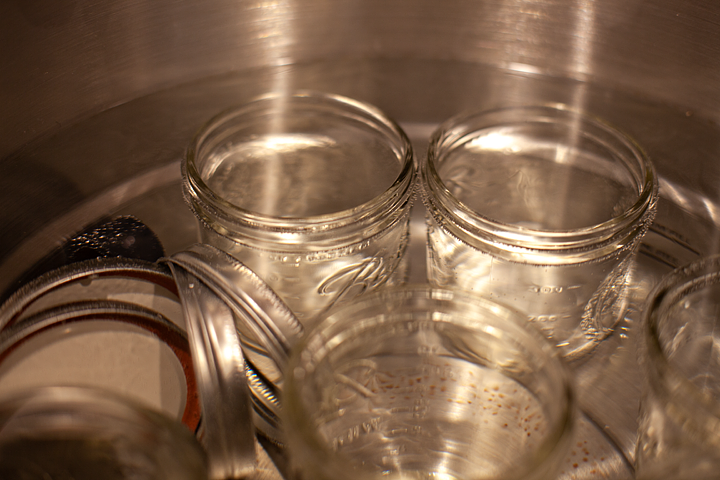
- Have your Ball® jars and lids clean and ready by running them through your dishwasher before you’re ready to start the preserving process. I ALWAYS forget to do this first and it always pushes back my canning timeline. So, do as I say, not as I do. PLAN AHEAD!
- Make sure you have the proper lids ready. When it comes to canning, you can use your lid rings many times but, the lid itself is a one-time use item. The lids need to be new so that it can make the best seal to keep out all of those nasty bugs. Make sure that you have purchased new lids before you start your canning project.
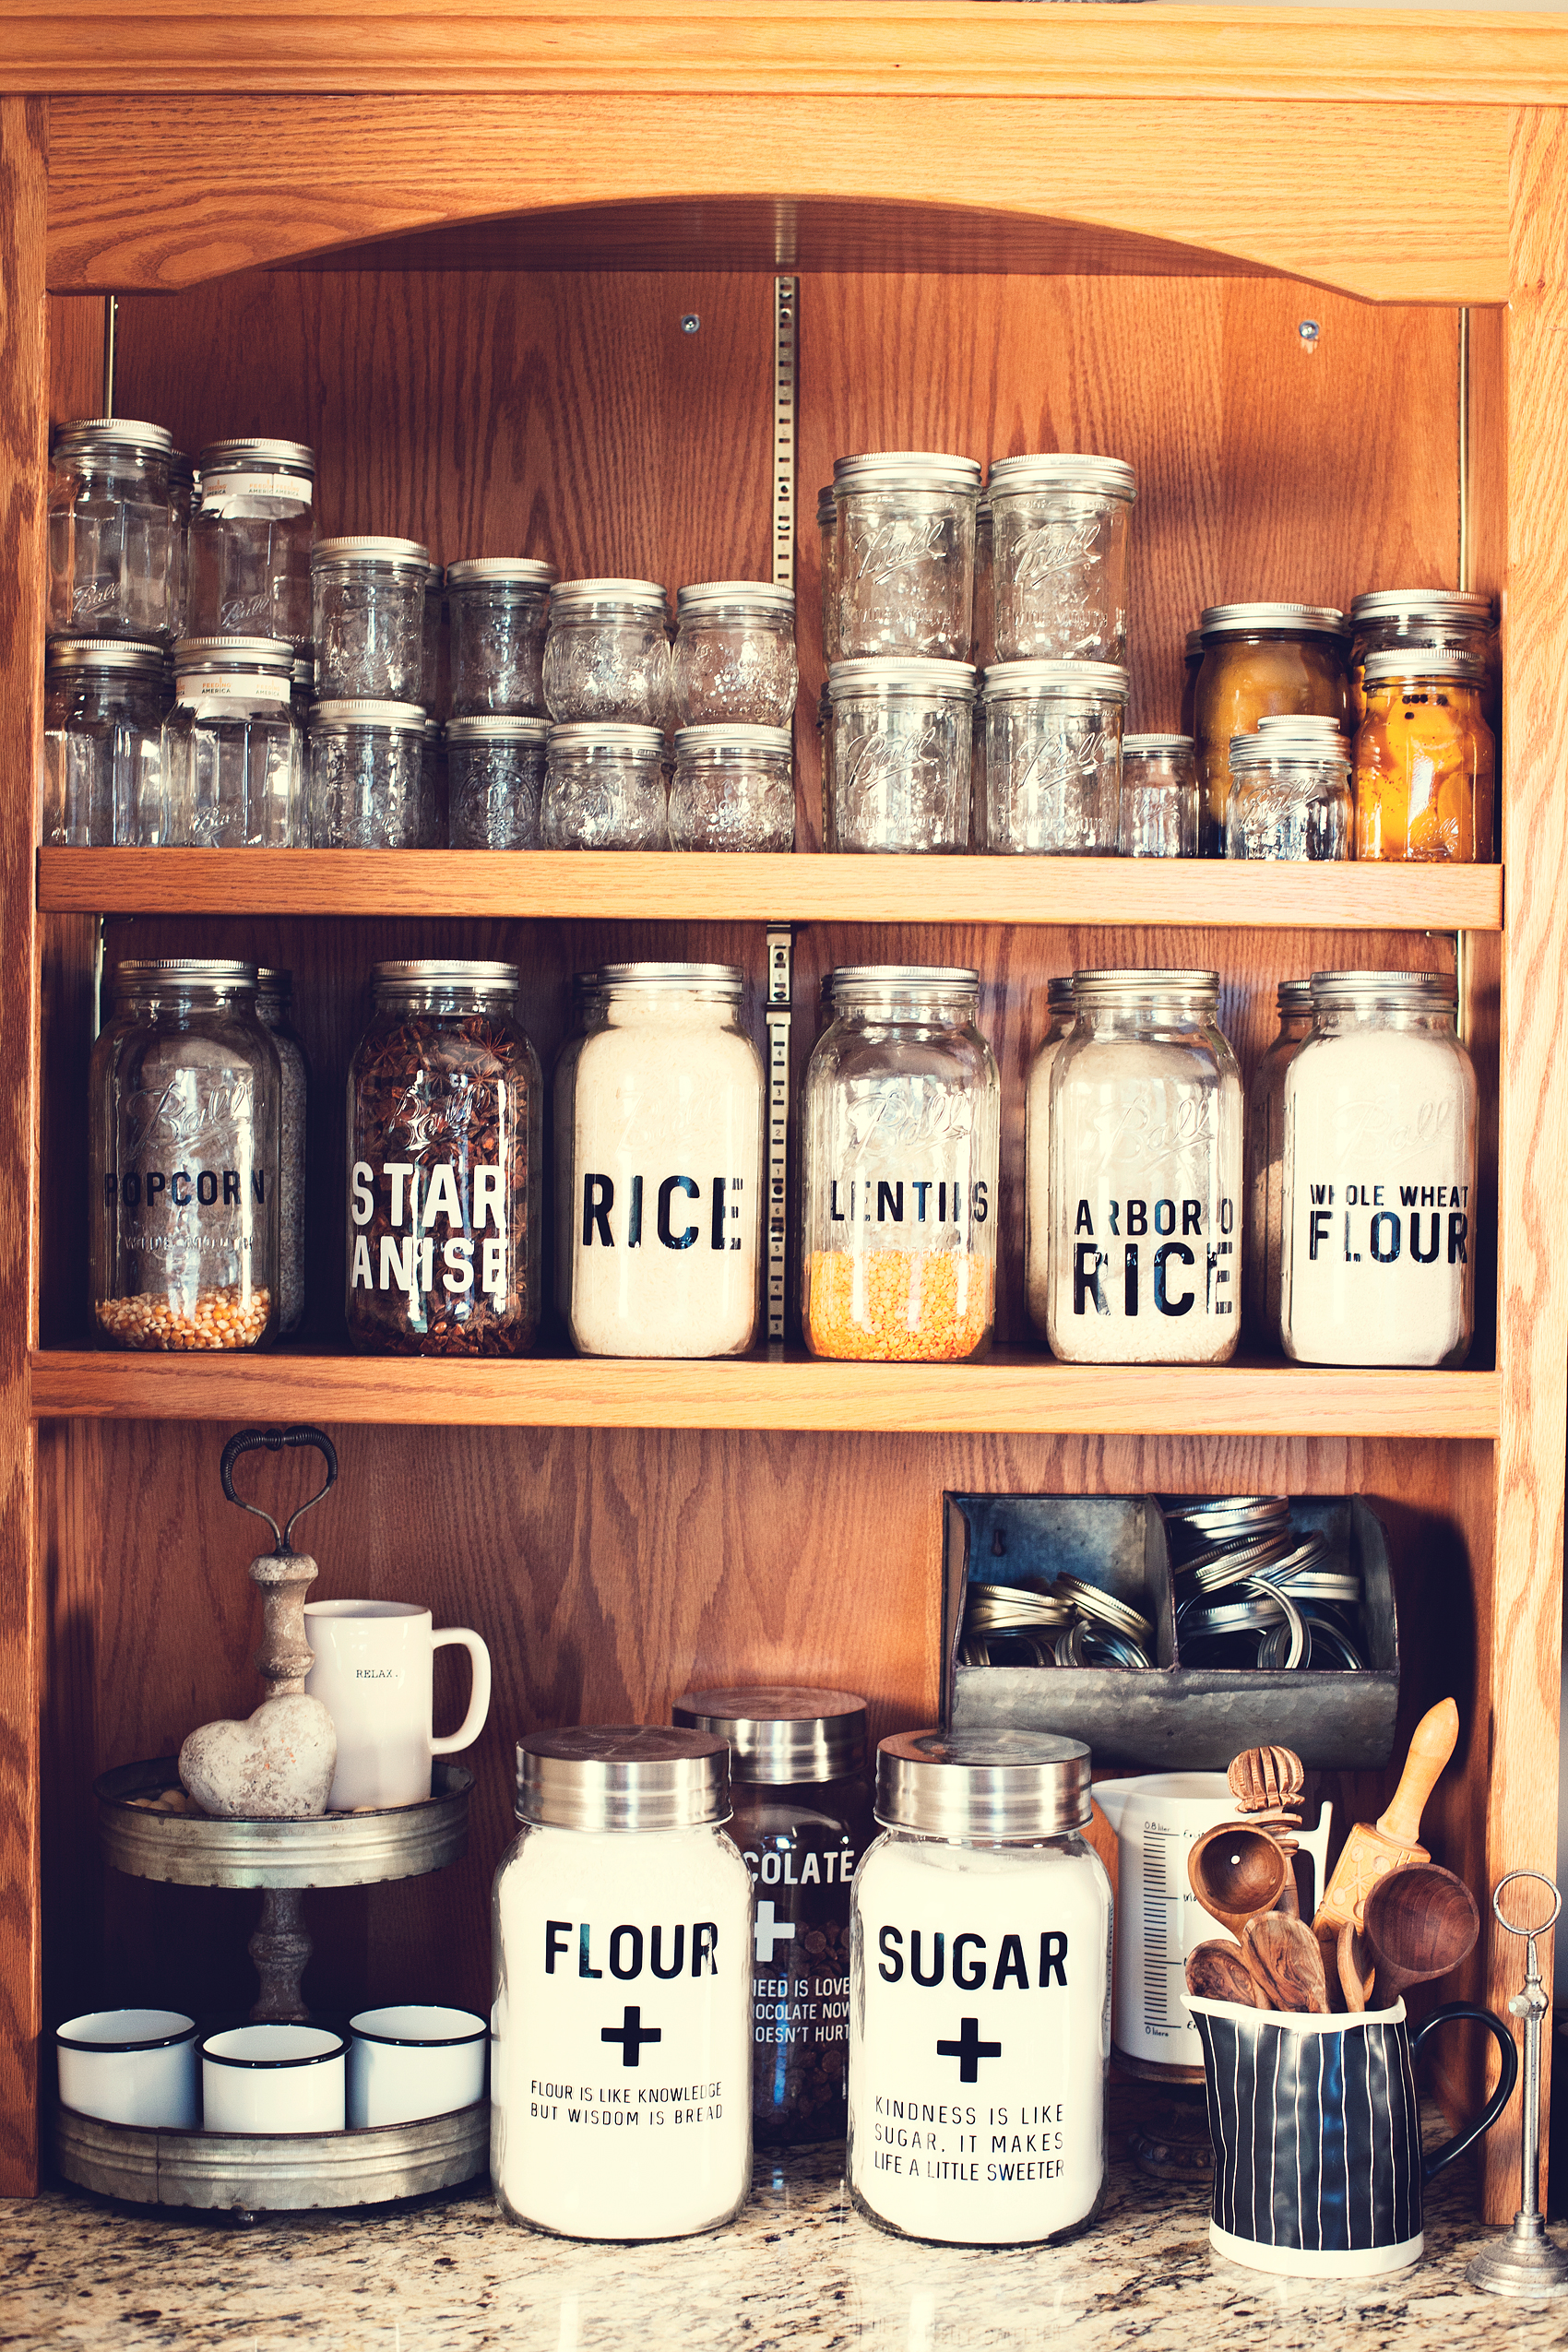
- Other tools to have on hand;
-
- clean cotton dish towels – these are handy to wipe rims and to set cooling jars on
-
- canning funnel – this makes filling these jars SO much easier.
-
- headspace tool – this multifunction tool helps to make sure you have proper headspace which is really important and it helps to release any bubbles in your jar.
-
- secure-grip jar lifter – this tool is a must! When using a hot water bath, you don’t want to risk any possible injuries by using improper tools.
-
- Water bath canner – you’ll need to have a large water bath canner in order to finish off the canning process and allowing the jars to seal when canning most fruit. Some fruits, vegetables, and meats will need a pressure canner because they require a higher temperature to be preserved properly. Make sure to use the proper stove top when canning! If you have a glass top stove, not to worry. You can get an electric water bath canner from Ball®. If you have a gas stove or a traditional coil electric stove, you can use a traditional water bath canner.
Preparing Pears for Preserving

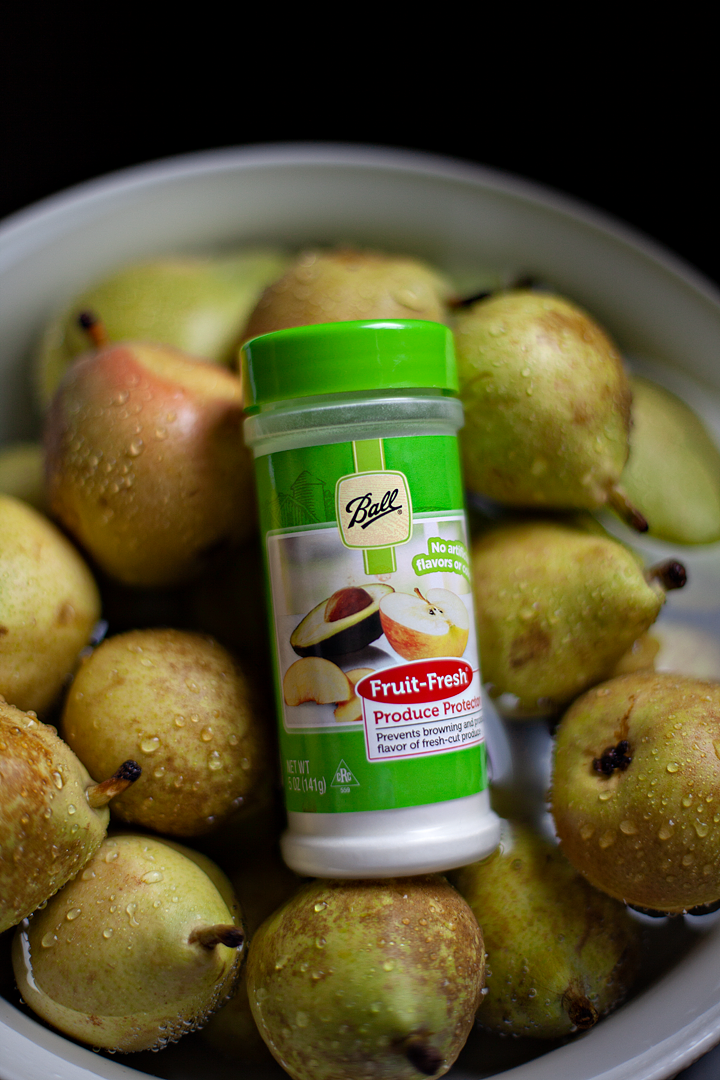
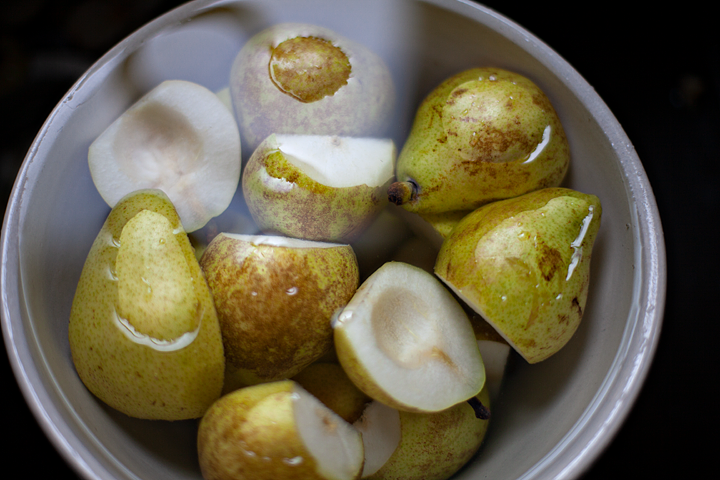
For this recipe, it does not call for you to peel your pears. YAY for skipping that step! However, you need to wash your pears and then cut them into quarters removing the seeds. Then you’ll need to put them into a bowl of water with some Ball® Fruit Fresh or some lemon juice. This will keep your pears from turning brown.
Now it’s time to create your preserving liquid. As a kid, my Mom would can pears and peaches in a sugary syrup that as a kid was heavenly. Now that I’m an adult, it’s a little too sugary for me. That’s why I LOVE this recipe that uses honey & apple juice instead… Here’s the recipe.
Honey Cinnamon Pears Recipe
Honey Cinnamon Pears
Yield 6 pints
Preserve crisp fall pears with a delectable light honey syrup that highlights the pear flavor. Delicious over oatmeal, ice cream, in winter salads, topped with Ginger Cream or eaten right from the jar.
Ingredients

- 6 lbs. mixed green and red pears, unpeeled, quartered and cored
- 3 cups water
- 2 cups unsweetened apple juice
- 1 Tbsp. lemon juice
- 1 c. honey
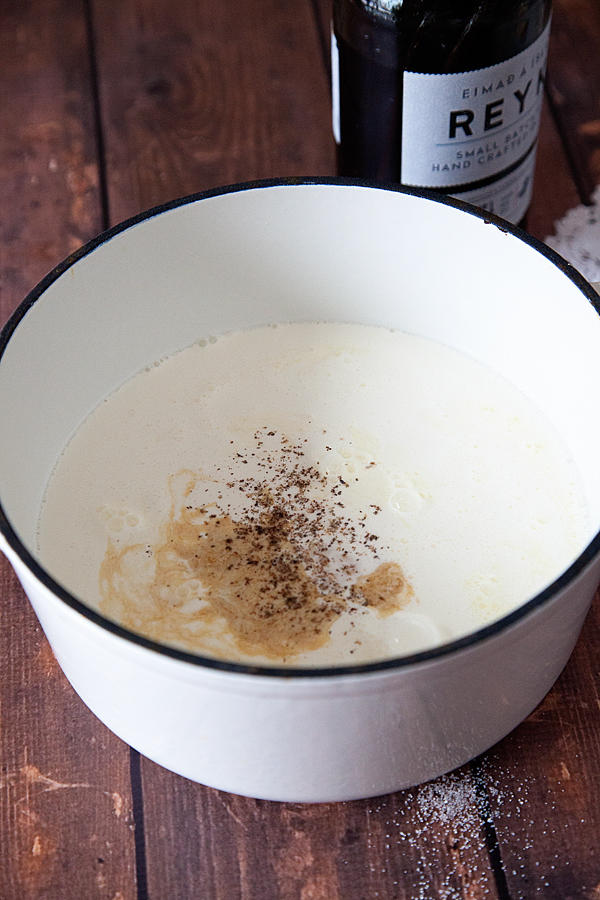
- 6 cinnamon sticks
- Fruit Fresh or 3 Tbsp. lemon juice
Instructions
- Prepare boiling water canner. Heat jars in simmering water until ready to use, do not boil. Make sure you have finished running the lids through the dishwasher and have them ready to go.
- Combine Fruit Fresh (make sure to prepare Fruit Fresh according to the directions on the label) or lemon juice in a bowl with enough water to cover pear quarters; let soak until syrup is simmering.
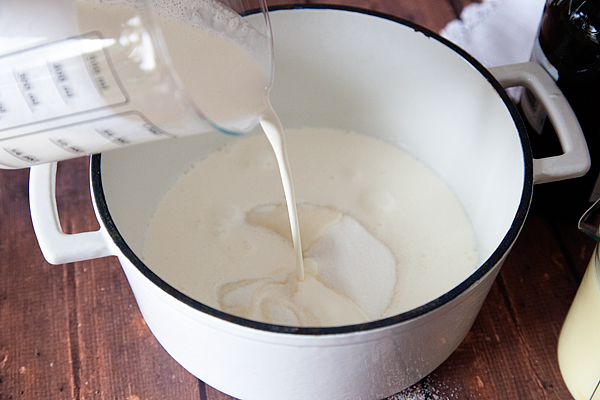
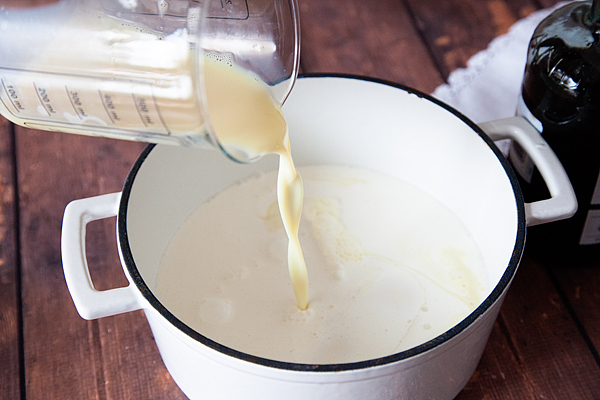
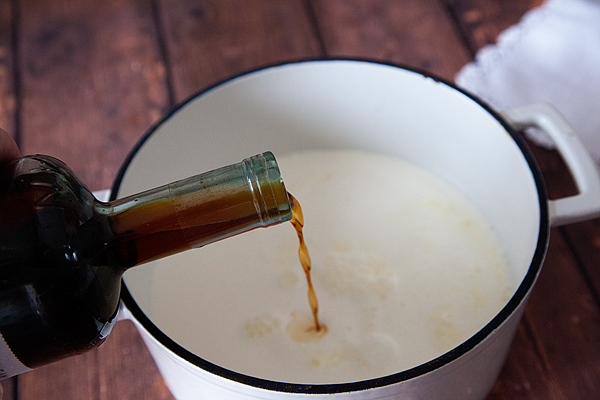
- Combine water, apple juice, lemon juice and honey in a 4 qt. saucepan set over medium heat. Bring to a simmer.
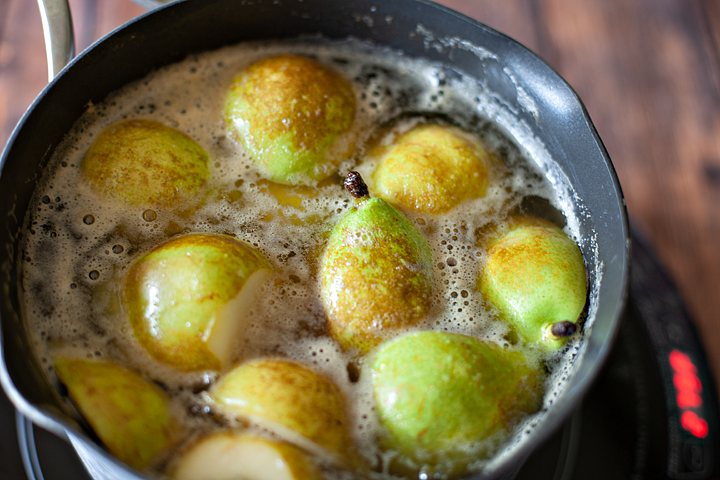
- Add pears to honey syrup and stir gently until heated through.
5. Place one cinnamon stick into a hot jar; pack hot pears in jar leaving a ½ inch headspace. Ladle hot syrup over pears, leaving a ½ inch headspace. Remove air bubbles. Wipe jar rim. Center lid on the jar and apply the band, adjust to fingertip tight. Place jar in boiling water canner. Repeat until all jars are filled.
6. Process jars 20 minutes, adjusting for altitude. Turn off heat, remove the lid, let jars stand 5 minutes. Remove jars and cool 12-24 hours. Check lids for the seal, they should not flex when the center is pressed.
Ginger Cream Recipe
Ginger Cream
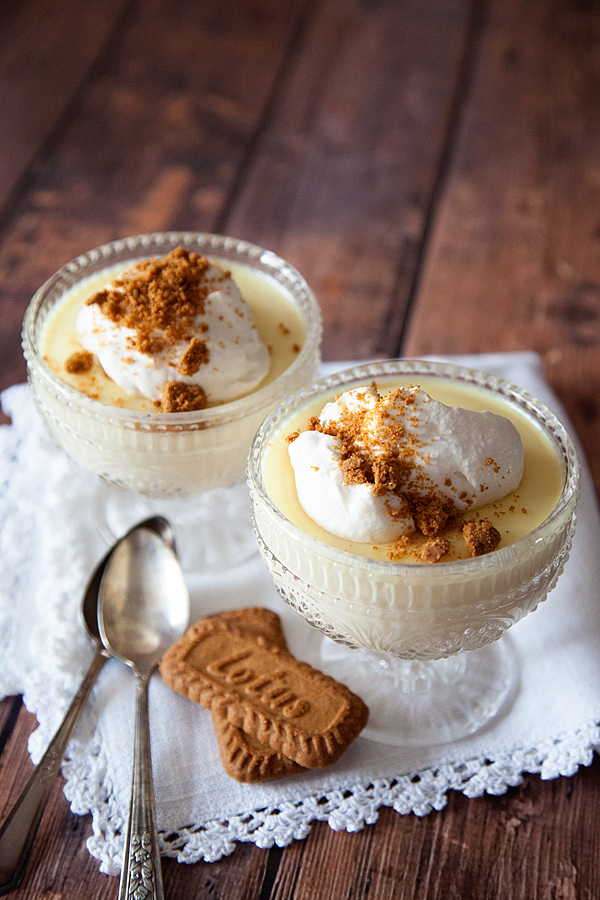
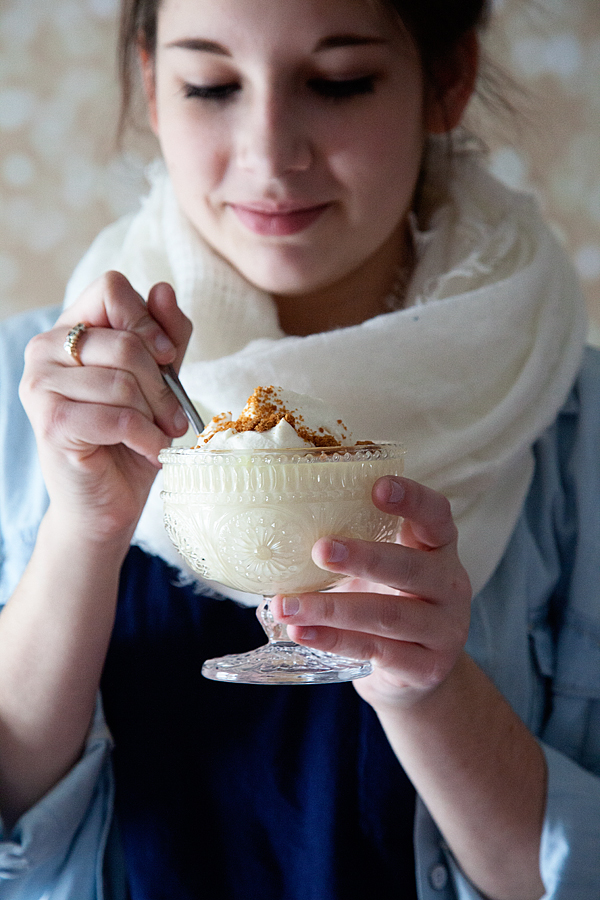
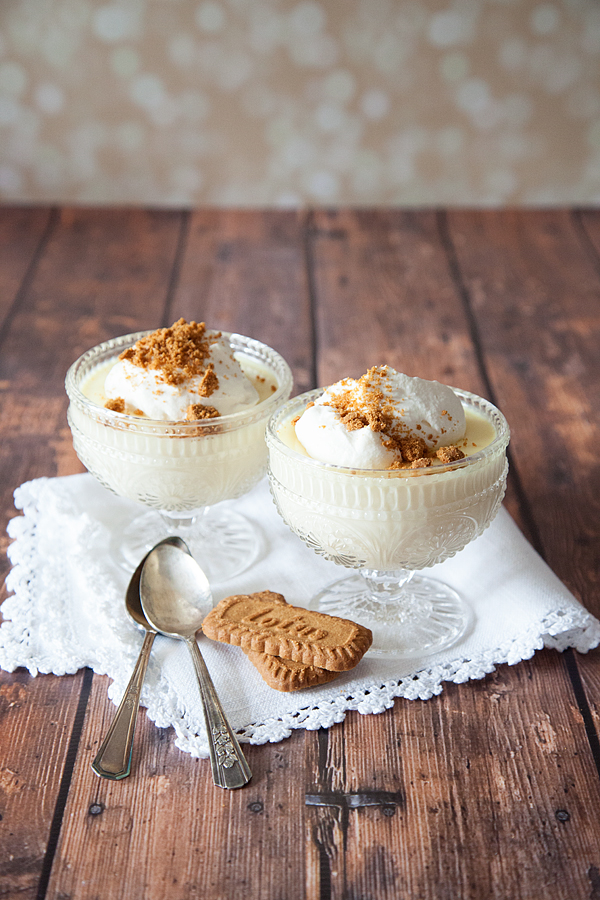
This ginger cream is a basic whipped cream with a few ingredients to add flavor and texture. It’s delightful with the honey cinnamon pears.
Ingredients
- 1 cup chilled whipping cream
- 1/2 teaspoon vanilla extract
- 1 tablespoon ginger paste
- 3 tablespoons powdered sugar
- gingersnap cookies for garnish
Instructions
- Add cream to a chilled bowl with ginger paste and vanilla extract.
- Whip until soft peaks form.
- Add powdered sugar, and whip until soft peaks form again.
- Serve with honey cinnamon pears and garnish with gingersnap cookies.
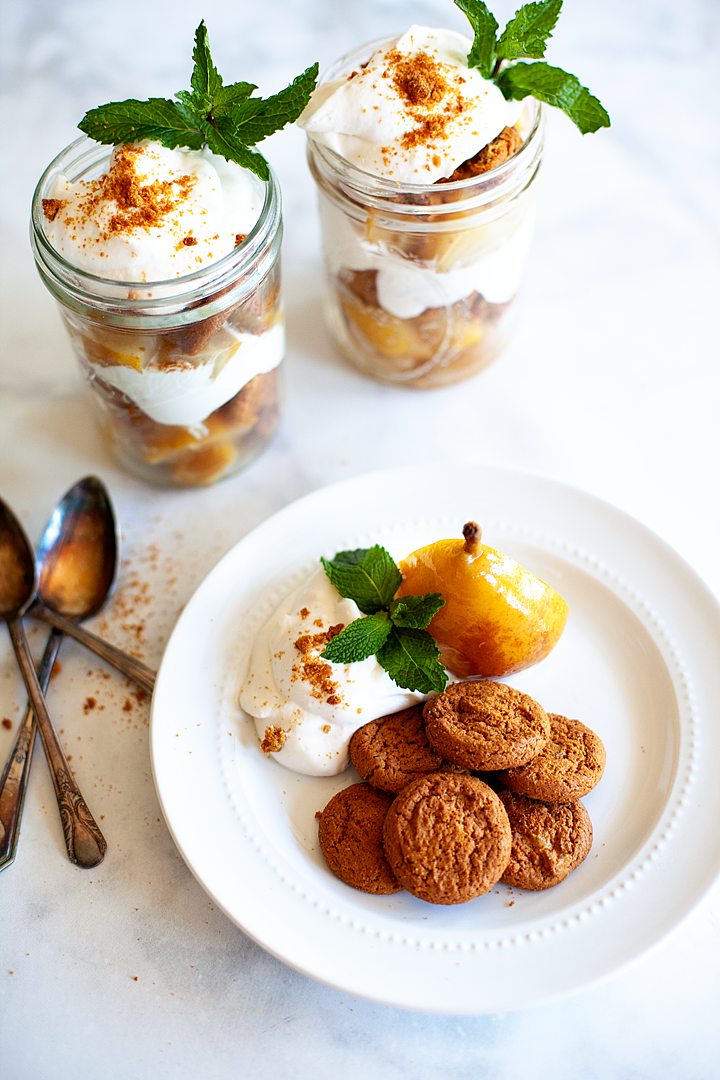
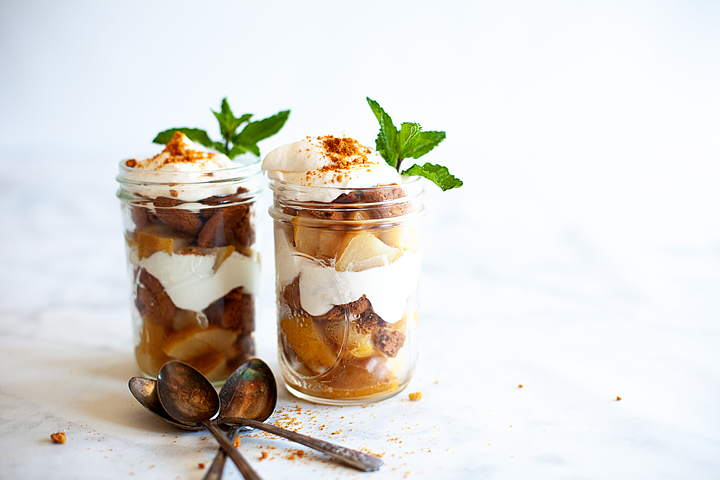
Add some bite-sized pears to a jar layer with crushed gingersnaps and top with the ginger cream.
Disclosure + I am a paid partner for Newell Brands, makers of Ball® Fresh Preserving Products. However, all thoughts and opinions expressed are entirely my own.