• Skip to primary navigation
  • Skip to main content
  • Skip to primary sidebar
  • Skip to footer

Whipperberry

WhipperBerry • Your Home For Creative Inspiration

  • Home
  • About
    • Terms
  • Recipes
    • ZipList
    • Starters
    • Easy Weeknight Dinners
    • Main Dish
    • Salads
    • Side Dish
    • Soups & Stews
    • Desserts
    • Breakfast
    • Miscellaneous
  • Tutorials
    • Creative Crafts
    • DYI Decor
    • Fabric Crafts
    • Food How-To
    • Jewlery
    • Paint Projects
    • Paper Art
    • Party Styling
    • Photography and Graphic Design
    • Silhouette
  • Holidays
    • St. Patrick’s Day
    • Easter
    • Mother’s Day
    • Father’s Day
    • 4th of July
    • Halloween
    • Thanksgiving
    • Christmas
    • New Years
    • Valentine’s Day
  • Gift Ideas
    • Gifts For Everyone
    • Gifts for Dad
    • Mother’s day
    • For The Girls
    • For The Kids
    • Teacher Gift Ideas
    • Christmas
  • Printables
    • Holiday
    • Gift Idea
    • LDS Primary
  • Travel
  • Contact
  • Nav Social Menu

    • Facebook
    • Instagram
    • Pinterest
    • RSS
    • Twitter

Starter

Kosher Dill Pickle and Sausage Rolls

21 · Jul 24, 2018 · 1 Comment

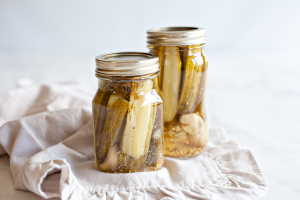
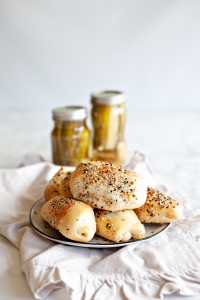
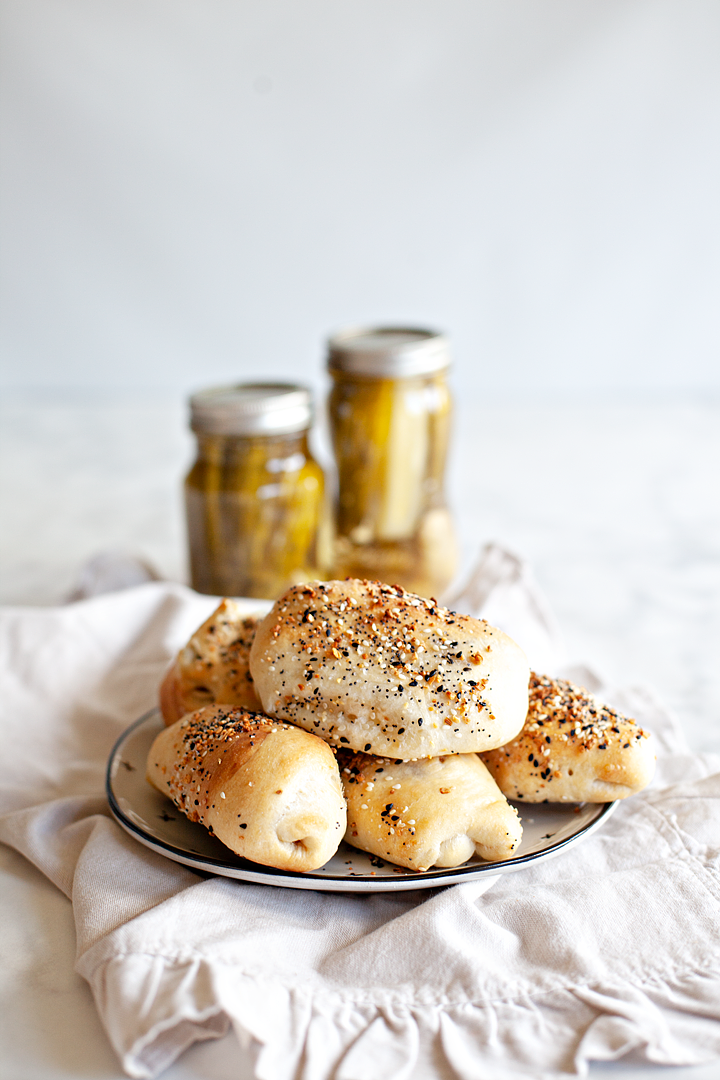
Growing up in my house, one could no more refuse a good dill pickle than one could refuse an ice cream sundae. We were most certainly fans. As kids, my sisters and I would argue over who got to drink the pickle juice at the end of the jar of pickles. Kind of weird, I know! I’m sure we weren’t the only ones with a love of pickles that extended past the pickles themselves. We also had a love of a good sausage paired with our favorite pickles. Naturally, I love to share these fun summer traditions with my family now, all wrapped up together in a tasty dill pickle and sausage rolls.

•  This post is brought to you by Ball® Fresh Preserving Products by Newell Brands  •
Picking the Right Cucumbers for Pickles

I remember as a kid when my Mom would pickle cucumbers, I was always so leery of those poky cucumbers that she assured me would turn into pickles. They sure didn’t look like the cucumbers I was used to. Mom was right of course, a few weeks later her silly looking cucumbers were the best dill pickles I had ever had the chance to eat. 
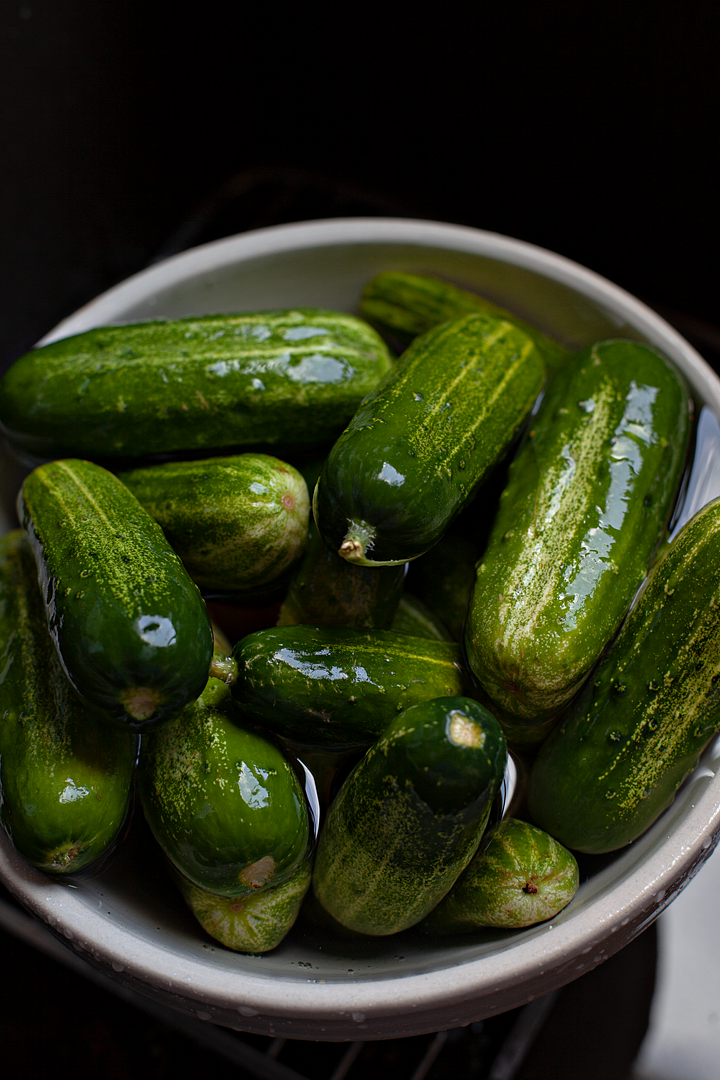
When it comes to pickling cucumbers there are a few different things to keep in mind.

  • The right variety – in all reality any cucumber can be pickled. However, you may not be too thrilled with the results. Small to medium size Kirby cucumbers are typically the best. They have a thicker skin that can stand up to the brine and will remain crunchy after they have been pickled.
  • The right size – the key here is to find cucumbers that are close to the same size. For this recipe, we are looking for a small to medium size that ranges between 3-4 inches. Try to find cucumbers within that size range to have a consistent final product.
  • The right age – Yes, your cucumbers have an age. Too young and thin-skinned, and they will not hold up to the pickling process. Too old, and they’ll have tough, fibrous skin and large, bitter seeds. How can you tell a cucumber’s age? Size is an indicator (again, go for small-medium), and also, taste. If it’s sweet, with a good crunch when you bite into it, it’s a keeper.

Kosher Dill Pickle Recipe

A “kosher” dill pickle is not necessarily kosher in the sense that it has been prepared in accordance with Jewish dietary law. Rather, it is a pickle made in the traditional manner of Jewish New York City pickle makers, with a generous addition of garlic and dill to a natural salt brine.
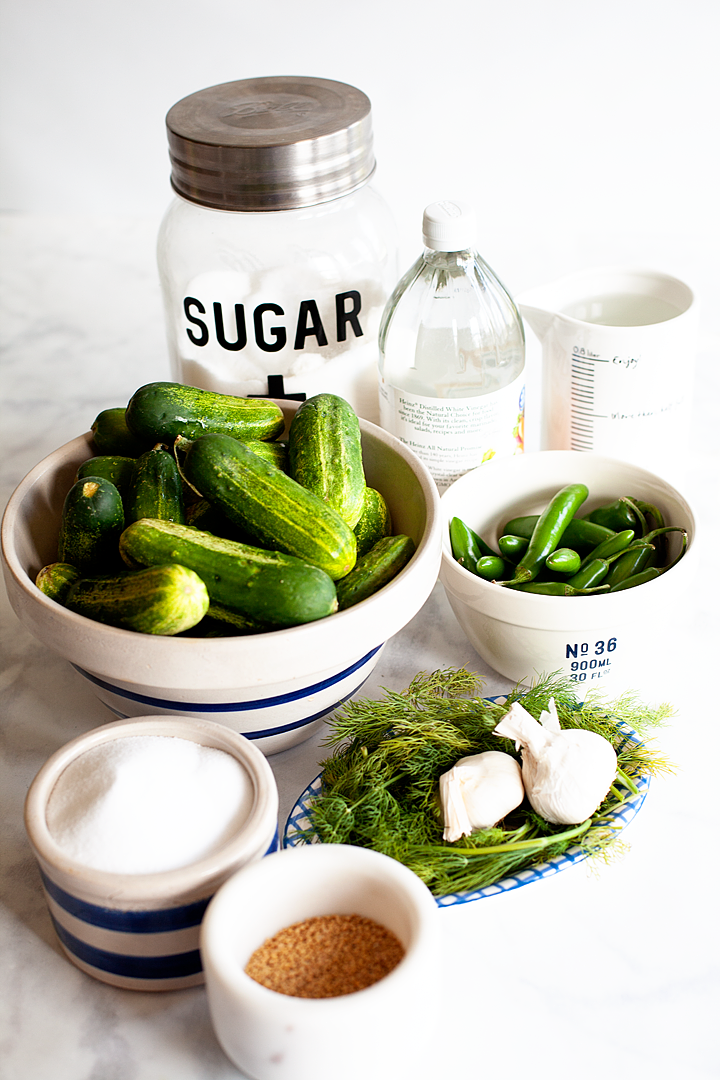
To me, a kosher dill is exactly what I think of when it comes to a nice crunchy pickle paired with my favorite sandwich. Luckily, it’s also an easy recipe perfect for beginning picklers. 

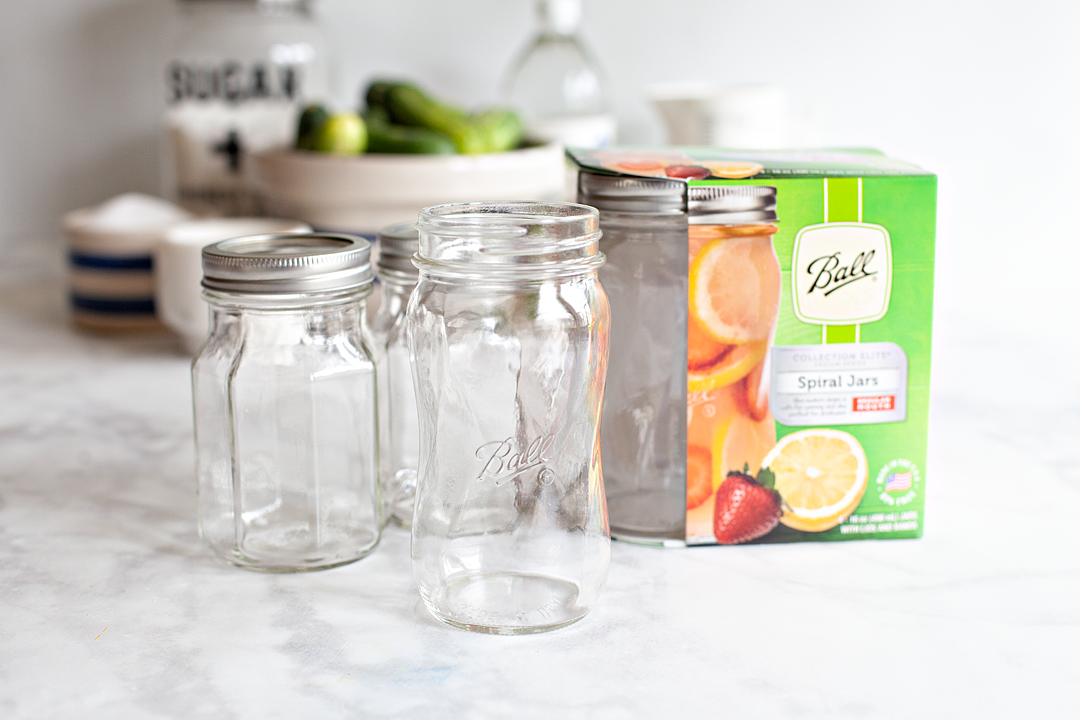
Before you get started, make sure you have 4 of my favorite pint jars from Ball® Canning. I’m loving the new fancy jars that are so fun to share with family and friends.
1 vote

Print

Kosher Dill Pickles

Yield 4 (16 oz.) pint jars

A classic dill pickle full of robust flavor, this a great place to start if you are new to canning pickles. A pinch of Ball® Pickle Crisp will help keep the crunch.  

Ingredients

  • 2 ½ lbs 3-4 inch pickling cucumbers
  • 2- ½ cups water
  • 2 cups white vinegar
  • 1/4 cup sugar
  • 1/4 cup Ball® Salt for Pickling and Preserving
  • 4 cloves garlic
  • 4 small bay leaves
  • 12 dill sprigs
  • 2 tsp yellow mustard seeds                                                                                                                                                                                                                                                                                                                                                                               
  • 4 small hot peppers (optional)
  • Ball ®Pickle Crisp (optional)

Instructions

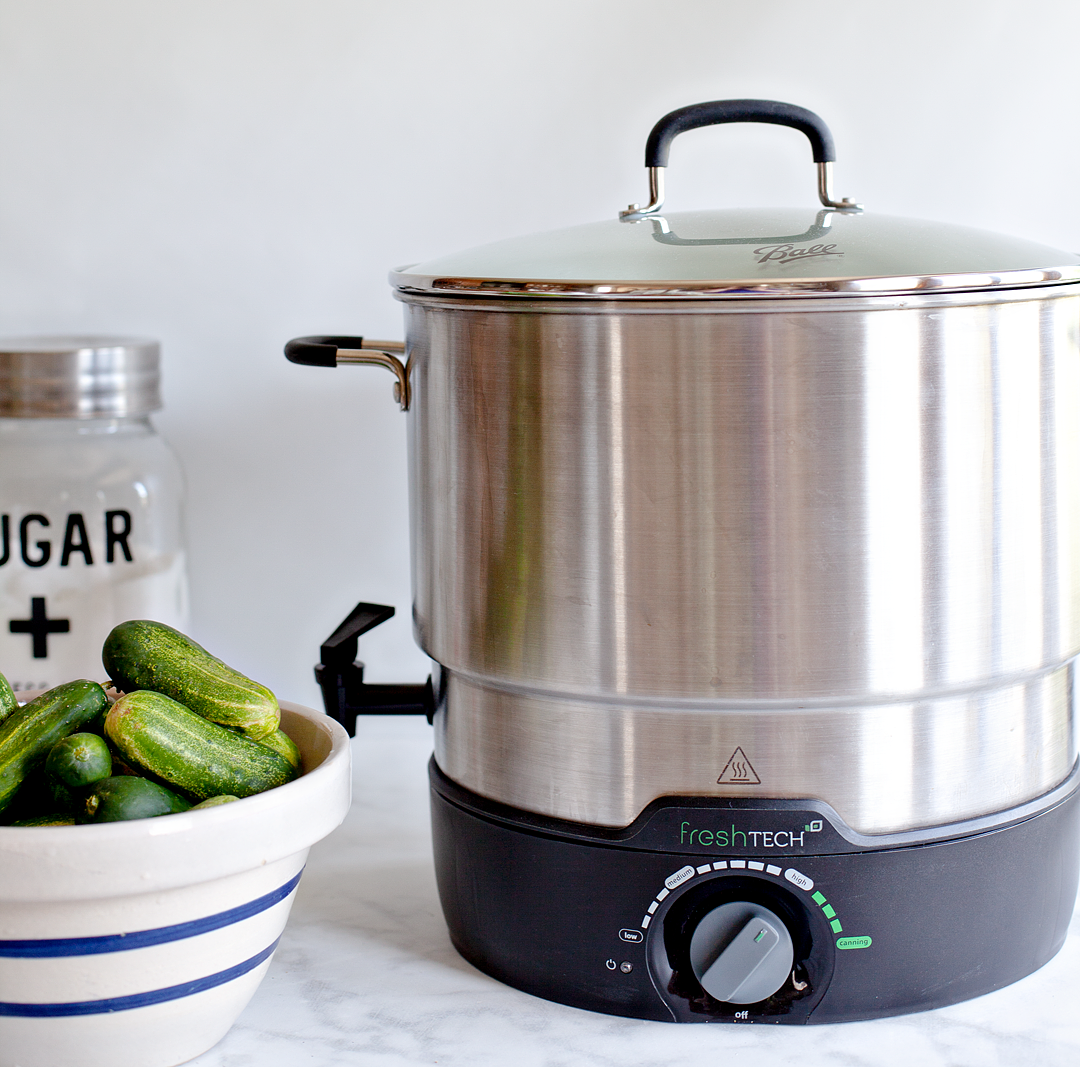
  1.   Prepare boiling water canner. Heat jars in simmering water until ready to use, do not boil. Wash lids in warm soapy water and set aside with bands.
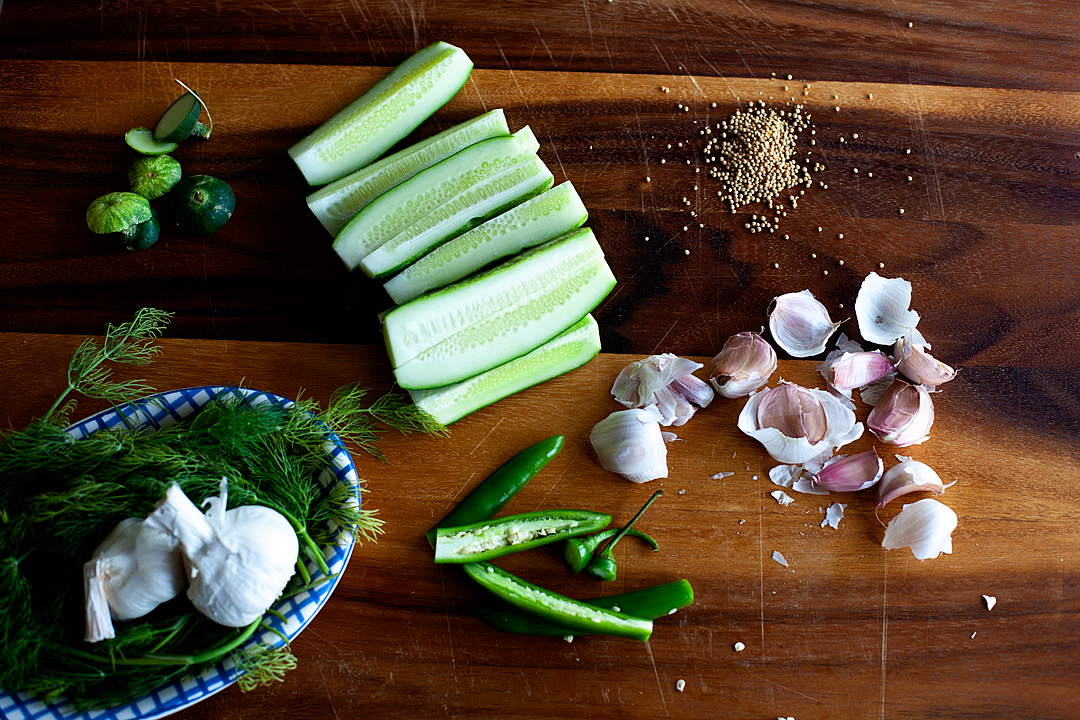
  1. Wash cucumbers and hot peppers in cold water. Slice 1/16 of an inch off the blossom end of each cucumber; trim stem ends so cucumbers measure about 3 inches. Cut cucumbers into quarters lengthwise.
  1. Combine water, vinegar, sugar, and salt in a small stainless saucepan. Bring to a boil over medium heat. Lower heat to simmer.
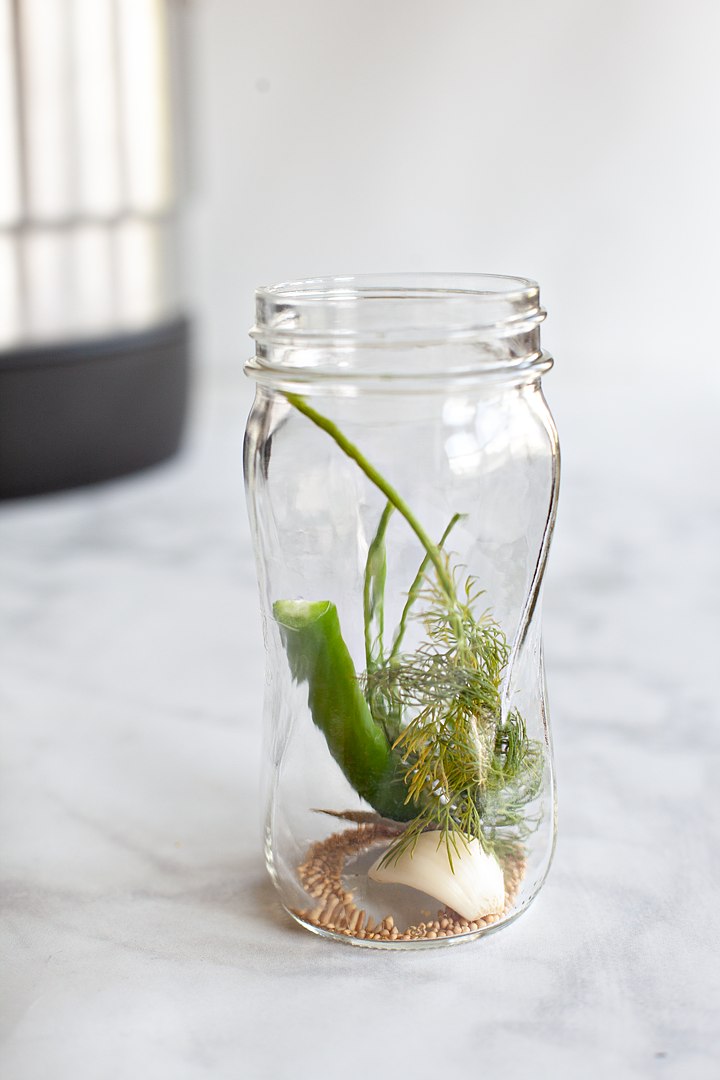
  1. Place 1 garlic clove, 3 dill sprigs, ½ tsp mustard seed, 1 bay leaf and 1 red pepper and Ball® Pickle Crisp (if desired) into a hot jar that is sitting on a towel (not directly on the counter.) Pack cucumber spears into the jar, leaving a ½ inch headspace. Trim any cucumbers that are too tall. 
  1. Ladle hot brine into a hot jar leaving a ½ inch headspace. Remove air bubbles. Wipe jar rim. Center lid on the jar and apply the band, adjust to fingertip tight. Place jar in boiling water canner. Repeat until all jars are filled.
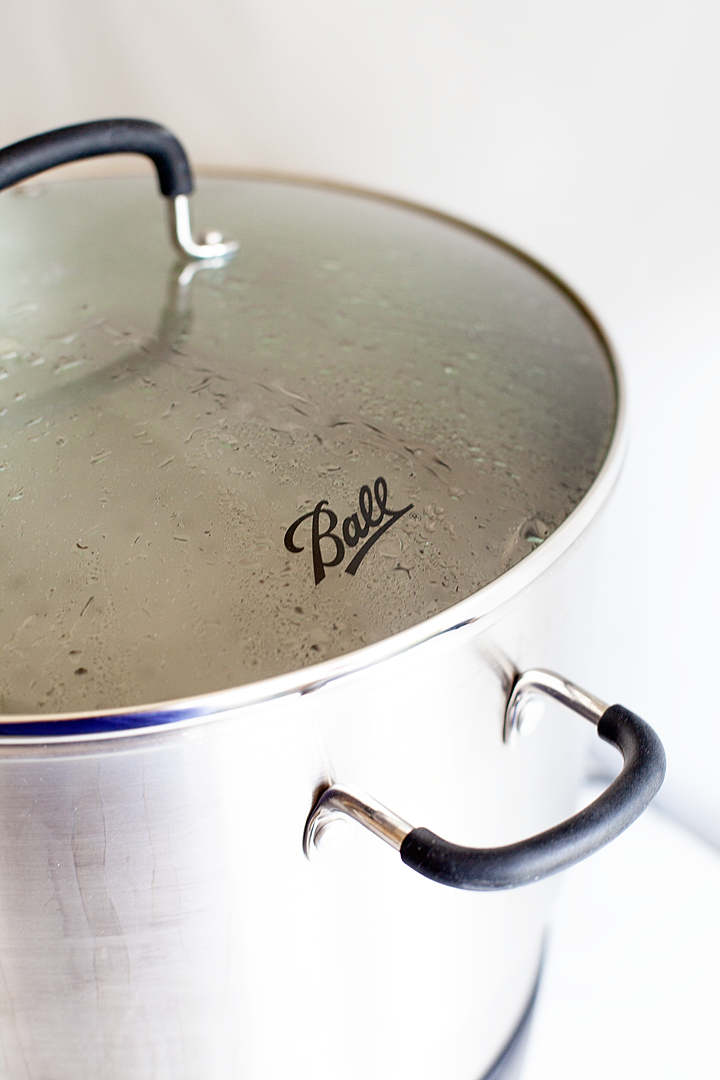
  1.   Process jars 15 minutes, adjusting for altitude. Turn off heat, remove the lid, let jars stand 5 minutes. Remove jars and cool 12-24 hours. Check lids for a seal, they should not flex when the center is pressed.
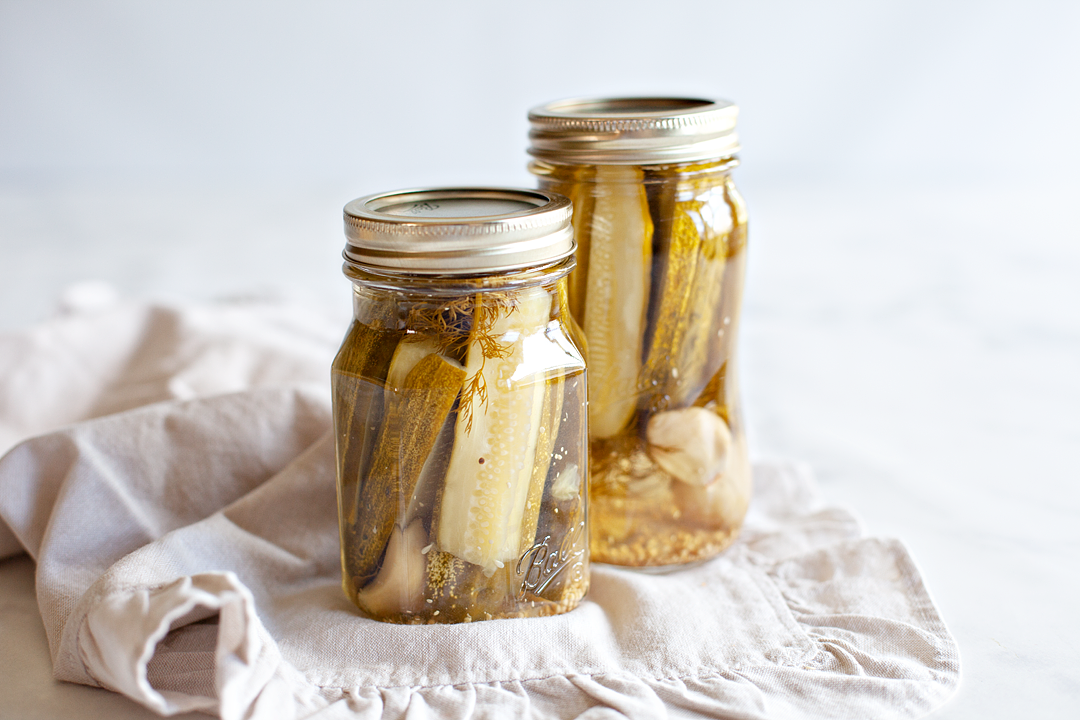
 

Kosher Dill Pickle and Sausage Rolls

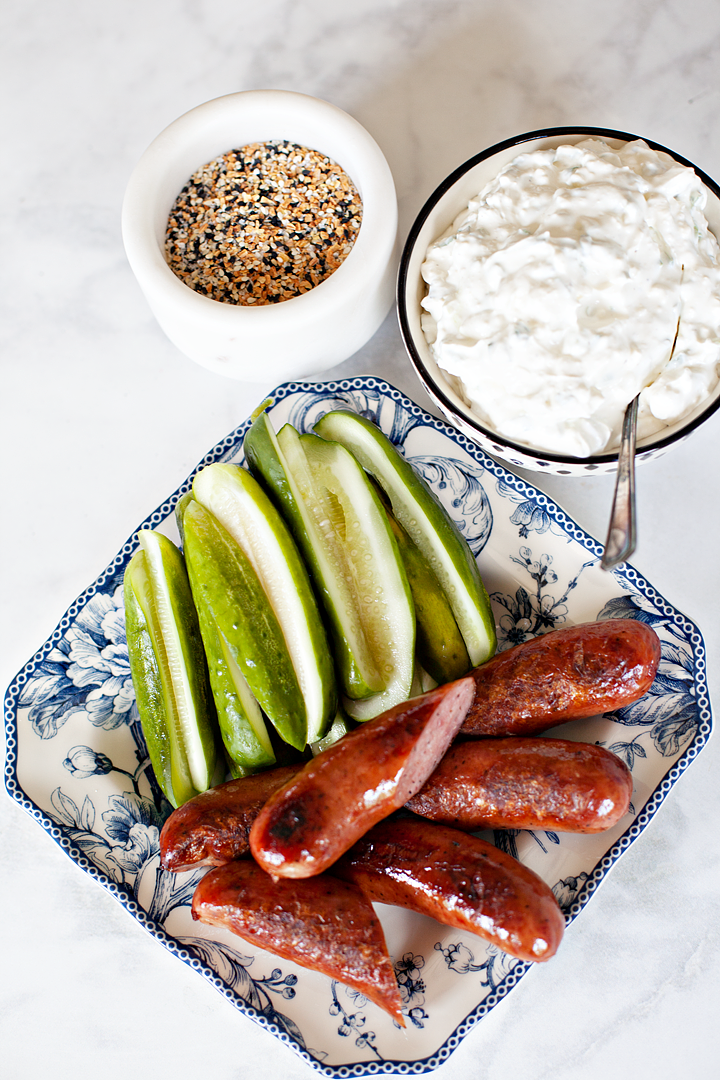
This is where this simple kosher dill pickle becomes extra scrumptious! I’ve created a cheesy pickle spread that is perfect for the inside of the sausage roll or, on its own as a dip for veggies and chips.
1 vote

Print

Kosher Dill Pickle and Sausage Roll Recipe

Yield 8 rolls

Ingredients

  • 8 oz cream cheese at room temperature
  • 1/2 cup sour cream
  • 1 cup of diced kosher dill pickles
  •   1/4 cup of diced green onion
  • 1/2 tsp. garlic salt
  • 1/4 tsp. onion salt
  • salt and pepper to taste
  • 4 polish sausages cut in half
  • 8 kosher dill pickle spears
  • 8 large freezer roll dough balls brought to room temp and allowed to rise
  • everything but the bagel seasoning blend (optional)

Instructions

  1. Preheat oven to 350˚ F
  2. In a medium bowl combine softened cream cheese, sour cream, diced kosher dill pickles, green onion, garlic salt, onion salt, salt and pepper. Whisk together and set aside.
  3. On a clean surface roll out the risen roll dough ball until about 5 inches across but, make sure not to roll the dough too thin.
  4.   Place a piece of sausage, pickle spear & about 2 tablespoons of the cream cheese mixture in the center of the dough.
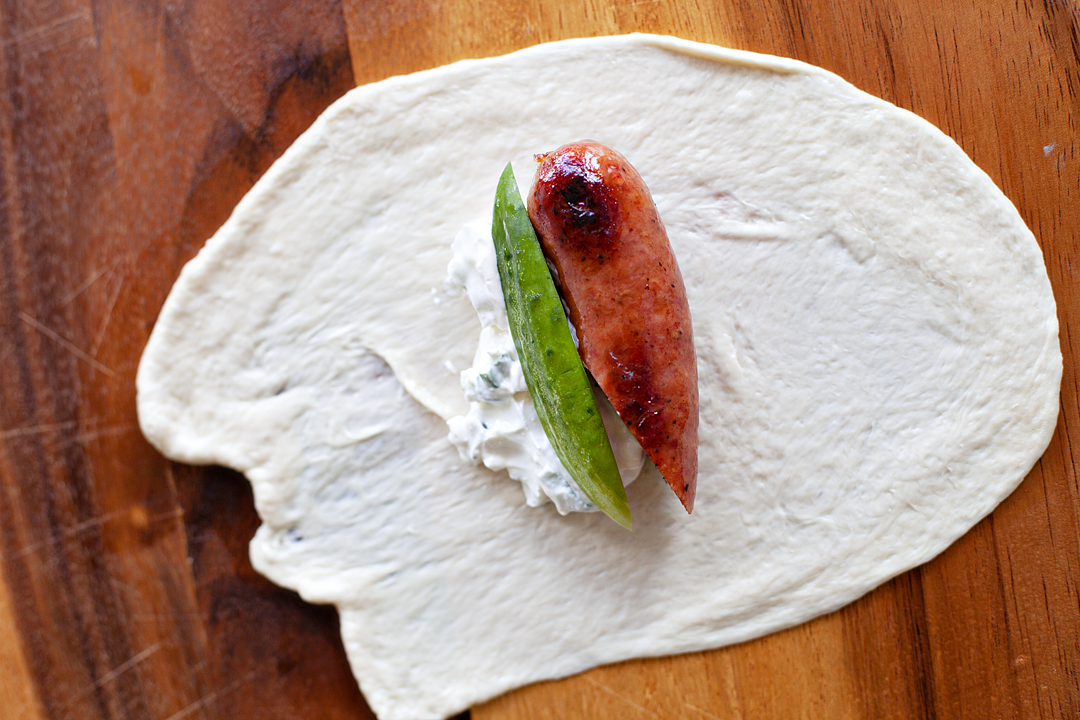
  1.   Roll the ingredients up into the dough and secure the seams by pinching them together.
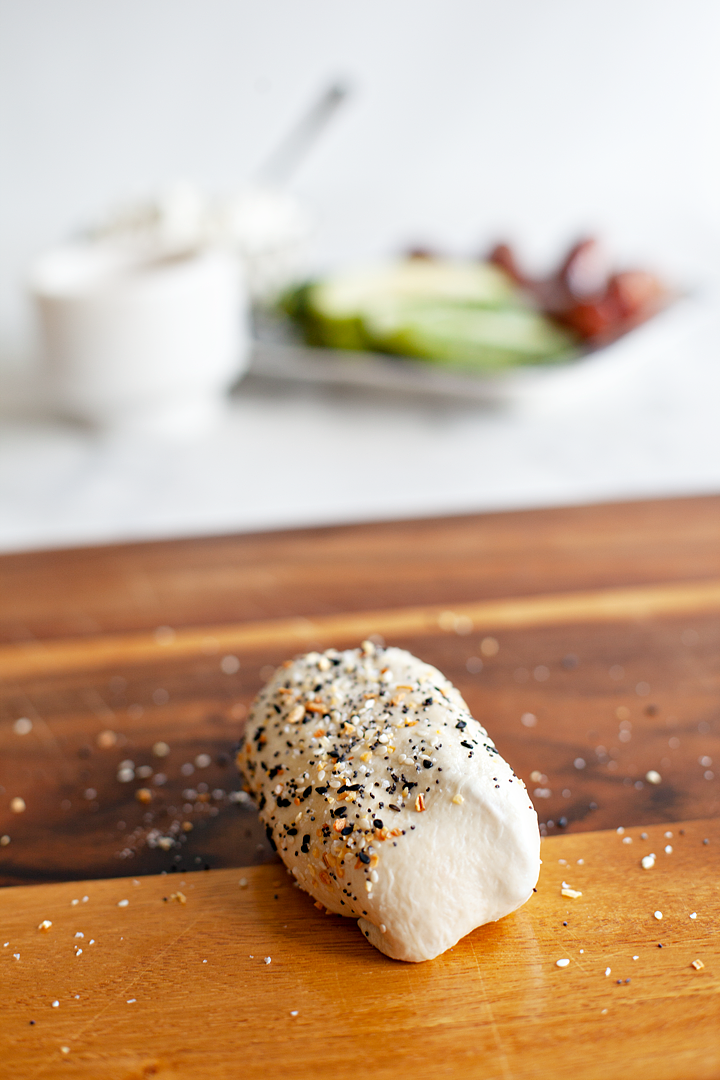
  1.   If using the seasoning bled, place a 1/4 tsp. of the blend on your surface and roll the sausage roll through the seasoning blend to imbed the s  easoning into the dough. 
  1.   Place the roll on a parchment lined baking sheet. Repeat the process for the remaining ingredients.
  1.   Place baking sheet into the oven and bake for 20-25 minutes or until the top of the roll is a nice golden brown.
  1.   Remove from oven and let cool for 10 minutes.
  1.   Serve with the remaining dill pickle and cream cheese dip. 

SaveSave

SaveSave

SaveSave

SaveSave

SaveSave

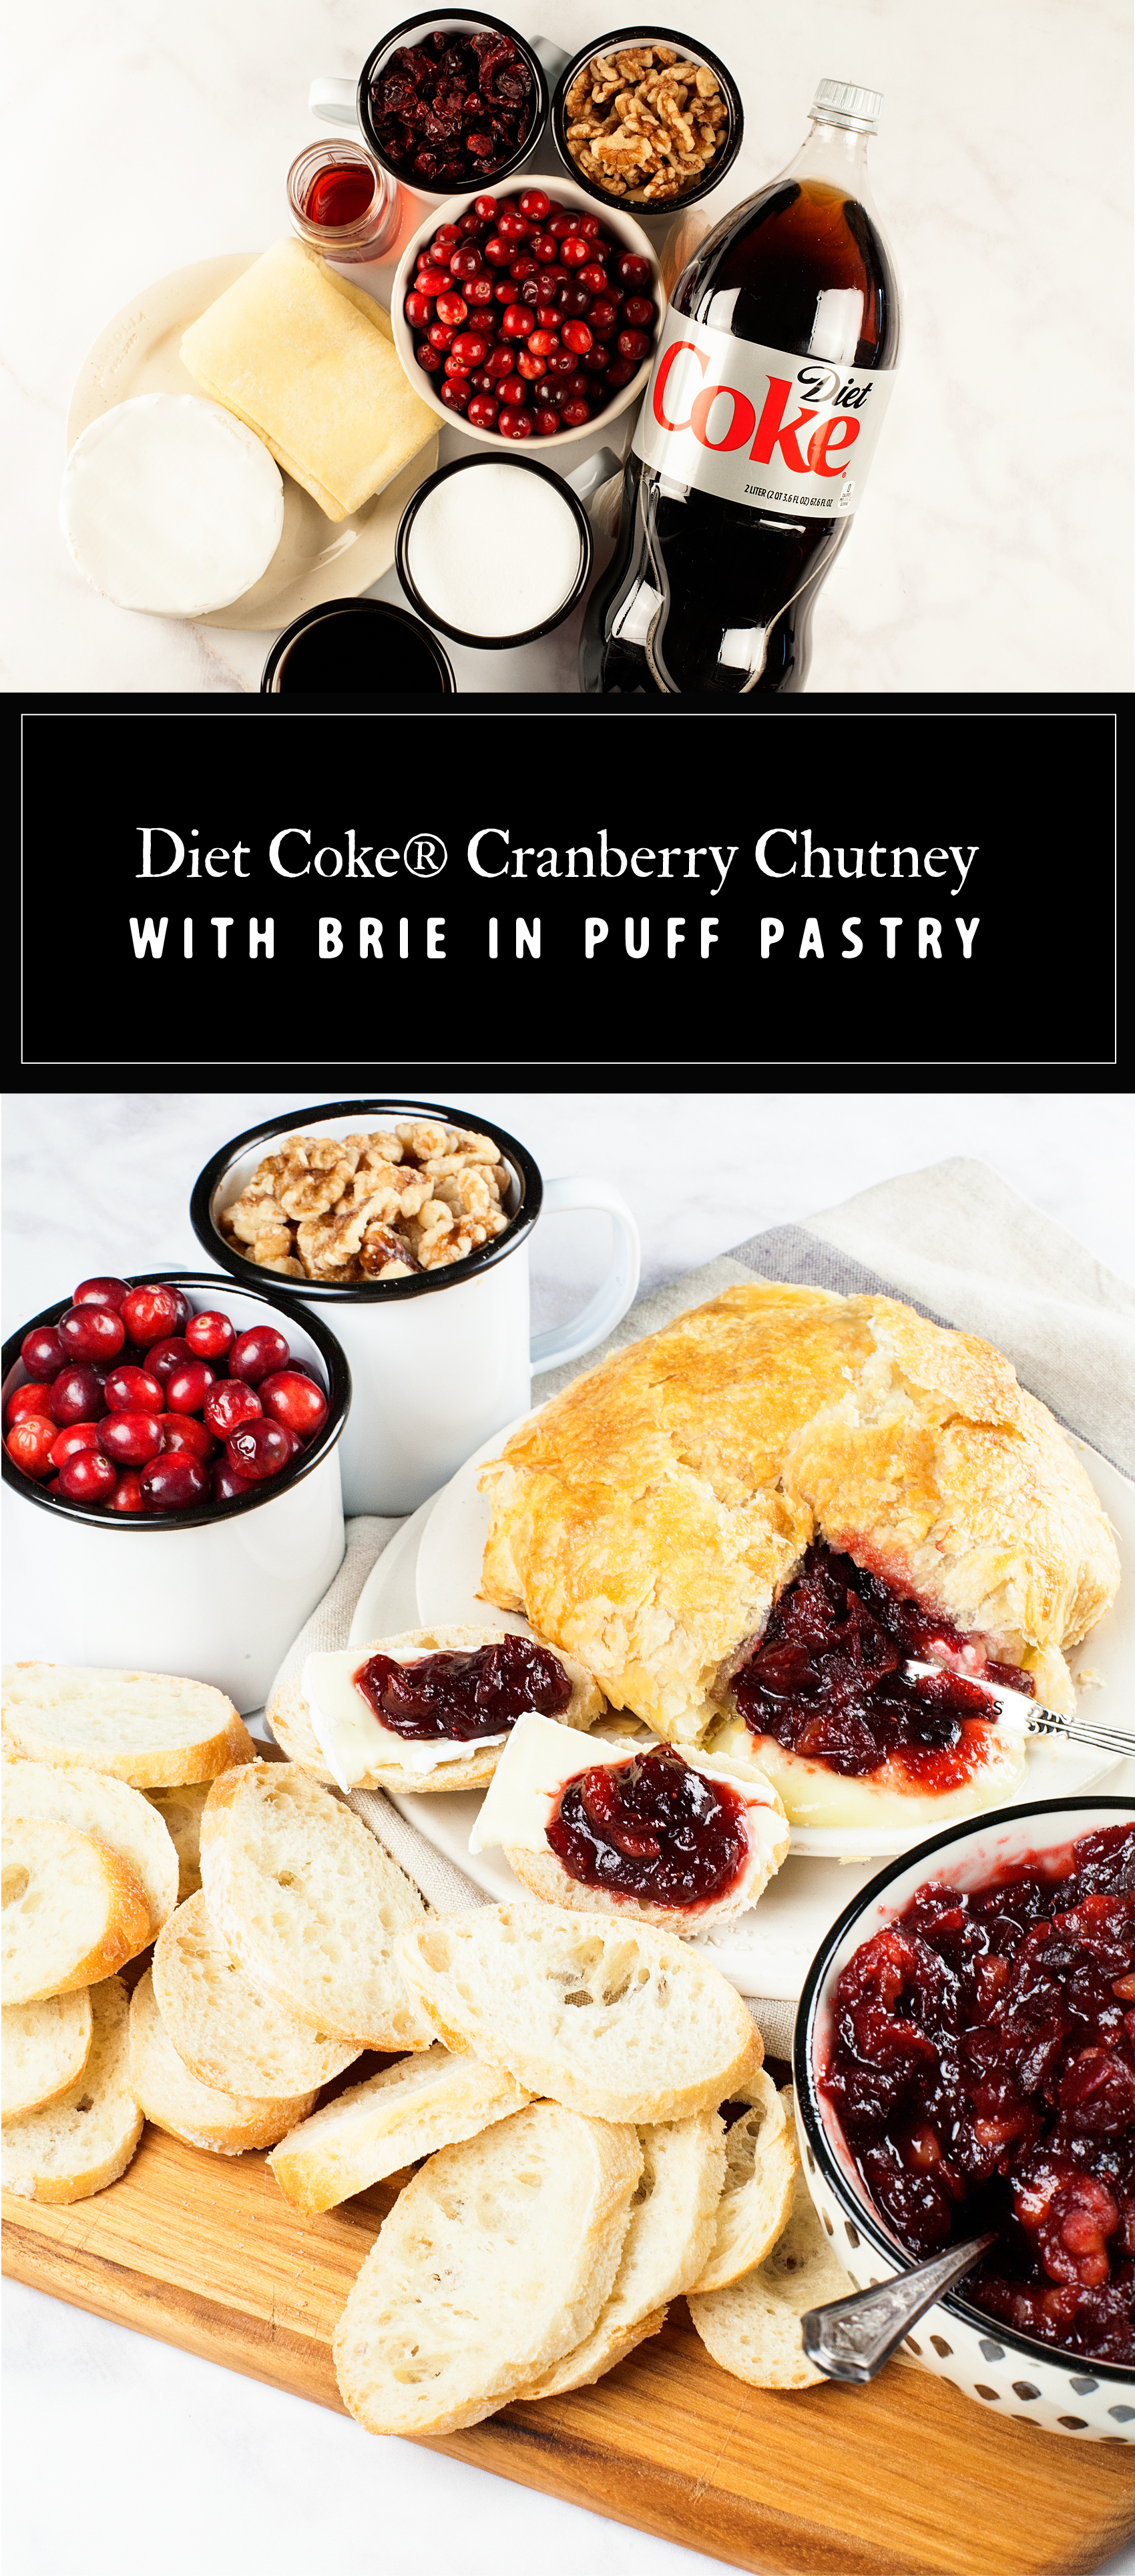
Diet Coke® Cranberry Walnut Chutney with Brie in Puff Pastry Recipe

9 · Dec 1, 2017 · Leave a Comment

This post is being sponsored by The Coca-Cola Company. All thoughts and opinions are my own.

With the Holidays soon upon us, it’s time to start thinking about what to make for all of our family gatherings and what to stock-up on to keep our pantry full for the season. For me, I’ll be heading to Sam’s Club and stocking up on several items. Good cheeses, pickles, olives, bread, puff pastry, seasonal fruit, nuts, spices and of course plenty of Diet CokeⓇ! Come see what we will be making at our house…

Try this scrumptious Diet Coke Cranberry Walnut Chutney with Brie in Puff Pastry. It's a fabulous Holiday appetizer that everyone will love! You can stock-up on all the ingredients including @dietcoke at @samsclub - Recipe and video created by WhipperBerry

A table full of seasonal goodies is what really makes the Holidays for my family and I. The kitchen, especially the table is the center of the season with all kinds of scrumptious goodies. We have several food traditions in our home… Of course the typical cookie and candy making, the traditional meals for Thanksgiving and Christmas and some not so traditional like a dinner that is made up of a whole spread of yummy appetizers for New Years.

Friends and family are always dropping by and I’ve learned that it’s super important to keep the pantry stocked at all times so that we are prepared for unexpected guests. Here are some of my pantry staples from Sam’s Club.


Holiday Pantry Staples

  • Tiny Pickles
  • Olives
  • Cranberries
  • Fancy Cheese
  • Crackers
  • French Bread
  • Puff Pastry
  • Seasonal Fruit
  • Holiday Spices
  • Diet CokeⓇ
  • Nuts

It’s always good to have those quick appetizers or snacks on hand like the pickles, olives, cheese and crackers. The Sam’s Club French Bread freezes beautifully and is easy to pull out to go with soup or to slice up to use with a dip. Their seasonal fruit is exceptional and is great to give as a quick gift. You could even make a gift out of holiday spices… Wouldn’t that be fun! It’s good to keep nuts on hand for baking along with snacking and we CAN’T FORGET the Diet CokeⓇ! It’s perfect for serving to guests, for helping you get through the craziness of the season AND for baking or cooking.

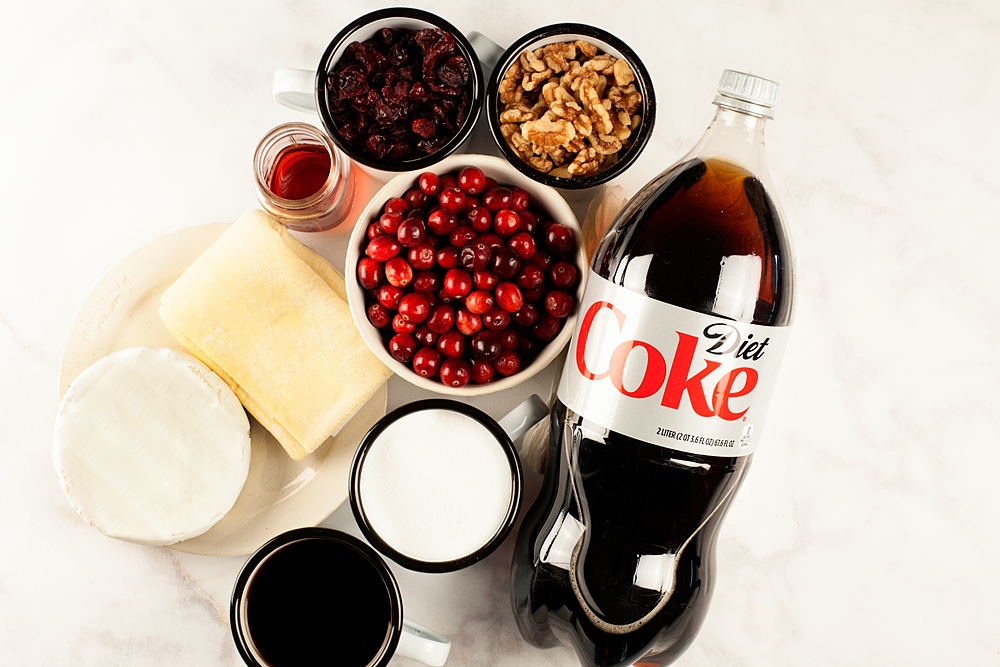
Wait a minute… Baking and cooking? Yep, Diet CokeⓇ is a great pantry staple that is good for cooking with as well. You may have heard of Diet CokeⓇ cake or even several types of meat slow cook nicely in Coca-ColaⓇ. Here is one of my favorite recipes for Cranberry Chutney with Brie in Puff Pastry to take to Holiday gatherings that is made with, surprisingly enough, Diet CokeⓇ! Here is a QUICK little video to show you how I put it together.

Diet CokeⓇ Cranberry and Walnut Chutney with Brie in Puff Pastry – WhipperBerry from Heather Thoming on Vimeo.

I LOVE how the Diet CokeⓇ Cranberry Walnut Chutney pairs with the Brie cheese, what’s fun is that it’s all wrapped up like a nice gift in some puff pastry. You have the savory cheese paired with the tangy and sweet chutney that is simply scrumptious. Plus, it looks great on a Holiday table. Our family can’t get enough of it! Here’s how to make it.

Try this scrumptious Diet Coke Cranberry Walnut Chutney with Brie in Puff Pastry. It's a fabulous Holiday appetizer that everyone will love! You can stock-up on all the ingredients including @dietcoke at @samsclub - Recipe and video created by WhipperBerry

Diet CokeⓇ Cranberry Walnut Chutney with Brie in Puff Pastry

Edit Recipe Delete Recipe

Try this scrumptious Diet Coke Cranberry Walnut Chutney with Brie in Puff Pastry. It's a fabulous Holiday appetizer that everyone will love! You can stock-up on all the ingredients including @dietcoke at @samsclub - Recipe and video created by WhipperBerry

“Coca-Cola” is a registered trademark of The Coca-Cola Company. “Diet Coke” is a registered trademark of The Coca-Cola Company.

This holiday season, include Coca-Cola® as part of your tradition. Pick up Sprite® 4 pack 2 Liter, Diet Coke® 4 Pack 2 Liter, Coca-Cola® 35 pack cans, or Coca-Cola® 30 pack Mini Cans beverages from Sam’s Club, then upload your receipt for a chance to WIN a trip for two to Los Angeles featuring:

·  An exclusive red-carpet screening of The Greatest Showman, plus pre-show
performance

·  Round trip air transportation for two (2)

·  Two (2) 20th Century Fox goodie bags

·  Three (3) nights’ luxury accommodations in a Hollywood hotel ·  VIP backstage tour of Fox Studios with lunch at the on-site restaurant

·  Full on-site assistance from a personal winner manager throughout the trip Don’t miss
this incredible opportunity!

SaveSave

Tailgate in Style with Beefy Jalapeño Bites

9 · Sep 10, 2017 · Leave a Comment

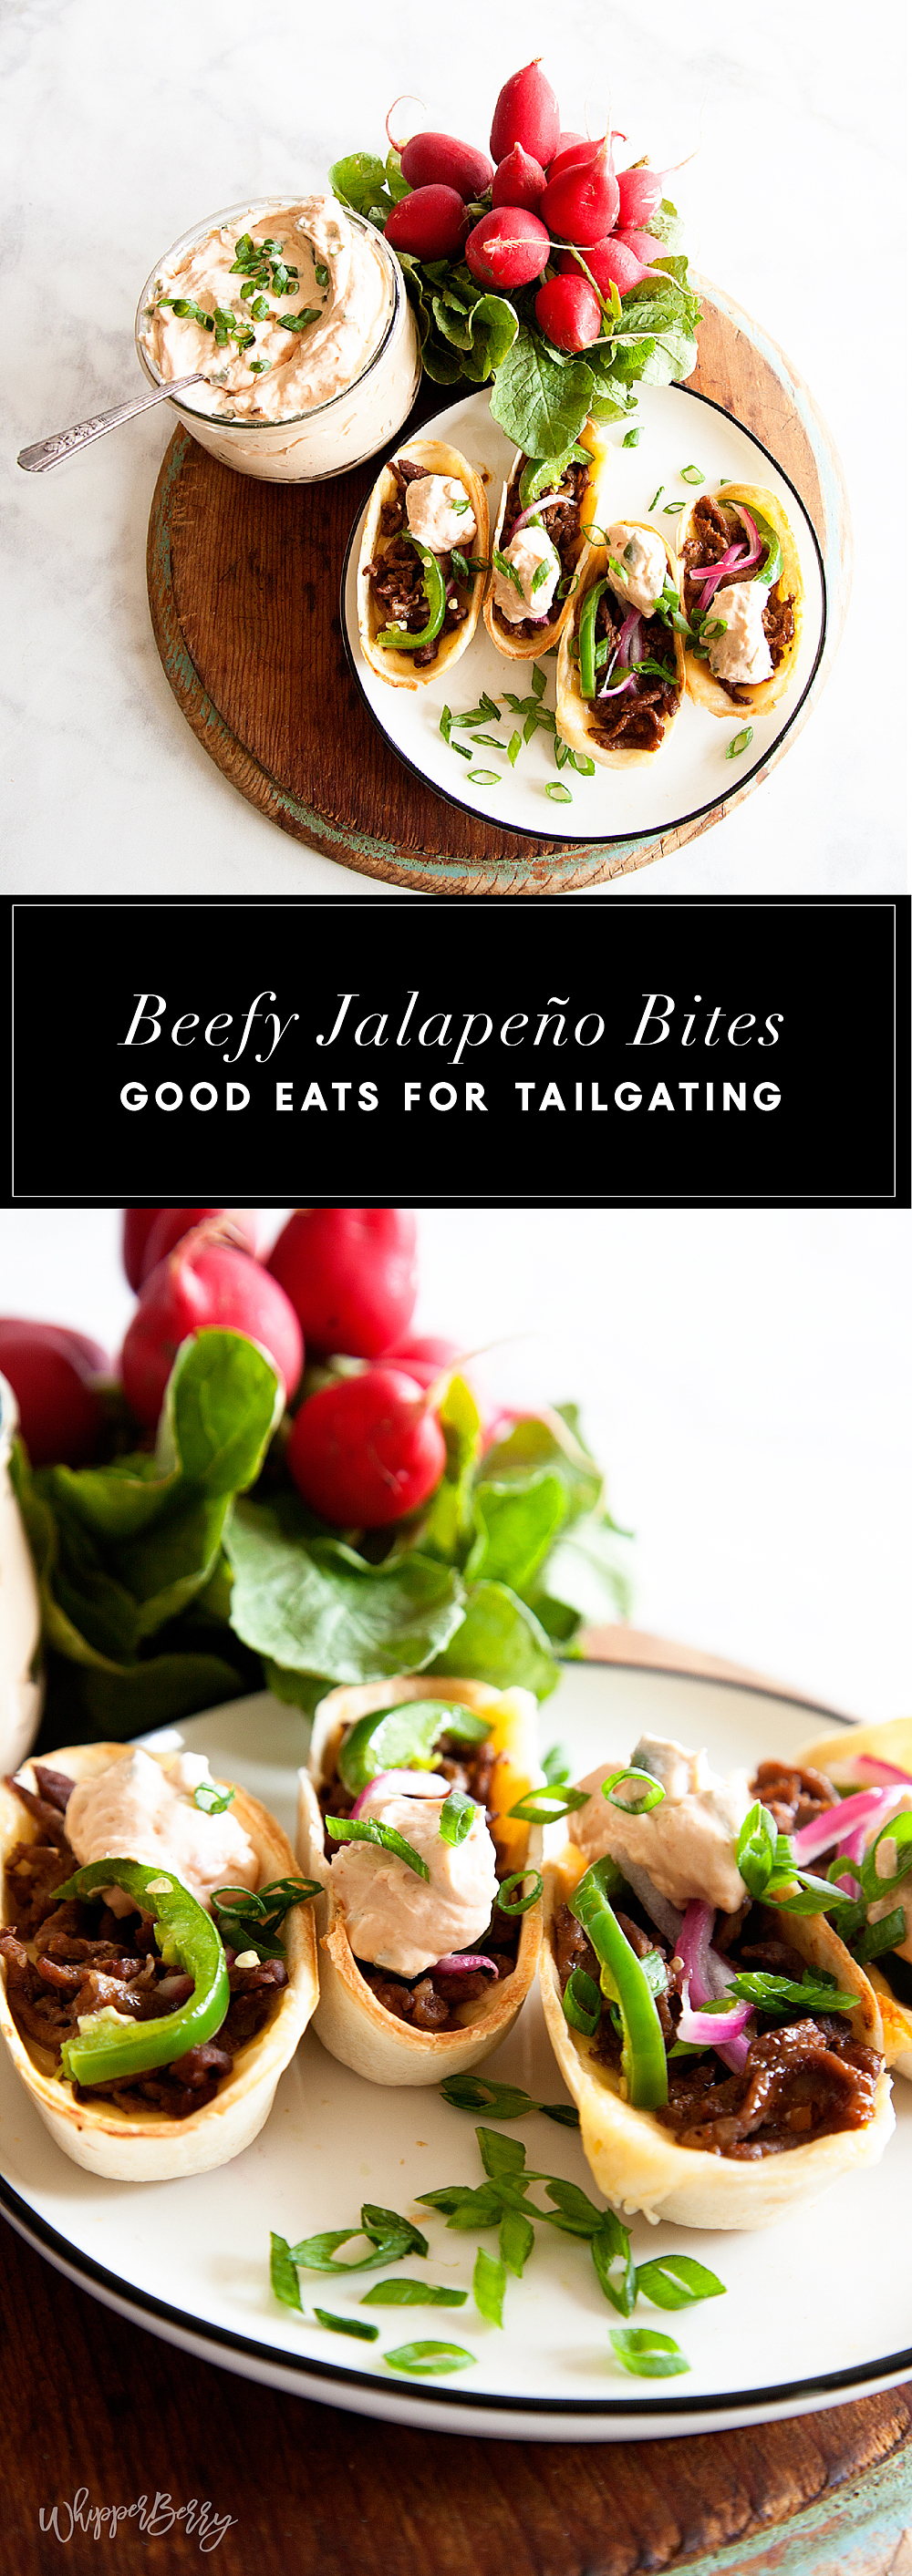
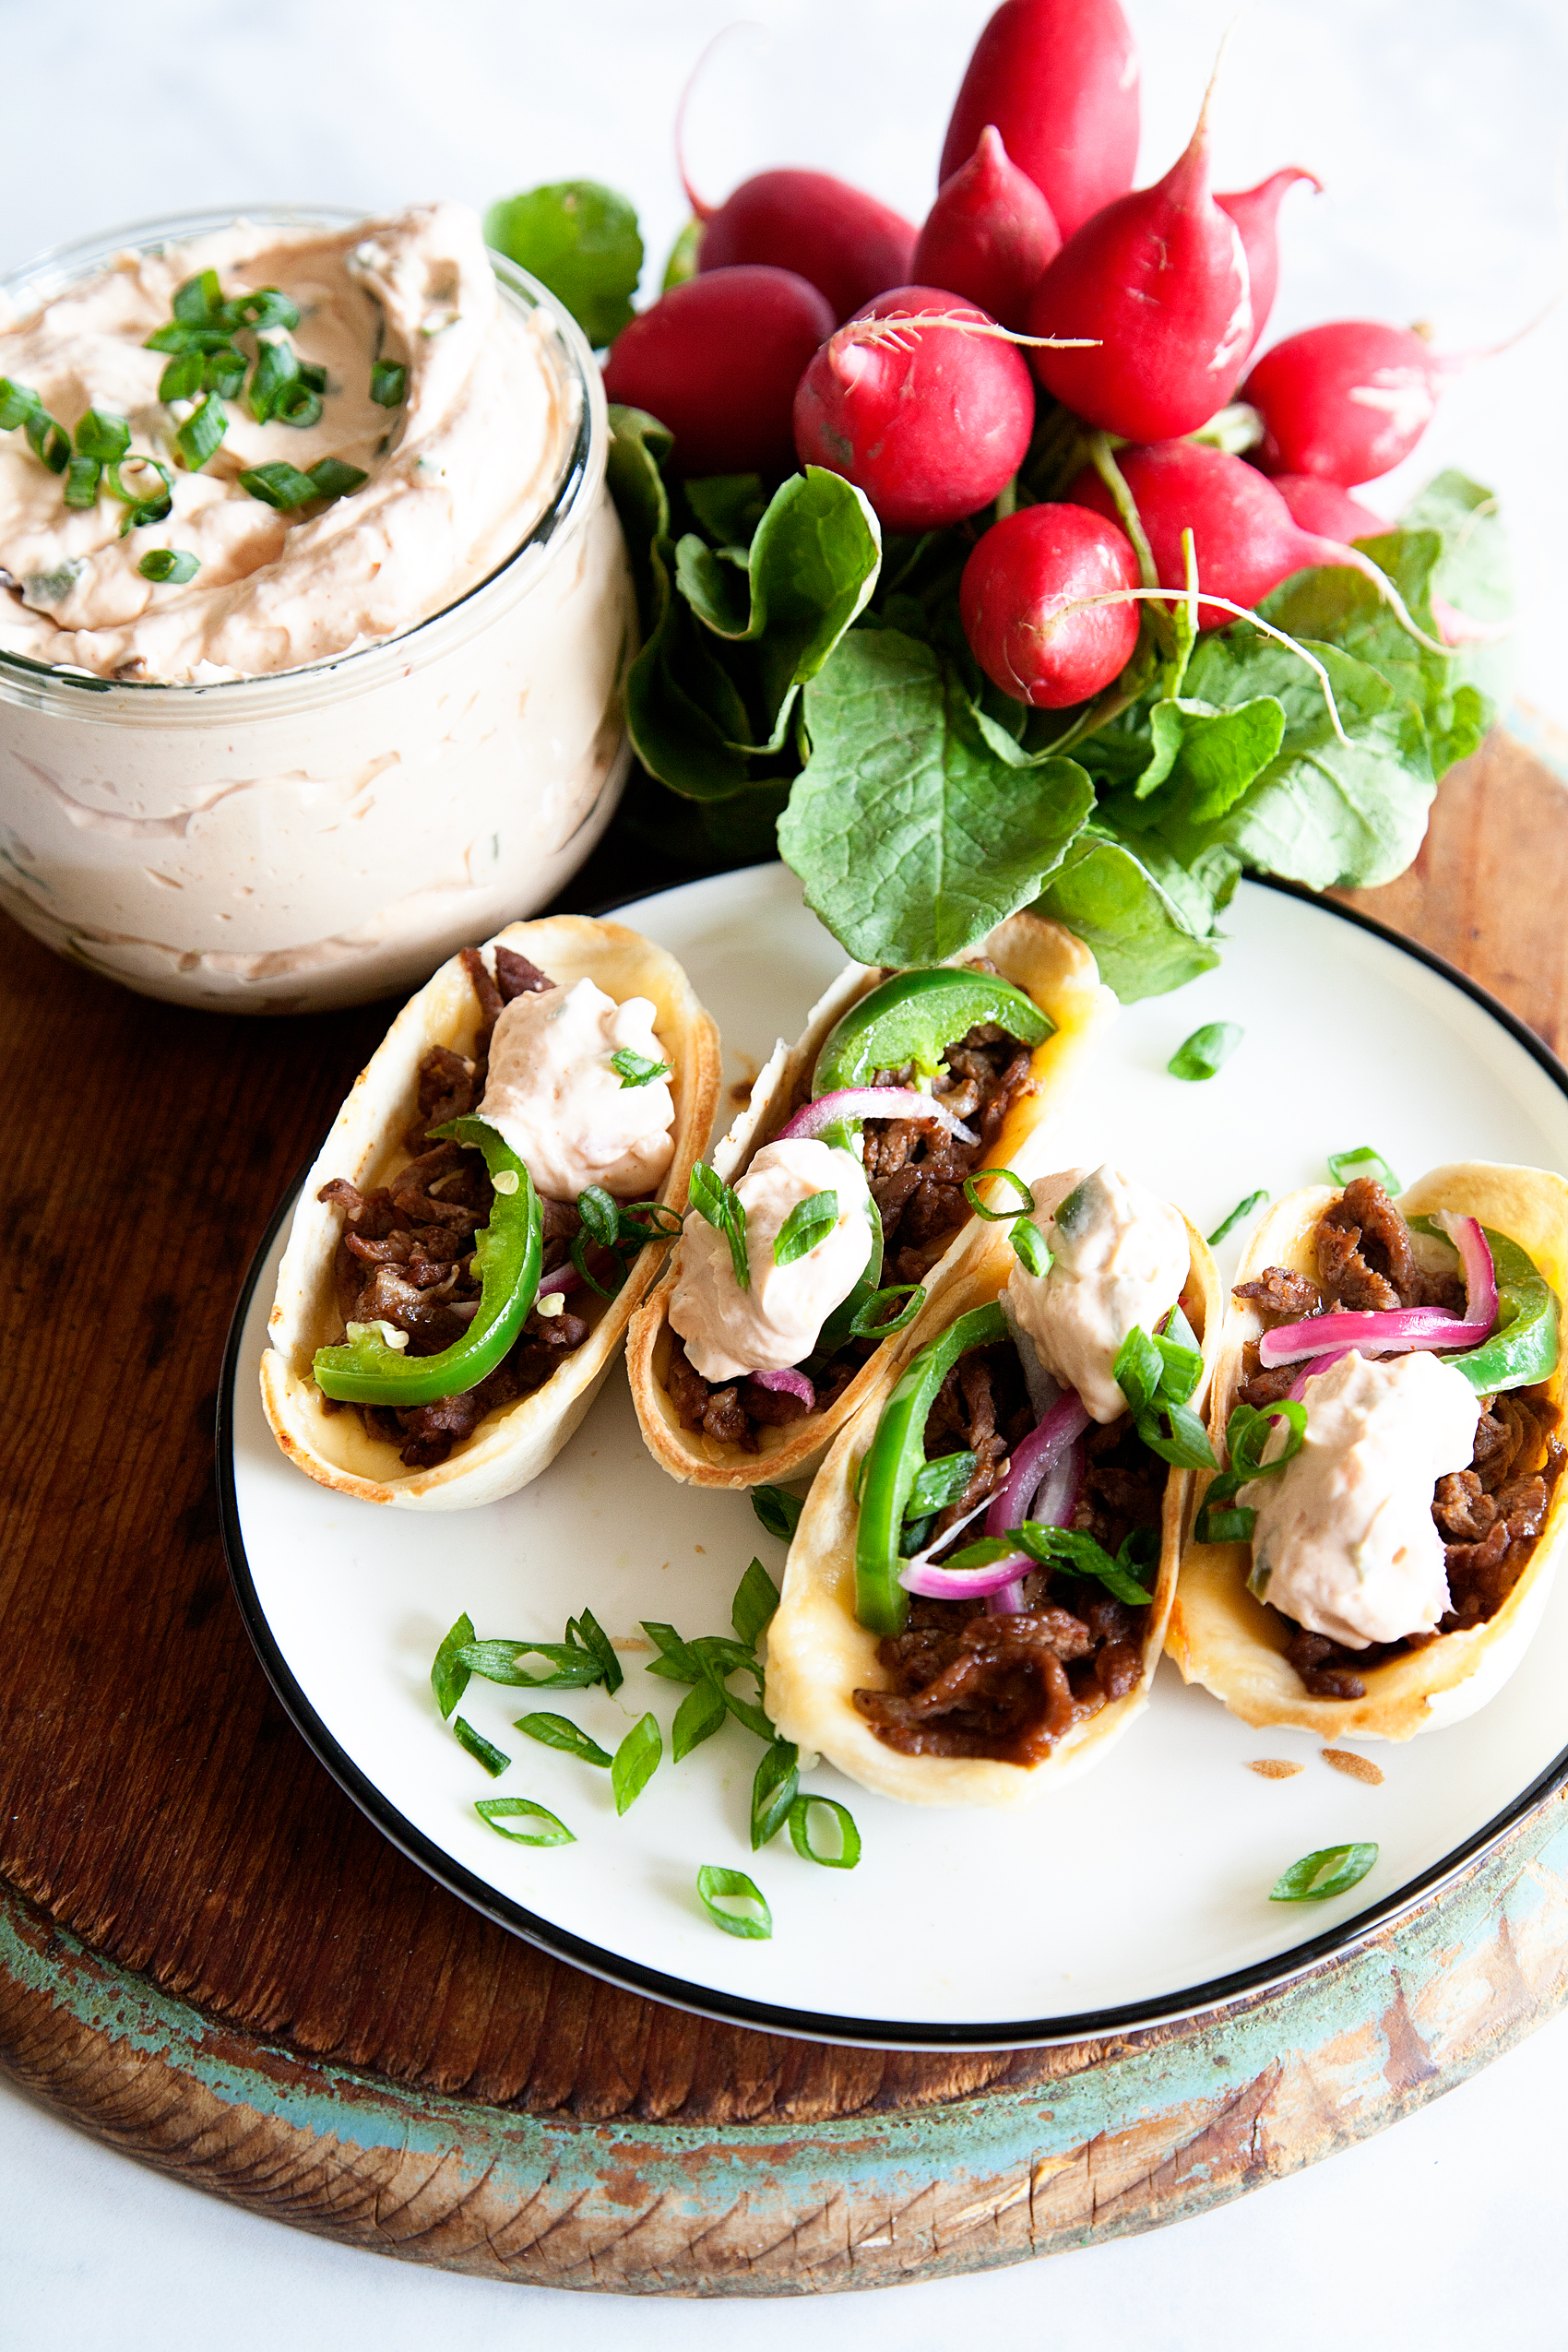
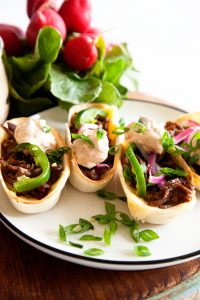
Kick up your game for GAME DAY! These Beefy Jalapeño Bites will win over even the most picky tailgater. Filled with Gouda cheese, Old El Paso seasoned beef and topped with scrumptious homemade pickled jalapeños… What’s not to LOVE! Come learn how to make these tasty treats.

Disclaimer • This post is brought to you by Old El Paso & Walmart. All thoughts, ideas and opinions are my very own.

Kick up your game for GAME DAY! These Beefy Jalapeño Bites will win over even the most picky tailgater. Filled with Gouda cheese, Old El Paso seasoned beef and topped with scrumptious homemade pickled jalapeños… What’s not to LOVE! Created by WhipperBerry

Tailgating season is upon us and the age old question remains… What to make to share with our football loving friends? You know you want it to be fabulous, full of flavor but, easy to make. We live in Lincoln, Nebraska where football is the state religion (yea, not kidding.) People take football & Tailgating VERY SERIOUSLY here! I have no room for error when it comes to game day treats.

The problem is, you don’t want to spend all of your time in the kitchen or stuck at the grill when you have tailgating to do & games to watch. One of my secrets is to create elements that you can make ahead that really take your tasty bites up a level. Another secret, find elements that make serving and eating the food easy. No one wants to be weighed down with messing plates and hands. They want to grab and go without any fuss.

With that challenge in mind, I headed to Walmart to grab some of my favorites to create a new tasty treat for game day. First stop, the Old El Paso Section where I grabbed some of their Mini Taco Boats along with an Soft Taco Kit. These gems are perfect for creating easy and tasty treats that anyone can eat in 2-3 bites. The Taco Boats are flat on the bottom.  That means they are easy to fill, serve and eat all in one. Touchdown!

Kick up your game for GAME DAY! These Beefy Jalapeño Bites will win over even the most picky tailgater. Filled with Gouda cheese, Old El Paso seasoned beef and topped with scrumptious homemade pickled jalapeños… What’s not to LOVE! Created by WhipperBerry

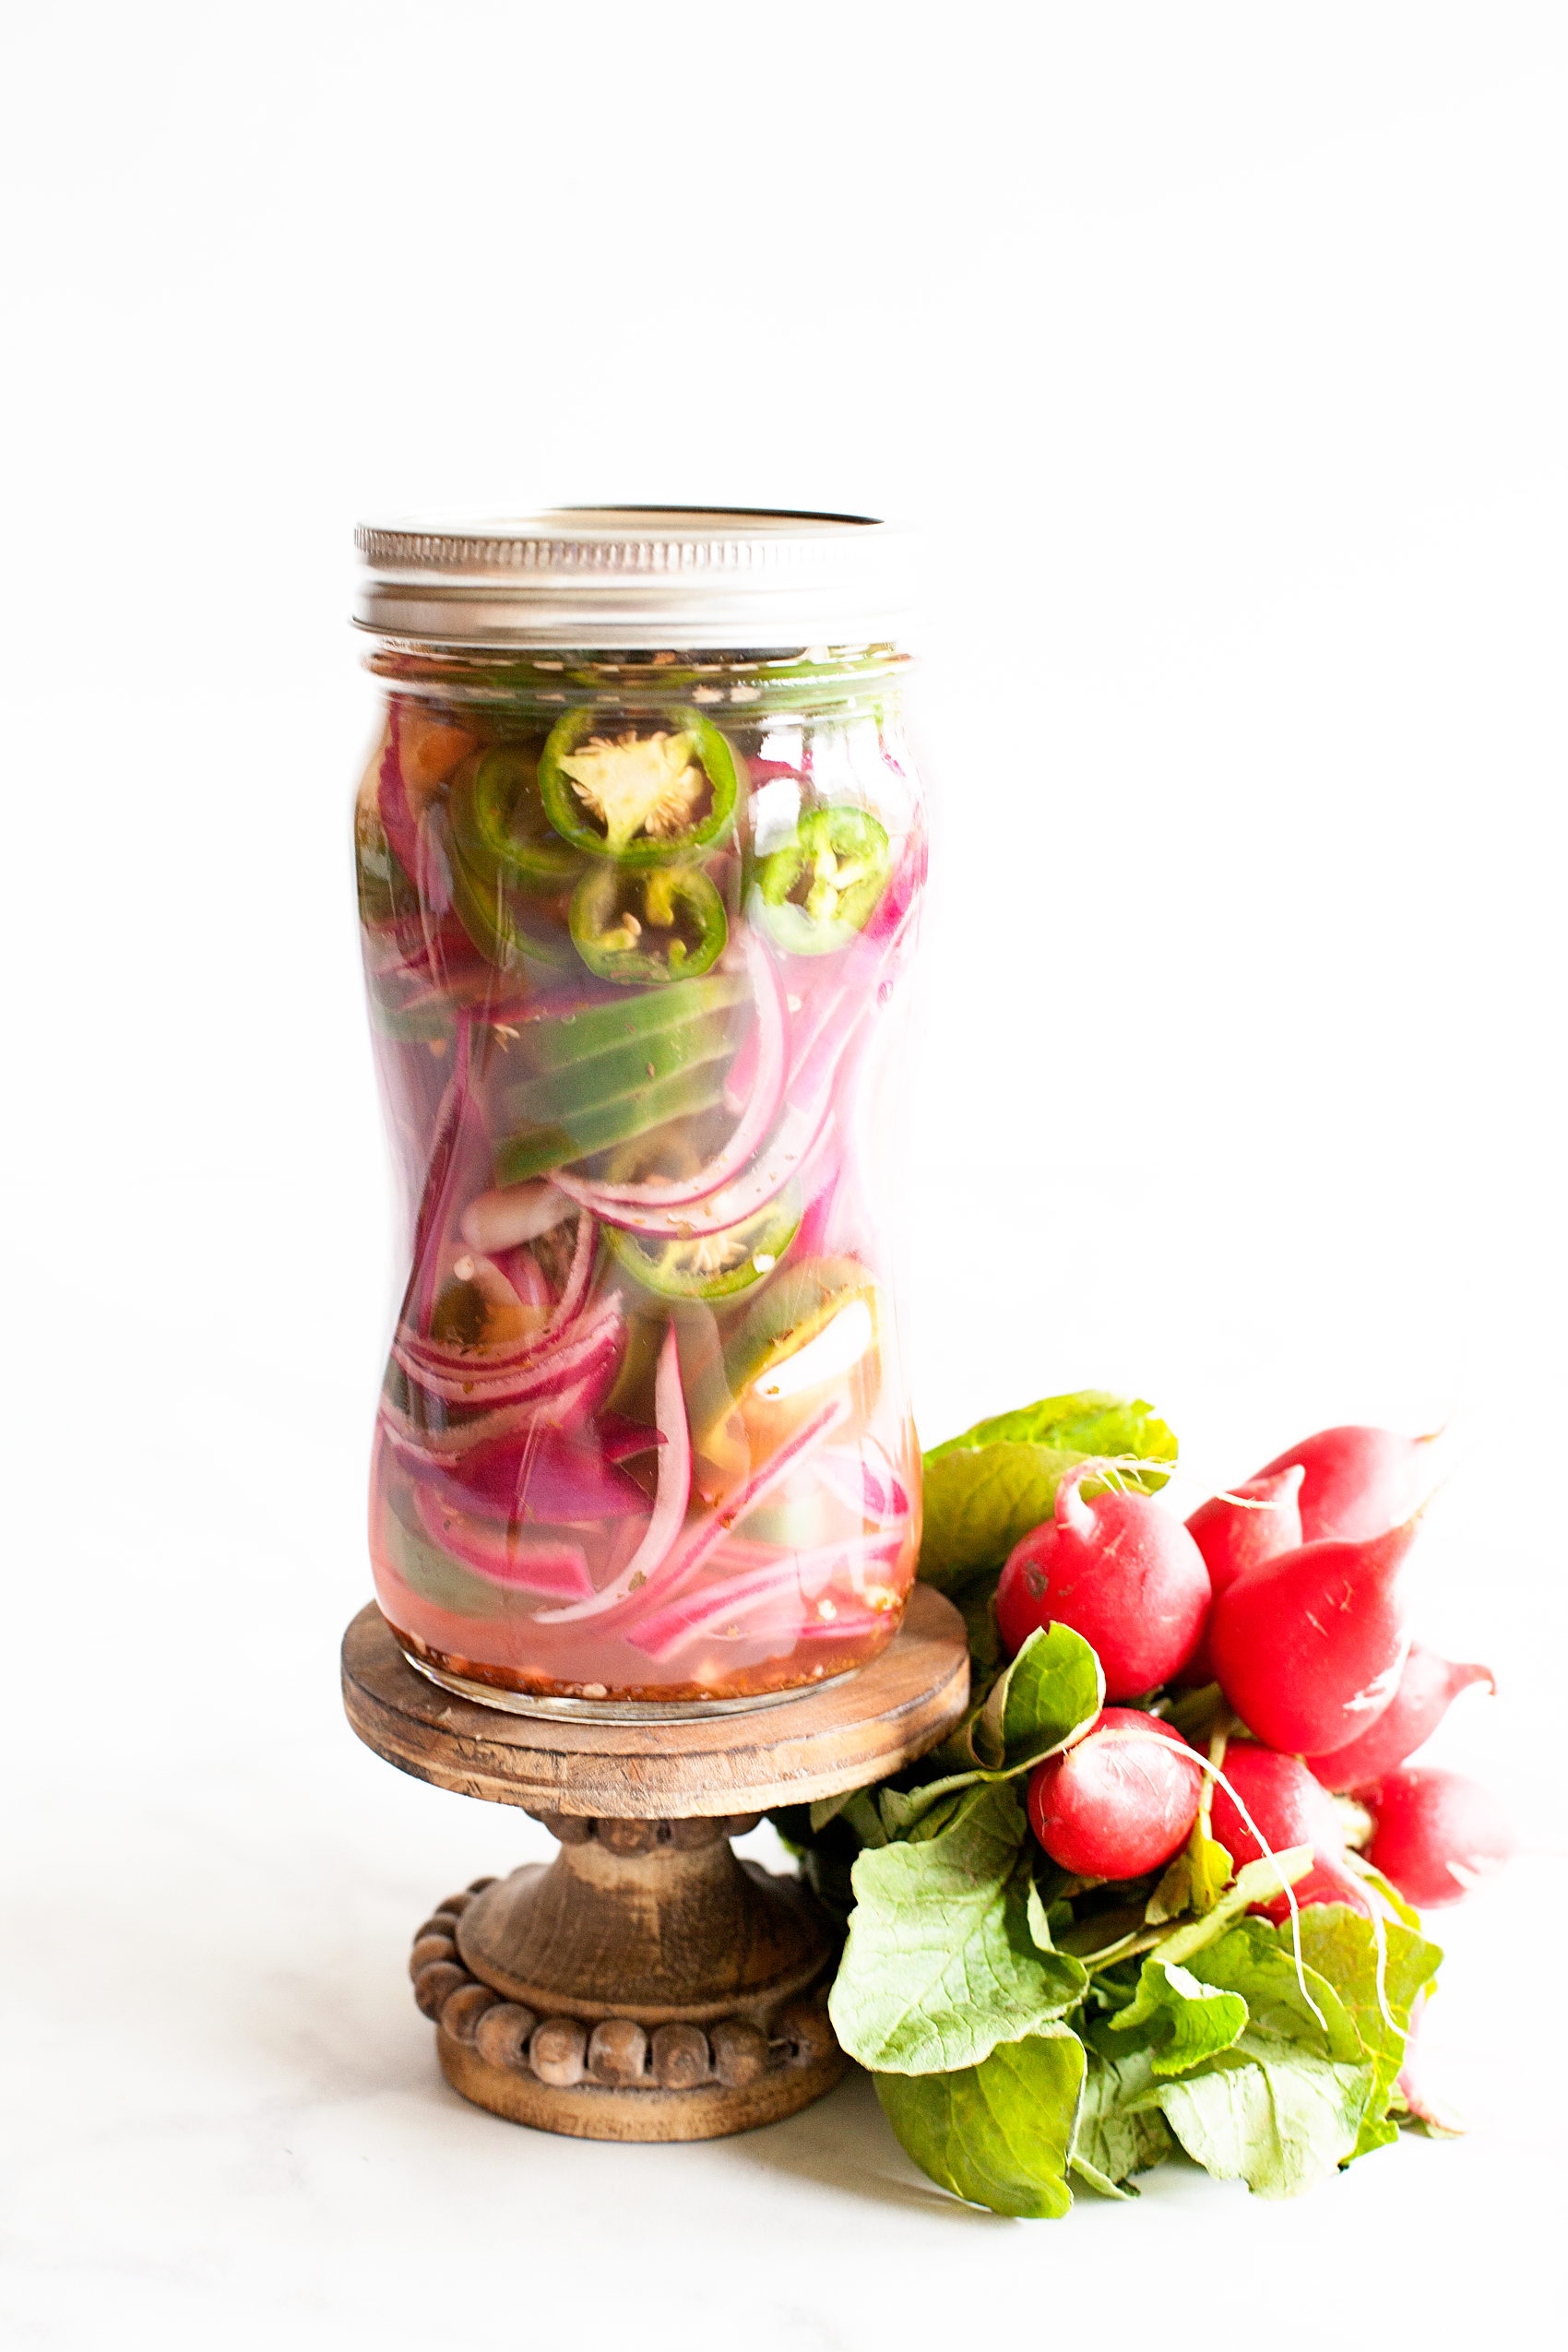
Next, I grabbed some thin sliced beef. The kind you would use for fajitas. Some sliced Gouda cheese, Jalapeños, red onion and a few more ingredients that I’ll share in my recipe. Now, the secret to this recipe is the homemade pickled jalapeños and onions. This is what takes a normal tailgate small bite dish and kicks it up several notches and turns it into MAGIC!

Kick up your game for GAME DAY! These Beefy Jalapeño Bites will win over even the most picky tailgater. Filled with Gouda cheese, Old El Paso seasoned beef and topped with scrumptious homemade pickled jalapeños… What’s not to LOVE! Created by WhipperBerry

Here’s a quick video to show you how to make these Beefy Jalapeño Bites…

Kick up your game for GAME DAY! These Beefy Jalapeño Bites will win over even the most picky tailgater. Filled with Gouda cheese, Old El Paso seasoned beef and topped with scrumptious homemade pickled jalapeños… What’s not to LOVE! Created by WhipperBerry
Print

Beefy Jalapeno Bites

Prep 40 mins

Cook 10 mins

Inactive 4 hours

Total 4 hours, 50 mins

Author Heather Thoming • WhipperBerry

Yield 12 taco boats

Kick up your game for GAME DAY! These Beefy Jalapeño Bites will win over even the most picky tailgater. Filled with Gouda cheese, Old El Paso seasoned beef and topped with scrumptious homemade pickled jalapeños… What’s not to LOVE! Created by WhipperBerry 

Ingredients

Pickled Jalapeños and Onions

  • 5-6 medium to large jalapeños
  • 1 red onion
  • 1 clove garlic
  • 1 cup water
  • 1 cup distilled white vinegar
  • 3 tablespoons sugar
  • 1 teaspoon oregano
  • 1 tablespoon salt
  • juice from 2 large limes

Pickled Jalapeño Dip

  • 16 oz. room temperature cream cheese
  • 1 cup chopped Pickled Jalapeños & Onions
  • 1 tablespoon Old El Paso Taco Seasoning 
  • 2 tablespoons sour cream
  • 3 tablespoons Old El Paso Taco Sauce

Beefy Jalapeño Bites

  • 1 lb. thinly sliced beef 
  • 1 packet of  Old El Paso Taco Seasoning in the soft taco kit, reserve 1 tablespoon
  • Old El Paso Mini Taco Boats - 12 count
  • 7 oz. sliced Gouda cheese
  • pickled jalapeños & onions
  • pickled jalapeño dip

Instructions

Pickled Jalapeños & Onions

  1. Sterilize your jar in the dishwasher and hand wash the lid and ring.
  2. Wash and slice the jalapeños into rings. Don't make them too thin.
  3. Thinly slice the red onion.
  4. In a medium saucepan over medium high heat, add water, vinegar, sugar, oregano, salt, lime juice and garlic. Bring to a boil stirring occasionally. Make sure the salt and sugar fully dissolve.
  5. Layer the jalapeños and onion in the sterilized jar.
  6. Pour pickling brine over the jalapeños and onions.
  7. Place lid on jar and put into refrigerator for at least 4 hours. Preferably, overnight or longer.
  8. These pickled jalapeños and onions will last in the refrigerator for 2 months.

Pickled Jalapeño Dip

  1. Place room temperature cream cheese into the mixing bowl.
  2. Dice the pickled jalapeños and onions and add to the cream cheese along with the sour cream, Old El Paso Taco Seasoning and Taco Sauce.
  3. Whip mixture until nice and light for about 1-2 minutes.
  4. Place in an air tight container and store for up to a week.

Beefy Jalapeno Bites

  1. Slice your thinly sliced beef into strips.
  2. Place beef strips into a non-stick skillet on Medium heat.
  3. Add the remaining Old El Paso Taco Seasoning and brown the meat.
  4. Once meat is browned remove from the heat and start to build your beefy jalapeño bites.
  5. Fold one slice of gouda in half and place the entire slice into the Old El Paso Mini Taco Boat.
  6. Fill the mini taco boat with beef mixture and top with a couple of the pickled jalapeños and onion strips.
  7. Place in a toaster oven or under the broiler in your oven and toast for 2 minutes or until the cheese has melted. Be careful not to burn the edges of your mini taco boat.
  8. Remove from the oven and place on a serving tray.
  9. Serve with the Pickled Jalapeño Dip

Notes

Make your pickled jalapeños and onion along with the dip a few days before hand, then all you have to do on game day is brown your meat and build your tasty bites. Super easy and oh, so good!

Notes

Th

Courses appetizer

Cheesy Salsa and Green Onion Dip Recipe

10 · Dec 20, 2016 · Leave a Comment

Everyone loves a good party dip and no, I’m not talking about your crazy uncle. I’m talking about those scrumptious treats that go so well with veggies and chips. It’s not an everyday thing, it’s one of those tasty treats that you enjoy when celebrating with family and friends. I’ve even attended parties focused solely on a dip recipe. Ever been to a “12 Dips of Christmas” party? It’s a great way to enjoy all kinds of goodies in one night. I’m a kind of girl that really loves to have a little taste of everything rather than sitting down to one meal so that kind of party really appeals to me. With that in mind,  I thought together, with my favorite Old El Paso friends, I would put together a great dip that everyone will love!

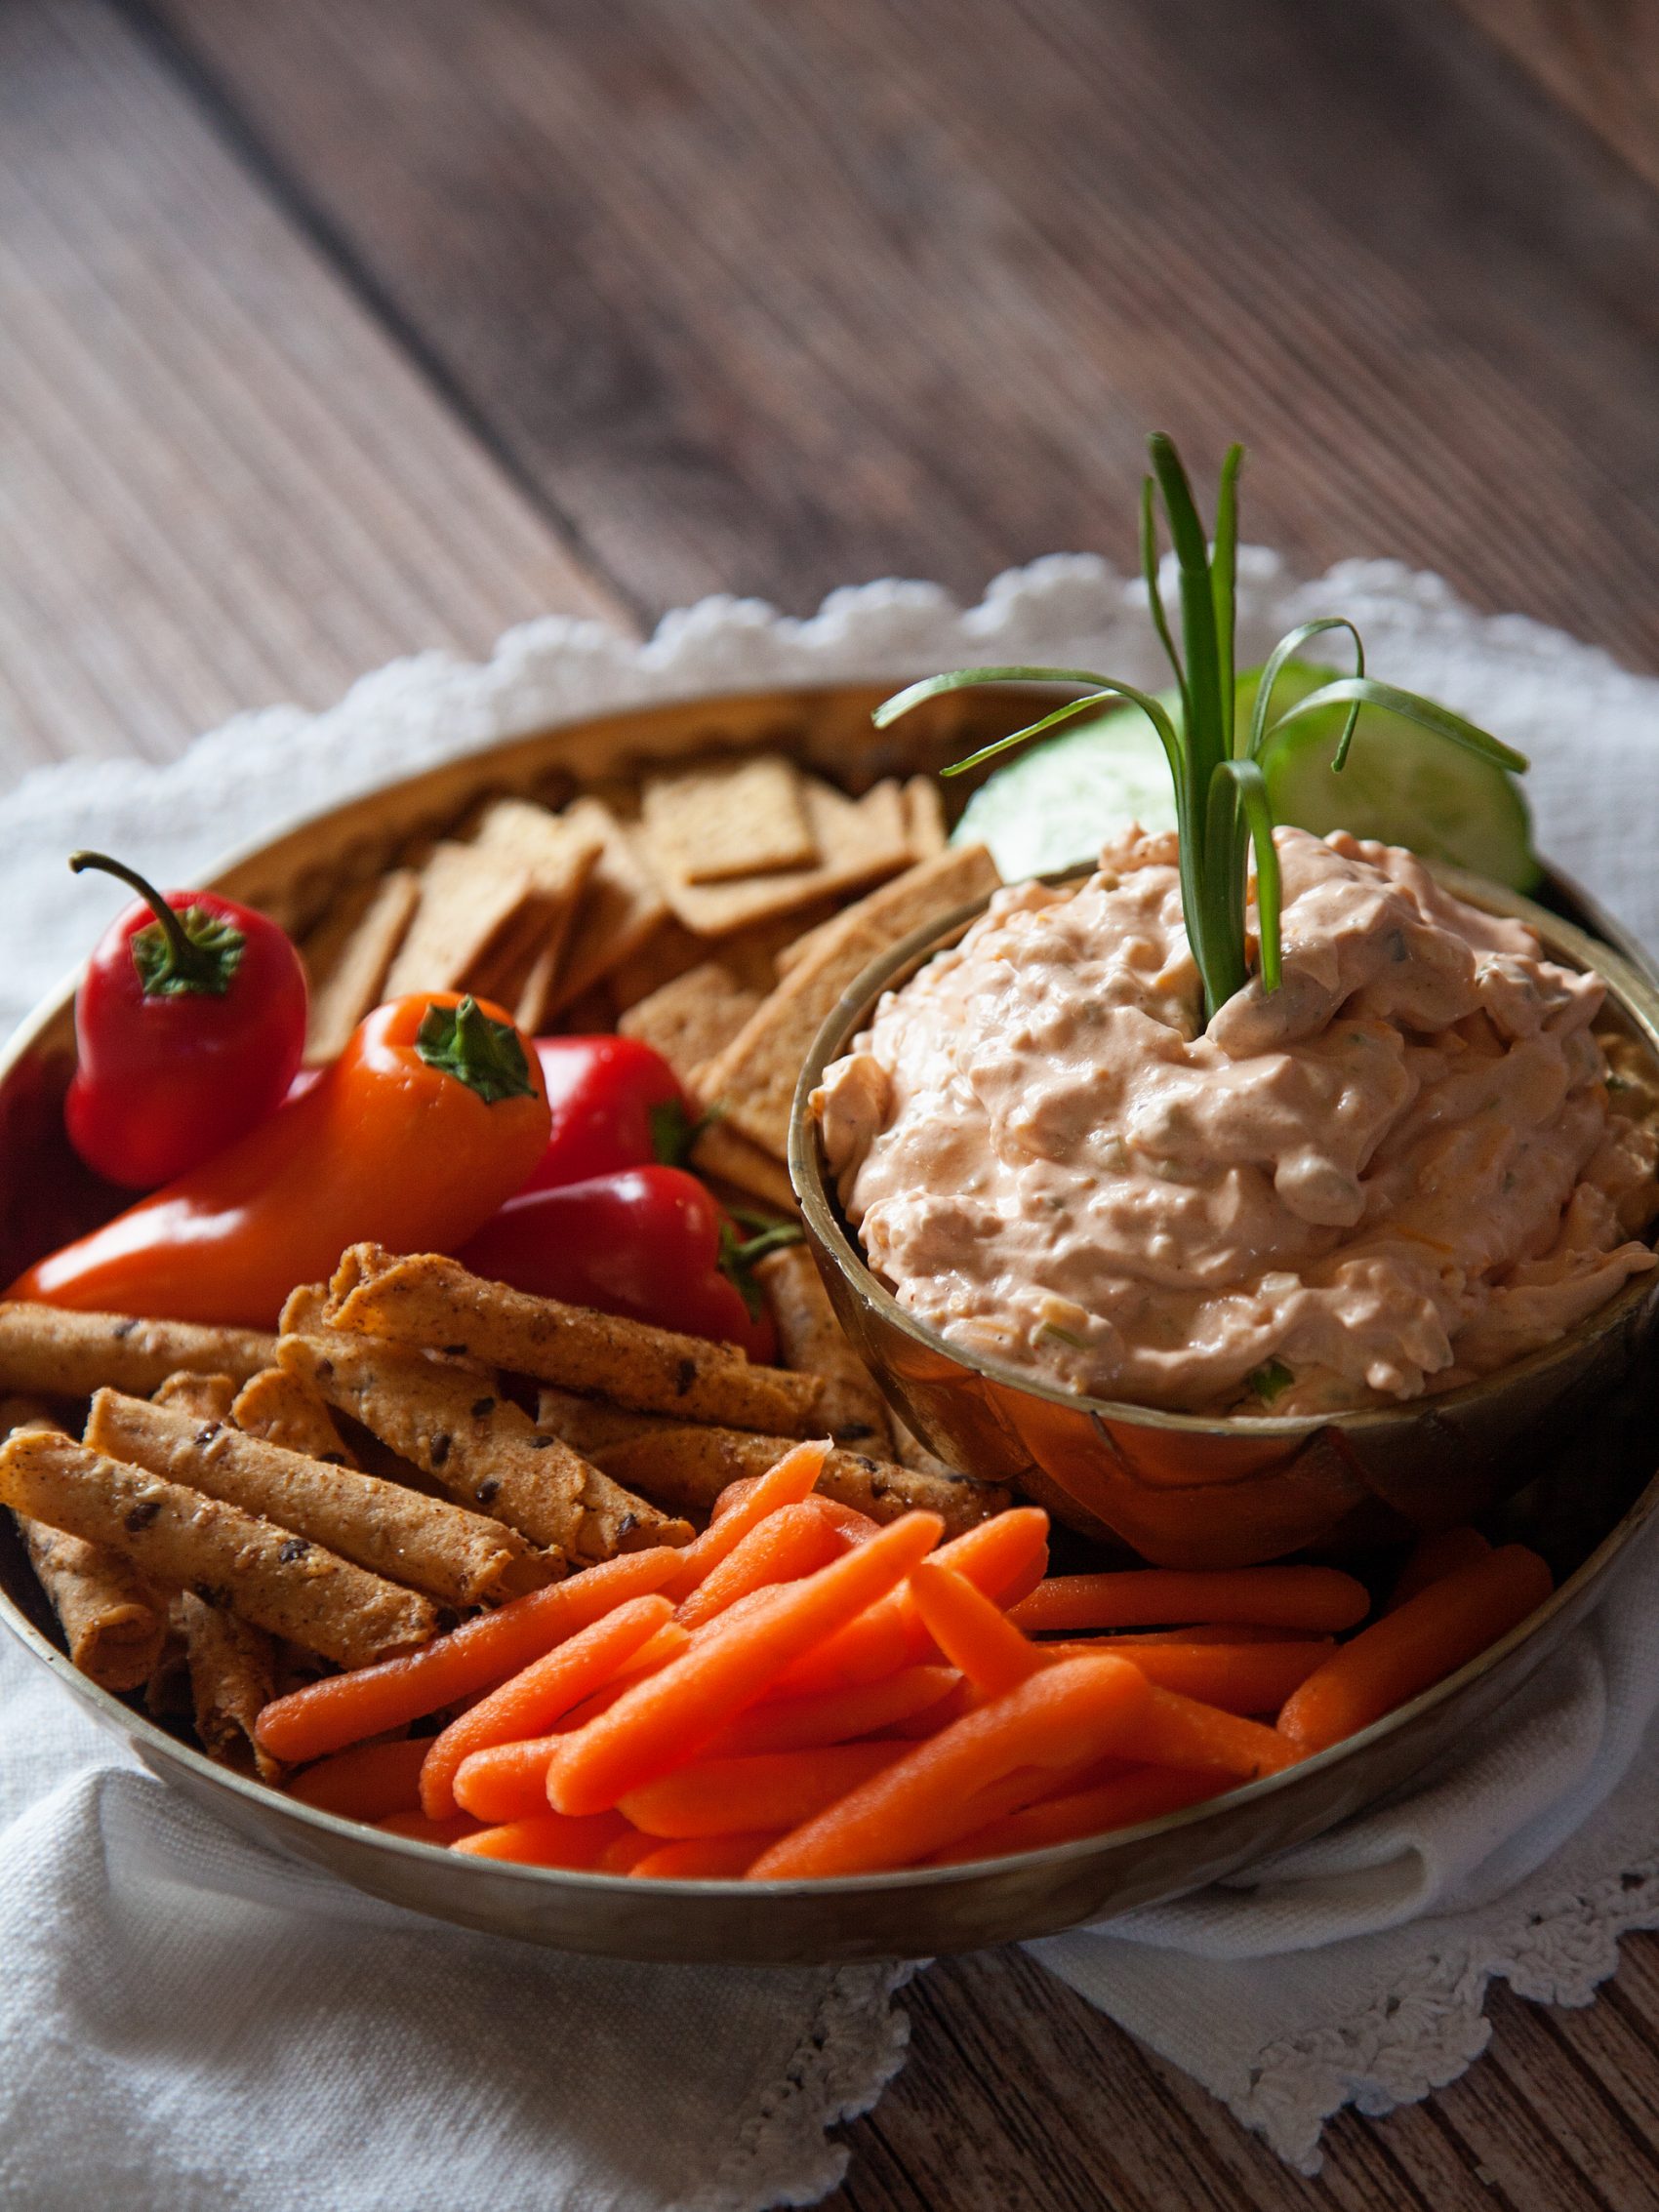
Win the battle of the dips with this scrumptious cheesy salsa dip from WhipperBerry!

This Cheesy Salsa and Green Onion Dip will be the perfect addition to your next get together! The fact that it’s a cinch to make and you can make it ahead of time is another bonus!

•   You can find the full Cheesy Salsa and Green Onion Dip Recipe at Old El Paso  •

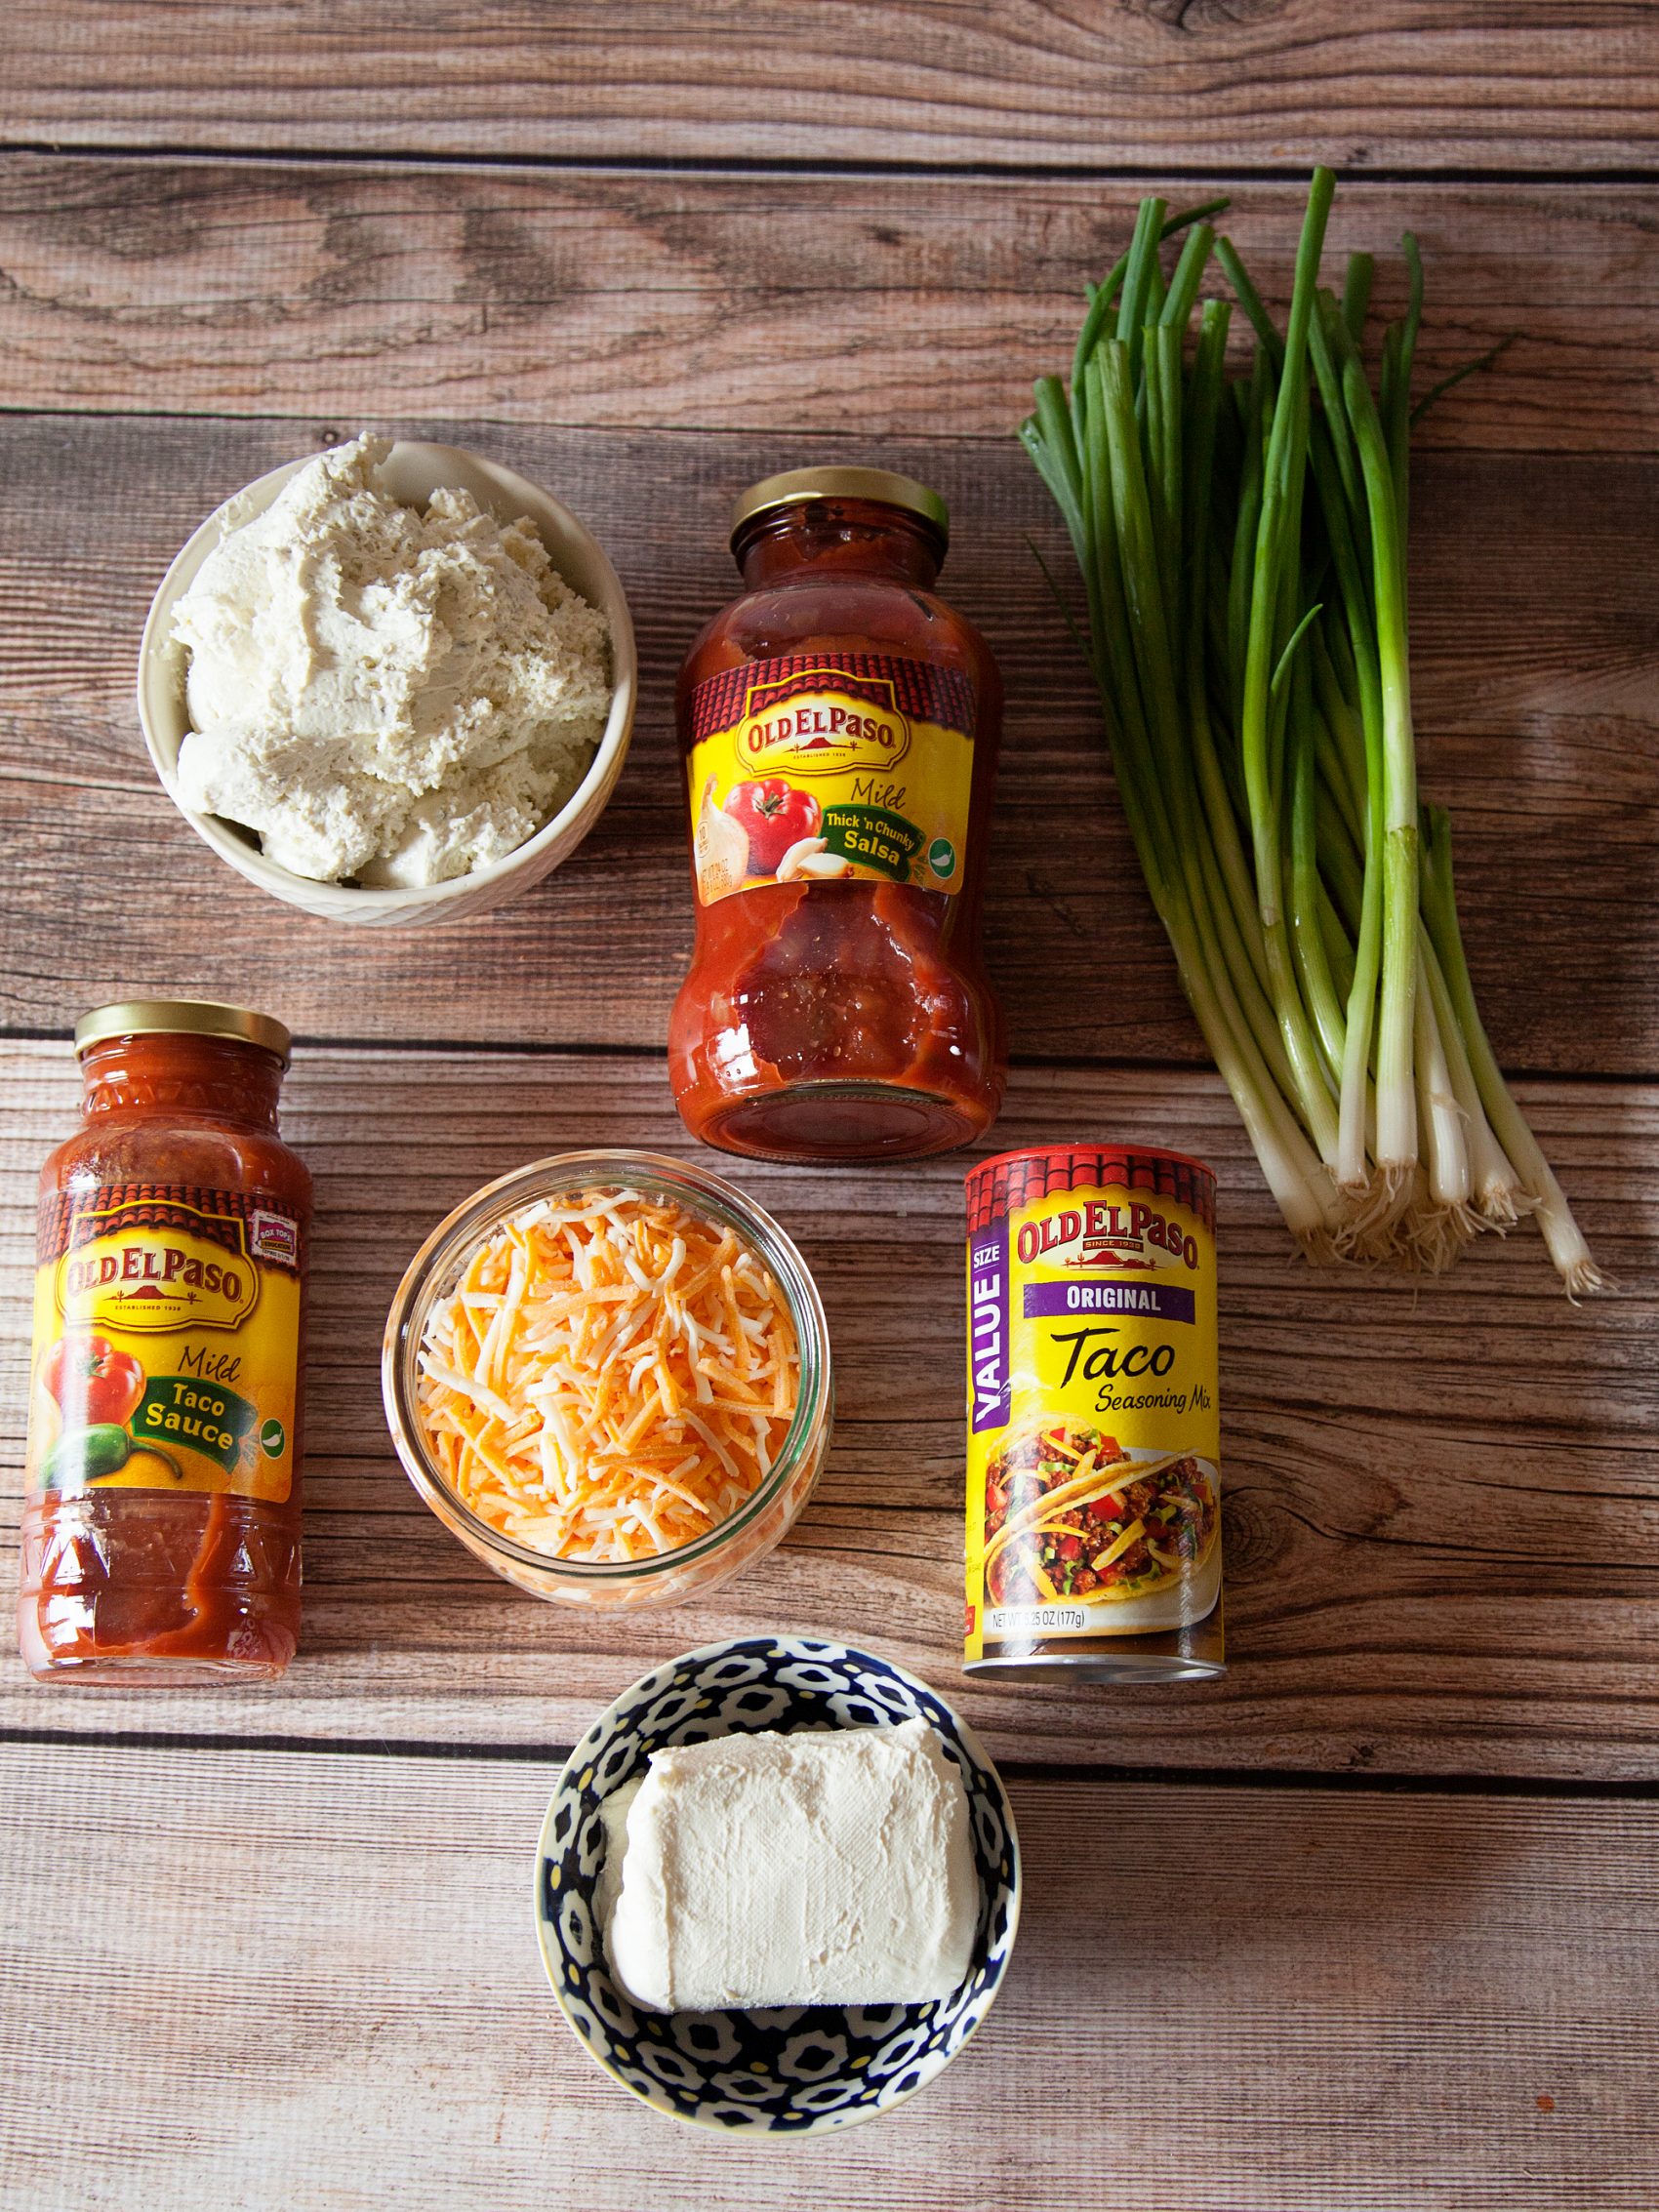
Here’s what you’ll need…

Win the battle of the dips with this scrumptious cheesy salsa dip from WhipperBerry!

You can get the full list of ingredients at the link above.

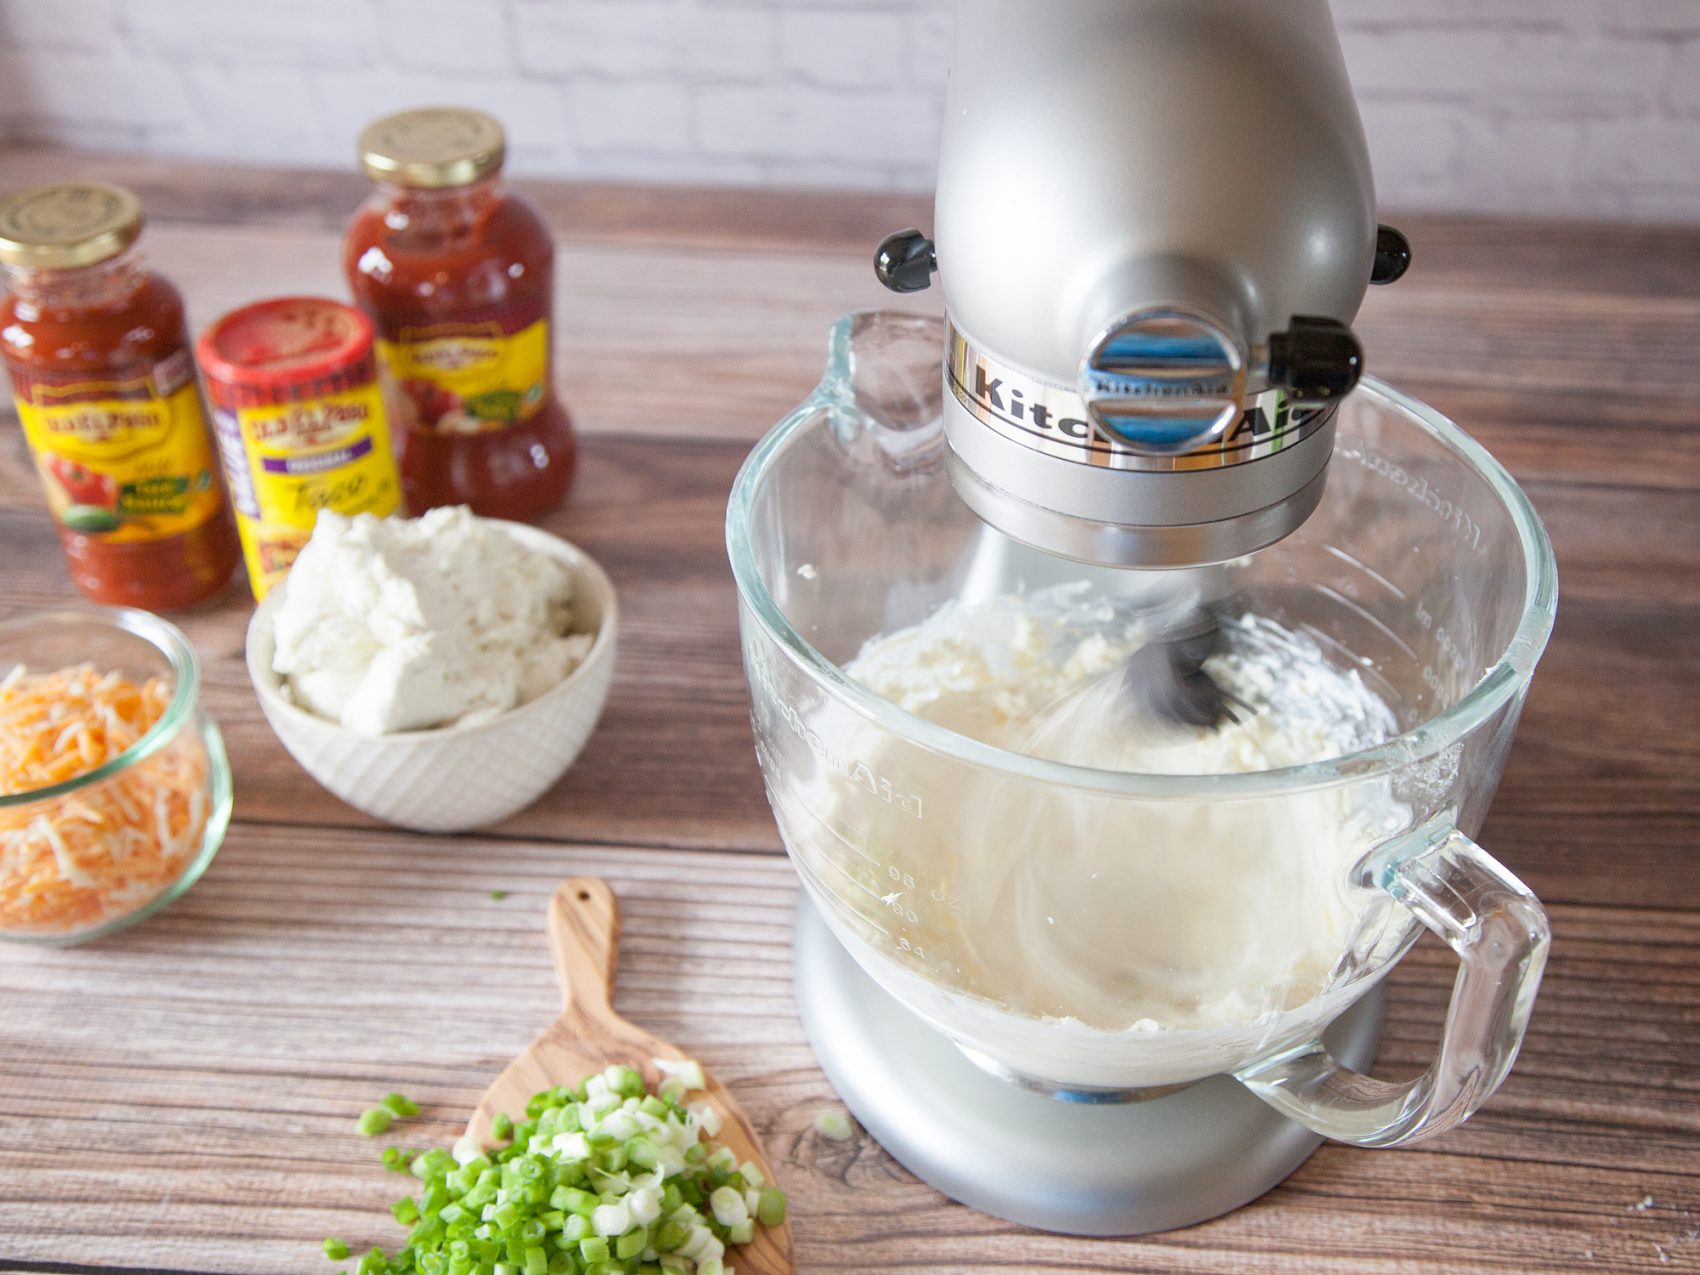
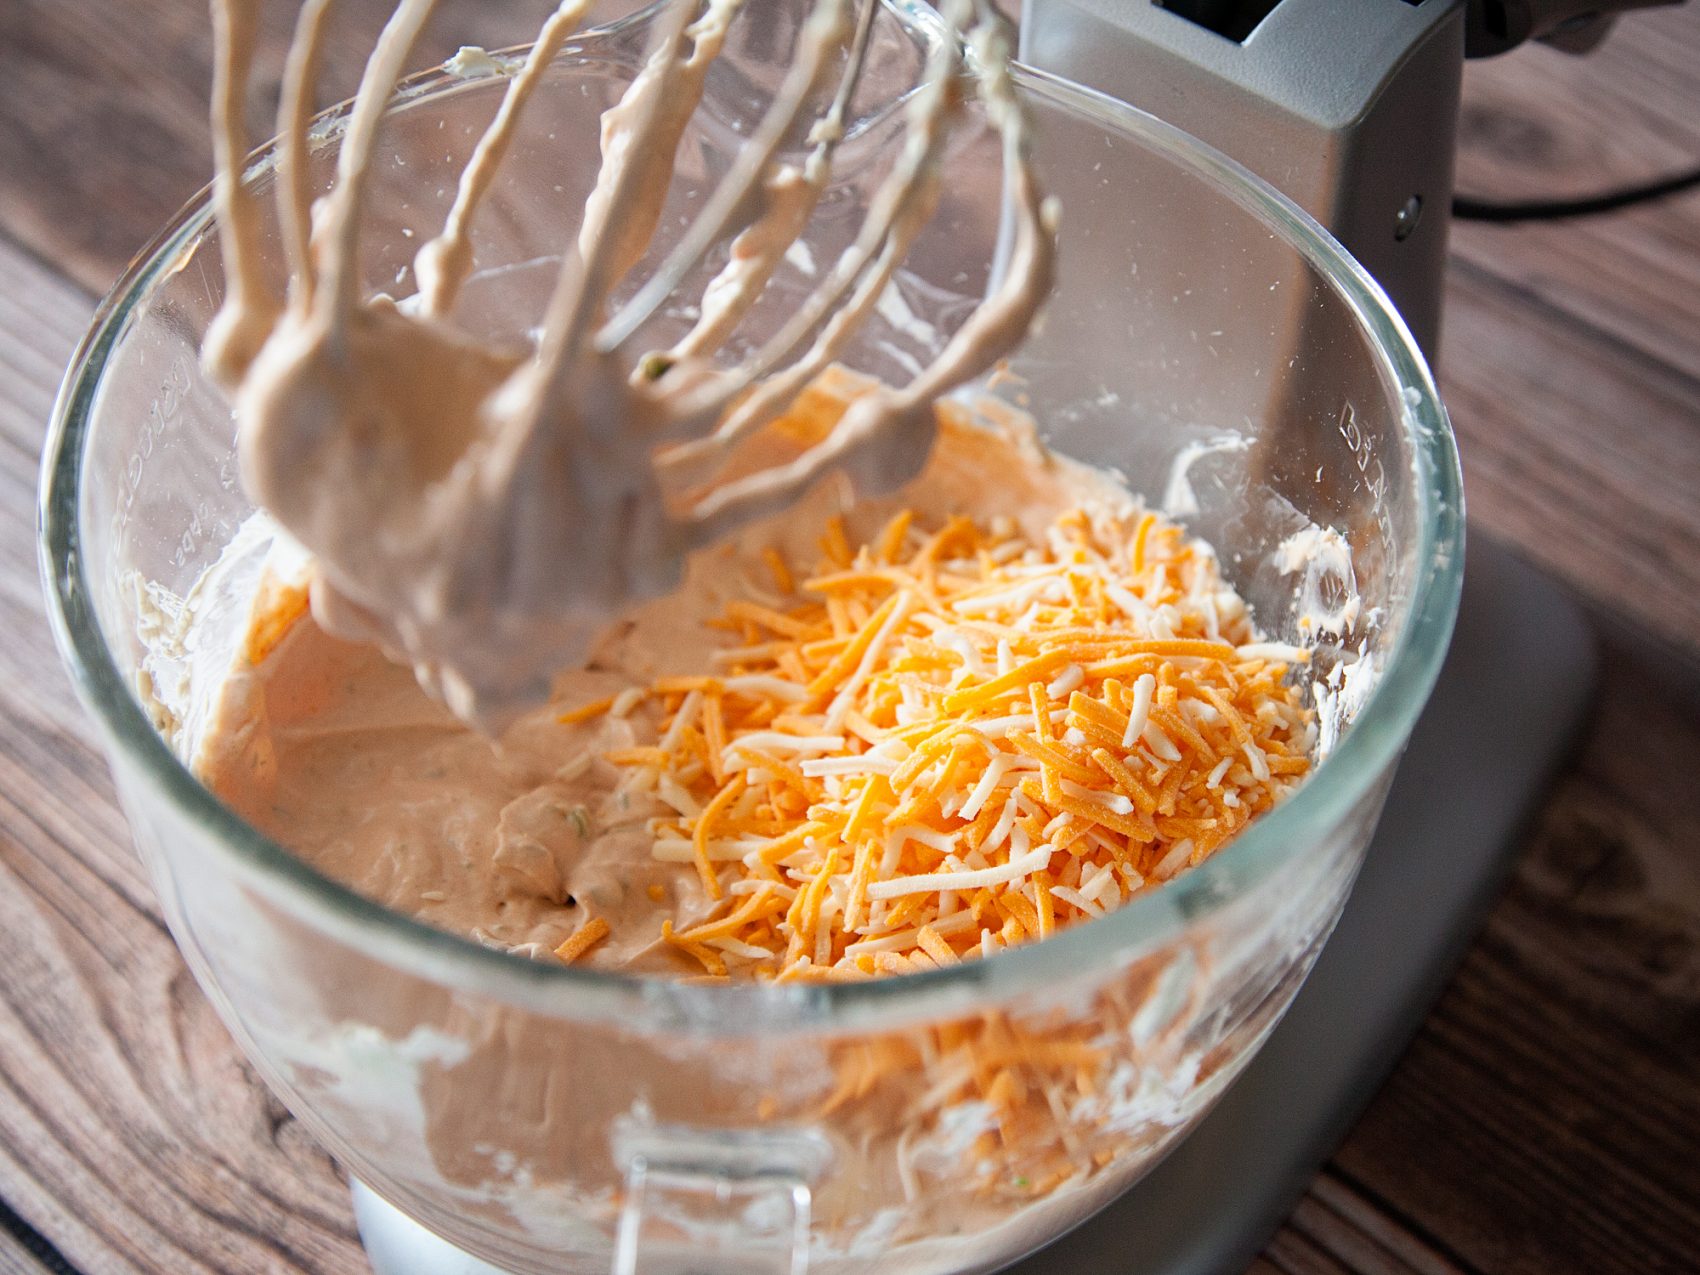
1st important item, make sure your cream cheese is at room temperature. Then add it to your mixing bowl and whisk until nice and smooth.

Win the battle of the dips with this scrumptious cheesy salsa dip from WhipperBerry!

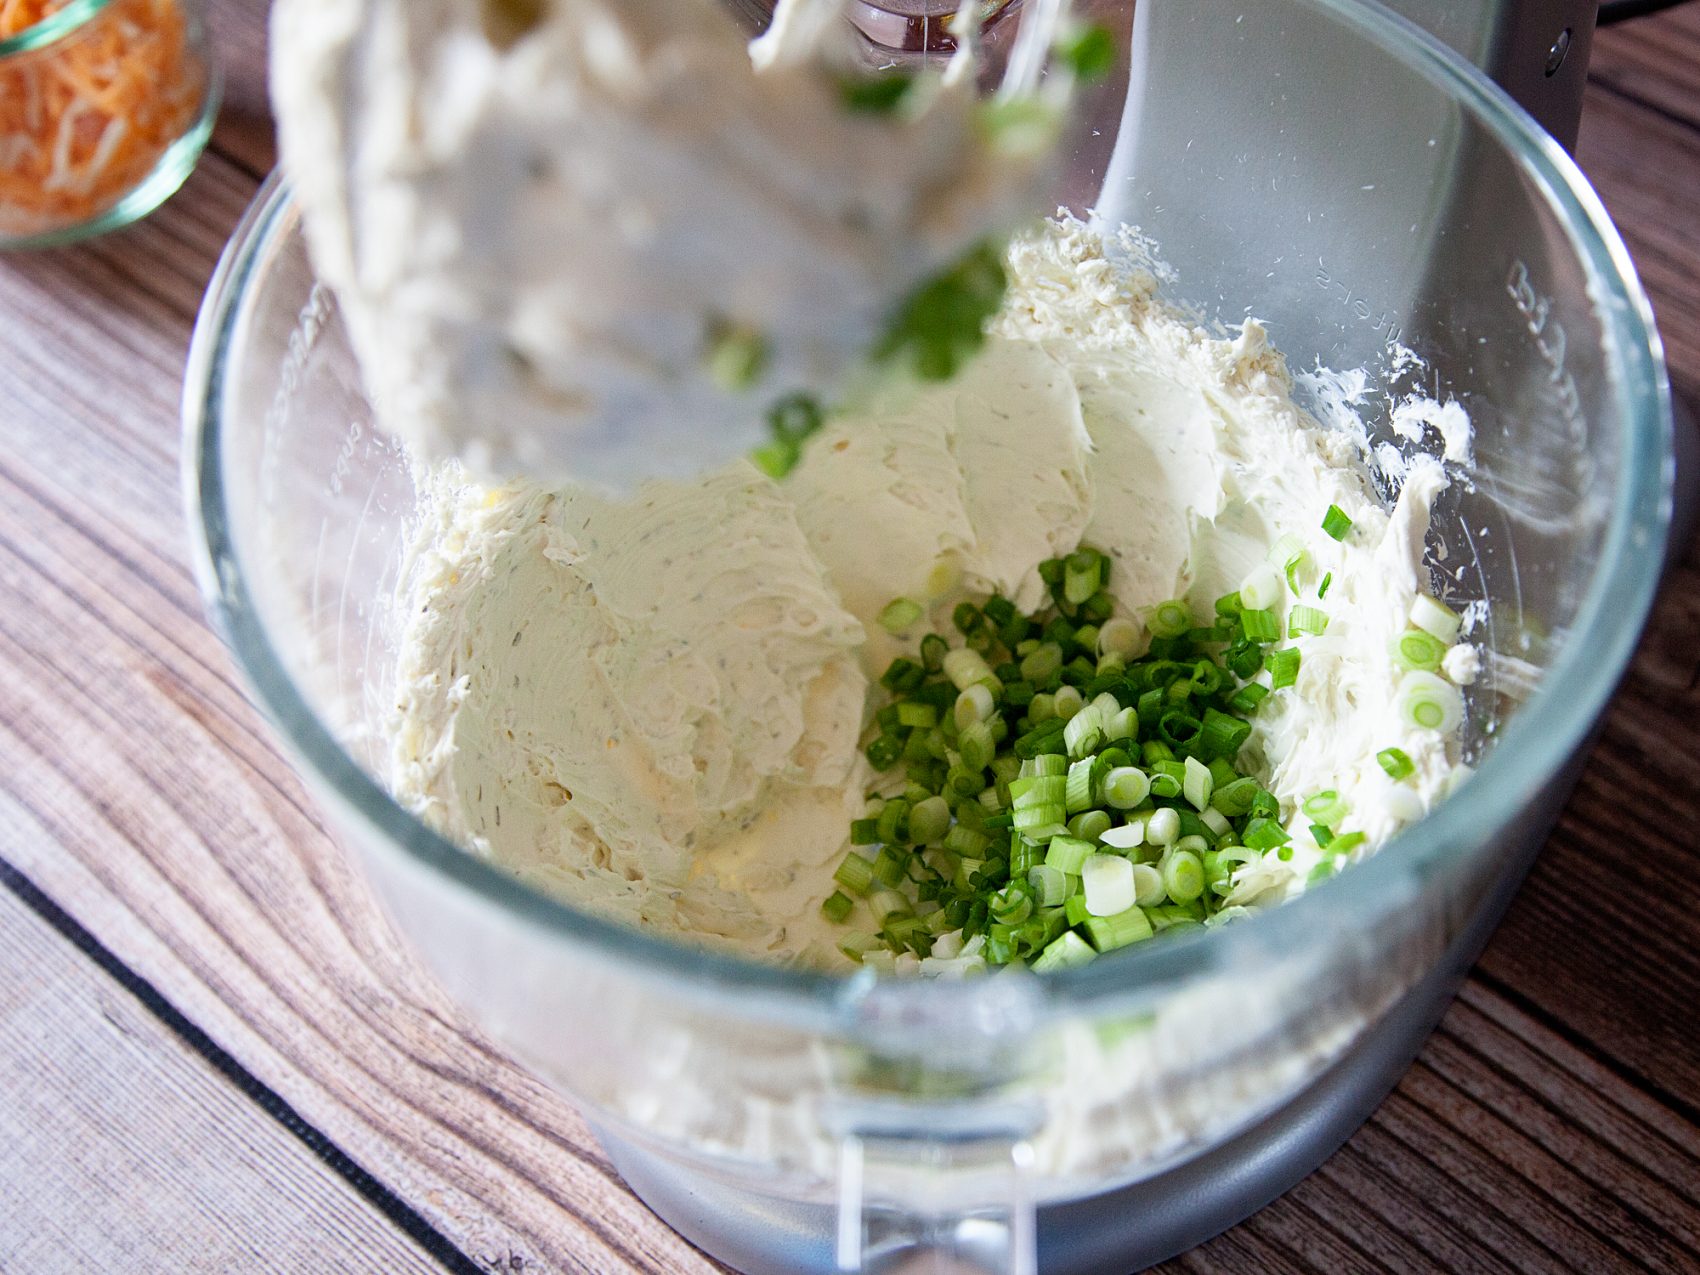
Next, add your green onion.

Win the battle of the dips with this scrumptious cheesy salsa dip from WhipperBerry!

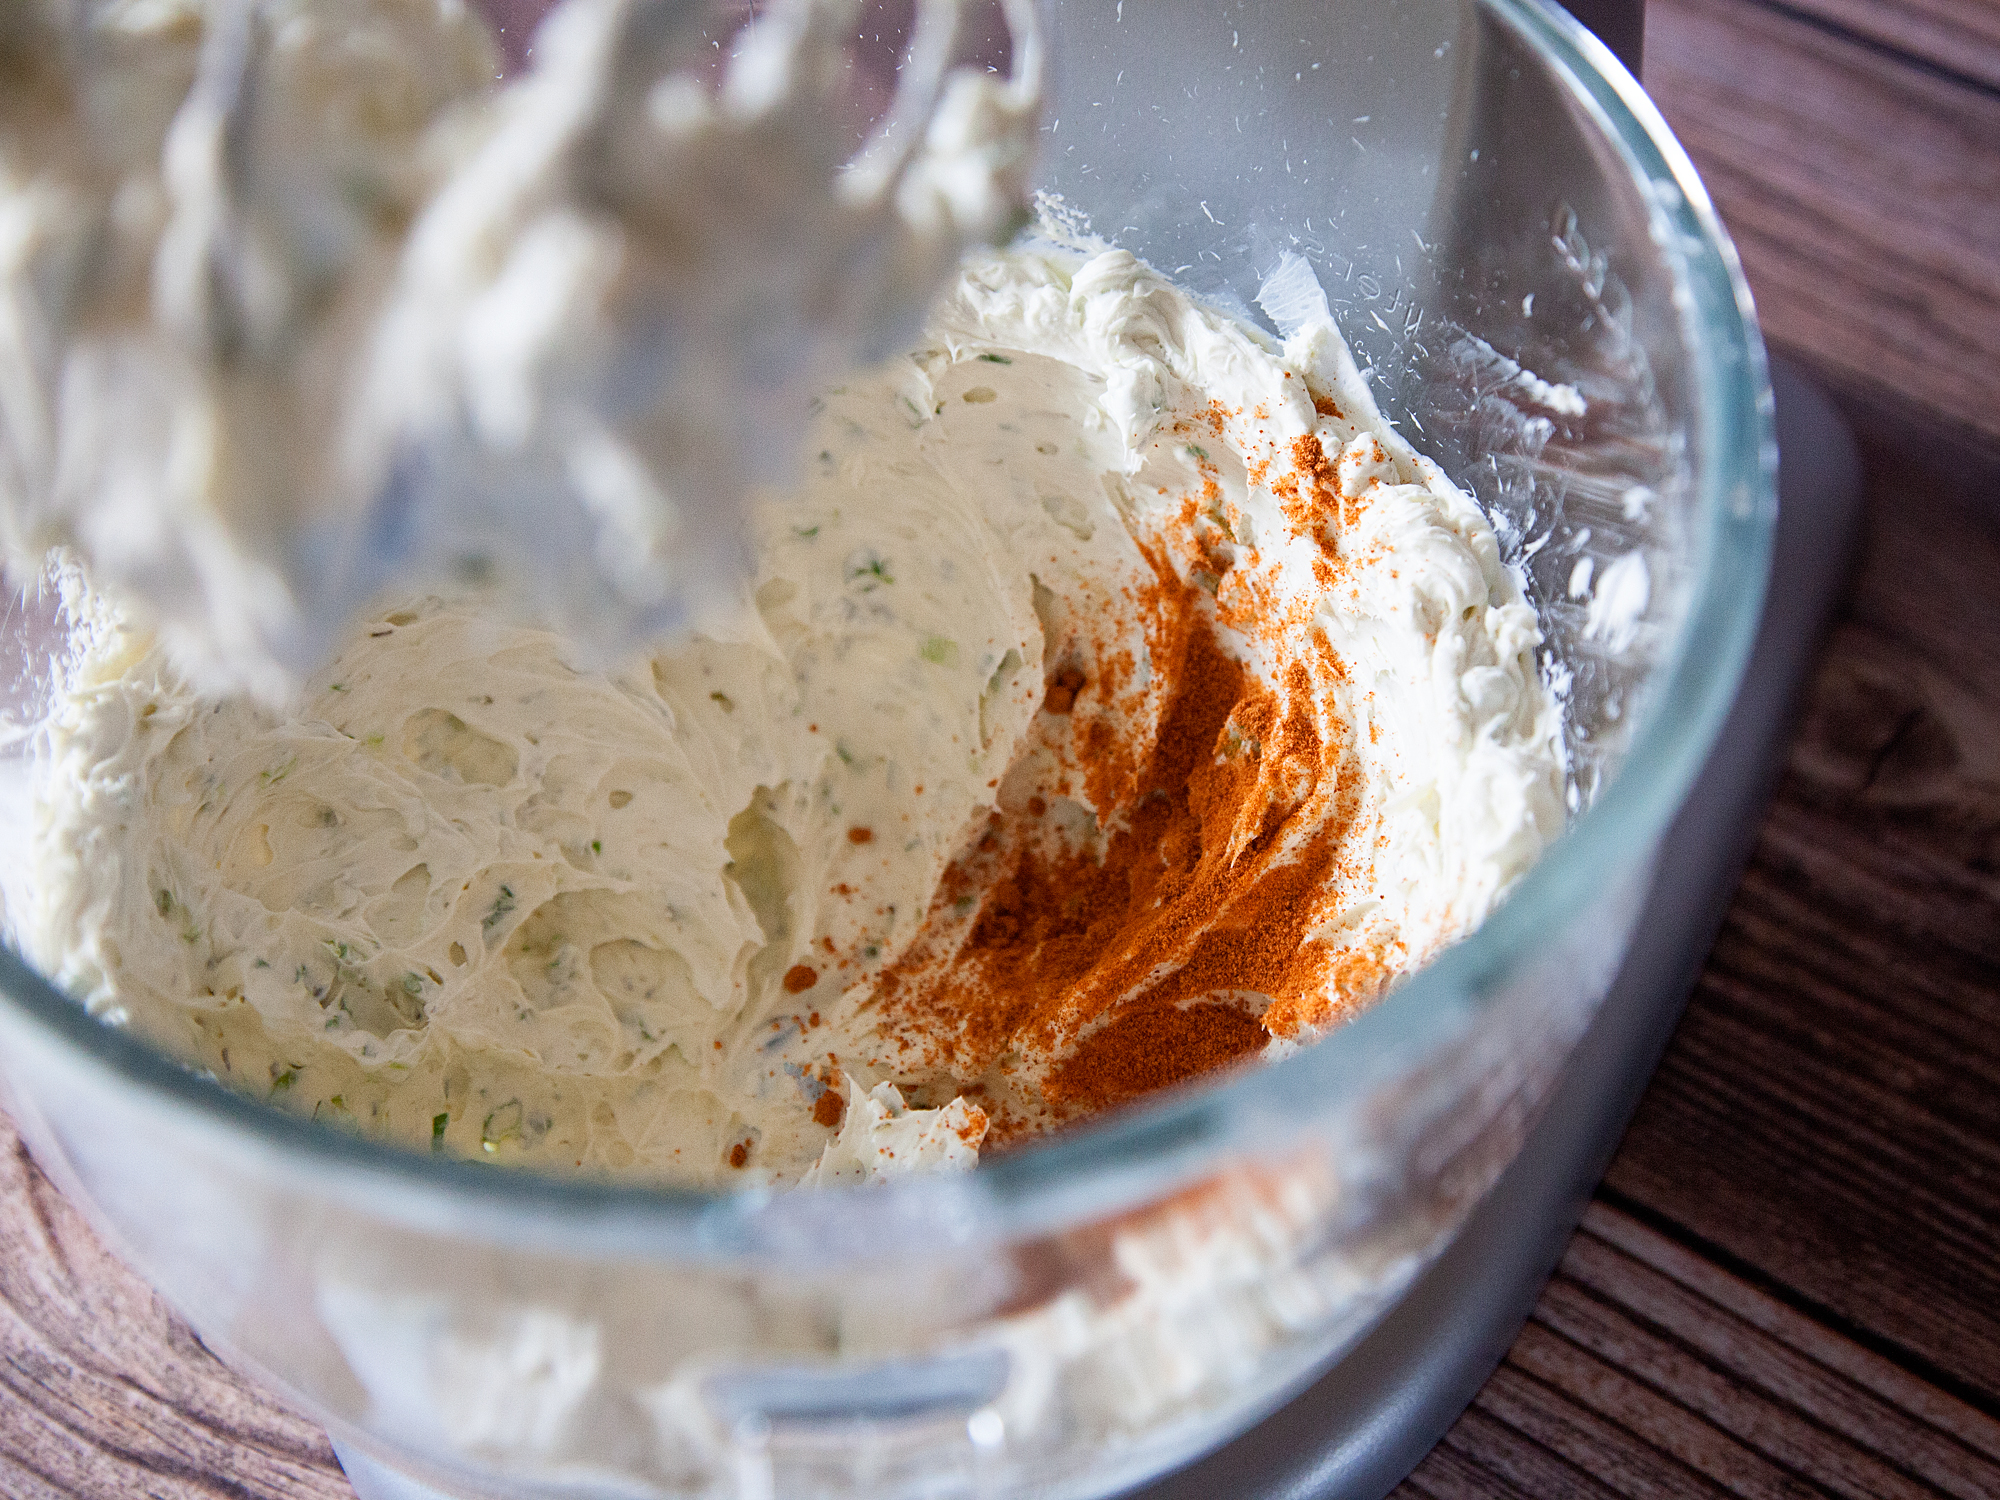
Then add the Old El Paso Taco Seasoning.

Win the battle of the dips with this scrumptious cheesy salsa dip from WhipperBerry!

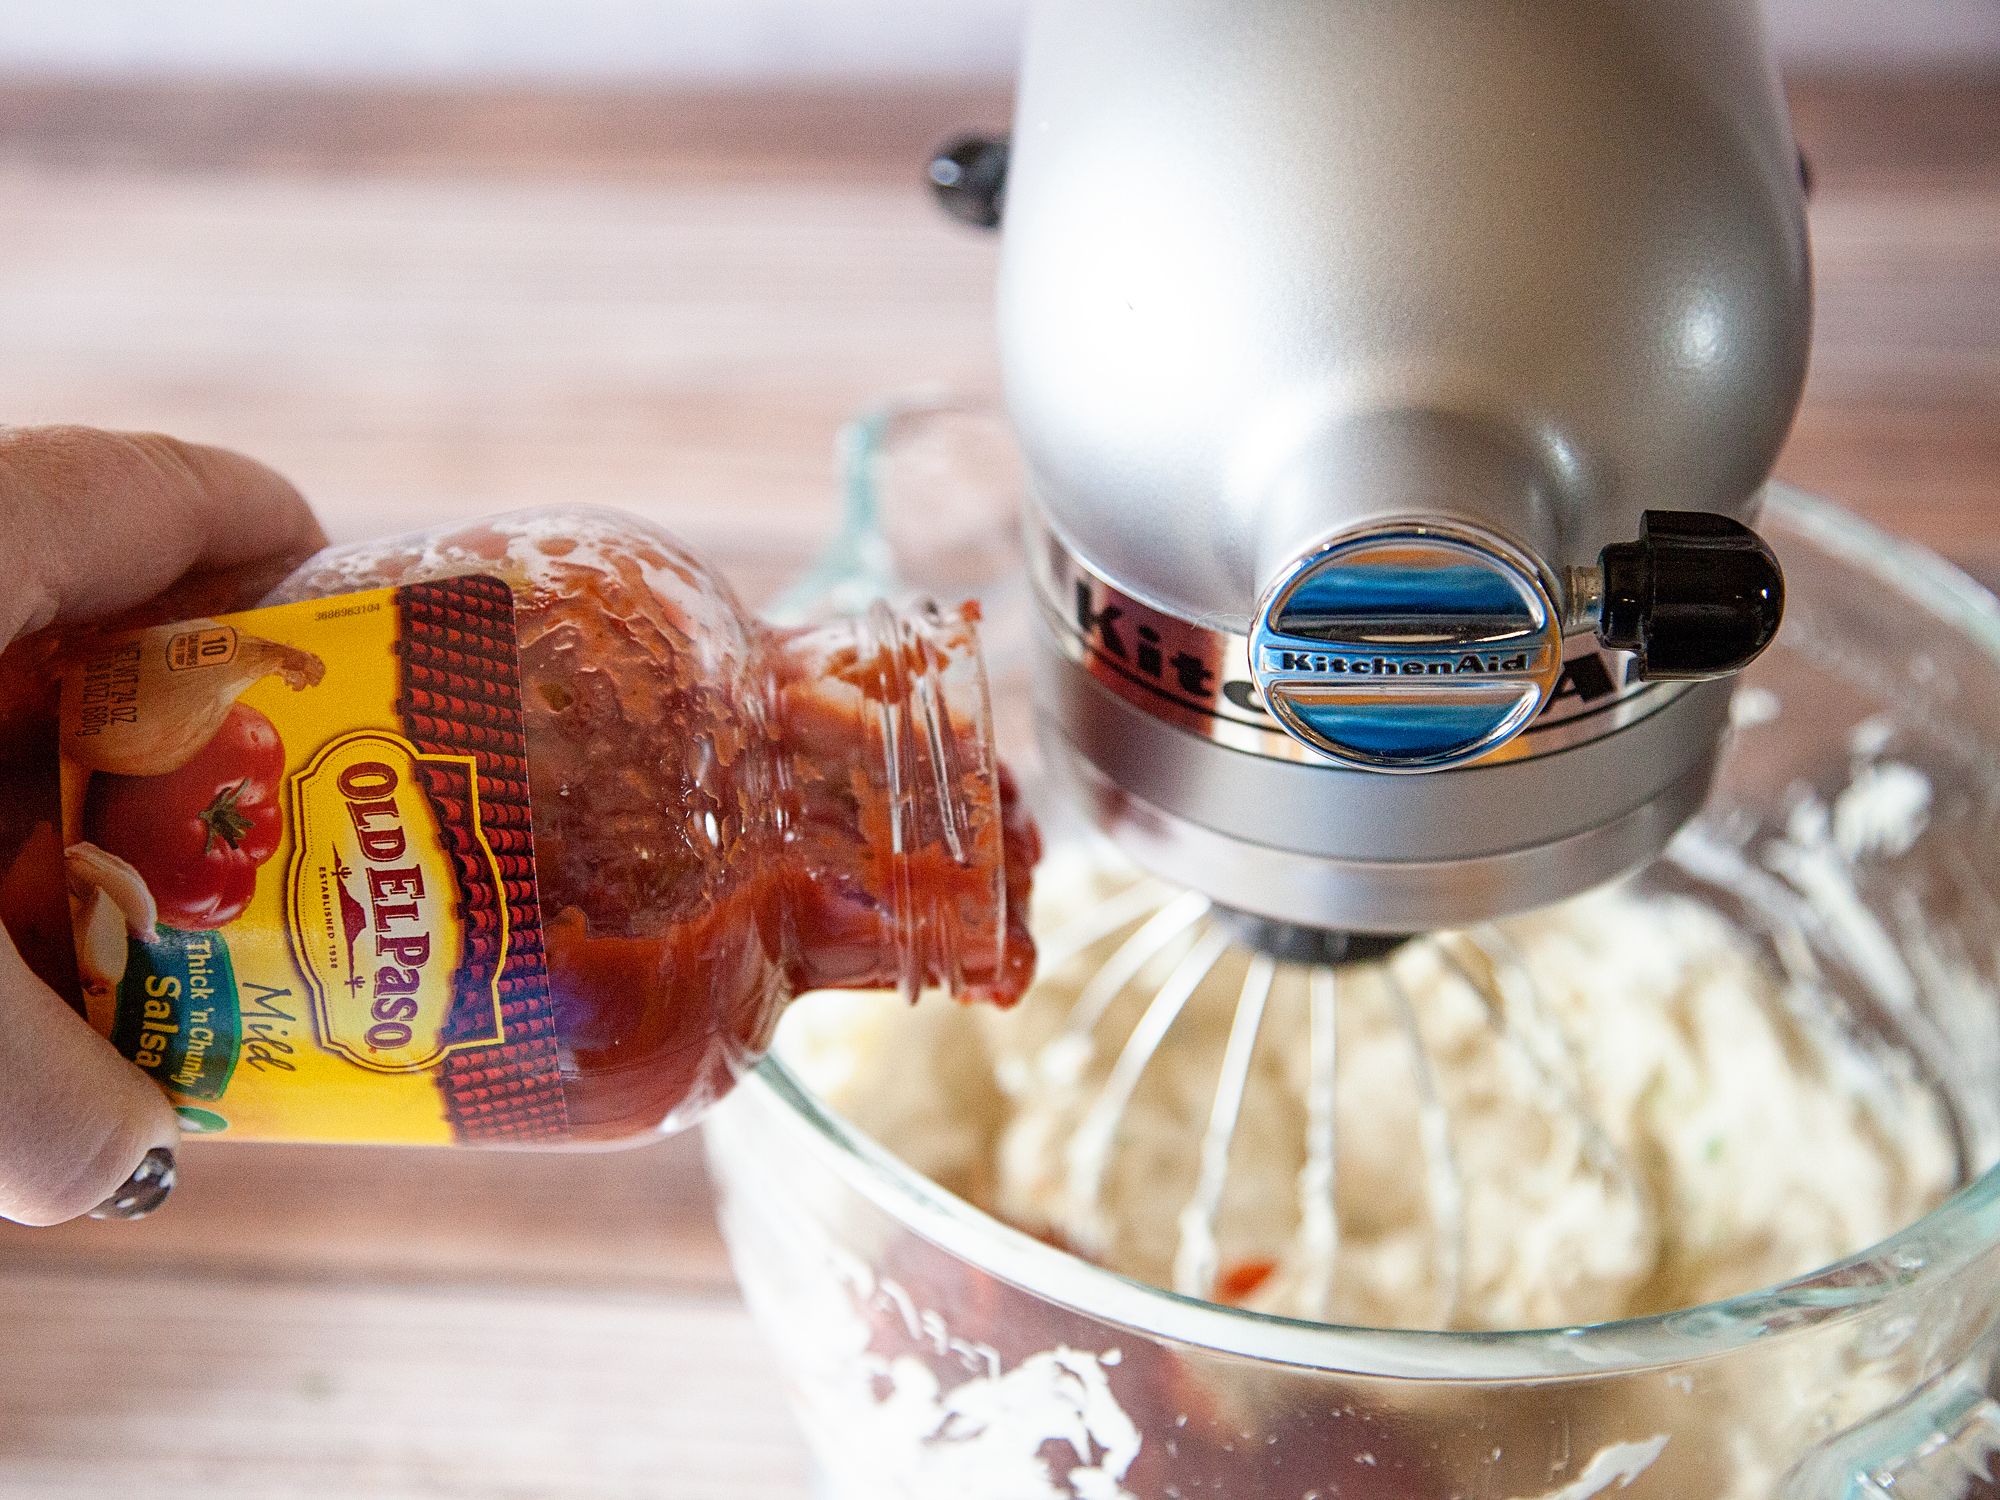
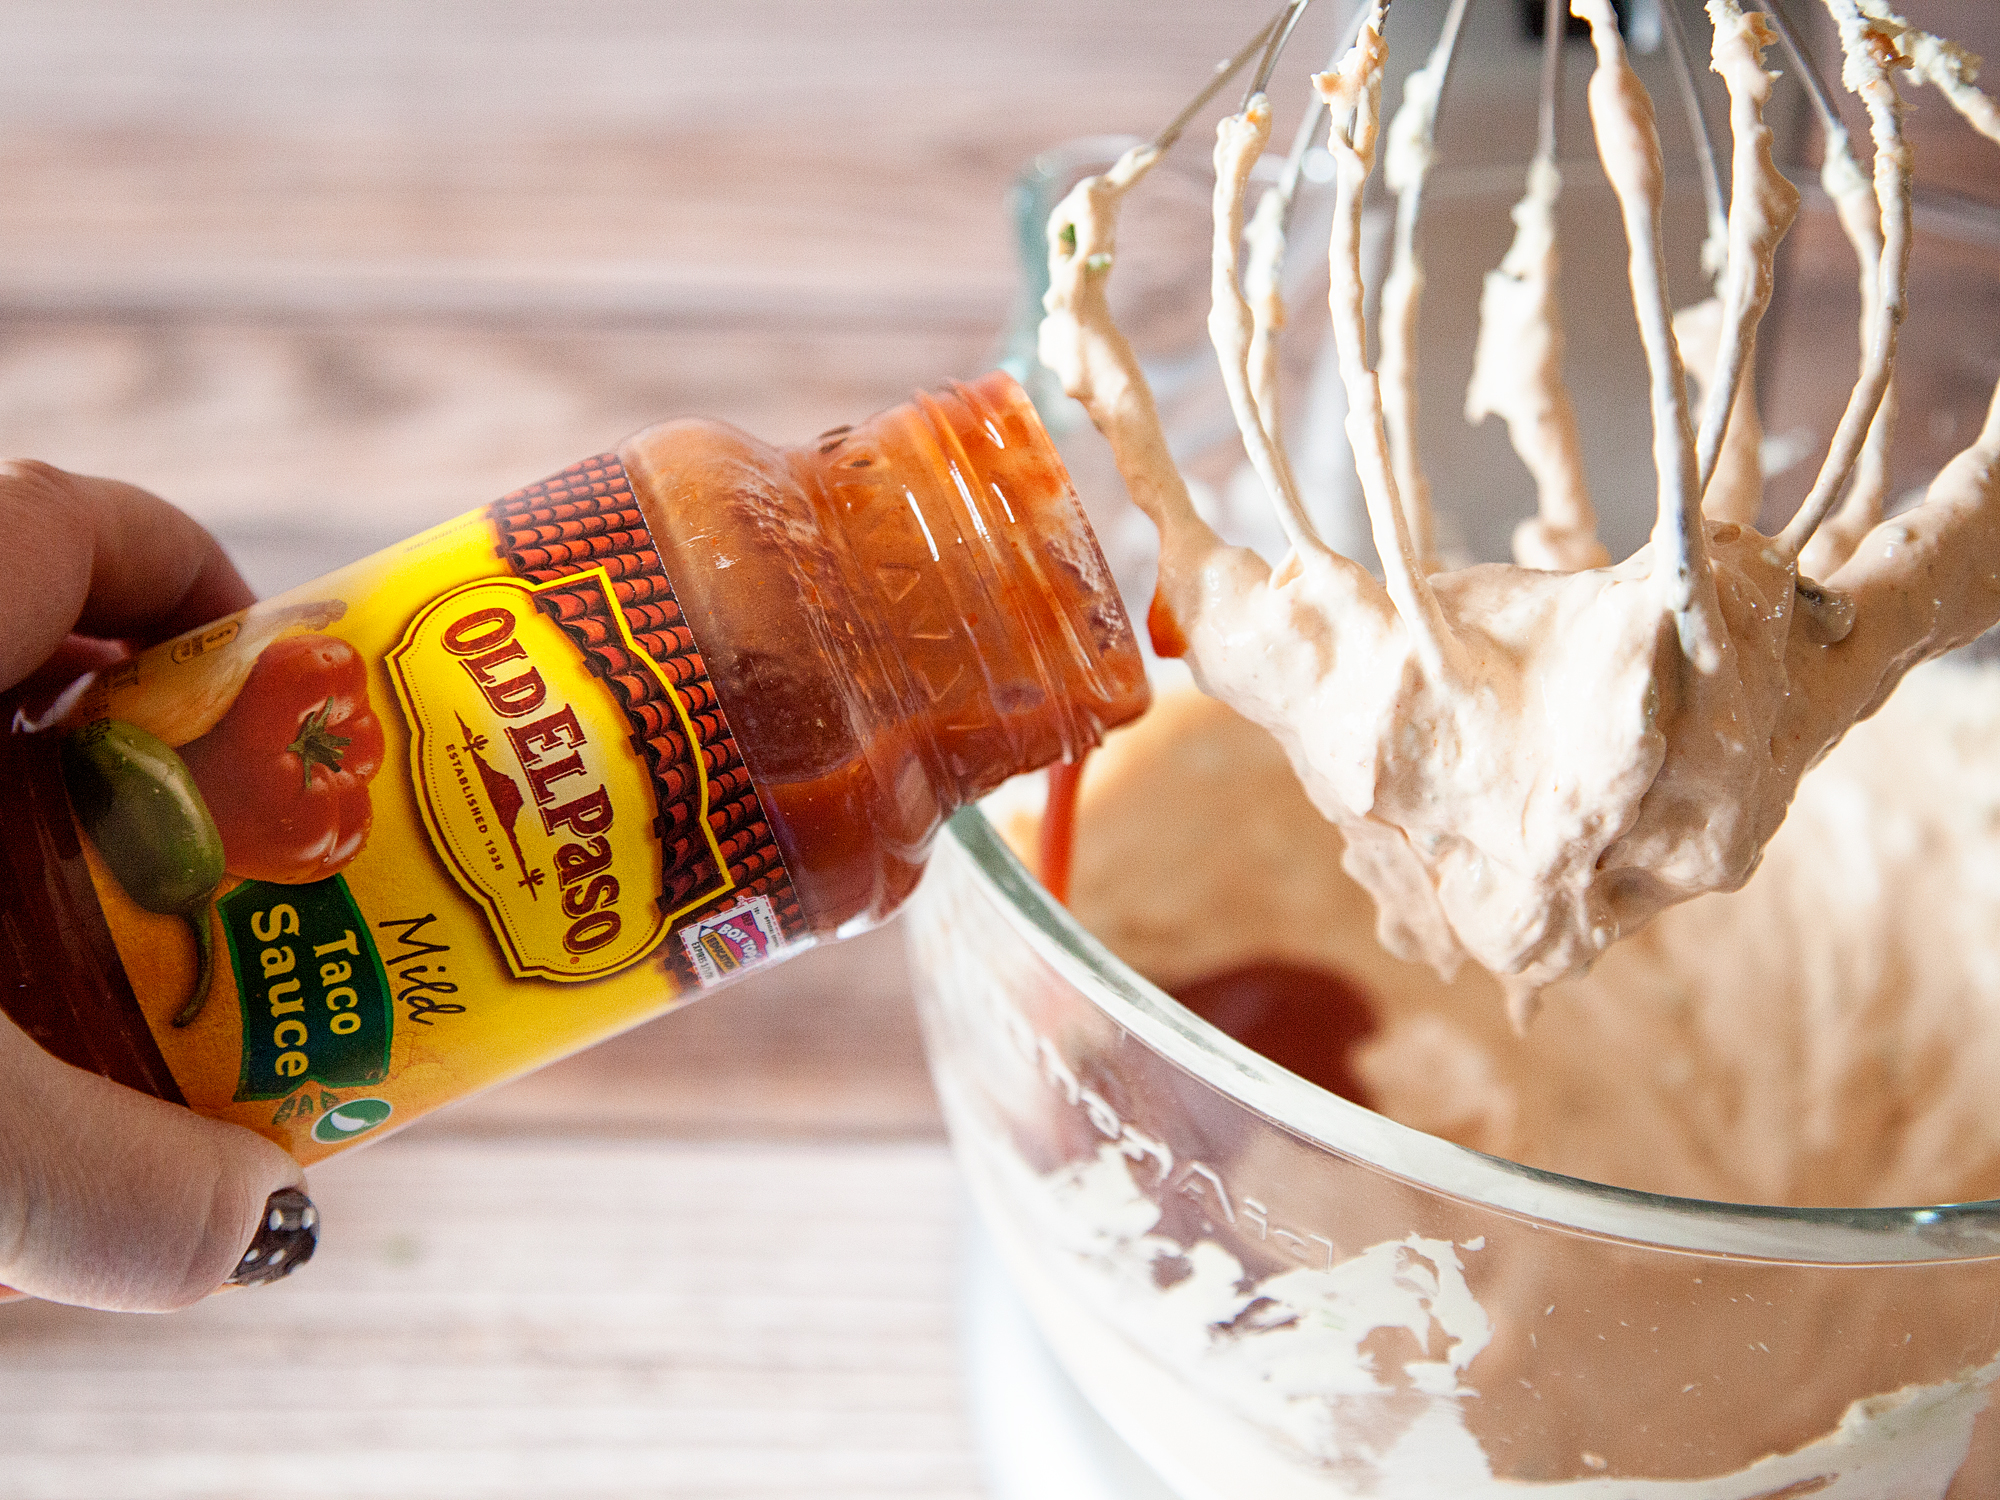
Next up, add the Old El Paso Thick n’ Chunky Salsa & the Old El Paso Taco Sauce.

Cheesy Salsa and Green Onion Dip from WhipperBerry

cheesysalsagreenoniondip-whipperberry-heroshot-horizontal-12

Finally you’ll add the cheese and mix it well.

Cheesy Salsa and Green Onion Dip from WhipperBerry

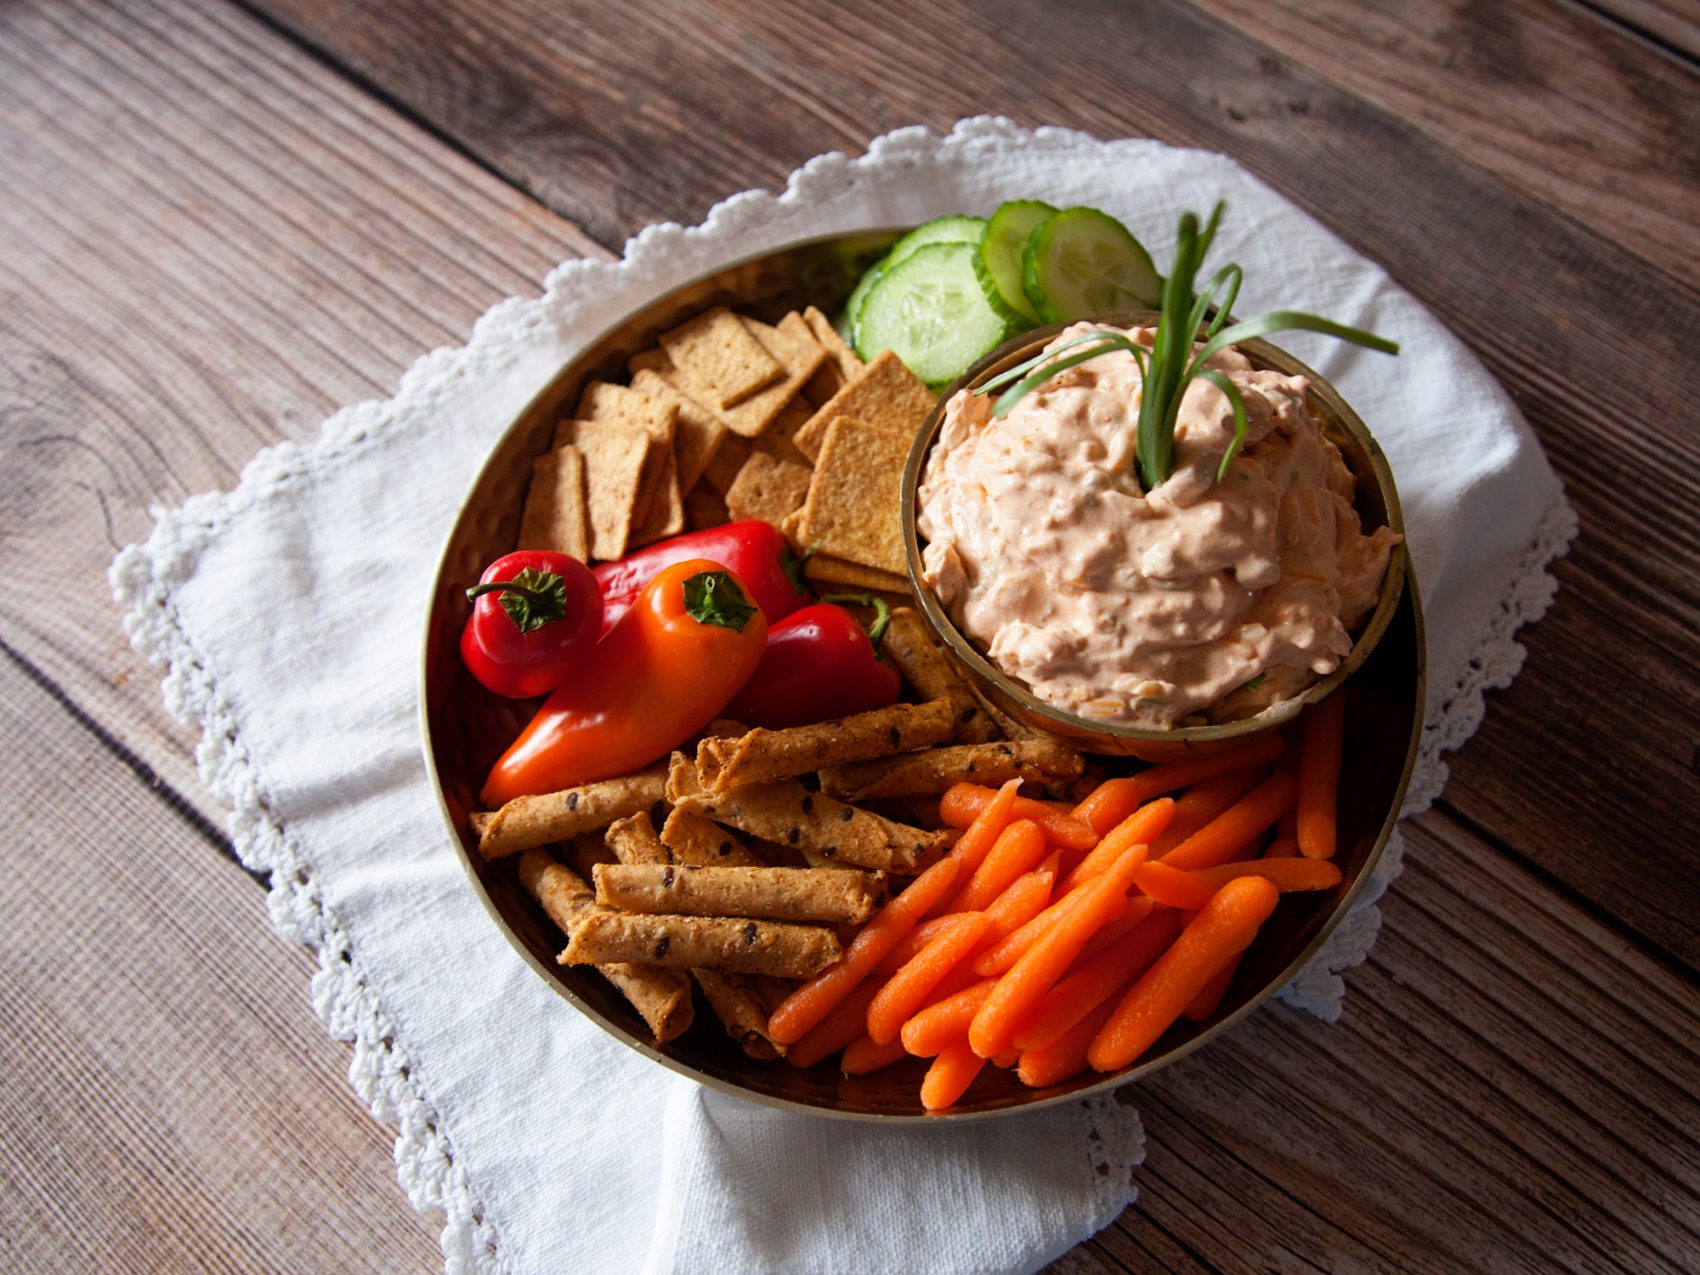
Serve with your favorite veggies and chips!

A scrumptious Cheesy Salsa and Green Onion Dip from WhipperBerry

Disclaimer // I am an Old El Paso Ambassador and this post was sponsored. As always, I will never post about a company or product that I don’t truly believe in!

  • Go to page 1
  • Go to page 2
  • Go to page 3
  • Interim pages omitted …
  • Go to page 8
  • Go to Next Page »

Primary Sidebar

Heather from Whipperberry
Hello... my name is Heather and I'm the creator of WhipperBerry a creative lifestyle blog packed full of great recipes and creative ideas for your home and family. I find I am happiest when I'm living a creative life and I love to share what I've been up to along the way... Come explore, my hope is that you'll leave inspired!

Footer

  • Privacy Policy

Copyright © 2023 · Seasoned Pro