• Skip to primary navigation
  • Skip to main content
  • Skip to primary sidebar
  • Skip to footer

Whipperberry

WhipperBerry • Your Home For Creative Inspiration

  • Home
  • Recipes
    • Starters
    • Easy Weeknight Dinners
    • Main Dish
    • Salads
    • Side Dish
    • Soups & Stews
    • Desserts
    • Breakfast
    • Miscellaneous
  • Tutorials
    • Creative Crafts
    • DIY Decor
    • Fabric Crafts
    • Food How-To
    • Jewlery
    • Paint Projects
    • Paper Art
    • Party Styling
    • Photography and Graphic Design
    • Silhouette
  • Holidays
    • St. Patrick’s Day
    • Easter
    • Mother’s Day
    • Father’s Day
    • 4th of July
    • Halloween
    • Thanksgiving
    • Christmas
    • New Years
    • Valentine’s Day
  • Gift Ideas
    • Gifts For Everyone
    • Gifts for Dad
    • Mother’s day
    • For The Girls
    • For The Kids
    • Teacher Gift Ideas
    • Christmas
  • Printables
    • Holiday
    • Gift Idea
    • LDS Primary
  • Travel
  • About
    • Terms
  • Contact
  • Nav Social Menu

    • Facebook
    • Instagram
    • Pinterest
    • RSS
    • Twitter

WhipperBerry Cricut Design School

Goldfish Games • Tasty Road Trip Game Fun

13 · Feb 26, 2019 · Leave a Comment

This post has been sponsored by Goldfish® Crackers. All thoughts and opinions are my own.

Road trip season is going to be here before we know it! Now’s the time to start preparing some fun activities that your littles will love in the car for those long hours. I know, I know… We all have our digital devices, and road trips aren’t as tedious as they were in the past. I have even found myself telling my kiddos, “we will be there in about 3 movies.” Akkkk, for real? Have we all become so attached to our devices that we’ve lost the magic of a FUN road trip with the family? I sure hope not! We used to have all kinds of road trip games when I was little, and the best were the ones that also involved a snack. Do you know what’s perfect for road trip games? Goldfish® Baked Snack Crackers! They have all kinds of magic in those cute little bags. Today, I’m sharing a couple of fun road trip games that are packed with Goldfish FUN inside. I know, I know, we aren’t supposed to play with our food, but these games are just as fun as they are delicious! Baked with 100% real cheese and with no artificial flavors or preservatives, this is a snack you can feel good about serving your kids!

Road Trip Games

Two road trip staples are Tic-Tac-Toe and BINGO of course. How many times did you play these gems as a child? What I’ve done is kicked it up a notch and added some tasty fun to go along with the games. I grabbed some travel containers from my local discount store and then added vinyl (click HERE if you would like to learn how to apply vinyl) to the lid using my electronic cutting machine. Come watch this cute video that I’ve created to show you how fun Goldfish® games can be…

Any of that look familiar? Well, you can create some road trip games of your own. Grab some to-go containers and either draw on the lids with a permanent marker or, if you have a die-cutting machine and some vinyl, you can use my cut files to make some Goldfish® Games of your own. CLICK HERE to access the design files.

Goldfish® Tic-Tac-Toe • Travel Size

Goldfish® Bingo • Travel Size

Once you add your vinyl or your own hand-drawn design, all you have to do is fill your containers with yummy Goldfish®. I love that they are made with whole grain, real cheese & the colors are all plant based—which I LOVE.

Now, when your kiddos are getting restless in the car, all you need to do is pass them these Goldfish® games and they will have all kinds of fun with you playing tic-tac-toe or trying to find that cow so that you can win travel Bingo!

Disclaimer +

This is a sponsored post brought to you by the lovely folks at Pepperidge Farms®, the makers of Goldfish® Baked Snack Crackers. With that said, remember, I will only promote products that I truly love and use in my everyday life.
How to Use the Cricut Slice Tool • Cricut 101 Video Tutorial

10 · May 10, 2018 · Leave a Comment

Have you been looking to have a little more flexibility with your design work in Cricut Design Space? Frustrated that you can’t erase parts of images that you would like to not include in your design? I’ve got you covered today!! Have you noticed that little icon on the bottom right of the Cricut Design Space platform? It looks like this…How to use the Cricut Slice Tool Graphic VIDEO TUTORIAL - WhipperBerry

When I first started using Cricut Design Space, I looked at that tool and really could not figure out what the point was. It turned into my little wallflower that stood away from my favorite tools begging to be invited to dance as well. One day, just by happenstance, I started to play around with the Slice Tool and boy, I’ve been a huge fan ever since.

Cricut Slice Tool Video Tutorial

I’ve put together a video tutorial on three different ways to effectively use the Slice Tool when working in Cricut Design Space. It’s going to totally change the way you create your graphics for use with your favorite Cricut cutting machine. The video is about 14 minutes long but, it is well worth the time if you’re wanting to stretch your design muscles in Design Space.

What do you think? Has this tutorial inspired you to create with a little more flexibility in Design Space? I hope so! I would love to see what you design, tag me in your social media posts so I can see what you’ve created with the Slice Tool!

Disclaimer

This is an unpaid post. I have been independently creating my Cricut 101 Video Tutorial Series without any financial incentive from the lovely folks at Cricut.

Create Curved Text in Cricut Design Space • Video Tutorial

8 · Nov 30, 2017 · 5 Comments

I have been creating all kinds of goodies for our home in Cricut Design Space and then making them on my Cricut Maker. If you use a Silhouette then I’d recommend checking out my post where I compare Silhouette vs Cricut. One of the biggest questions I receive time and time again is, “how do you create curved text in Cricut Design Space?” It has been a conundrum for many people who like to create fun typography for their Cricut projects. Well, I’m here to the rescue! I’ve created a video tutorial on how to create more stylized text within the Cricut Design Space platform. Come check it out…

+ This post brought to you by Cricut +

Learn how to create stylish curved text in Cricut Design Space • Video Tutorial created by WhipperBerry

For quite some time now, I would design most of my creations in Adobe Illustrator and then import them into Cricut Design Space mainly because I wanted more freedom with my word art. I wanted to create curves, waves, archs & arches. I felt like the Cricut Design Space kind of tied my hands here. Then I did a little playing around and figured out how much freedom we really have when designing with words in Design Space. It may not be as quick as clicking a button, BUT… You can do so much more, you just need to have a little imagination. Here’s the video tutorial that I put together to teach you how.

WhipperBerry Cricut Design School – How to Create Curved Text in Cricut Design Space from Heather Thoming on Vimeo.

 If you’re looking for more tutorials on how to create with your Cricut machine and within Design Space, visit my other posts that help walk you though creating with Cricut. Like this one on how to import and use your SVG files within Cricut Design Space. If you have questions or would like a video tutorial on how to create with Cricut, leave a comment and I’ll work on putting one together for you!

Whether you are a sign maker, a paper crafter or you love to work with fabric, chances are you've wanted to either create your own SVG files or download files that you've purchased and use them with your Cricut Projects Here’s a great video tutorial on how to import your own SVG files into Cricut Design Space and how to easily use it in the software.

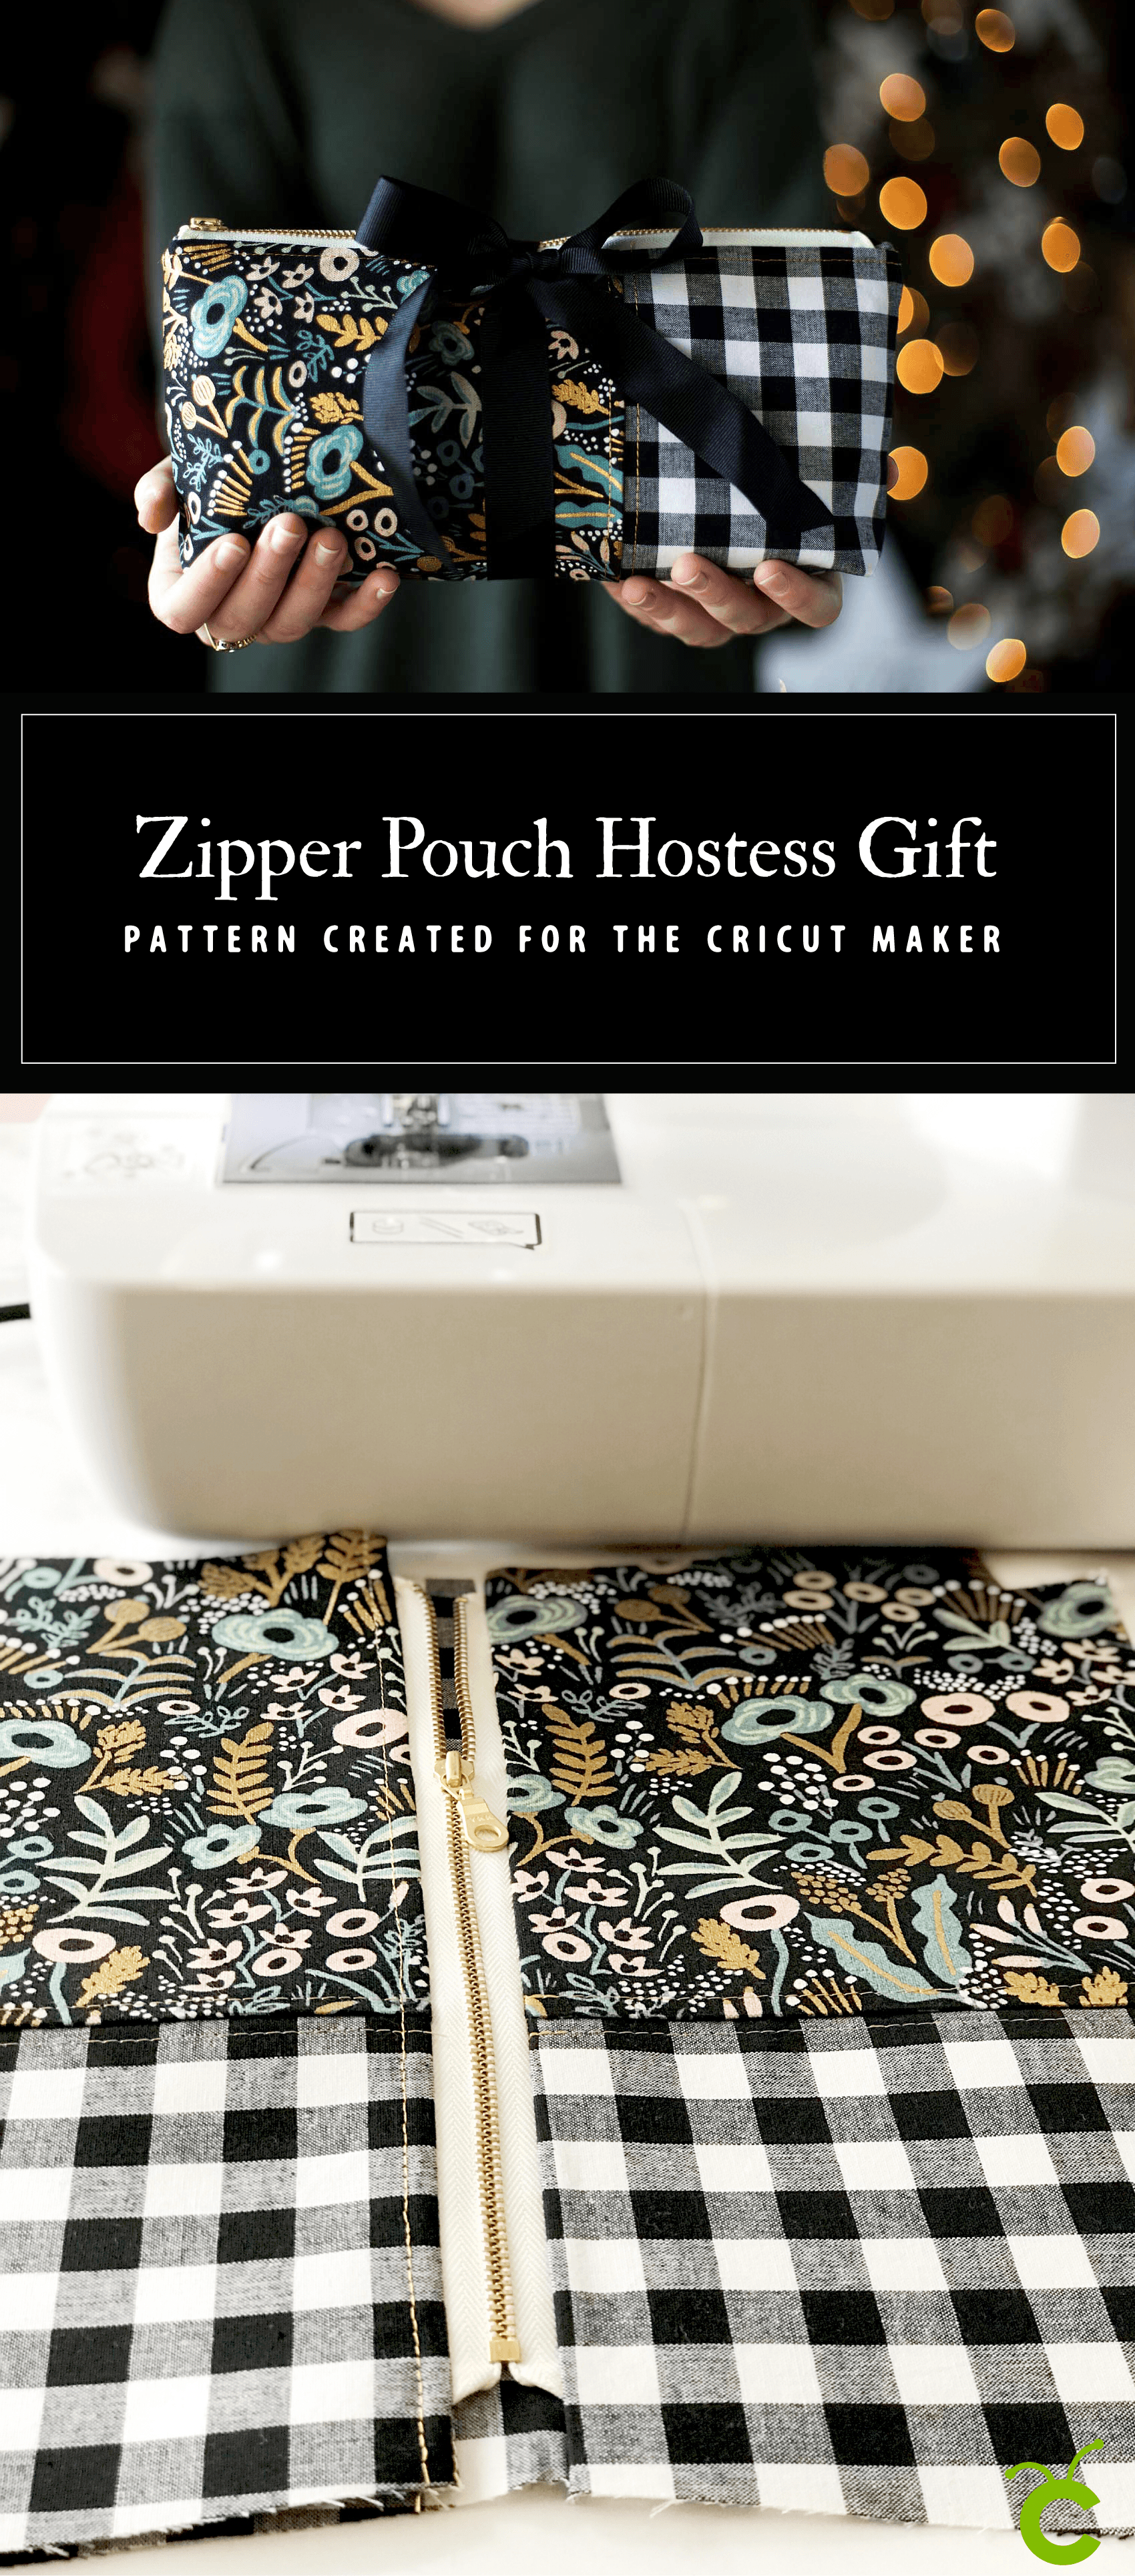
This is the project that I made with that tutorial. A stylish zipper pouch, a perfect Holiday gift for friends and family.

Everyone loves thoughtful homemade gifts and this stylish zipper pouch is the perfect gift to whip-up in a fews hours to give as a fabulous Christmas gift this year + you can take the guess work out of cutting the pattern with the Cricut Maker! Come on over and learn how to make one of your own on WhipperBerry.

Christmas Tree Truck Mug • Cricut Holiday Gift Giving

10 · Nov 29, 2017 · 2 Comments

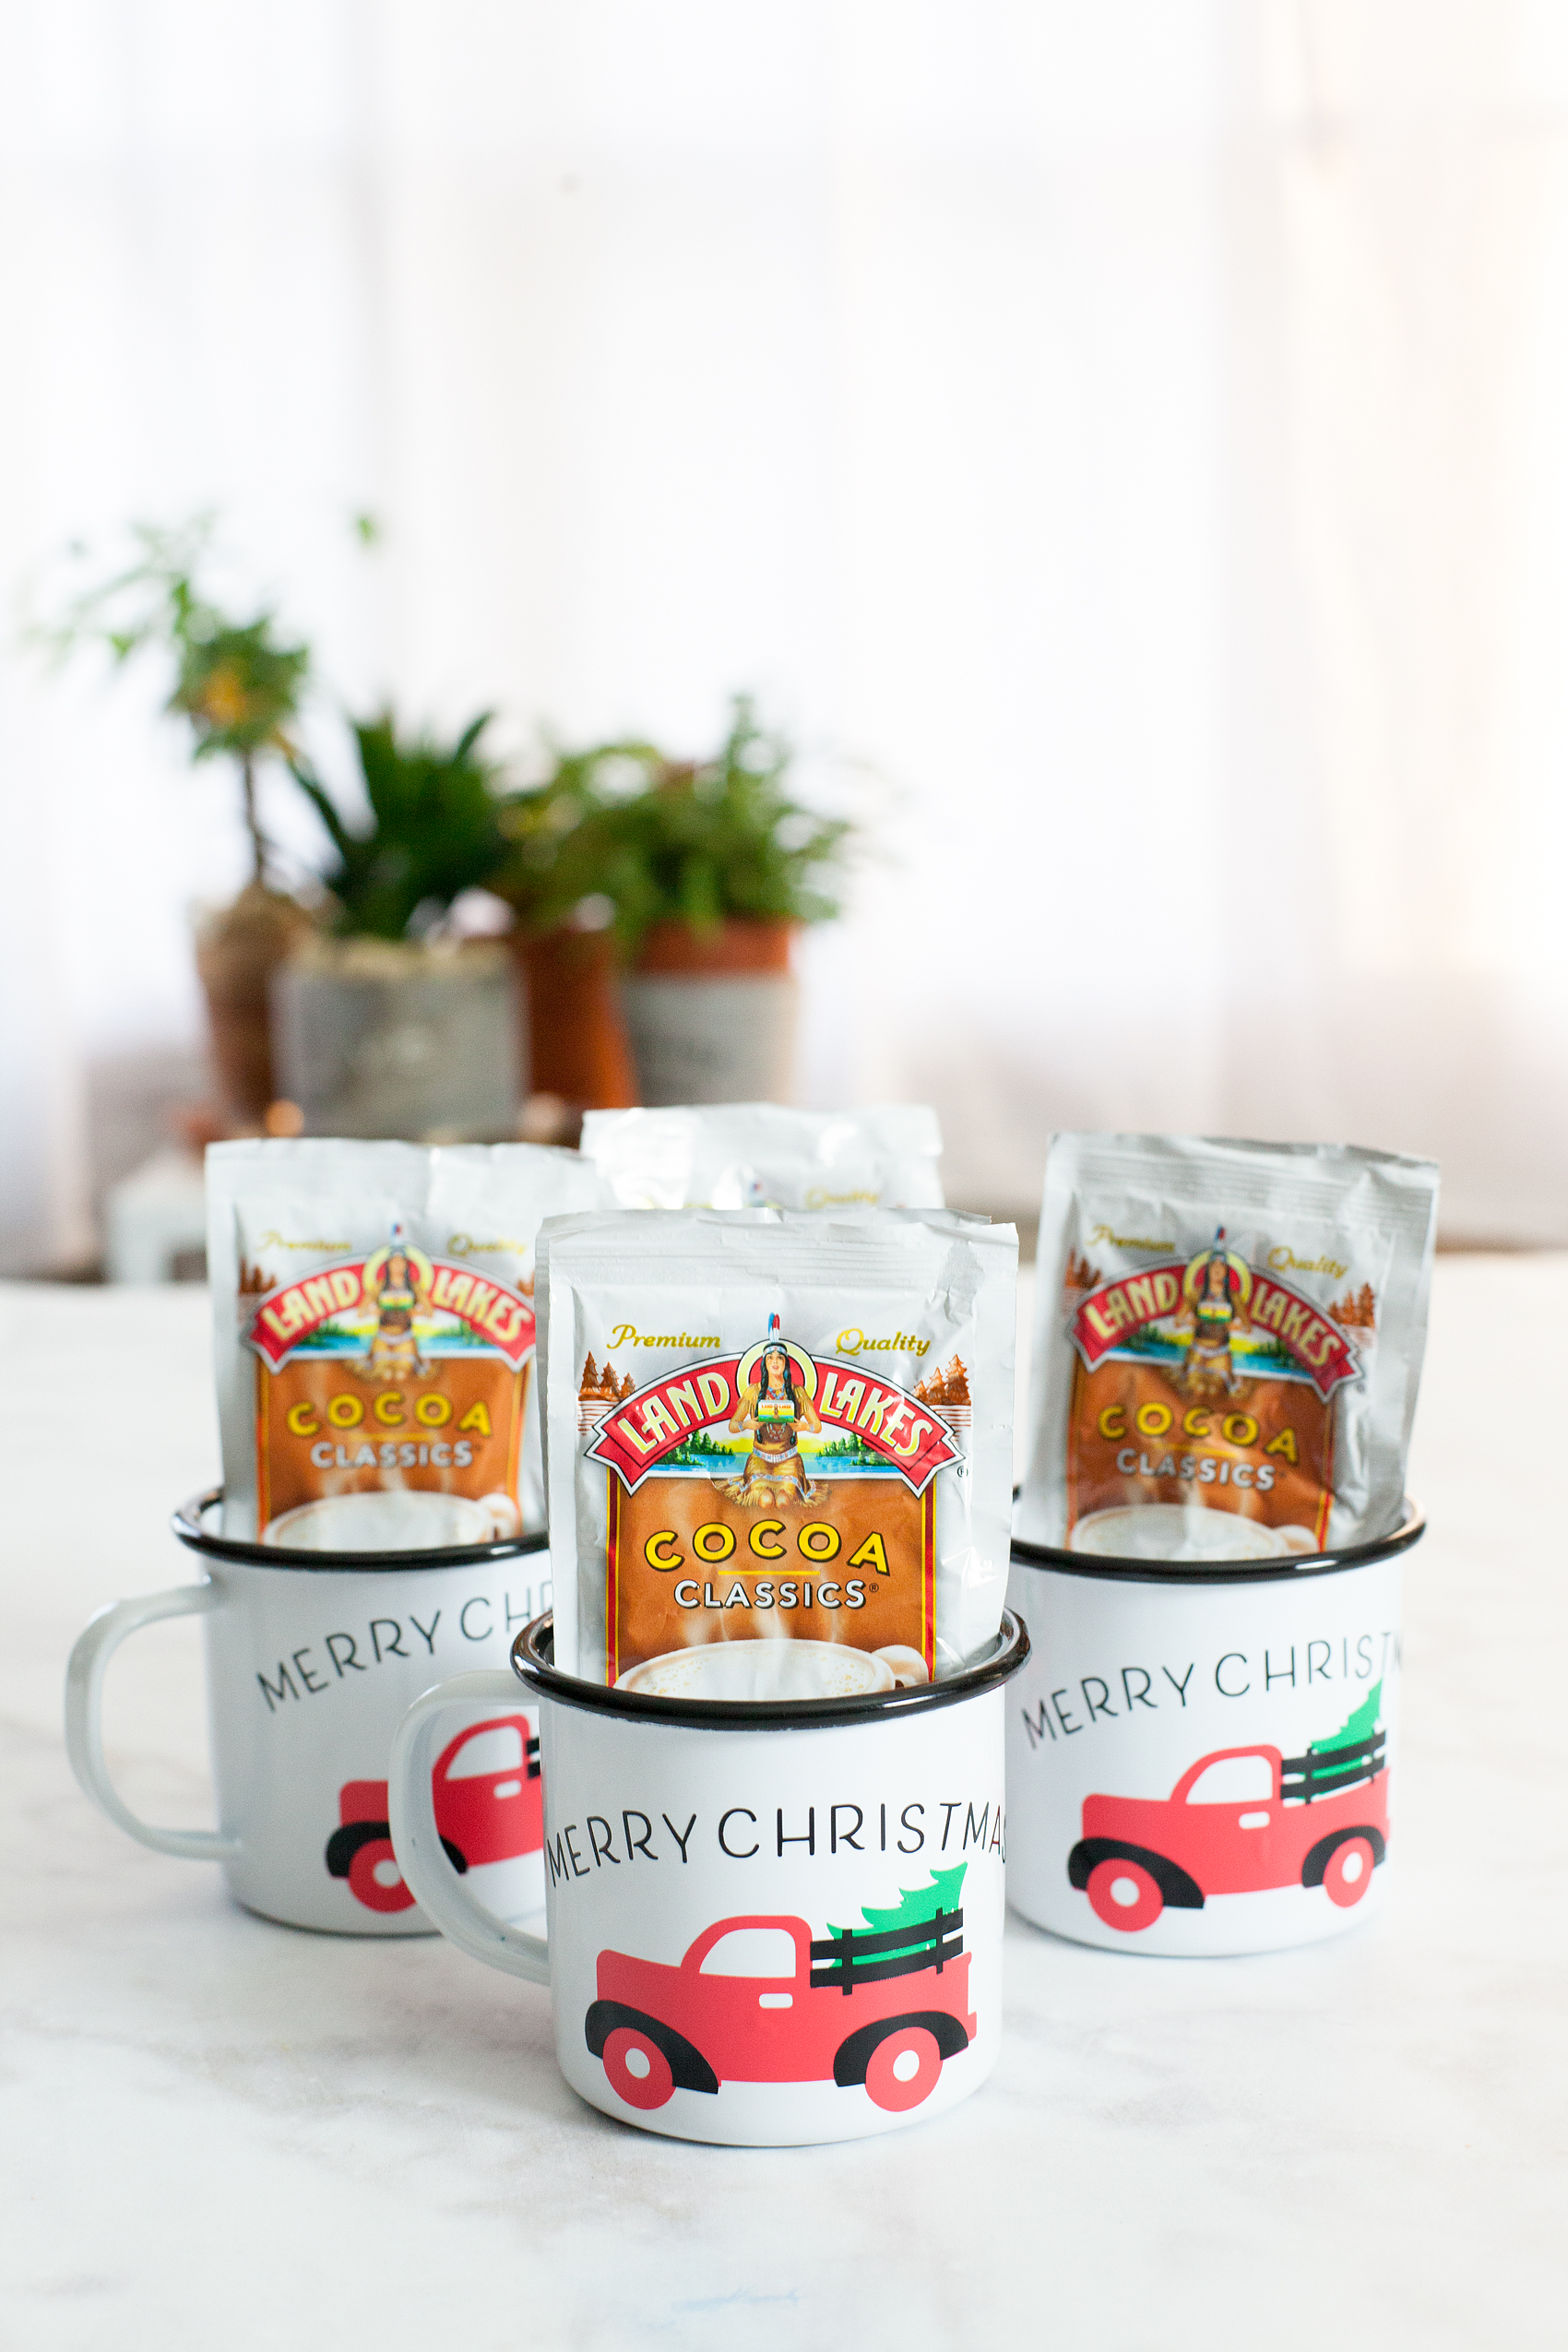
Always, always, always… Looking for fun and unique gifts that I can create for friends and family during the holidays. This Christmas Tree Truck Mug, that I created with my Cricut Maker, has my heart! I Now if you aren’t sure which is better, Cricut vs Silhouette, then make sure you check out that comparison! Anyways, I love how it turned out. This Christmas Tree Mug filled with hot chocolate packets is fun to give to friends, neighbors, teachers, and so on. I typically stick with black and white in my designs because I LOVE black and white. This time, I branched out and layered different colors of vinyl to create a fun look on a white and black enamelware mug. While I was making them I created a video tutorial on how to layer your vinyl when working with multicolored vinyl projects. Come check it out…

+ This post brought to you by Cricut +Always, always always looking for fun and unique gifts that I can create for friends and family during the holidays. This one that I created with my Cricut Maker has my heart! I love how it turned out. This Christmas Tree Mug is so cute and fun to give to friends, neighbors, teachers and so on.

Christmas Tree Truck Mug

Inspired by the ever-popular red truck with a Christmas Tree in the back, I thought it would translate nicely into a fun neighbor gift. This project is really quite simple. However, it looks impressive and your friends who receive it are going to LOVE it! I know I would if someone gave it to me. Here’s what you’ll need to make some of your own.

Materials

For the mug, I found some enamel ware mugs at Amazon (I’m not an affiliate) but they can be pretty pricey. If you want a more budget friendly option, I would visit a Dollar Store, Dollar Tree or even a thrift store to find just some basic white mugs.

  • white mug
  • design file for Cricut Design Space
  • black vinyl
  • red vinyl
  • green vinyl
  • Cricut Transfer Tape
  • Cricut Cutting Machine ie. Cricut Maker or Cricut Explore Air 2
  • Cricut Light Grip Cutting Mat
  • hot chocolate packets

Instructions

The first thing you might want to do is watch a video tutorial that I created that shows how to create curved text in Cricut Design Space AND how to apply the vinyl to the mug. It would be really helpful. Don’t worry though, I’ve handled the entire design process for you! Once you watch the video, make sure you have clicked on the link to my design file so that you can easily create this project in Cricut Design Space. Select the click it button on the bottom right and follow the steps to cut all three colors of vinyl. Next step, you’ll need to weed your vinyl. That means that you need to remove all of the vinyl around your image and inside the image. Once you’ve weeded the vinyl, you’re ready to apply it to the mug. Here is a quick video tutorial on how to easily layer your vinyl.

WhipperBerry Cricut Design School-How to Easily Layer Vinyl Video Tutorial from Heather Thoming on Vimeo.

Now, all you need to do is fill your cute mugs with your favorite hot chocolate packets. Then, make a list of all your favorite friends & neighbors to give one if these fun mugs to this Christmas.

Learn how to create stylish curved text in Cricut Design Space • Video Tutorial created by WhipperBerry

Cricut Questions

Have any Cricut questions? I’d be happy to tackle them if you’d like. Leave a comment or email me at heather @ whipperberry . com and I’ll put together a video to help shine some light on what has been perplexing you.

This is a sponsored conversation written by me on behalf of Cricut. The opinions and text are all mine. I have included some Share-a-Sale links for tracking purposes only. I am not a Cricut Affiliate.

Primary Sidebar

Heather from Whipperberry
Hello... my name is Heather and I'm the creator of WhipperBerry a creative lifestyle blog packed full of great recipes and creative ideas for your home and family. I find I am happiest when I'm living a creative life and I love to share what I've been up to along the way... Come explore, my hope is that you'll leave inspired!

Footer

  • Privacy Policy

Copyright © 2023 · Seasoned Pro