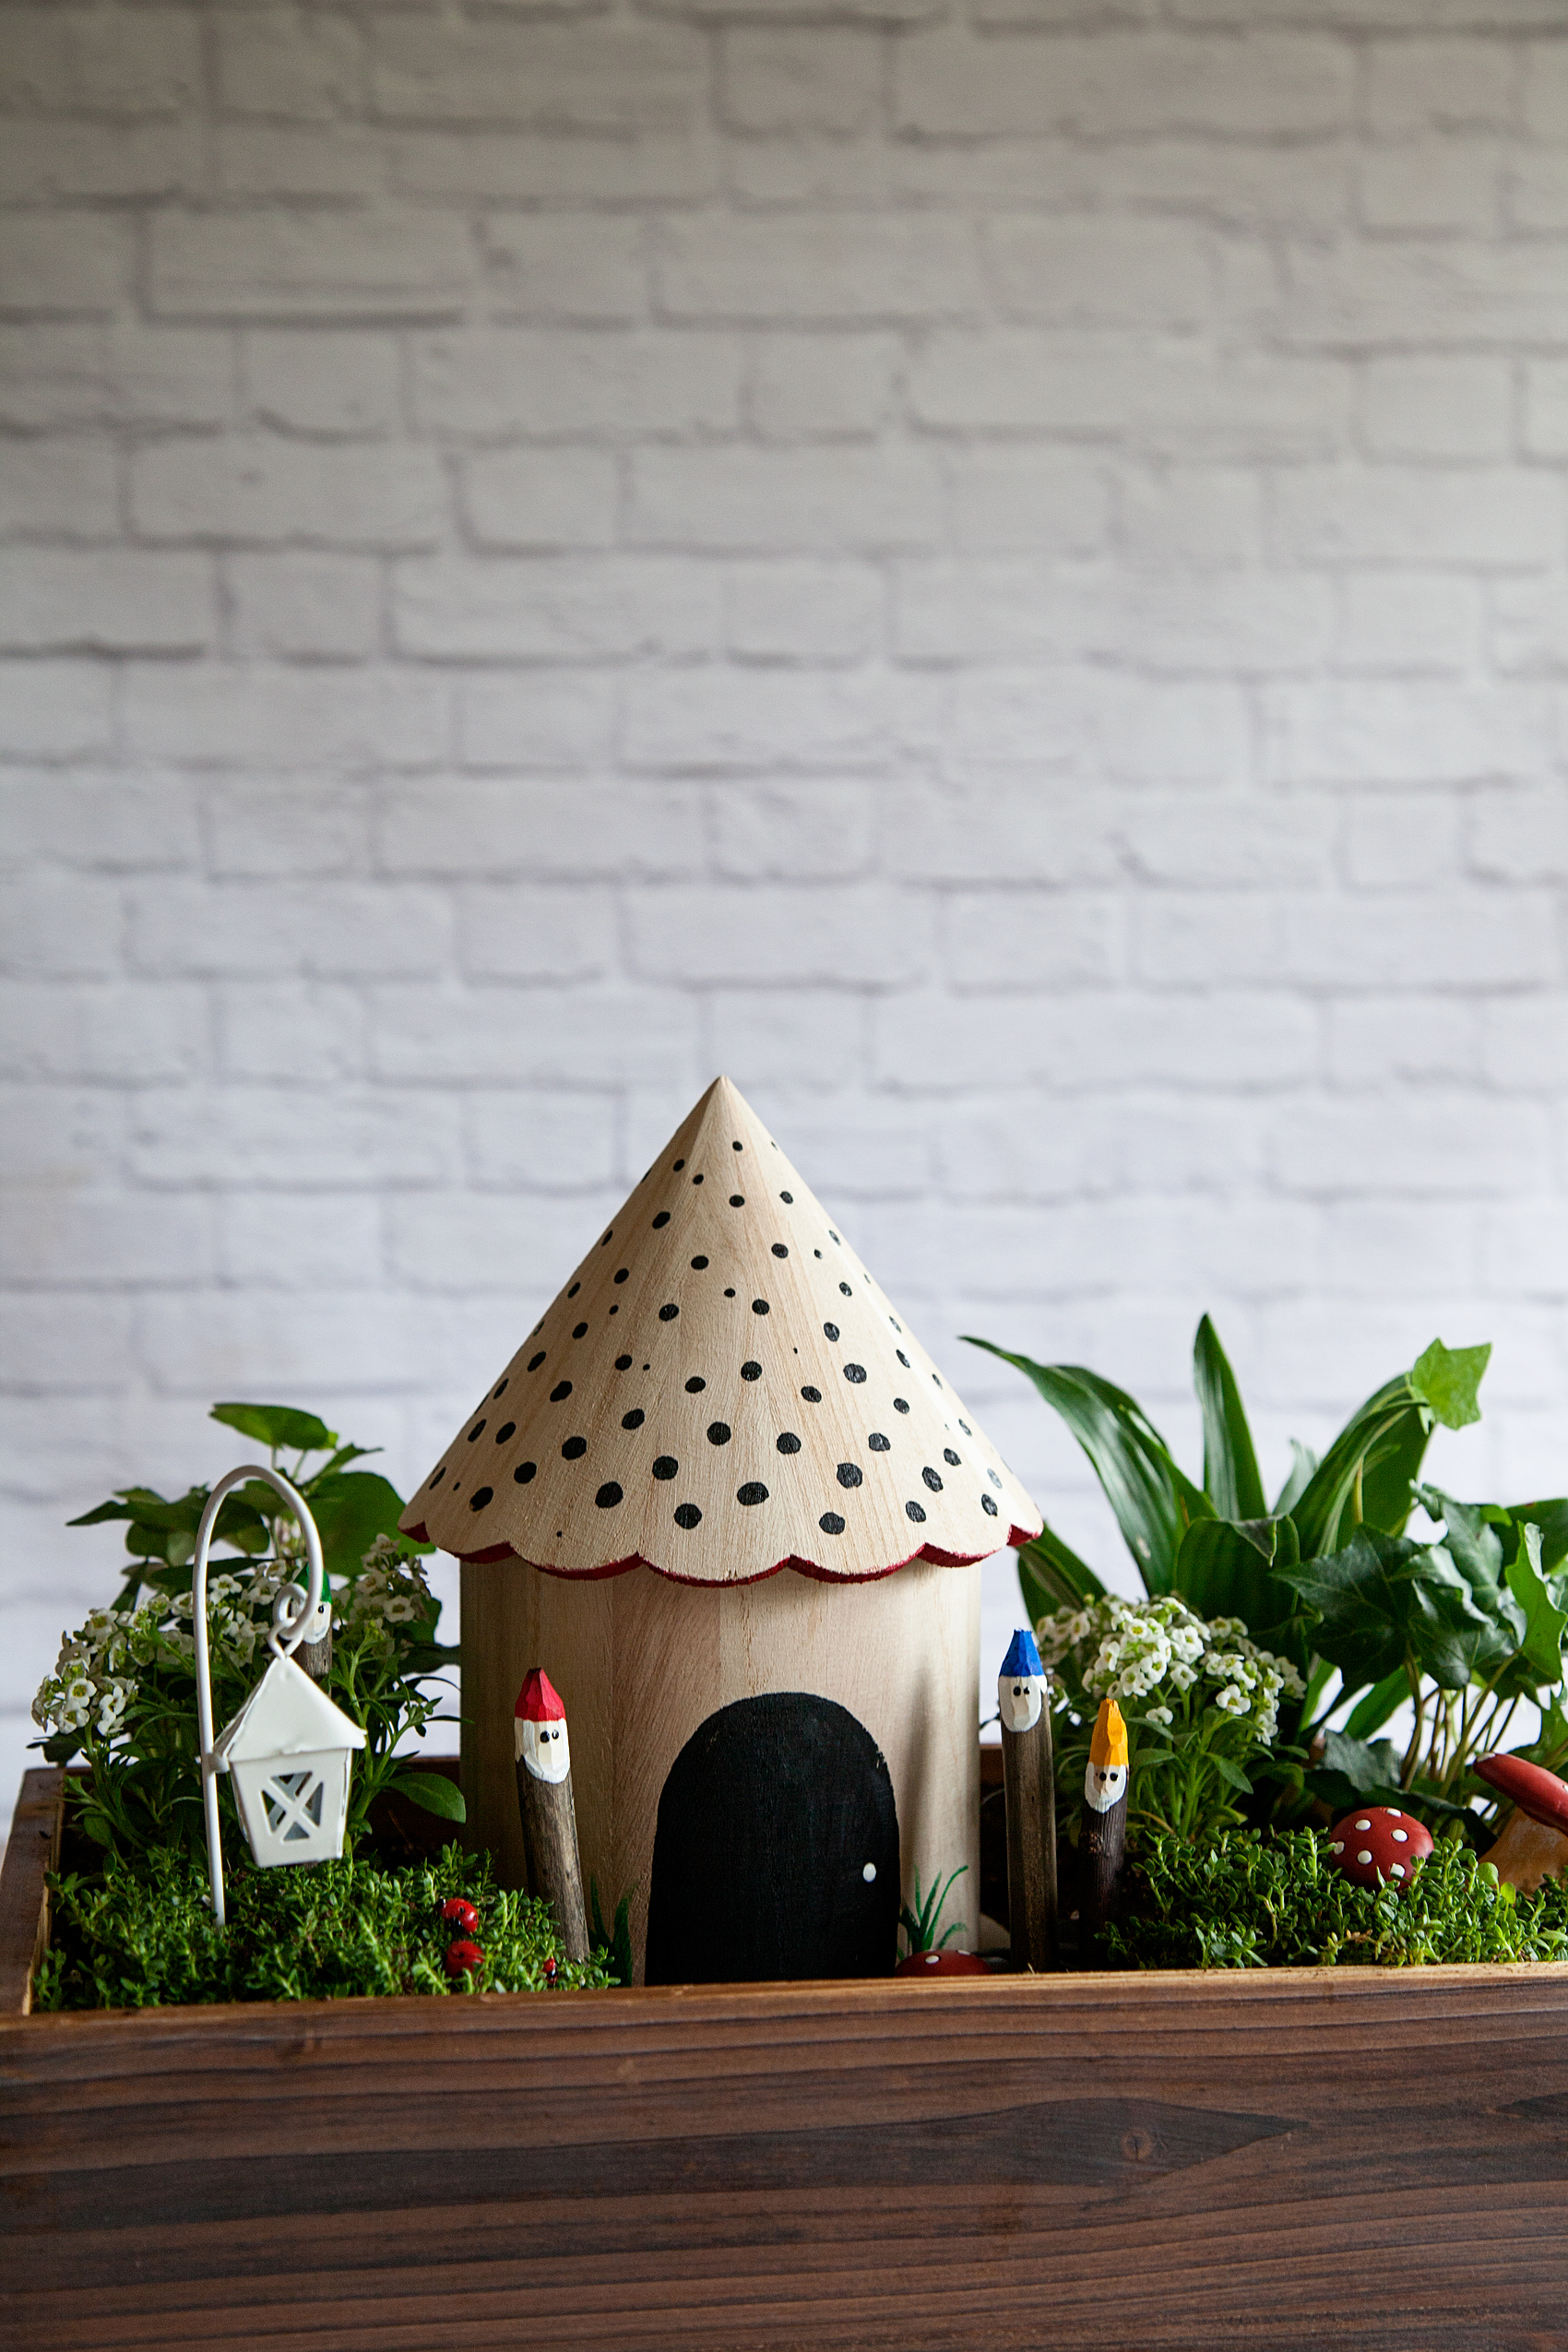
A Gnome Garden is the perfect project for the entire family! With a little imagination, a good container, plants, some sticks from your yard and a little DecoArt Patio Paint, you can transform a simple garden into a gnome wonderland. Come learn how…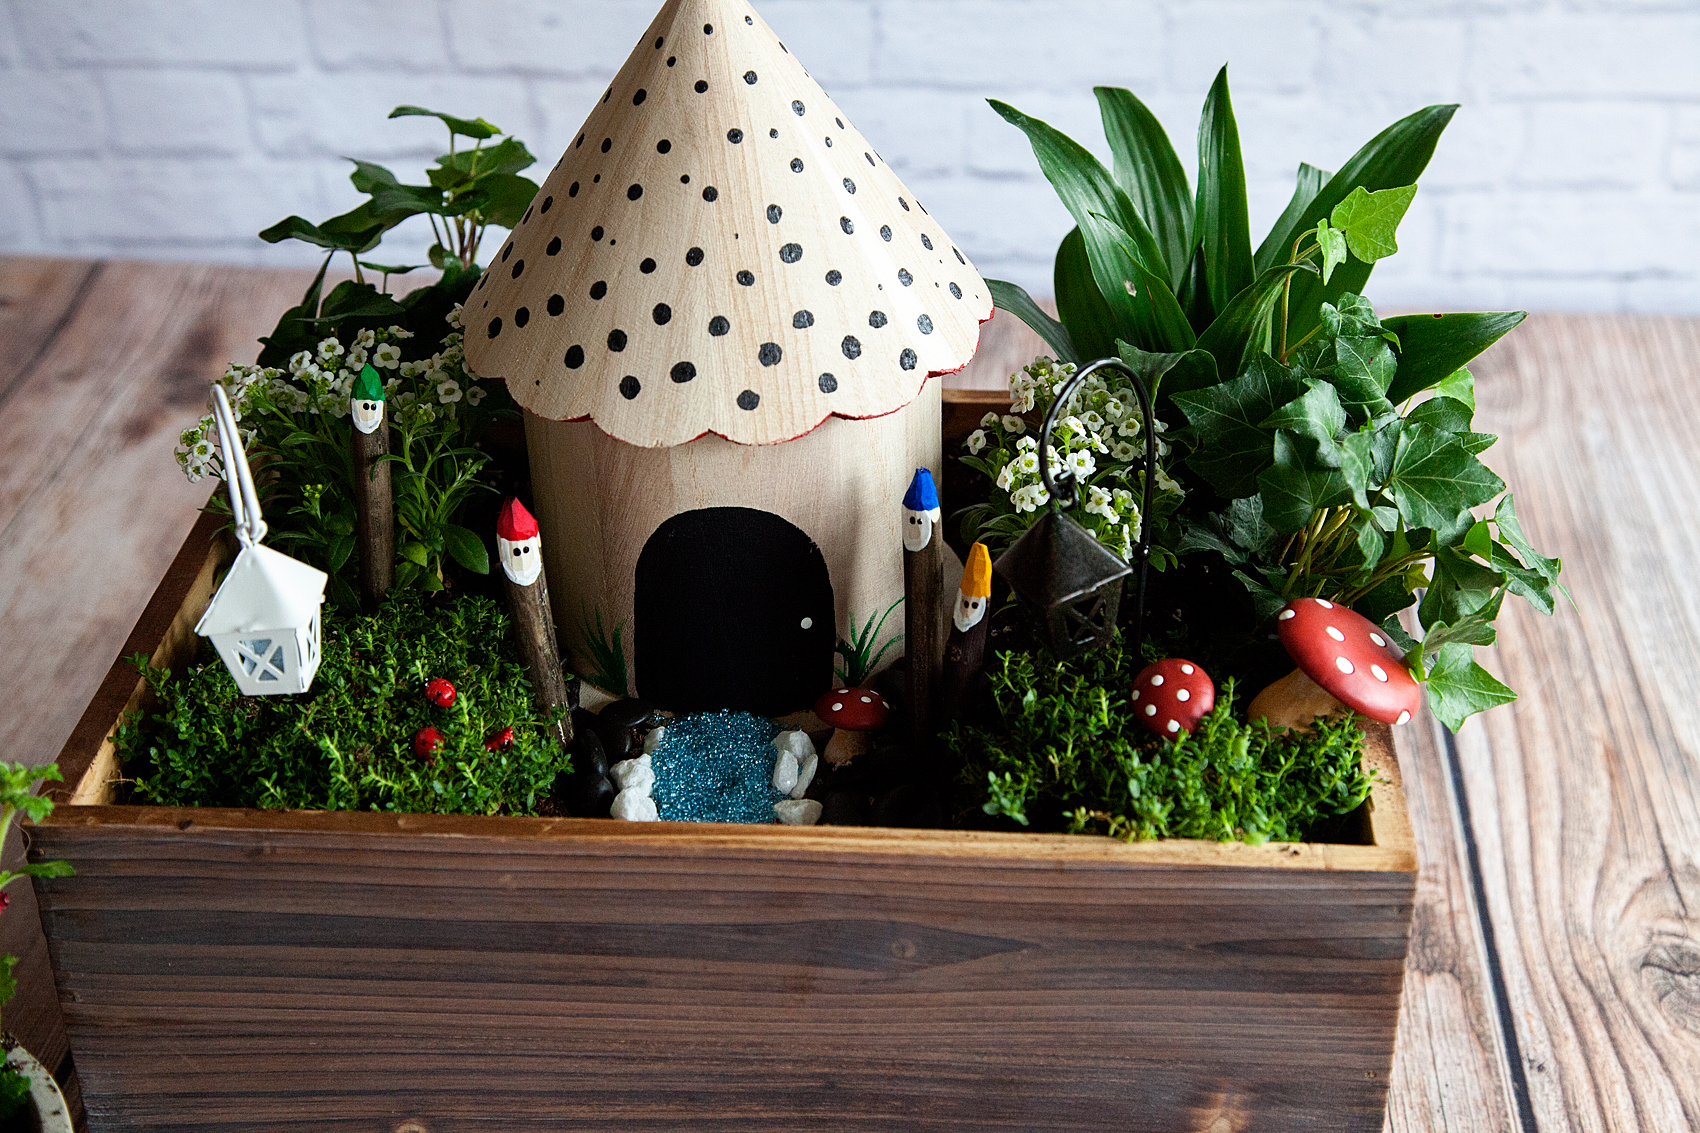
This Gnome Garden post brought to you by DecoArt
I have always been fascinated by gardening. Gardening is in my gene pool. I have a sister with a degree in horticulture & landscape design (gardening) and a mother who adores gardening. I SHOULD be an amazing gardener, right?
Well… I’m getting there. To be completely honest, that darn gardening gene is taking awhile to really kick into gear. Every spring I bring home a new set of, what my husband likes to refer to as, “this years sacrifices!” What?
I’ve tried and tried for a few years to maintain some plants in my home and finally, I feel like I can mange some simple plant care. However, I am no expert. What I love to do is, create with my family and a gnome garden is PERFECT for that.
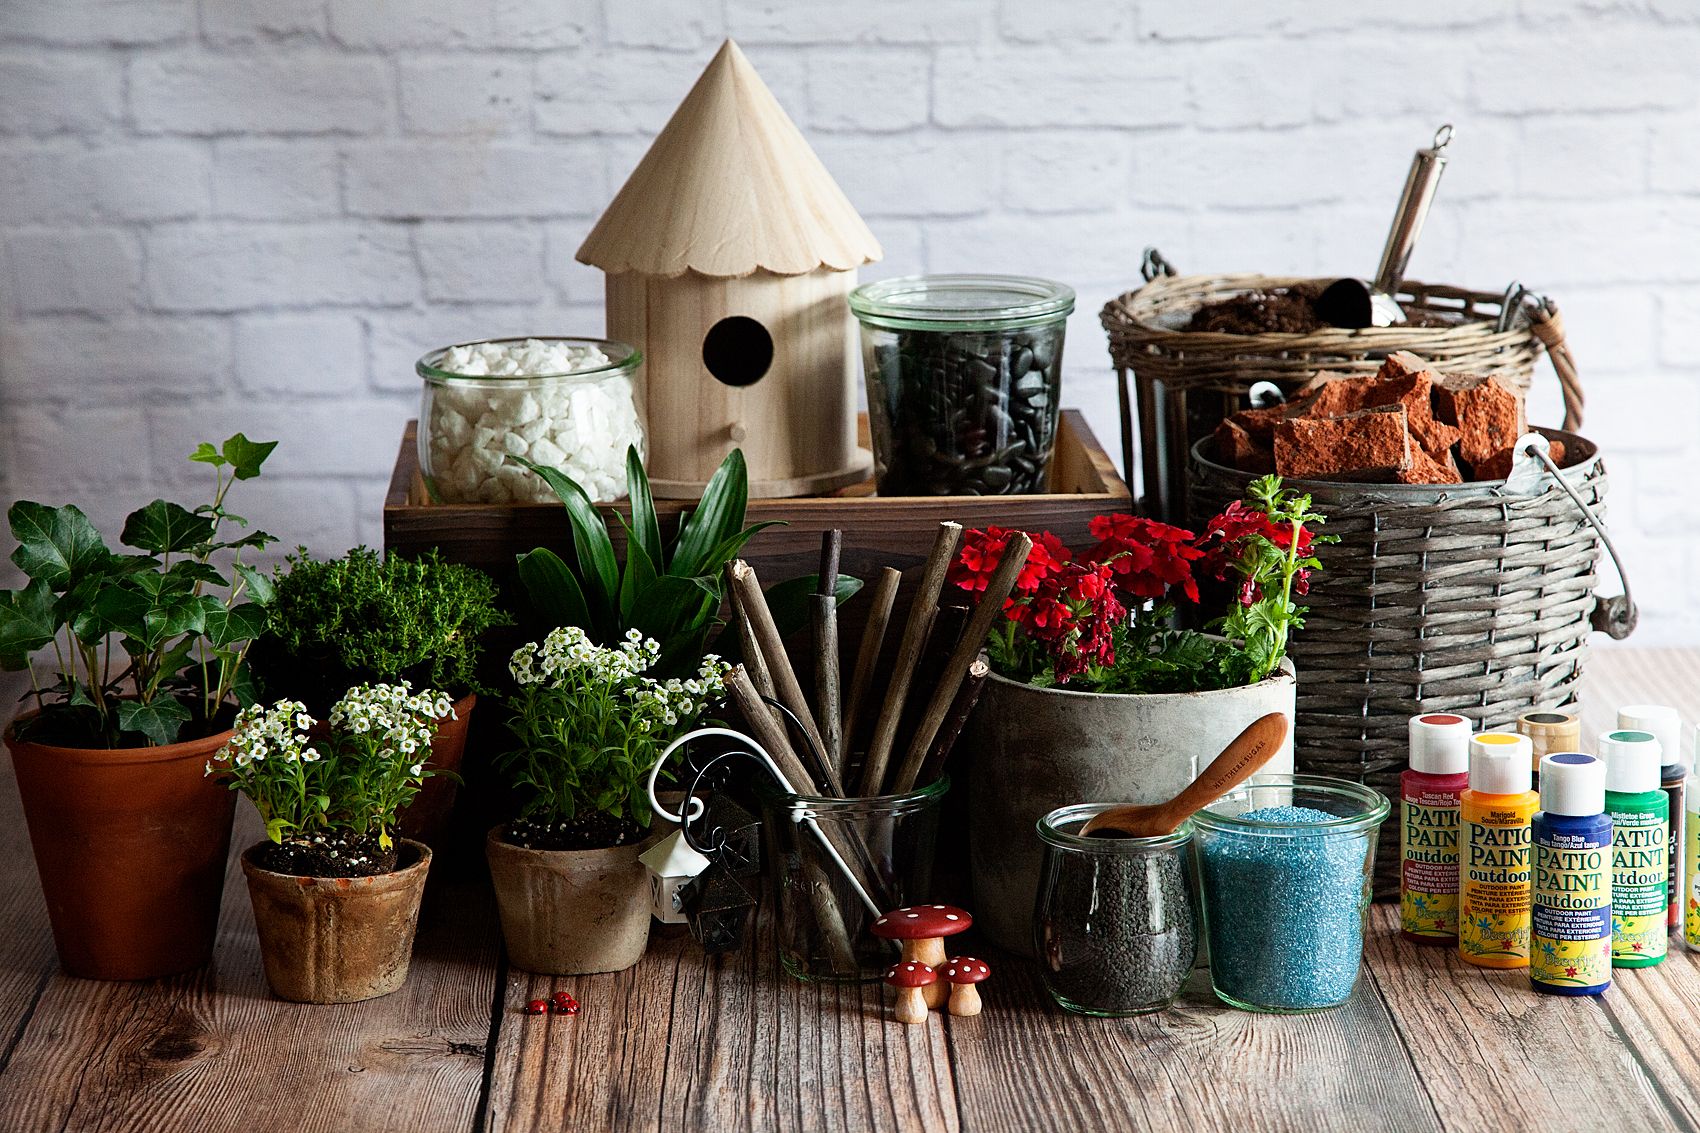
Gnome and Fairy Gardens are becoming all the rage these days. If you walk into Michaels right now, they have a whole section dedicated to these fun gardens with all kinds of gnomes and their accessories. I decided it would be fun to create a gnome garden together with the family using some budget friendly items like sticks from the backyard as our gnomes & a raw wood bird house that I found at Michaels as their cute home. Here’s what you’ll need to make one with your family…

Gnome Garden Supply List
- Garden container
- rocks
- soil
- 7-8 small plants
- 4-5 sticks roughly 6 inches tall
- DecoArt Patio Paint
- Suggested Colors
- Tuscan Red
- Marigold Yellow
- Tango Blue
- Mistletoe Green
- Cloud White
- Wrought Iron Black
- Small round tip paint brush
- Small flat tip paint brush
- pencil
- a sharp whittling knife
- jar of water
- paper towels
- small decorative rocks
- colored decorative sand
- garden accessories
Why Patio Paint is Perfect for Gardens
Not all paint is created equal. Some paint is more durable than others and that’s alright, every type of paint has it’s purpose. What you are looking for with this project is a highly durable paint that is non-toxic, water based and adheres nicely to things that will likely be outdoors or will endure repeated watering like this project. The DecoArt Patio Paint is PERFECT for this! Here are the specifics…
- No sealer required for a durable, long-lasting finish
- Weather-proof
- Satin finish
- Scuff-resistant
- Superior coverage
- Will not crack or peel
- Water-based and non-toxic
- Easy to clean
- Made in the USA
How to Create a Gnome Garden
Here’s a quick video to show you how easy it is to create a special gnome garden of your own…
Gnome Garden from Heather Thoming on Vimeo.
Isn’t that easy and fun for the family? Here’s the step by step…
- Place rocks at the bottom of your container. This helps with drainage for your plants. Plants love water, but they typically don’t like to sit in it all of the time. You’ll need to make sure they have proper drainage.
- Pour in your potting soil. Fill your container about 3/4 full.
- Plant your plants in the container with the lower plants in front and the taller toward the back. Keep in mind, you are trying to set a scene. If you are wondering what plants to use and how to maintain them, here’s a good article from the Empress of Dirt.
- Paint your birdhouse. Keep it simple or go crazy… This is your design. I wanted to keep our simple. We painted the door on the back of the bird house and added dots to the roof with a nice red peek-a-boo trim around the scalloped edge of the roof. I used the tip of the brush handle to create the dots on the roof.
- ADULT TASK • Whittle the end of your branches into a tip like a pencil. The top portion of the tip will be your gnomes hat. Keep in mind this task either needs to be done by an adult OR supervised by an adult.
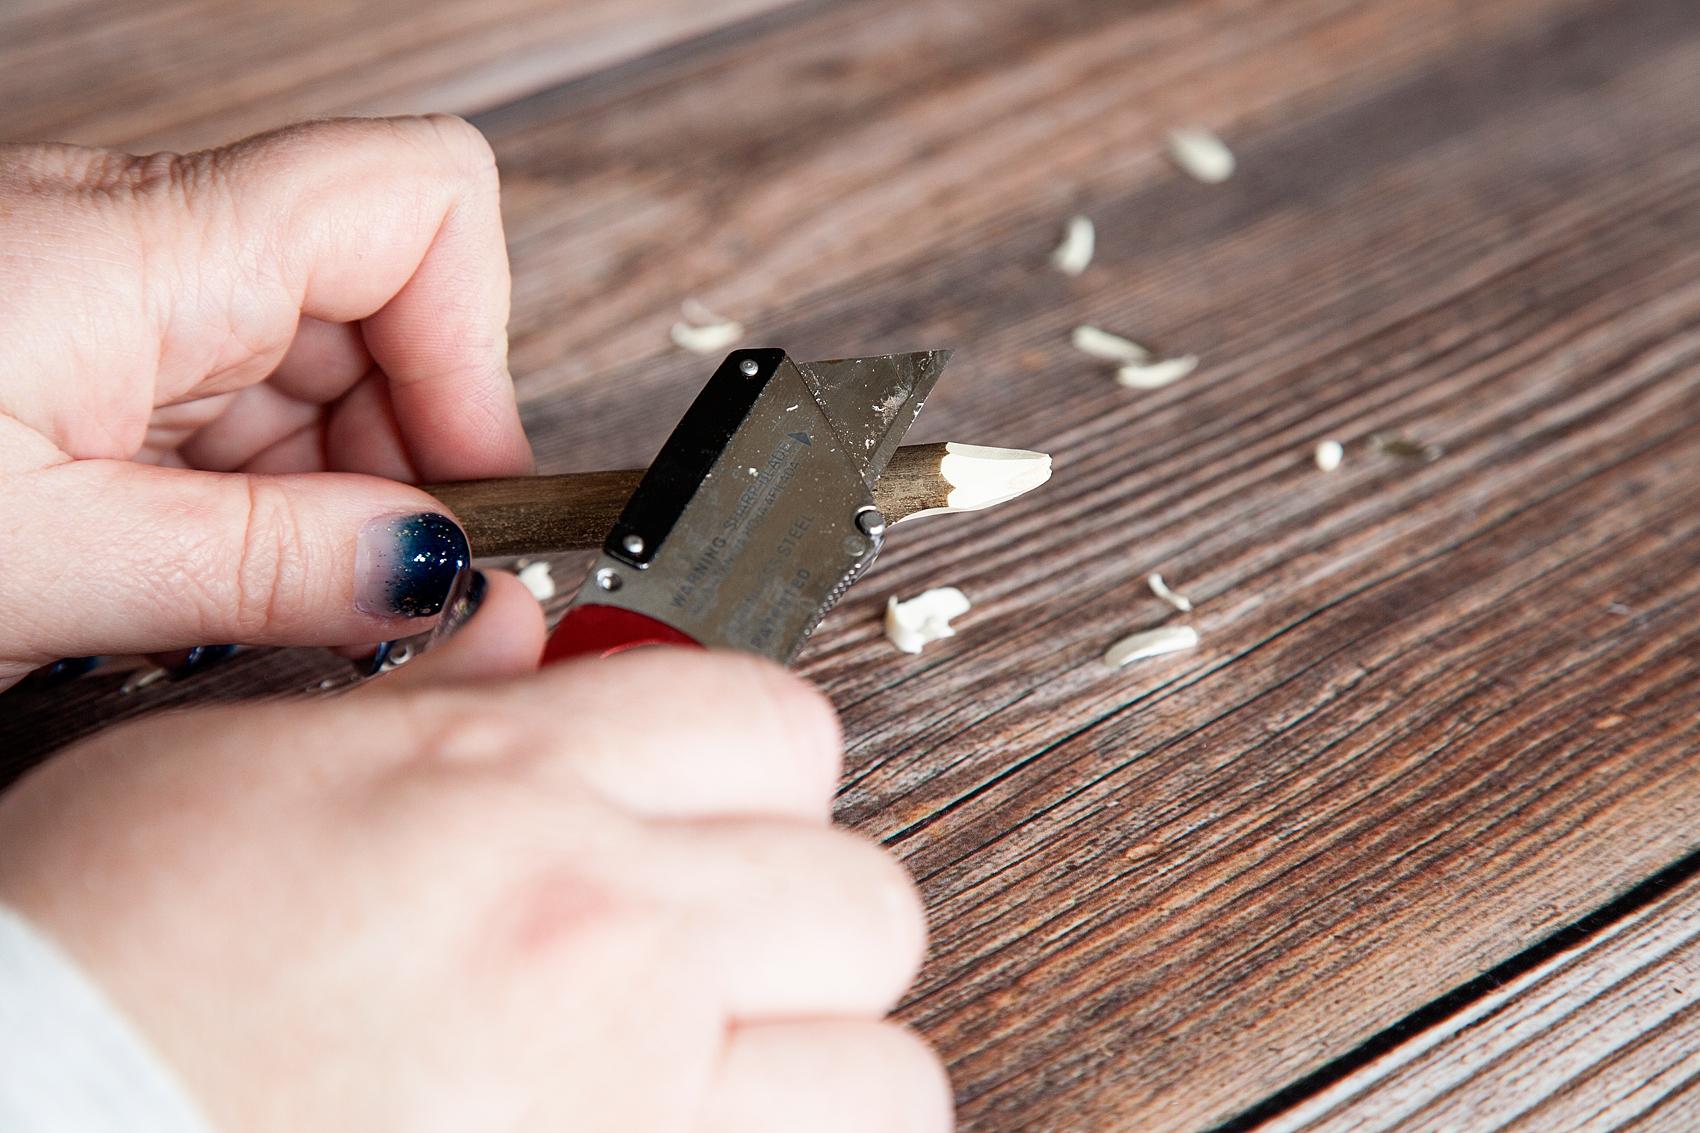
- On one side of your stick, whittle a “U” shaped section for the face of your gnome.
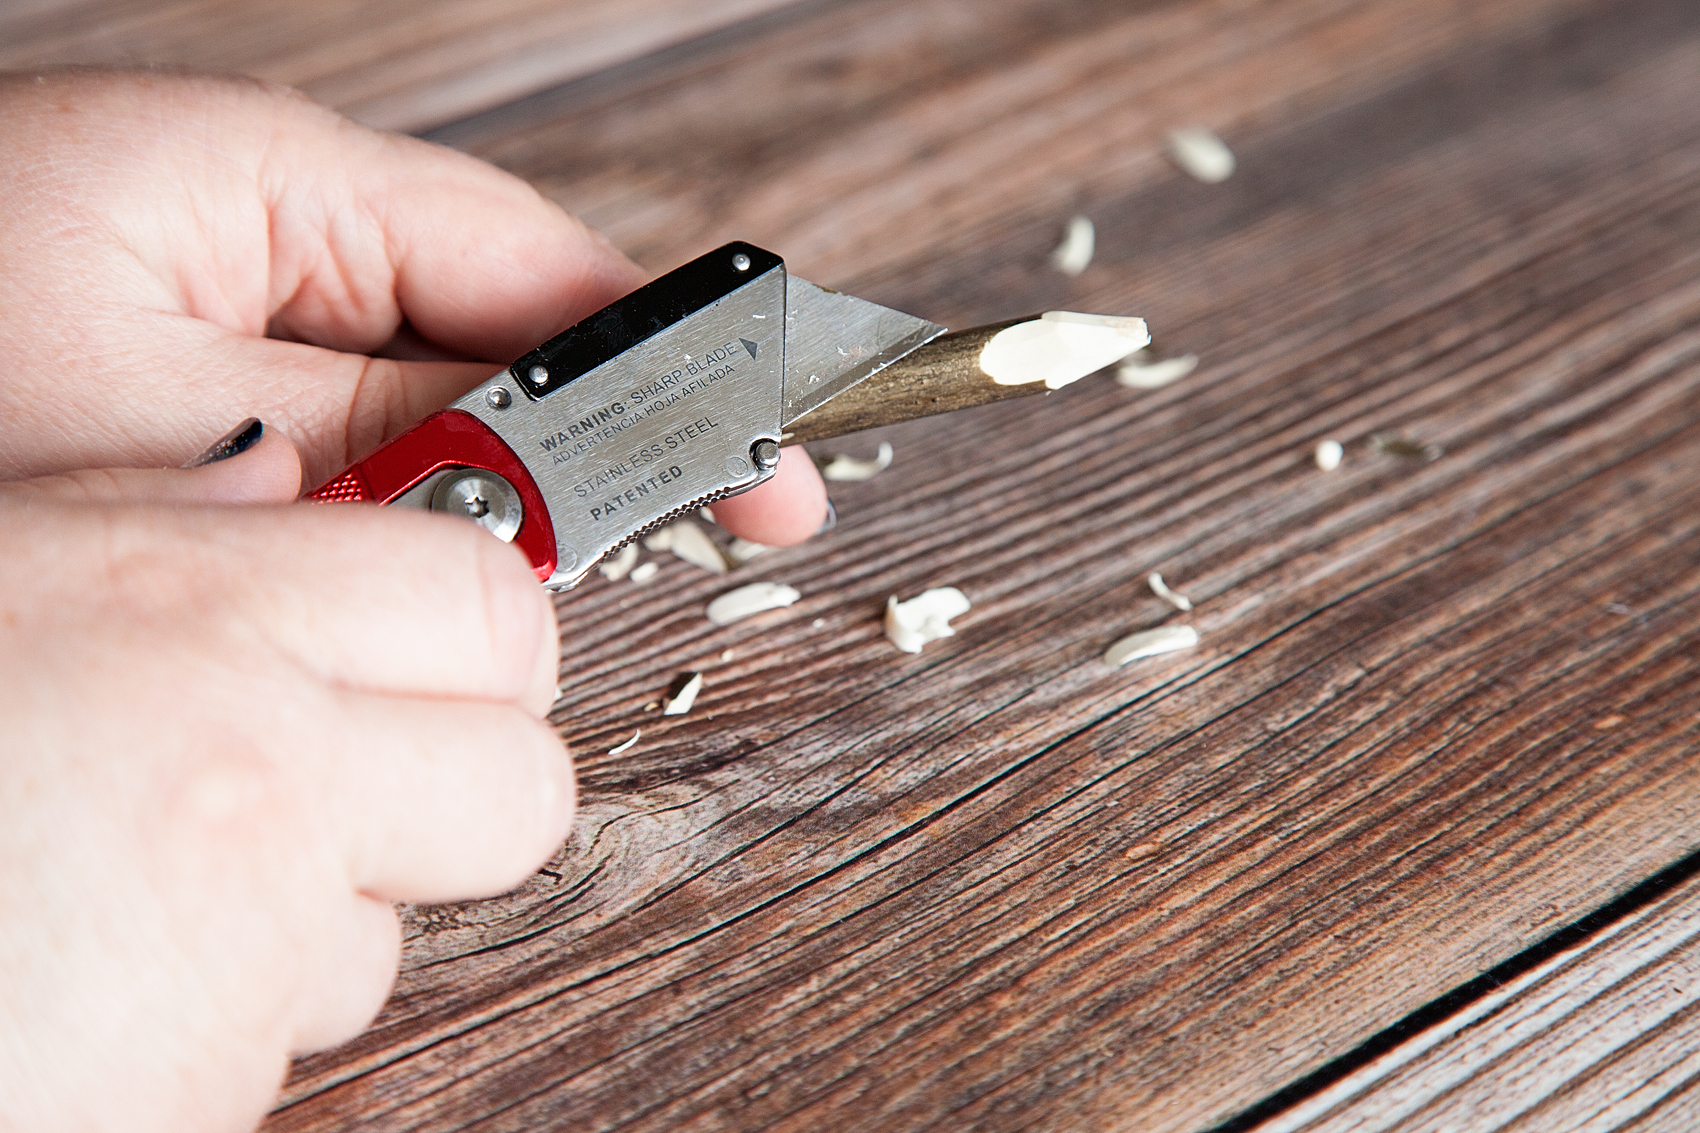
- Using the DecoArt Patio Paint and your small flat brush, paint on your gnomes hat and let dry.
- Take the white paint and paint on your gnome’s beard. Basically in a “U” shape following the line of the face that you whittle in before. Set aside and let dry. Refer to video for more details on how to paint your gnome.
- Using a sharped pencil, dip your pencil tip into the black paint and gently place one gnome eye. Reapply the paint to your pencil tip and create another eye. Dipping into the paint twice will help to create eyes that a similar in shape and size. Set aside and let dry.
- Once dry, name your cute little little gnomes! Ours are Max (red), Sven (yellow), Einar (green) & Ole (blue). Then place them into your gnome garden.
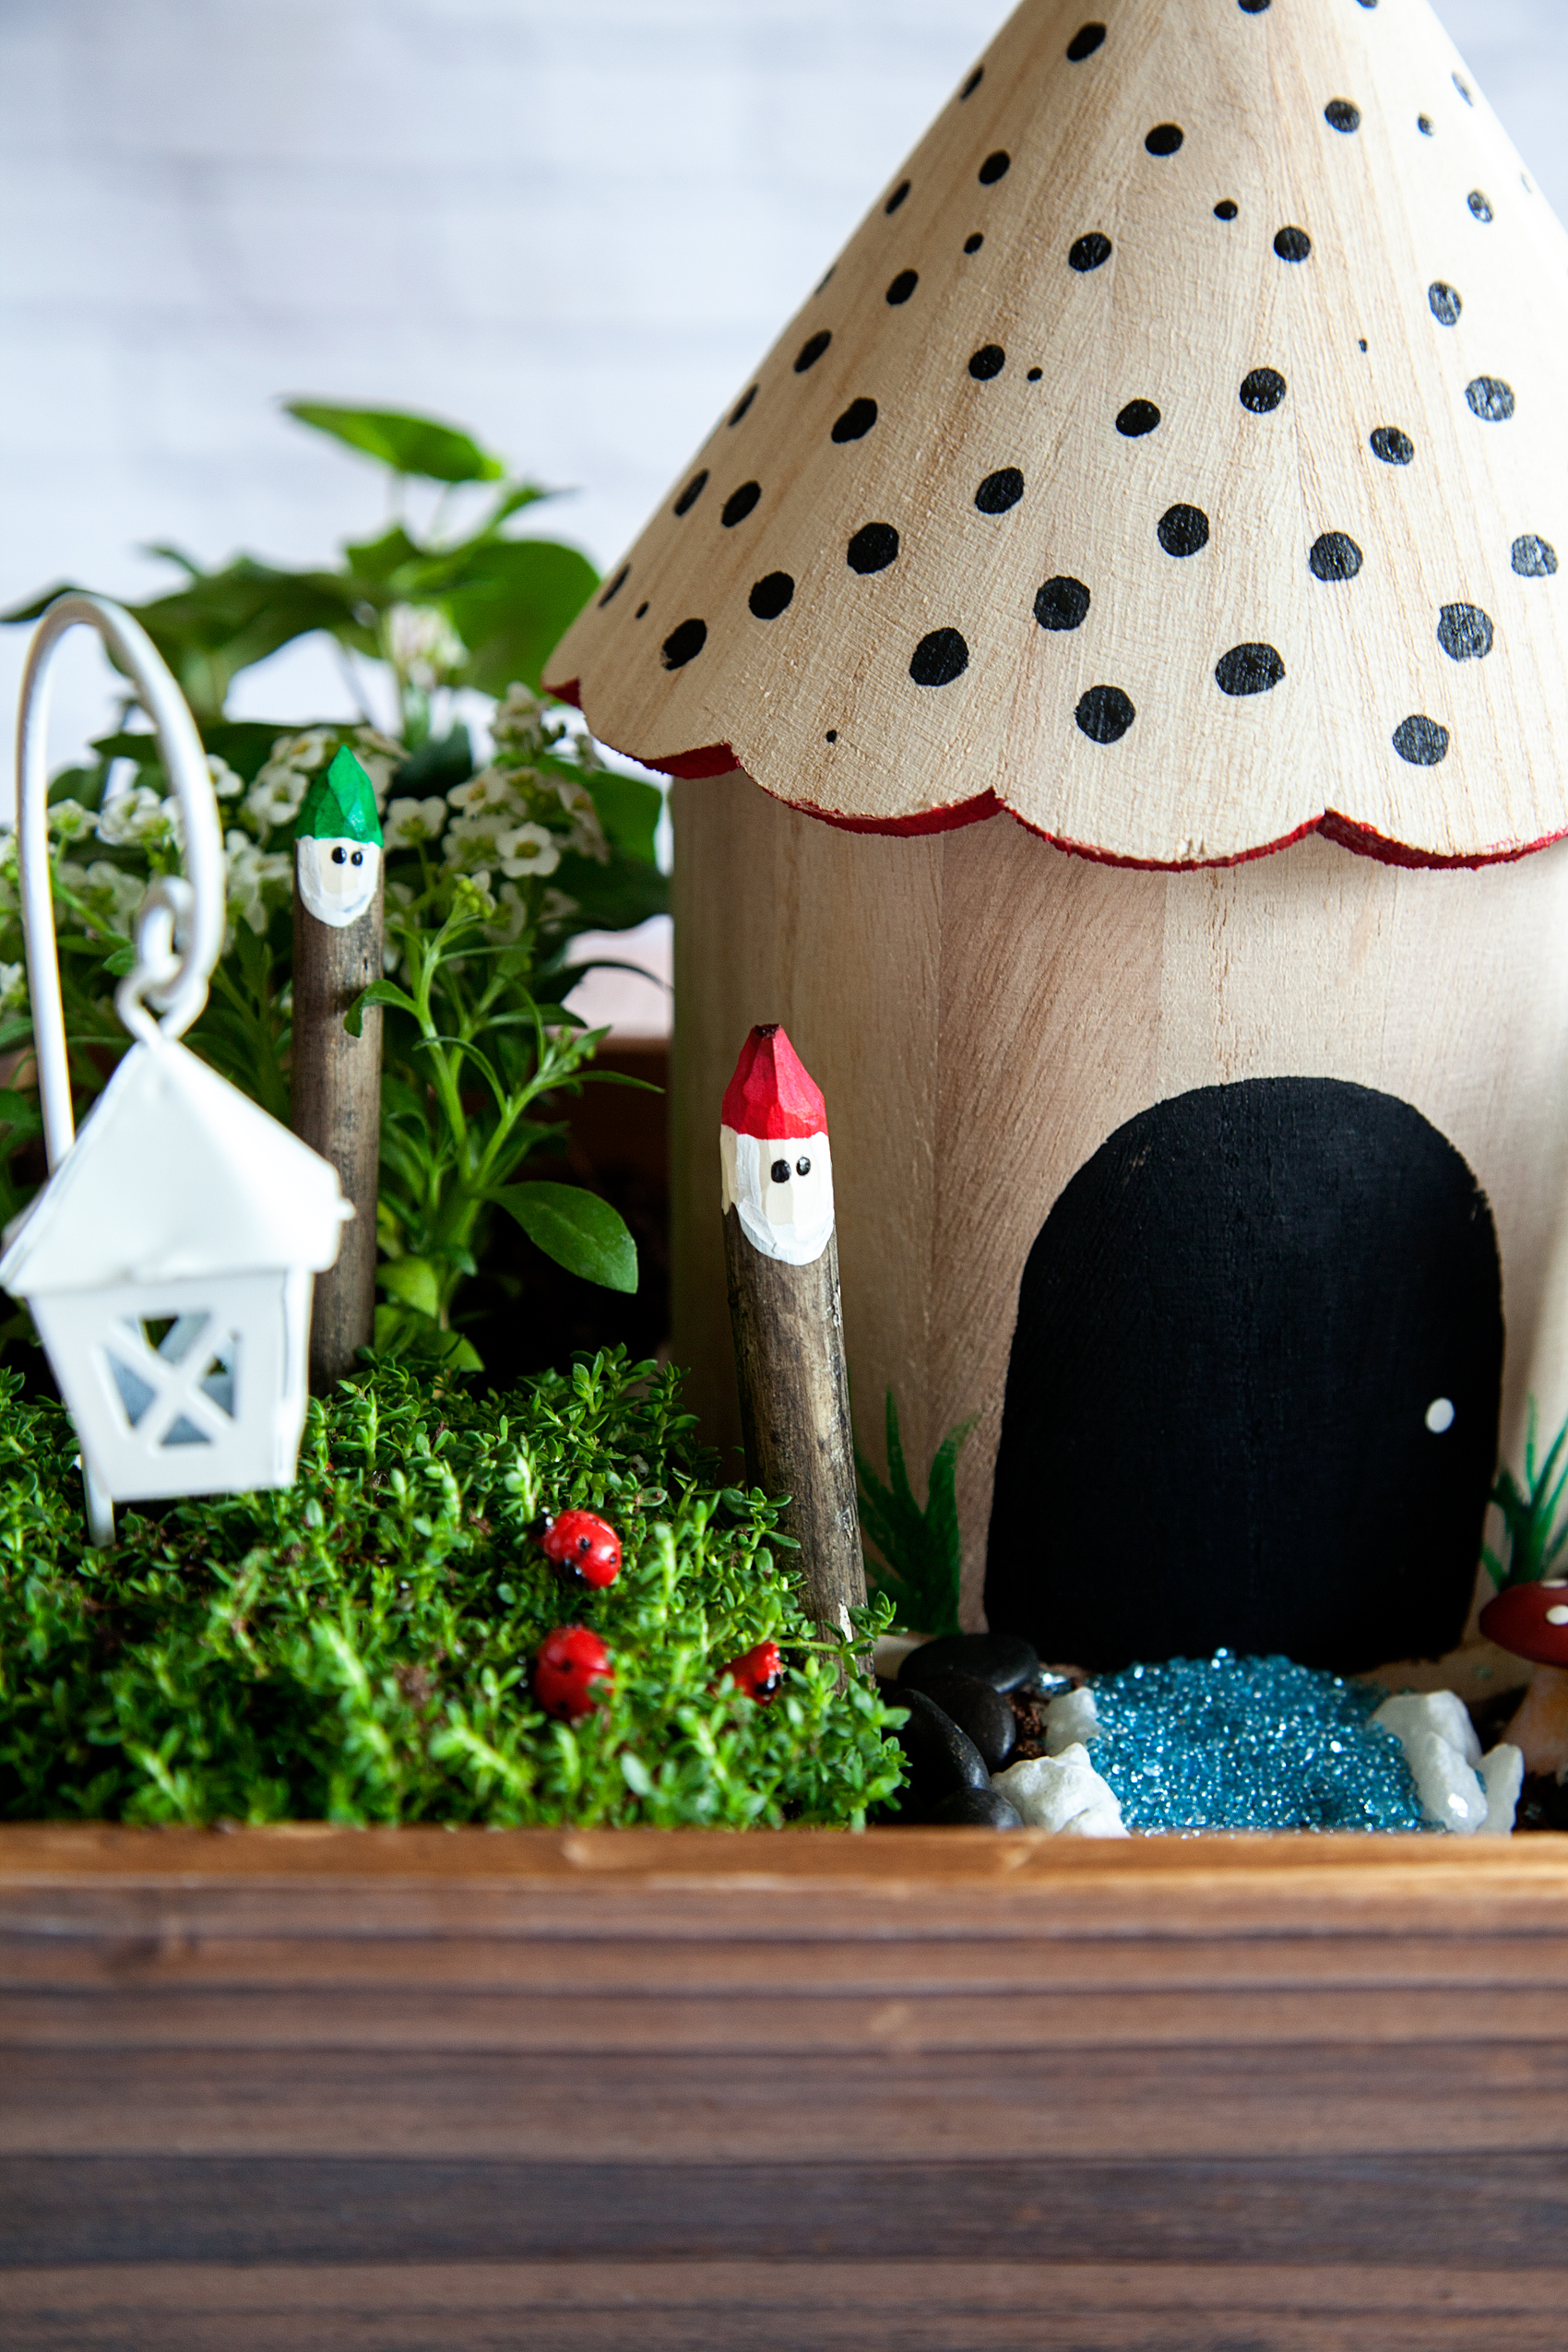
- Using the small rocks and colored sand, create a walkway in front of the house.
