Love the look of handwritten labels but you’re not in love with your own handwriting? No problem! These Cricut handwritten labels come to the rescue!

My Handwritten Labels Circut Explore Air 2 Project
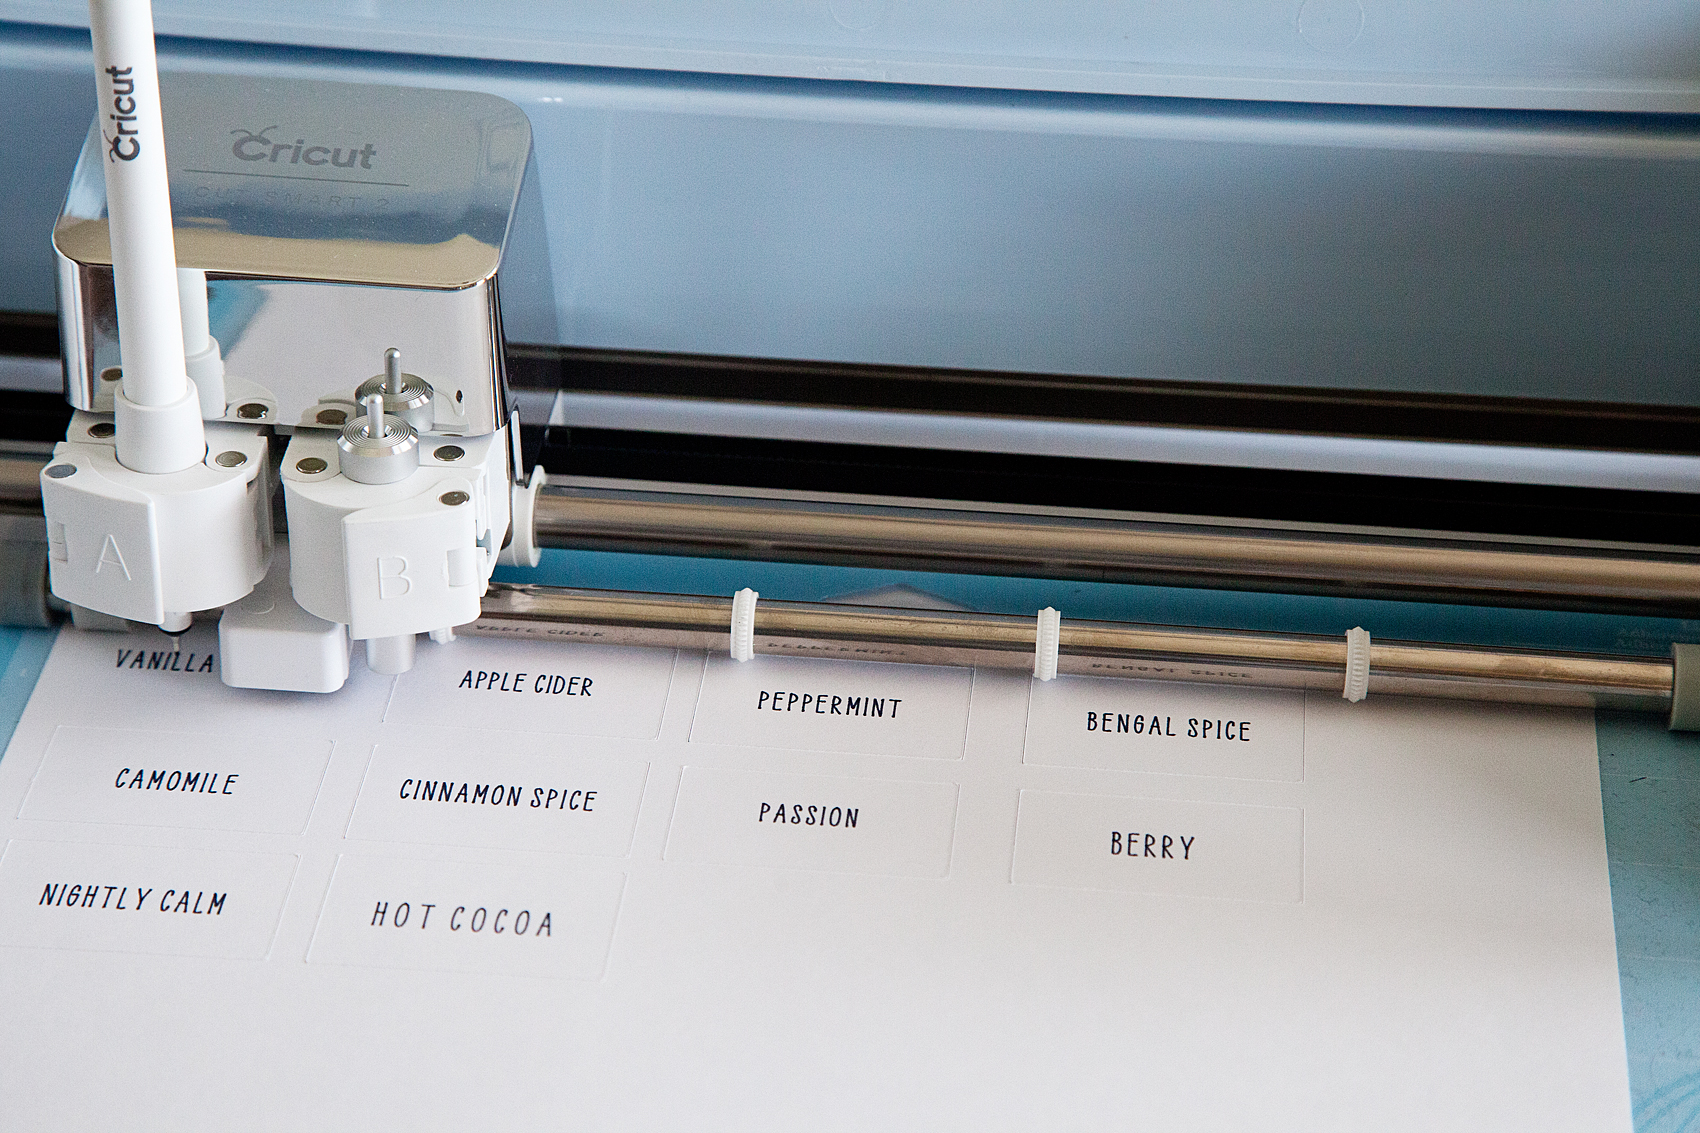
Did you know that you can WRITE with your Cricut and cut out cute labels? You can even write on Avery labels with your Cricut! I put the Cricut markers to the test and created an easy-to-follow video to show you how to create some simple industrial-style labels that everyone loves right now. Here’s what inspired this project…
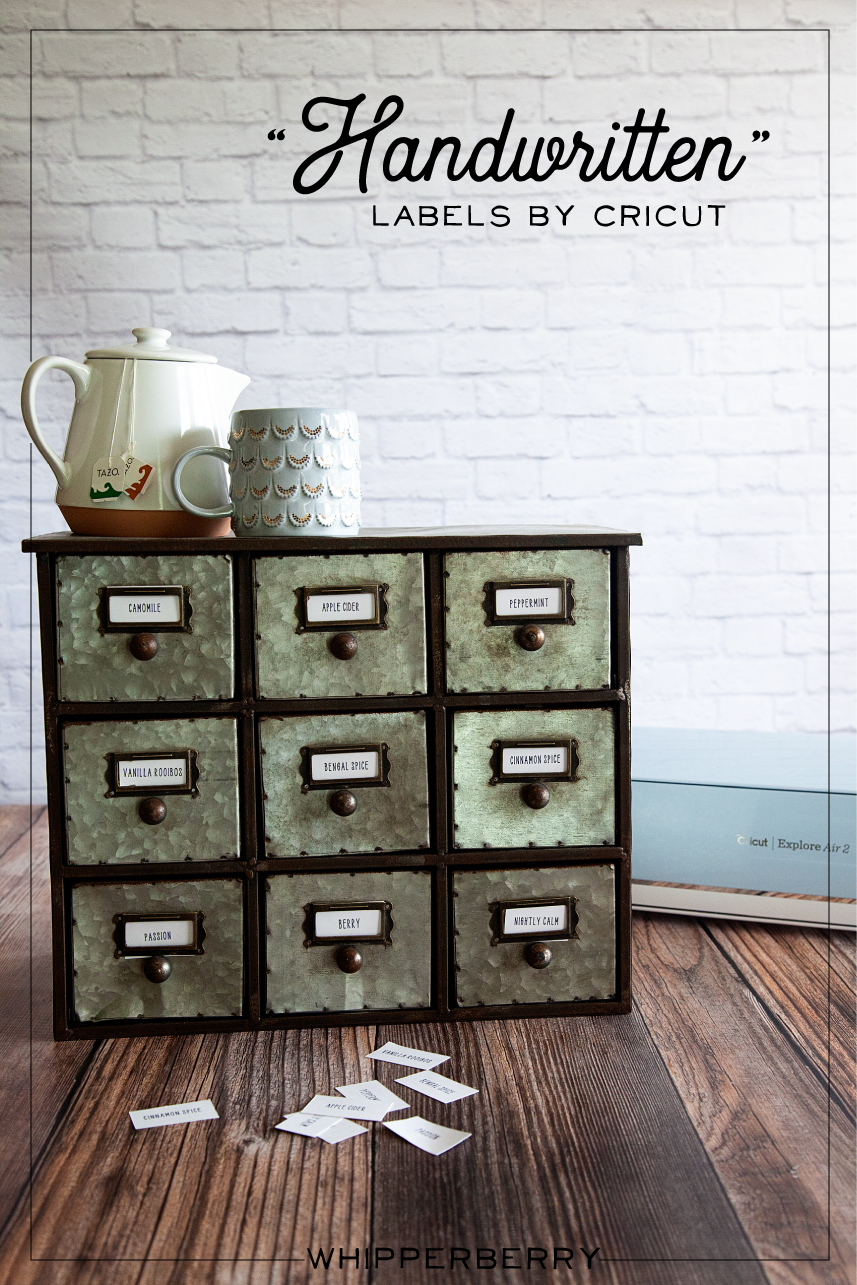
I have become obsessed with herbal tea this winter. My husband and I would share a mug of tea every night before bed to warm ourselves before hitting the hay. We started with one flavor of tea, Camomile, and over the chilly months, we started collecting all kinds of new flavors. Soon our collection of herbal tea started to take over our kitchen and I decided that it was time to find a better storage solution for our newfound tea love. I found a great industrial-style cabinet that fits perfectly in our kitchen and loaded it up with all of our tea.
The next step was to create some labels for our new tea storage solution. Because the cabinet was an industrial-style cabinet I wanted to create some industrial-looking labels that were handwritten. The problem… I’m not a huge fan of my handwriting. I was just not blessed with that gift, nor do I have the time to practice, practice, practice. I remembered that my Cricut Explore Air 2 has a great “handwritten” option using the Cricut Explore Pens.

How to Write on Avery Labels with Your Cricut – Handwritten Label Inspiration
This is such a simple beginner project that anyone at any creative level can create for their home with their Cricut machine. For this industrial-style label, I kept things simple. I really only needed a “handwritten” tea name with a rectangle cut around it… Pretty basic. However, you can create all kinds of great “handwritten” labels with fancy shapes as well. I created a Label Design Pinterest board with some inspiration for all kinds of fun “handwritten” labels that you can make with the Cricut Explore Air 2.
The video below shows you in-depth how to create the lables.
How to Make Your Own Handwritten Labels With Cricut Explore Air 2
With all of that inspiration, you have to be chomping at the bit to get started. I created a simple, easy-to-follow video to show you exactly how to make these basic handwritten labels for a storage solution in your home. Grab a cup of tea, sit back and learn how to make your own labels.
Here’s What You Need to Make These Cricut Handwritten Labels
There are a few things you’ll need to make these awesome labels. The good news is you can get all of them online. Since you’re reading this I bet you already have a Cricut machine but if not, what are you waiting for!? The rest of the tools you may or may not have and I’d recommend picking them up to get this project going 🙂
- Cricut Machine (I used the Explore Air 2 for this)
- Cricut Pens
- Cricut Cutting Mat
- Avery Lables
- Optional but helpful: The Cricut spatula tool
- And just a little bit of practice!
That’s all you really need for this project. Most of these items are very cheap unless you don’t already have a Cricut machine. Even then, if you want to get into DIY home crafts and projects, the machines really are a bargain!
Tips & Tricks for Handwritten Cricut Labels
Here are a few tips & tricks that I learned along the way.
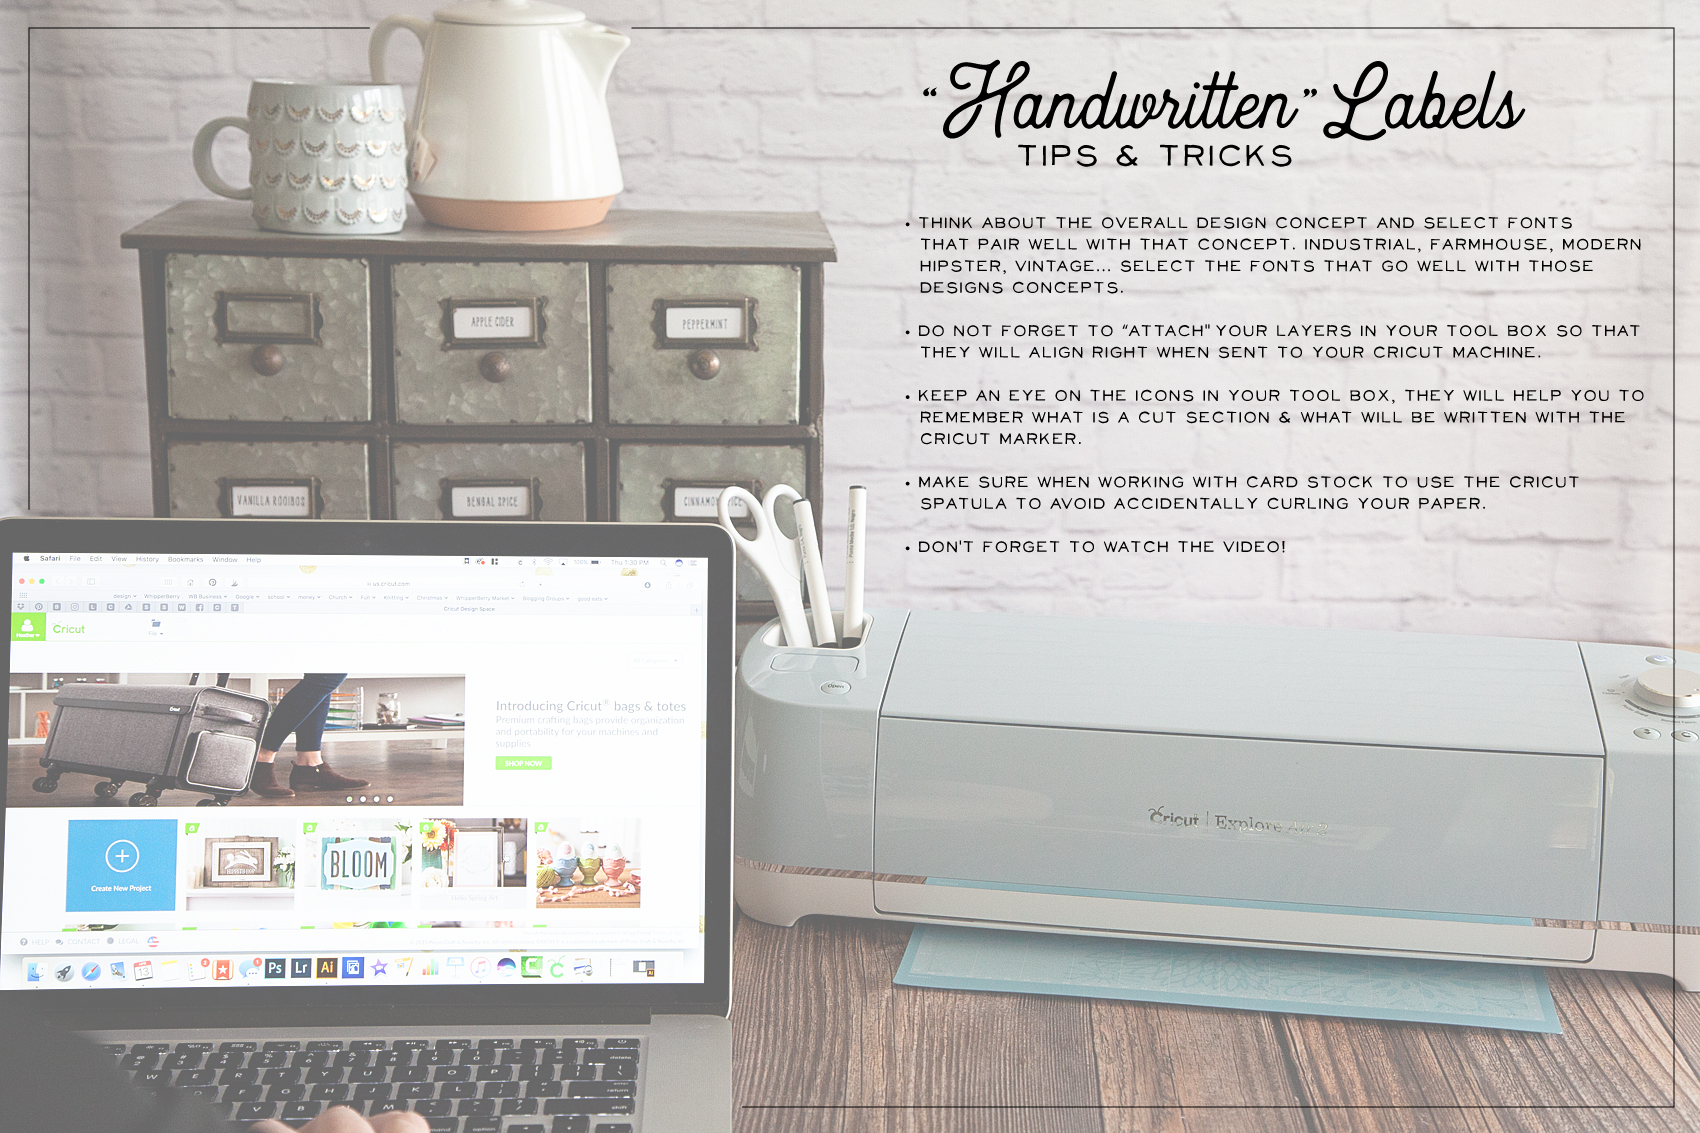
- STOP and think about your end game. What style are you looking to create with your handwritten labels? Make sure you are selecting fonts that pair well with that design concept. If you are going for an industrial look, you aren’t going to use a font that is more shabby chic. If you have a farmhouse style in your home, you aren’t going to select a modern-style font and so on.
- When working within Cricut Design Space, don’t forget to ATTACH your layers before you send your design to your machine. We go over this in the video so make sure you check that out before you get started.
- The Cricut Design Space makes it super easy to tell the difference between a handwritten layer and a cut layer in your label design. Keep an eye on the icons to tell the difference between the layers. (HINT… I cover this in the video.)
- USE your Cricut tools! I always want to move too fast and forget that Cricut has created some great tools to help make your projects the best they can be. When removing card stock paper from the cutting mat, use the SPATULA TOOL to keep your paper nice and flat. If you remove the paper by just pulling it away from the cutting mat, it will curl slightly.
- Don’t forget to watch the video! It’s less than 10 minutes and it covers everything you’ll need to know to create your own “handwritten” labels.
Now hopefully you know how to make labels with your Cricut Explore Air 2. As always, If you have questions post them in the comments below and I will answer!
126
Leave a Reply